Garlic and parmesan make a beautiful couple. My absolute favorite chicken wing toppings, the combo enhances simple french fries or a succulent lobster tail. When adding garlic and parmesan, we cannot forget the vehicle for ease of use…butter! Or olive oil if you want a slightly less salty, less buttery alternative. For easy coating, I use a pastry brush and always top with extra fresh grated Parmesan.
Garlic Parmesan Knots are a huge hit when served with fish, or a substitute for bread on Italian night!
Here is the recipe…
Garlic Parmesan Knots
Ingredients:
2 cups pizza dough, from your favorite pizza shop or homemade
1/4 cup unsalted butter, melted
3/4 teaspoon garlic powder
1/2 teaspoon rosemary, chopped
1/2 teaspoon parsley, chopped
1/4 cup fresh grated parmesan cheese + 1/4 cup or a block of parmesan for topping.
Directions:
In a medium mixing bowl, whisk together butter, garlic powder, spices and 1/4 cup parmesan cheese.
Preheat oven 375 degrees.
Cut off 2 inches of dough.
Roll into a cigar shape.
Knot dough.
Place onto parchment covered cookie sheet.
Brush with butter mixture.
Bake 8-12 minutes until golden brown and center is cooked through.
Remove and brush with excess butter mixture and top with fresh grated parmesan cheese.
If you close your eyes, these cookies taste like the best peanut butter cookies ever…
But they are chocolate chip?? Yes, the almond cream and peanut butter frosting do all of the work! In the past, I have tried to make homemade almond cream to use as a spread on biscuits and muffins like this one Almond Cream by Martha Stewart, but this time I used the Sicilian Almond Cream from the Italian World at Oil & Vinegar . Save yourself some time because the homemade version will never top the Sicilian version ; ) This frosting is a super sweet! Peanut butter and chocolate are my sweet tooth’s favorites, but the almond cream adds a subtle sophistication I could totally get used to.
One of our new faves for sure. Here is the recipe…
Peanut Butter & Almond Cream Chocolate Chip Cookies
(makes 3 dozen 2 inch cookies)
Ingredients:
2 cups flour
1 tsp. baking soda
pinch of salt
1 cup unsalted butter
1/2 cup sugar
1/2 cup light brown sugar
1 tsp. vanilla extract
2 eggs
2 cups chocolate chips
1/2 cup finely chopped almonds
Directions:
Preheat oven to 350 degrees.
Using a mixer, cream butter and sugar.
Add eggs, baking soda, salt, and vanilla and mix on low until incorporated.
Slowly add in flour until dough forms.
Mix in chocolate chips and almonds with a wooden spoon. Mix well so each scoop contains chips and almonds.
Drop by teaspoonfuls, 2 inches apart, onto a parchment lined cookie sheet.
Bake 9-12 minutes until golden.
Let cookies cool and frost. I used a spatula and a knife to create a striped pattern!
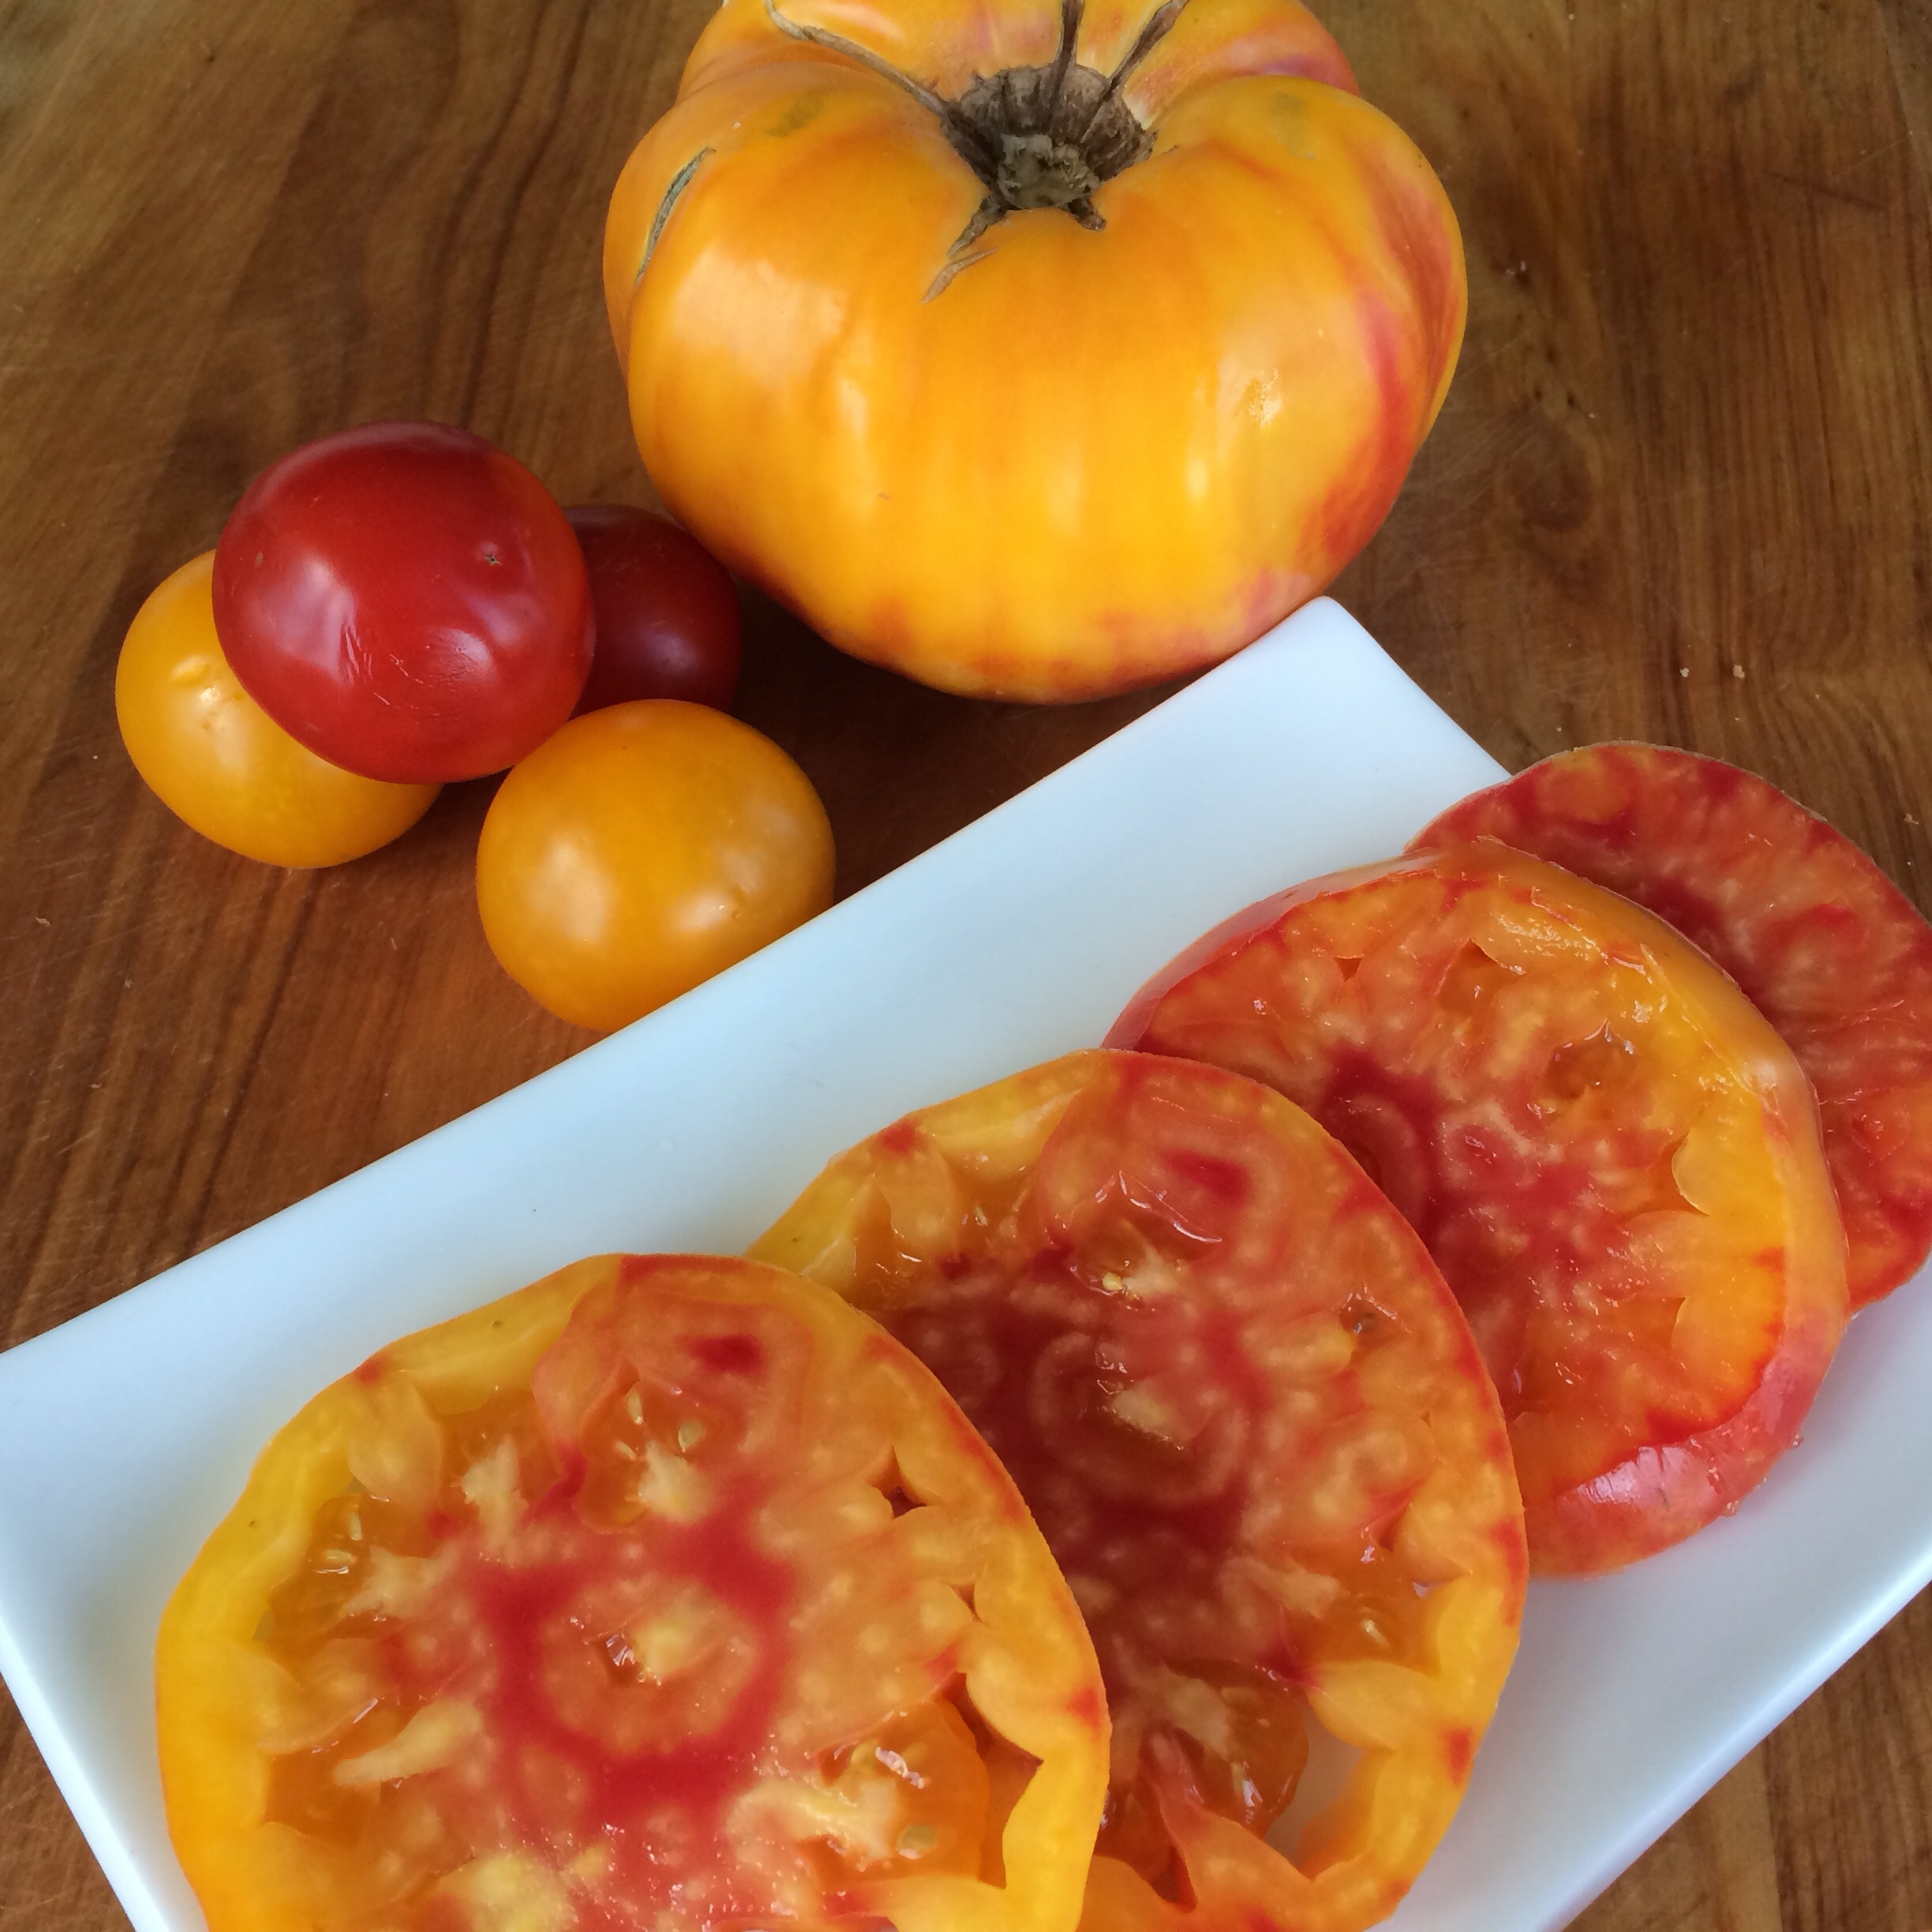
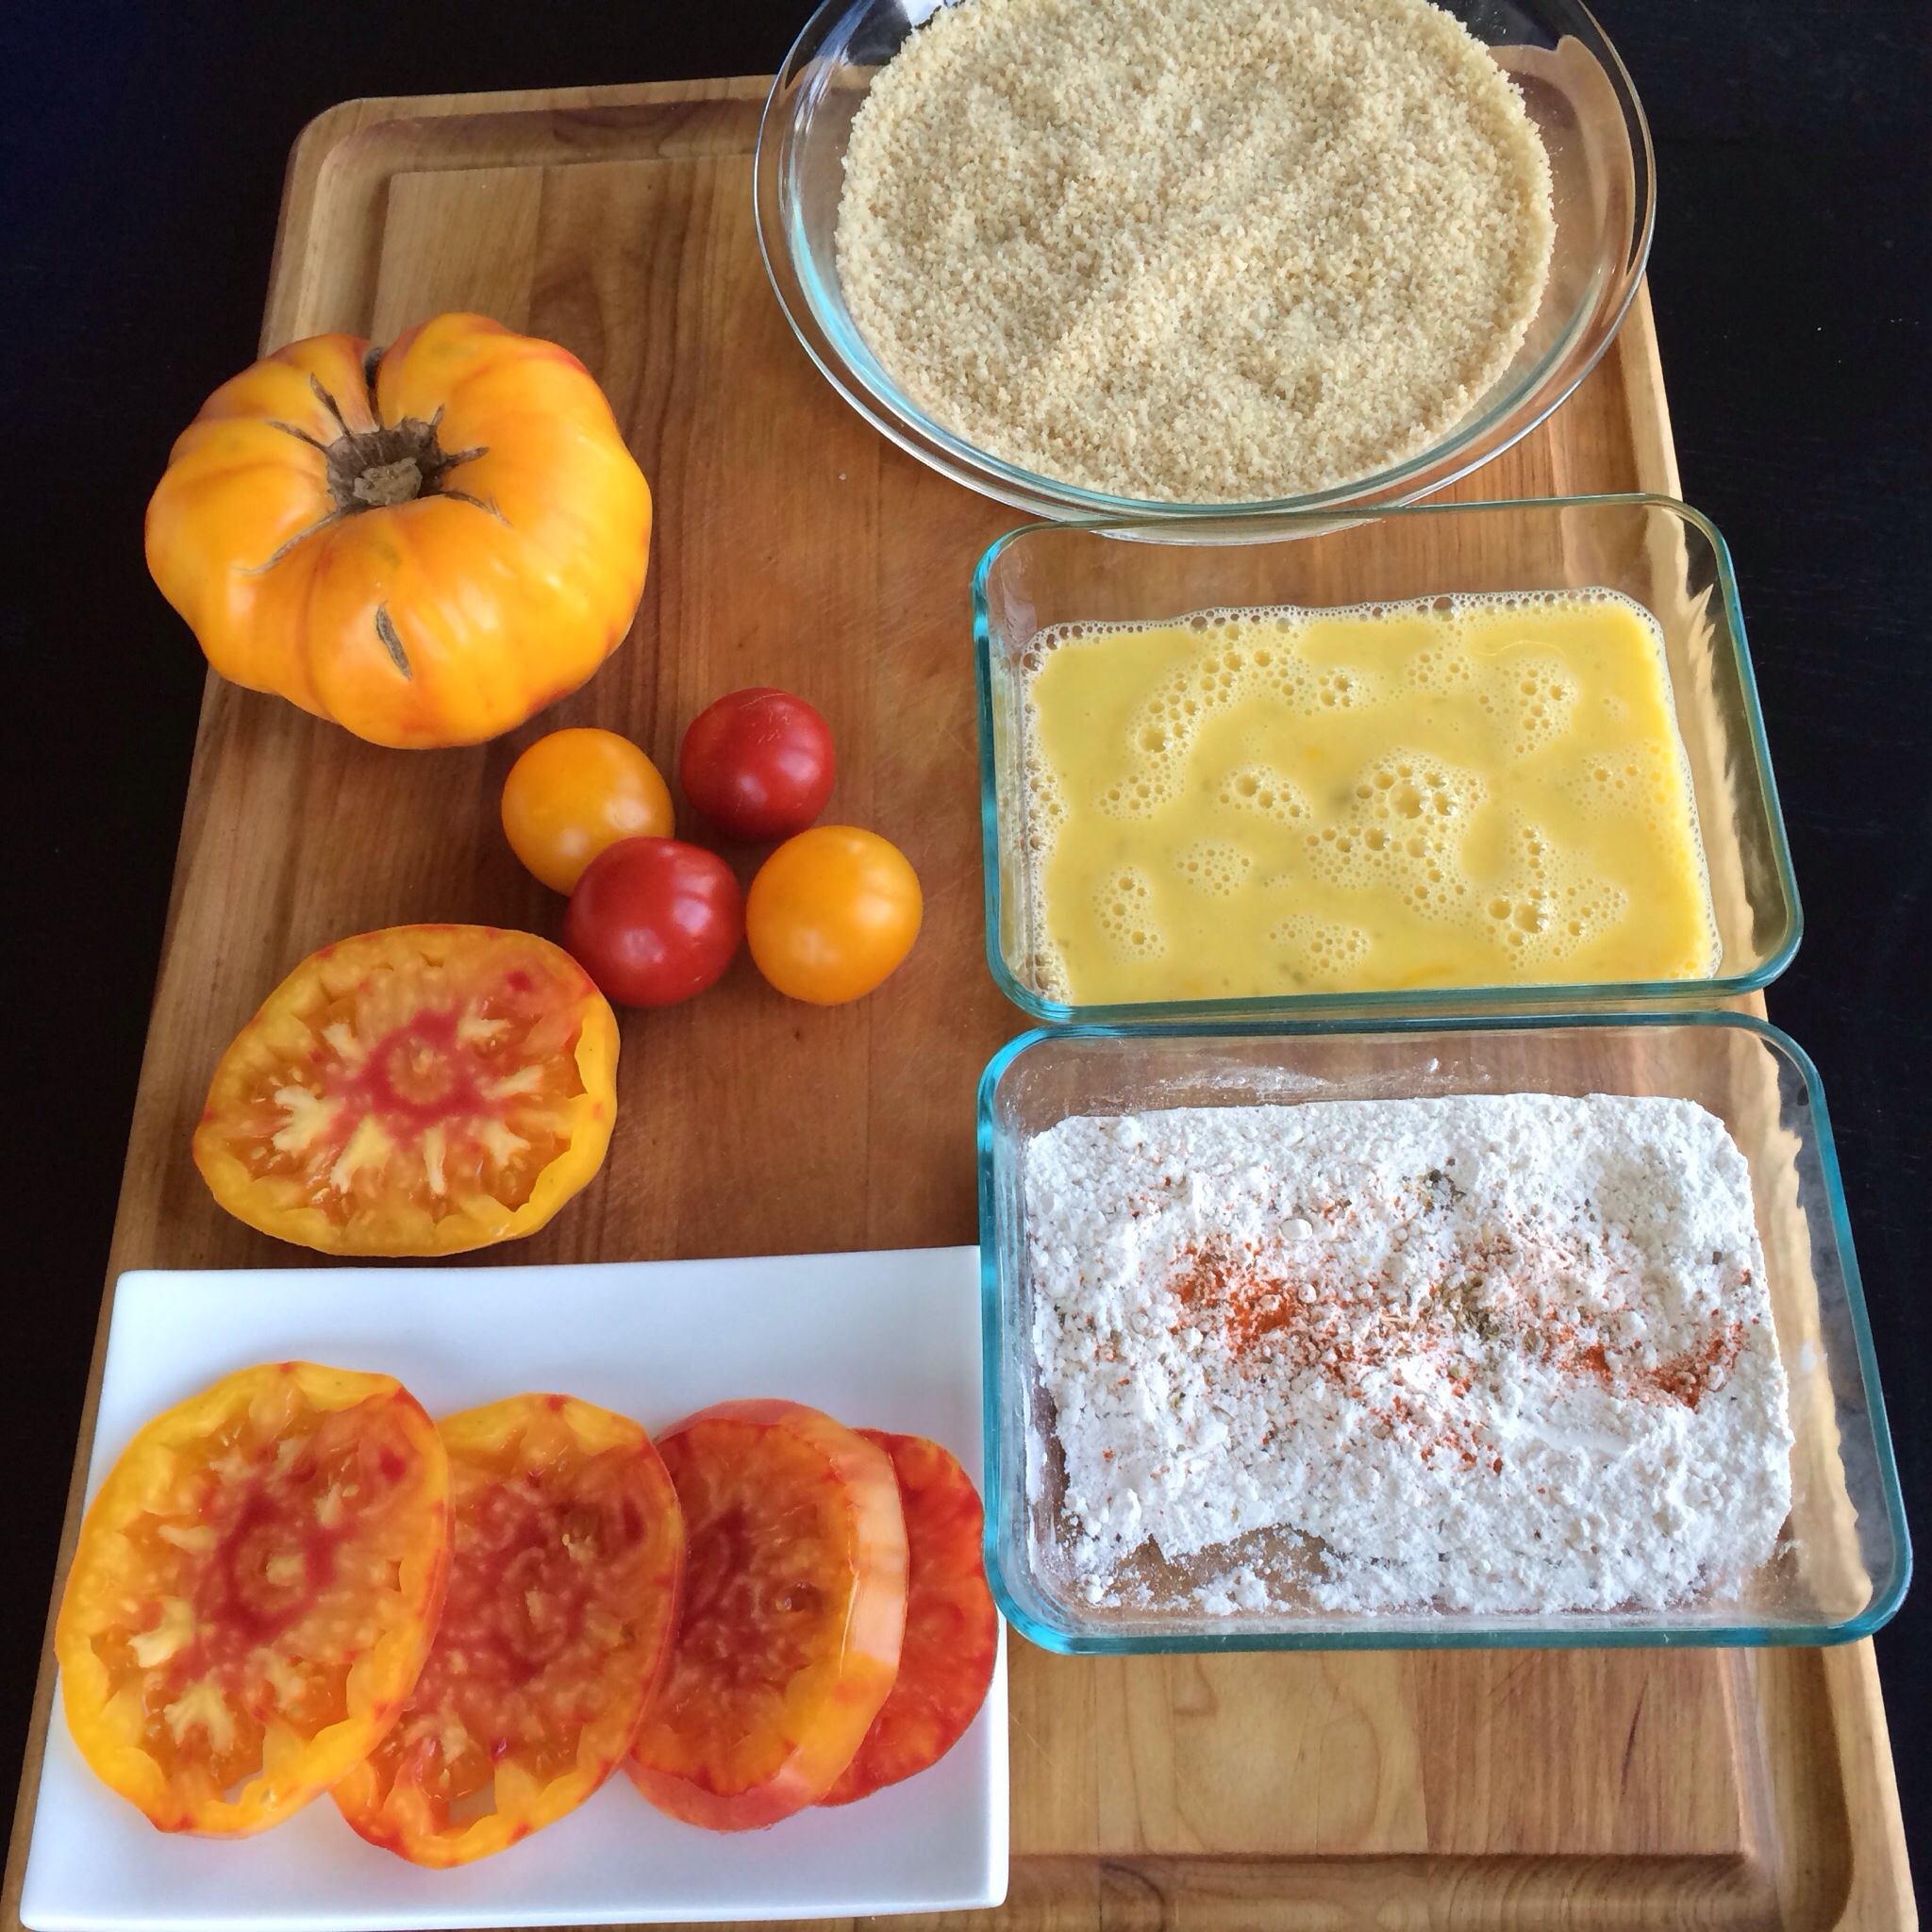
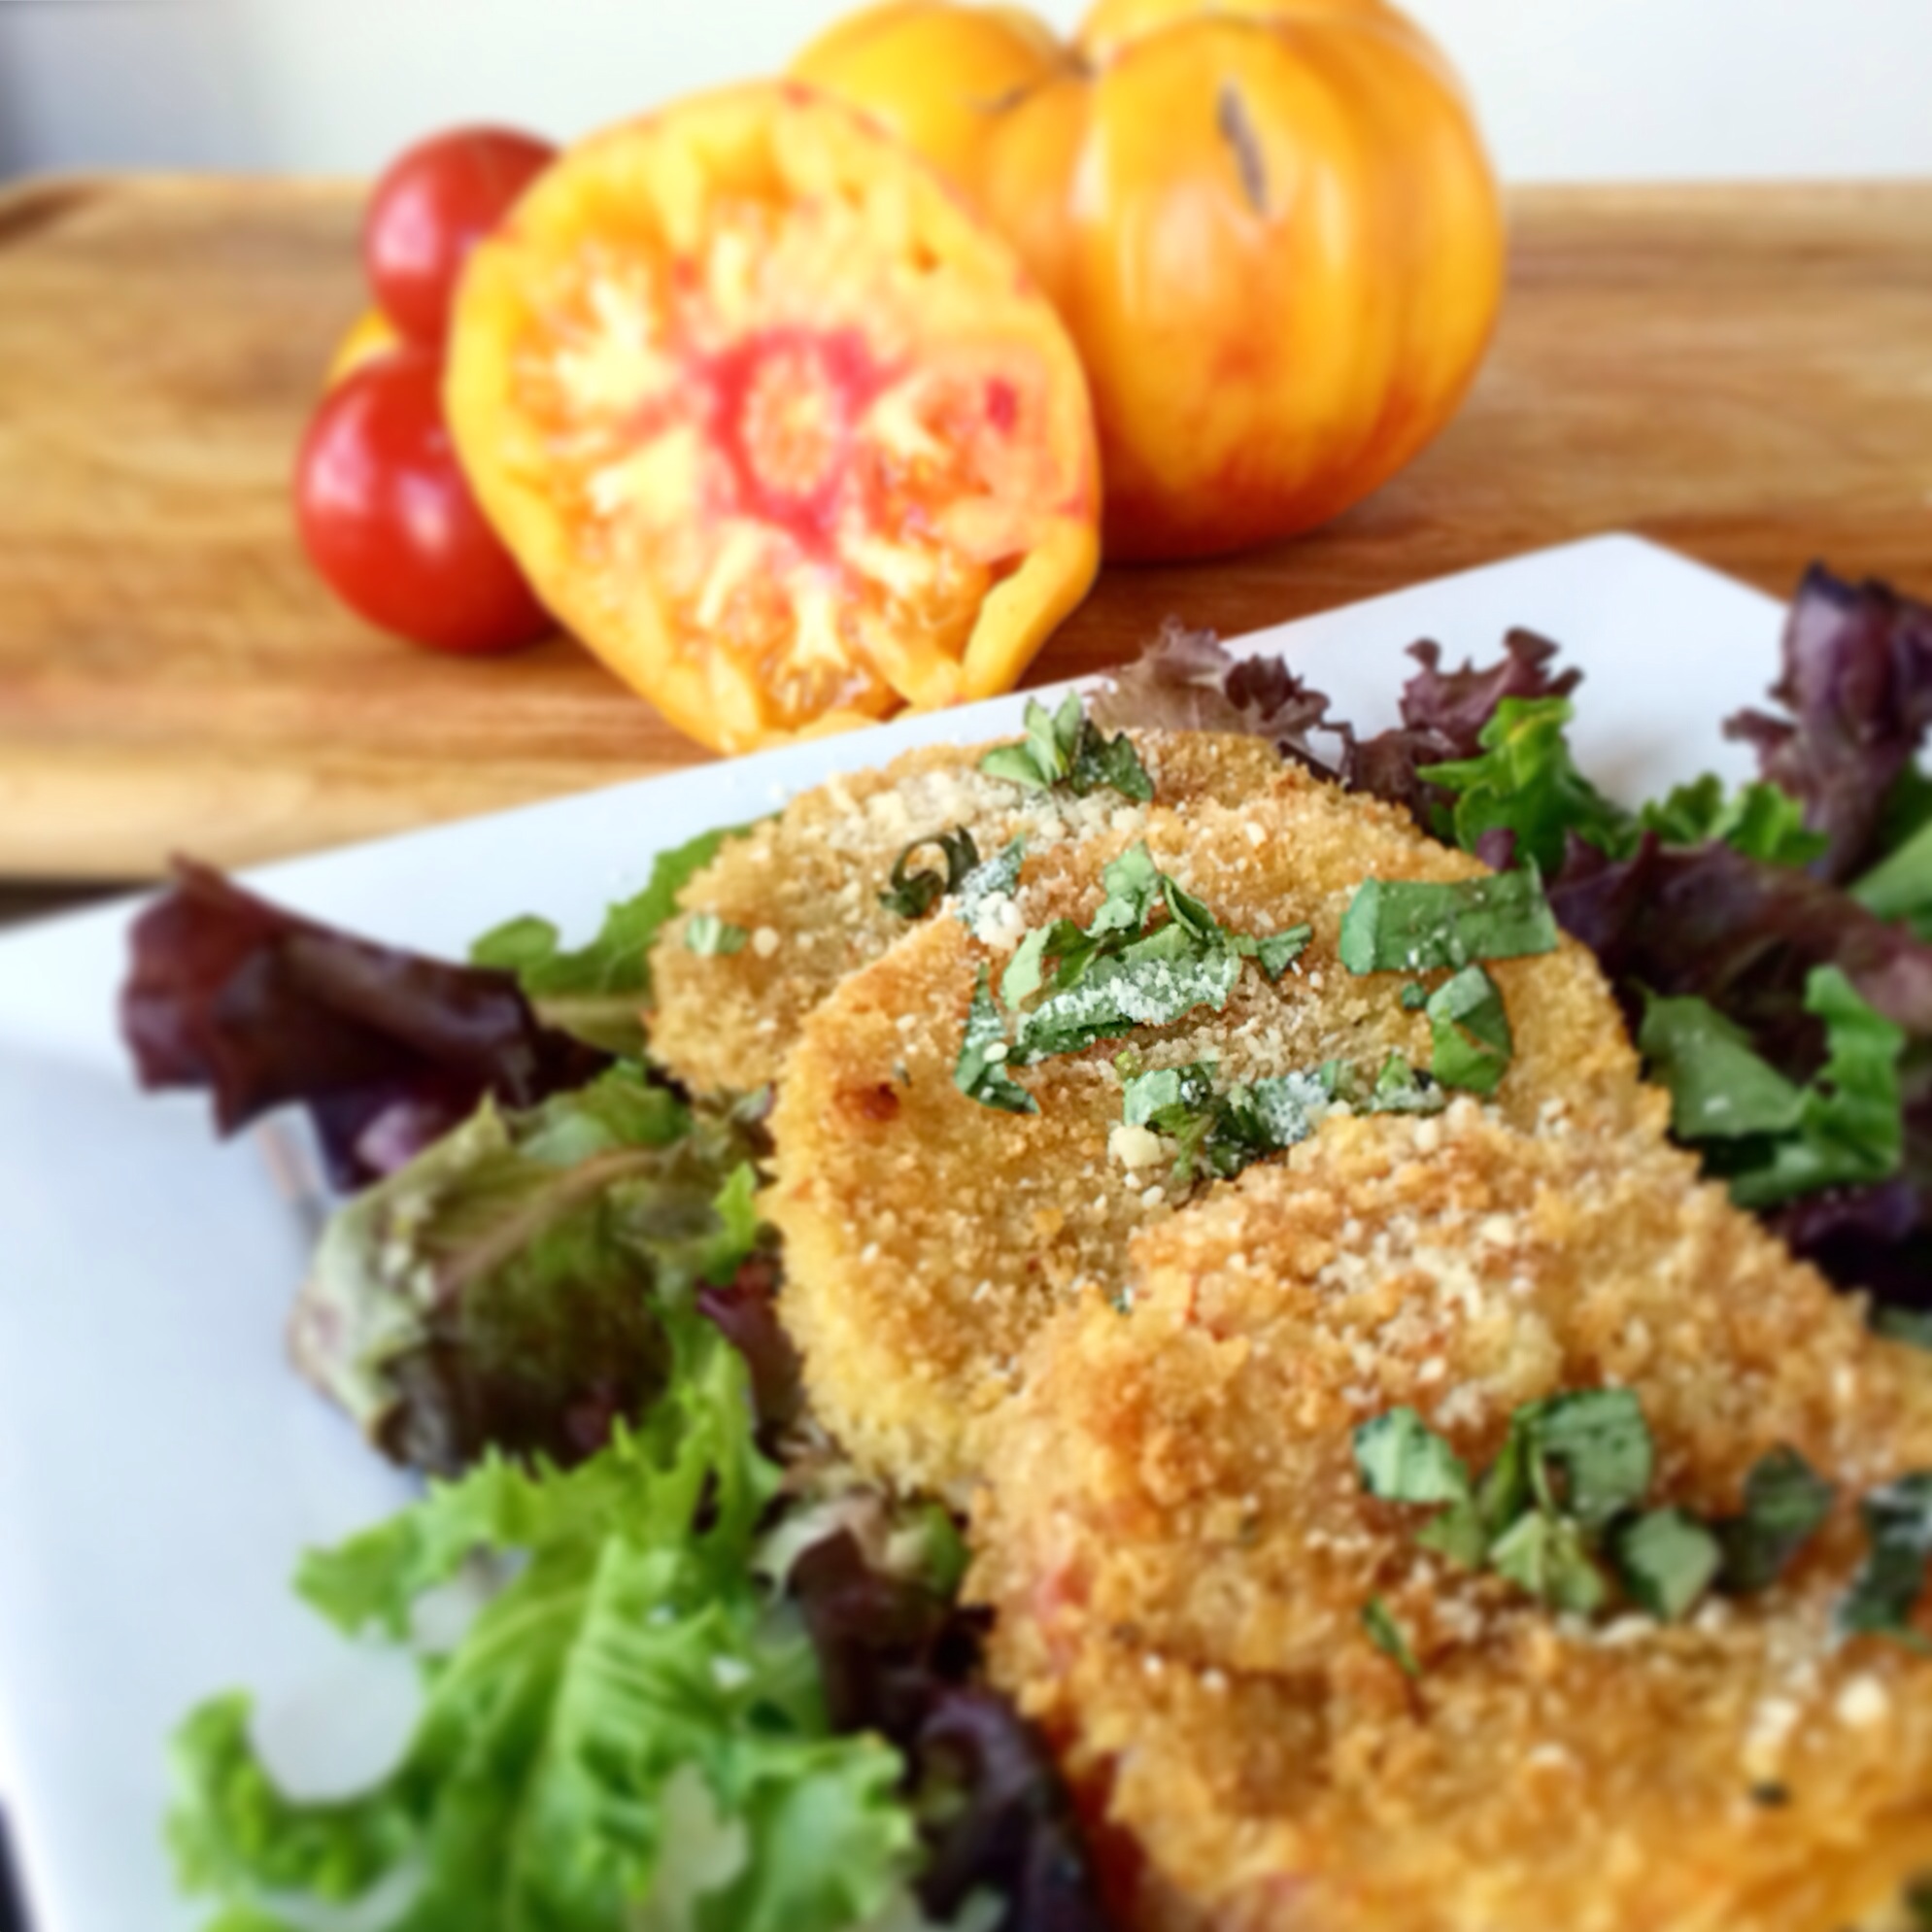
Traditional Southern fried green tomatoes are actually tart, unripened red tomatoes, breaded and fried in oil. Their firmness makes them perfect for frying! I was given some gorgeous, solid heirloom tomatoes that were so sweet, not mushy at all, so I decided to fry them for a sweeter version. Of course topping them with parmesan cheese and fresh basil for a totally perfect mix of flavors!
Heirloom tomatoes are the best. Passed down from generation to generation, heirlooms’ taste will far exceed any tomato you find at the grocery store. Found in an array of colors, they all taste a bit different.
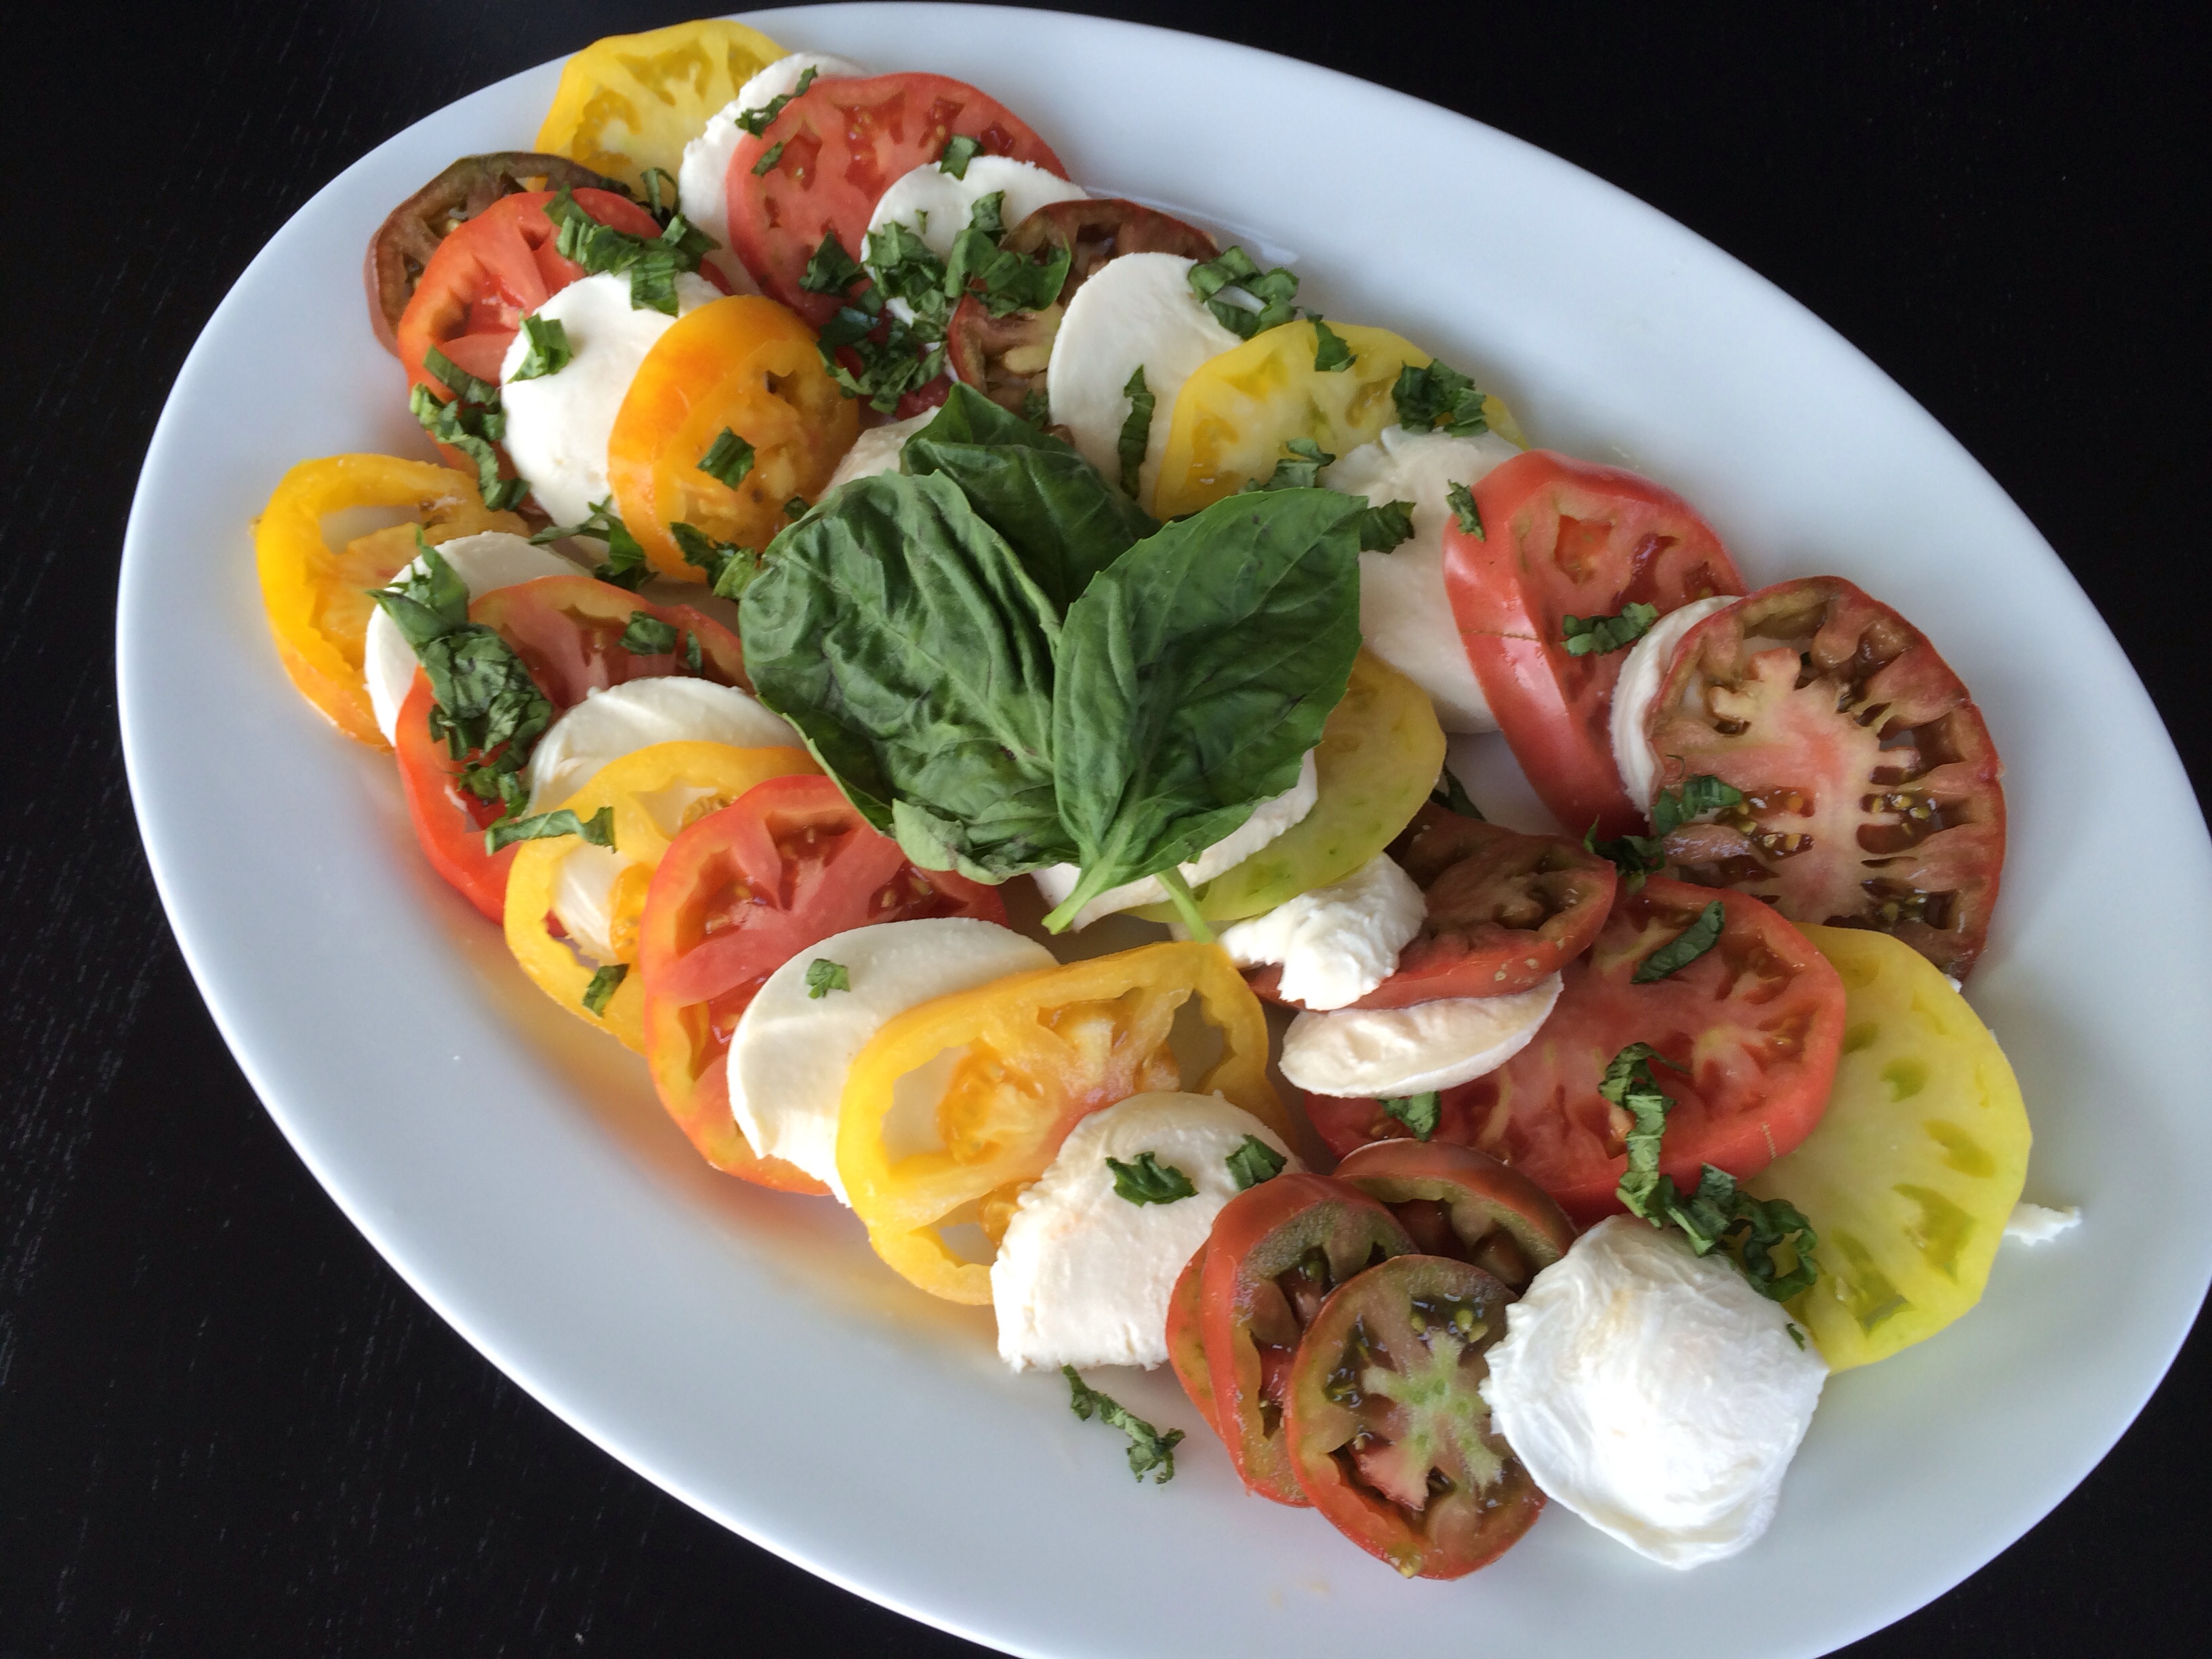
I made a Caprese salad last night using really ripened heirlooms. I’m not sure which ones tasted better yellow, orange, red/green striped, brown? They are all amazingly delicious!
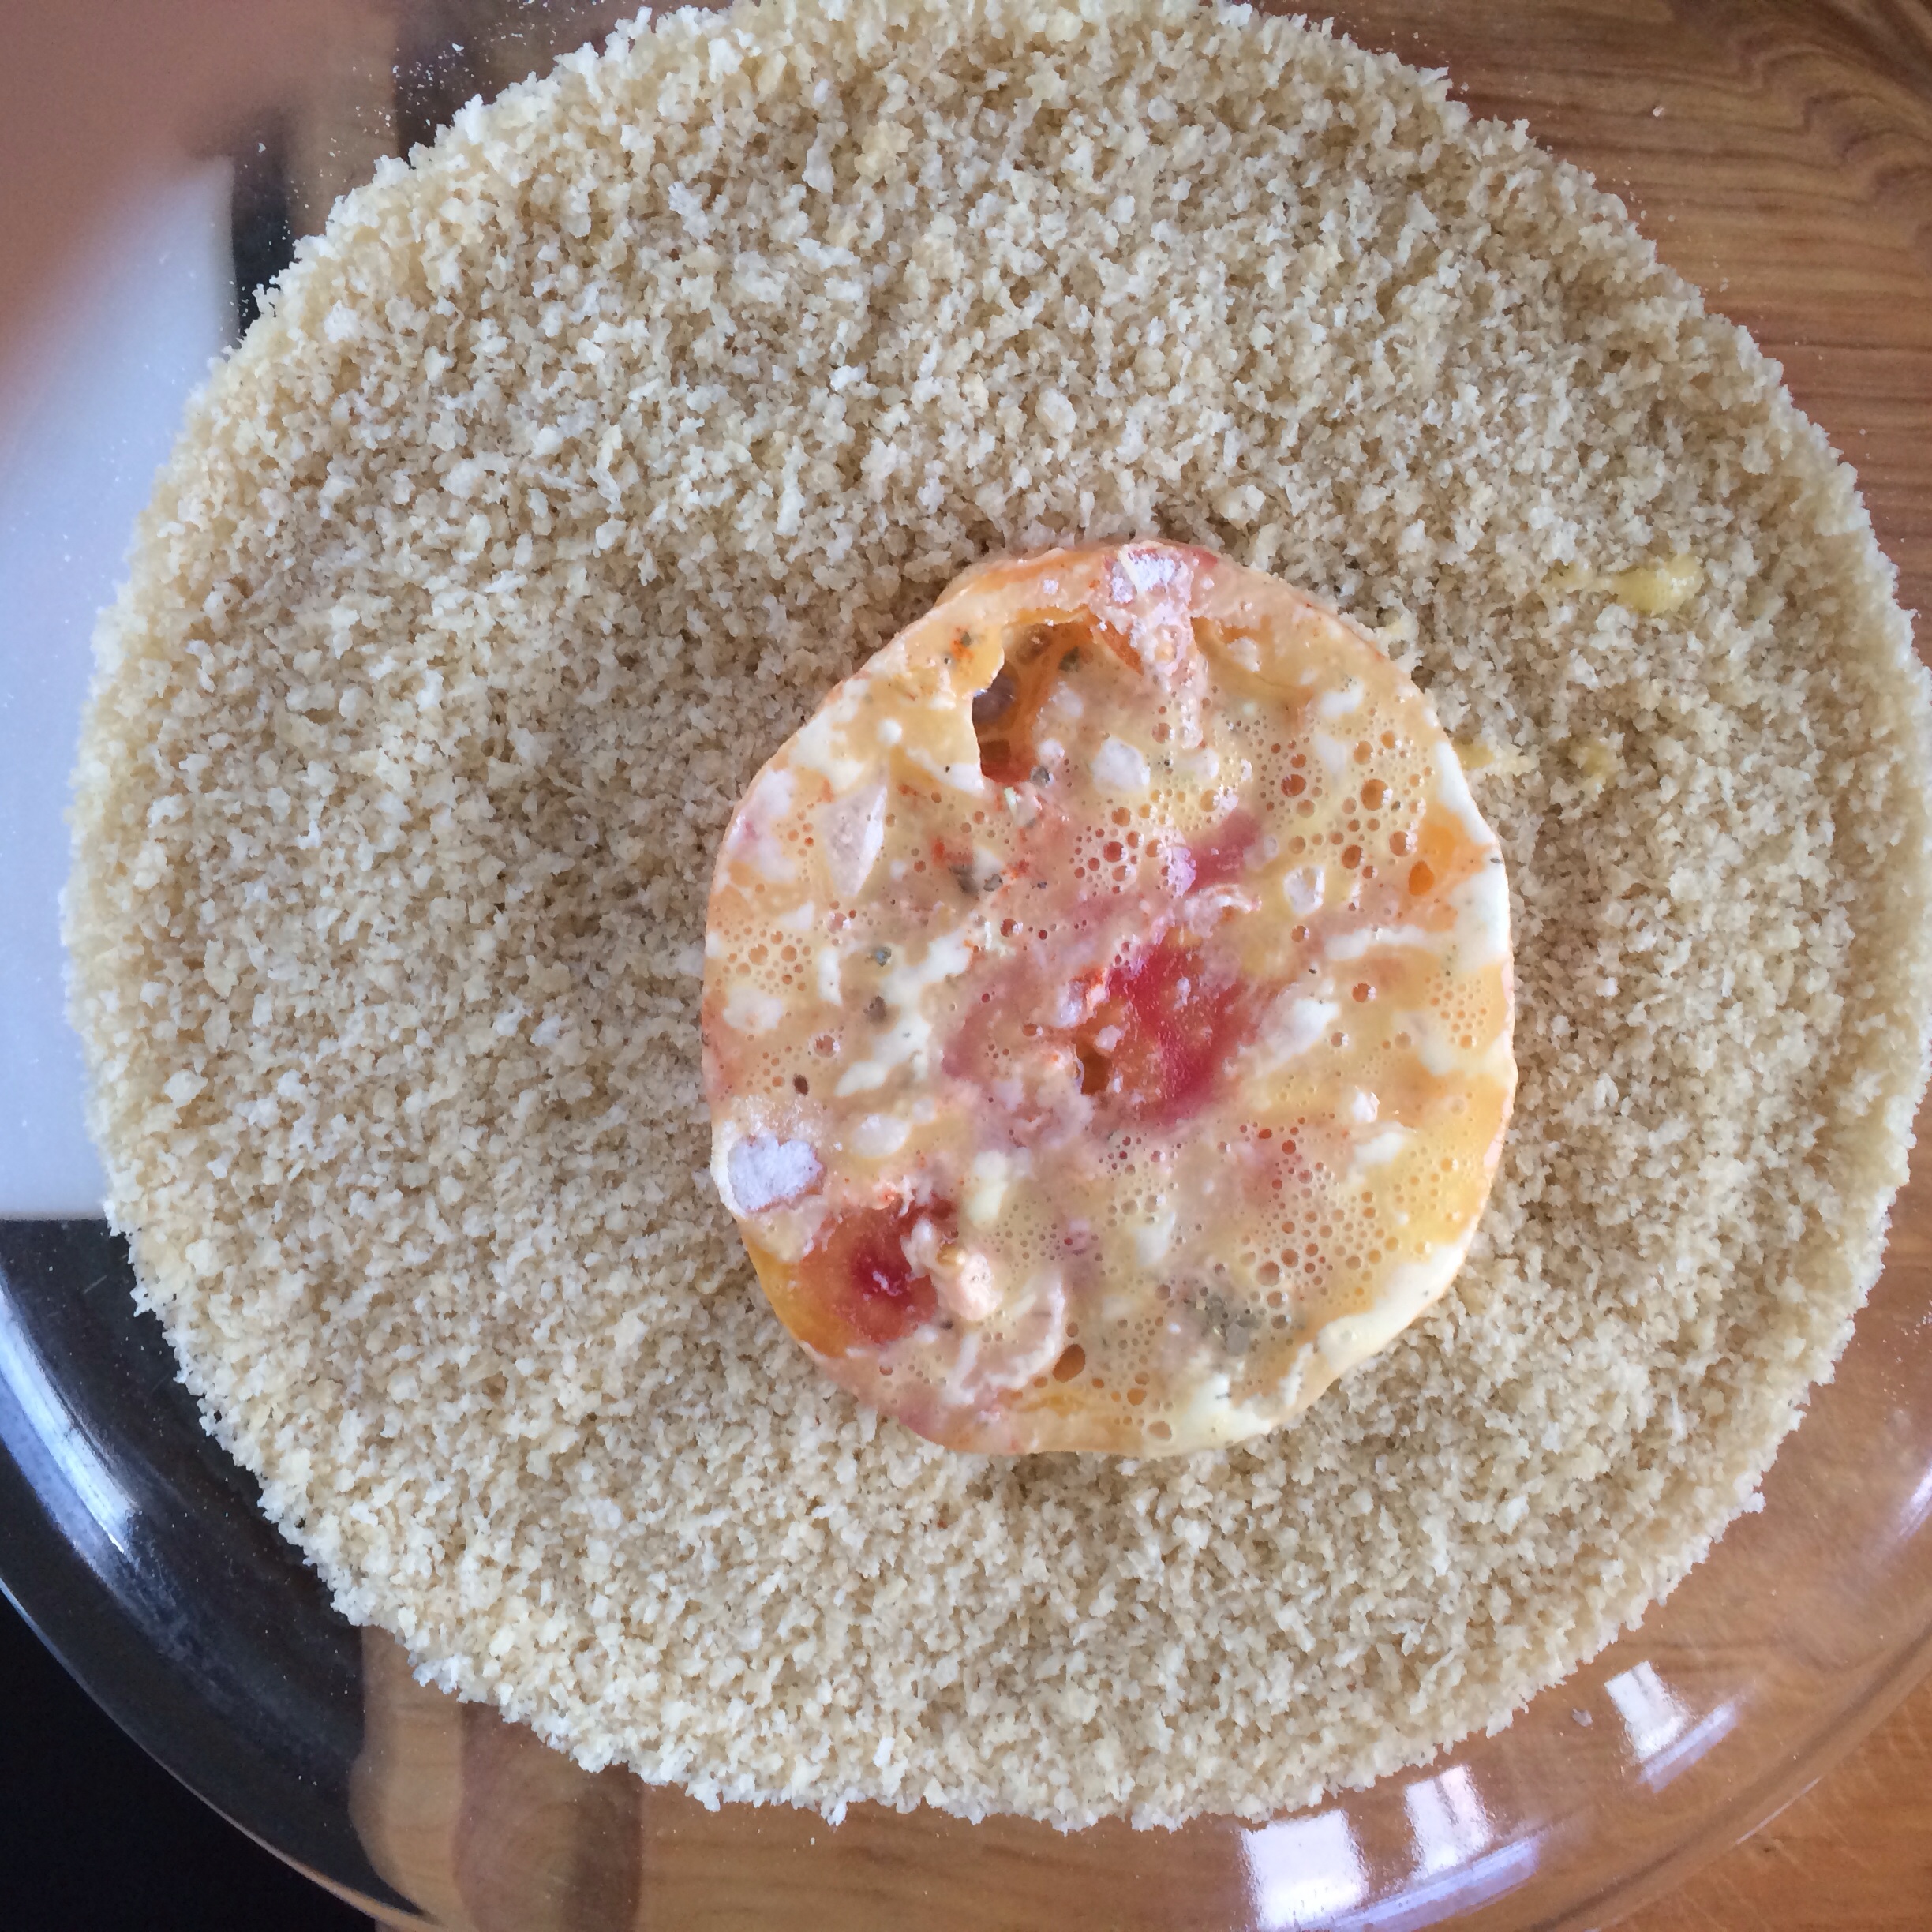
Ok, back to frying them. So the trick is to use firm tomatoes, and fry them in a hot pan. This way the outside “crust” will be nice and crunchy.
I am my grandma. Lemon dessert obsessed. Of course bright lemon yellow is her favorite color…”the apple doesn’t fall too far” is too true. Spring brings it out in me. I crave lemon meringue pie, lemon salad dressings, lemon chicken!
Salads doused in lemon juice are the most refreshing spring/summer salads! I just made a beautiful Greek salad this week!
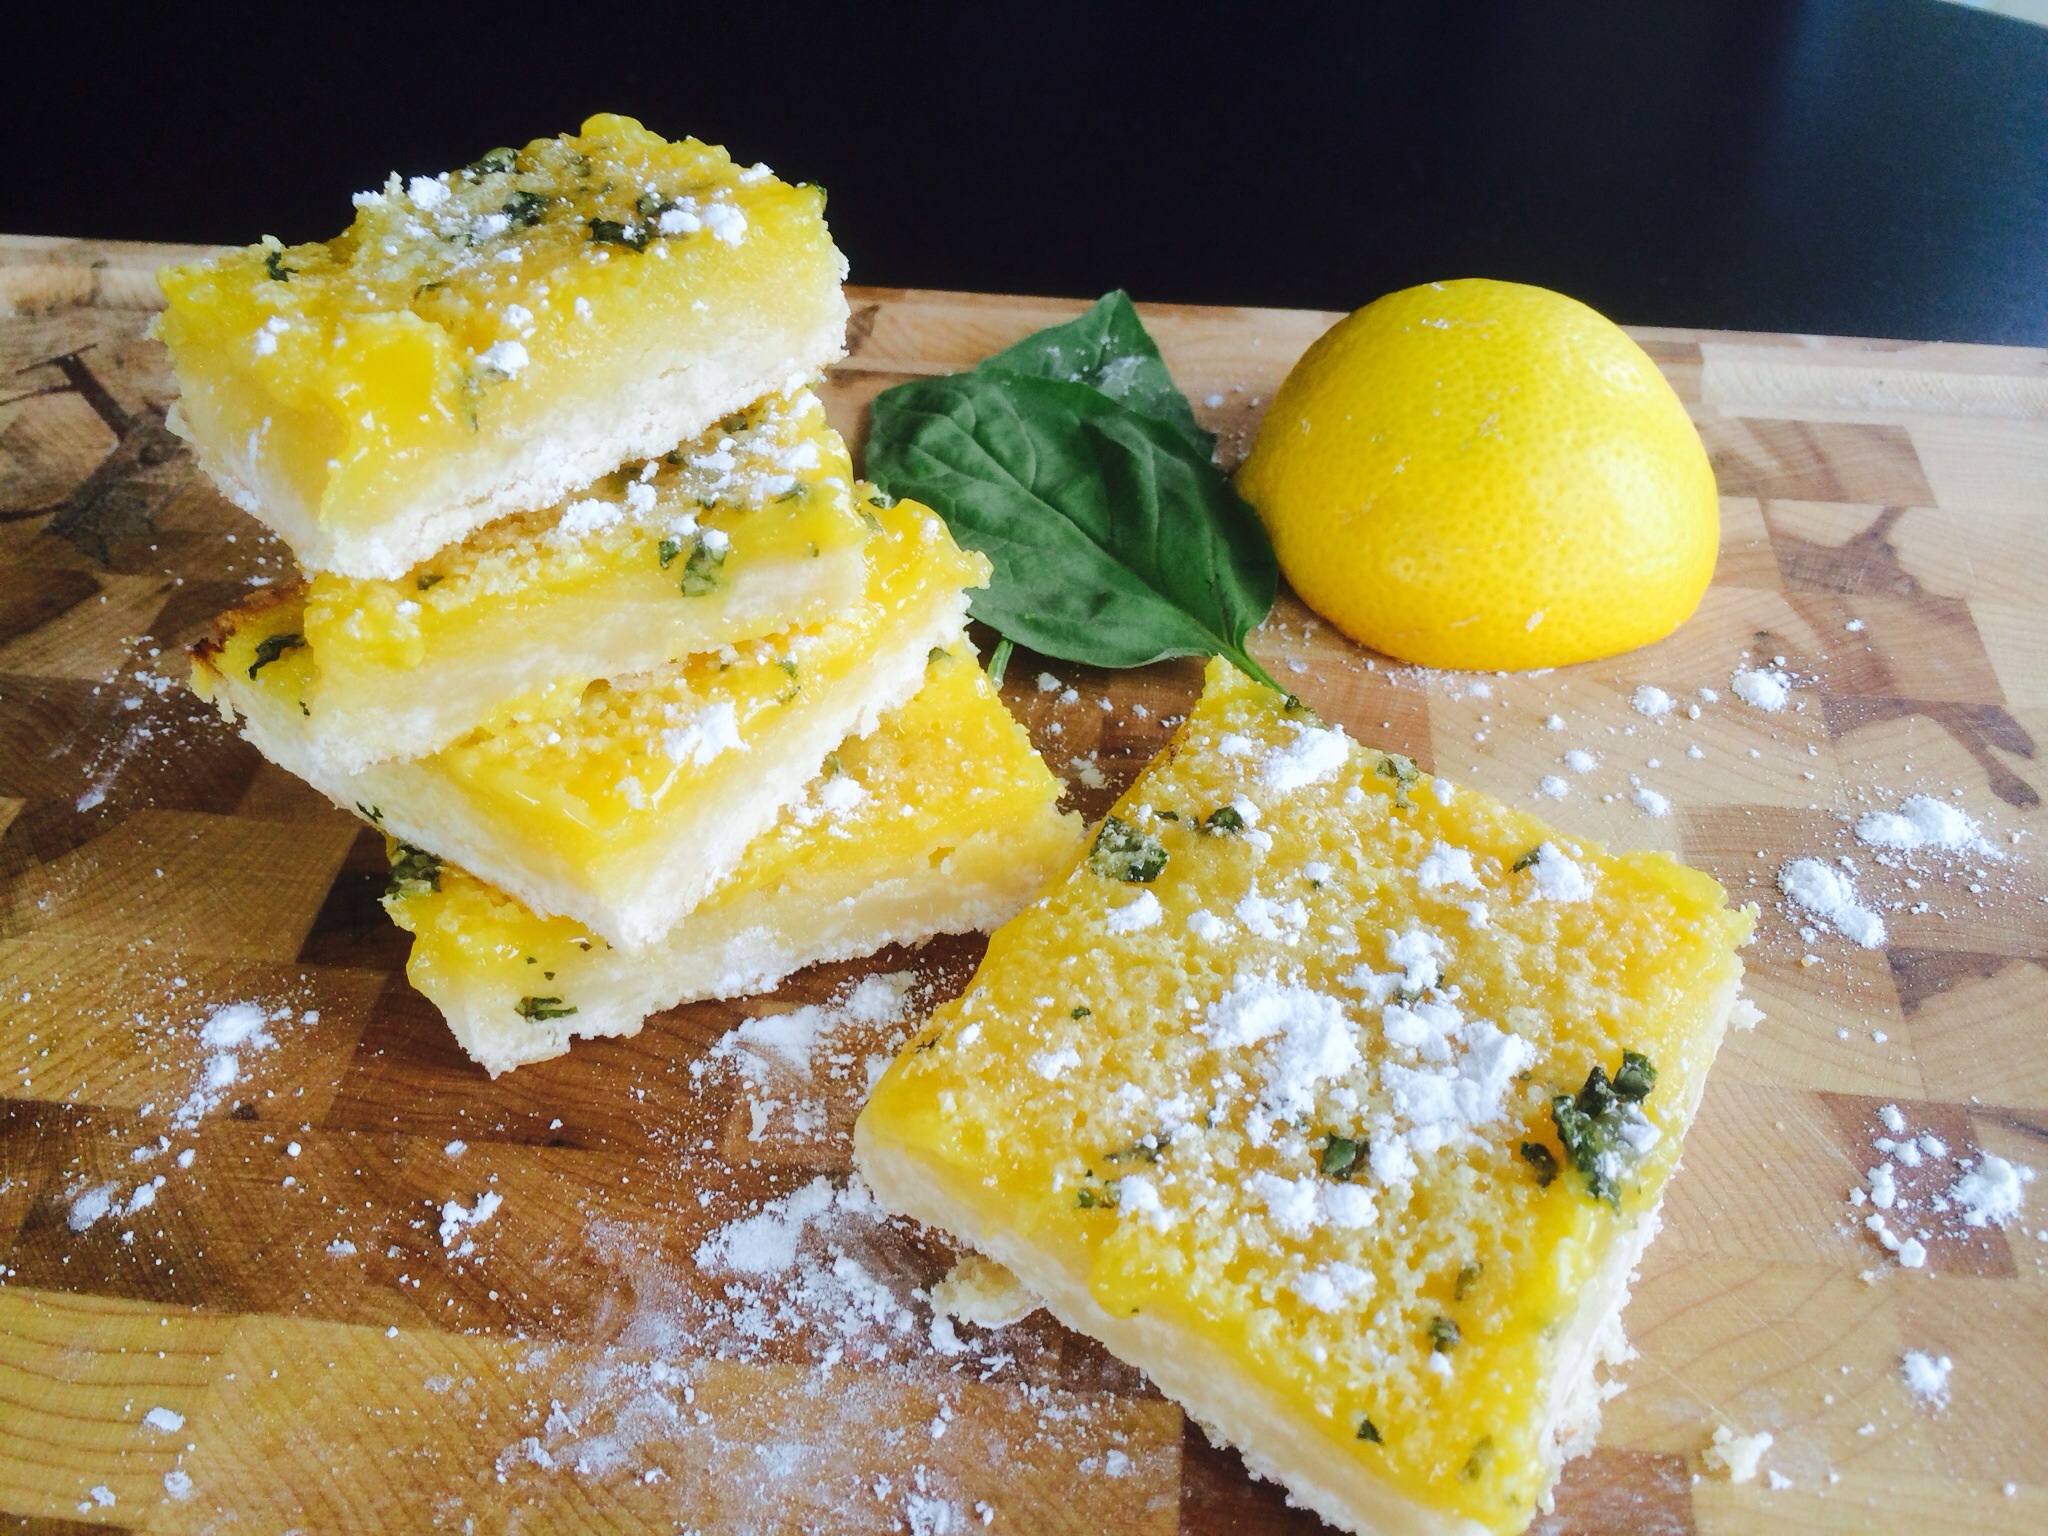
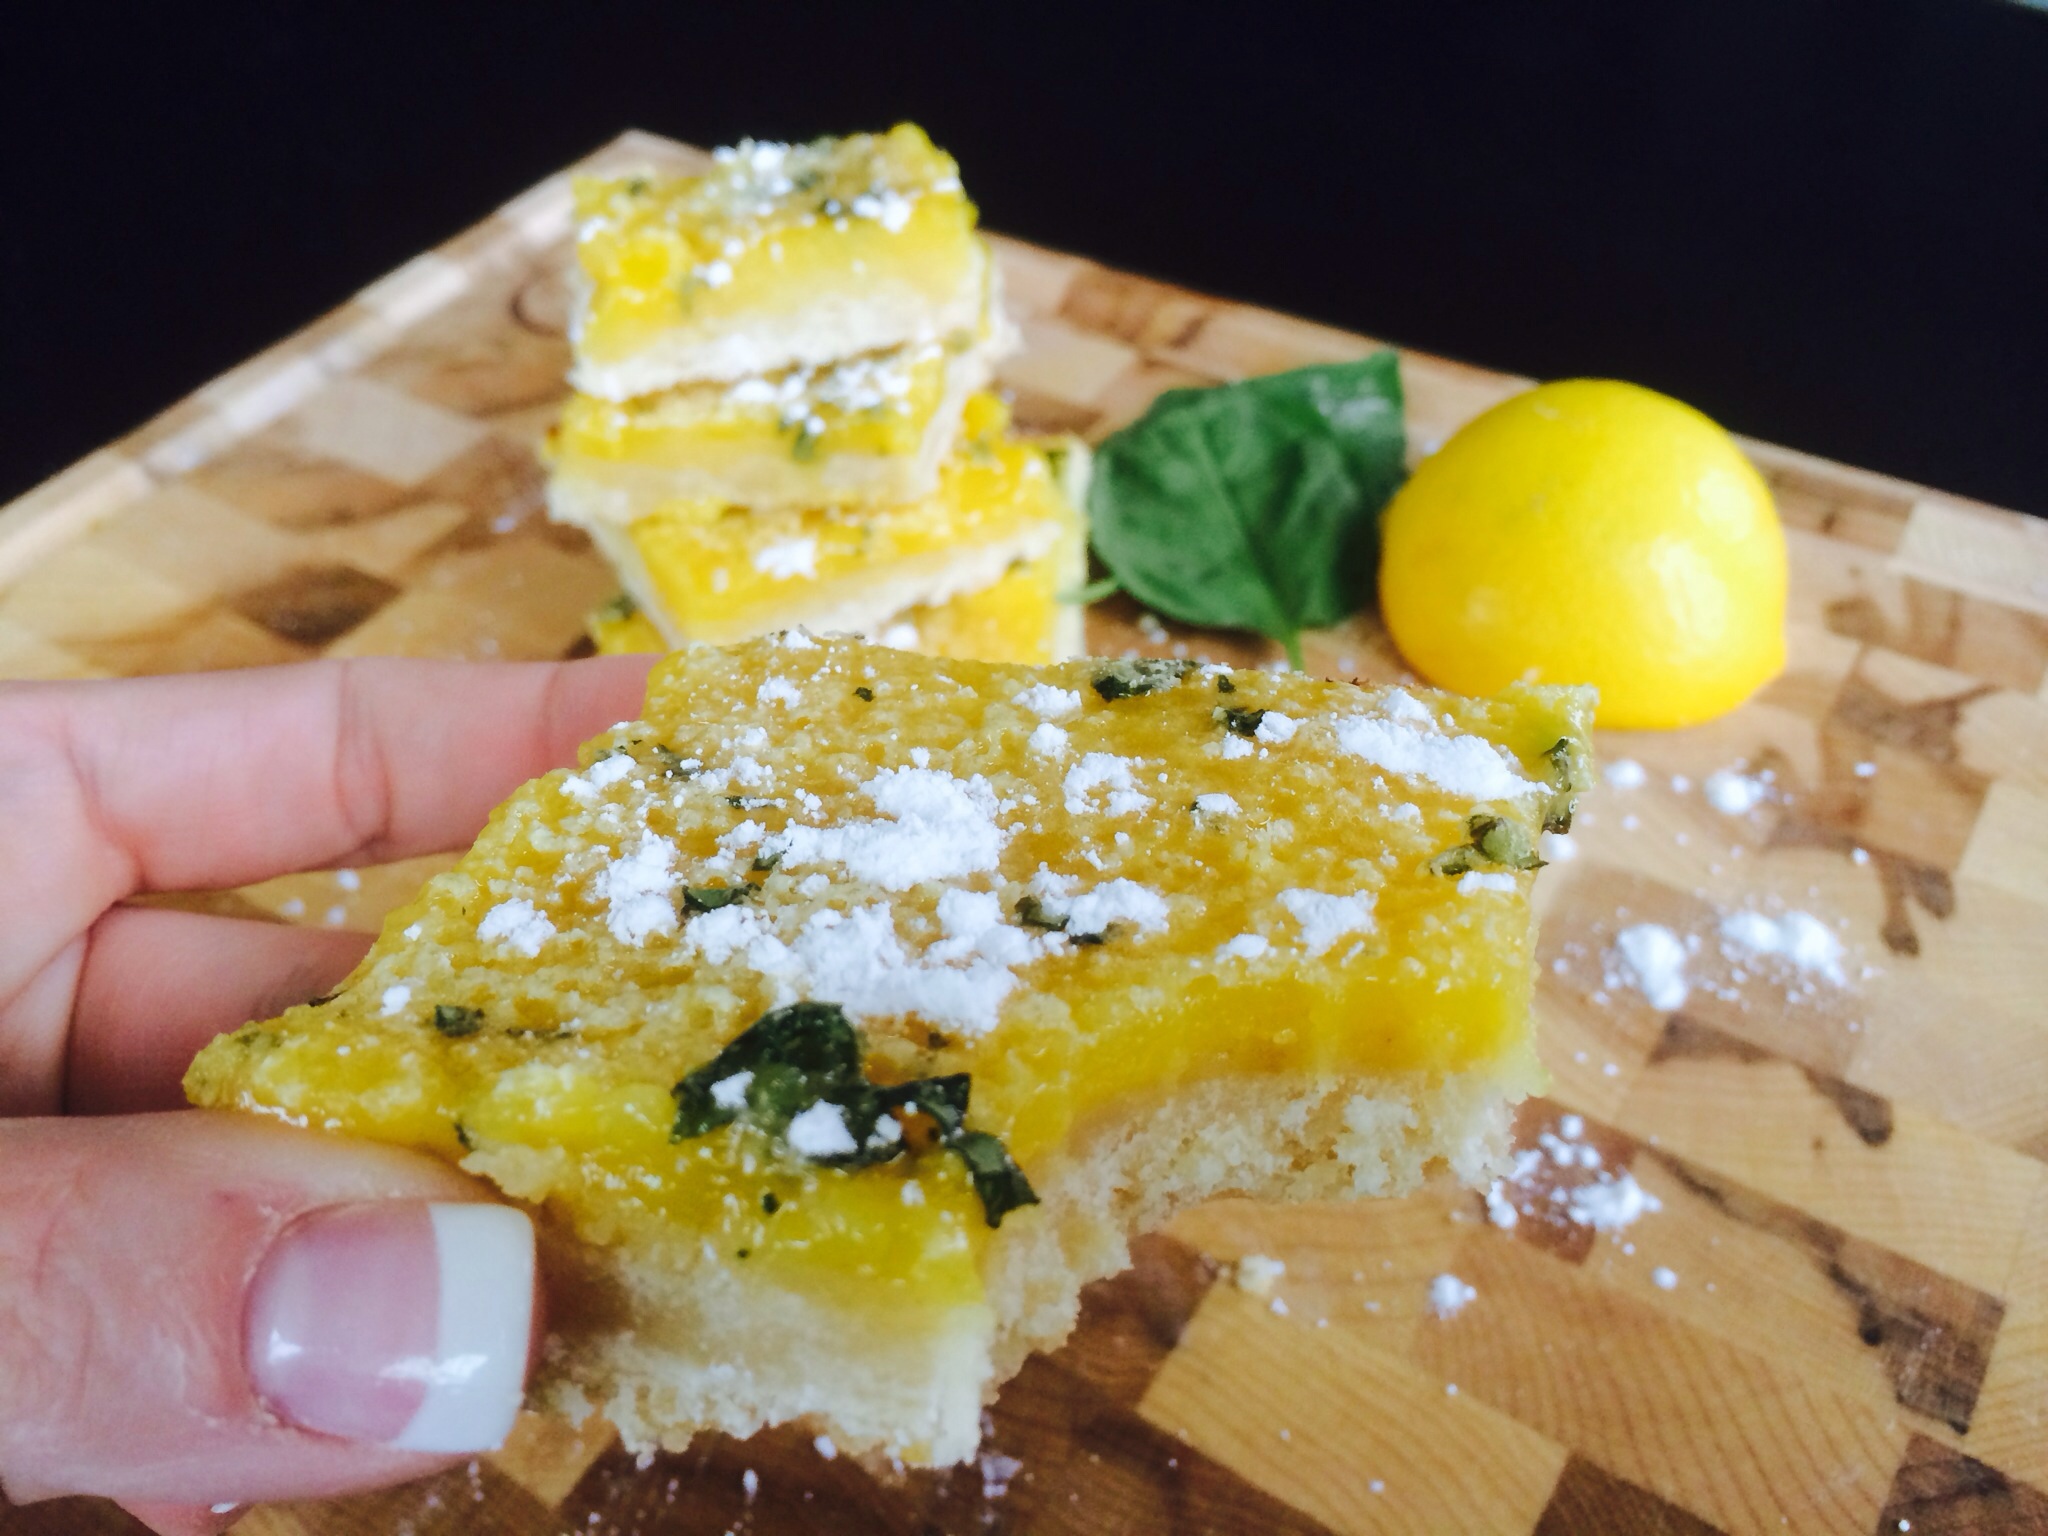
Lemon squares rank pretty high on the refreshing dessert list and are easy to make! My recipe makes a 9X13 pan, just sprinkle some powdered sugar, cut into squares, and enjoy a beautiful, delicious dessert! This time I added finely chopped basil for an element of surprise!
The addition of the basil’s green color added a crispness and a pop of color to the plain lemon squares. The flavor is incredible! Super sweet and lemony with a pop of savory! Delish!
Here is the recipe!
Lemon Basil Squares
(Makes one 9X13 pan)
Ingredients: Crust
2 sticks of butter, softened
1 cup sugar
2 cups flour
Filling:
4 eggs
1 cup sugar
2 tbsp. flour
1/3 cup fresh squeezed lemon juice
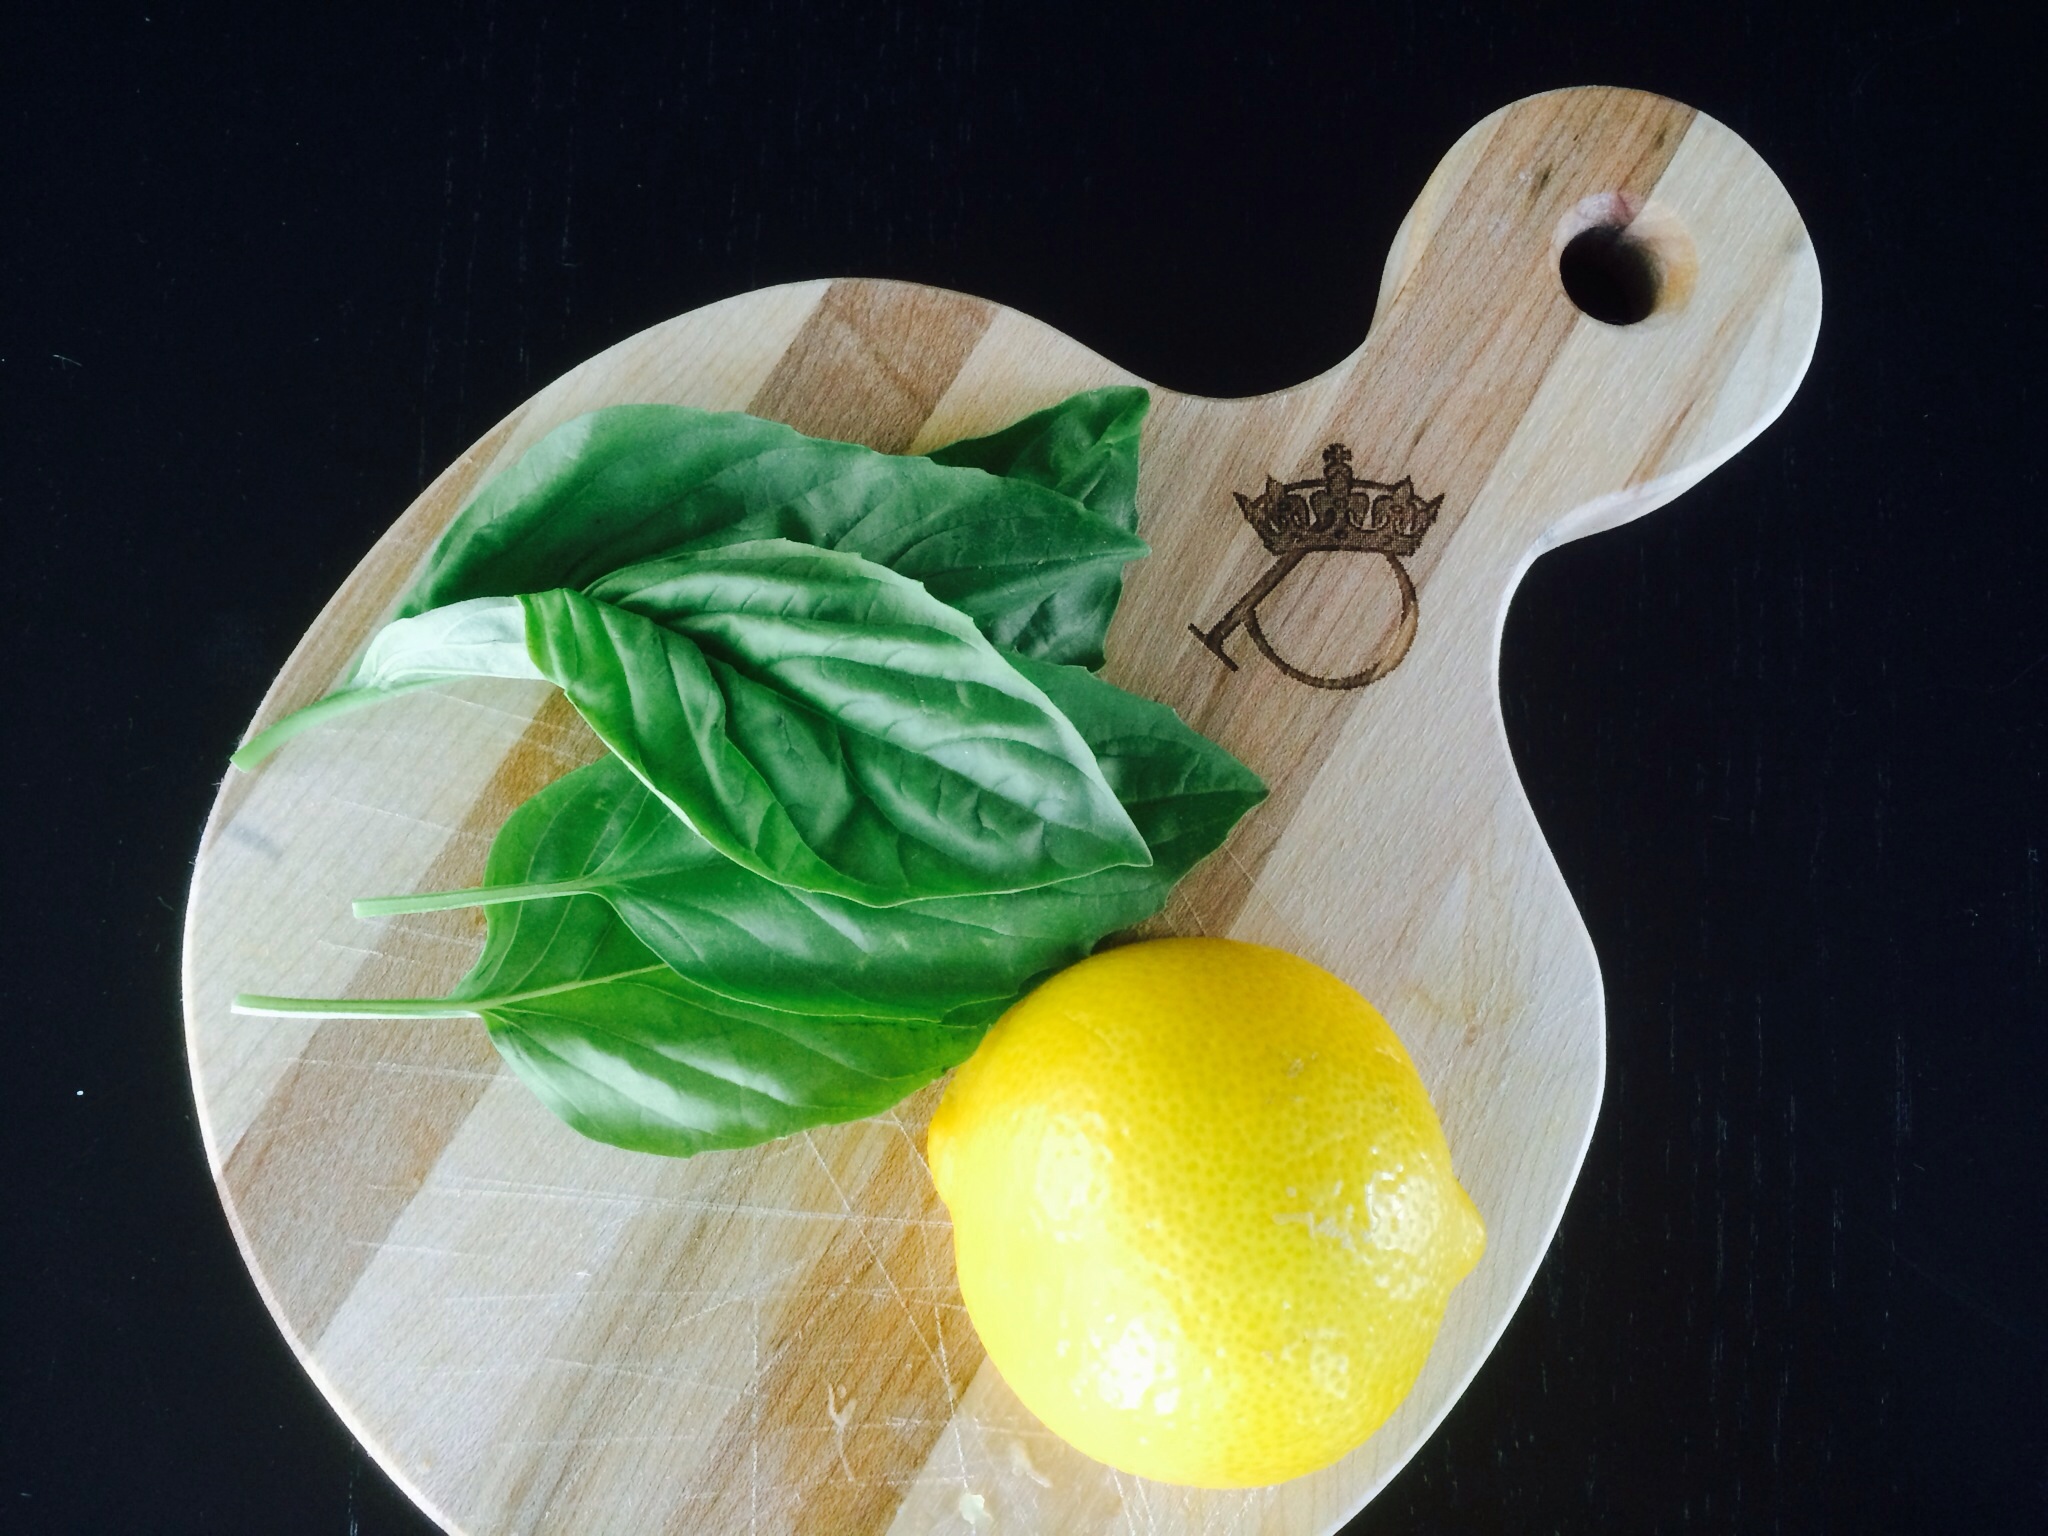
2 1/2 tbsp. basil, finely chopped(1 tbsp. for sprinkling on top)
2 tbsp. Powdered sugar (also for sprinkling on top)
Directions:
Preheat oven to 350 degrees.
Grease and flour 9X13 pan.
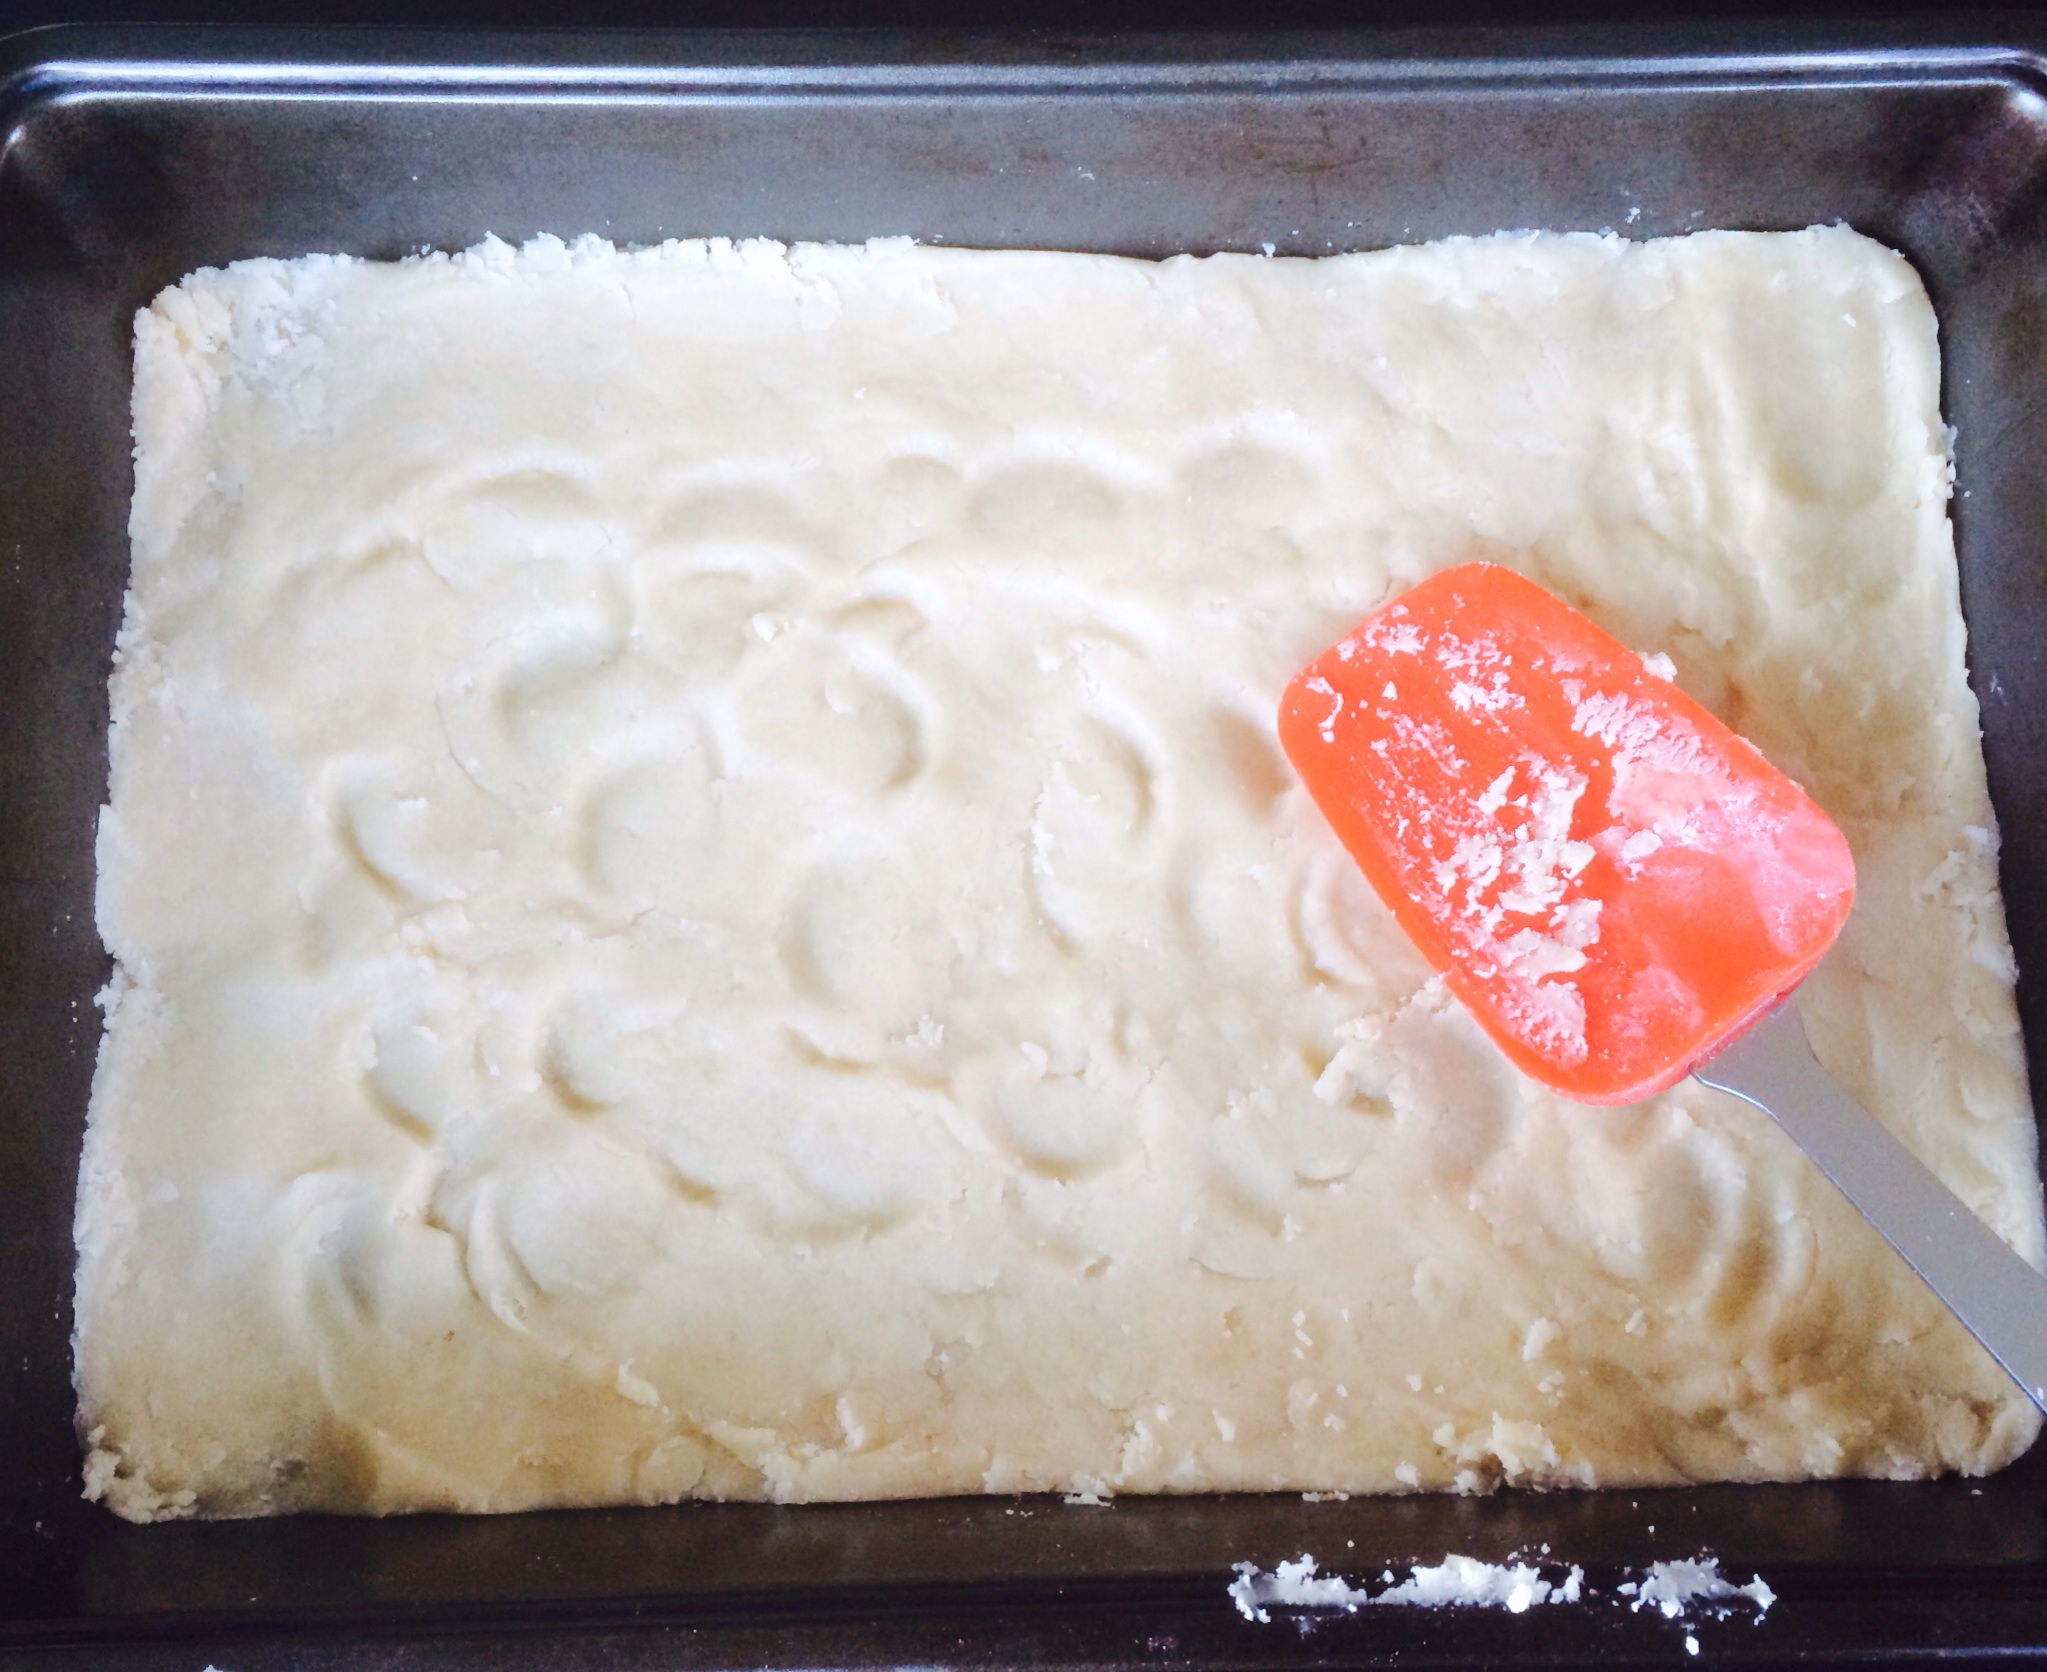
In a mixing bowl, combine softened butter, 1 cup sugar, 2 cups flour with a wooden spoon until well mixed.
Press mixture into bottom of a greased 9X13 pan.
Bake crust for 12-18 minutes until set and golden.
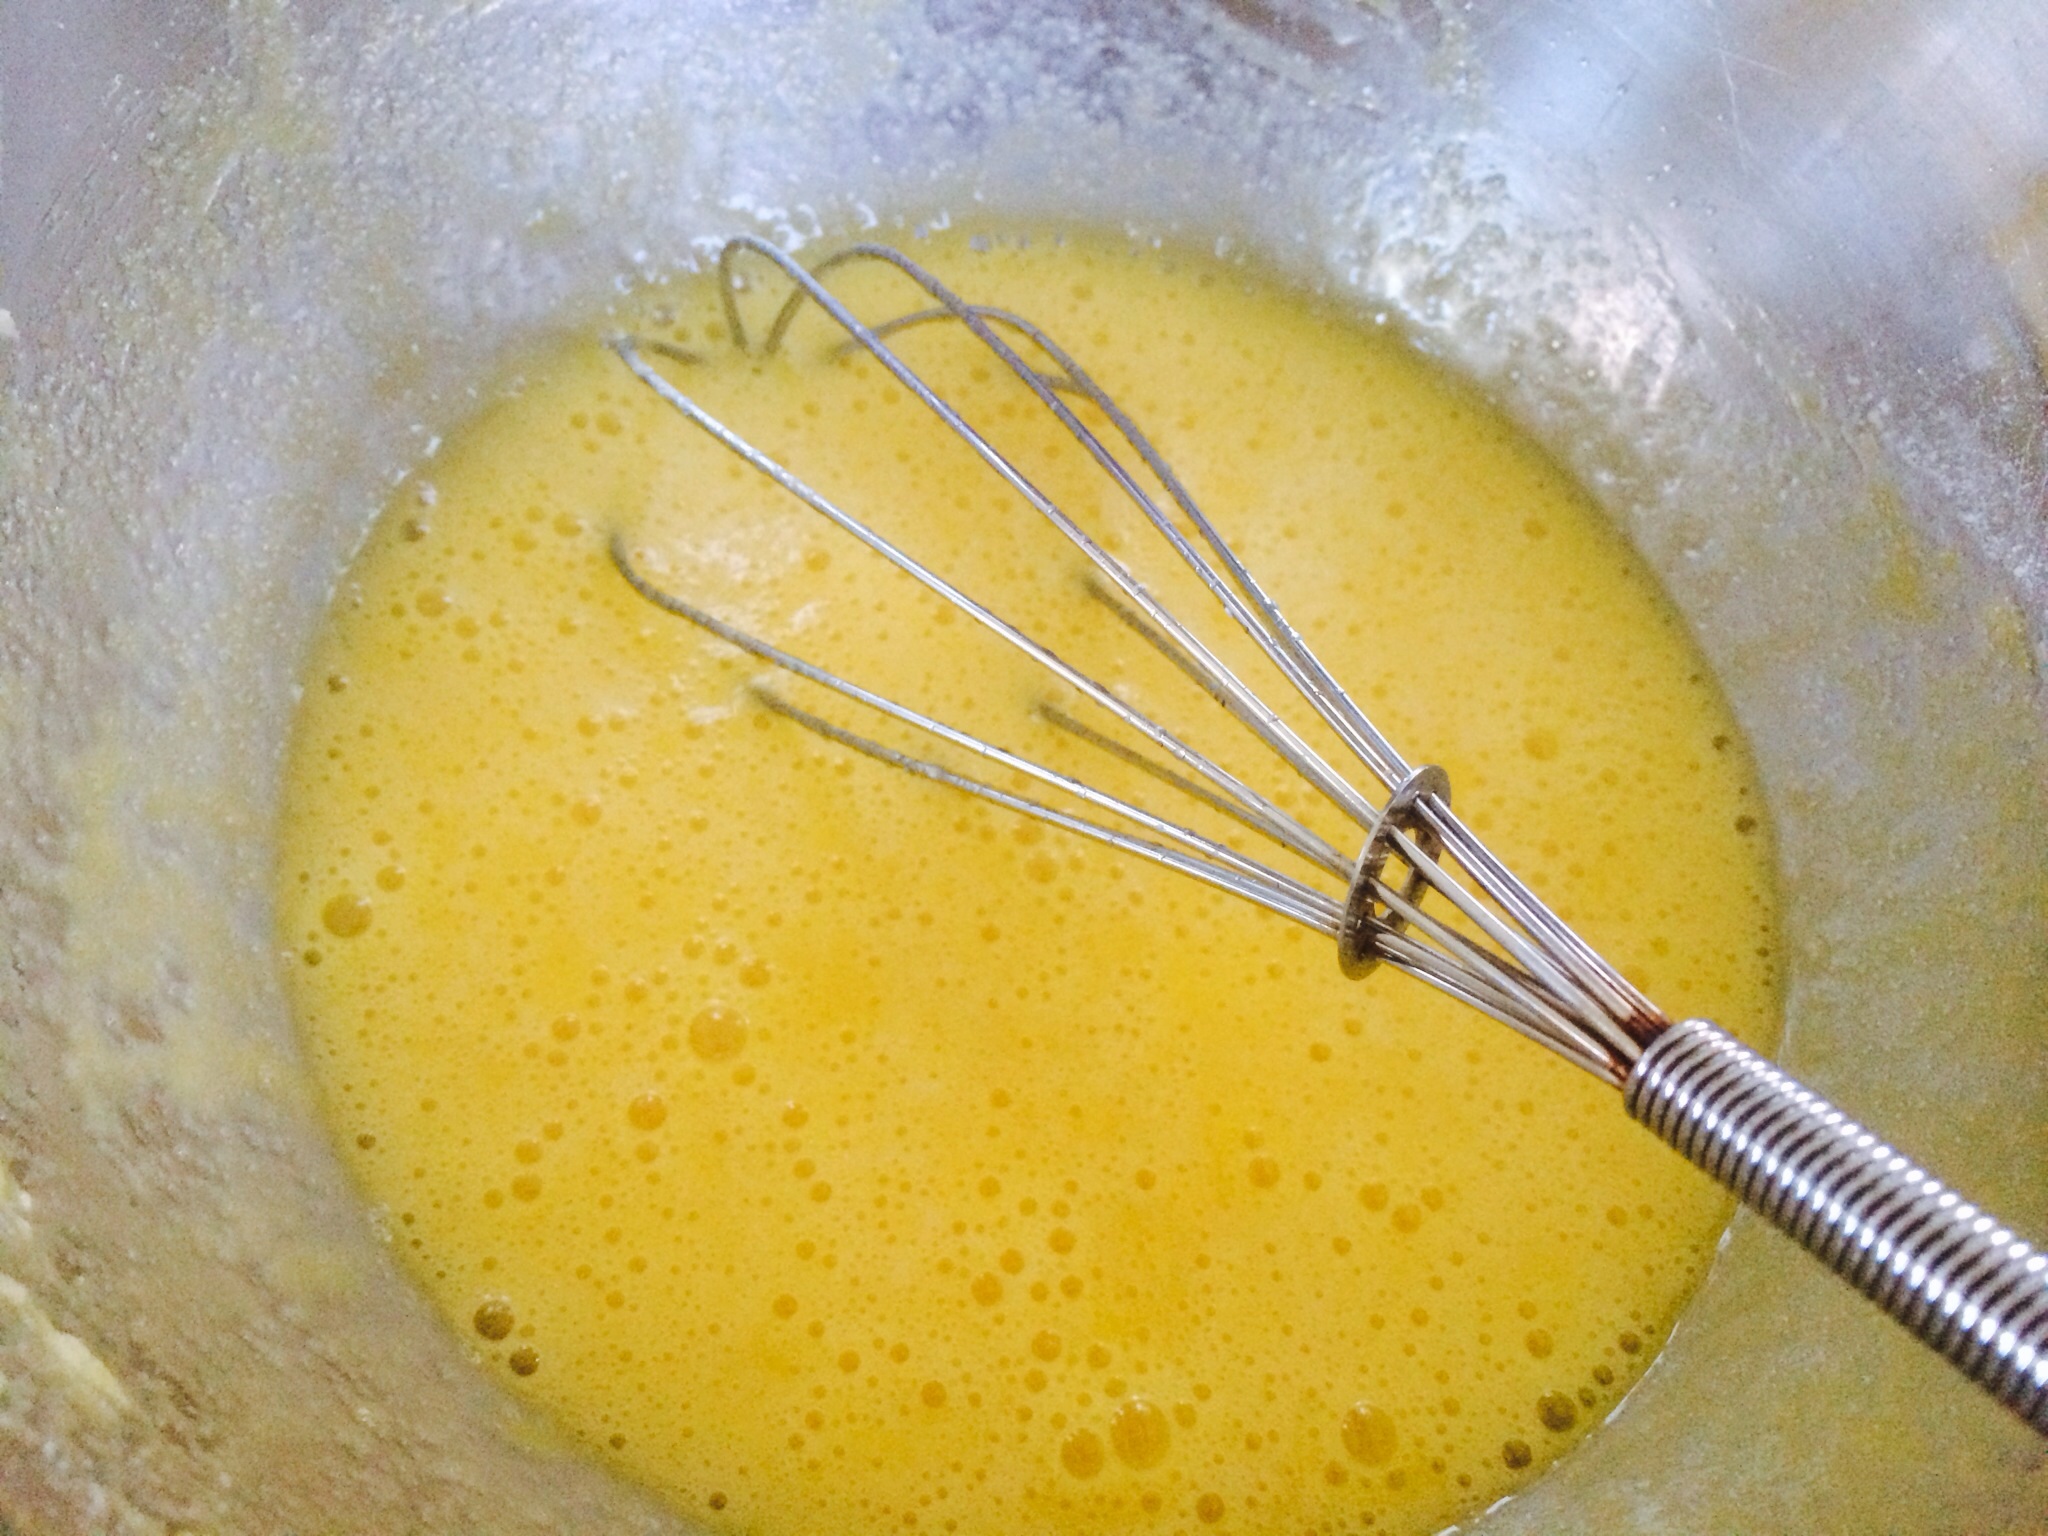
Meanwhile, whisk together filling ingredients.
Pour filling over baked base and return to the oven for 18-20 mins.
Let cool.
Sprinkle with remaining chopped basil and powdered sugar.
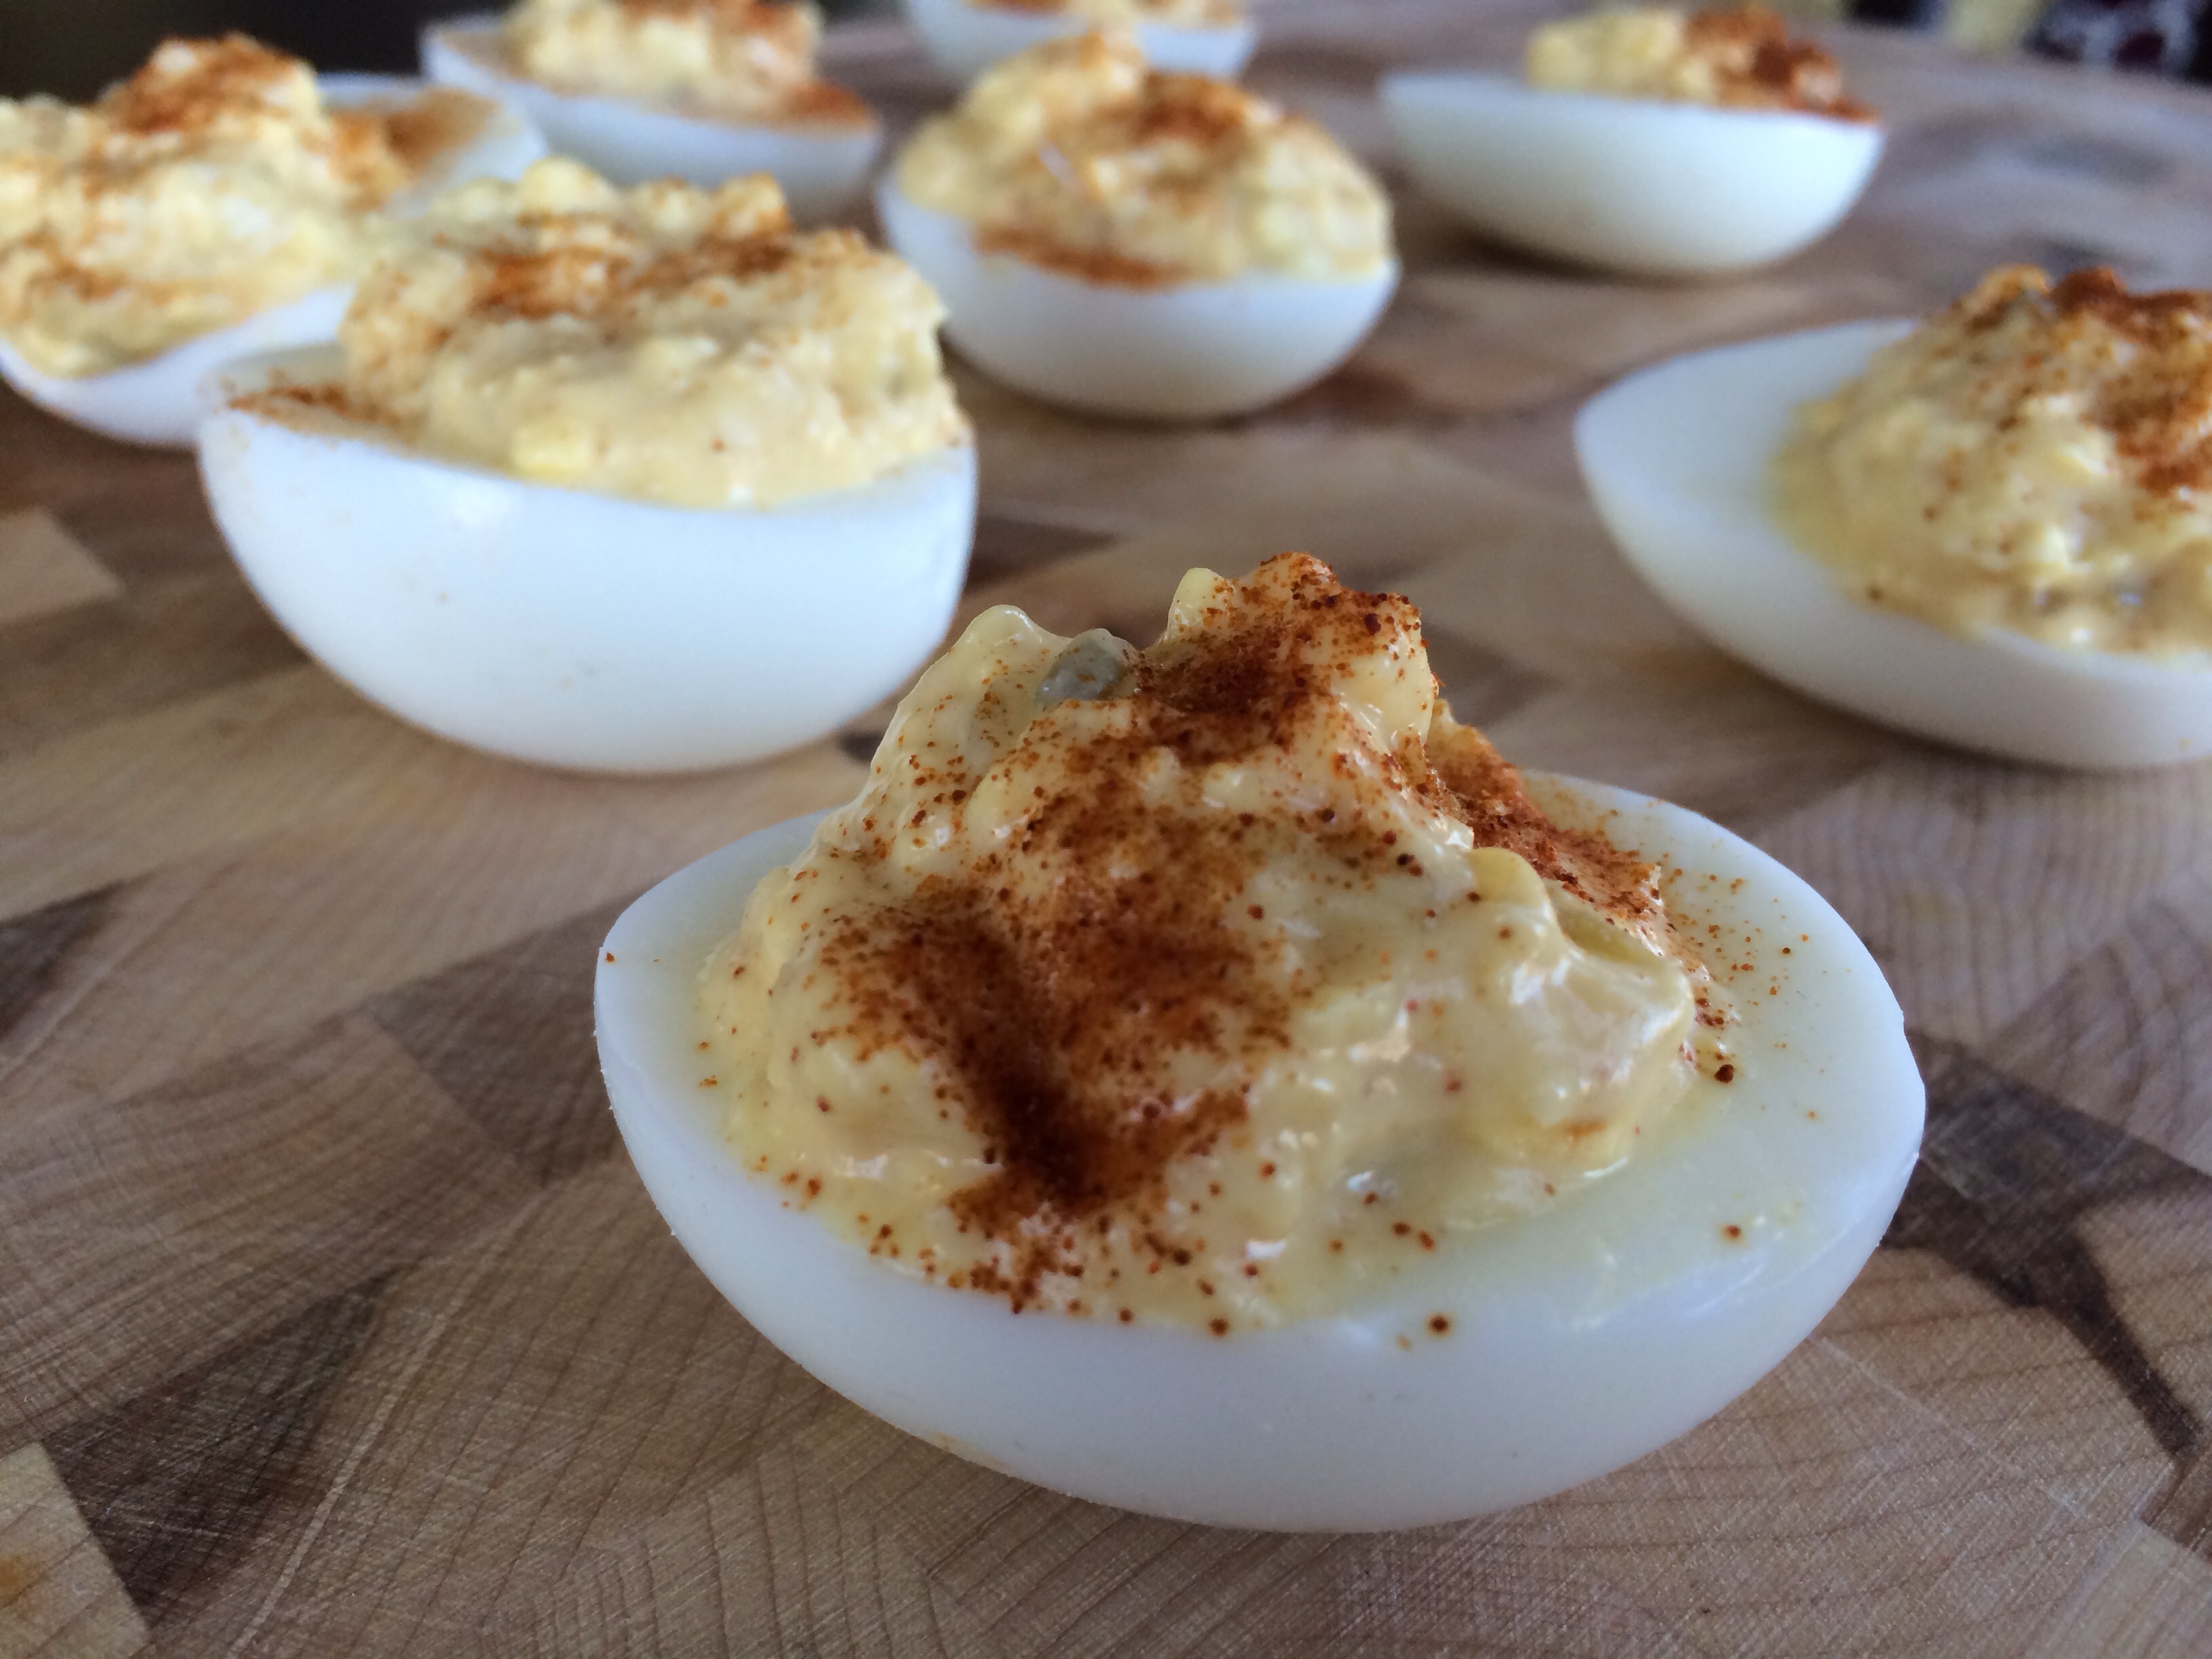
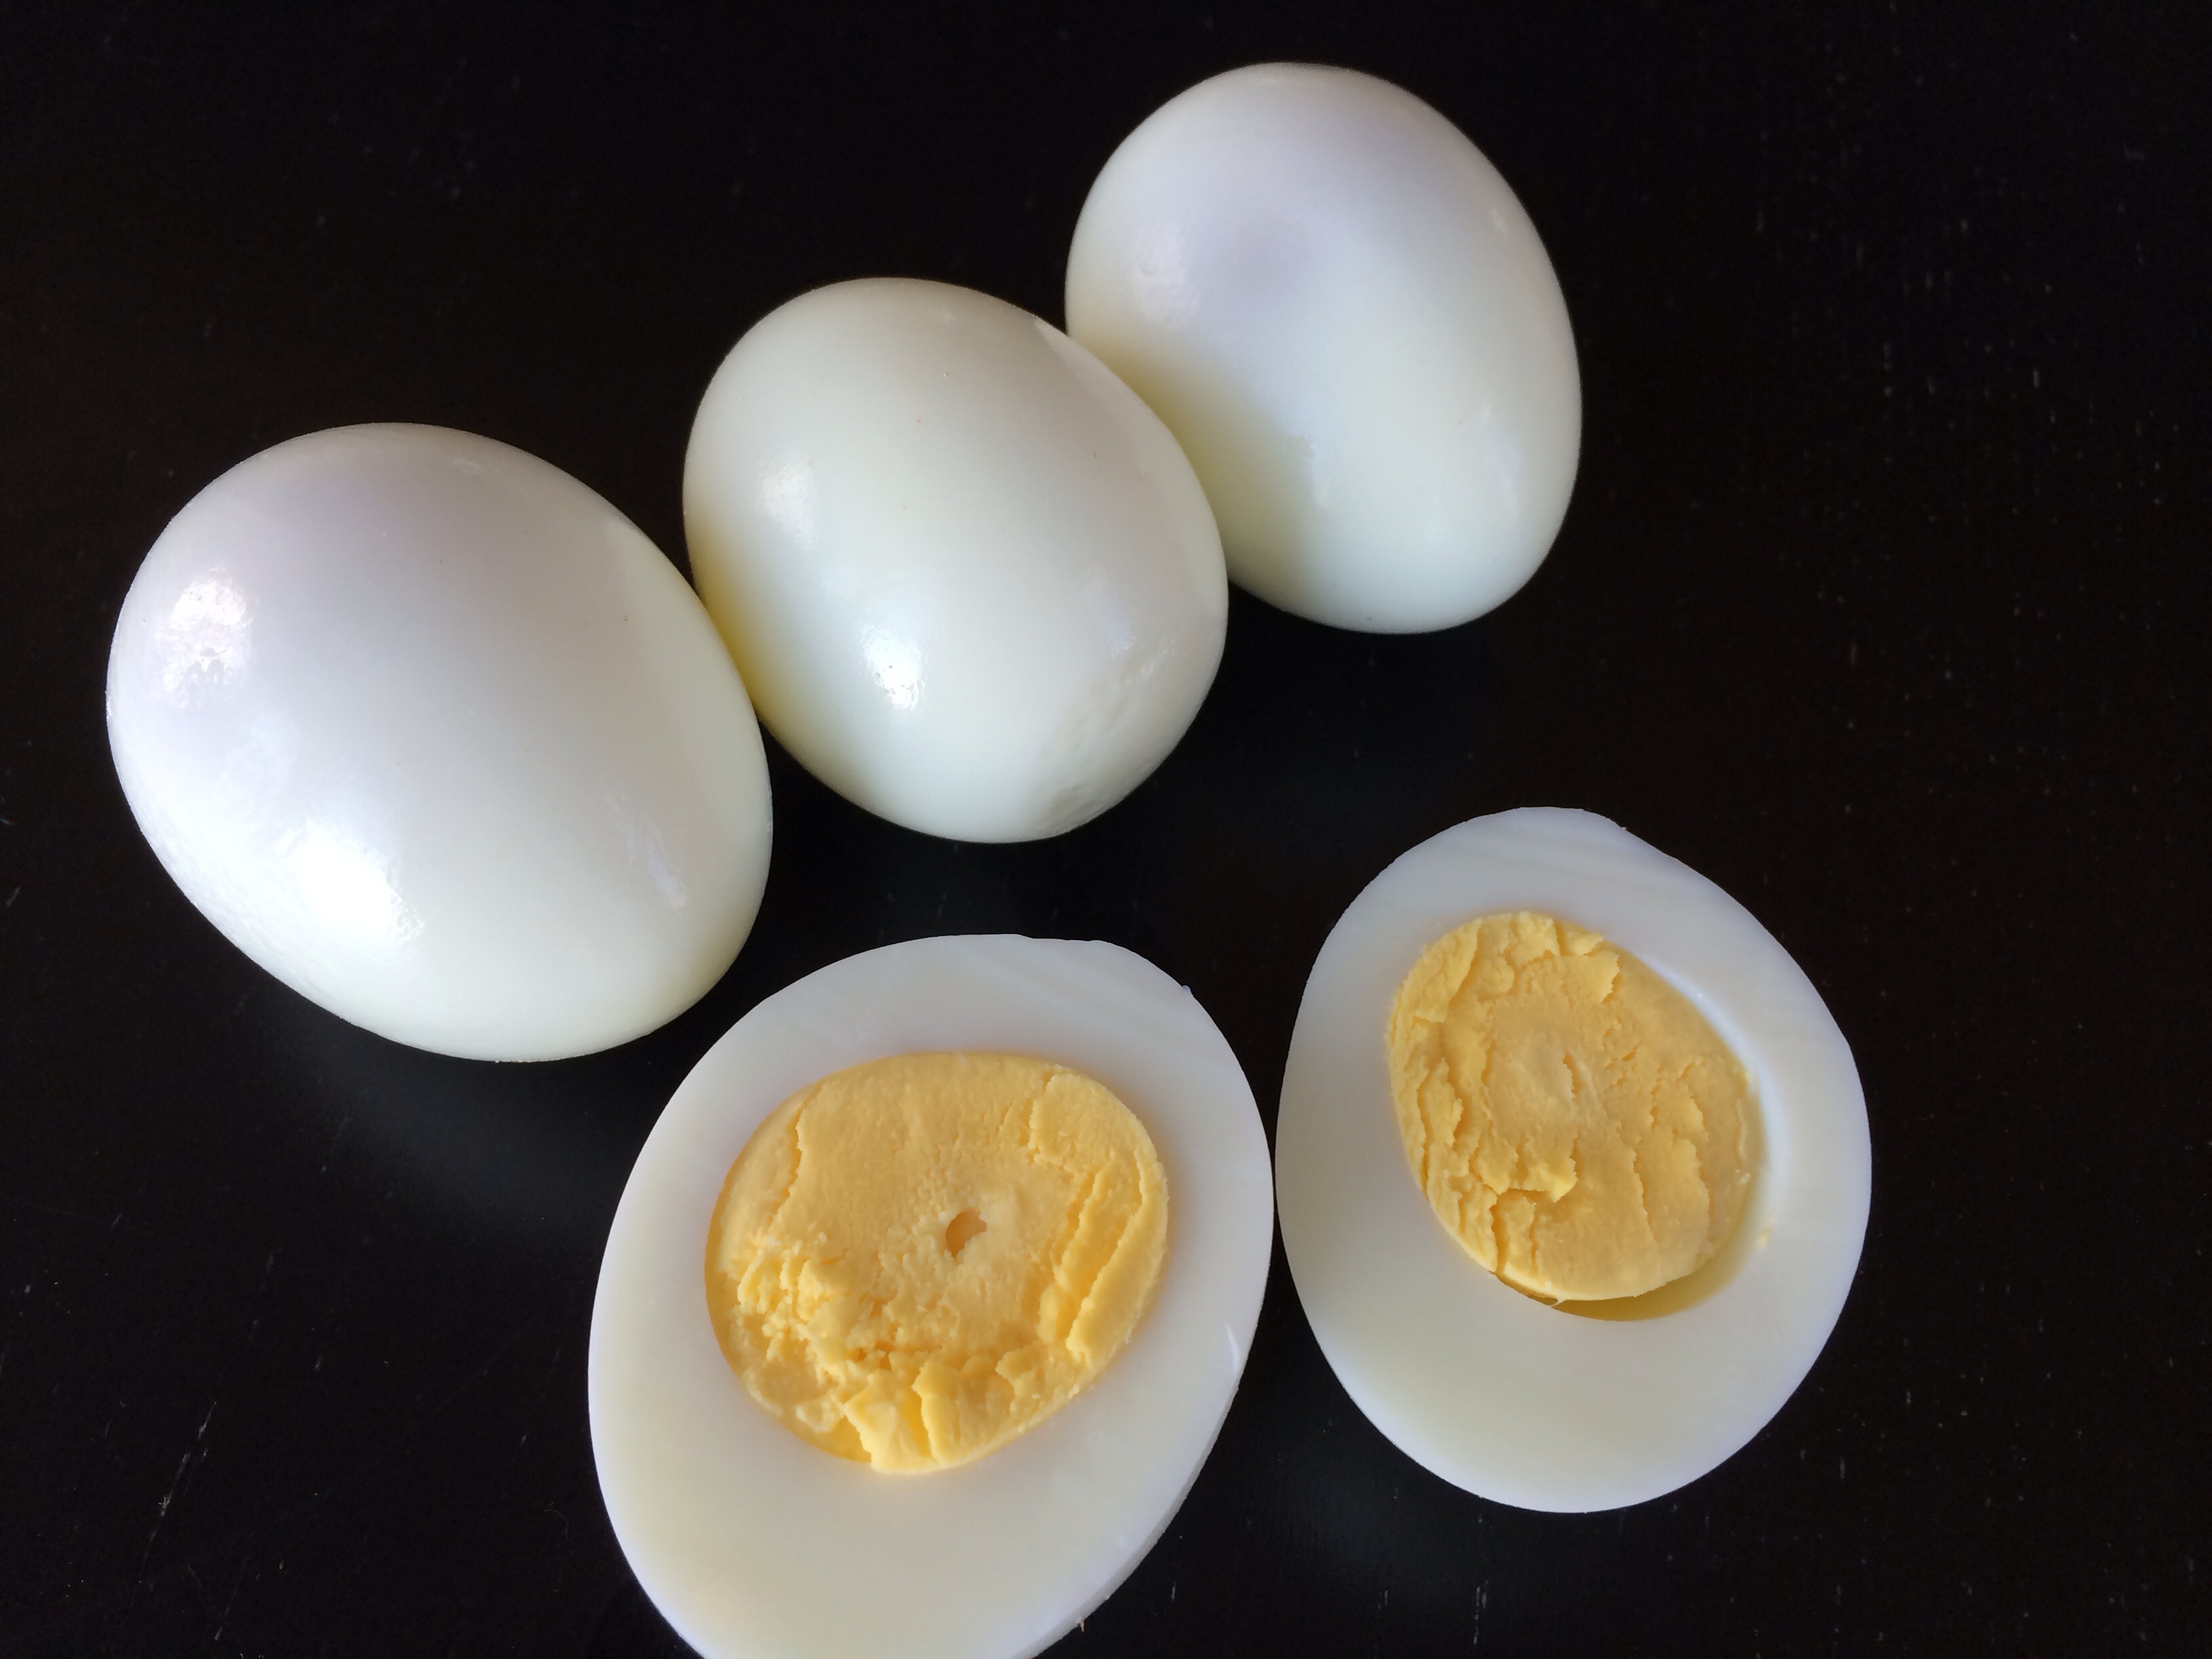
Deviled eggs are perfect as an app, finger food, and this time of year, eggs are all the rage!!
Is the most unhealthy ingredient the mayo? or the yolk?
One egg yolk has 5 grams of fat and 54 calories. Save on 50% of the calories by using nonfat Greek yogurt or nonfat cottage cheese to make up some of the yolk volume.
Obviously use a non-fat mayo or eliminate it all together and use greek yogurt or avocado.
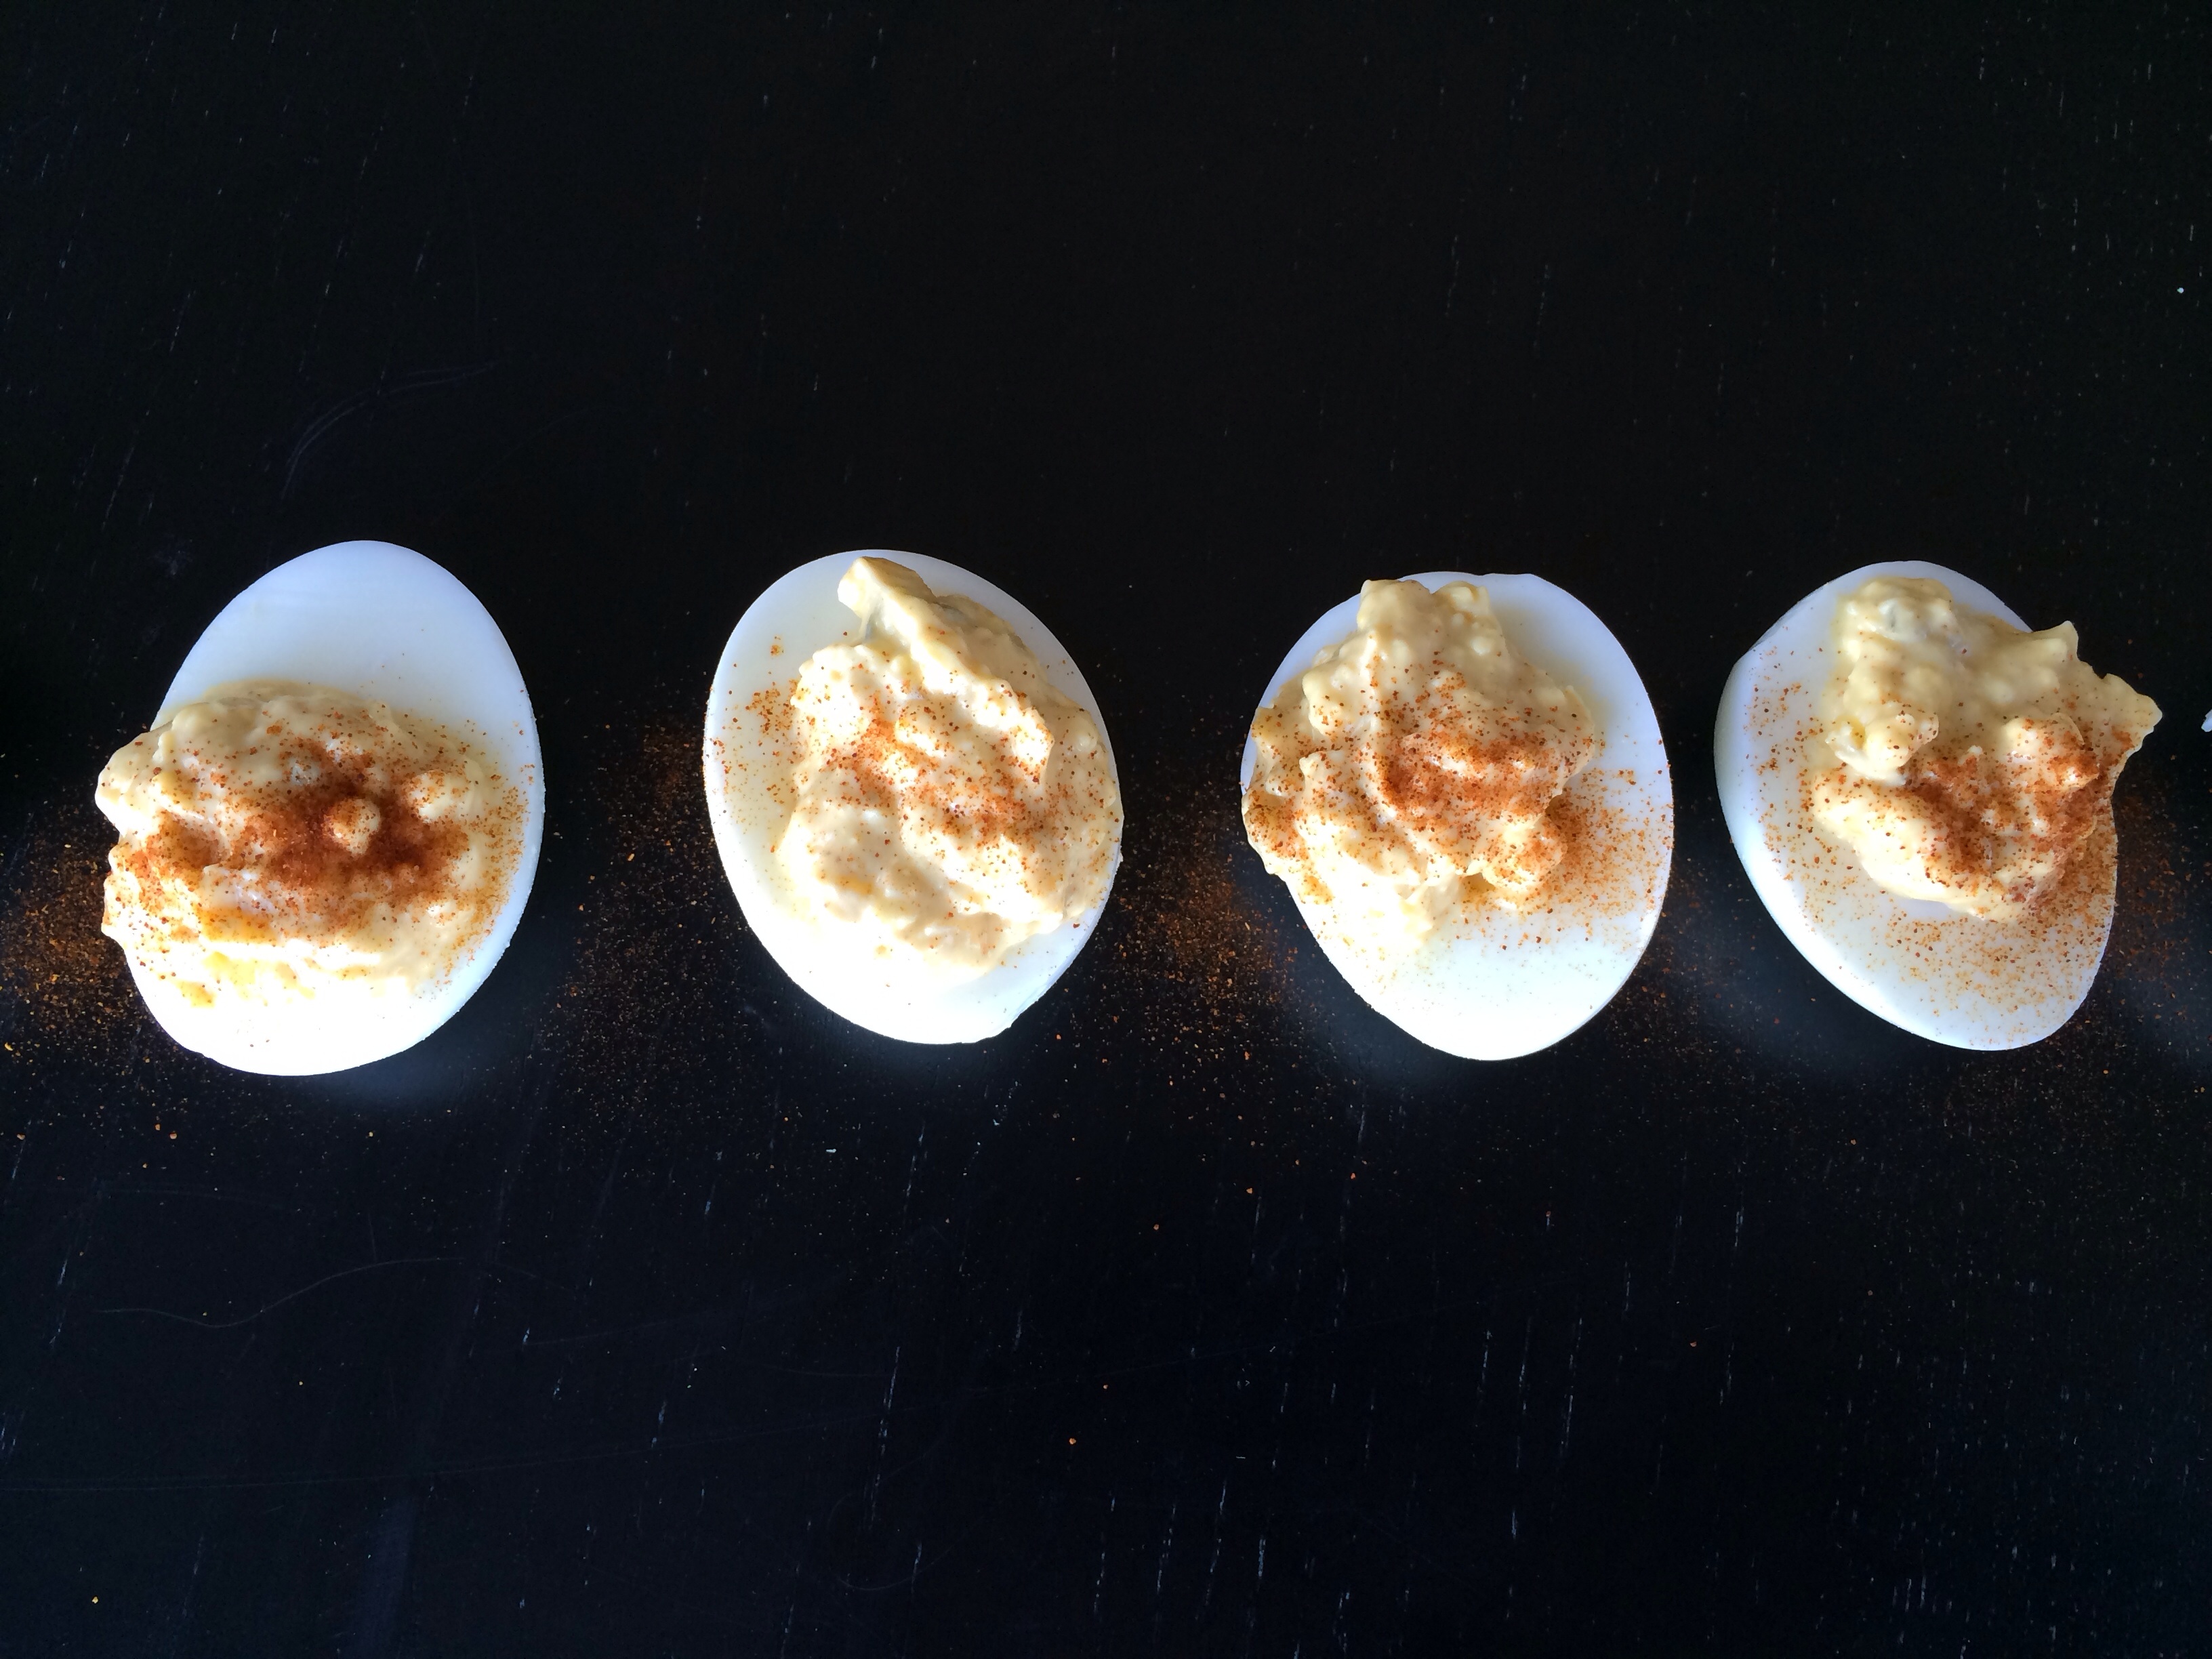
Lets talk taste…Mustard snobs everywhere insist on using a dark mustard such as Grey Poupon in deviled egg recipes when yellow mustard is the perfect option. It has the tang needed to amp up the flavor.
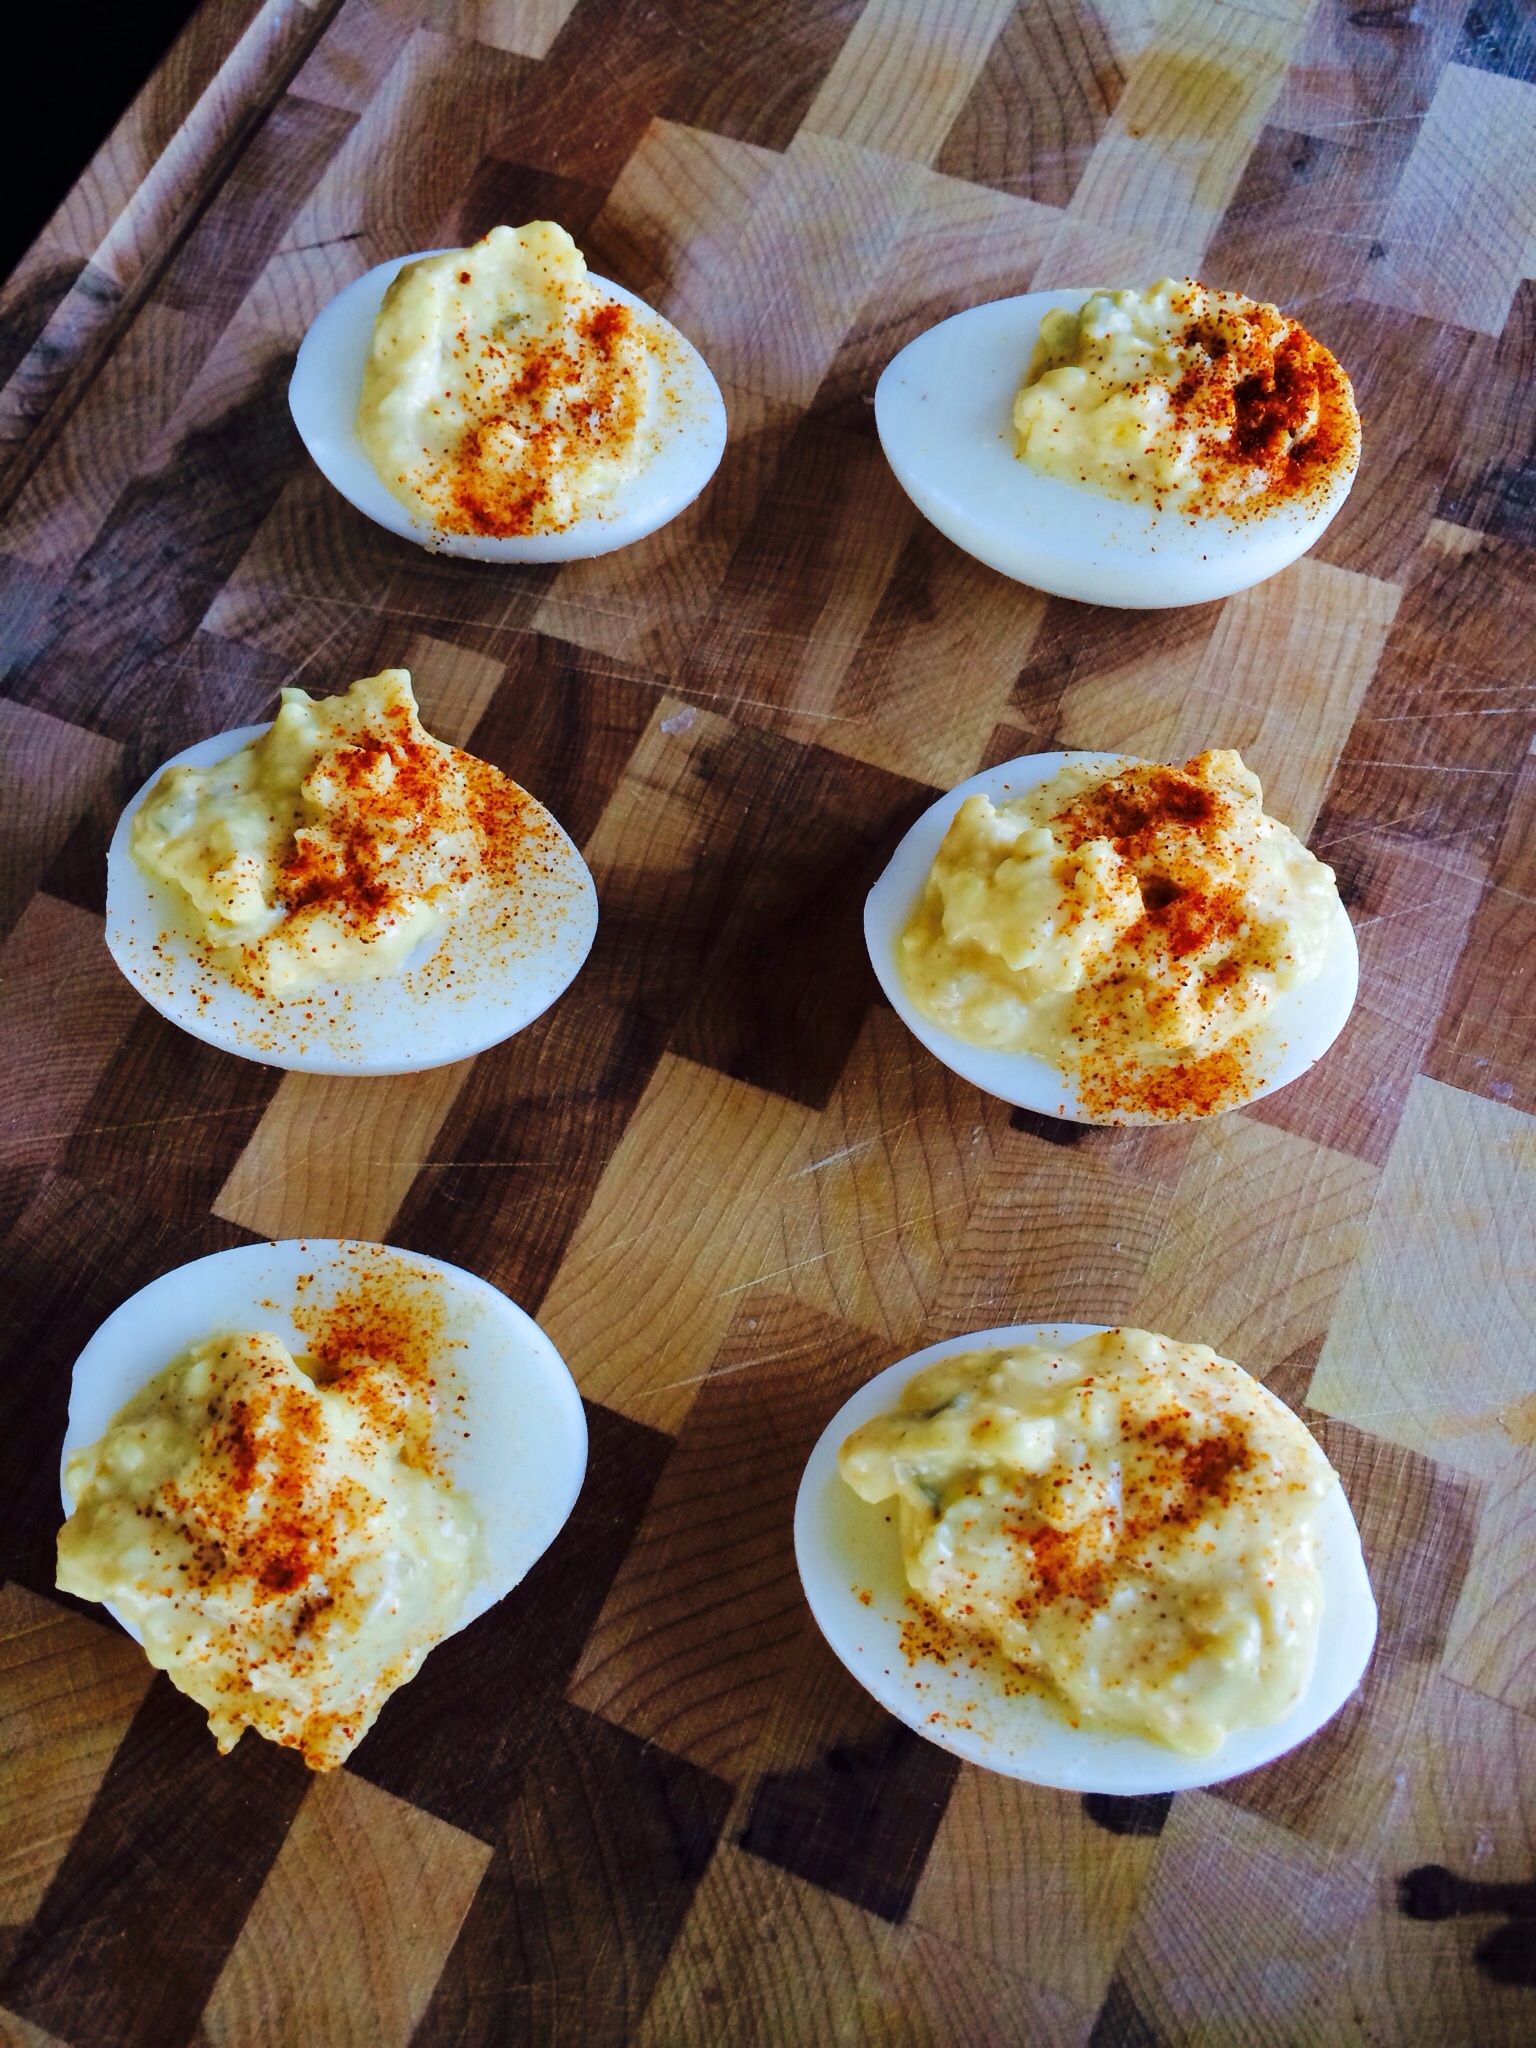
Deliciously Deviled Eggs
(Makes 12 halves)
Ingredients:
6 hard boiled eggs, peeled, halved, and yolks taken out
3 tbsp. light mayo, or greek yogurt
1-2 tbsp. yellow mustard
1 tbsp. sweet relish
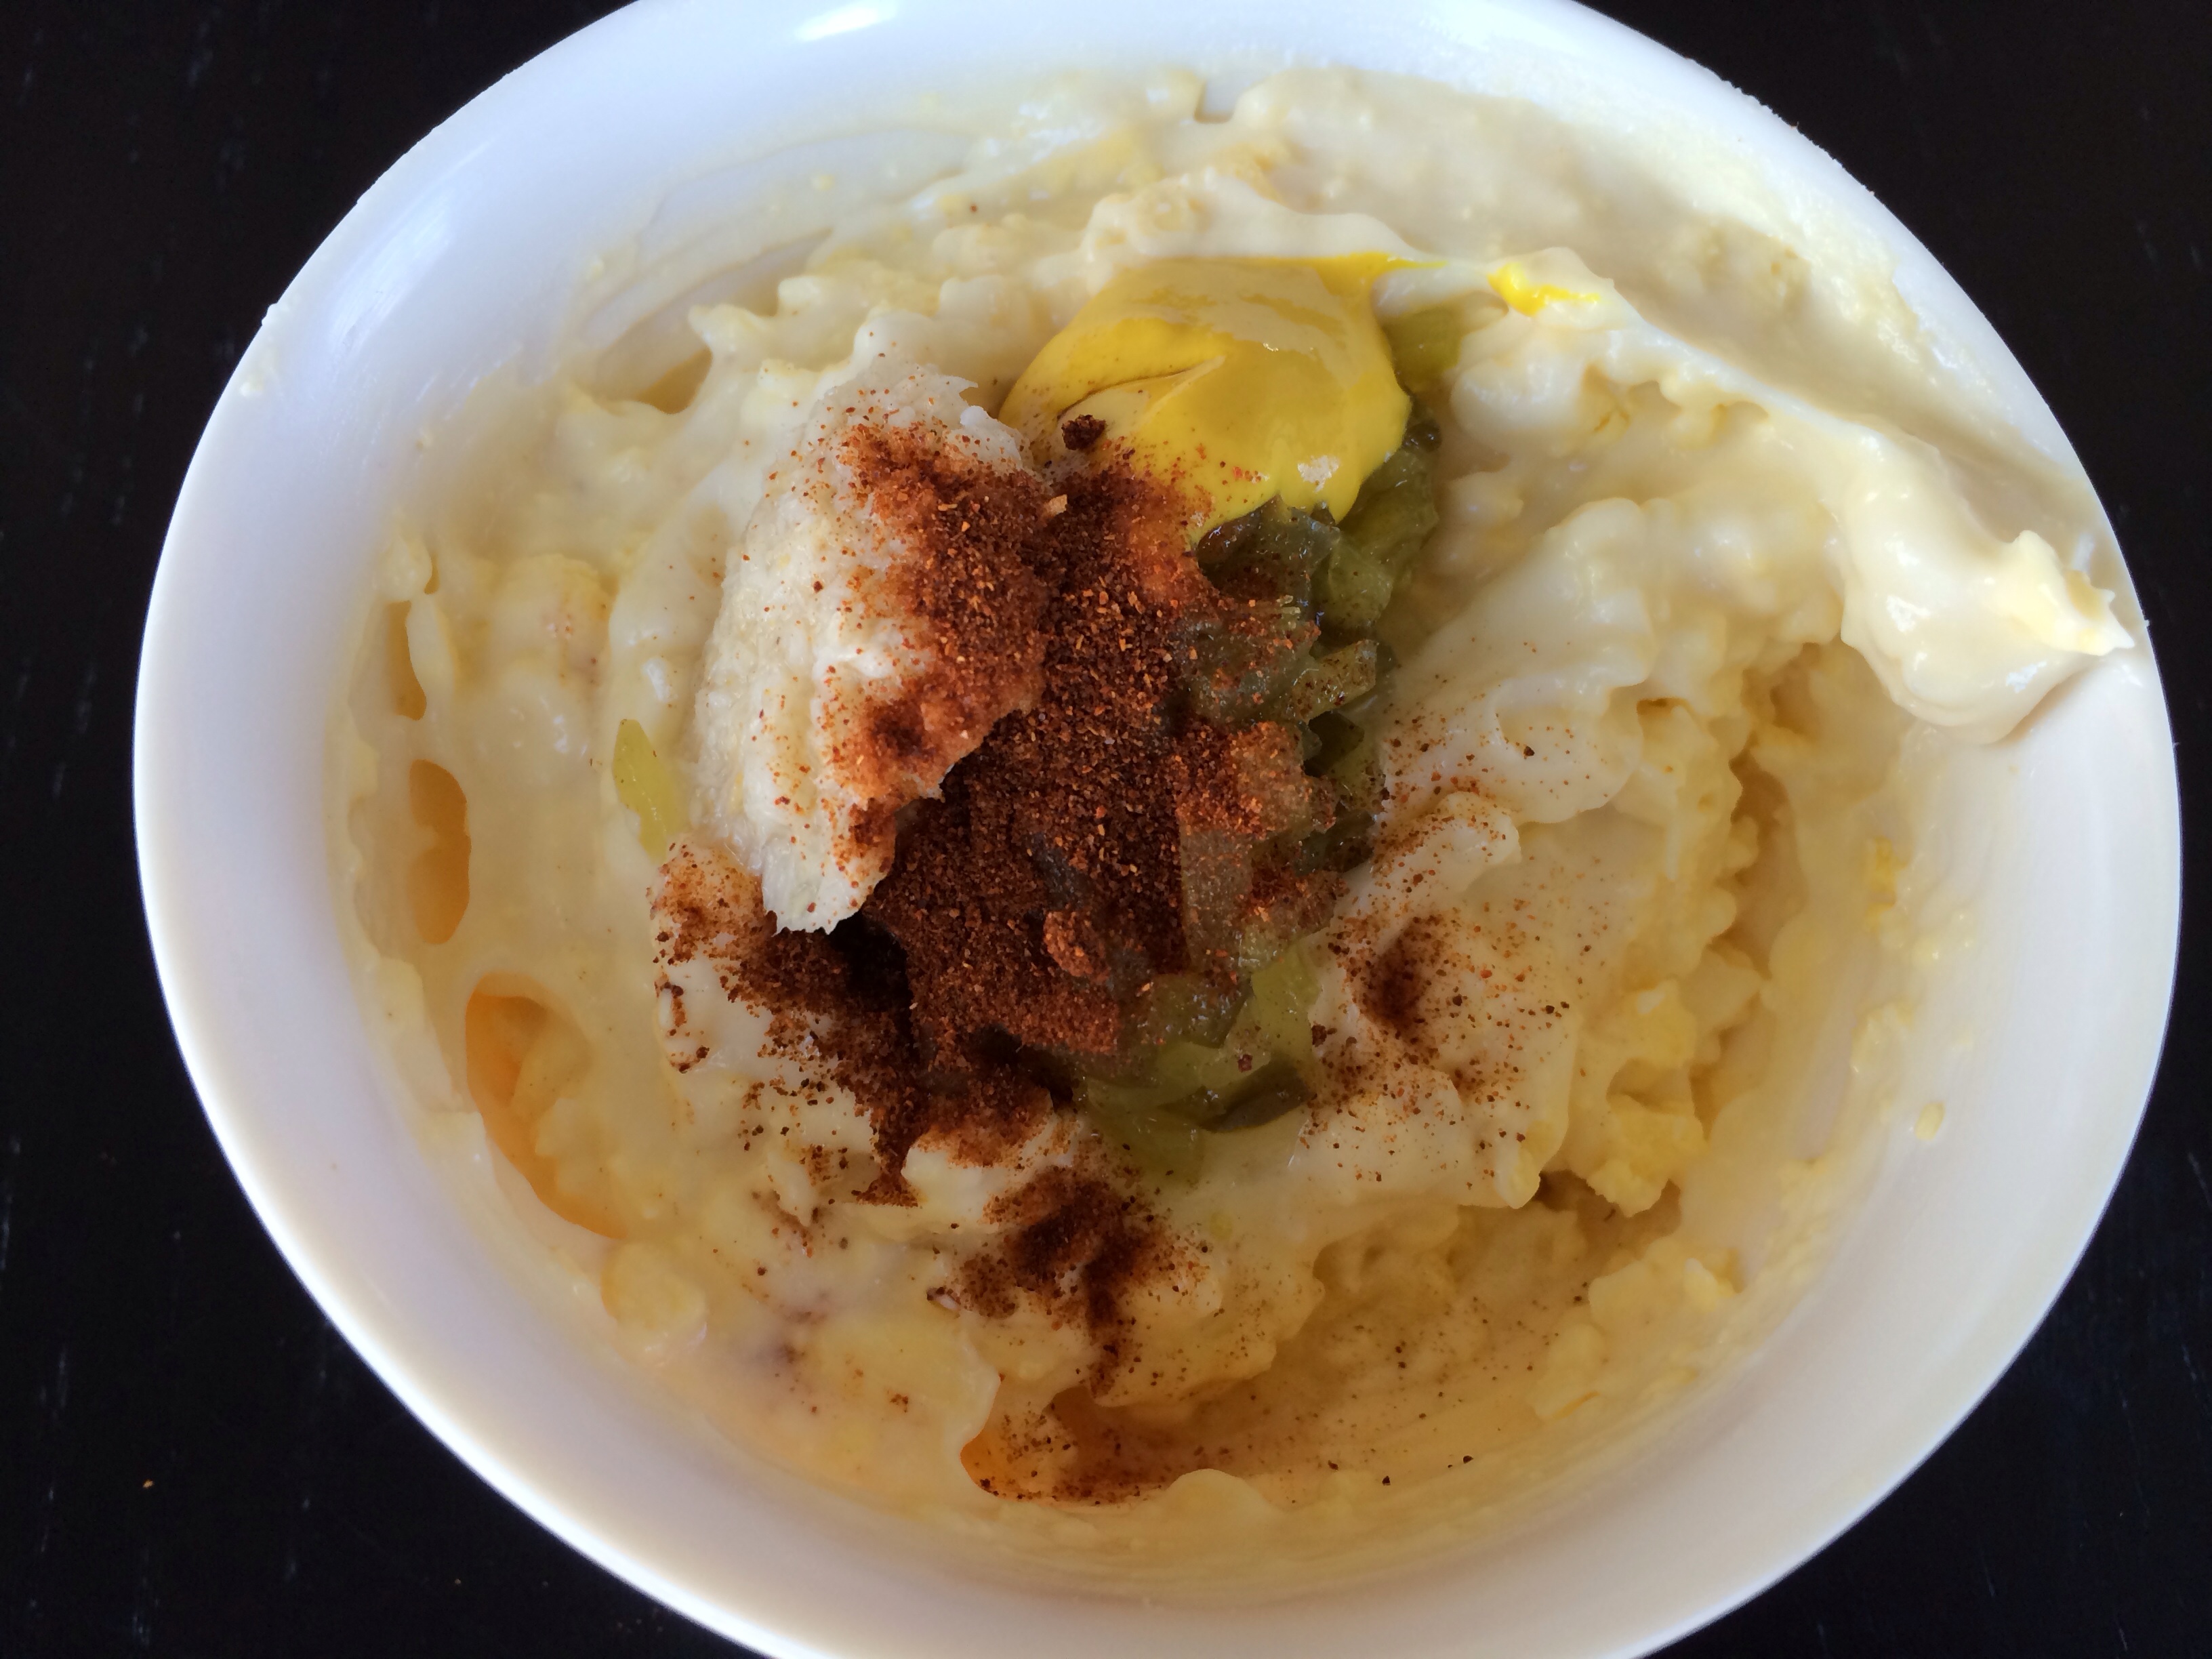
1 tsp. paprika – 1/2 in recipe (1/2 tsp. for sprinkling on top)
1/2 tsp. cayenne pepper
Directions:
Mash egg yolks in a small mixing bowl with a fork.
Add mayo or greek yogurt, relish, mustard, paprika, and cayenne pepper and mix well.
Spoon into the egg white centers, sprinkle with paprika.
Today’s post comes from Erin of The Almond Eater blog, and is part of a special day of shenanigans from other Pittsburgh Bloggers. You can see my post over on Yum Yum Pgh, where I share my homemade, easy, and delicious Pad Thai recipe!
Here is Erin’s Post!
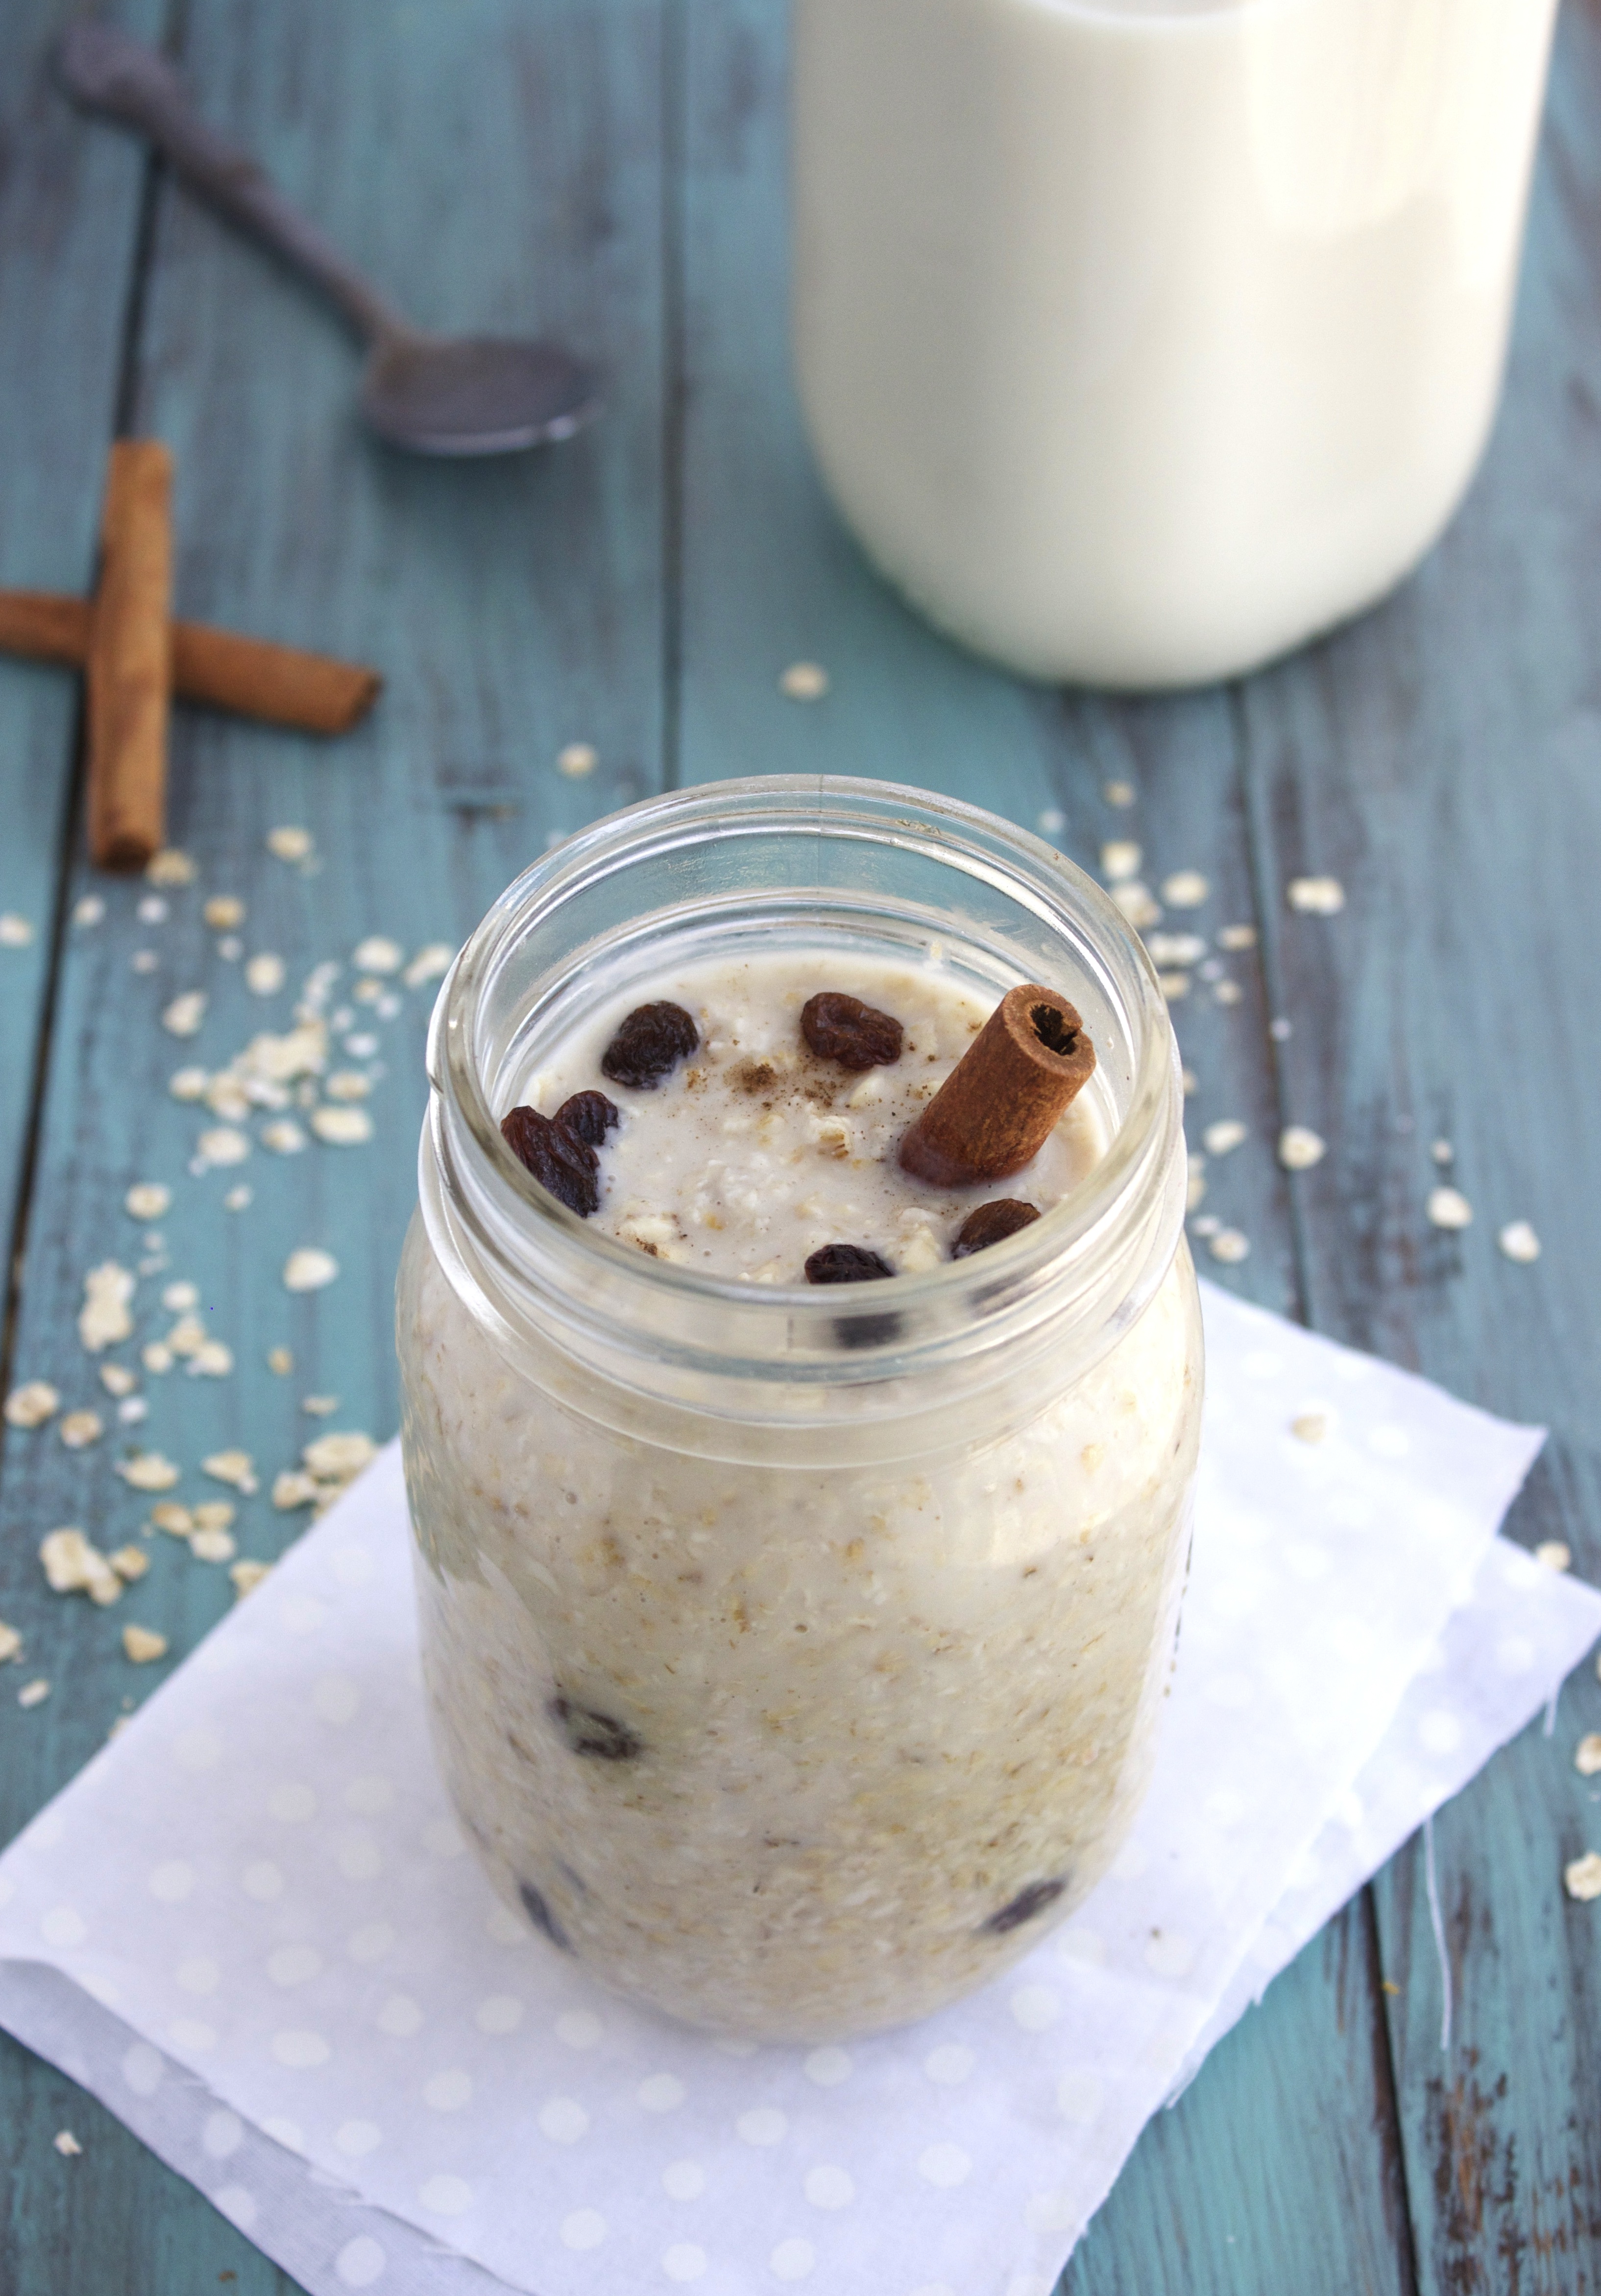
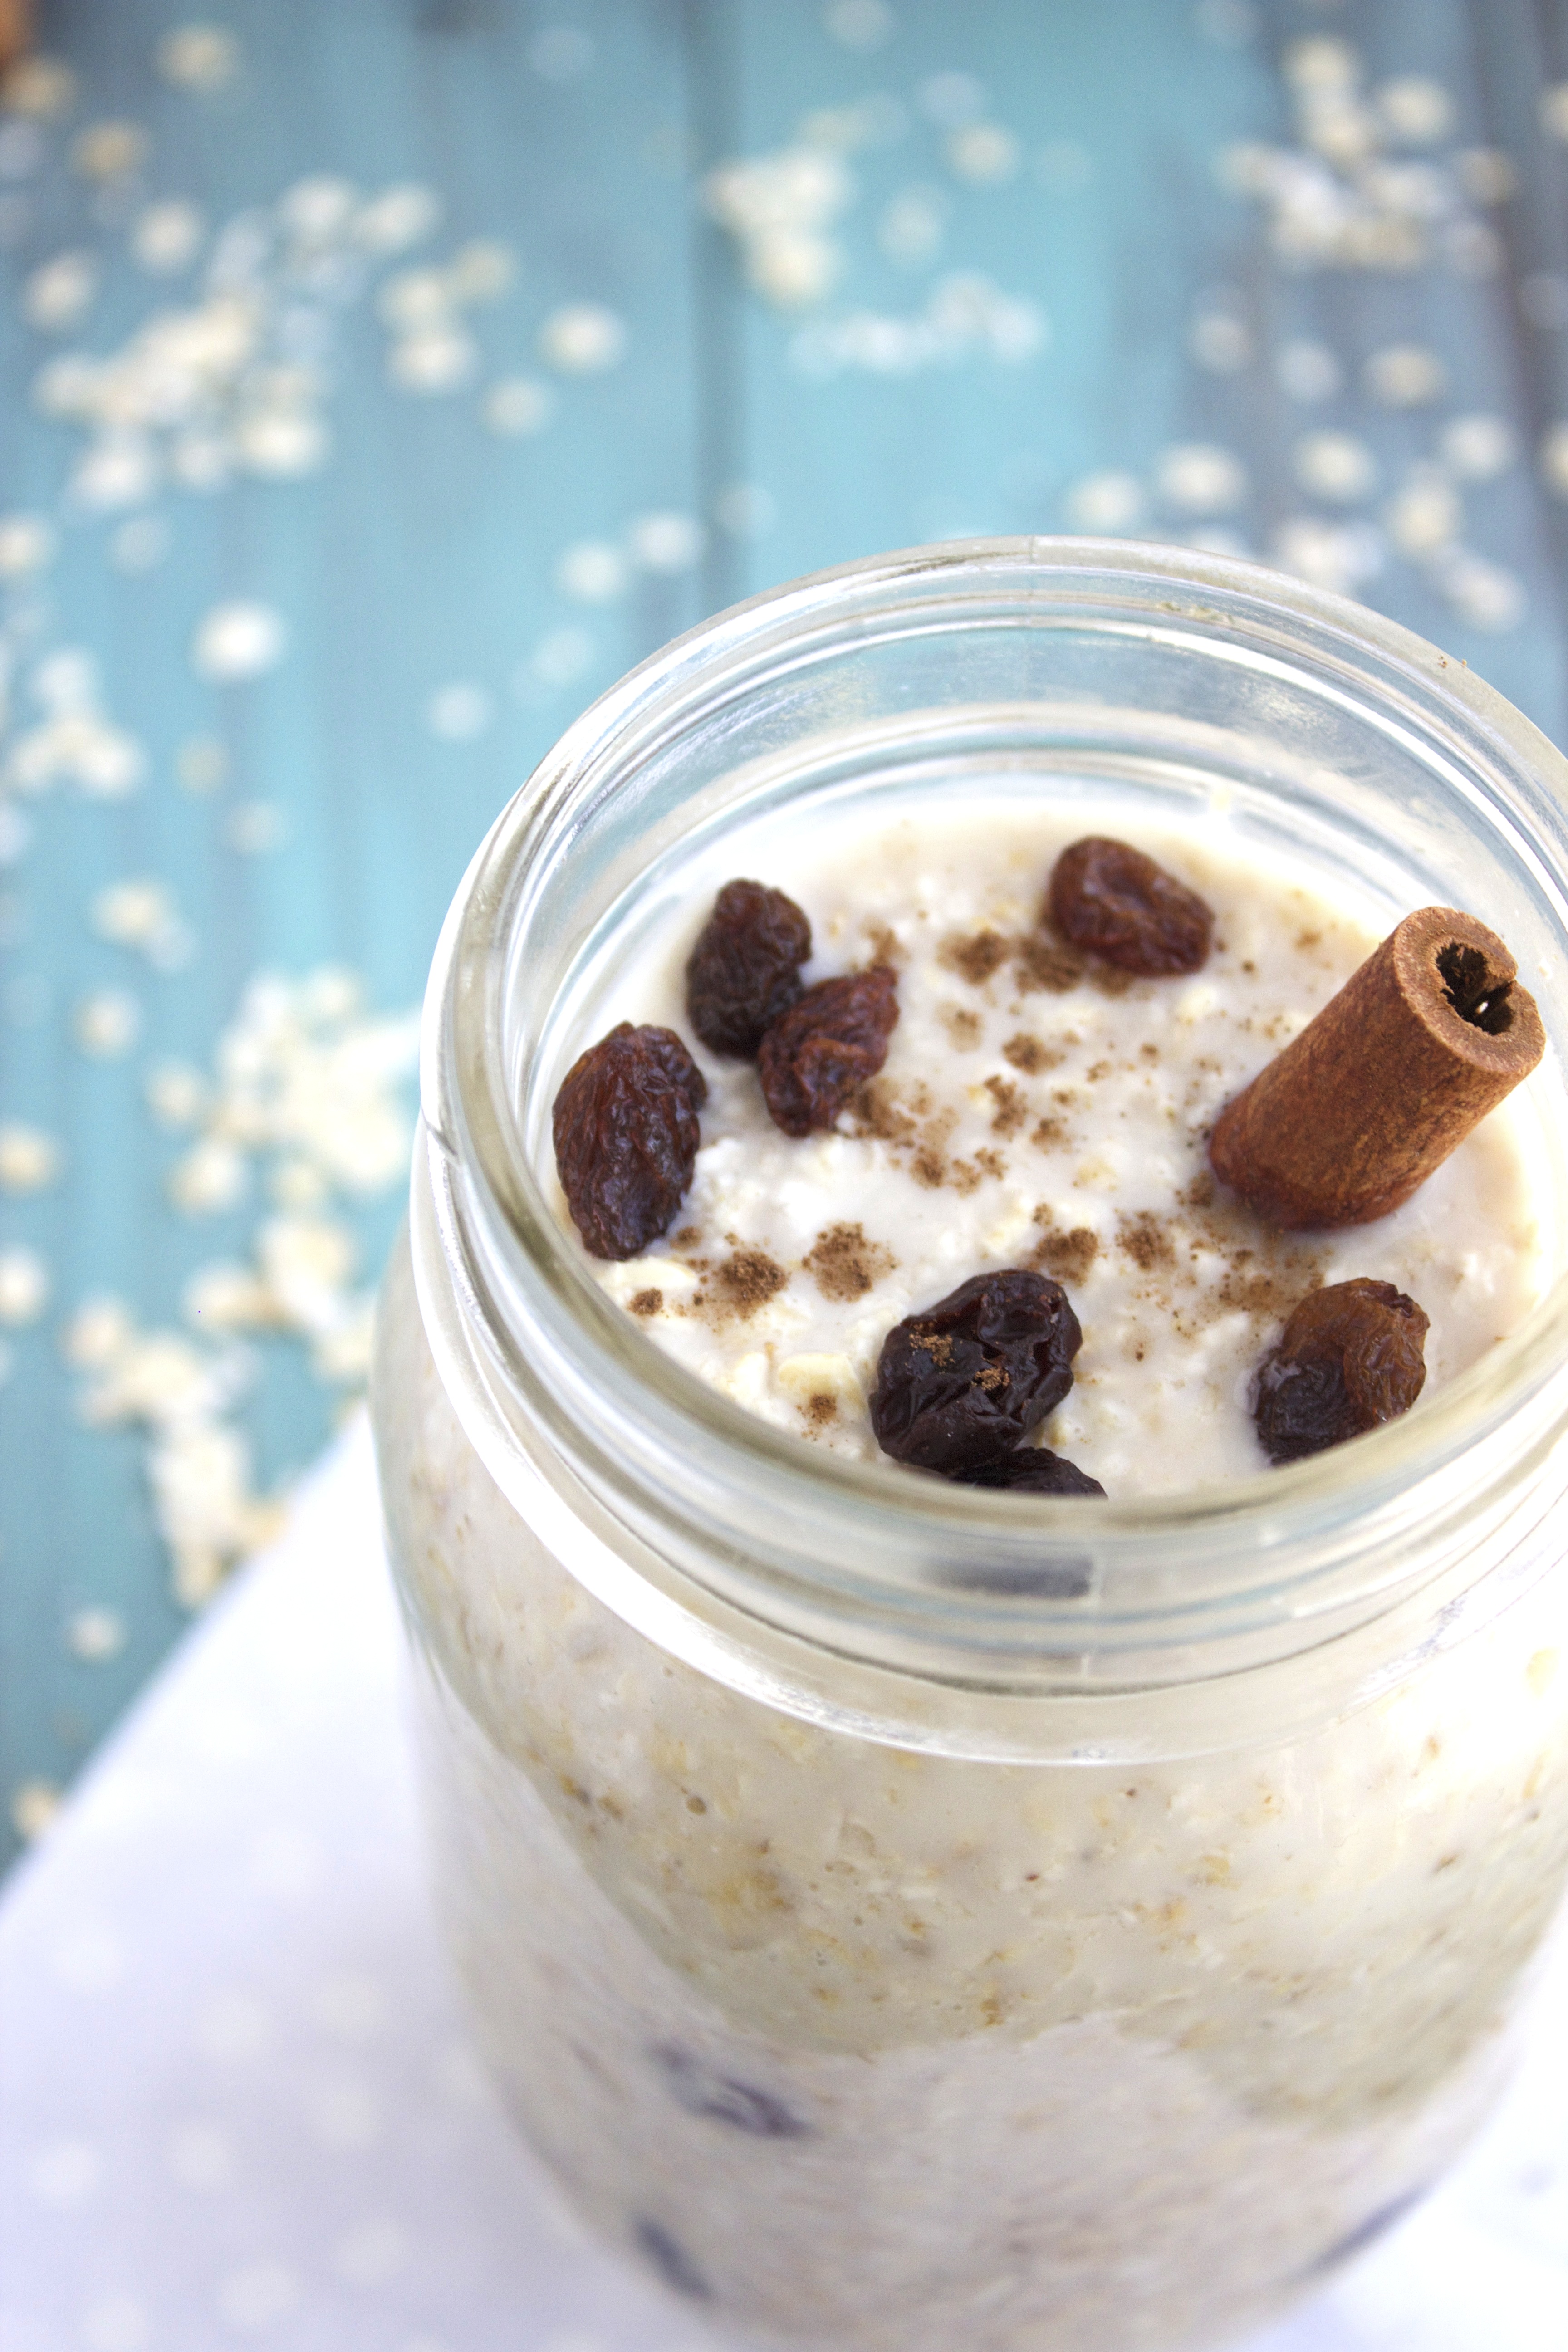
Hi Parmesan Princess readers! Today I want to share my new favorite overnight oats recipe: Oatmeal Raisin Cookie Overnight Oats! After all, who doesn’t love a good oatmeal raisin cookie? Also, anyone who says cookies aren’t for breakfast is wrong.
I love overnight oats for 45 reasons, but the main reason is because they’re ready to go when I wake up in the morning, meaning no prep work is involved! This is great, especially mornings when I literally don’t have time to make breakfast—they’re the perfect grab-n-go option.
I tried overnight oats for the first time two years ago and it was love at first bite. I made them every morning for a very long time, until my body/taste buds were like STOP IT. Now, I try to eat a variety of breakfasts, but still include oats in the line up at least once a week. It’s all about balance If you’ve never had overnight oats before, they’re just like oatmeal only cold and the texture differs depending on how much milk you include. I personally don’t enjoy soggy/mushy oats (ew), so I don’t use a ton of milk in mine. HOWEVER, if that’s your thing, go for it—the flavor will be just as good.
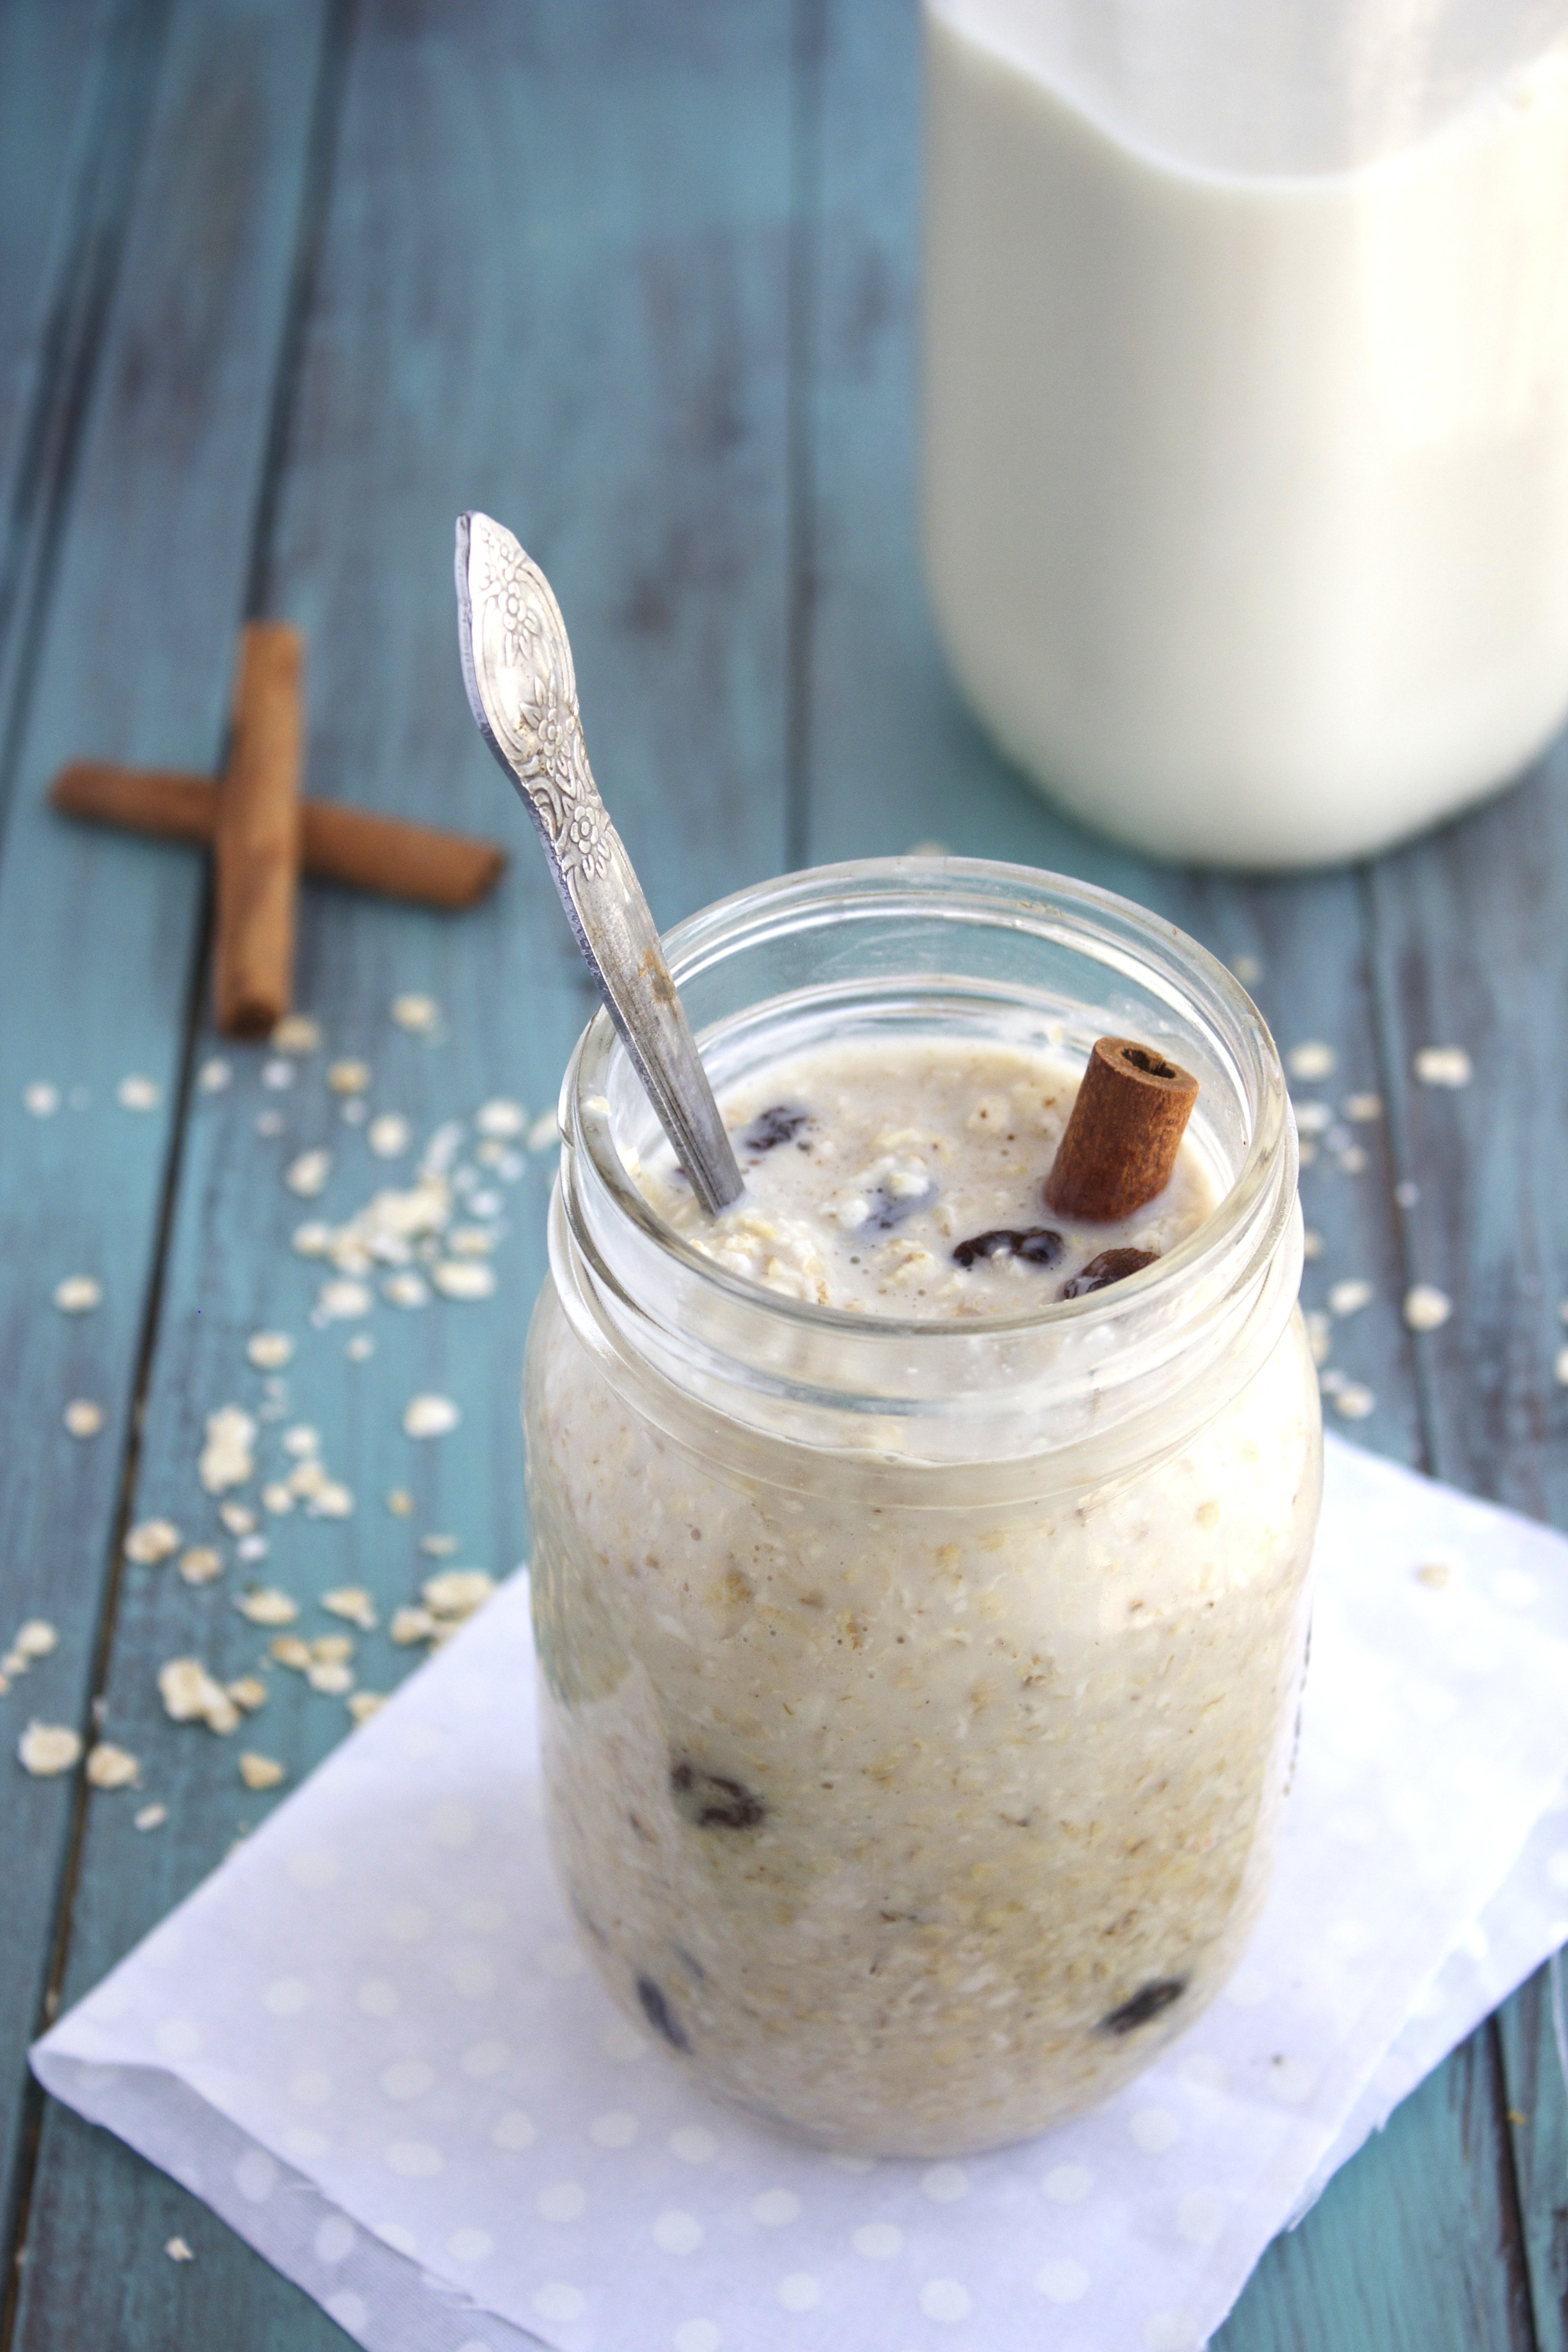
These particular oats are only SEVEN ingredients, and if I’m being honest, you could probably get away with only using five if you don’t have all of the ingredients and don’t feel like running to the store (this happens to me every other day). I totally get it. If you doooo want to/have to leave out any ingredients, I’d suggest the nutmeg and/or vanilla. I don’t recommend it, but if you’re completely out, those things add to the flavor but they aren’t the core of the flavor…. if that makes any sense.
Whatever you do, you’re going to want to whip up these oats TONIGHT so you’ll have something to look forward to in the morning. And when I say “something” I mean and oatmeal raisin cookie in the form of oats. NOM.
Directions:
Combine ingredients in a bowl/mason jar and let sit for at least 6 hours. Typically, it’s easiest to prepare these the night before and let them sit in the refrigerator overnight (hence the name ‘overnight oats’.) Enjoy!
Thanks for reading—for more recipes and things that I find amusing, like The Almond Eater on Facebook or follow me in Instagram Xoxo
Thank you, Erin! We can’t wait to try these oatmeal raisin overnight oats!
Ciao!
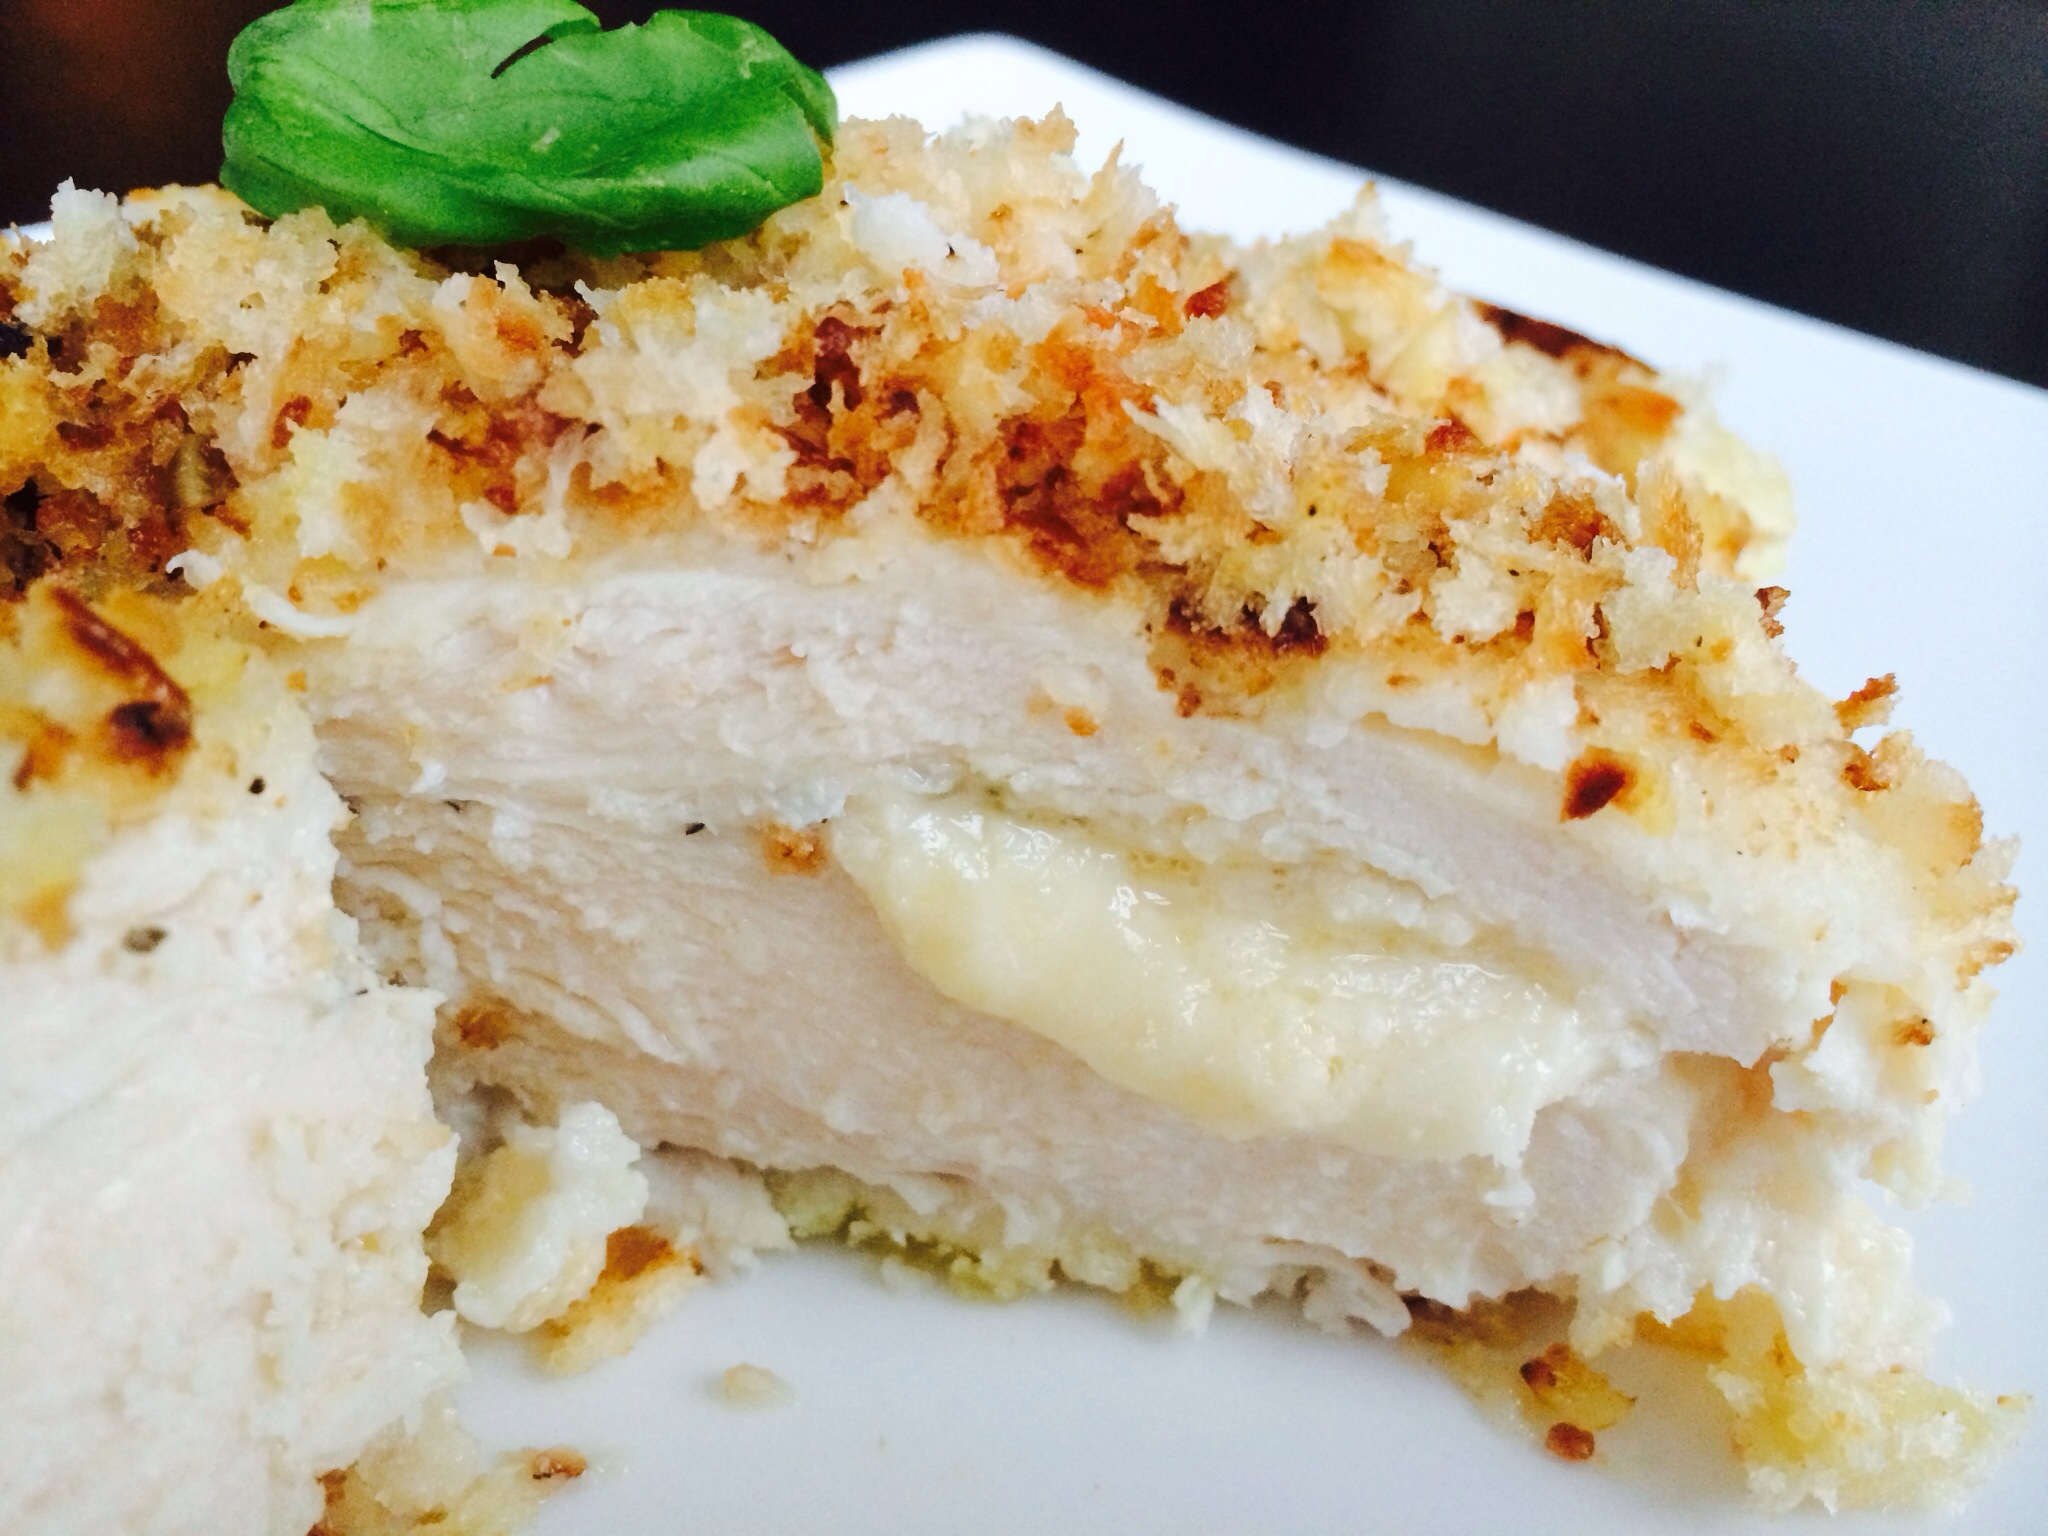
Cheese adds depth to a dish with its creamy texture and thick flavors. Lately, my cheese of choice -other than Parmesan Reggiano, of course -is fontina. Because of its beautiful meltability, fontina cheese blends well with both spicy and sweet, and makes the most gooey, absolutely fabulous grilled cheese you have ever tasted!
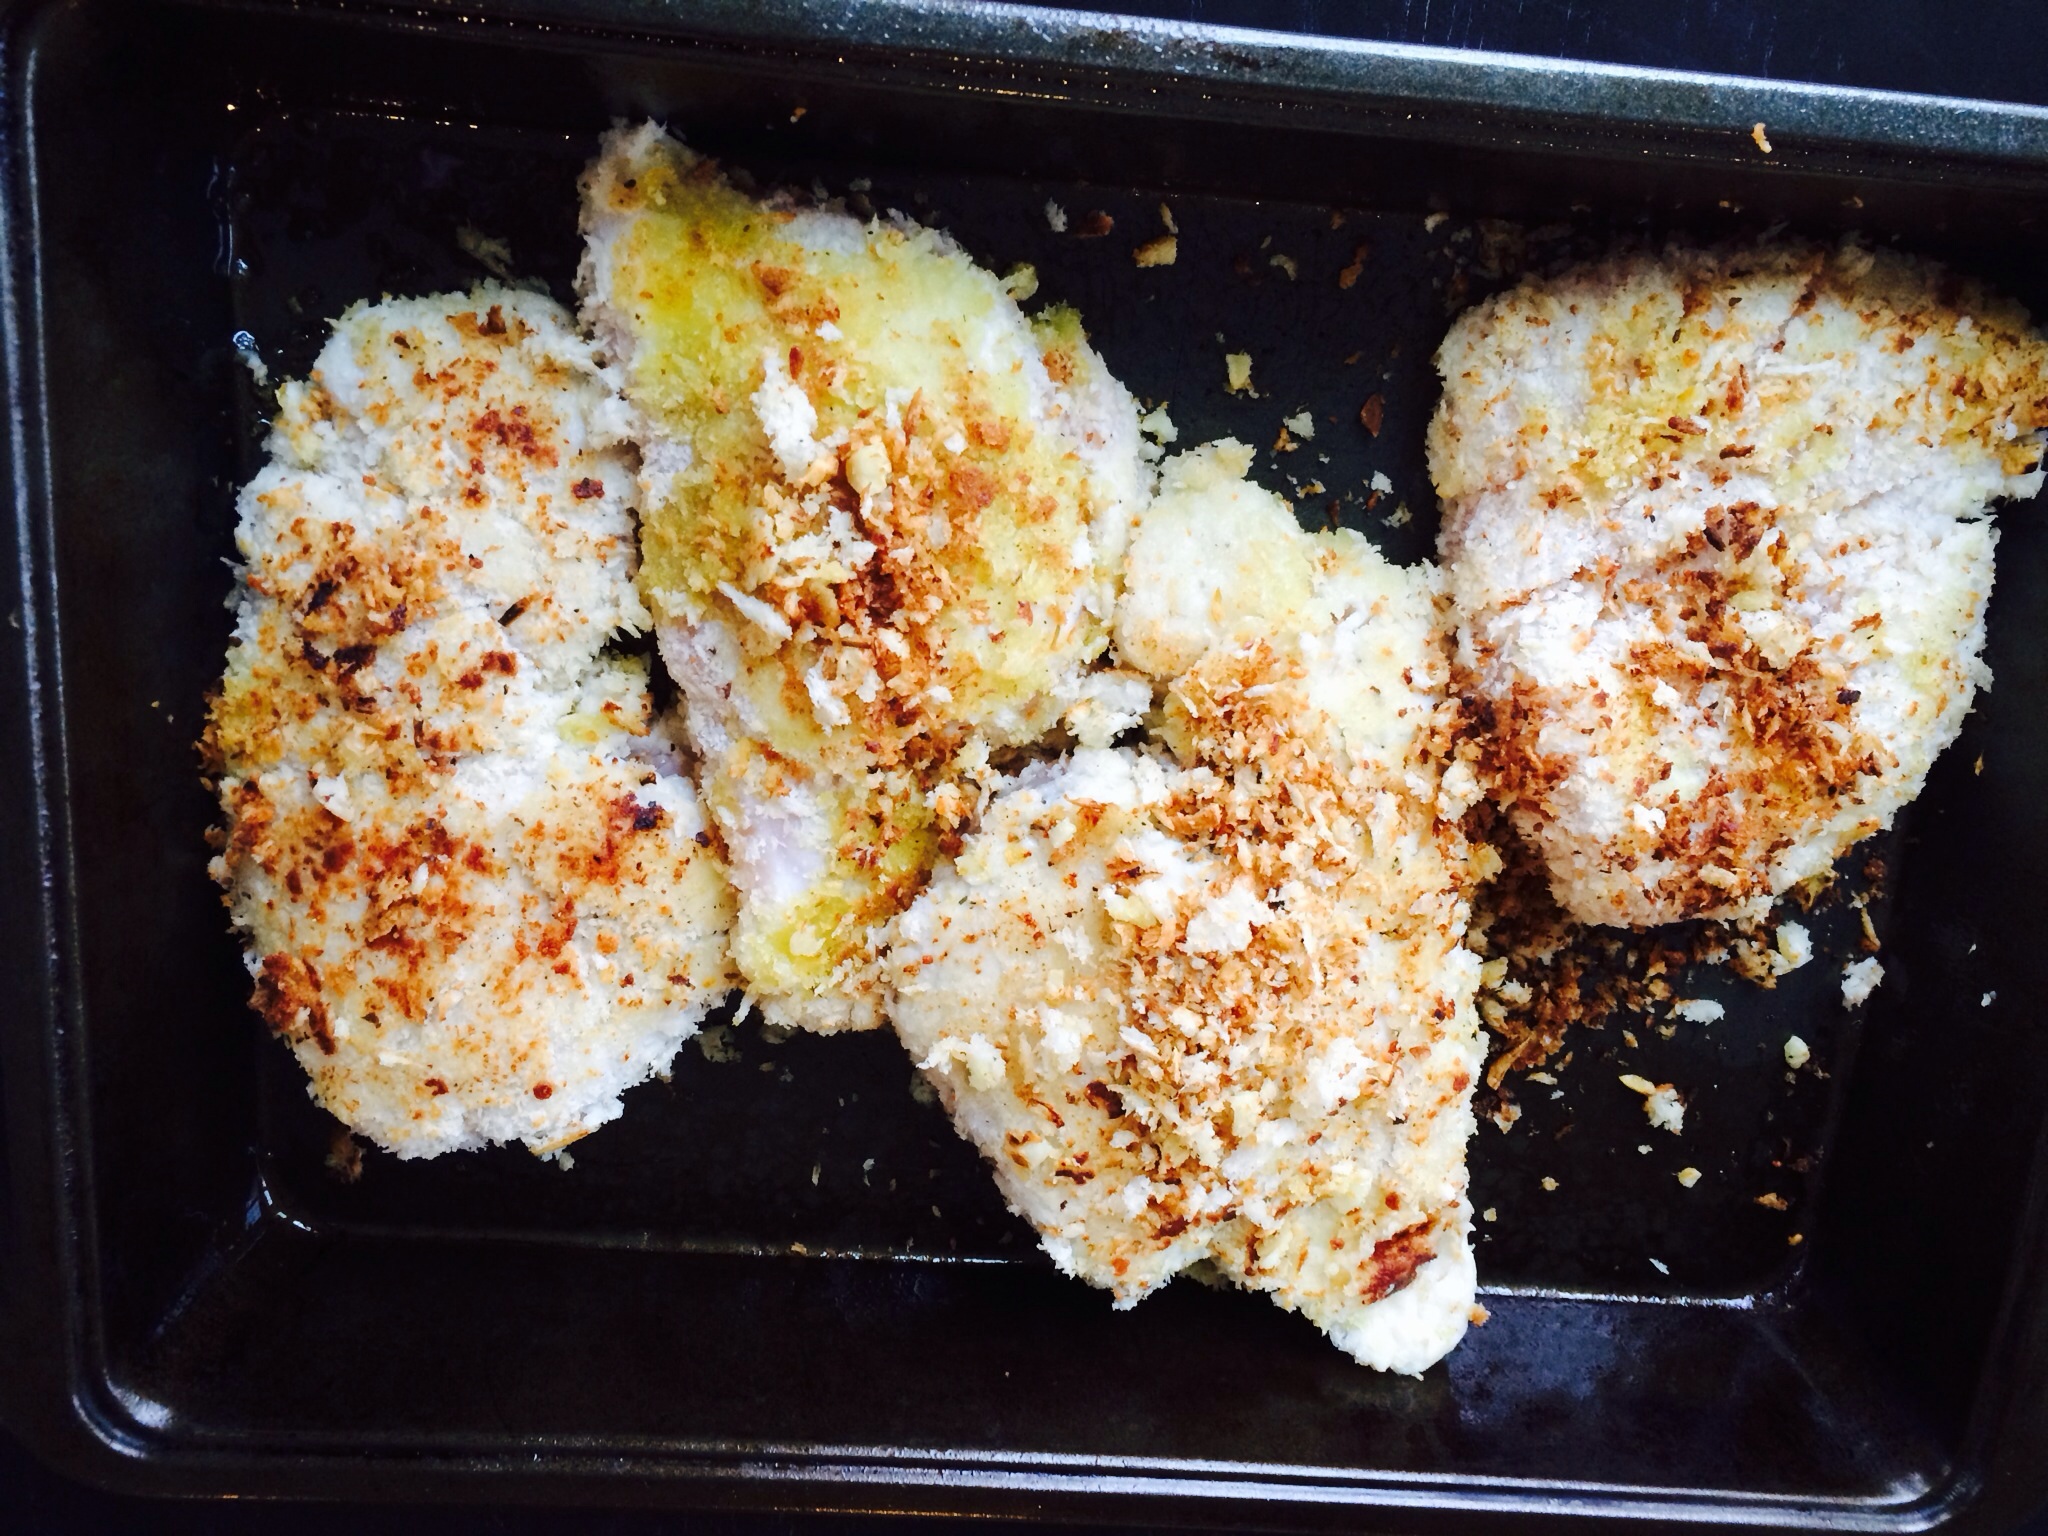
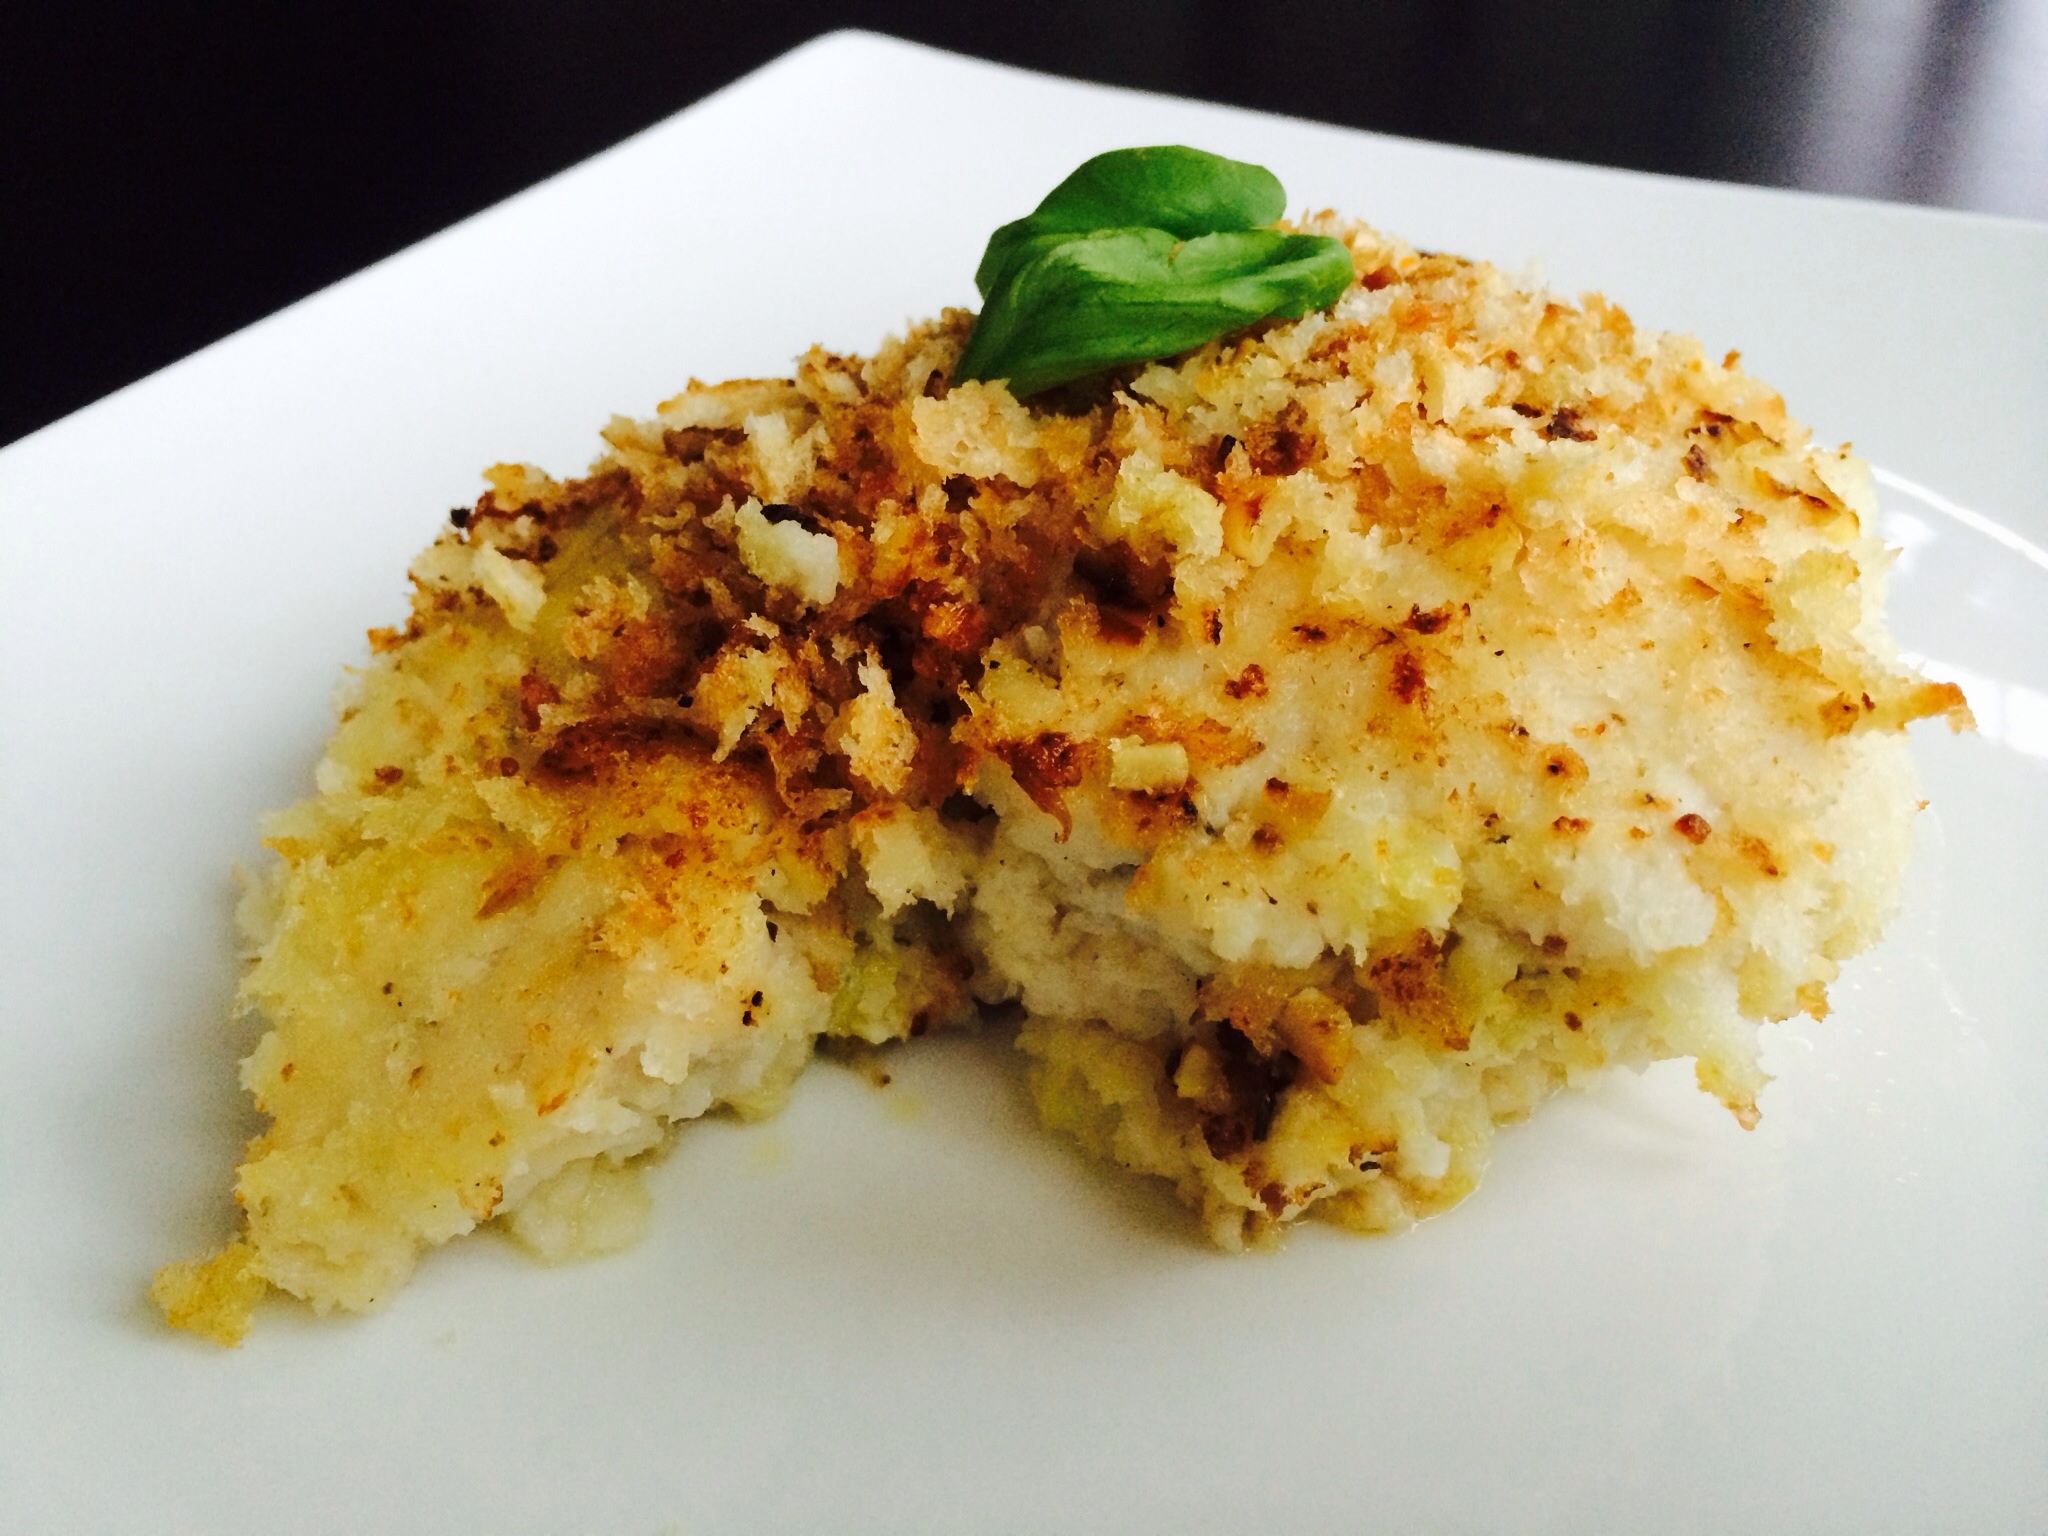
My Parmesan Crusted and Stuffed Chicken dish, gives a plain chicken breast a whole lot of flavor. Each bite contains the juicy chicken, the creamy layered cheeses, the brown garlic butter breadcrumbs, and a surprise lemony bite! It is sure to be a family favorite! I can’t wait for you to try it!
Parmesan Crusted and Stuffed Chicken
4 Servings
Ingredients:
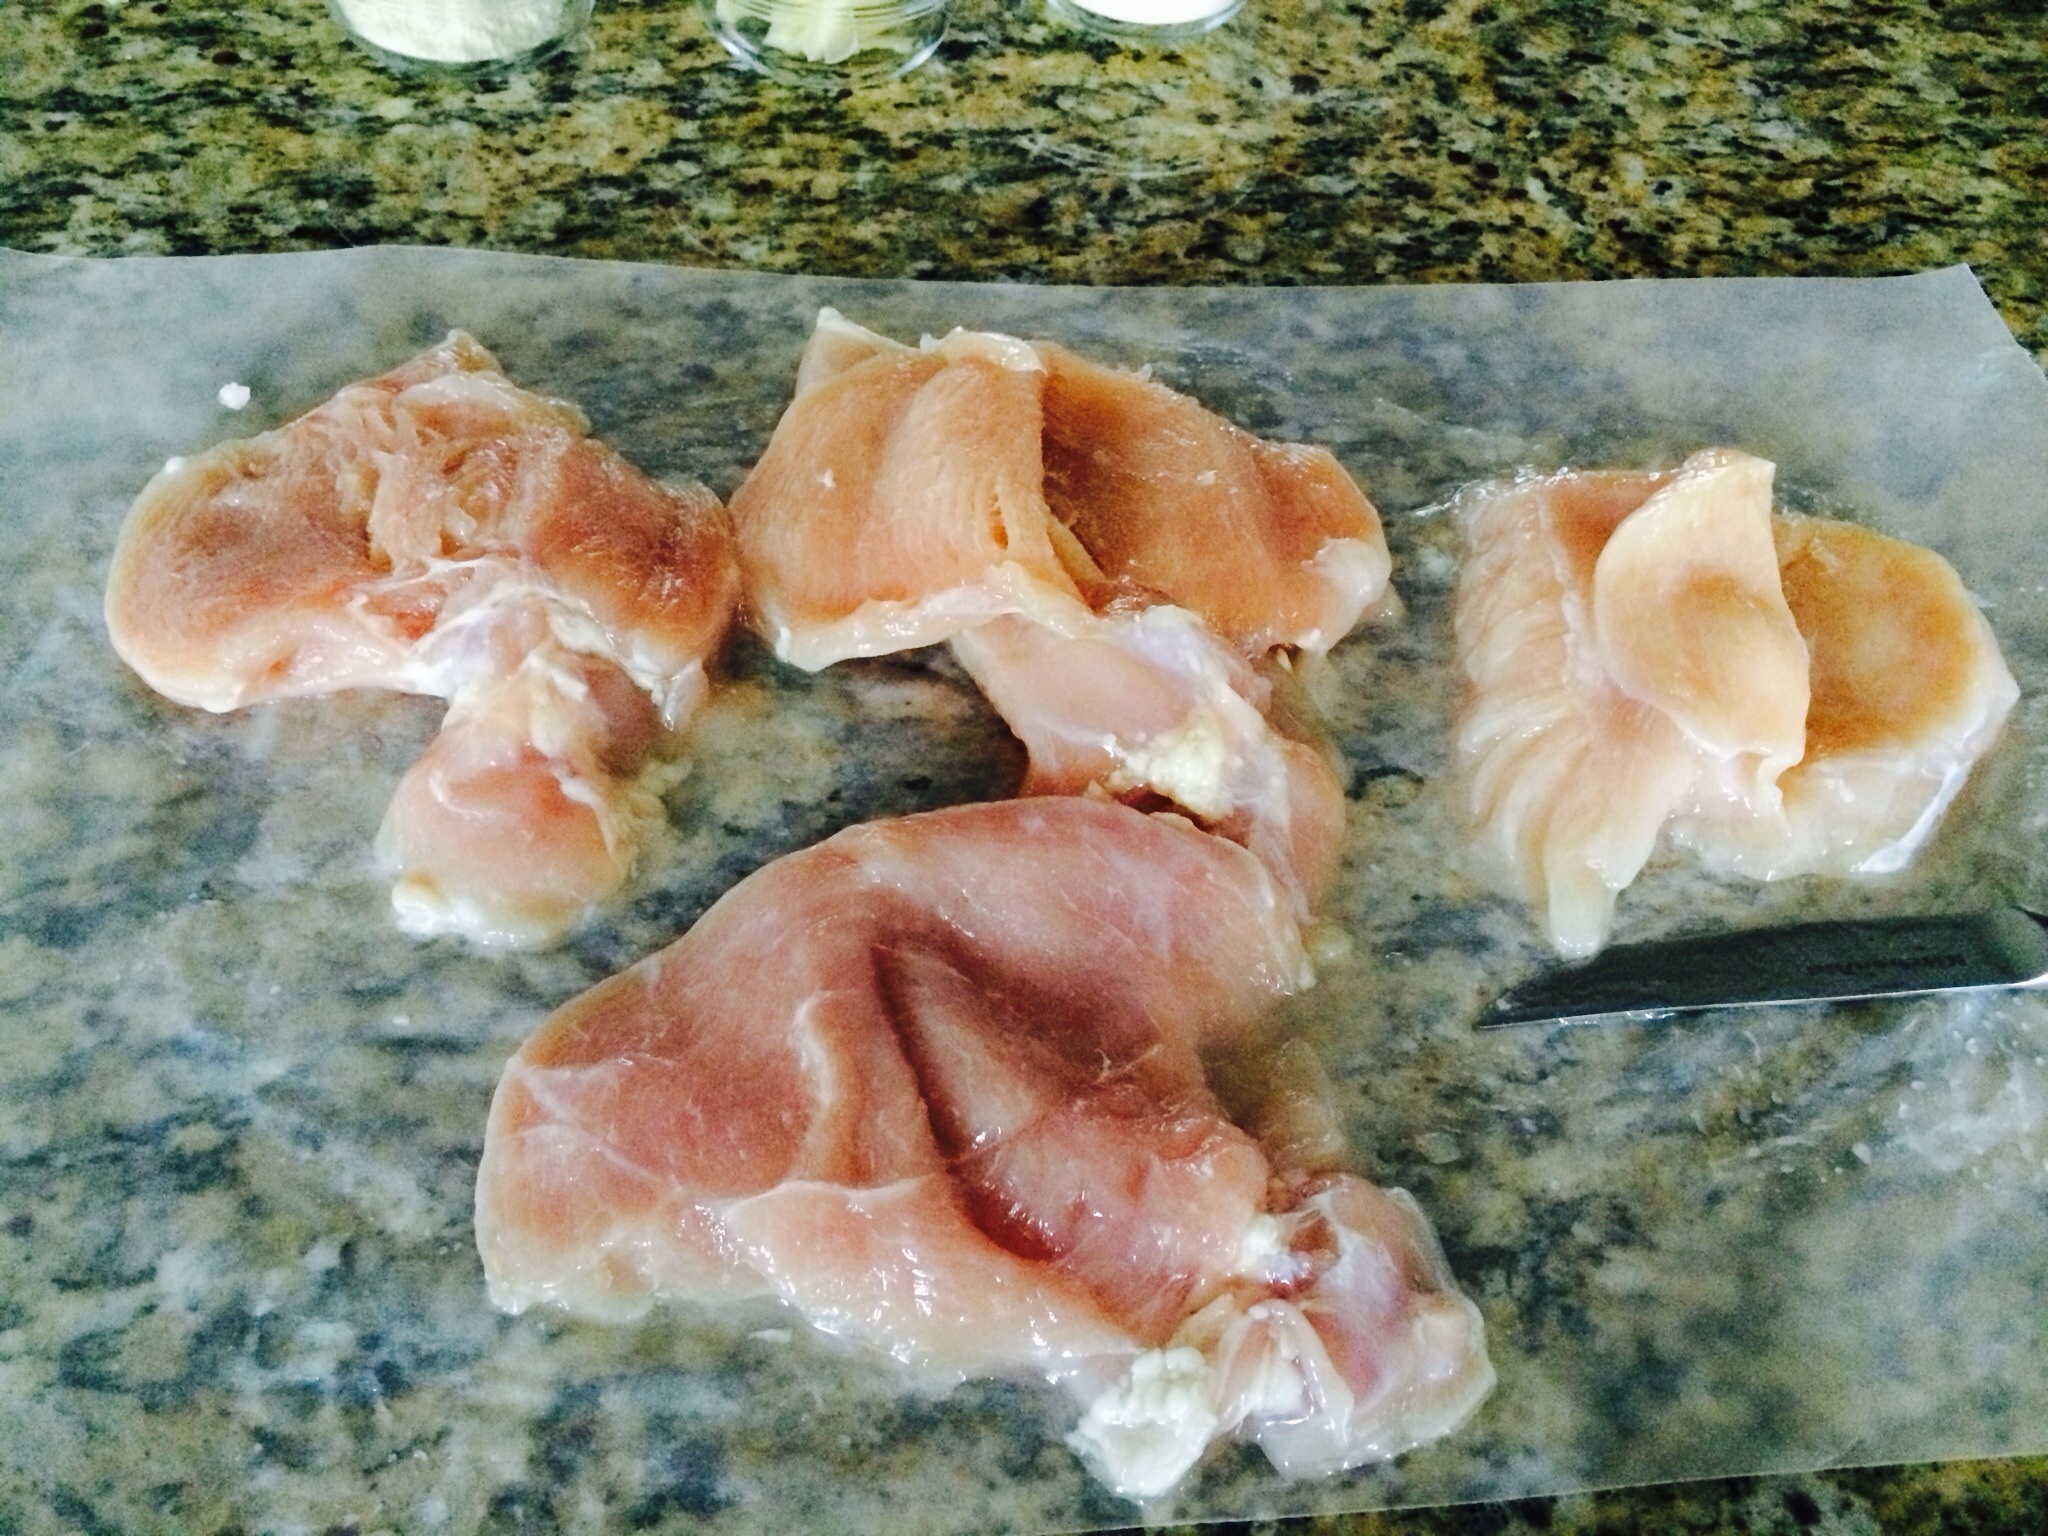
4 chicken breasts, butterflied and tenderized depending on the thickness
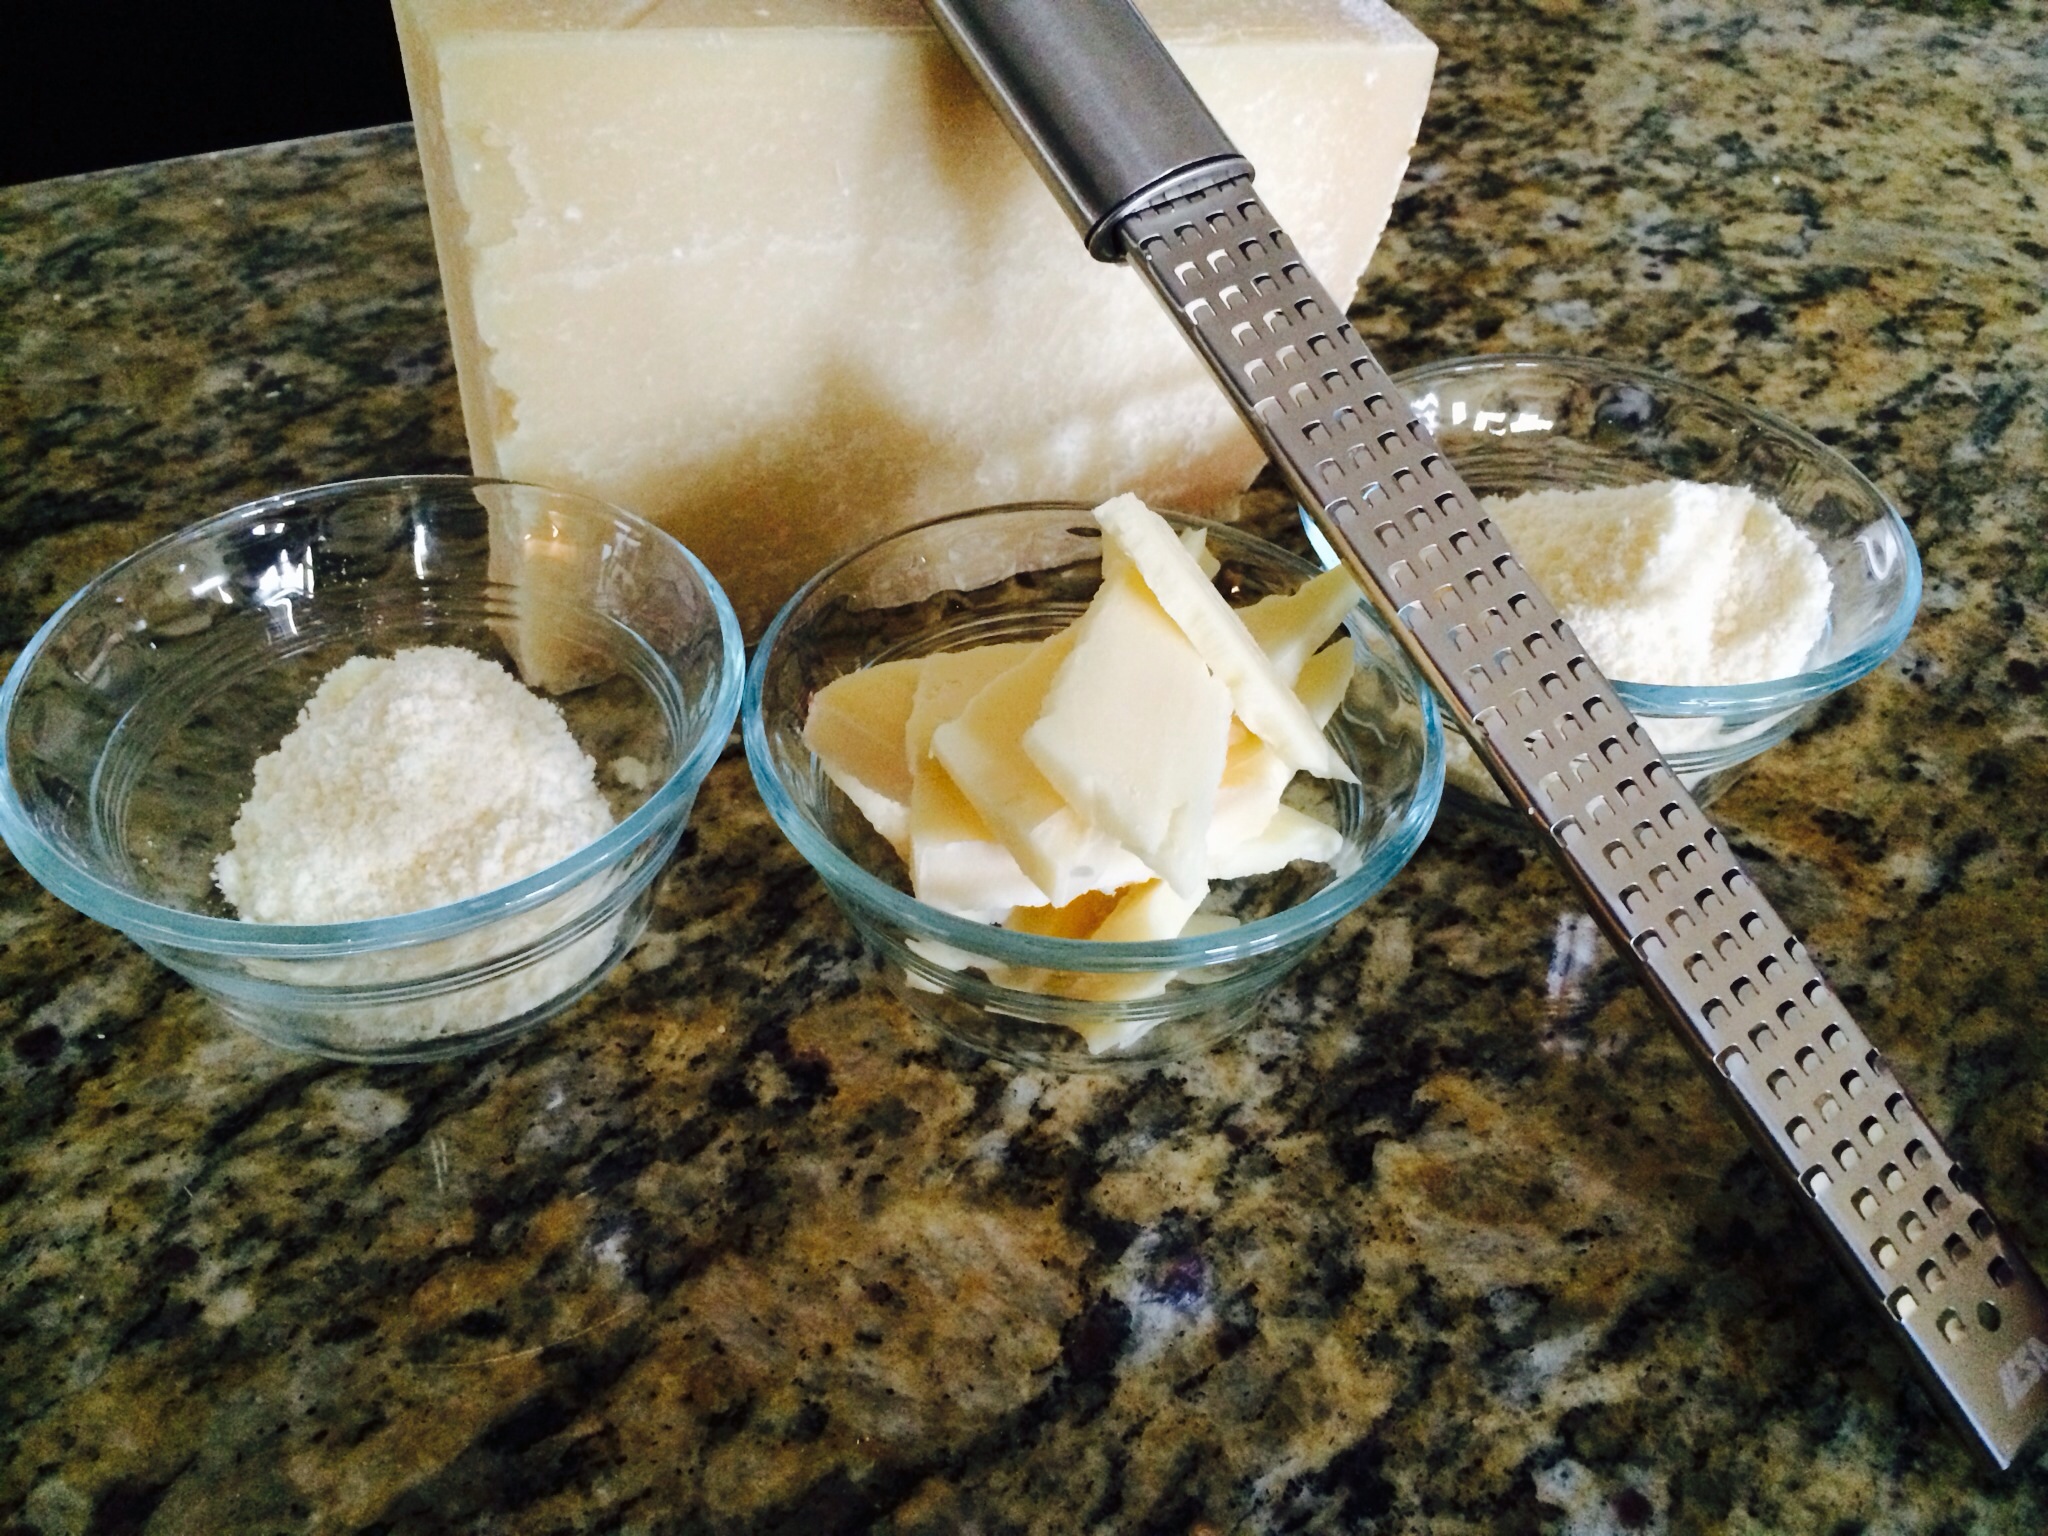
1/4 lb. fontina cheese – sliced in to 4 1/4 inch rectangles
1-1/2 cups grated Parmesan Cheese, divided in half
1 tbsp. Chopped Basil
Salt/pepper
1/4 cup Grated Pecorino Romano cheese
4 tbsp. Fresh squeezed lemon juice
3 tbsp. Olive oil
3 cloves of garlic, finely chopped
3/4 cup milk
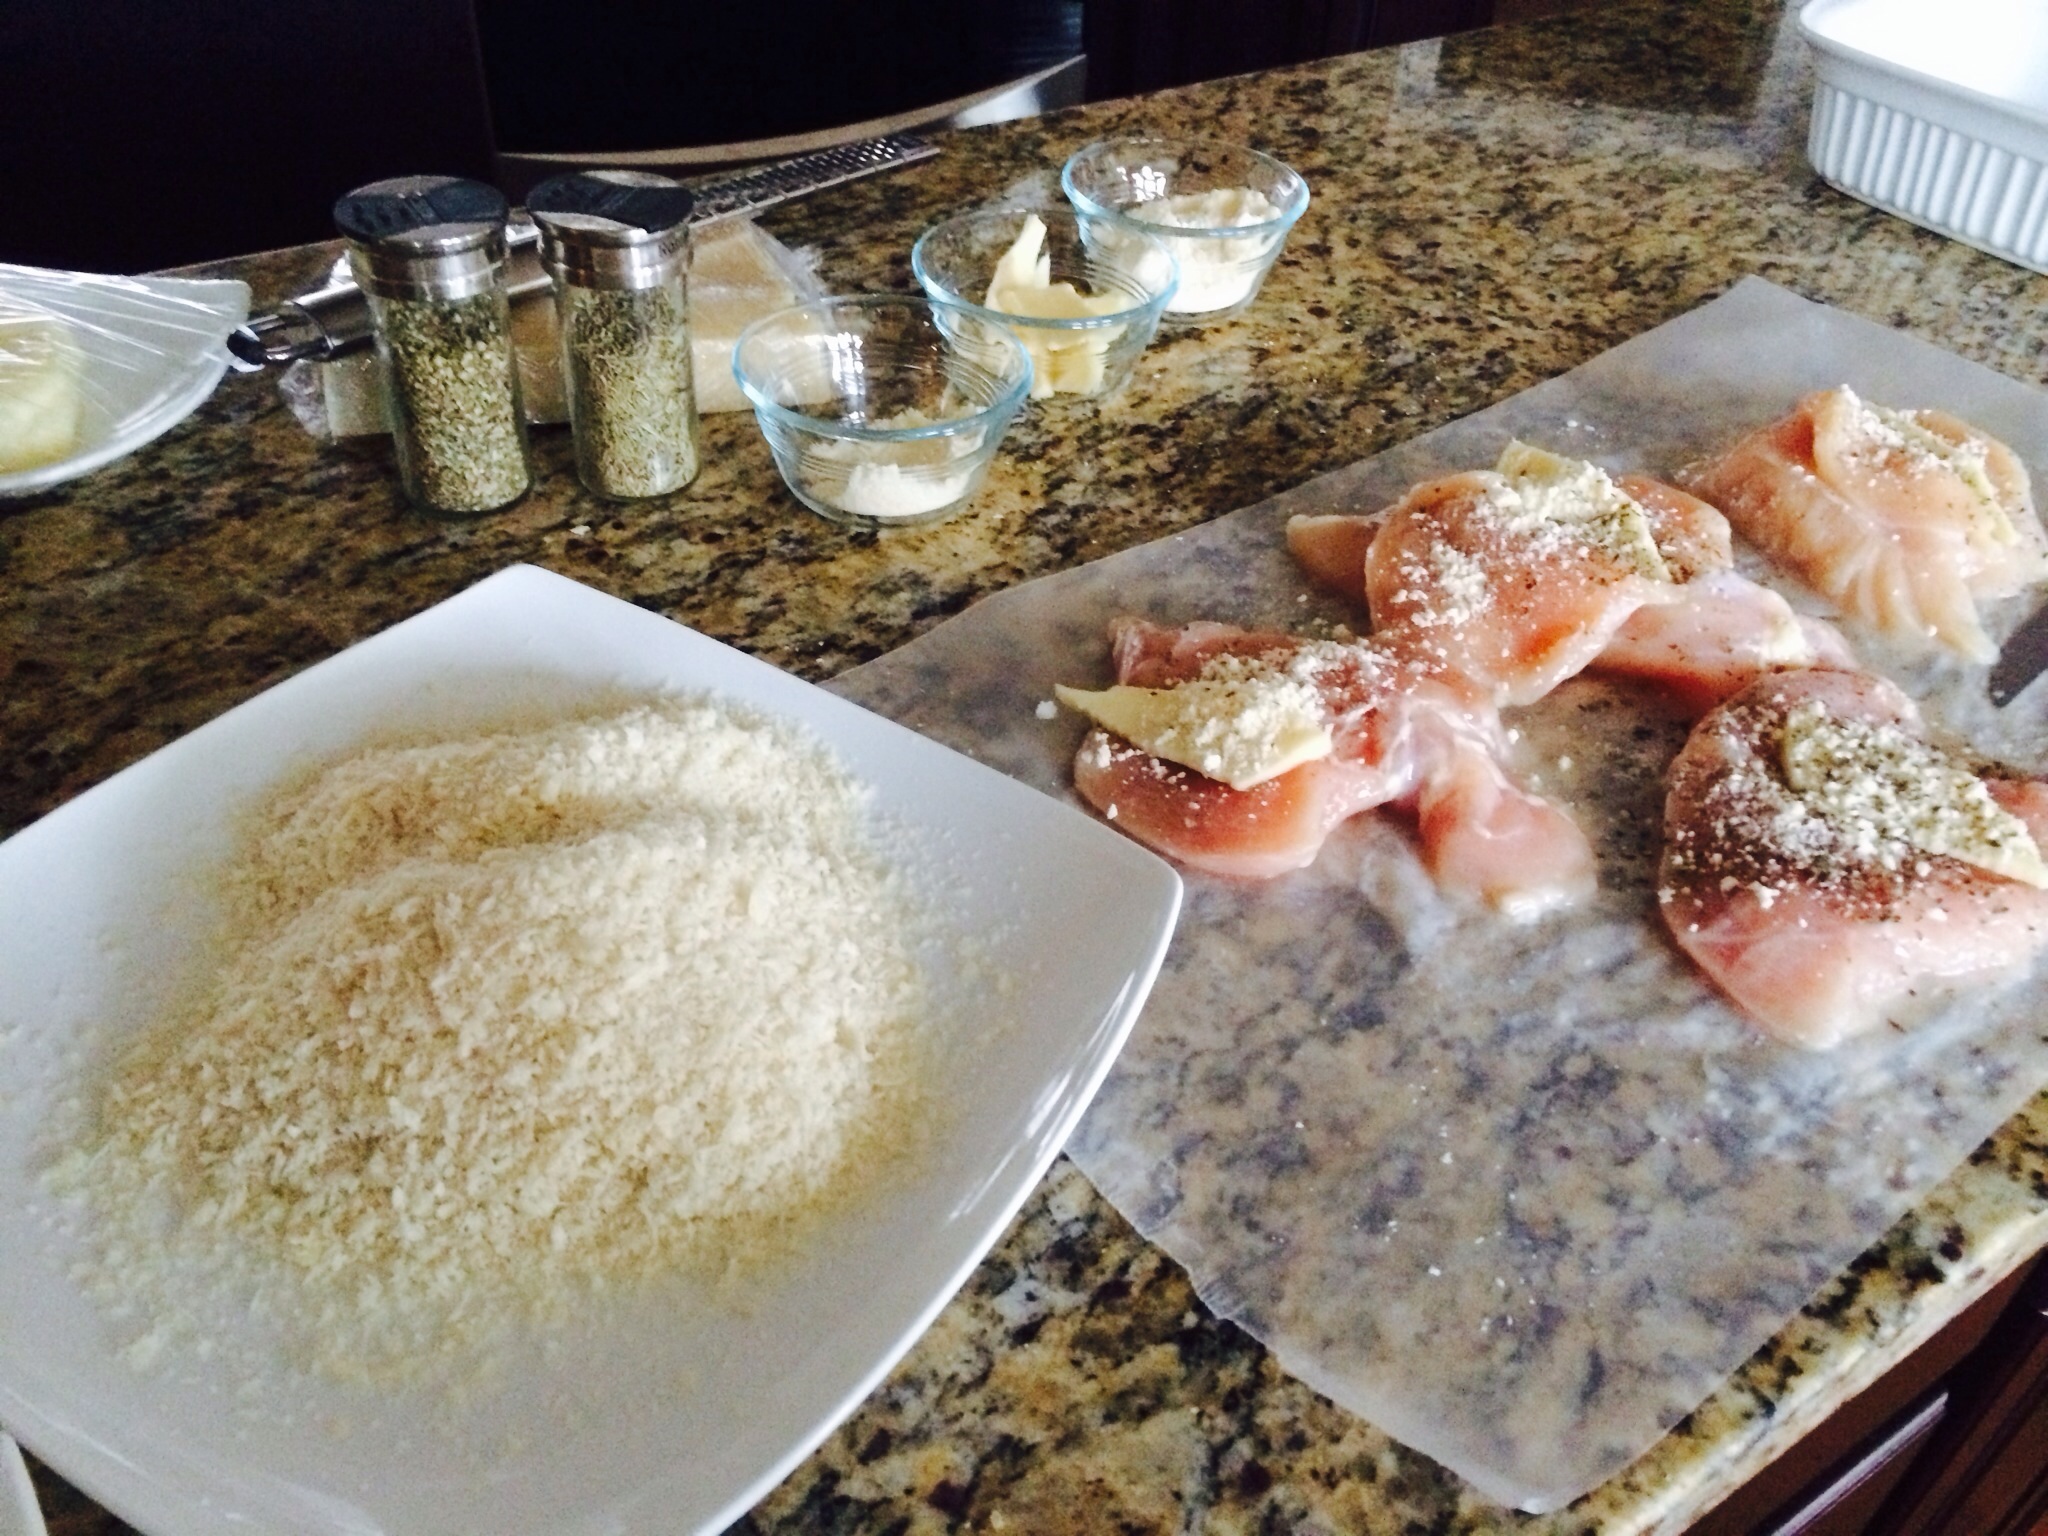
1-1/2 cups Panko bread crumbs mixed with extra 3/4 cup Parmesan Cheese
Directions:
Rinse, cut off any excess fat, and butterfly the chicken breasts.
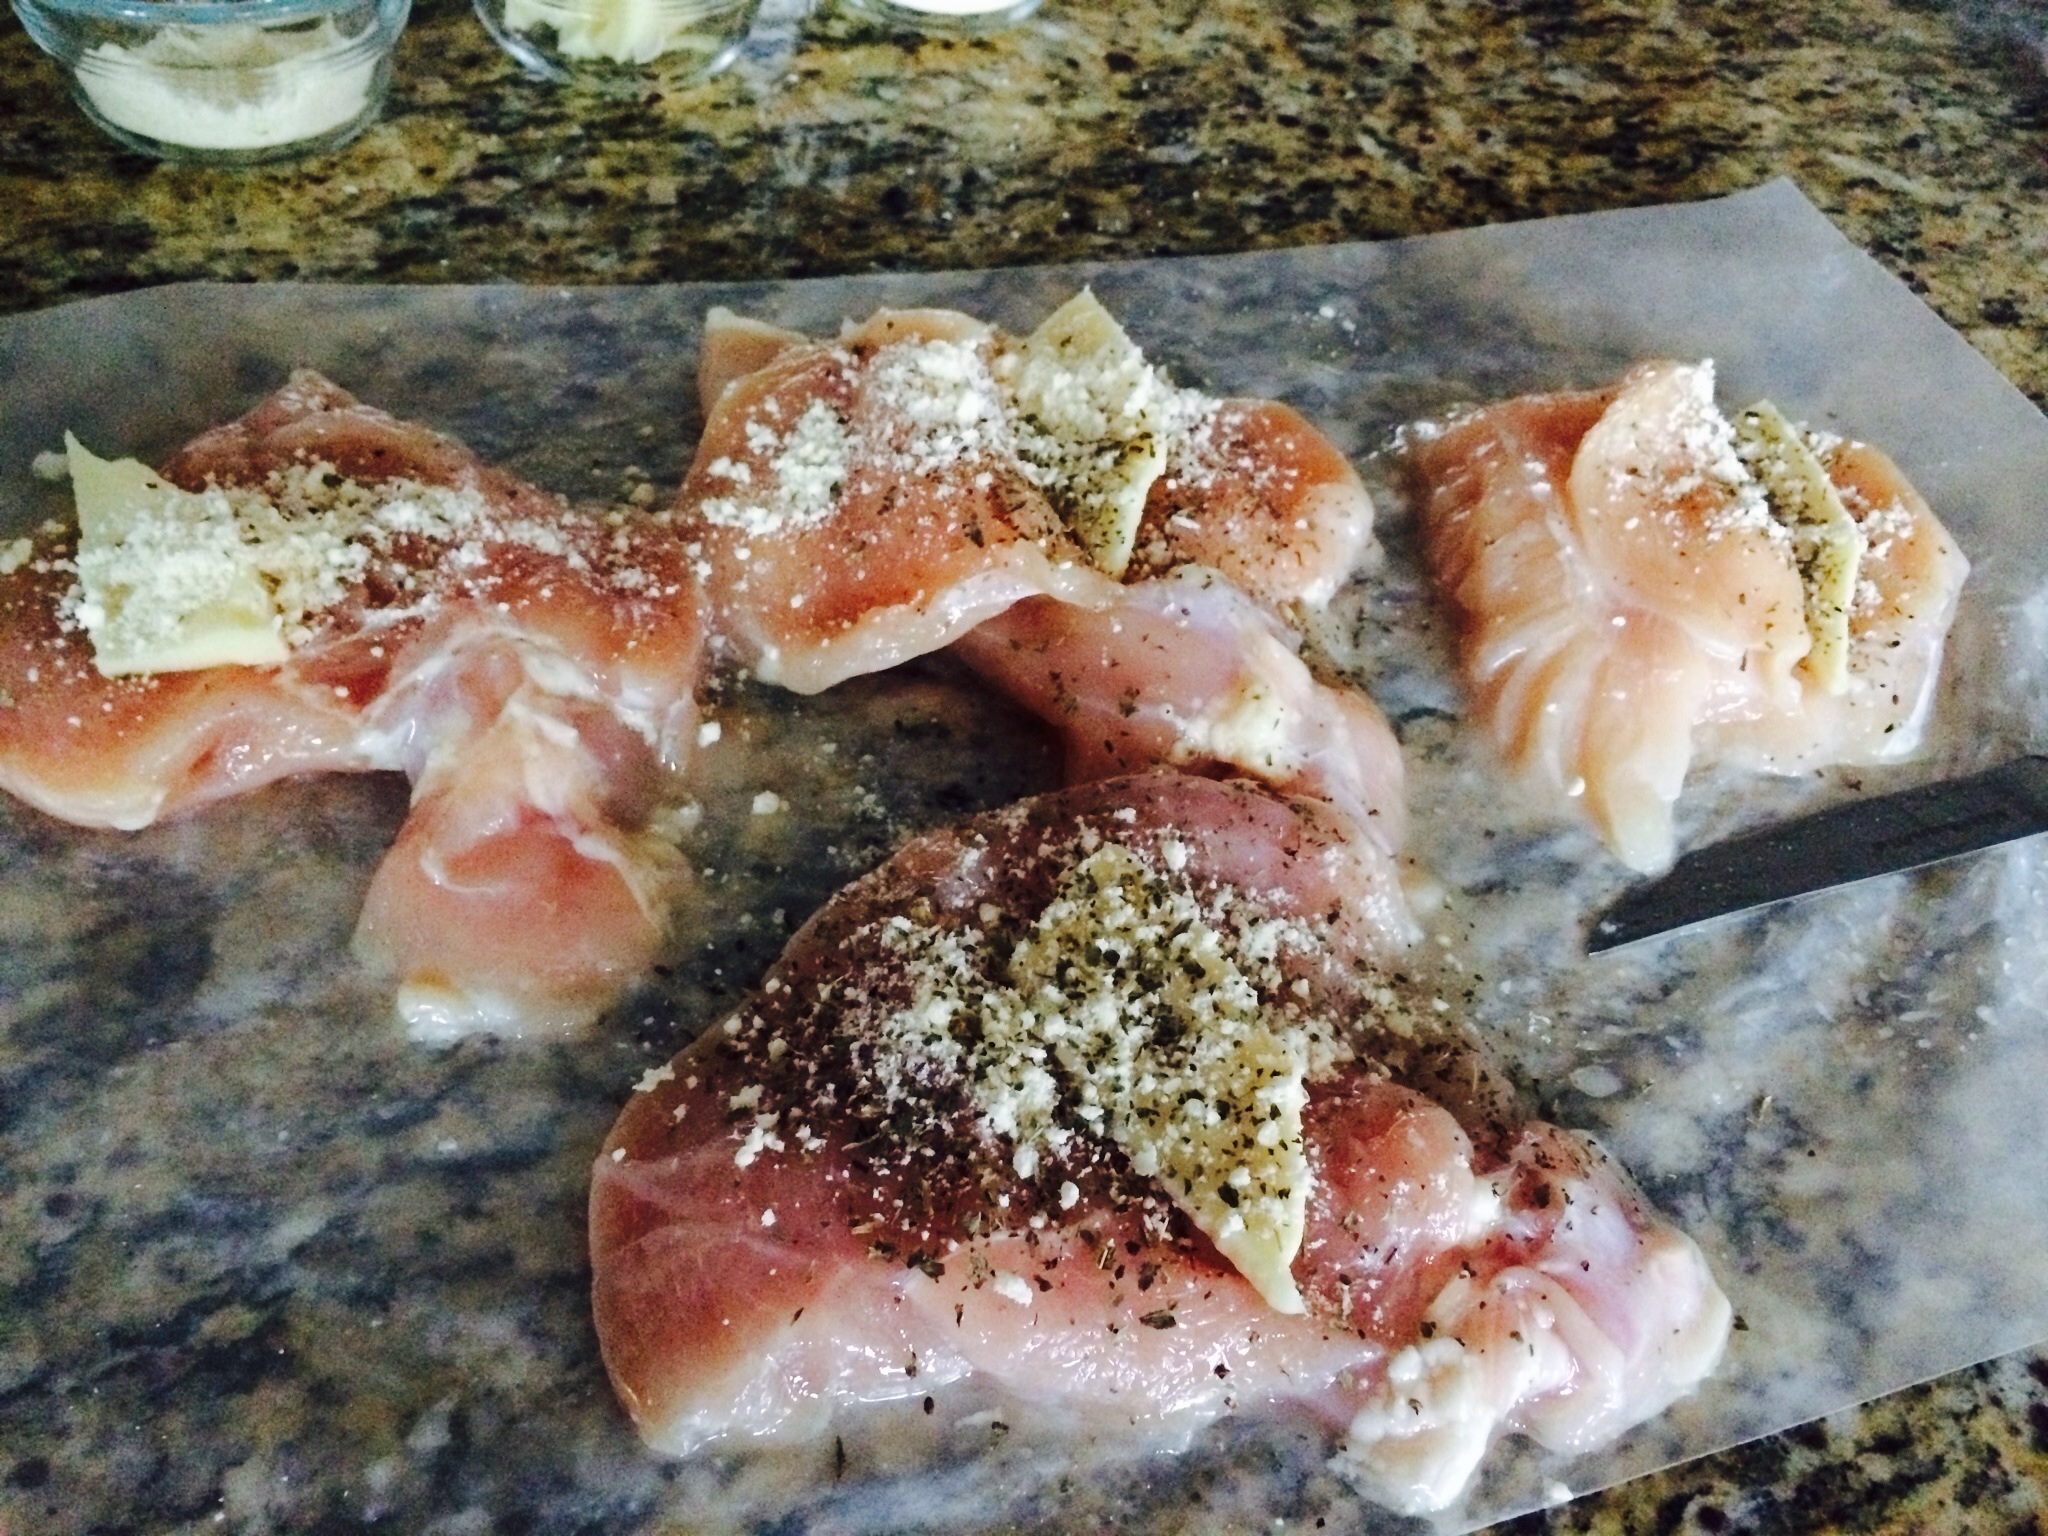
Fill with fontina, Parmesan and Romano cheeses, sprinkle with basil, salt and pepper and close.
Dip chicken in milk, flip to coat both sides, and cover each side in Parmesan breadcrumbs.
Repeat with all four breasts.
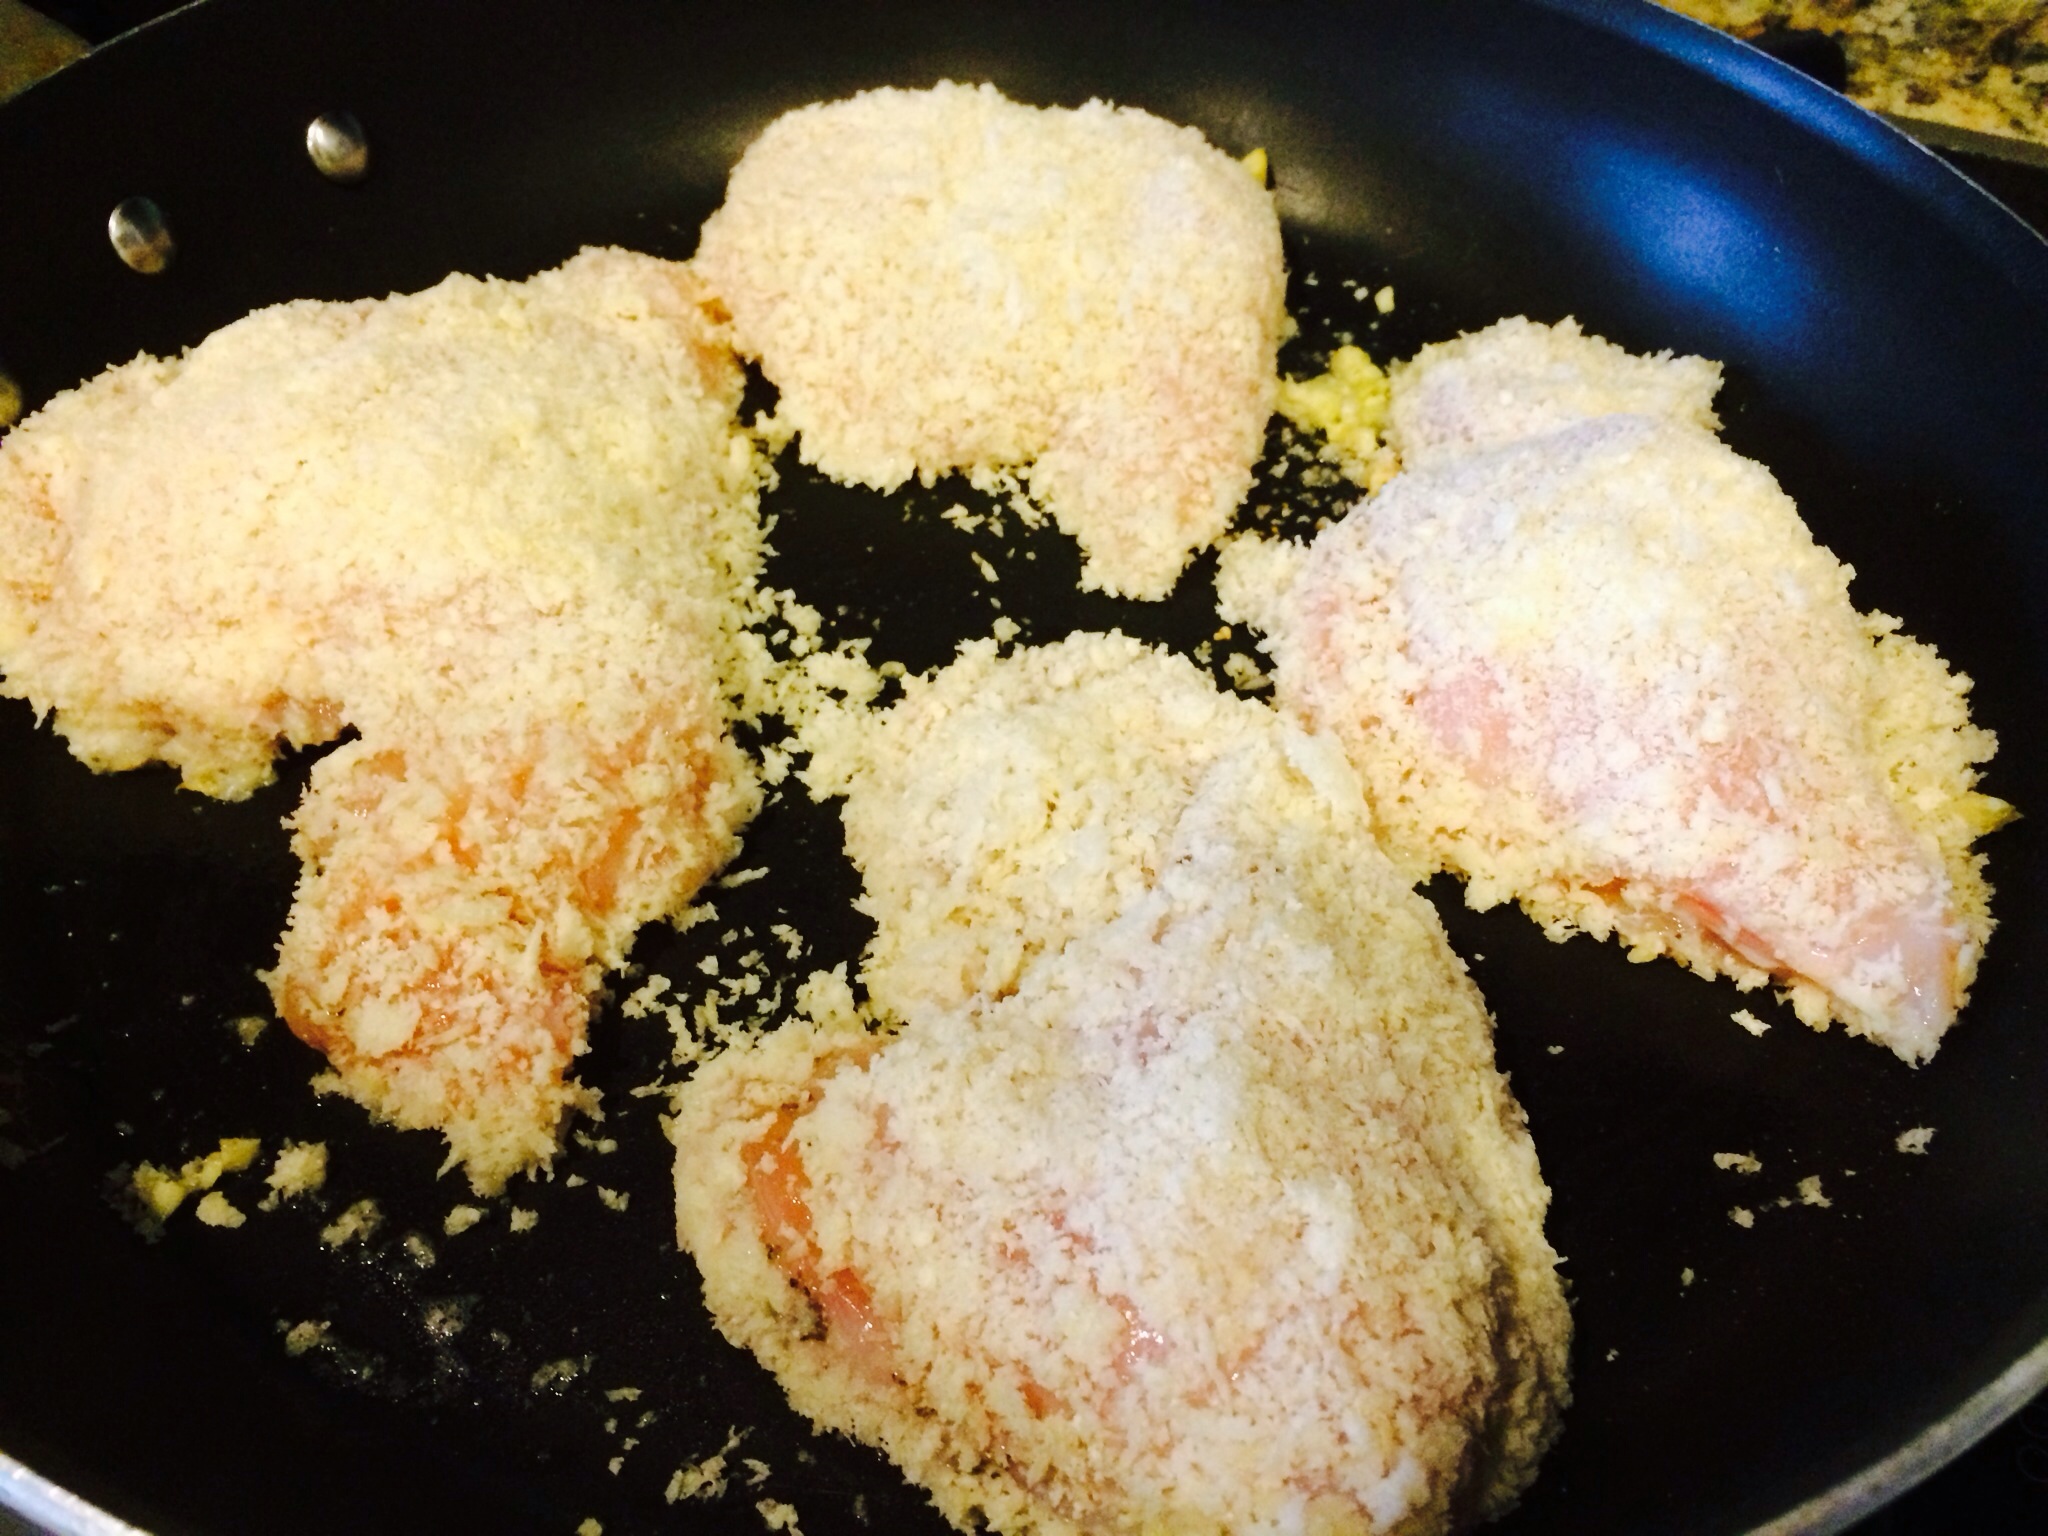
In your largest frying pan, heat olive oil and 2 tbsp. lemon juice.
Add chopped garlic and stir allowing it to soften.
Brown each chicken breast approximately 4-5 minutes each side.
Transfer the chicken to an olive oil coated baking dish. Top the chicken with the drippingsfrom the pan, any extra bread crumbs in pan and pieces of garlic.(This is the best part! Spoon it all on there!)
Drizzle the remaining 2 tbsp. lemon juice plus extra if you really want a lemon flavor.
Bake 20-30 minutes or until the internal temperature reaches 165 degrees.
Serve Parmesan Crusted and Stuffed Chicken with your favorite roasted vegetables! Enjoy!
Ciao!
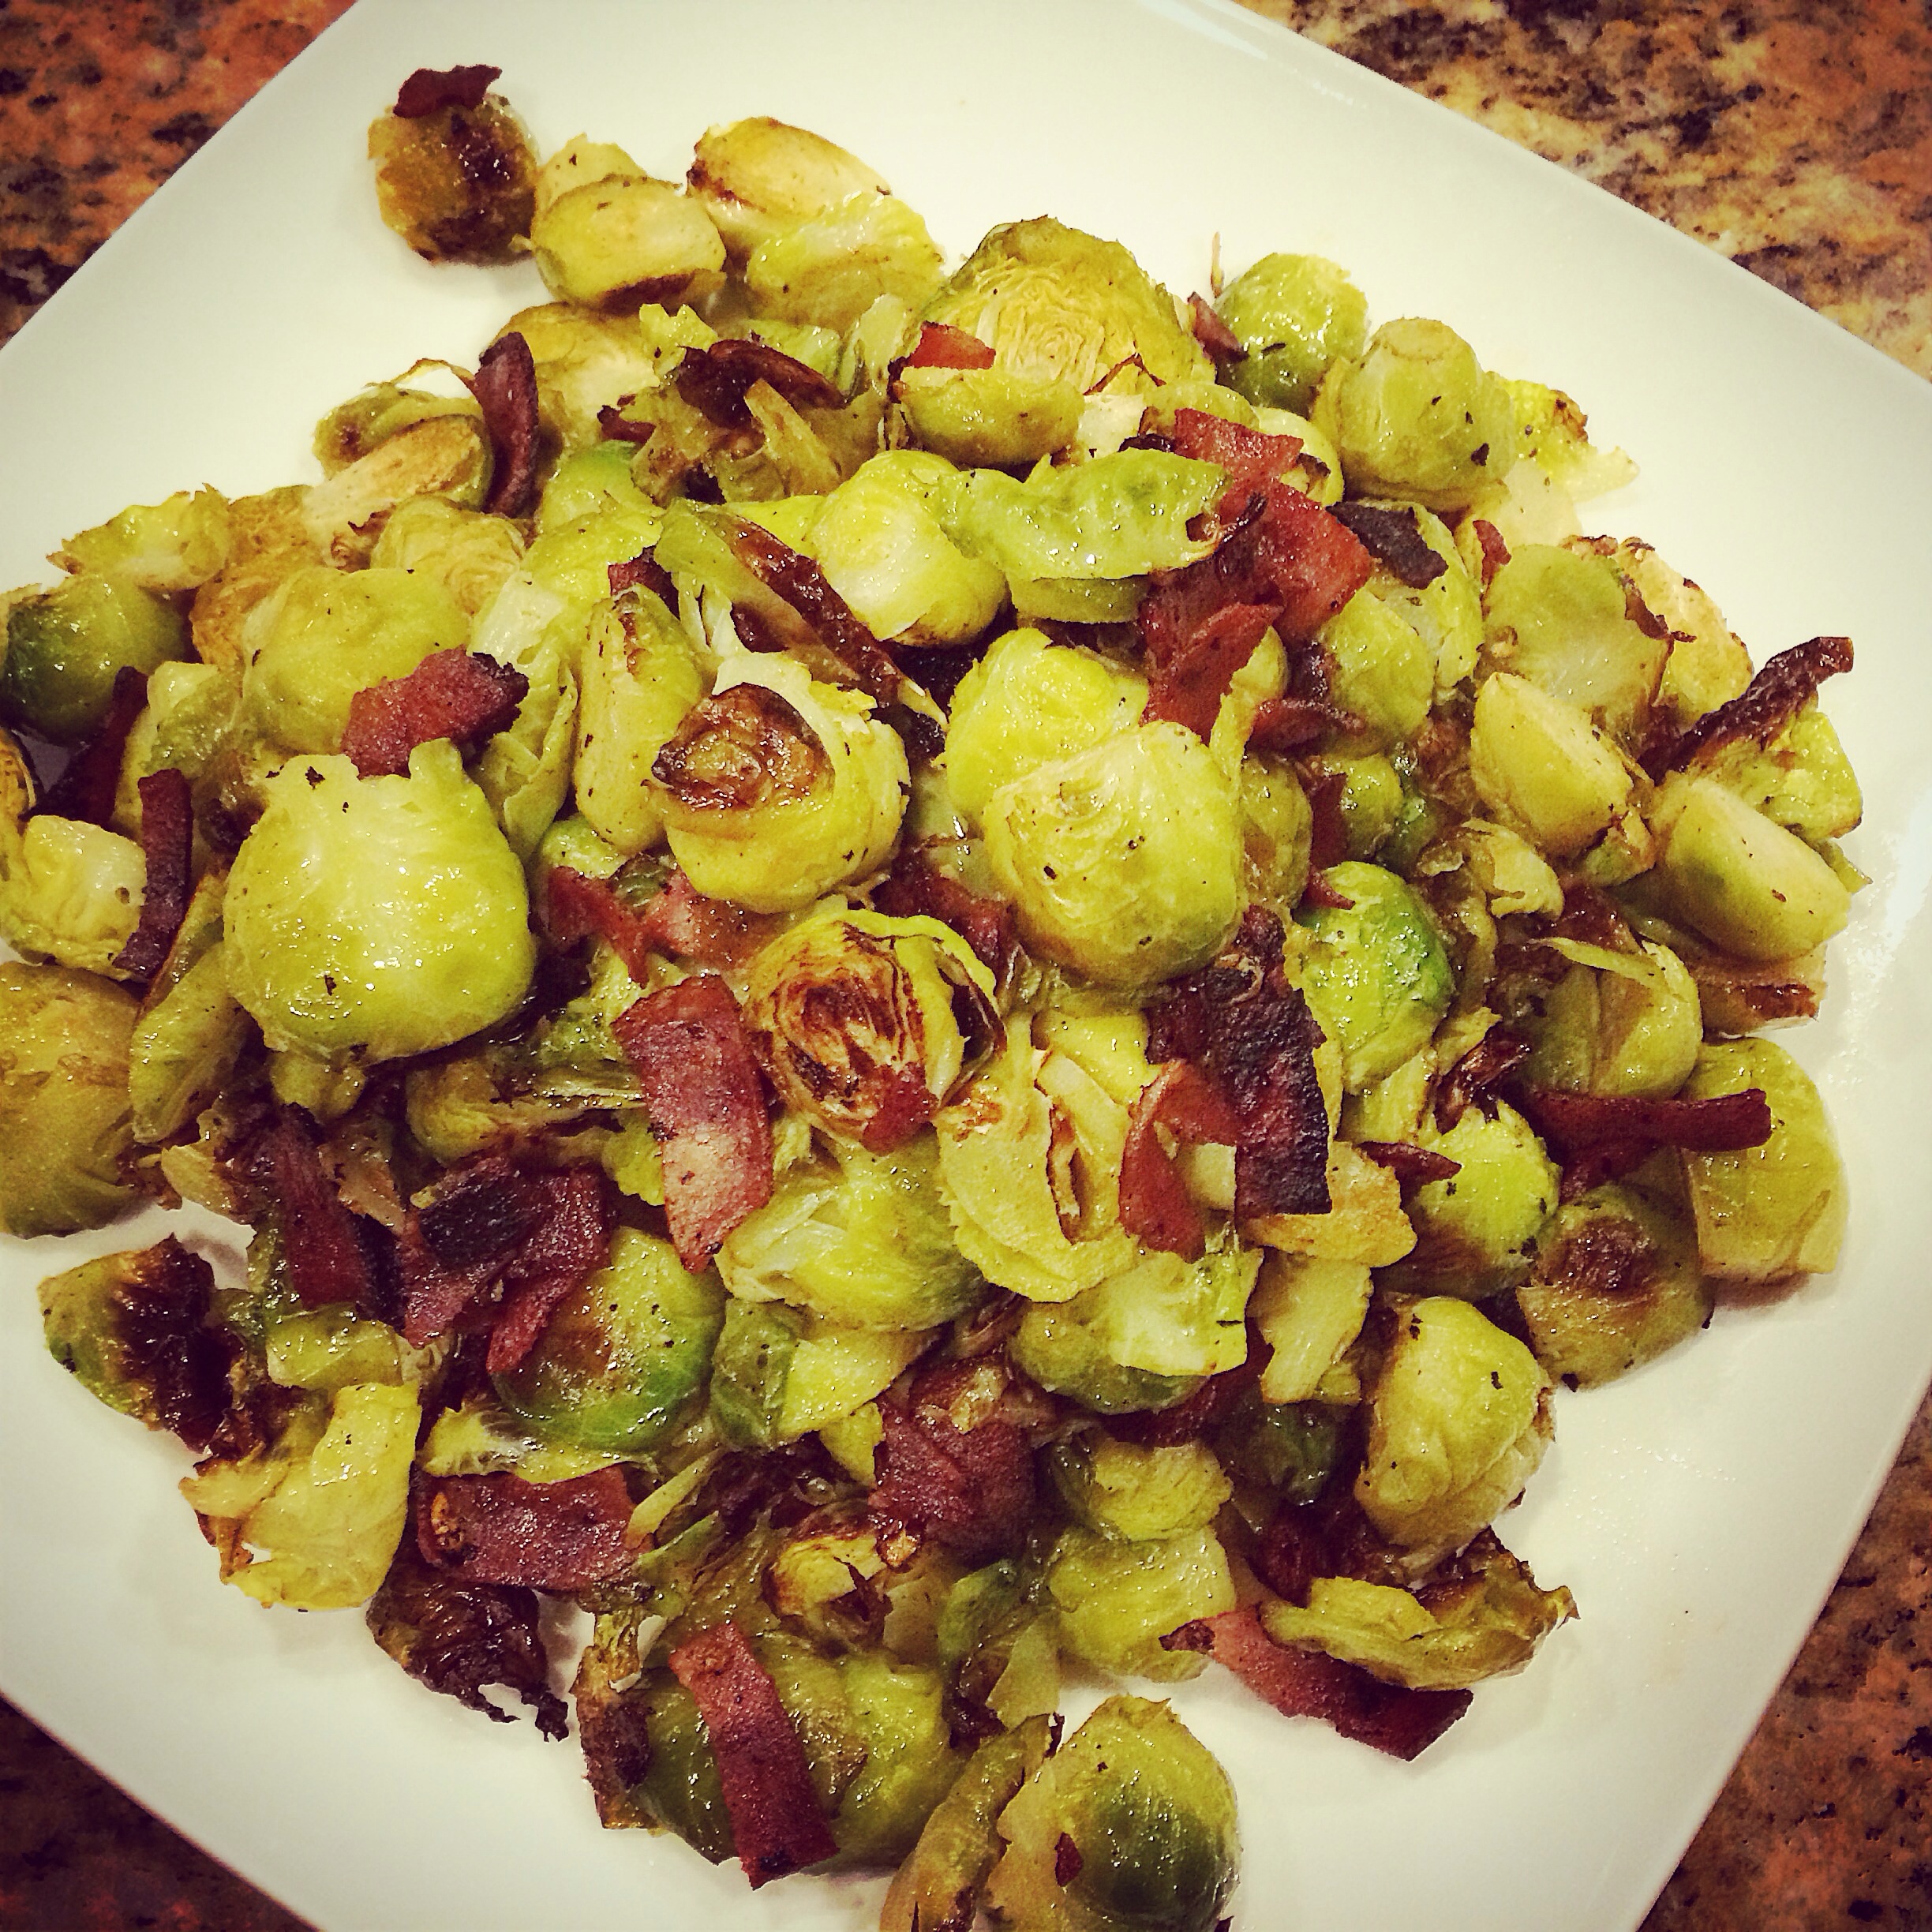
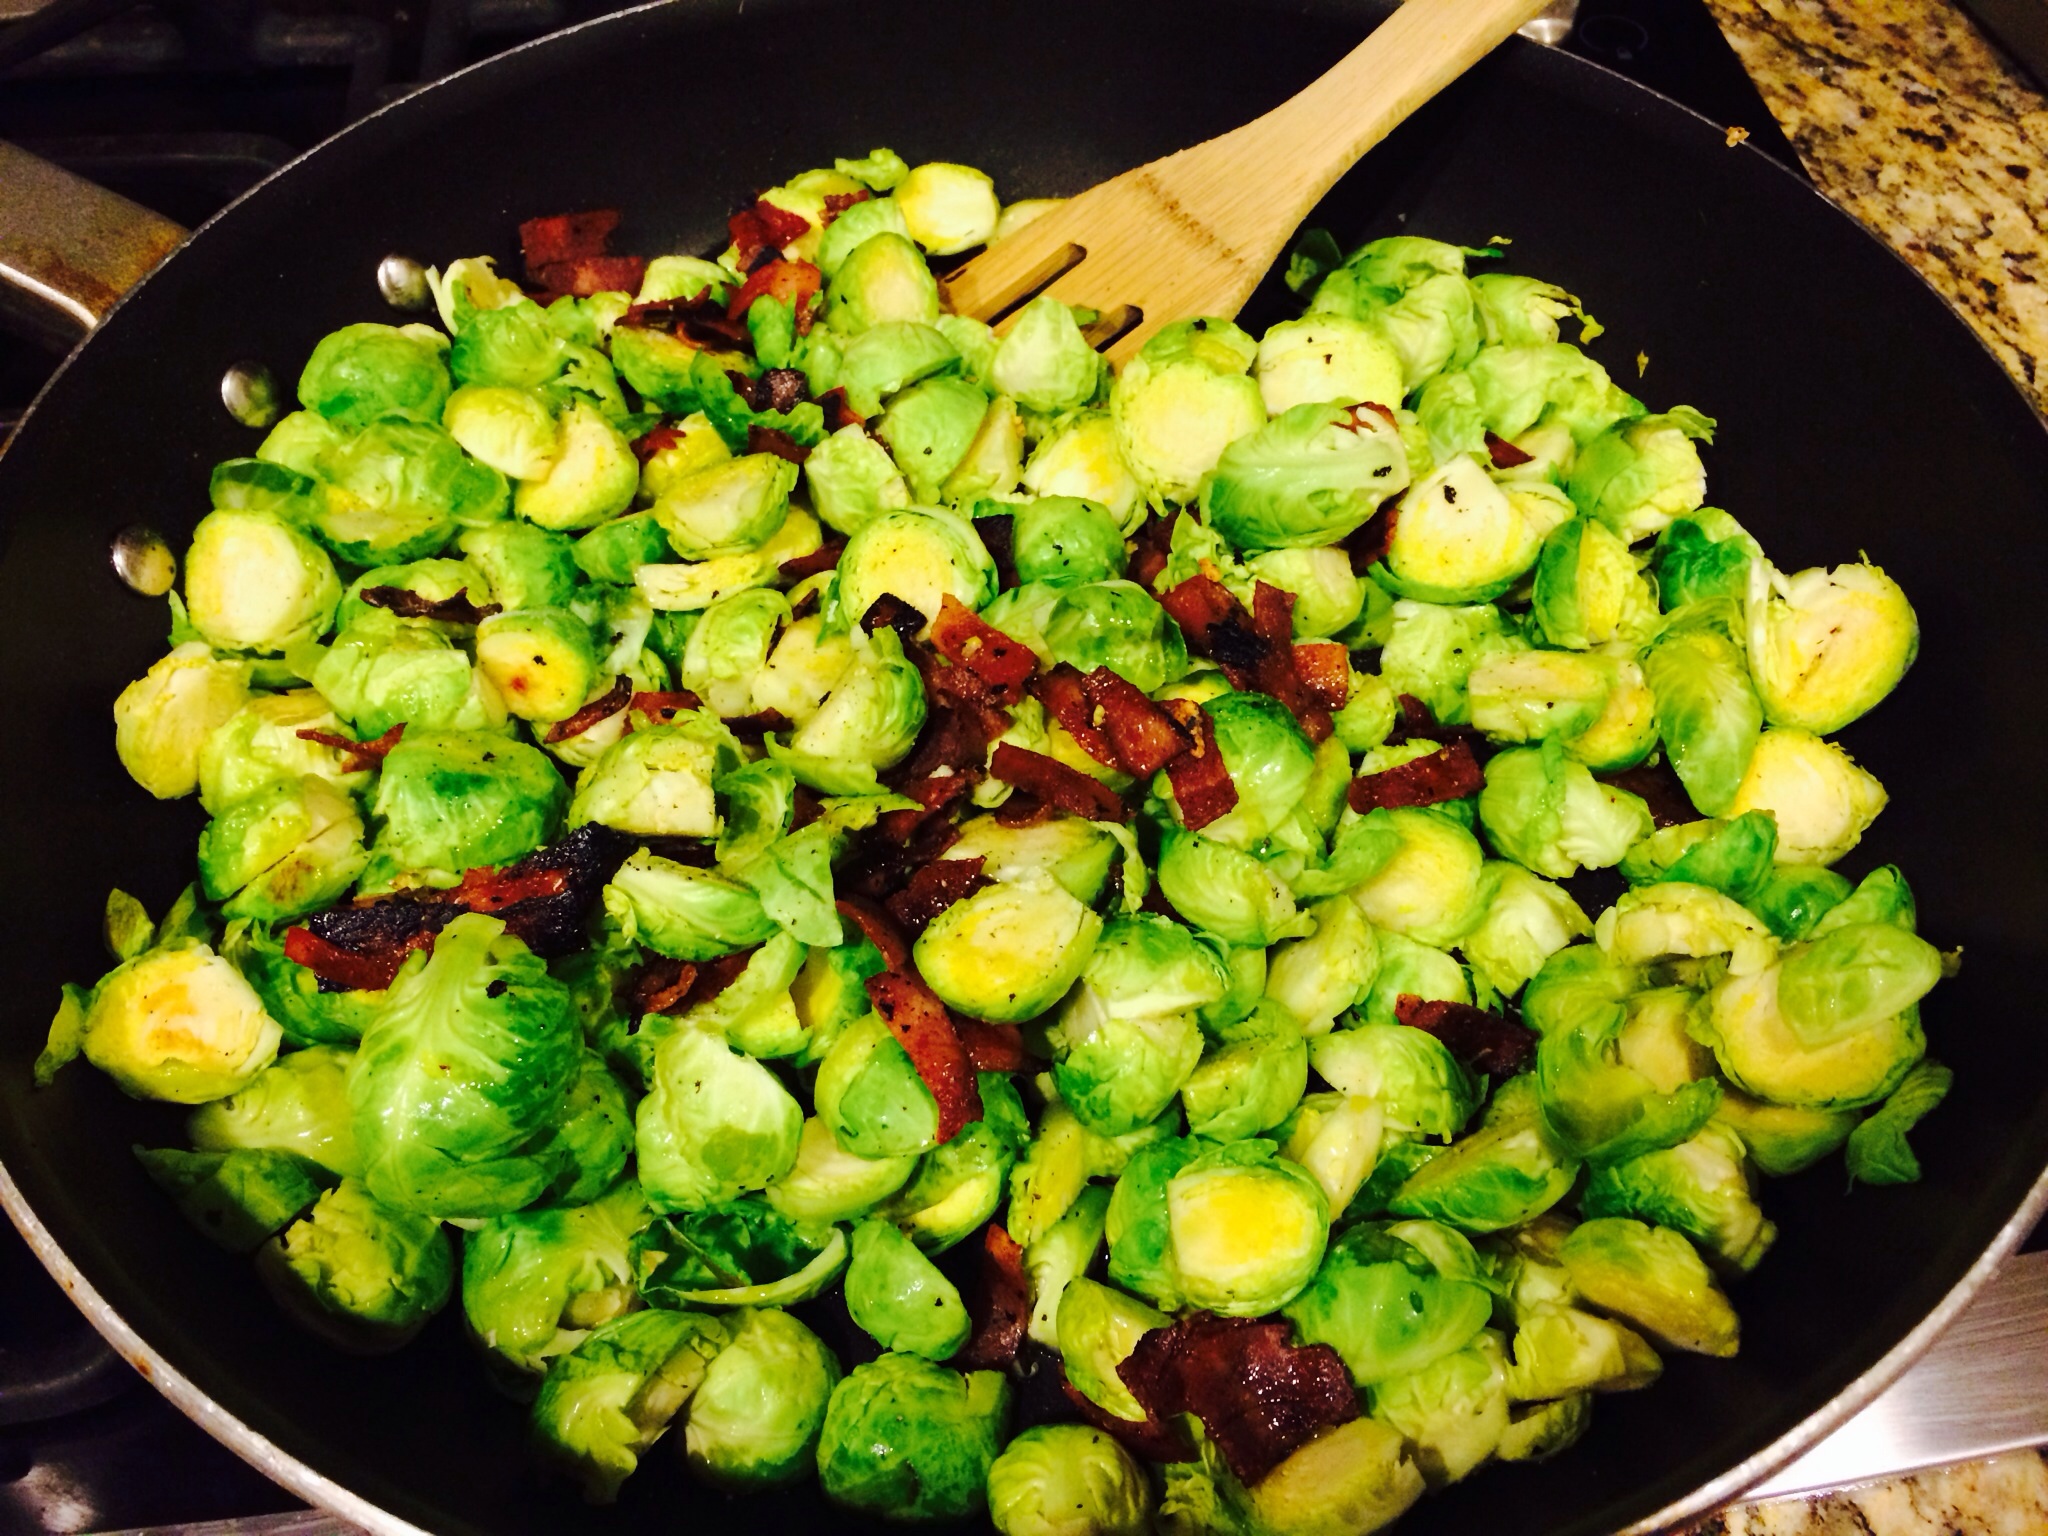
Brussels sprouts tossed with an olive oil, brown sugar combo produce a delicious, caramelized vegetable side dish. I have been adding bacon or pancetta to my normal recipe to achieve a smokey flavor. The charred edges of the sprouts coupled with the crispness and saltiness of the meat creates a deeper flavor than plain roasted sprouts. What a beautiful addition to your Thanksgiving table!
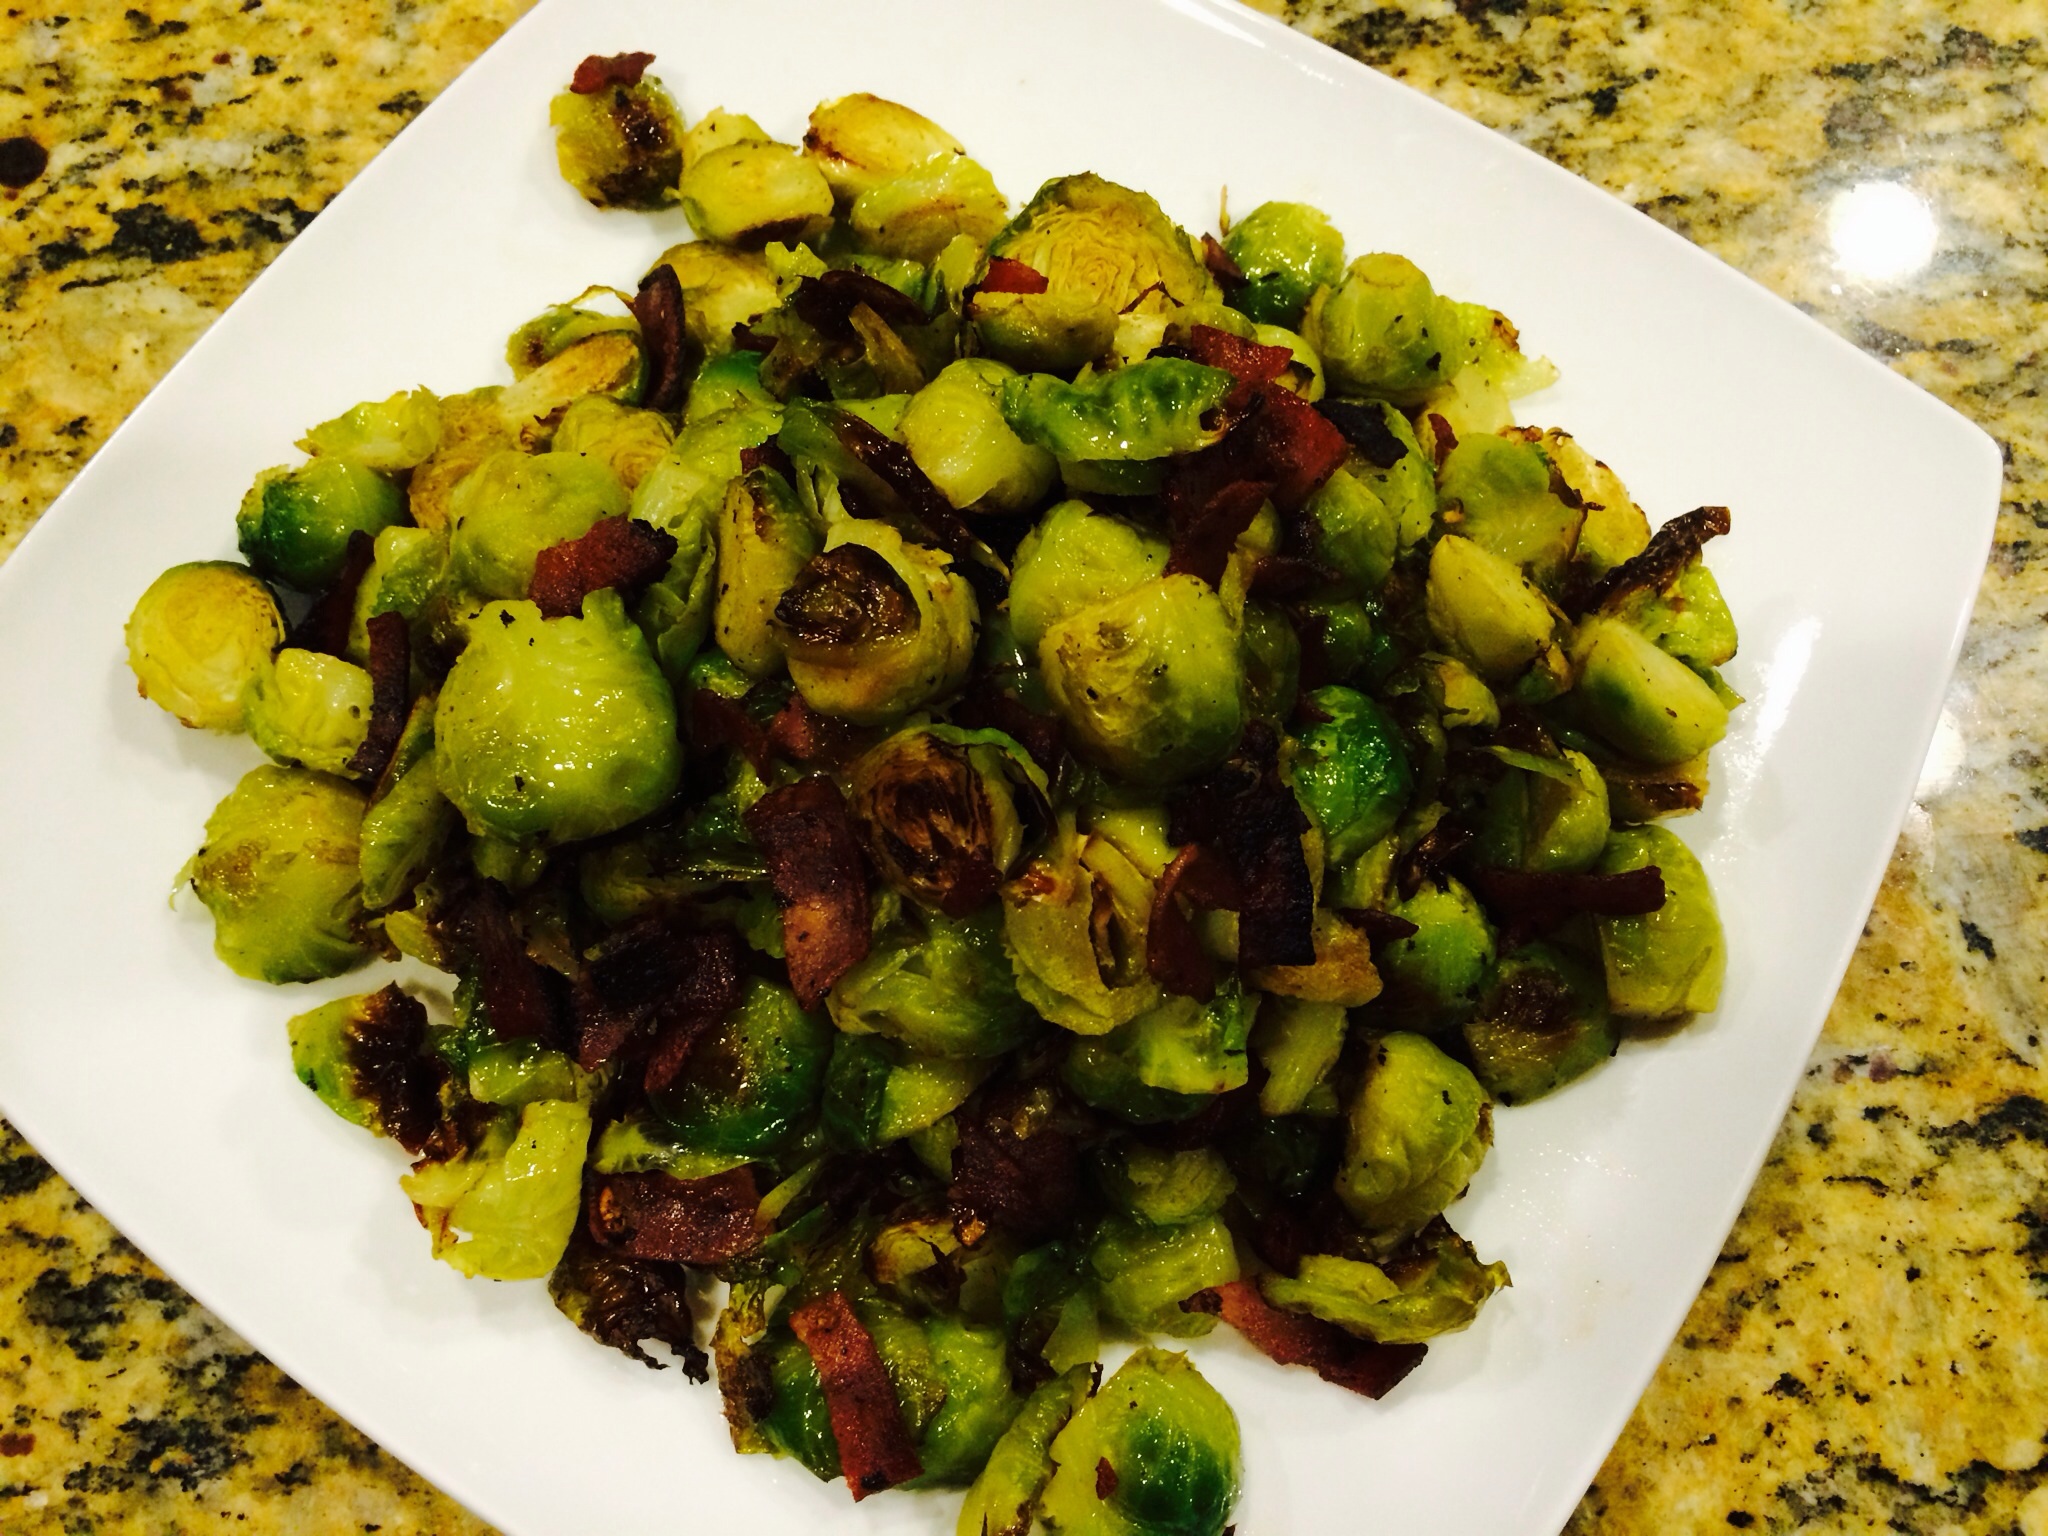
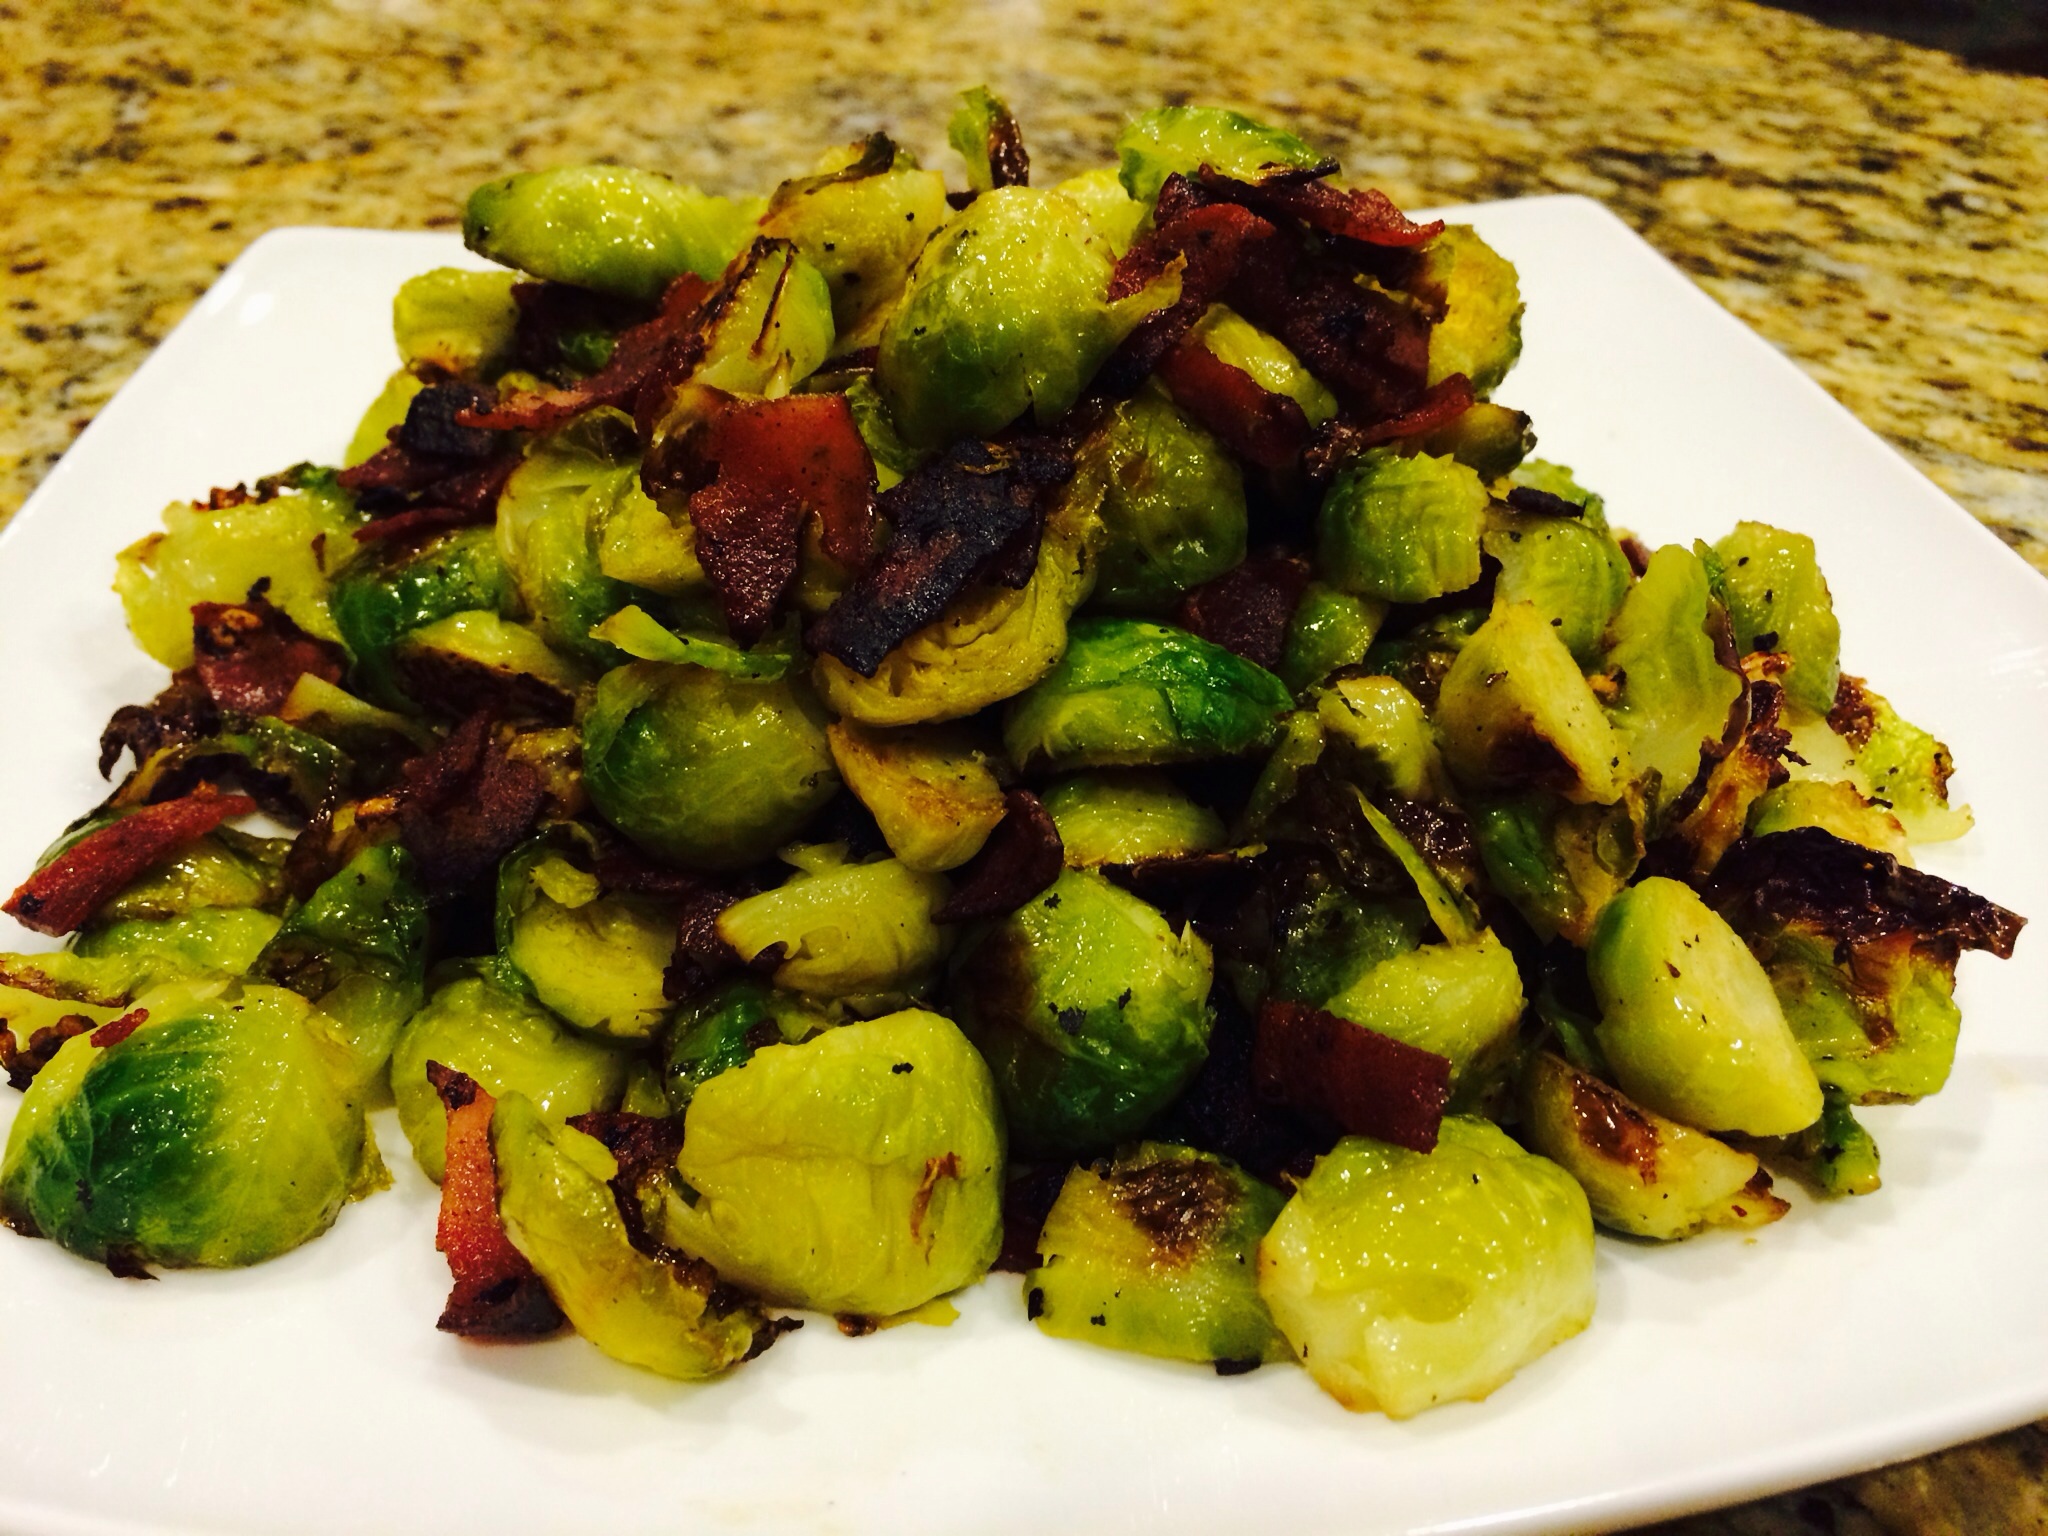
Roasted Brussels Sprouts with Bacon!
Roasted Garlic Brussels Sprouts With Bacon or Pancetta
Ingredients:
1-1/2 lbs. brussels sprouts, cleaned and halved 4 strips bacon or pancetta, chopped into 1/2 inch cubes 2 tbsp. Olive oil 2 cloves garlic, oven roasted in foil until softened and then finely chopped. 2 tbsp. cumin 2 tbsp. brown sugar 1/2 lemon, to squeeze for juice Fresh grated Parmesan Salt and pepper
Directions:
Preheat oven to 425 degrees.
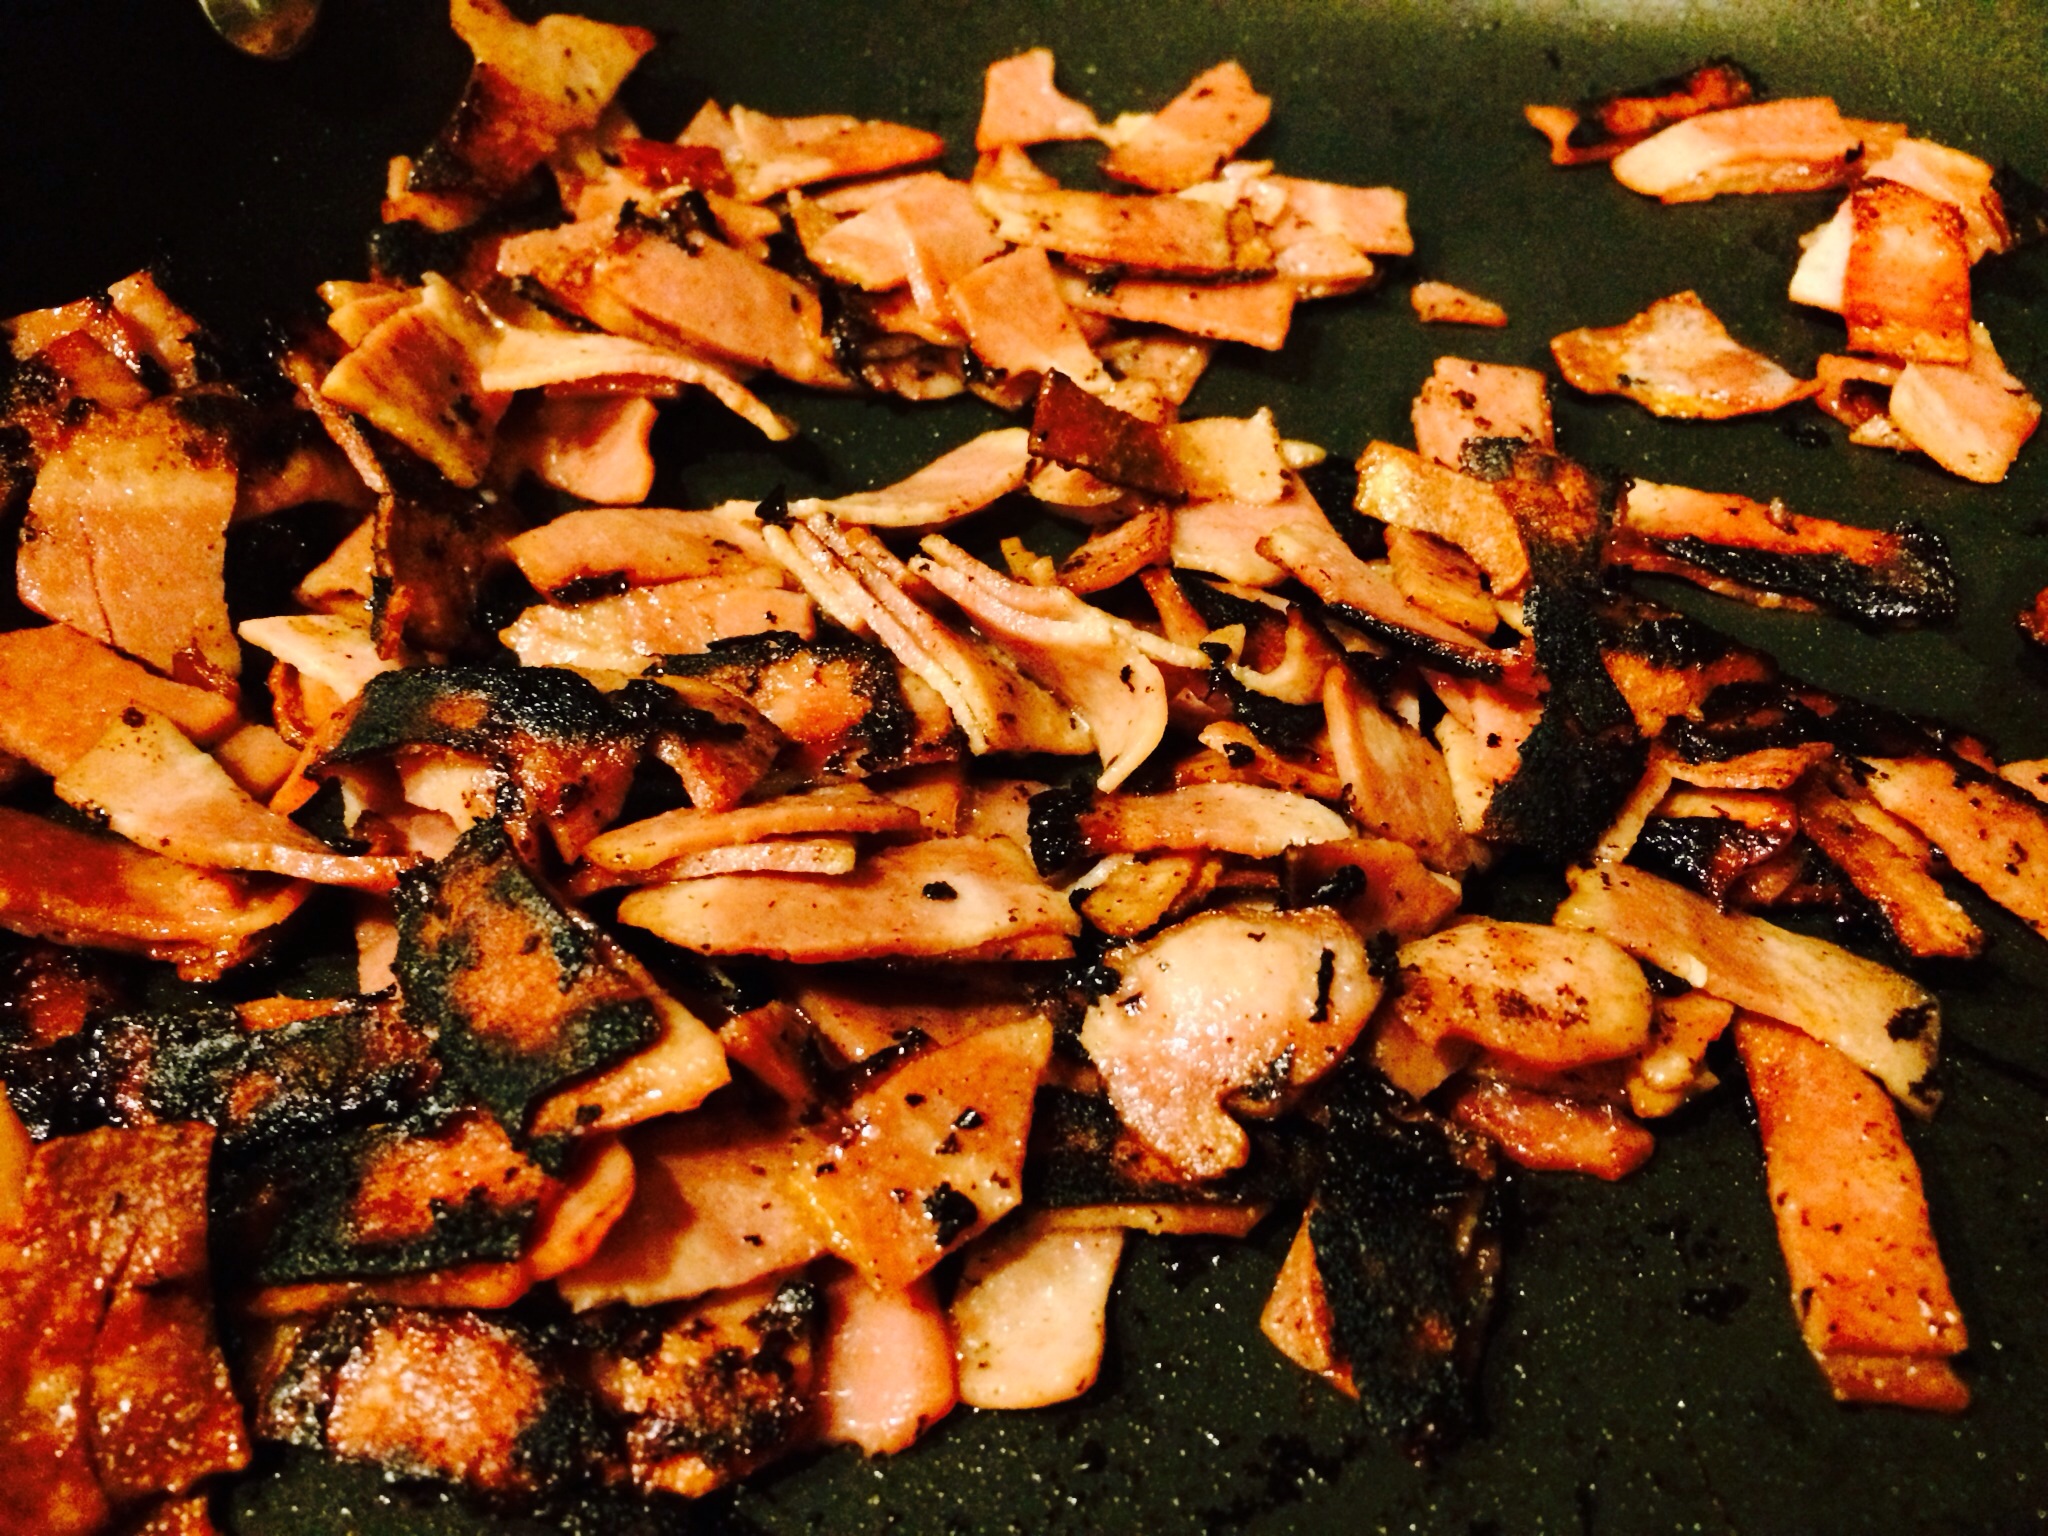
Add chopped bacon or pancetta to a frying pan and cook until crispy.
I like to cook until charred, extra crispy! Make sure to leave the drippings in the pan!
In the same pan, add roasted garlic and cook for a few minutes.
Add olive oil, cumin, and brown sugar.
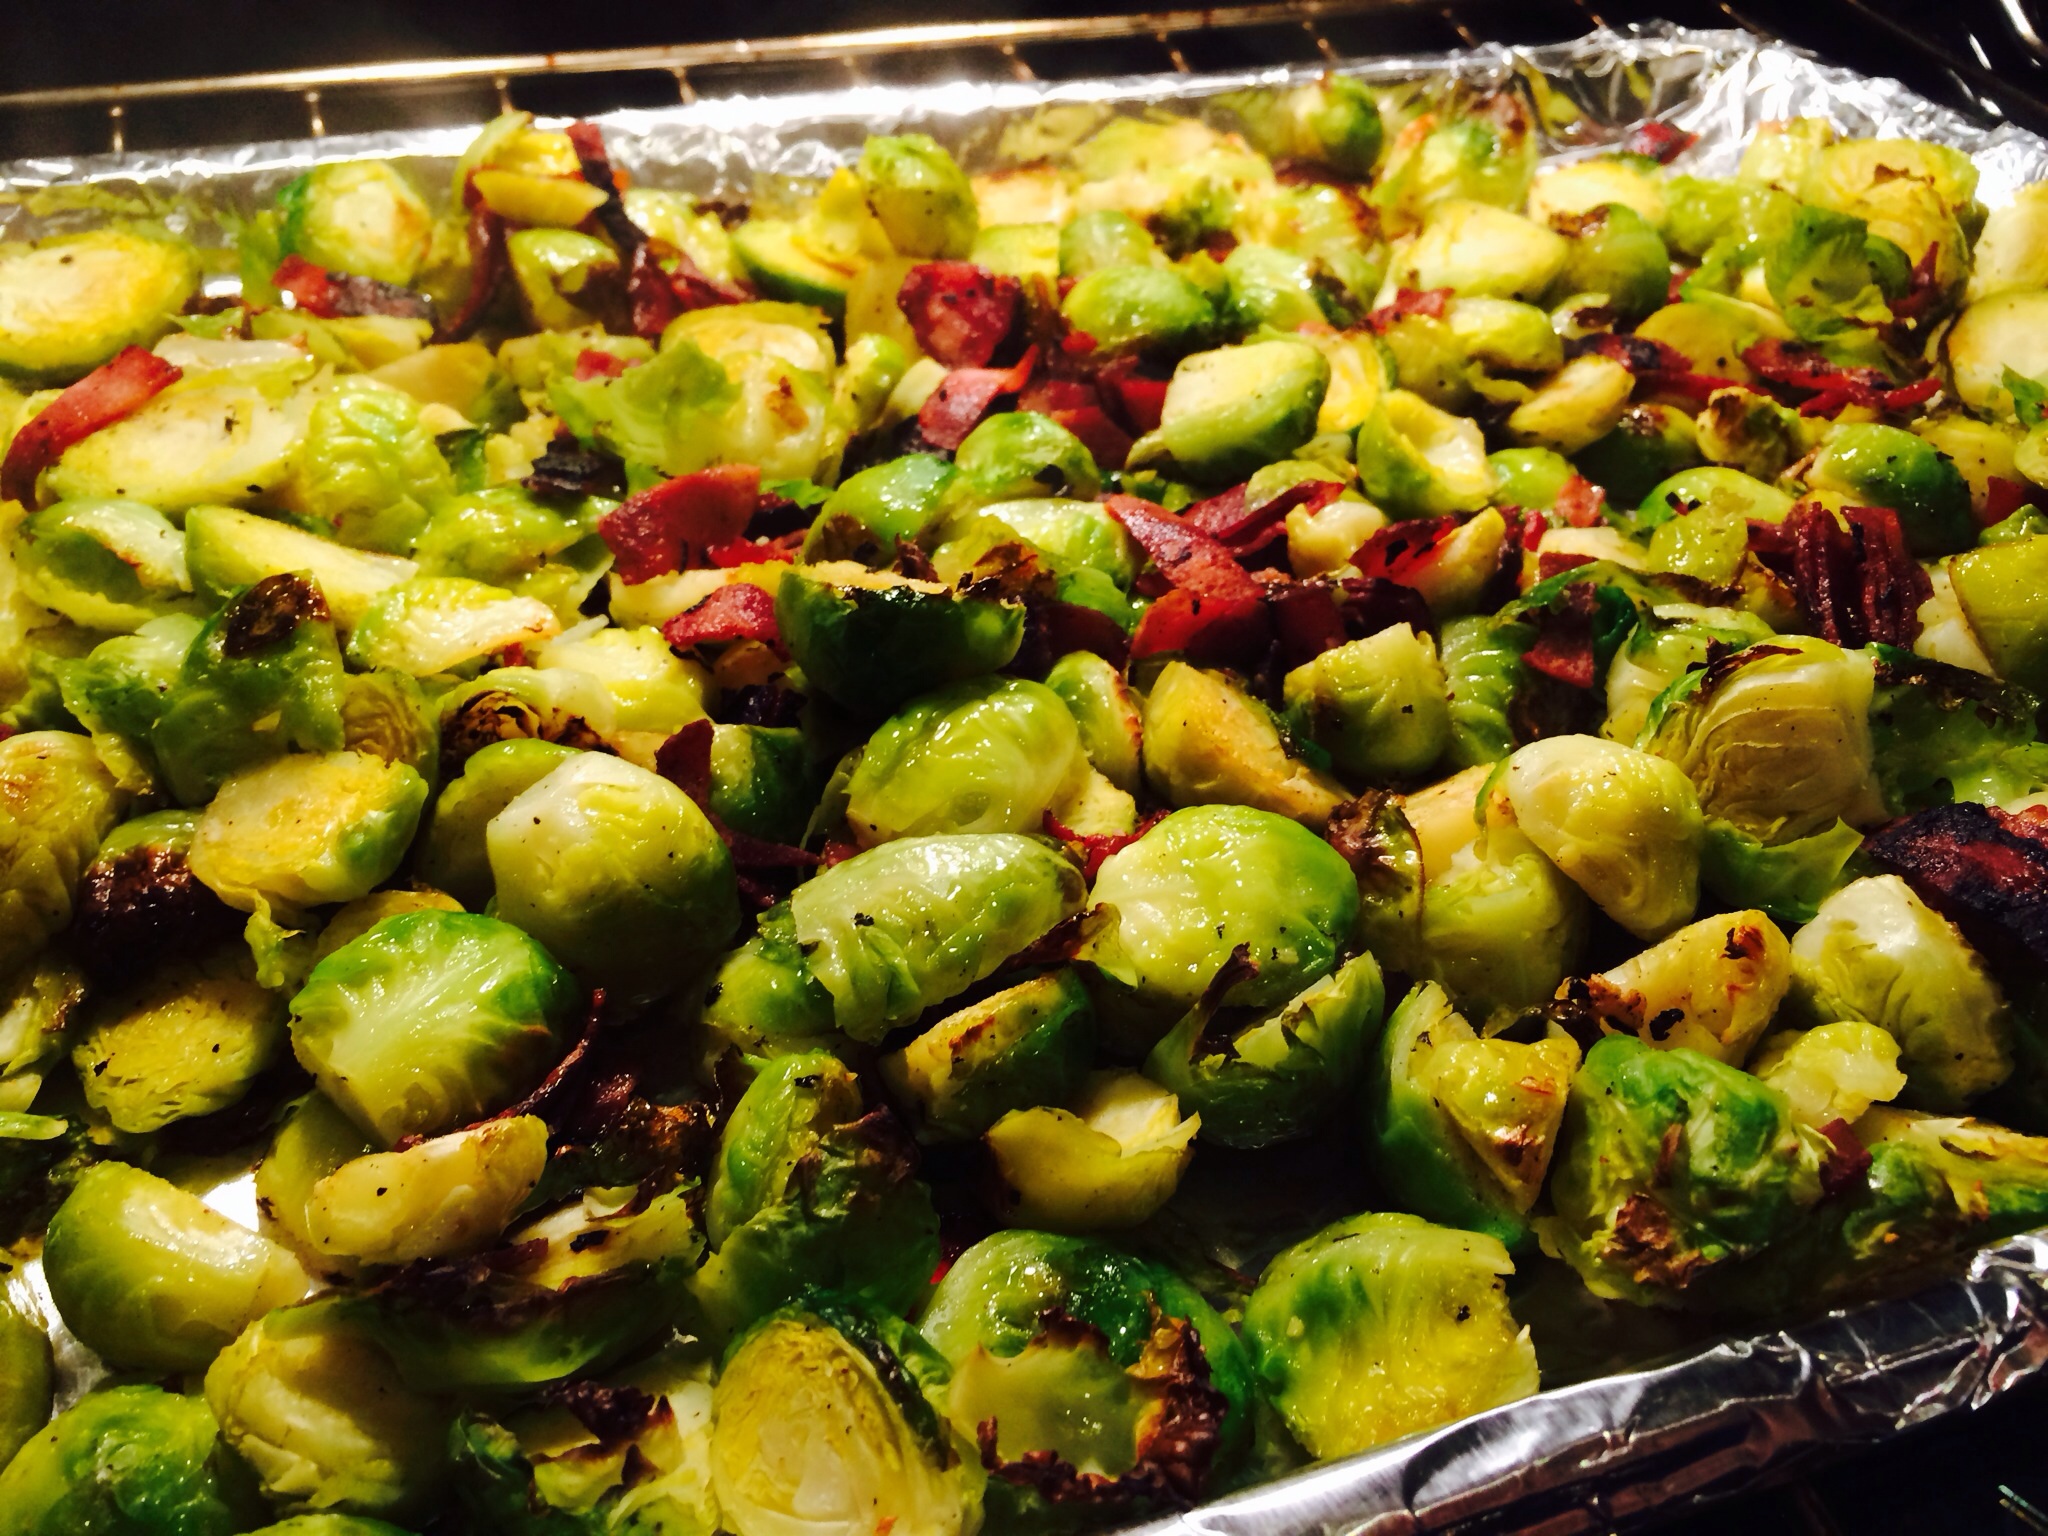
Coat the sprouts in the pan or pour the mixture over the sprouts.
Completely coat sprouts with the pan mixture.
Place brussels sprouts on a foil lined cookie sheet.
Squeeze lemon and sprinkle with salt and pepper .
Cook for 16-20 minutes, until softened but firm. (Test by piercing with a fork.)
Stuffed cabbage rolls, Halupki or Pigs in the Blanket – for many Western Pennsylvanians- remind us of church festivals, fairs, neighbors from our childhood, and grandparents. I’m not going to lie, the little old Polish ladies make them the best! Halupki can easily be made as a soup, a casserole, or the traditional stuffed cabbage rolls! How much time do you have? With the same ingredients, you can make stuffed cabbage three ways! The only variable is the additon of whole tomatoes. Leave them out for the rolls!
Enjoy!
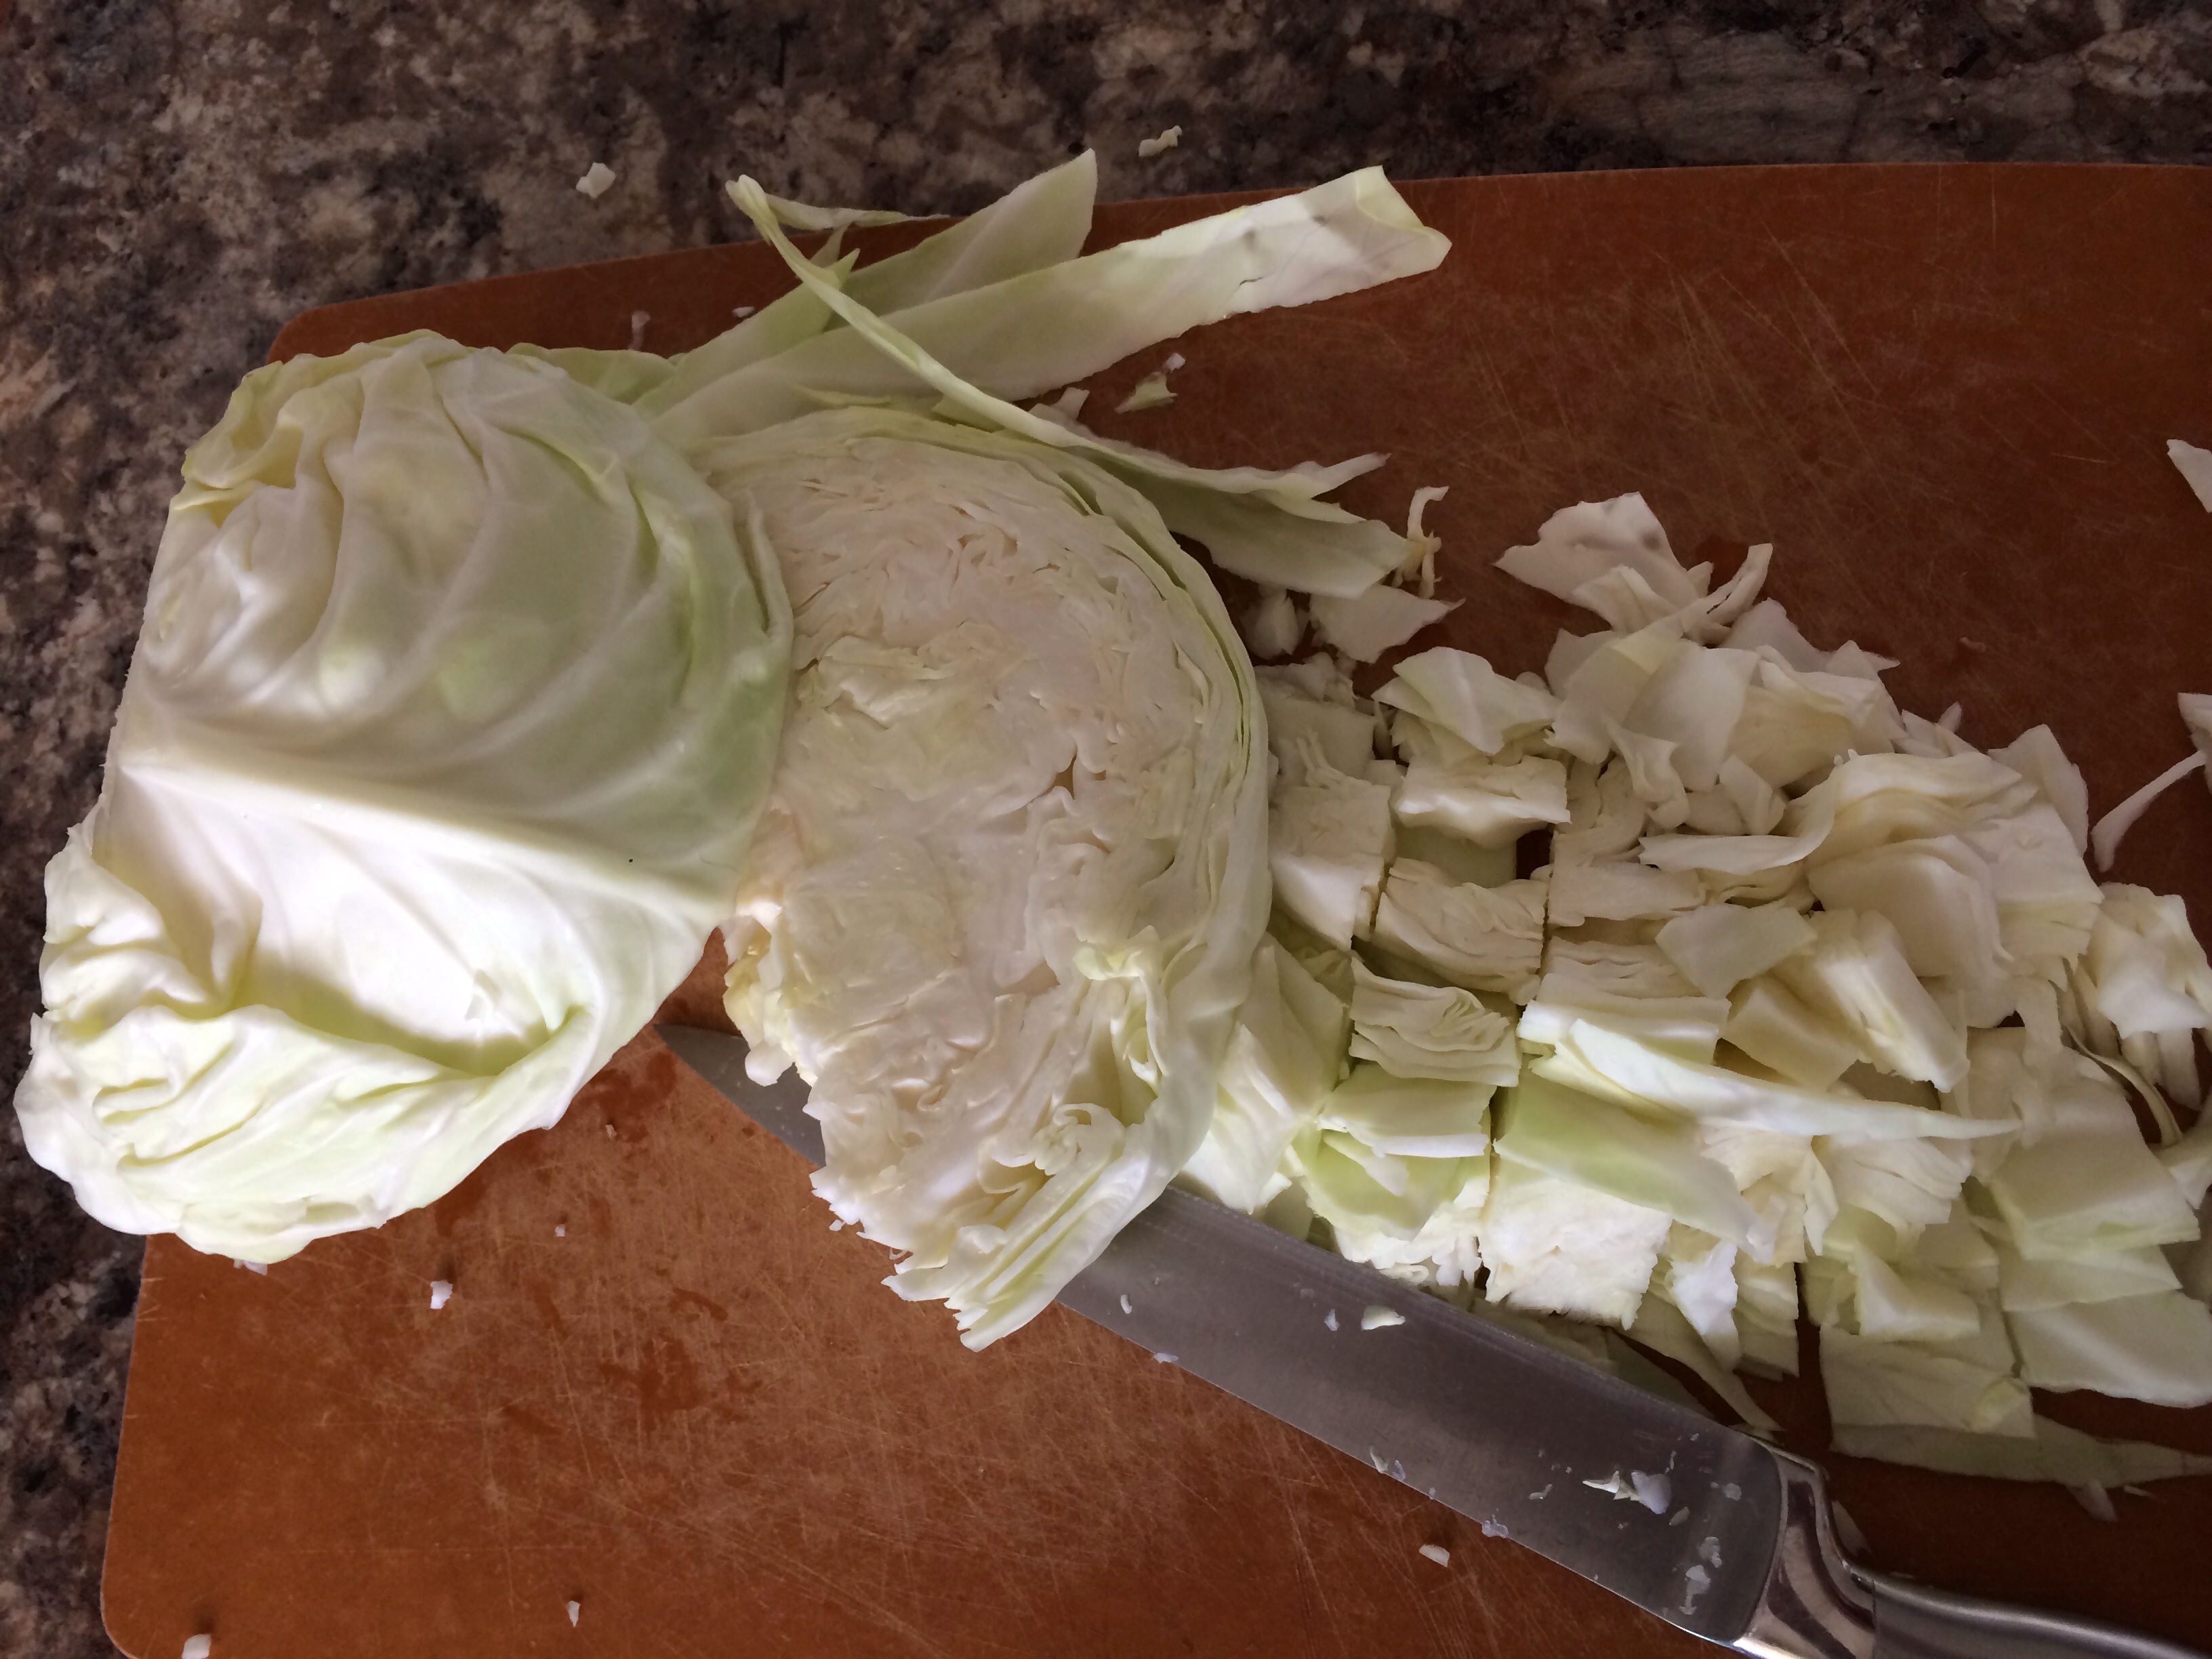
The cabbage rolls are the most work because of the cabbage leaf boiling step.
Stuffed Cabbage Ingredients:
1 head cabbage
1lb. lean ground beef and/or ground pork mix
1/2 cup uncooked rice
1 28oz. can tomato sauce (keep 1 cup for a sauce for the casserole and the rolls)
1 35oz. can whole tomatoes (except for the rolls)
1 small onion, finely chopped
1/2 cup sauerkraut and extra 1/2 cup shredded cabbage (kept aside for casserole)
Salt/pepper
Directions: For Soup:
Shred or chop with a knife. I draw blood every time I use my box grater.
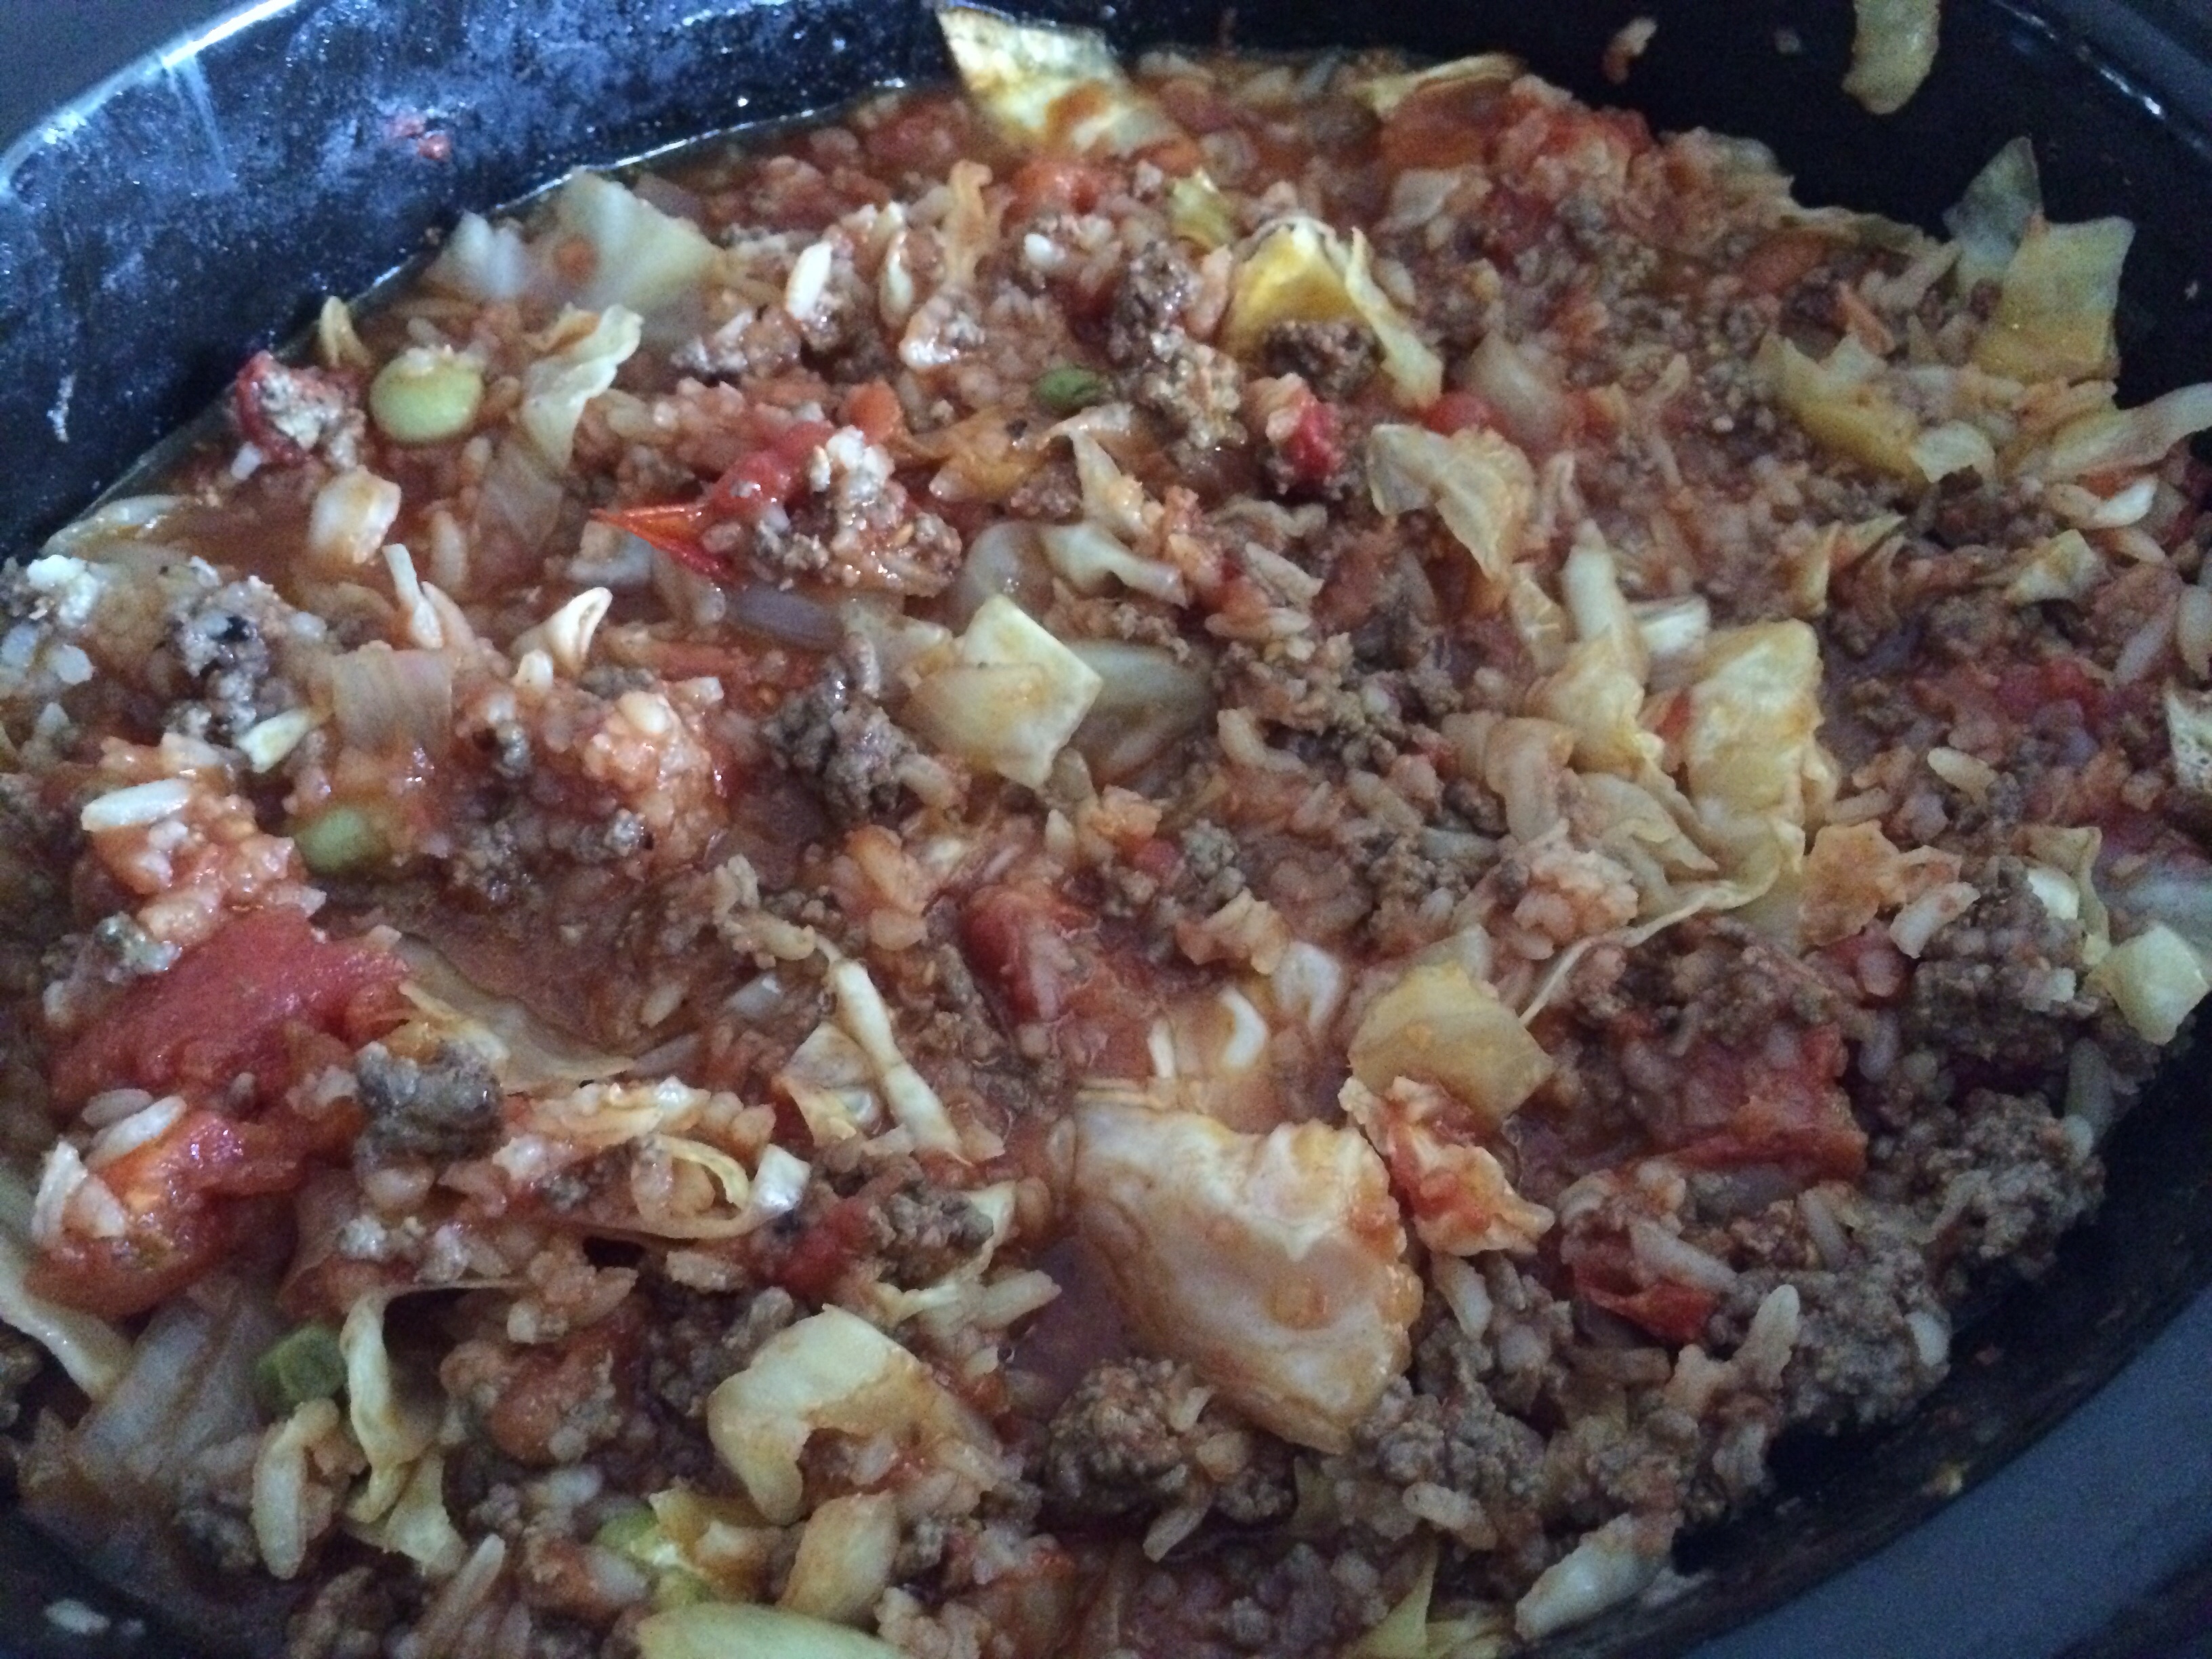
Shred cabbage and throw all ingredients in the crockpot!
Cook 8 hours on high!
The Stuffed Cabbage Soup is amazing and takes no time to prep! Let it cook all day! No babysitting required!
For casserole:
Preheat oven to 350 degrees.
Cook rice according to the package.
Brown beef and/or pork in a pan with the onions.
Mix sauerkraut, and cabbage together in a bowl.
Mix tomato sauce and tomatoes in a bowl.
In a 9×13 pan-“lasagna style” -layer ingredients, starting with tomato sauce.
Cover sauce with shreded cabbage mixture, a layer of meat and top with tomato sauce, salt and pepper. Repeat layers until pan is 3/4 full. End with 1/2 cup cabbage on top.(2-3 times)
Cover with foil and bake for 45 minutes.
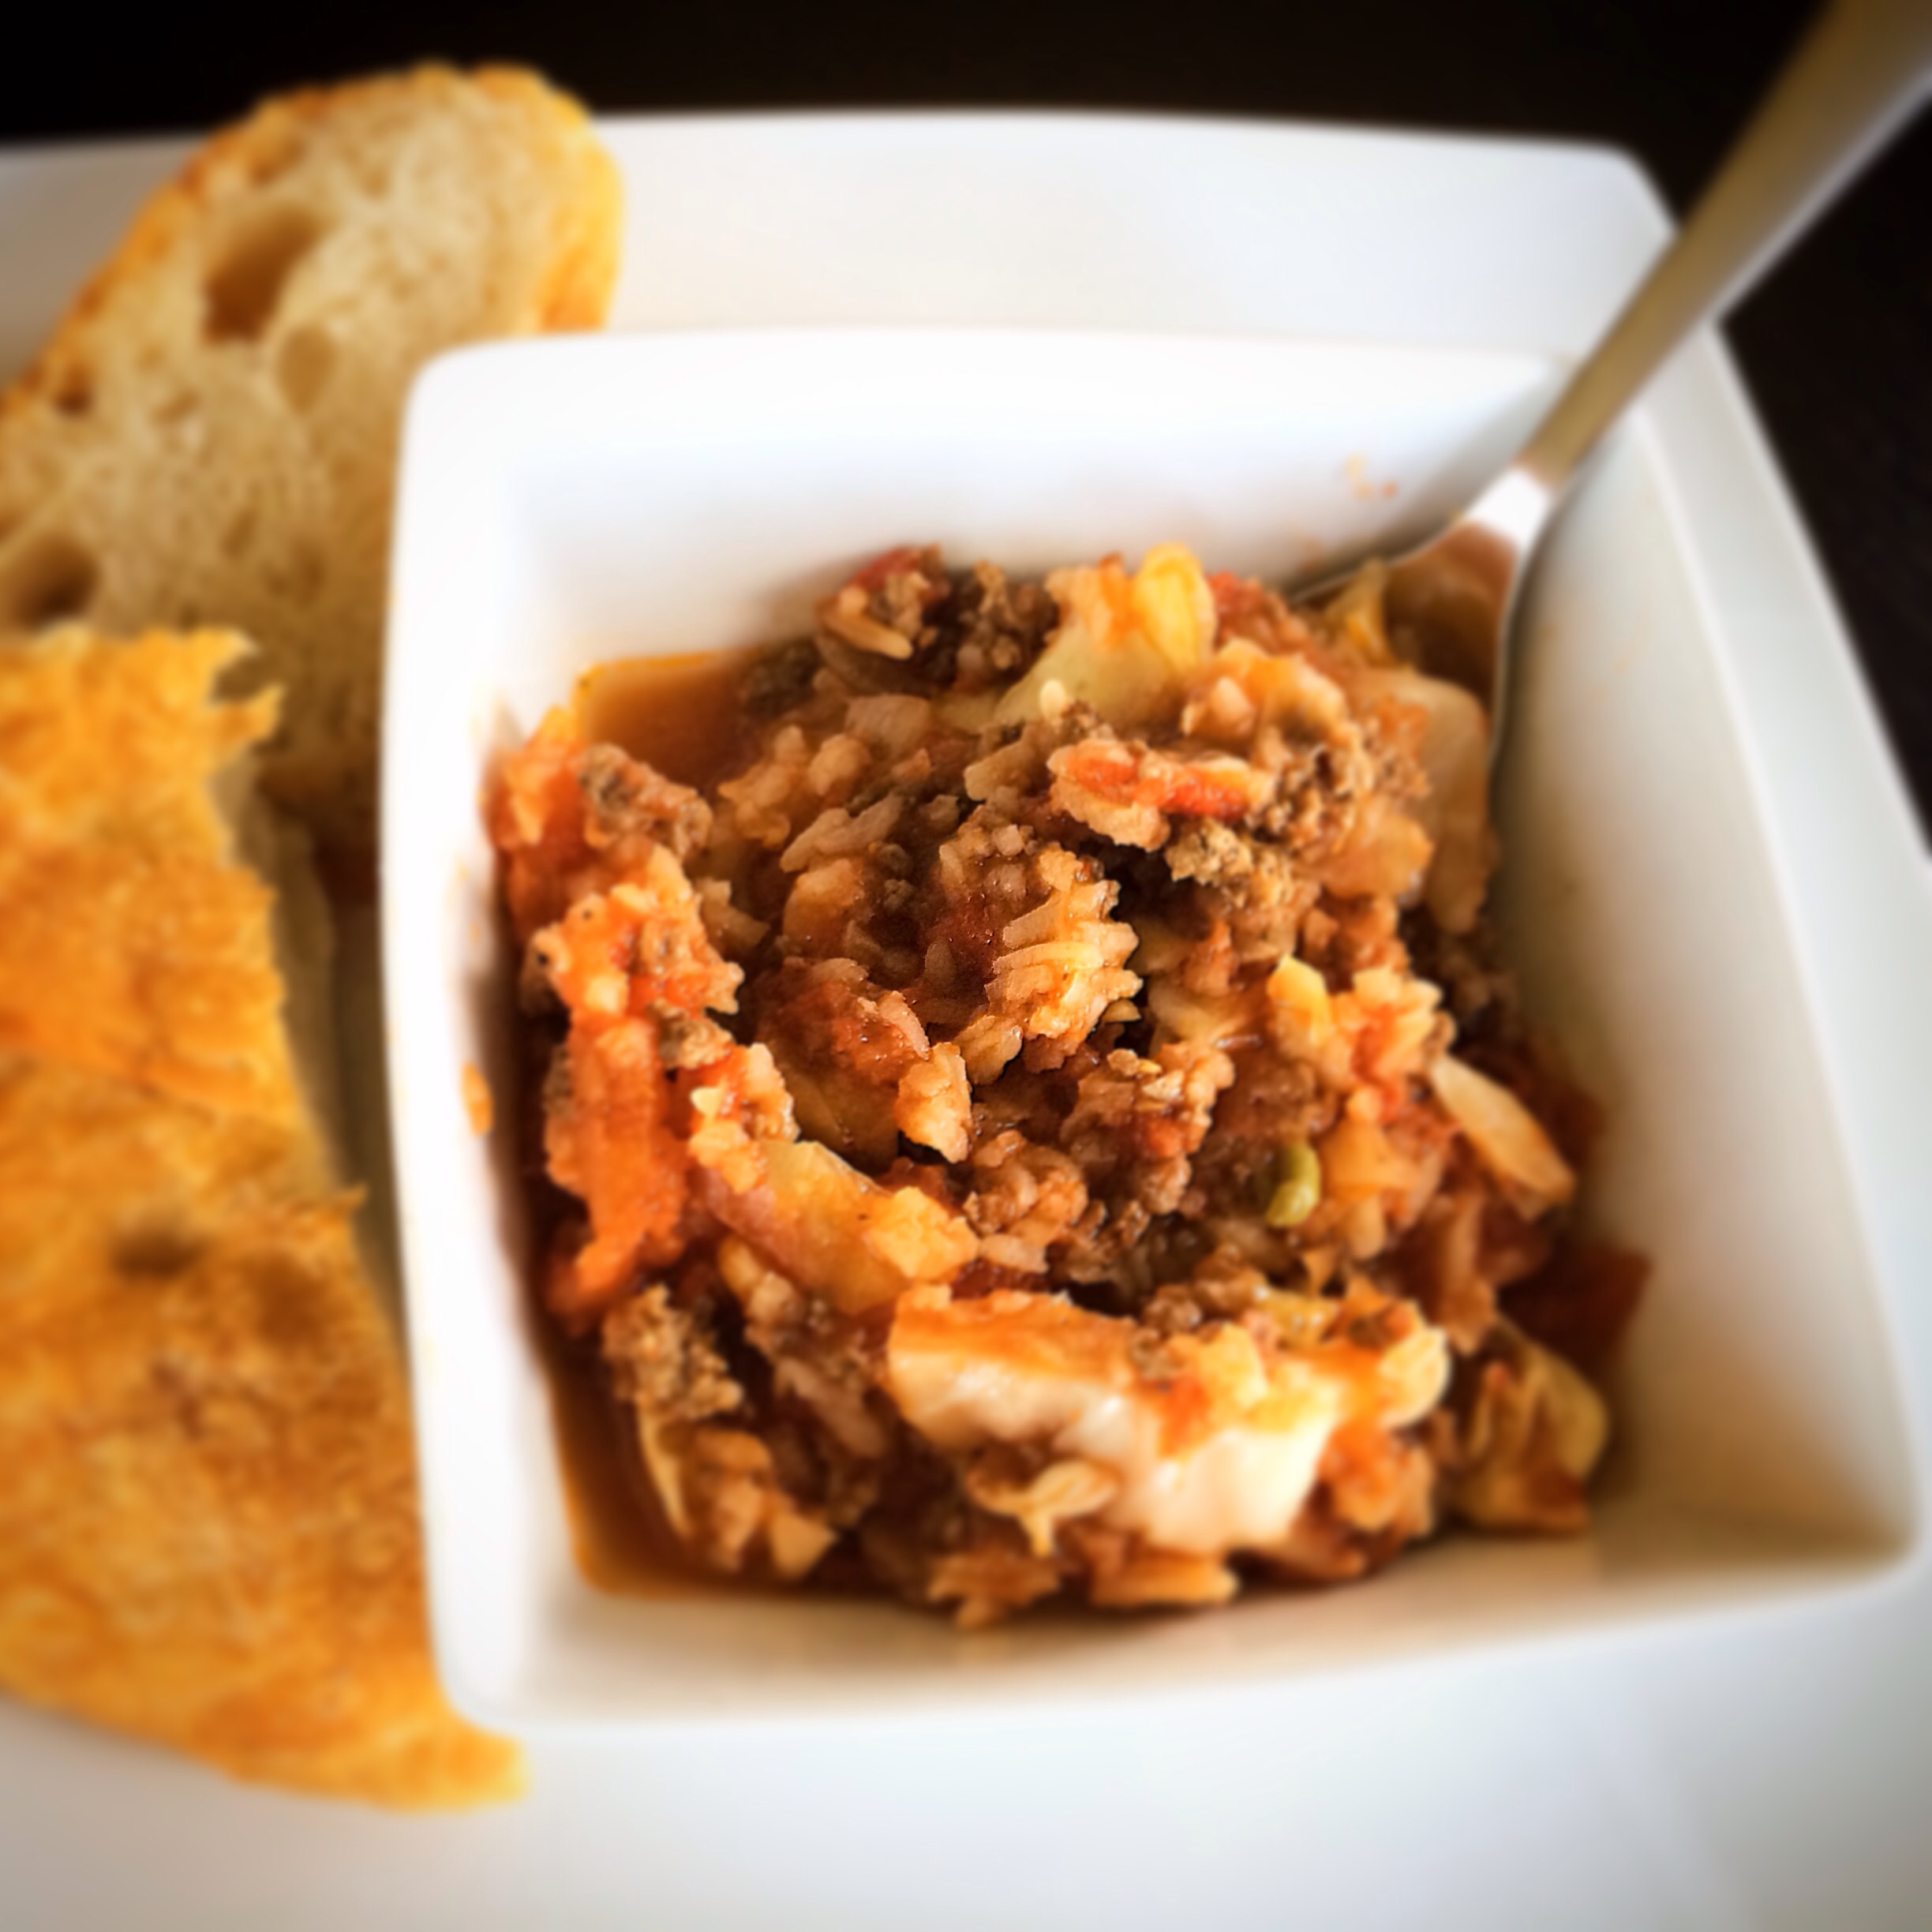
Serve with a spoon or a fork! The casserole can go either way! Don’t add too much tomato sauce. Remember, you can and should serve the stuffed cabbage casserole with sauce on the side!
For cabbage rolls:
Preheat oven to 350 degrees.
Boil 12-15 cabbage leaves until wilted and softened.
When cool, cut leafy sides from hard stem .
Cook rice according to the package.
Brown beef and/or pork in a pan with the onions.
Mix sauerkraut, and cabbage together in a bowl.
Line a 9X13 baking dish with tomto sauce, 1/2 cup shredded cabbage and 1/2 cup sauerkraut.
Set up an assembly line and spoon rice meat mixtures on leaf.
Salt and pepper.
Roll away from you, fold over the right side, then the left, creating an envelope roll.
Line them in the pan and top with tomato mixture.
Salt and pepper again.
Cover with foil and bake 45 minutes-1 hour or until sauce is bubbling and rolls are cooked through.
I always serve stuffed cabbage dinners with fresh grated Parmesan and a beautiful loaf of ciabatta. I don’t think that’s Polish ; )
London broil is actually the preparation of a cut of meat, not the name of a cut of meat. The definition? To sear a cut of meat and serve medium rare sliced on a diagonal against the grain. The one I bought this week was labeled London Broil Top Round. Thus, the misconception that the cut of meat is london broil.
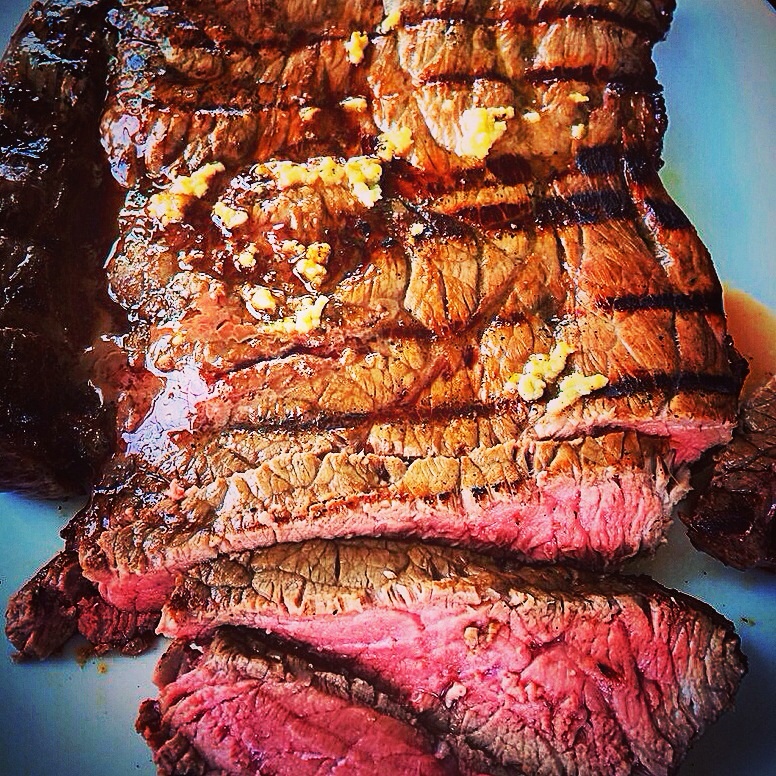
The London broil method creates a perfectly medium rare center that is tender and juicy.
London broiled meat looks beautiful on a plate, and is sure to wow your guests when entertaining. Serve anything from sautéed vegetables to corn on the cob! Anything goes!
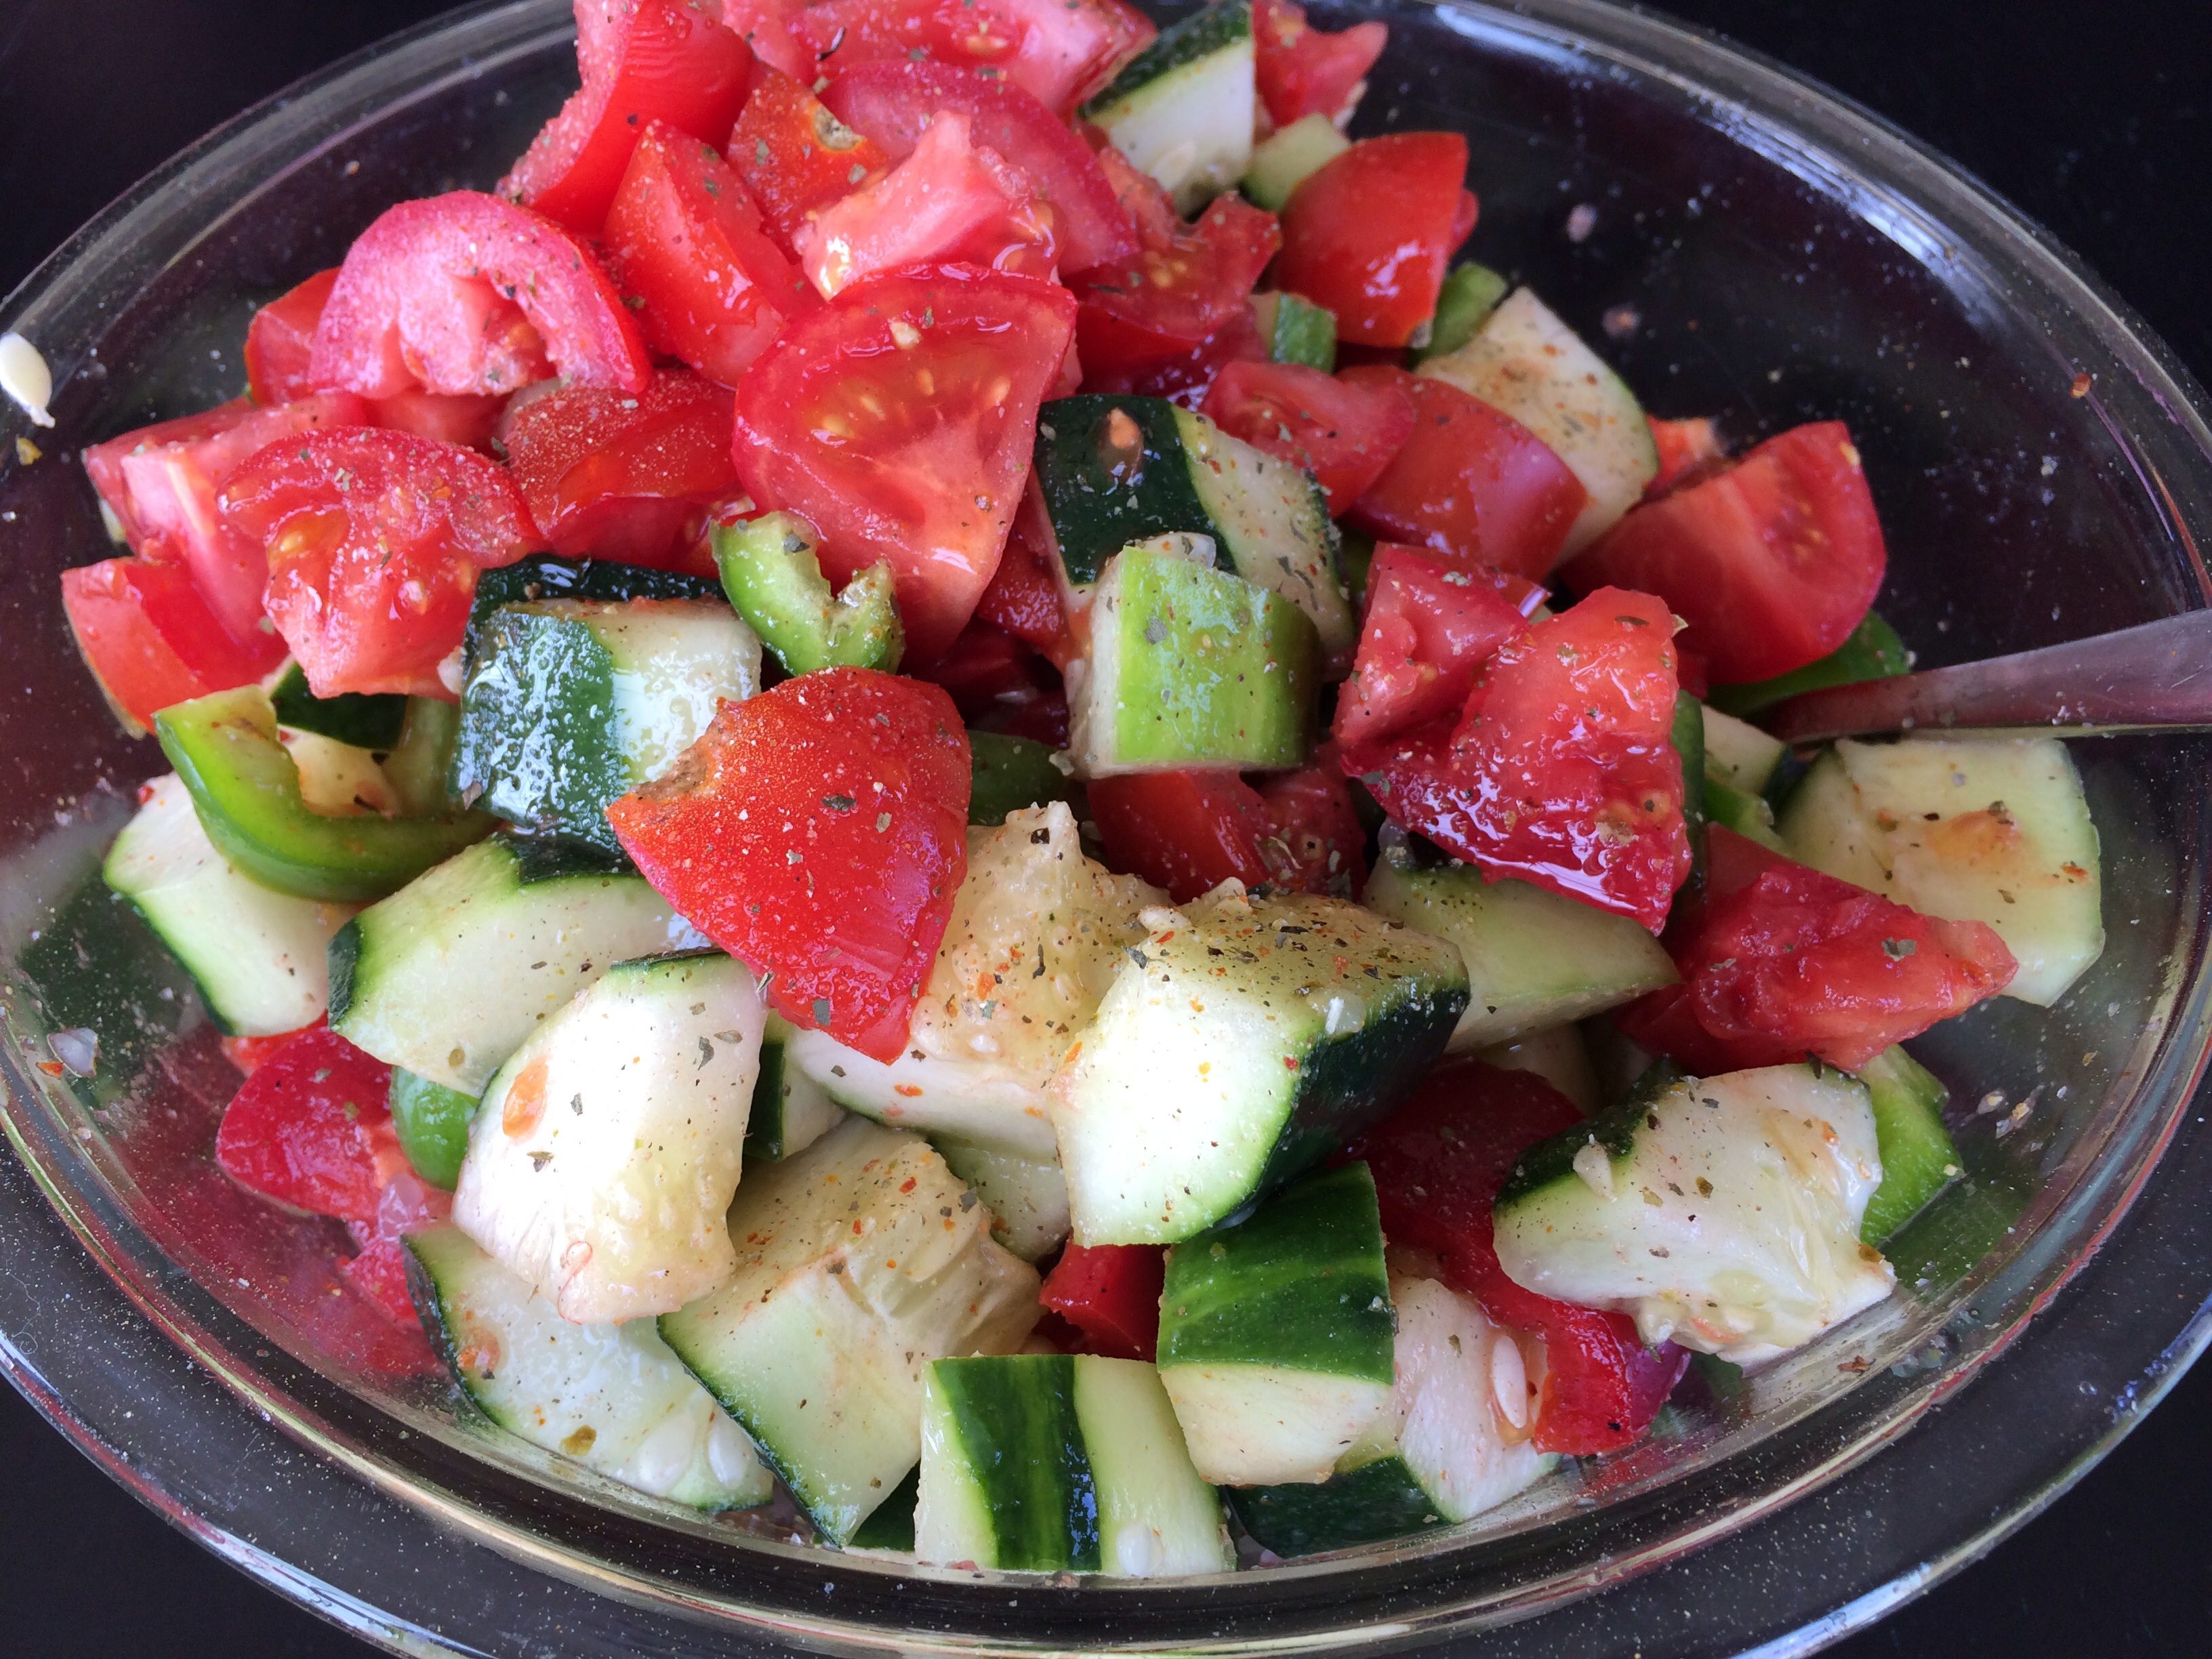
In the summer, I love to serve a crisp, cold salad with steak. Here is a cucumber-tomato-pepper salad with a few splashes of olive oil and fresh herbs!
London Broil Tips and tricks:
Thickness:
The meat you choose for london broil should be at least 1-1/2 – 2 inches thick.
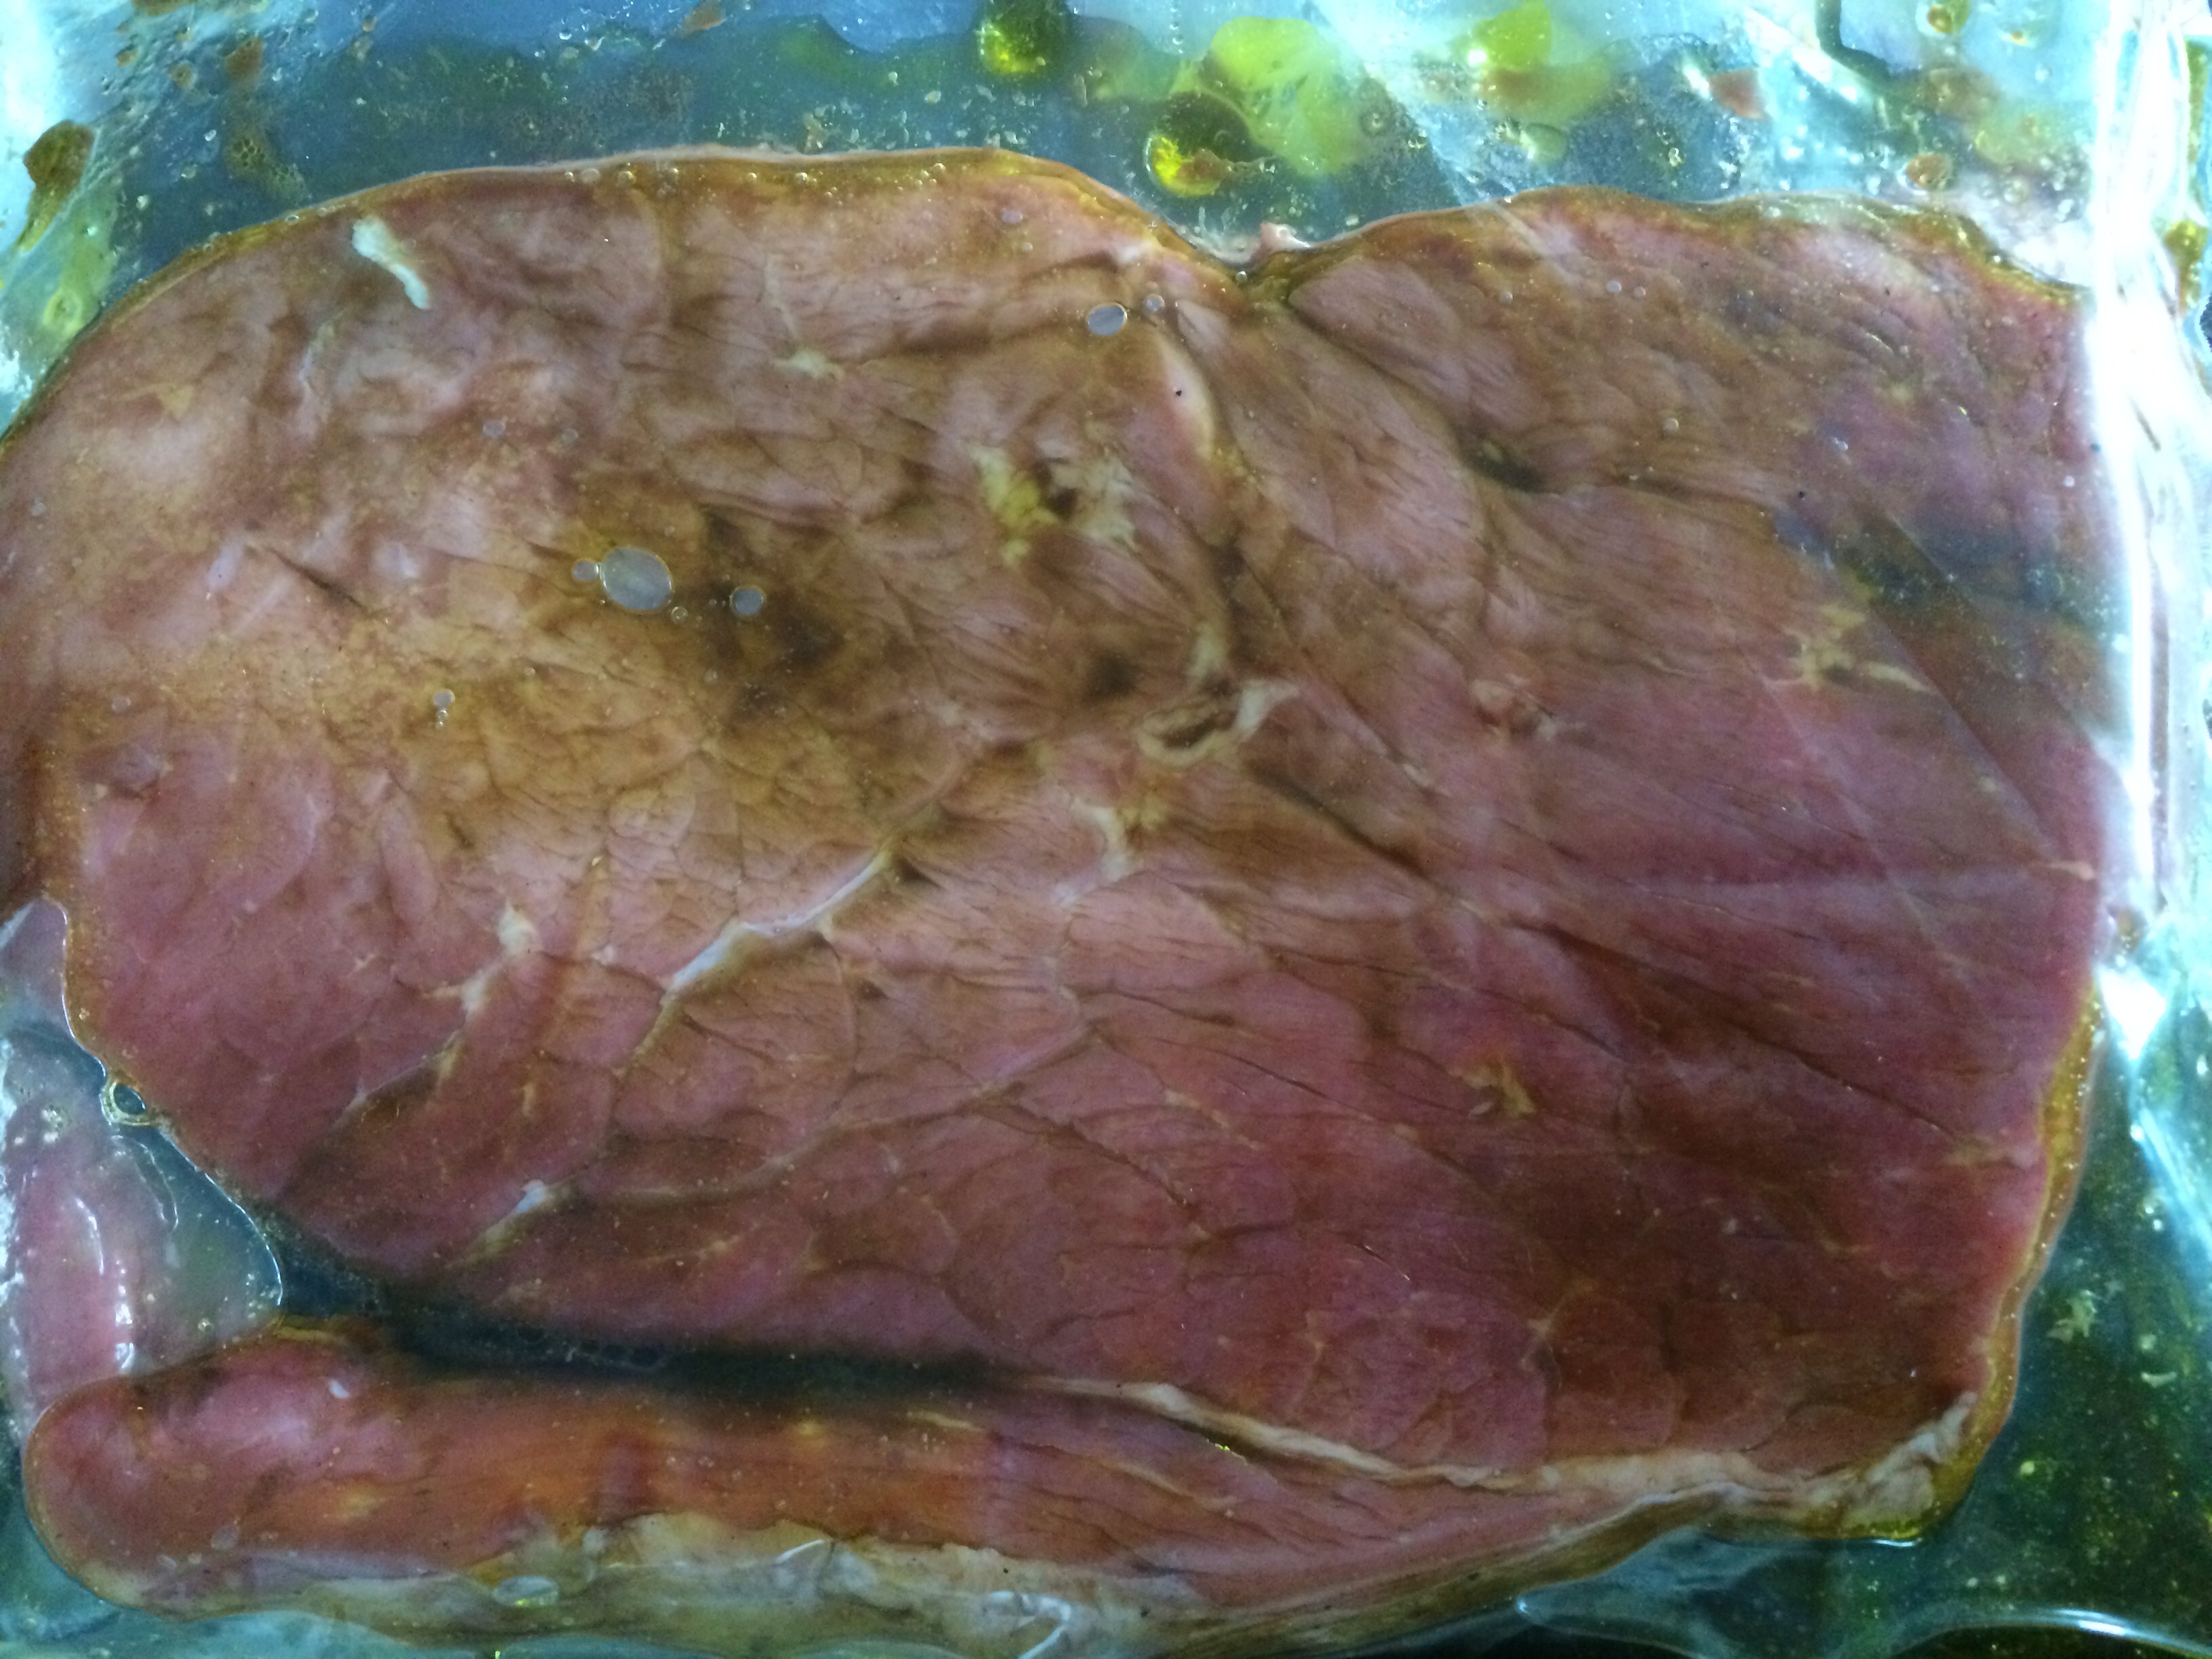
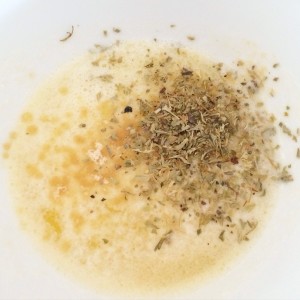
Marinade:
The marinade should be a tenderizing marinade just in case the cut of meat is on the tough side.
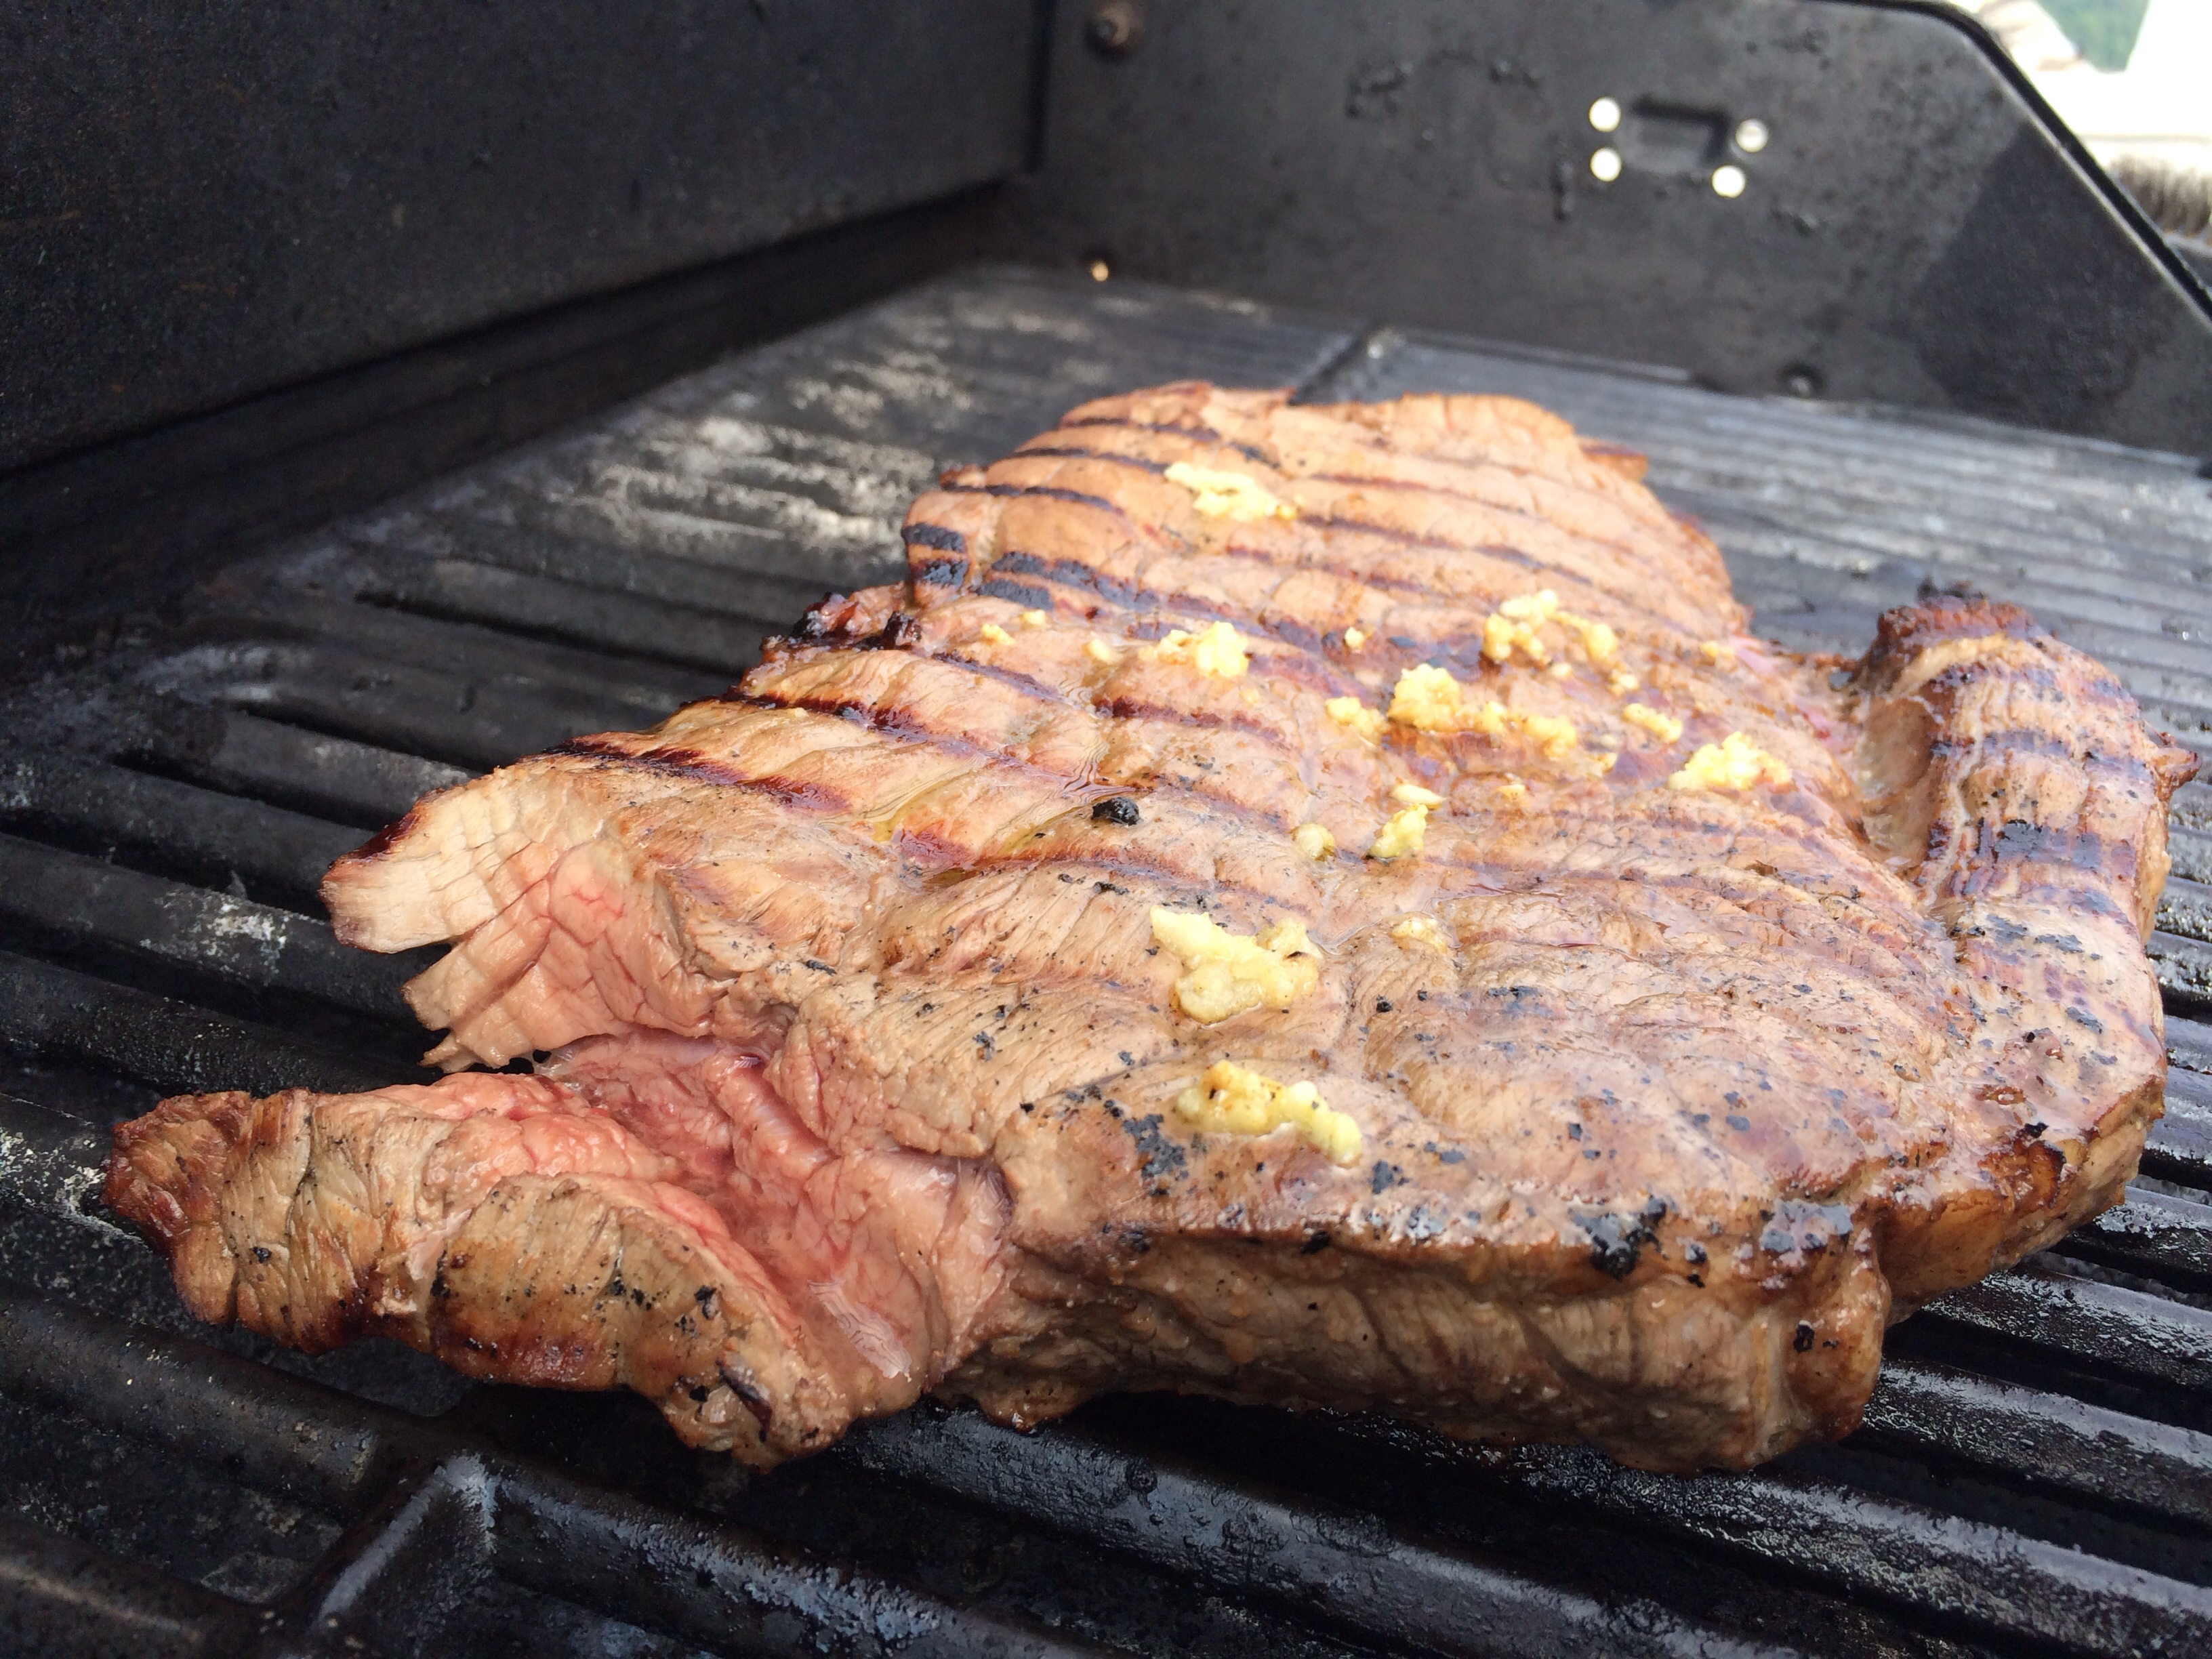
Cooking:
Giving the meat a london broil requires a high heat broil for approximately 5 minutes on each side to produce the medium rare center. If the heat is too low, or it is cooked for too long, the meat will overcook.
Slicing:
Slice the meat against the grain on a diagonal and serve.
London Broil
Ingredients:
1.5 lb. 1-1/2 – 2 inch top round cut labeled London Broil
1/2 cup Worchesterschire sauce
1/2 cup red wine
3 cloves roasted garlic finely chopped
Salt/pepper
Directions:
Place the fat trimmed meat in a Ziploc bag with all ingredients for 1-3 hours.
The meat absorbs the liquid. Really tenderizing the meat before searing.
Place meat 3-4 inches under broiler and broil for 5 minutes.
Flip and broil for an additional 5 minutes.
(The same method can be used on a grill. However, the temp must be high 375-400 on the grill and it requires close attetion as to not overcook the meat.)
Don’t be afraid to slice the meat while on the grill to make sure it is not overcooked. The grill temps are harder to control. Grilling thick cuts of meat takes some practice and definitely a willingness to eat well done meat every once in a while ; )
Remove and let the meat sit for 5 minutes.
Slice in a diagonal against the grain.
Yummy! Perfecto!
Serve with your favorite sides!
Enjoy!
Ciao!
Reference: From Julia Child’s Kitchen 1975 Julia Child


 If you’ve never had overnight oats before, they’re just like oatmeal only cold and the texture differs depending on how much milk you include. I personally don’t enjoy soggy/mushy oats (ew), so I don’t use a ton of milk in mine. HOWEVER, if that’s your thing, go for it—the flavor will be just as good.