Category: Recipes

Lemon Basil Squares!

I am my grandma. Lemon dessert obsessed. Of course bright lemon yellow is her favorite color…”the apple doesn’t fall too far” is too true. Spring brings it out in me. I crave lemon meringue pie, lemon salad dressings, lemon chicken!
Salads doused in lemon juice are the most refreshing spring/summer salads! I just made a beautiful Greek salad this week!

image

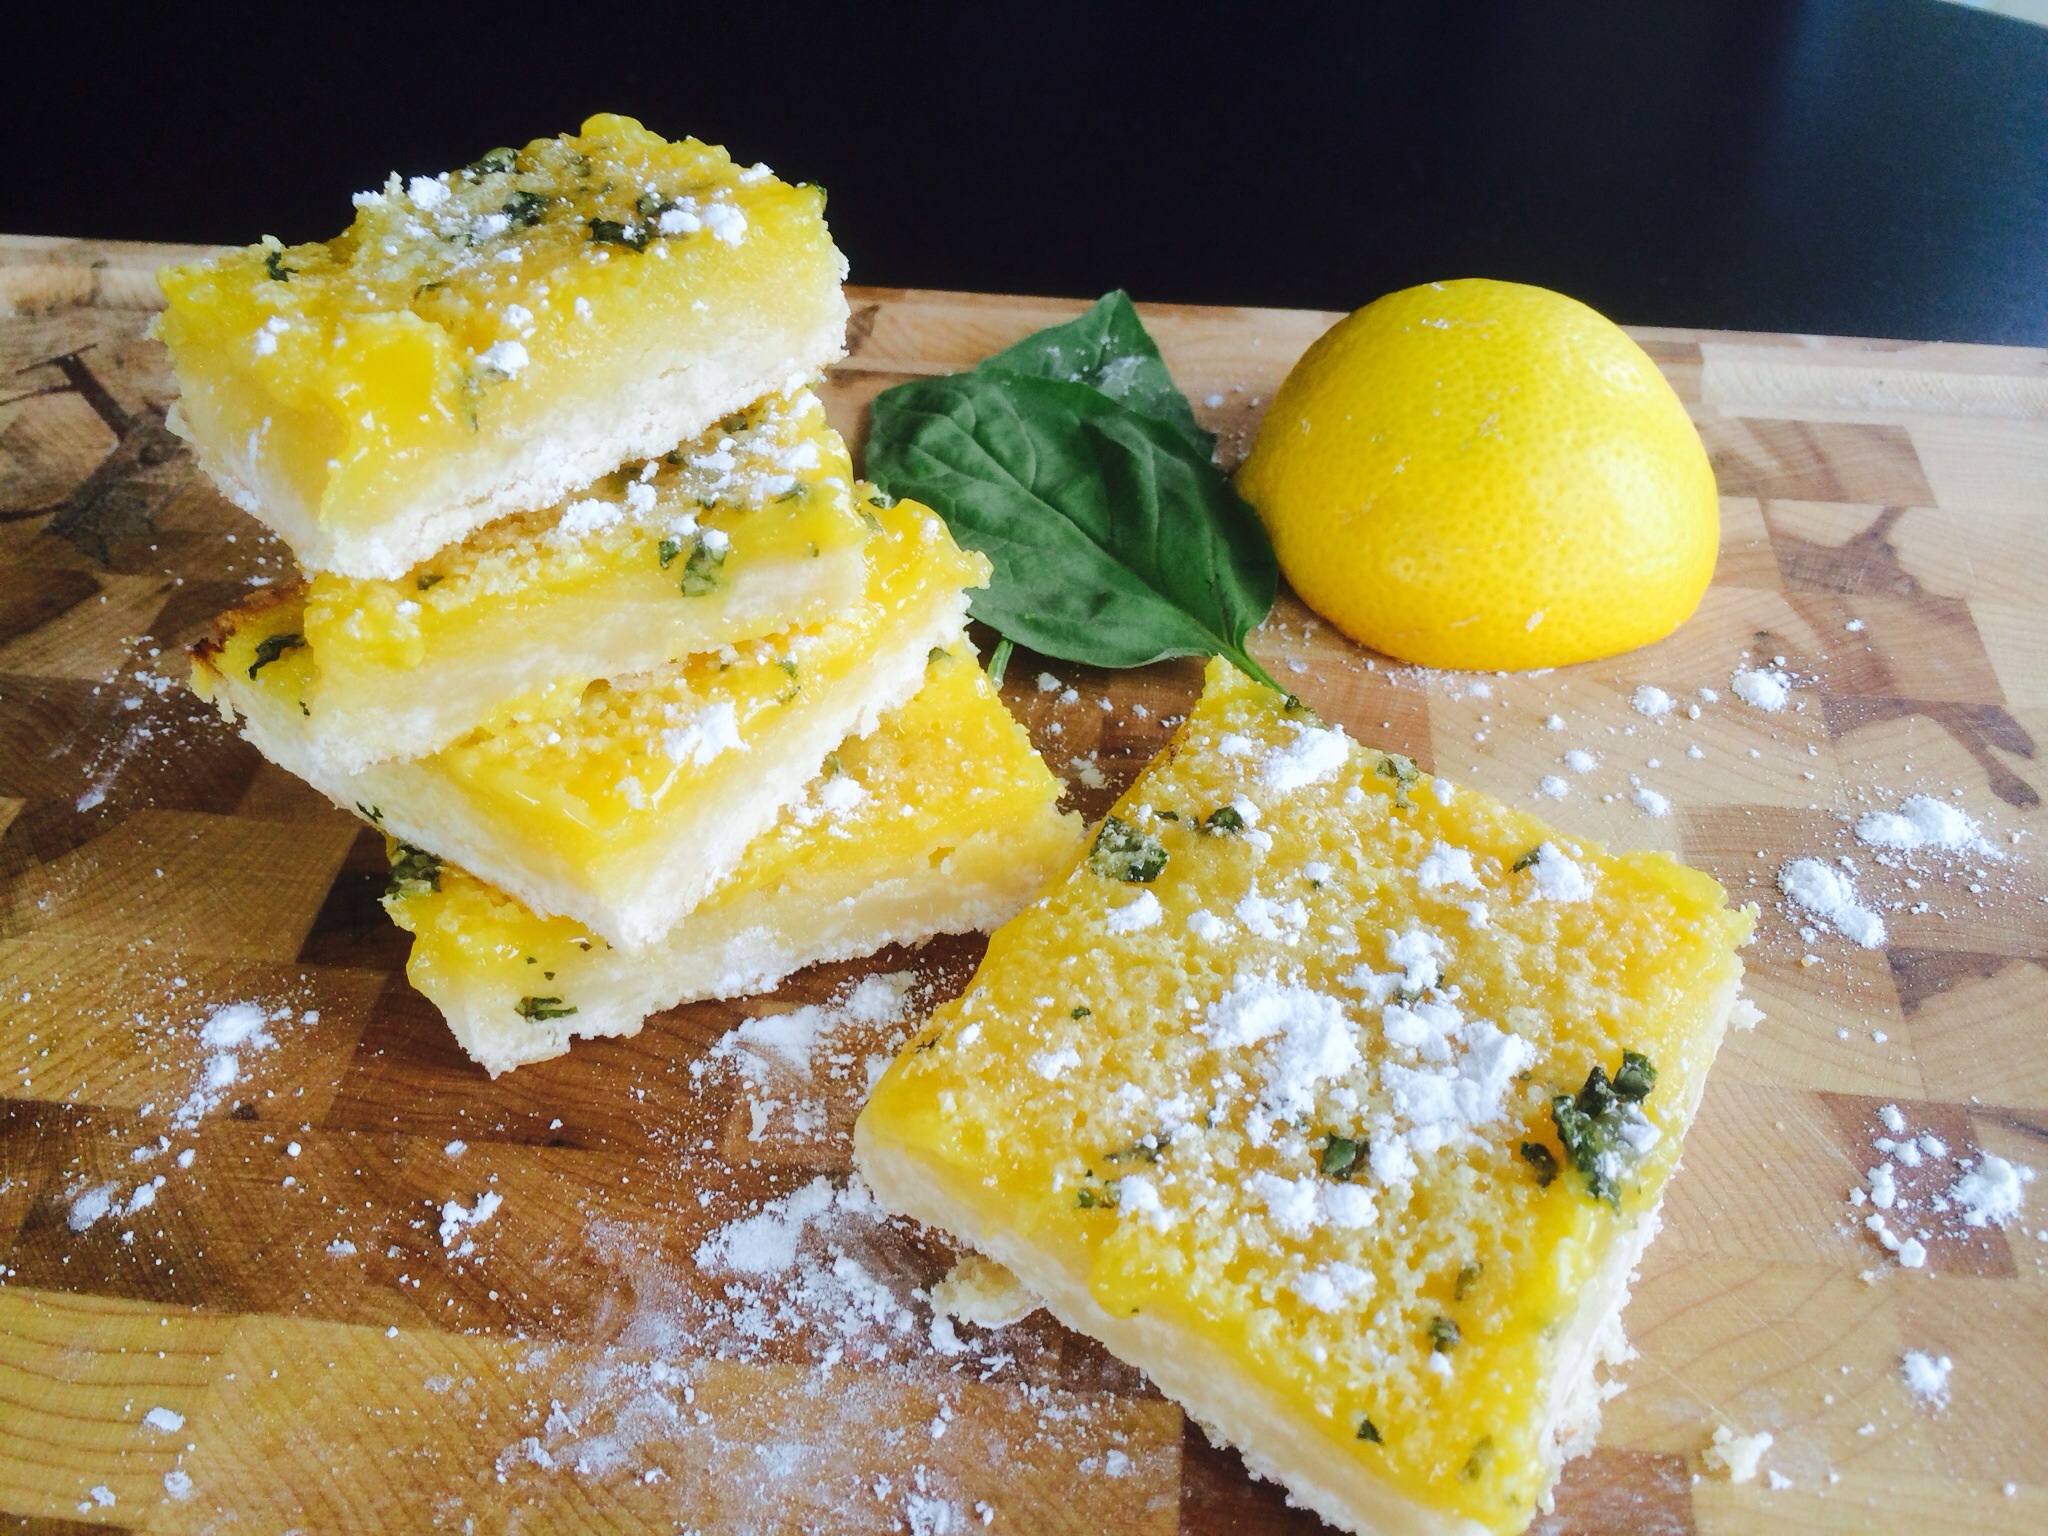
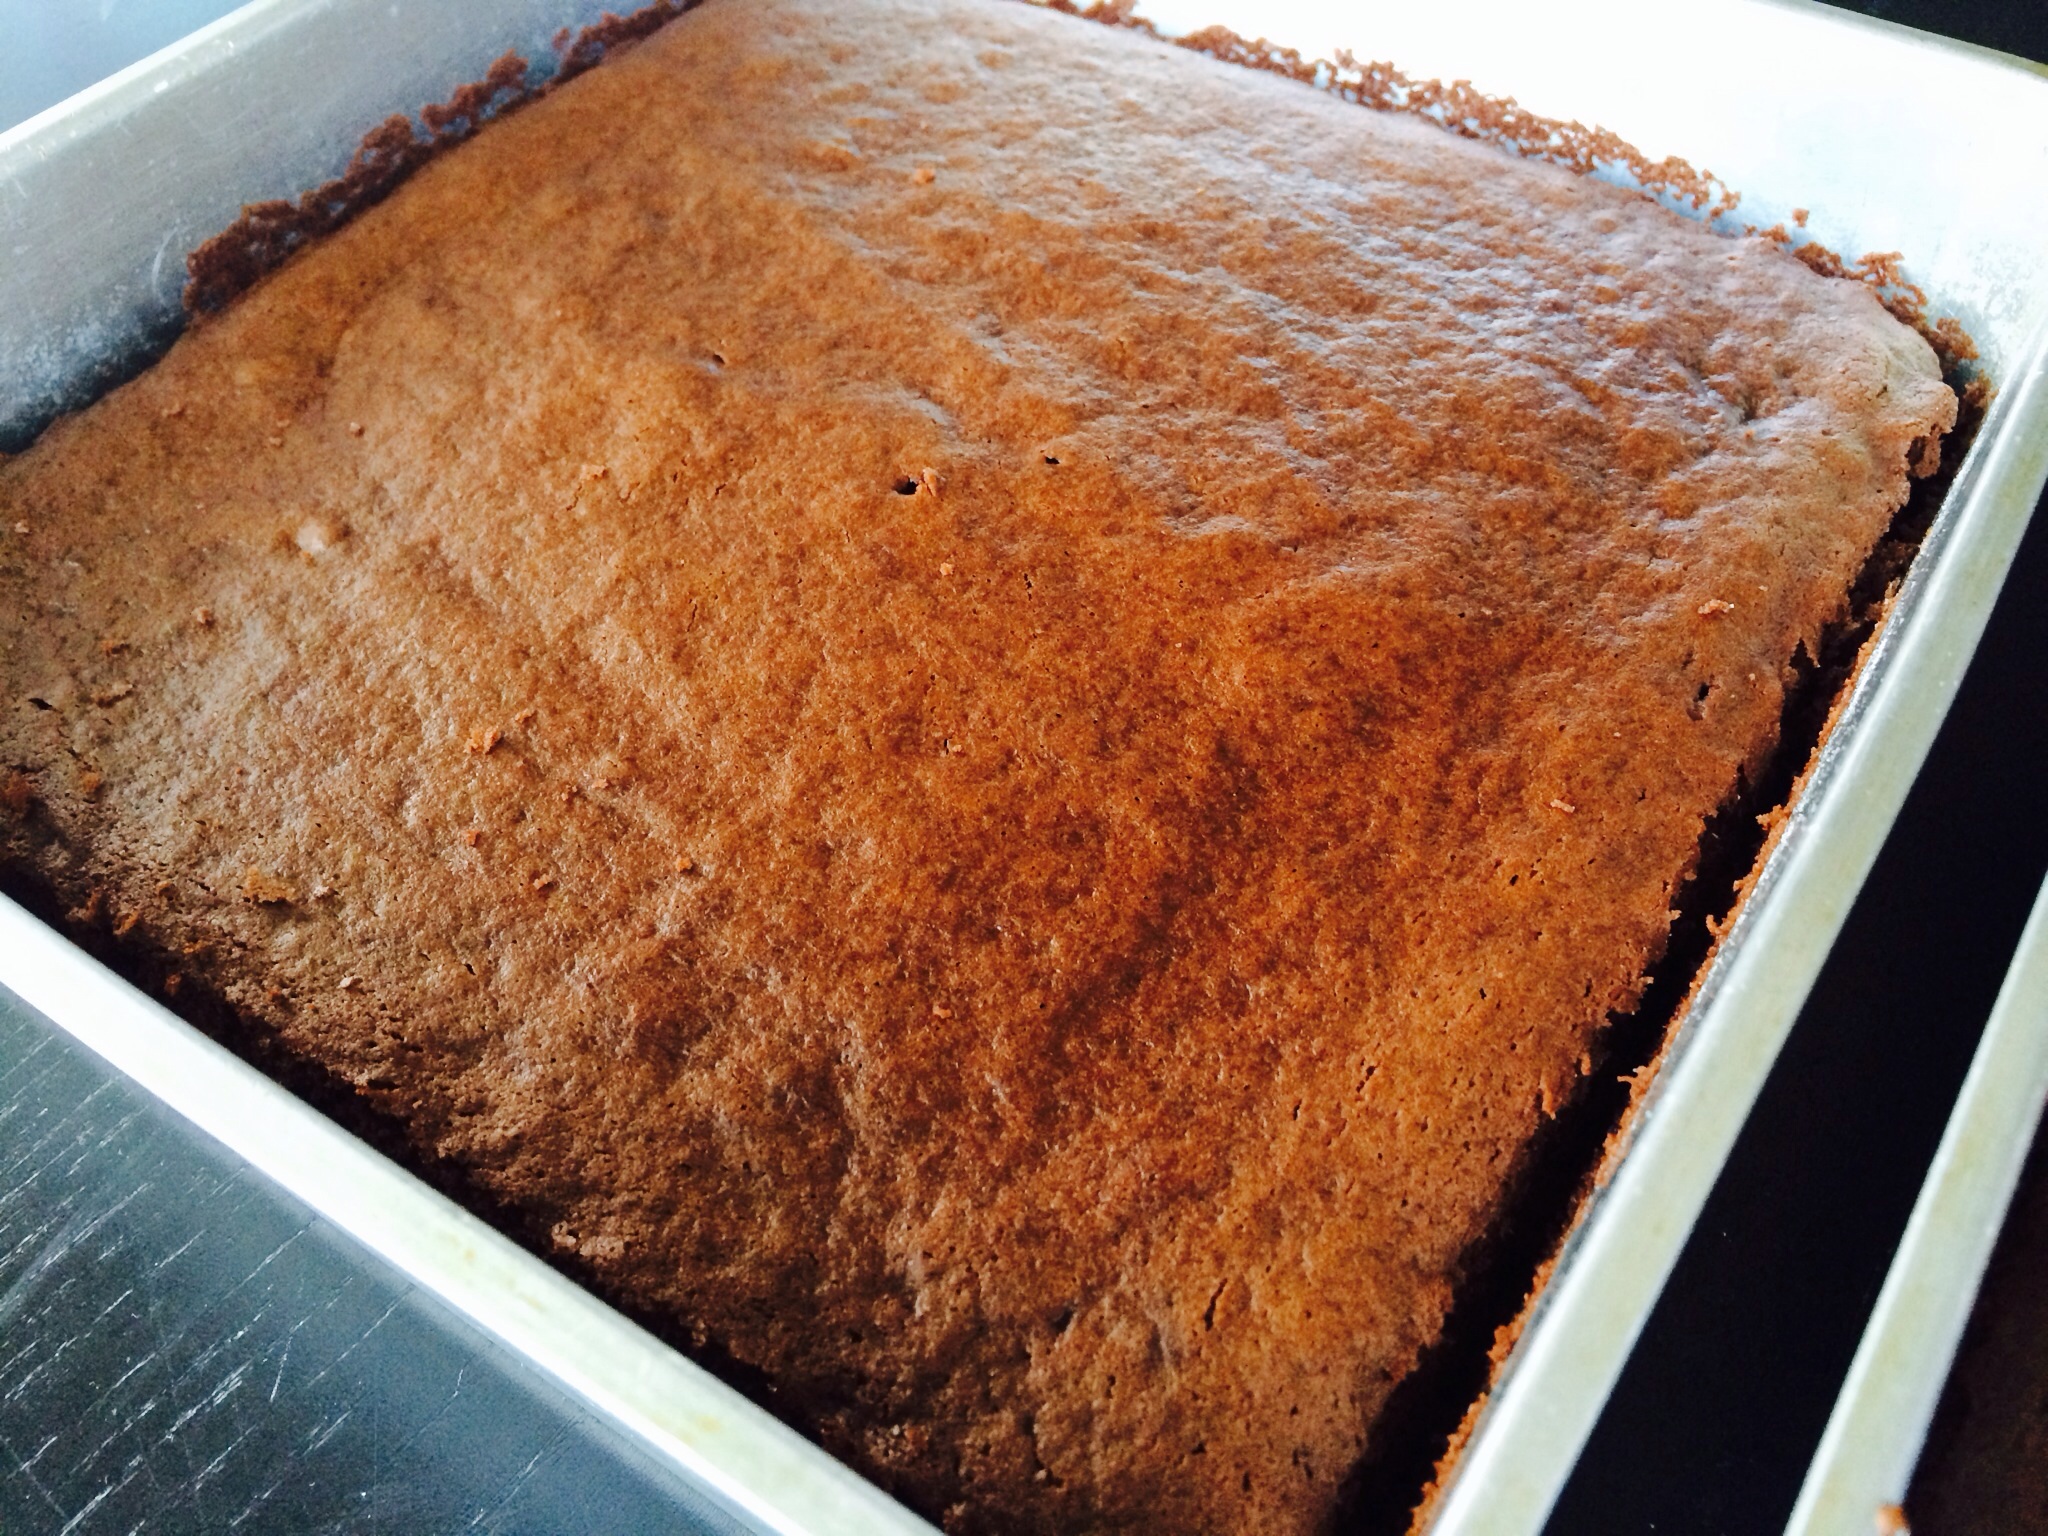
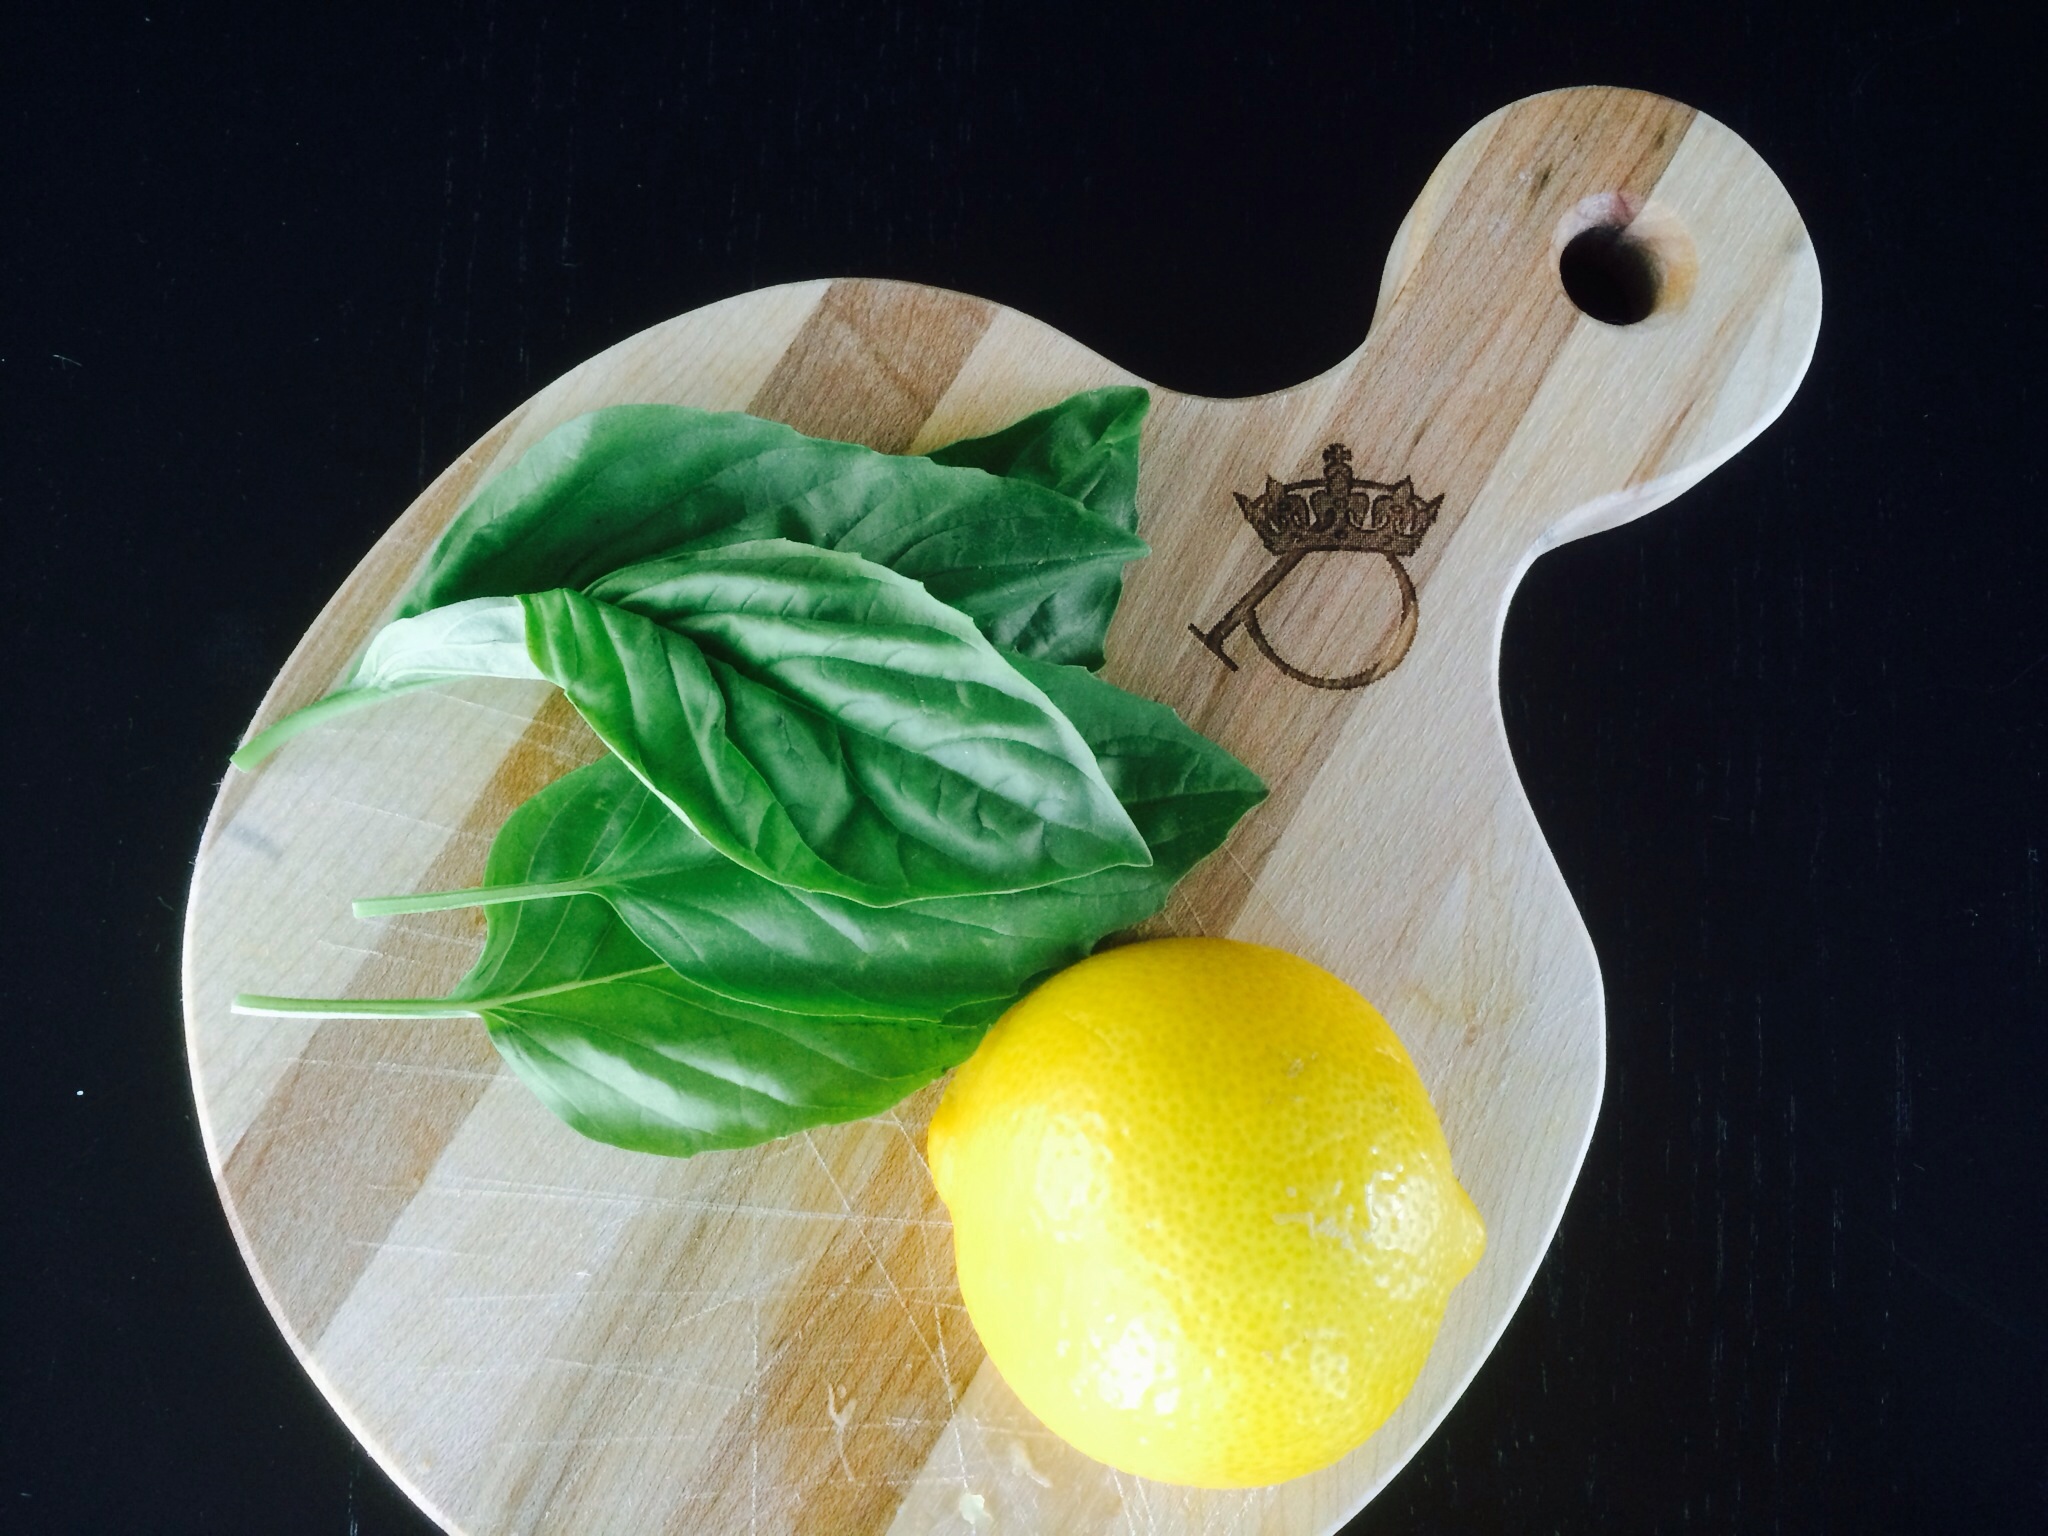
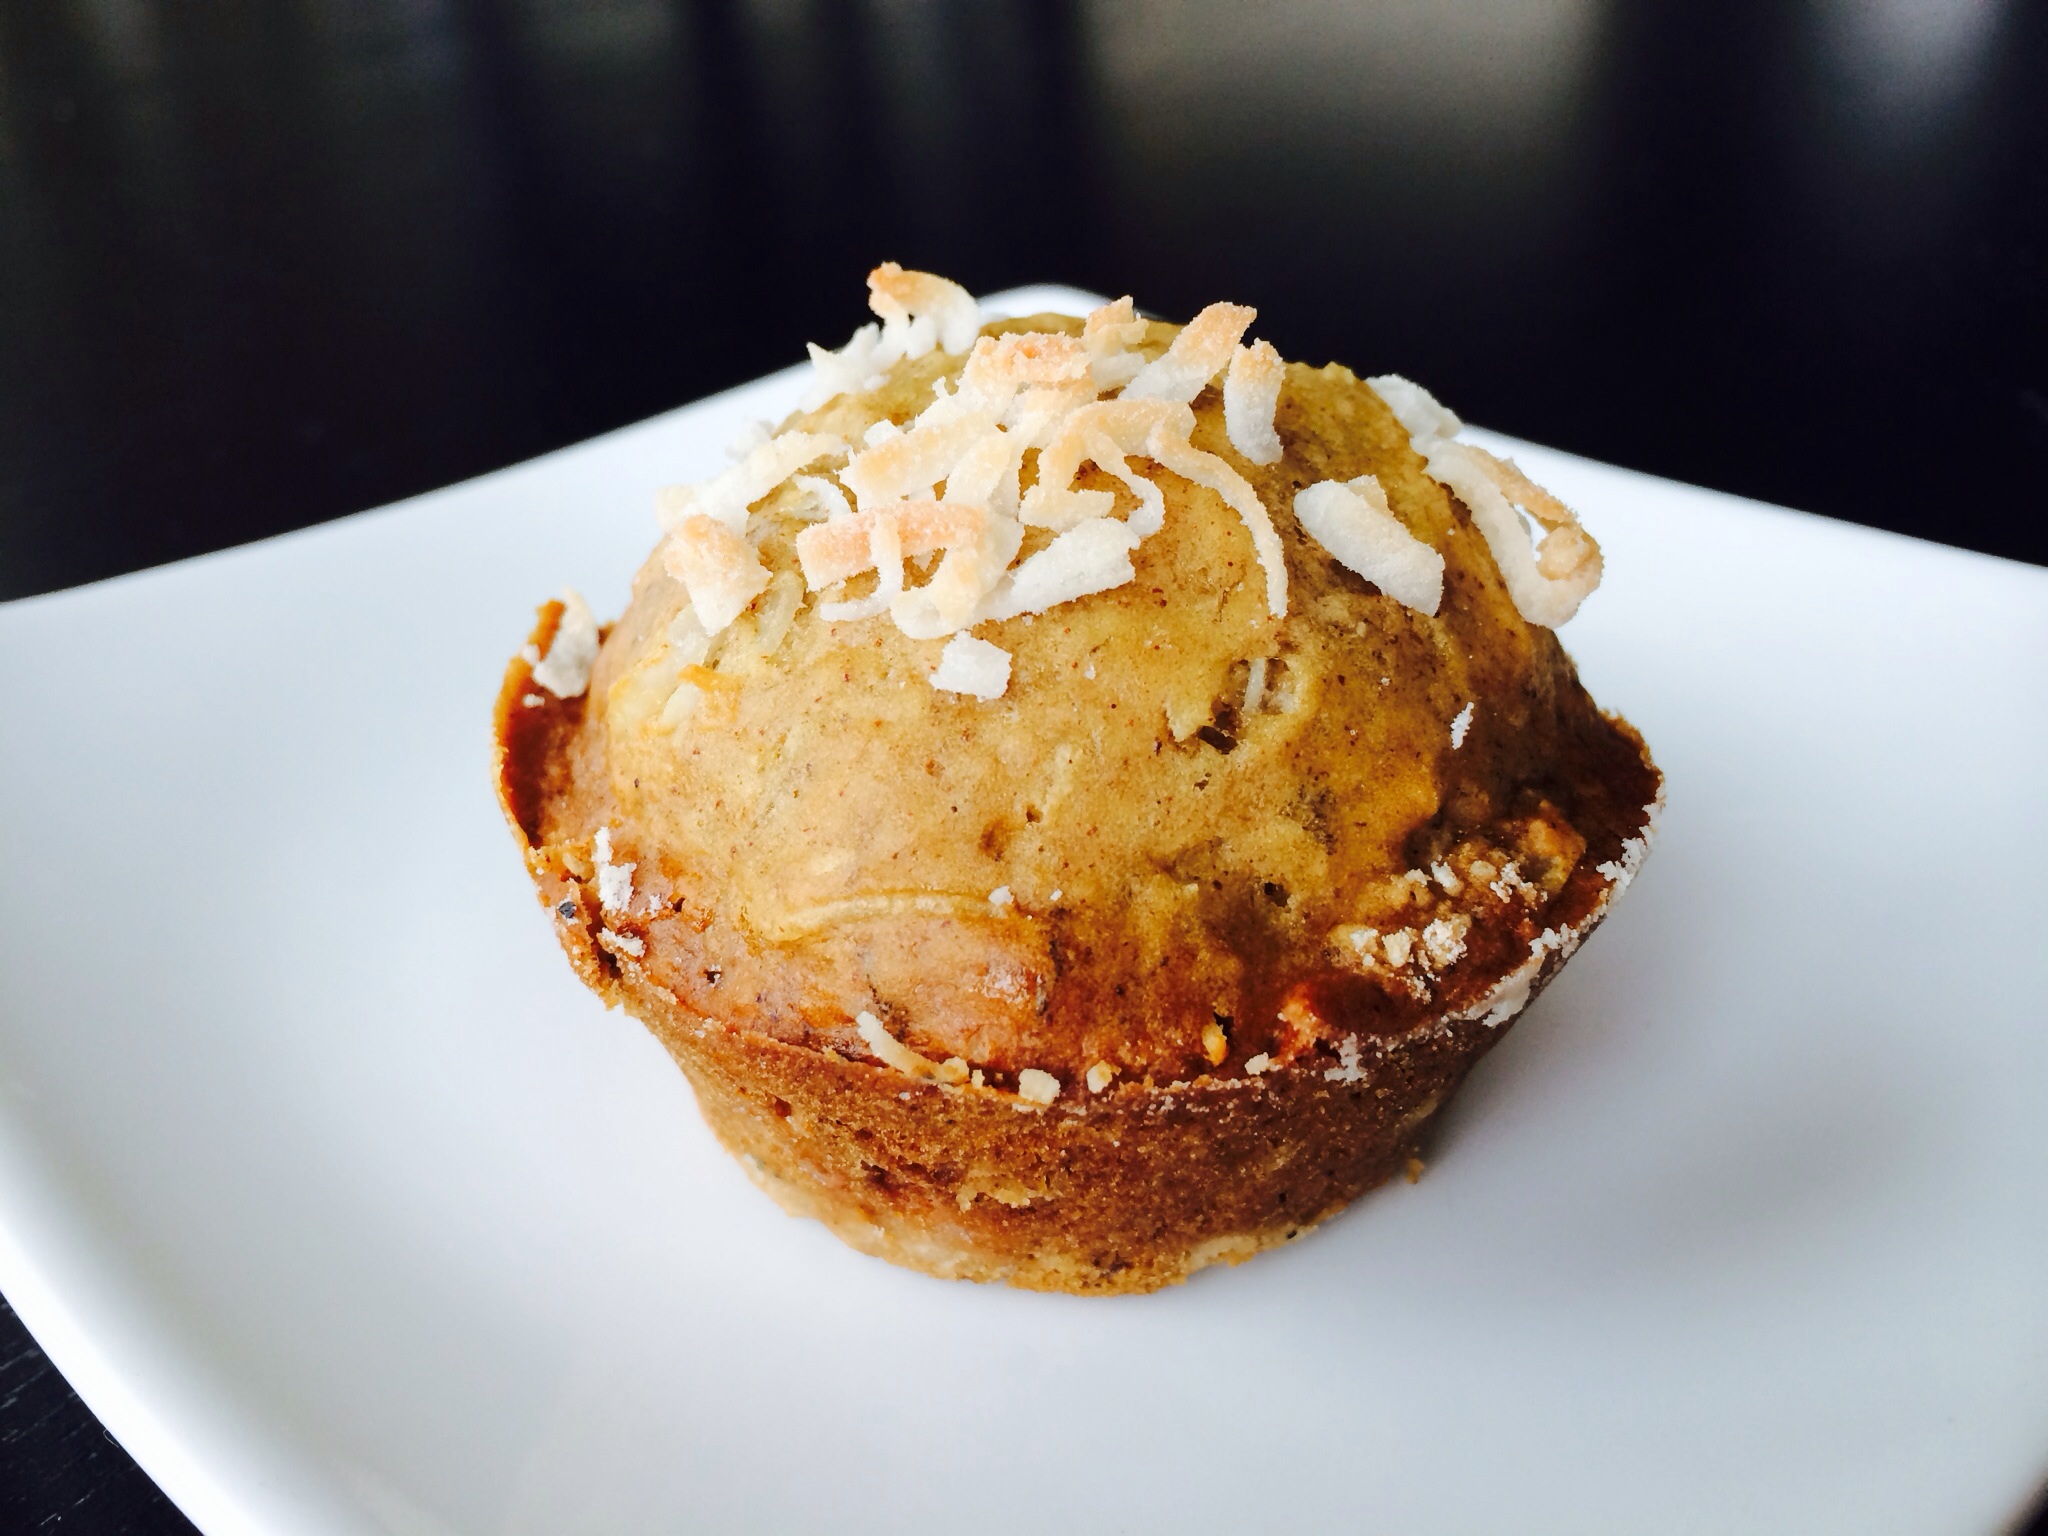
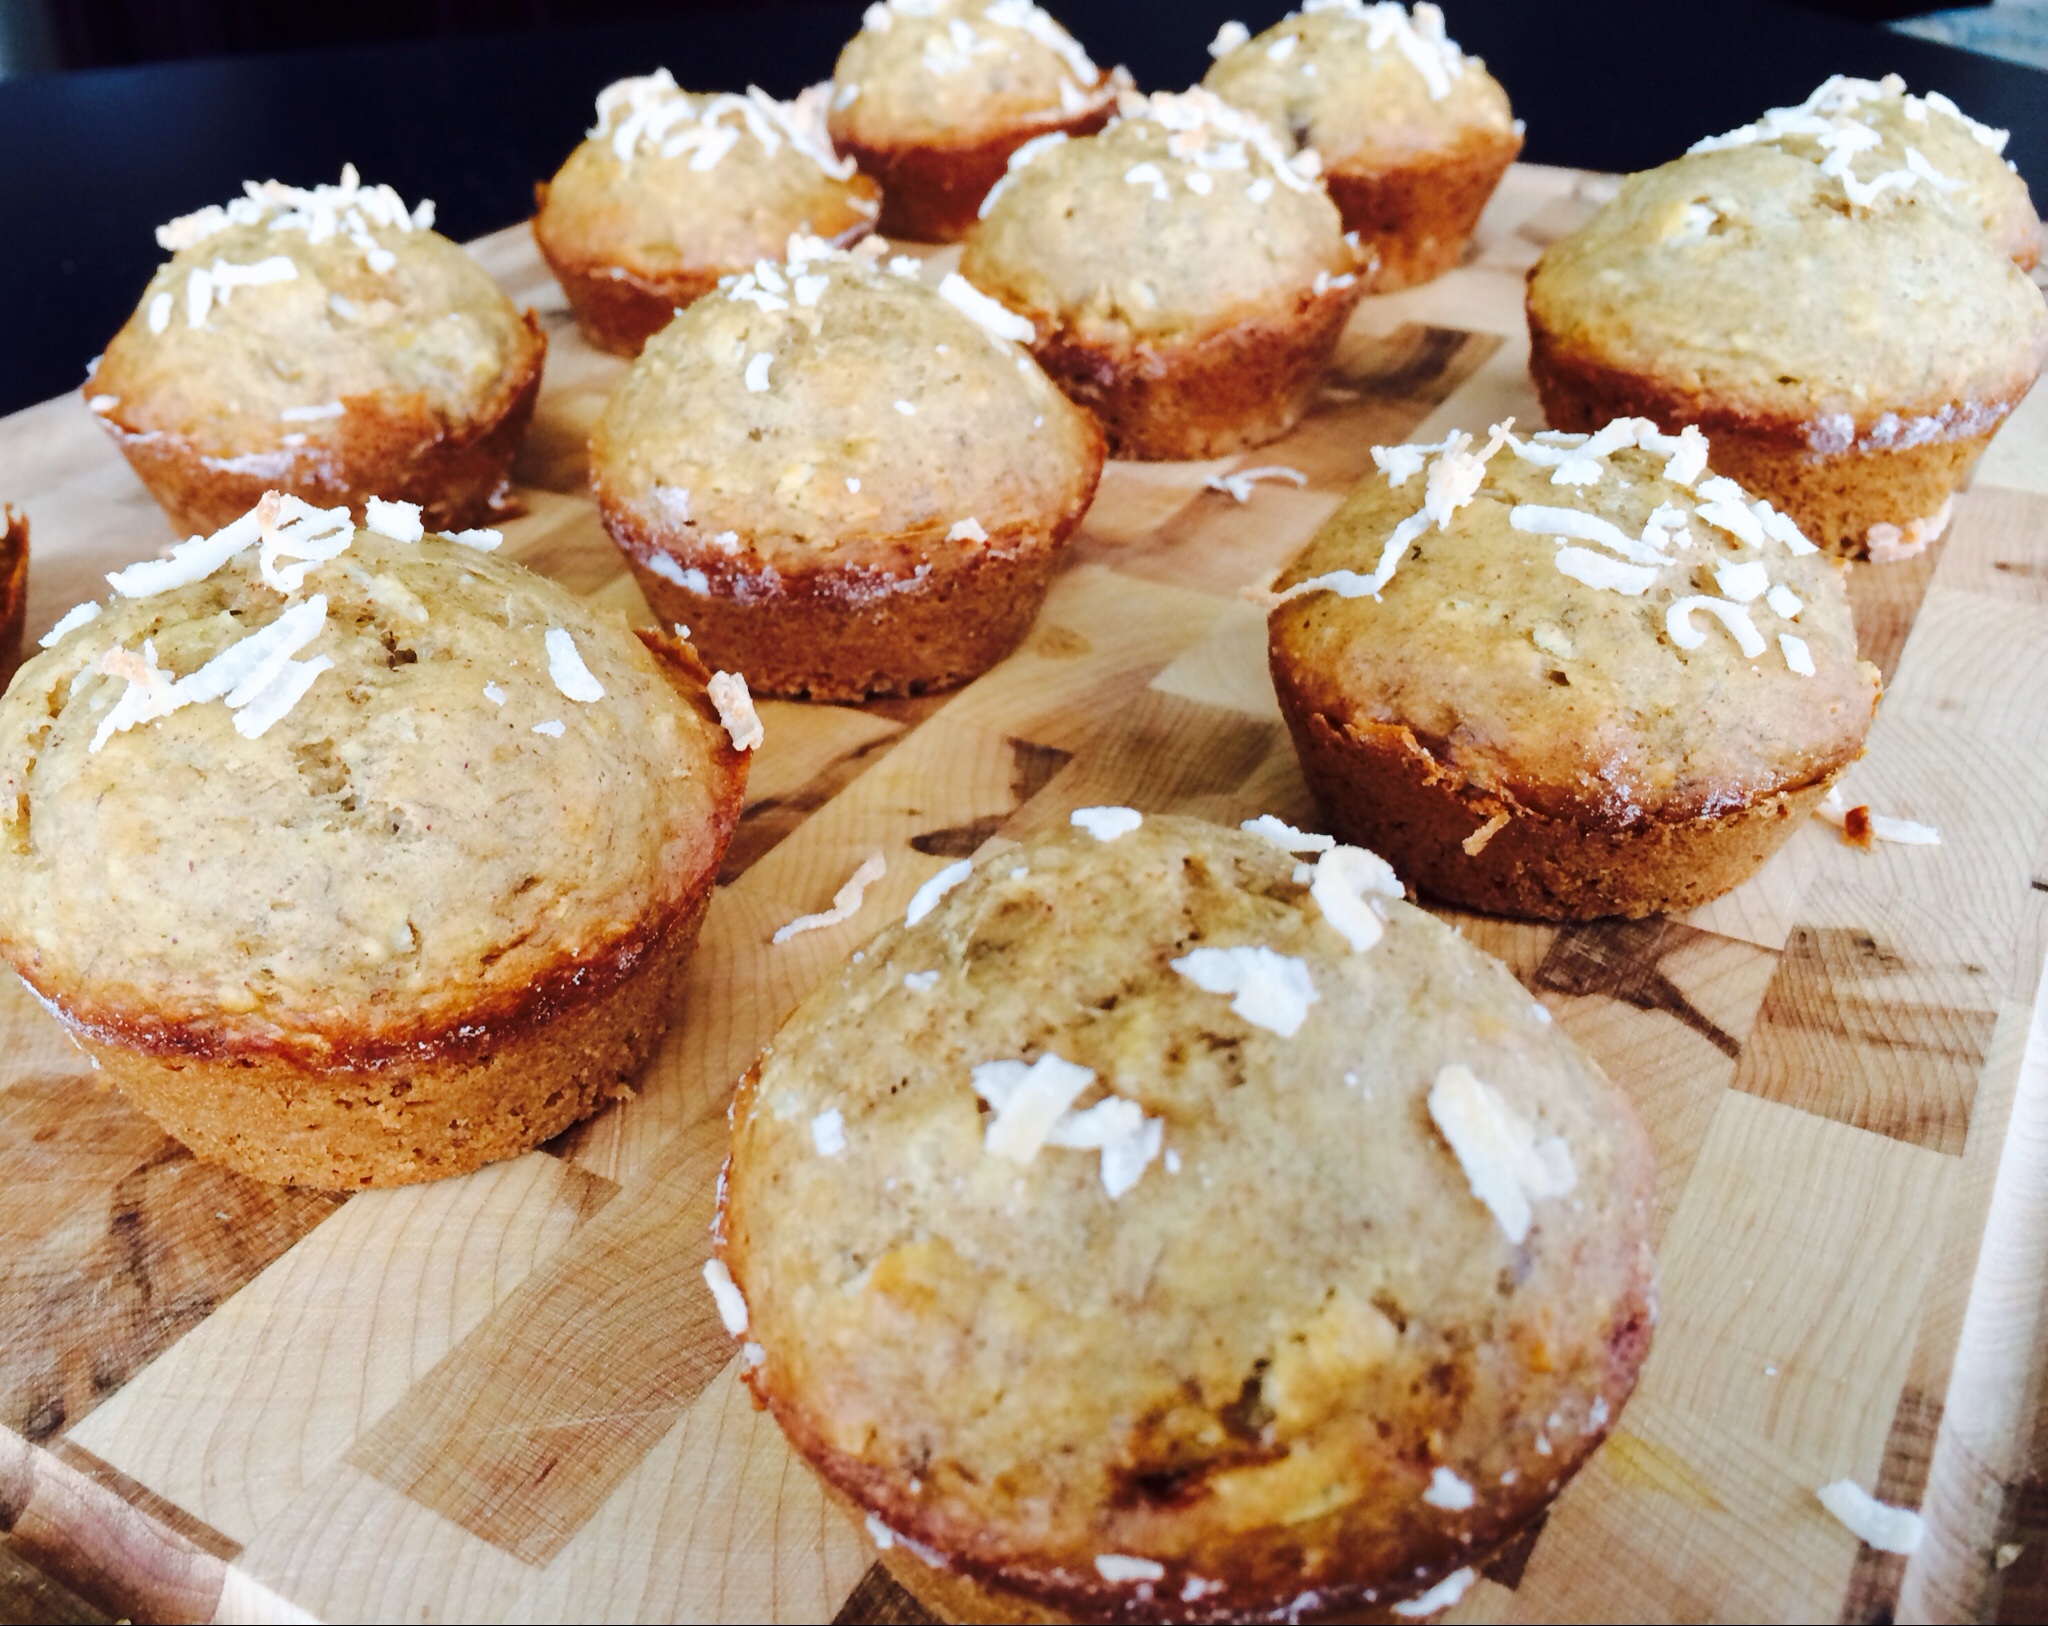
Lemon squares rank pretty high on the refreshing dessert list and are easy to make! My recipe makes a 9X13 pan, just sprinkle some powdered sugar, cut into squares, and enjoy a beautiful, delicious dessert! This time I added finely chopped basil for an element of surprise!

The addition of the basil’s green color added a crispness and a pop of color to the plain lemon squares. The flavor is incredible! Super sweet and lemony with a pop of savory! Delish!

image

Here is the recipe!

Lemon Basil Squares
(Makes one 9X13 pan)

Ingredients:
Crust
2 sticks of butter, softened
1 cup sugar
2 cups flour

Filling:
4 eggs
1 cup sugar
2 tbsp. flour
1/3 cup fresh squeezed lemon juice
2 1/2 tbsp. basil, finely chopped(1 tbsp. for sprinkling on top)
2 tbsp. Powdered sugar (also for sprinkling on top)

Directions:

Preheat oven to 350 degrees.

Grease and flour 9X13 pan.

In a mixing bowl, combine softened butter, 1 cup sugar, 2 cups flour with a wooden spoon until well mixed.

Press mixture into bottom of a greased 9X13 pan.

image

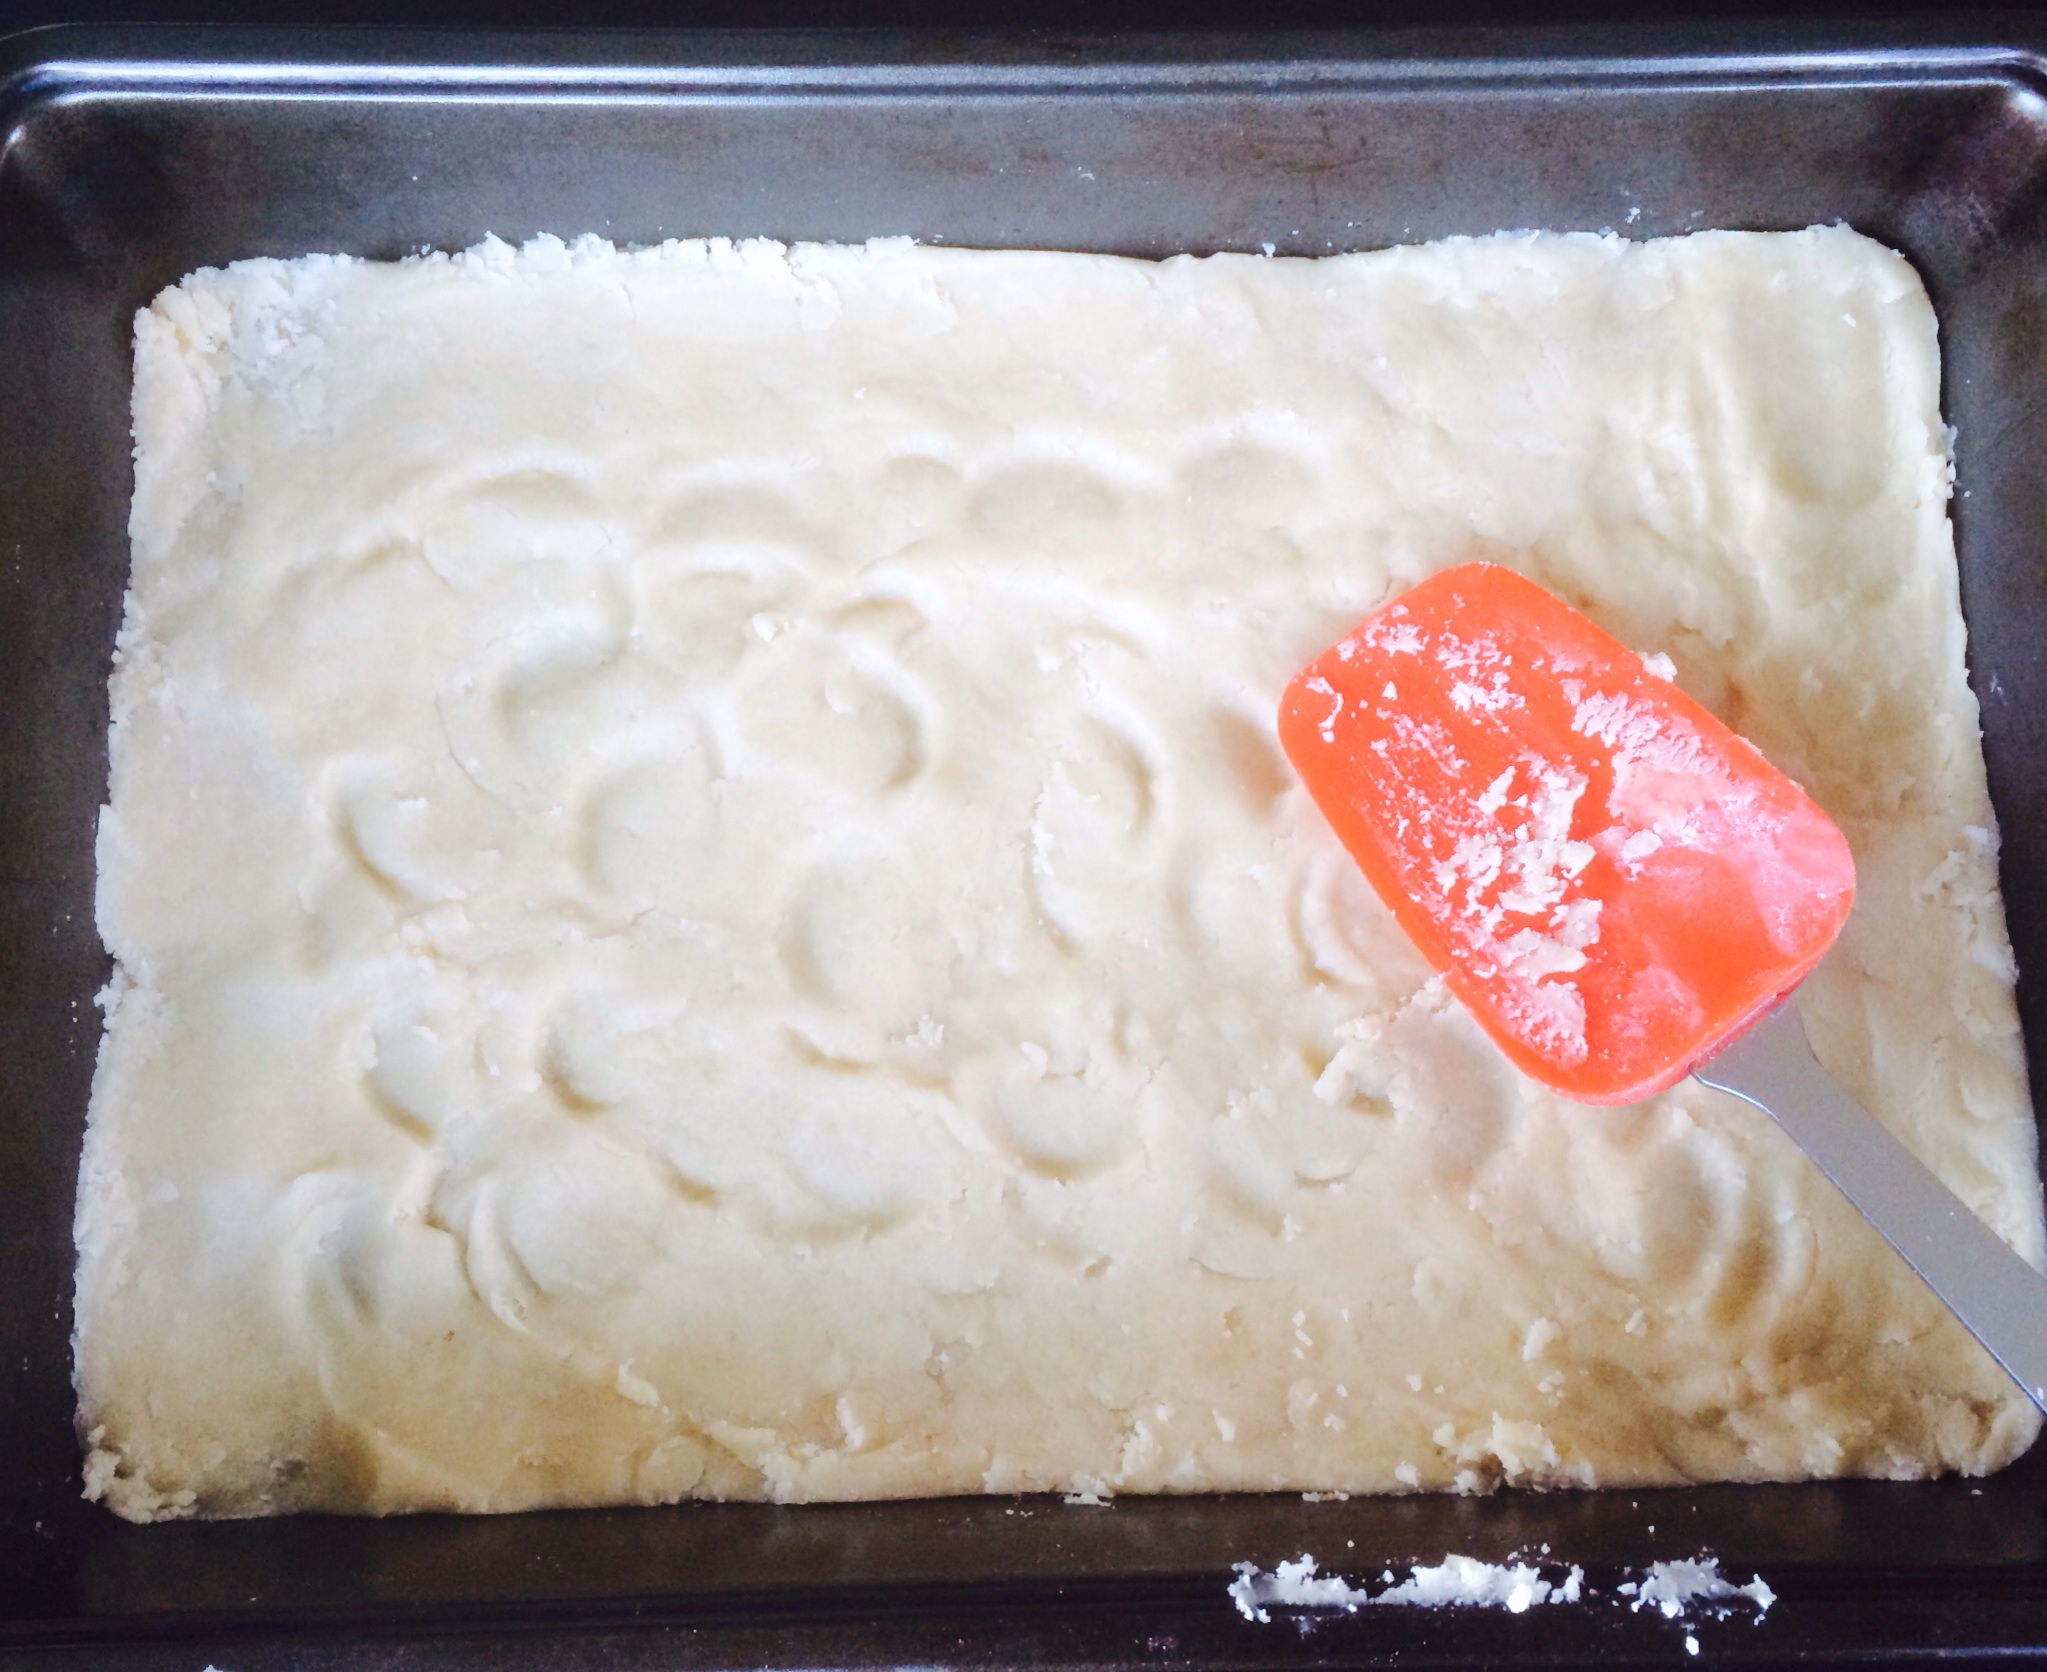
Bake crust for 12-18 minutes until set and golden.

Meanwhile, whisk together filling ingredients.

image

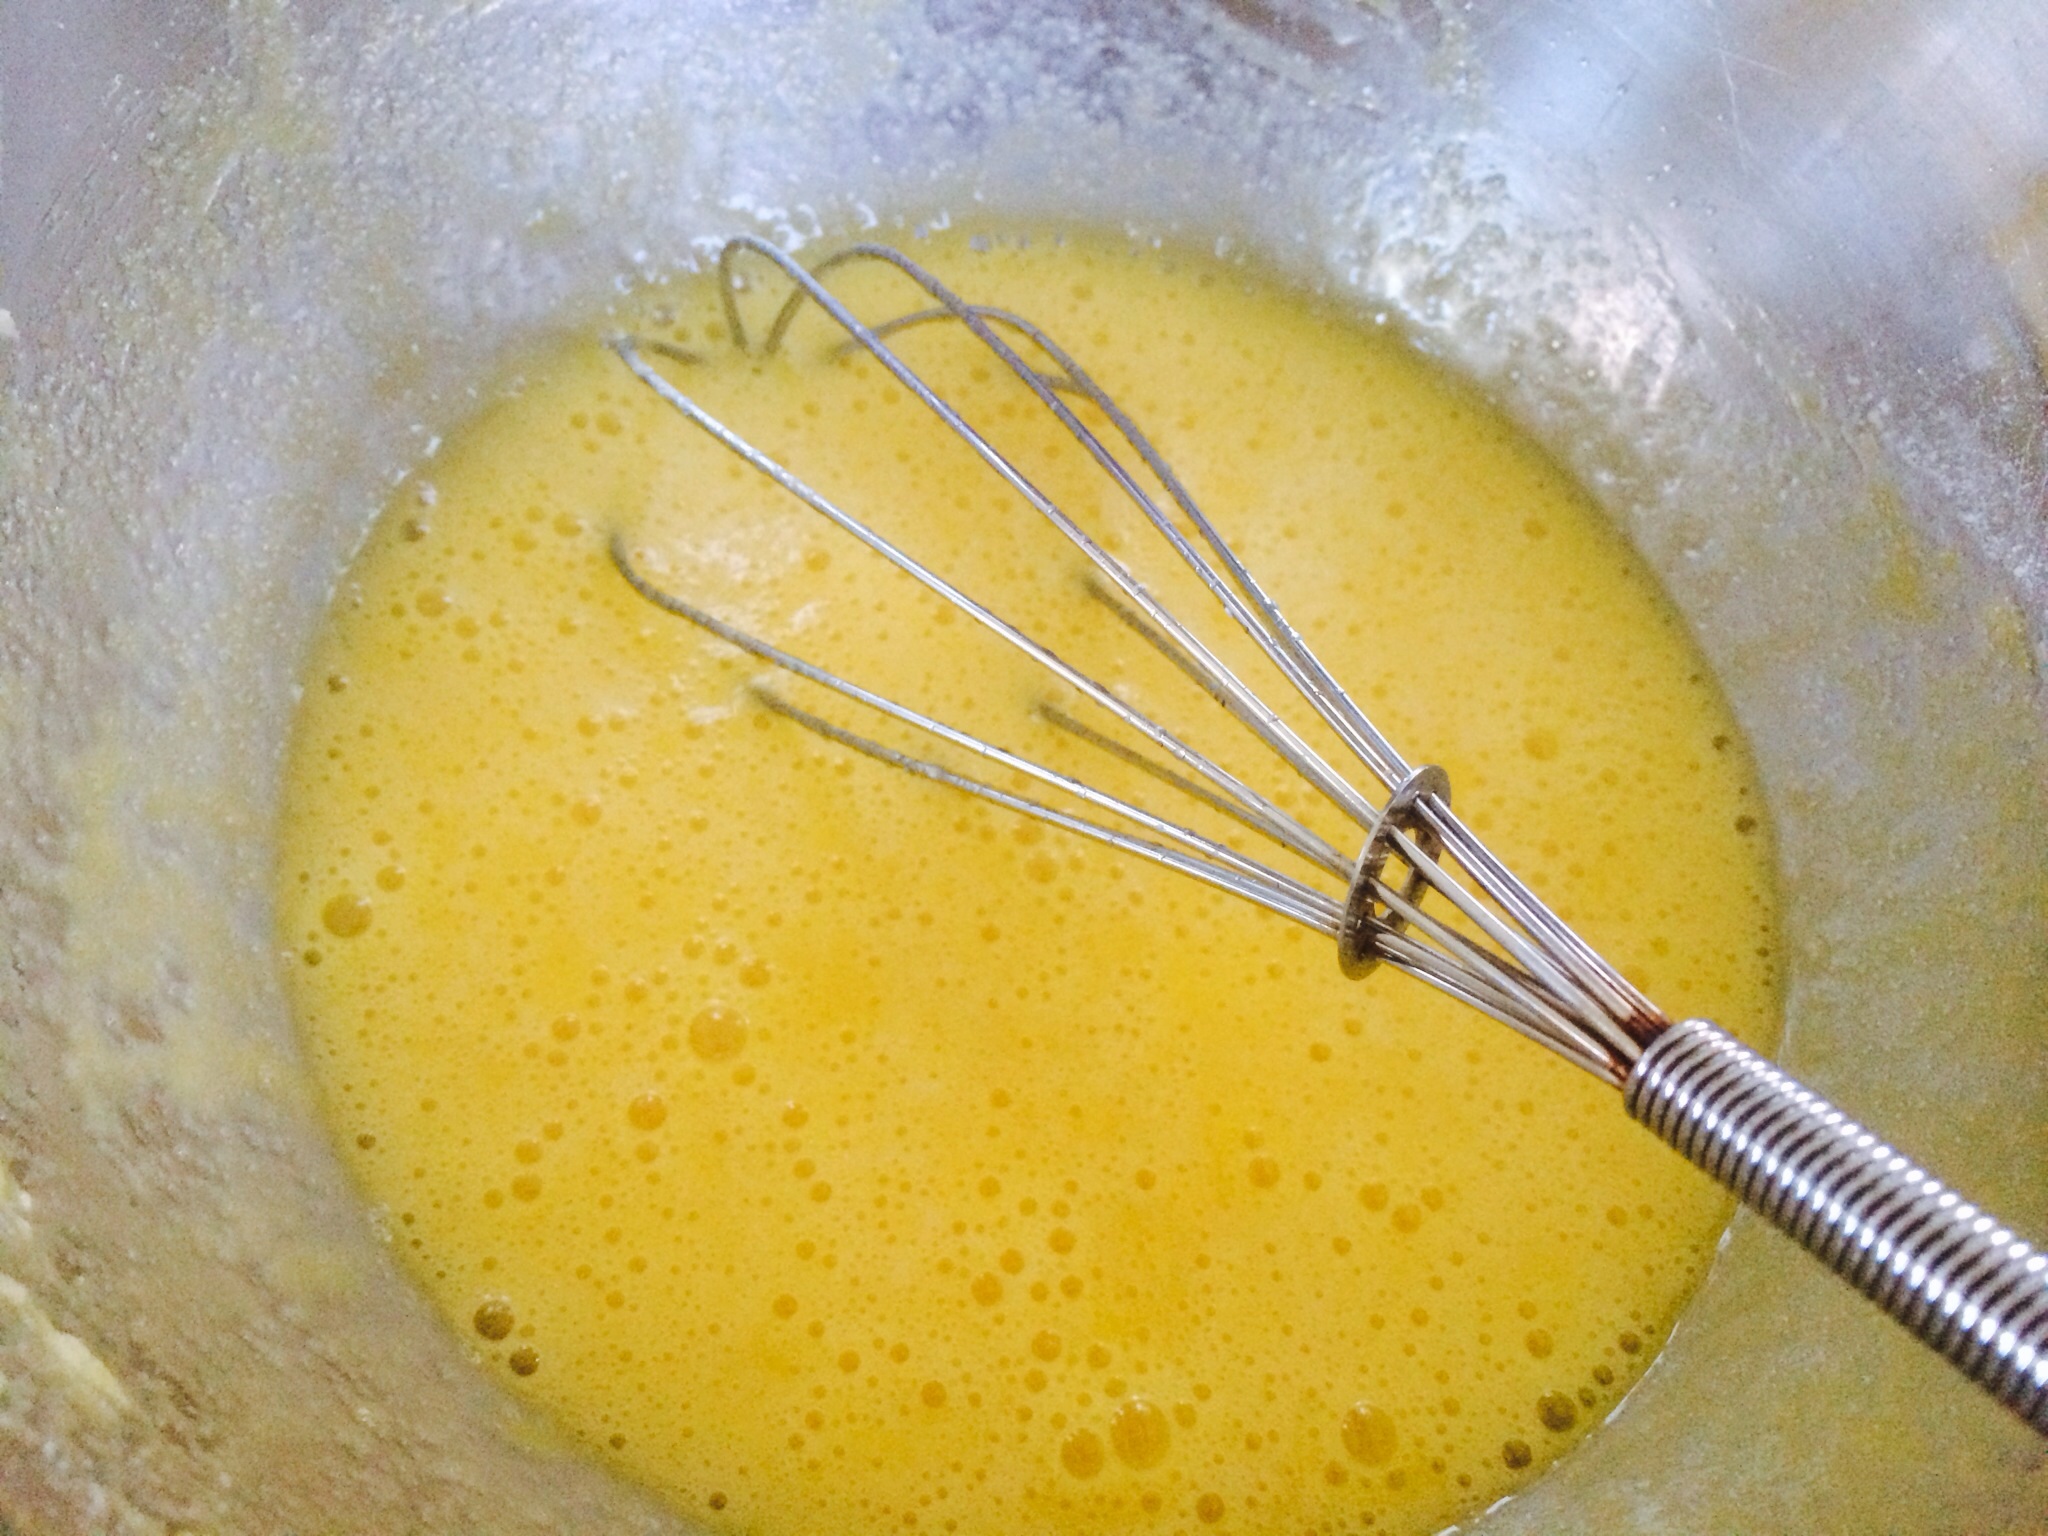
Pour filling over baked base and return to the oven for 18-20 mins.

Let cool.

Sprinkle with remaining chopped basil and powdered sugar.

image

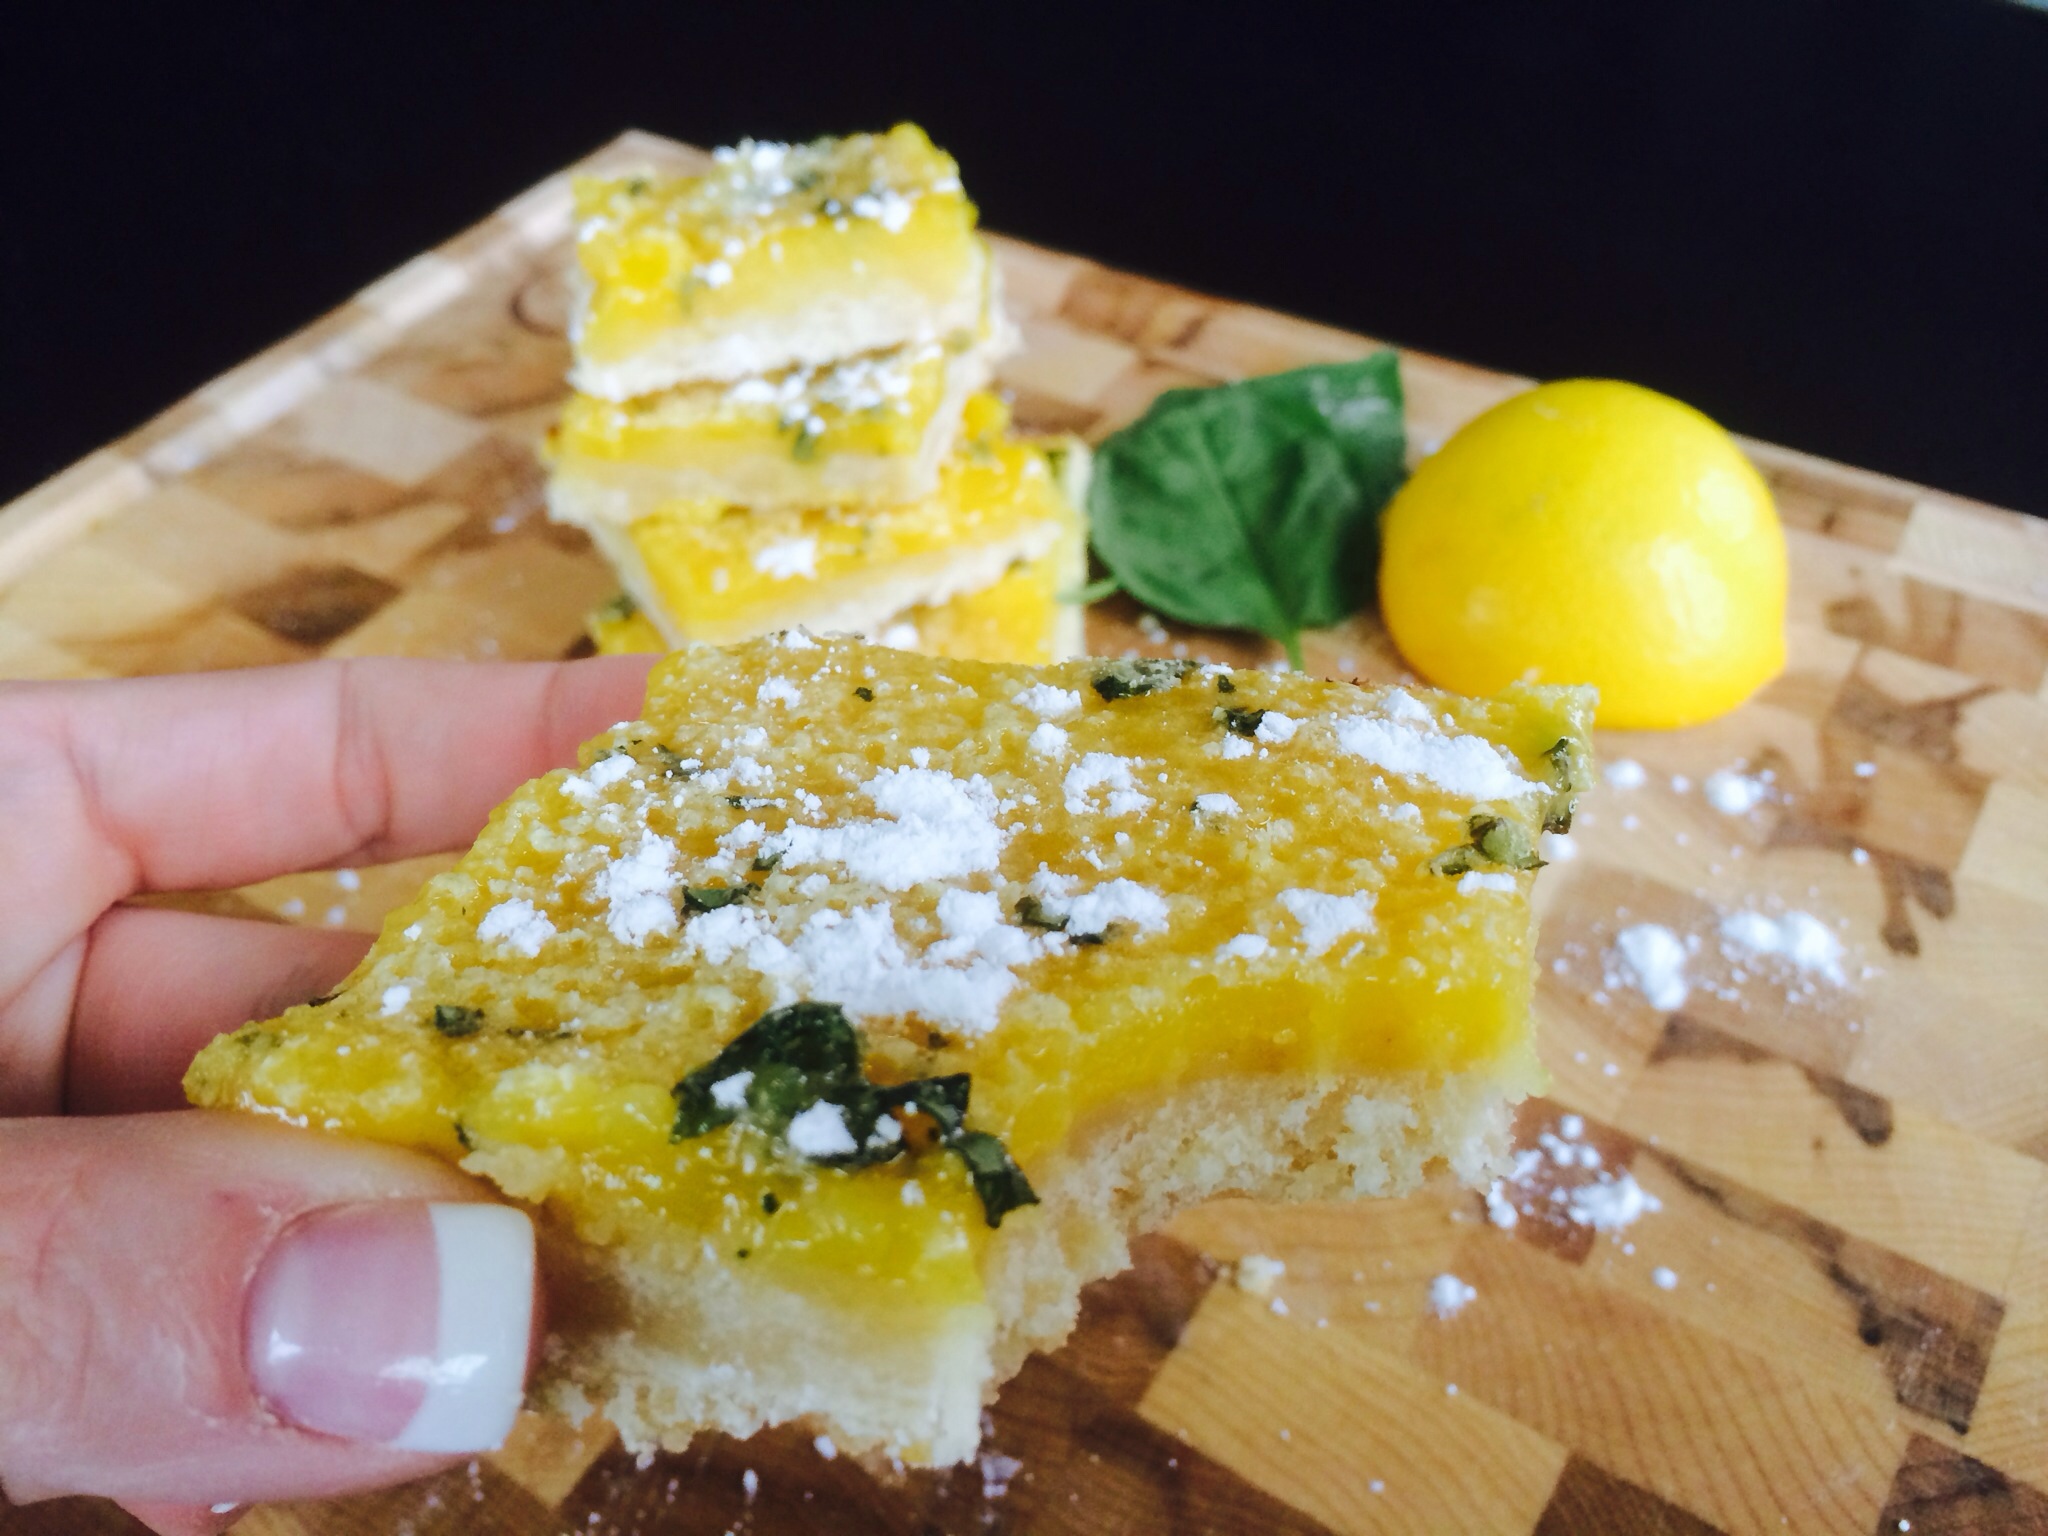
Enjoy the lemony deliciousness!
Ciao!

Join A CSA! Make A Primavera!

Thinking produce? Us, too! We cannot wait for fresh, local vegetables! Have you ever thought of subscribing to a CSA (Community Supported Agriculture) program?  Although the name suggests you need to roll up your sleeves and help farm along with others, the exact opposite is true… You pick up your box. Done.

image

Many farms near Pittsburgh offer CSA programs that include produce, eggs, cheese, and even meat.  A farmer who is part of the Pittsburgh Public Market family, Elliott Lengel of Lengel Brothers Farm, offers the community a fabulous CSA program out of Mercer, PA.

Lengel Brothers Farm- Mercer, PA

image

The Lengel Brothers Farm CSA program runs August through November, pick up locations include the Public Market in the Strip, and they offer a discount for members starting now! The program runs 14 weeks and the pricing is $120 for a quarter share, $200 for a half share, and $350 for a full share.  Members can pick your own items for you basket or get what you get! Elliott also bakes homemade breads and offers jams and many other condiments at a discount for members!

Pasta Primavera is one of my favorite, quick and easy healthy dishes! Originating from LeCirque in New York City, Pasta Primavera was discovered by accident when Mr. Maccioni and his family were asked to prepare dinner for a food tour in Canada.  Mr. Maccioni was forced to do a vegetable fridge raid and tossed it with pasta and fresh grated parmesan cheese.  When the guests asked what he called the dish he responded, “Pasta Primavera!”  The dish is not on the menu at Le Cirque these days, but the dish is made table side for those who ask.

image

Pasta Primavera

Ingredients:
2 tbsp. basil olive oil …The Olive Tap 
3 cloves of garlic, chopped
1 small onion, chopped…Produce from Lengel Brothers Farm Market
1 zucchini, chopped 1/2 inch
1 cup snap peas, chopped
1 cup mushrooms, sliced
1 pint cherry tomatoes
2 cups fresh grated Parmesan Reggiano cheese…Pennsylvania Macaroni Co.
2 tbsp. fresh basil, chopped
1 lb. dry or fresh pasta
salt/pepper to taste
extra fresh grated parmesan cheese
Directions:
Heat olive oil in a large, deep frying pan.
Add garlic and cook until golden and softened.
Add vegetables according to cooking time. Longest first.
Add onion, zucchini, mushrooms, snap peas and cook until tender not mushy.
Meanwhile, throw in 1 lb. pasta and cook until al dente.
Drain well and toss with vegetables in the pan.
Add parmesan cheese and coat.
If too dry add a lithe bit more olive oil or a 1/2 cup chicken stock..
Throw in salt/pepper and basil.

Enjoy!
Ciao!

For more information on Pittsburgh CSA programs Click Here!

Banana And Coconut Skinny Muffins Scream Summer!!

Sometimes we need an easy to make, low fat, healthy muffin… that reminds us of vacation! Because summer is so close we can taste it, literally. One of my favorite baking opportunities occurs when super ripe bananas are staring at me. I can’t help but think about the delicious possibilities!!

image

Usually a healthy muffin is hard as a rock, because of the wheat flour, and dry, because we take out all of the fat and sugars. These muffins are sweetened with honey and the natural sweetness of the super ripe bananas! A little brown sugar and cinnamon even out the sugar profile and add a pop of flavor! They taste totally tropical! Hmmm… maybe some rum next time 😉

image

Guilt Free and Fabulous! Here is the Recipe!

Banana Coconut Muffins
(Makes 12 muffins)

Ingredients:
2 cups flour- 1/2 whole wheat and 1/2 white or all white (If all whole wheat they will be hard)
1 tsp. baking soda
1/2 cup light brown sugar
1 tbsp. ground cinnamon
1/4 cup honey
1 tbsp. vanilla
2 super ripe bananas- smashed
1/4 cup almond milk or cow’s milk
1 large egg, beaten
1/2 cup shredded coconut + 2 tbsp. for sprinkling on top

Directions:

Preheat oven to 325 degrees.

Grease and flour your favorite muffin tin. Mine is USA Pans! They are fabulous!

In a mixing bowl, sift flour, baking soda, light brown sugar, and cinnamon.

image

Add the honey, vanilla, mashed bananas, egg, and coconut.

Slowly and gently fold in the ingredients, breaking and chunks apart.

Add the milk. It will thin out the batter, but it will still be a nice, thick consistency.

image

image

Fill muffin tins 3/4 full.

image

Bake 15-17 minutes. Rotate pan and sprinkle with coconut after 10 minutes.

image

Bake until the toothpick test shows a clean toothpick. Insert into center to test.

image

Enjoy!
Ciao!

Ham Vegetable Bean Soup!

Easy to make and a great way to use up left over ham, this ham and bean soup is filled with vegetables and chunks of sweet ham. Use your favorite beans! Not a bean fan? You can leave them out and have a hearty ham and veggie soup. The addition of chili powder, cumin, and a squeeze of Sriracha gives the soup a little kick!

image

When I make a ham we always have TONS of leftovers. I save the bone to make this soup, but it would be just as tasty with just leftover diced ham. Don’t worry if you don’t have the bone! The addition of more chicken or vegetable stock would make up for the missing bone broth.

Homemade soups are easy to freeze and easy to thaw! Perfect for dinner in a pinch!

image

Ham Vegetable Bean Soup
(Makes a lot!)

Ingredients:
1 meaty Ham bone
1-1/2 cups ham diced into bite size pieces
1 cup celery, chopped
1 large onion, chopped
3 cloves garlic, chopped
6 potatoes, peeled and chopped into 1/2 inch chunks
2 tbsp. Olive oil
1 vegetable broth bullion cube and 4 cups of water
1 14.5oz. Chicken stock
1 32 oz. can crushed tomatoes with juice
1 16oz. bag 10 bean dry beans, pre-soaked or 3 cans of your favorite beans – kidney beans, canellini beans, pinto beans, etc.
Drained.
2 tbsp. Worcestershire sauce
1 tbsp. Chili powder
1/2 tbsp. Cumin
Squeeze Sriracha to taste
Salt/pepper to taste

Directions:
Heat olive oil on low in the bottom of a large stock pot.

Add garlic and cook until golden and softened – a few minutes.

Add vegetable bullion cube, chicken stock, and water.

Mix well until cube is completely dissolved.

image

Add the ham bone, Worcestershire sauce, and spices.

Cook for one hour on medium high heat.

Add diced ham, onions, celery, potatoes, tomatoes, and beans.

Cook an additional 2 hours.

Remove the ham bone. Scrape off any additional chunks of ham.

image

image

Serve as a meal or as a yummy starter!

Enjoy!
Ciao!

Vegetable Lemon Garlic Quinoa!

Spring has Sprung!

image

Here in Western PA we are looking at warmer temperatures and hopefully no more snow!!! I look forward to cooking with Spring vegetables and making beautiful, colorful, healthy dishes. I think this was the longest winer vegetable season ever!

Ready for the pool?
Bathing Suits in less than 2 months! What A great reason to fill our bellies with healthy foods!

Quinoa is a favorite superfood, protein-packed seed grown in the Andes Mountains in South America. Packed with essential amino acids, quinoa is essential to many vegetarian and vegan diets. I often substitute quinoa for rice or pasta for an extra healthy dish!

image

Butternut Squash And Tomato Lemon Garlic Quinoa
Ingredients:
1 cup quinoa
1-1/2 cup water
2 tbsp. olive oil
3 cloves garlic, chopped
2 cups butternut squash, chopped
1 cup tomatoes, chopped
1/4 cup parsley
1 lemon squeezed
salt/pepper

Directions:
Boil quinoa in water according to directions.

Meanwhile, Heat olive oil in a large pan.

Add garlic and cook until golden and softened (3-5mins)

Add butternut squash, tomatoes, garlic and cook until heated through.

image

Add drained quinoa.

image
Top with salt and pepper and stir.
Throw in parsley and squeezed lemon.
image

Mix well and serve!

image

image

Enjoy!
Ciao!

Deliciously Deviled Eggs!

Deviled eggs are perfect as an app, finger food, and this time of year, eggs are all the rage!!

image

Is the most unhealthy ingredient the mayo? or the yolk?

One egg yolk has 5 grams of fat and 54 calories. Save on 50% of the calories by using nonfat Greek yogurt or nonfat cottage cheese to make up some of the yolk volume.

Obviously use a non-fat mayo or eliminate it all together and use greek yogurt or avocado.

Lets talk taste…Mustard snobs everywhere insist on using a dark mustard such as Grey Poupon in deviled egg recipes when yellow mustard is the perfect option. It has the tang needed to amp up the flavor.

image

Deliciously Deviled Eggs
(Makes 12 halves)

Ingredients:
6 hard boiled eggs, peeled, halved, and yolks taken out
3 tbsp. light mayo, or greek yogurt
1-2 tbsp. yellow mustard
1 tbsp. sweet relish
1 tsp. paprika – 1/2 in recipe (1/2 tsp. for sprinkling on top)
1/2 tsp. cayenne pepper

Directions:
Mash egg yolks in a small mixing bowl with a fork.

image

Add mayo or greek yogurt, relish, mustard, paprika, and cayenne pepper and mix well.

image

Spoon into the egg white centers, sprinkle with paprika.


image
image

Enjoy!
Ciao!

Oatmeal Raisin Cookie Overnight Oats! Guest Post by The Almond Eater!

Today’s post comes from Erin of The Almond Eater blog, and is part of a special day of shenanigans from other Pittsburgh Bloggers.  You can see my post over on Yum Yum Pgh, where I share my homemade, easy, and delicious Pad Thai recipe!

Here is Erin’s Post!

Hi Parmesan Princess readers! Today I want to share my new favorite overnight oats recipe: Oatmeal Raisin Cookie Overnight Oats! After all, who doesn’t love a good oatmeal raisin cookie? Also, anyone who says cookies aren’t for breakfast is wrong.

I love overnight oats for 45 reasons, but the main reason is because they’re ready to go when I wake up in the morning, meaning no prep work is involved! This is great, especially mornings when I literally don’t have time to make breakfast—they’re the perfect grab-n-go option.

Oatmeal Raisin Overnight Oats 1


I tried overnight oats for the first time two years ago and it was love at first bite. I made them every morning for a very long time, until my body/taste buds were like STOP IT. Now, I try to eat a variety of breakfasts, but still include oats in the line up at least once a week. It’s all about balance :) 
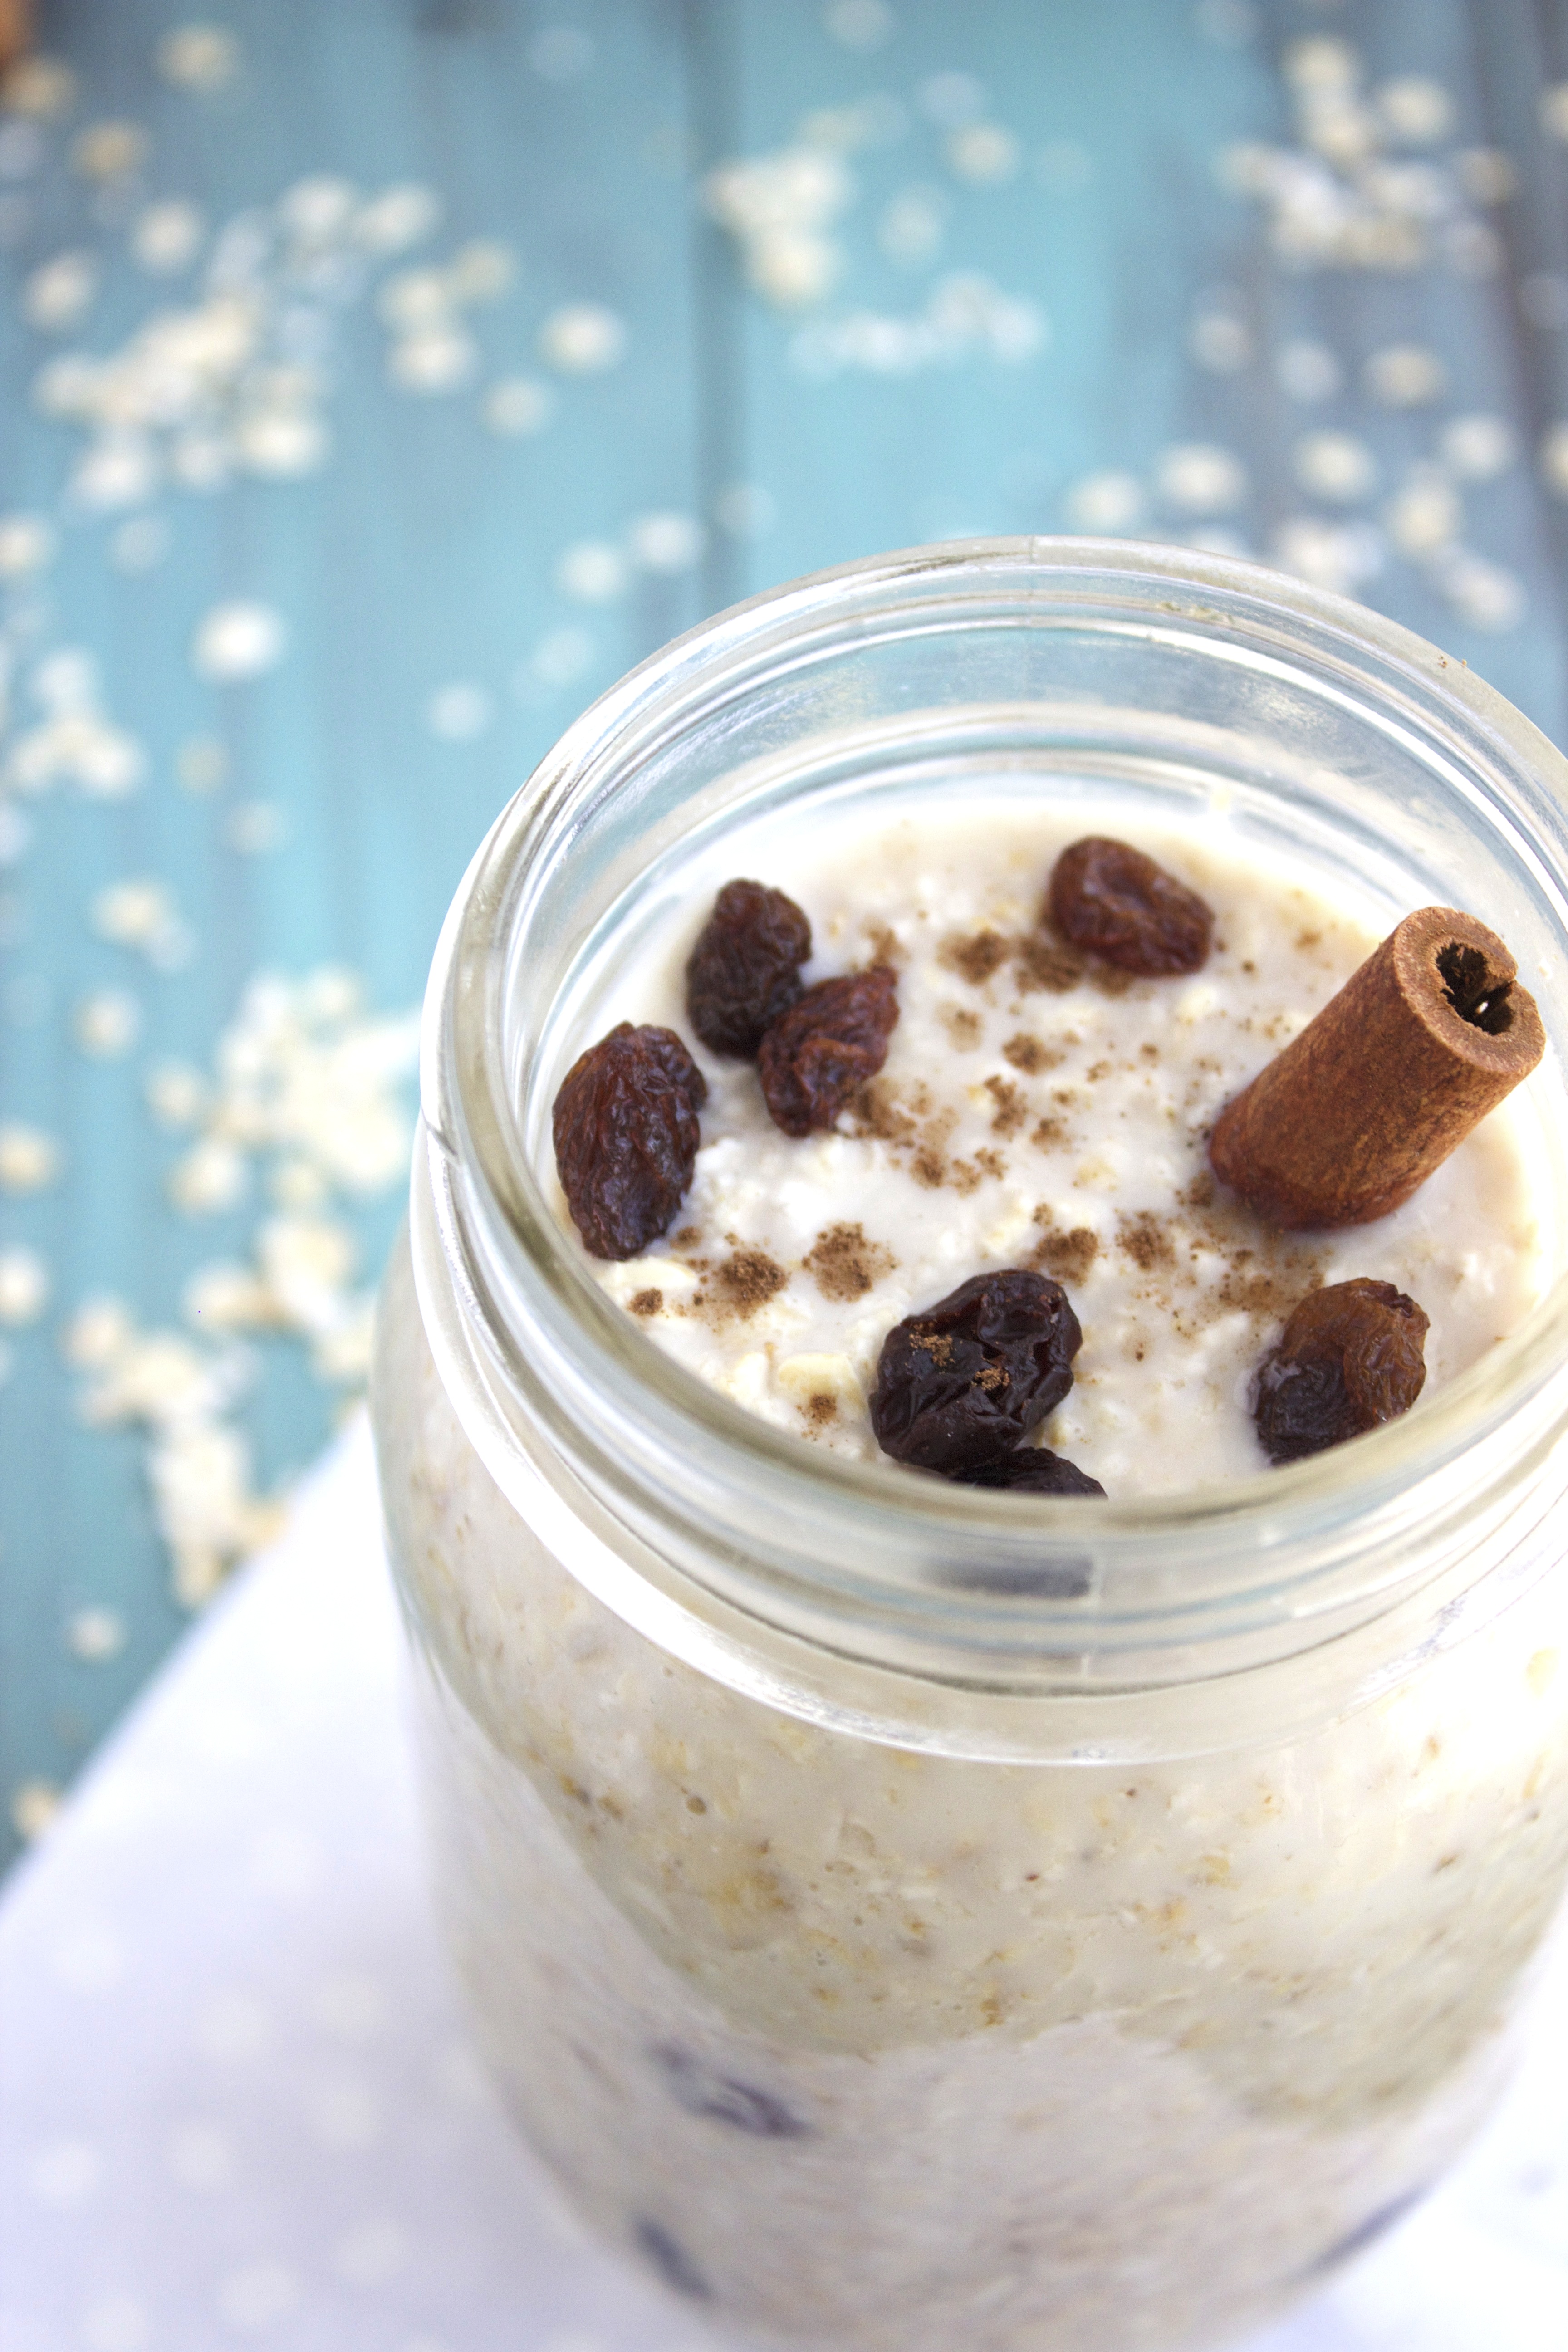
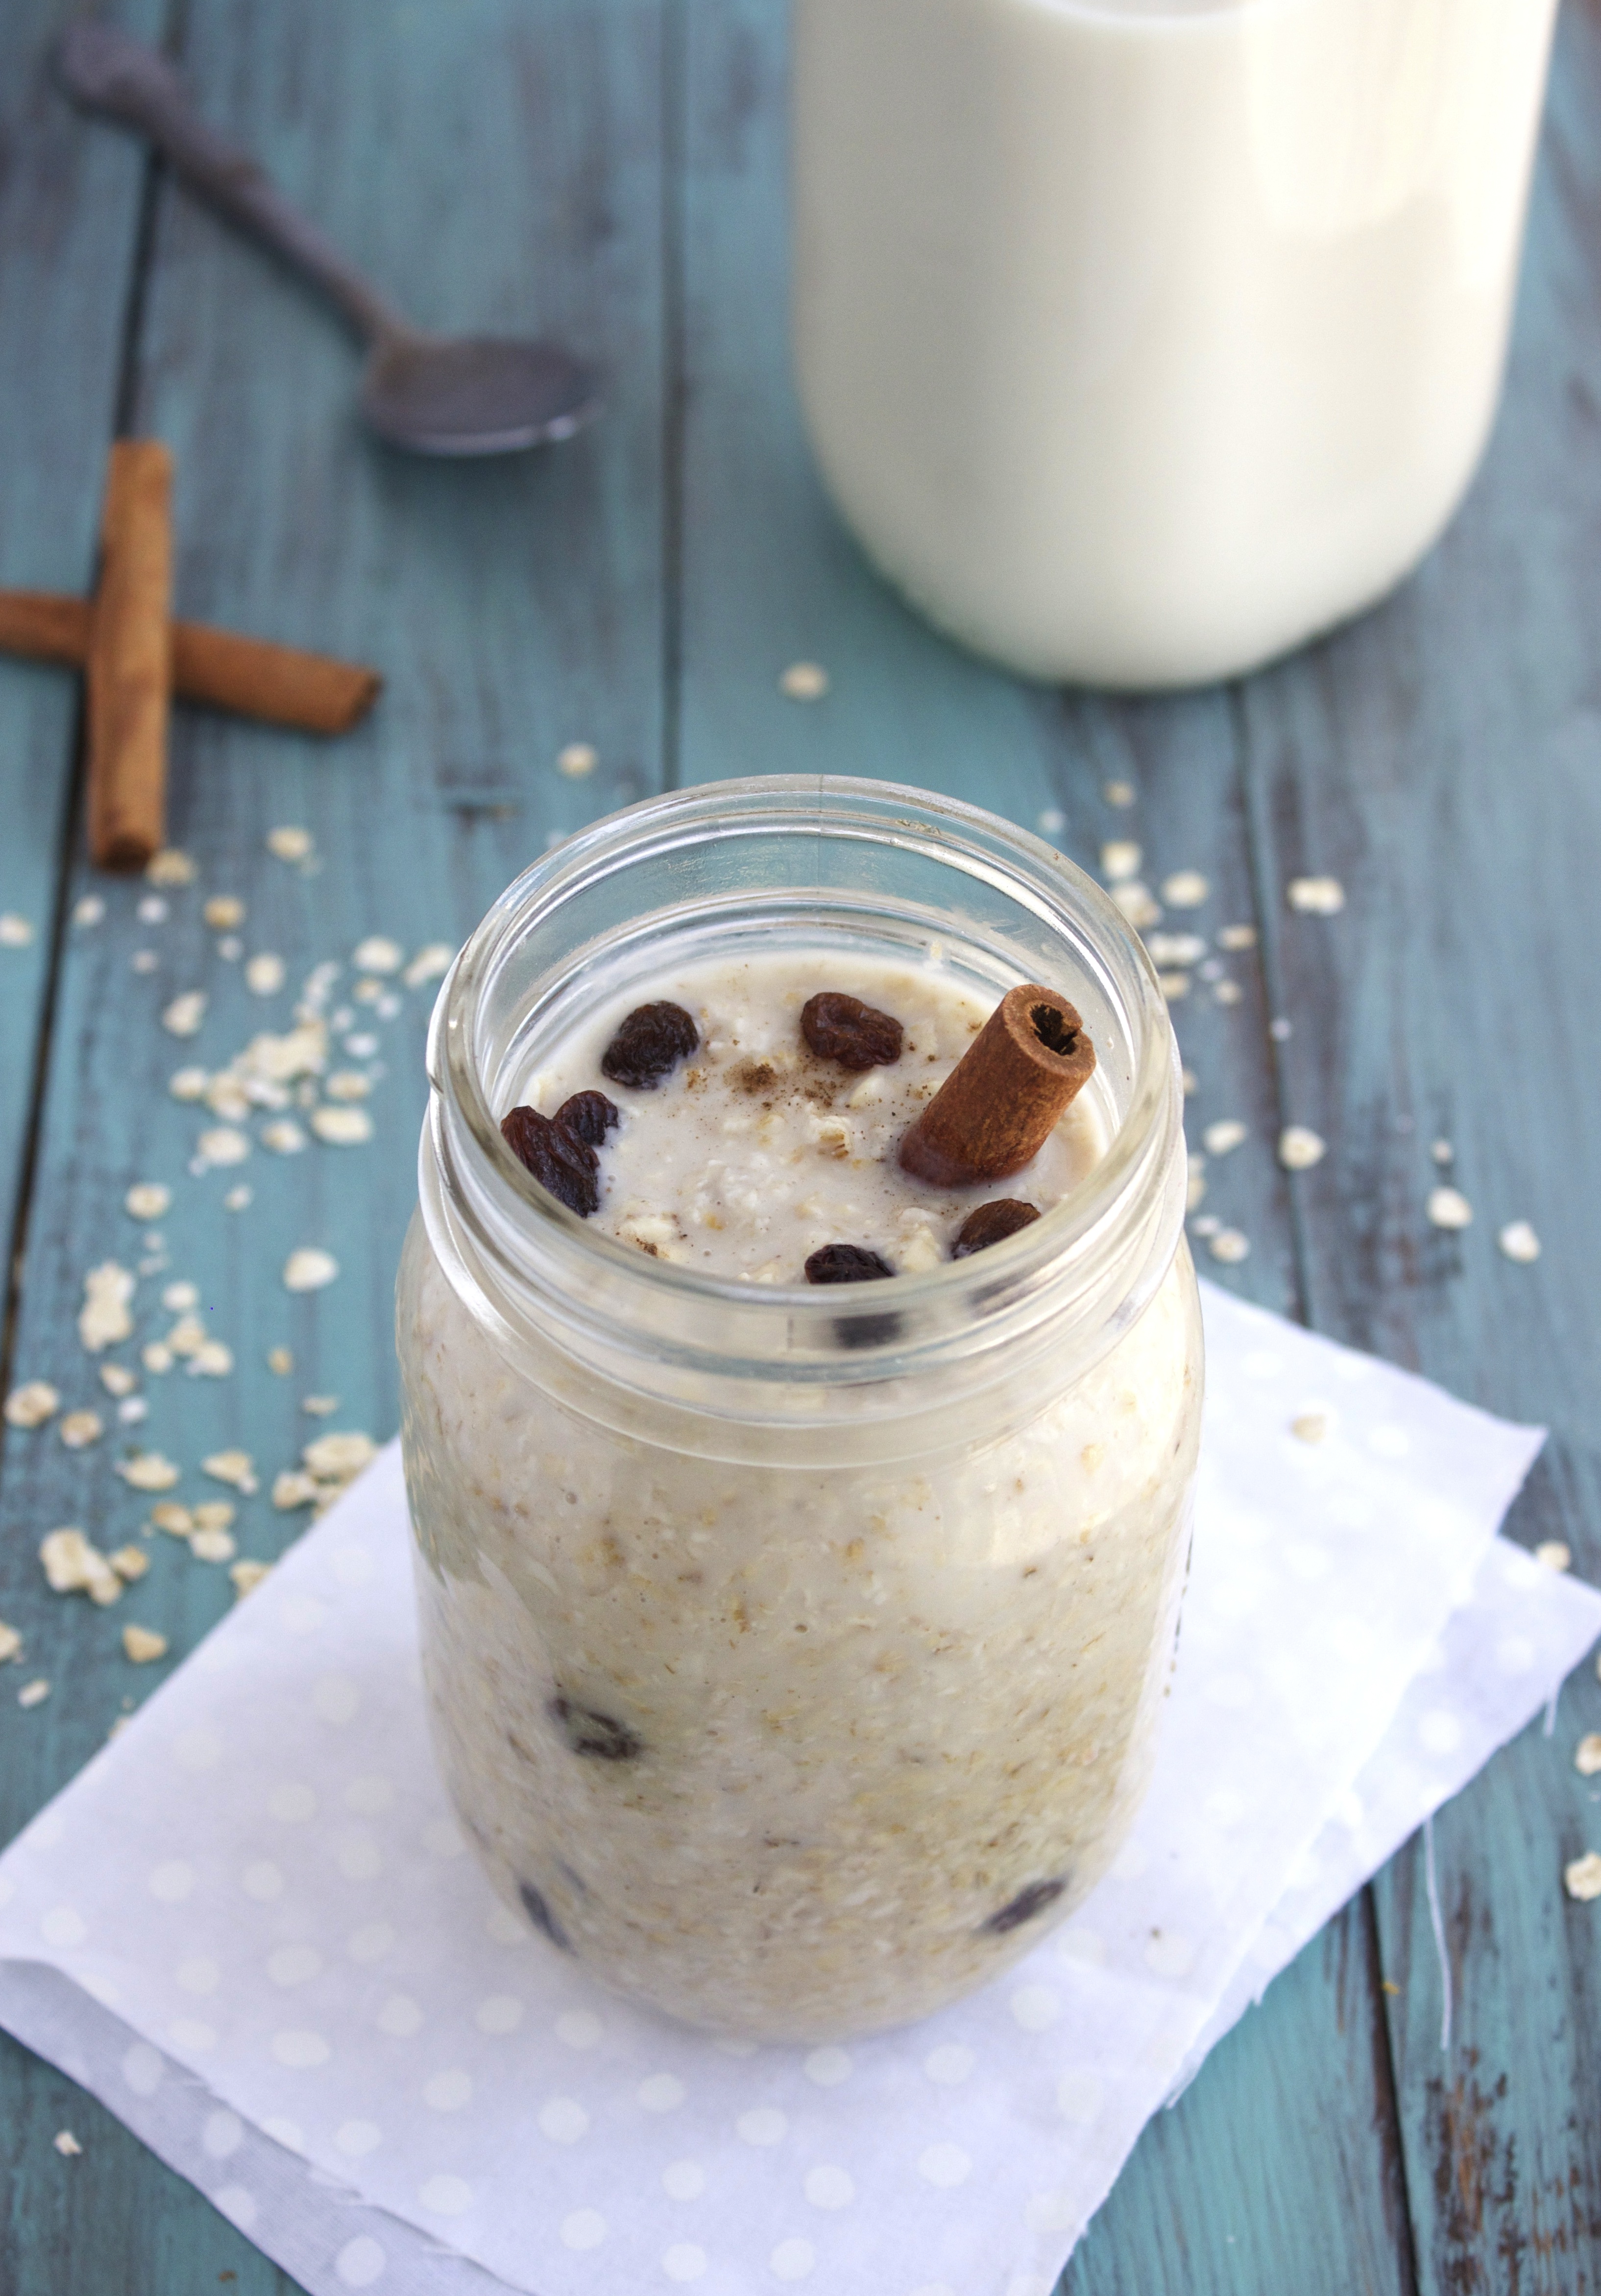
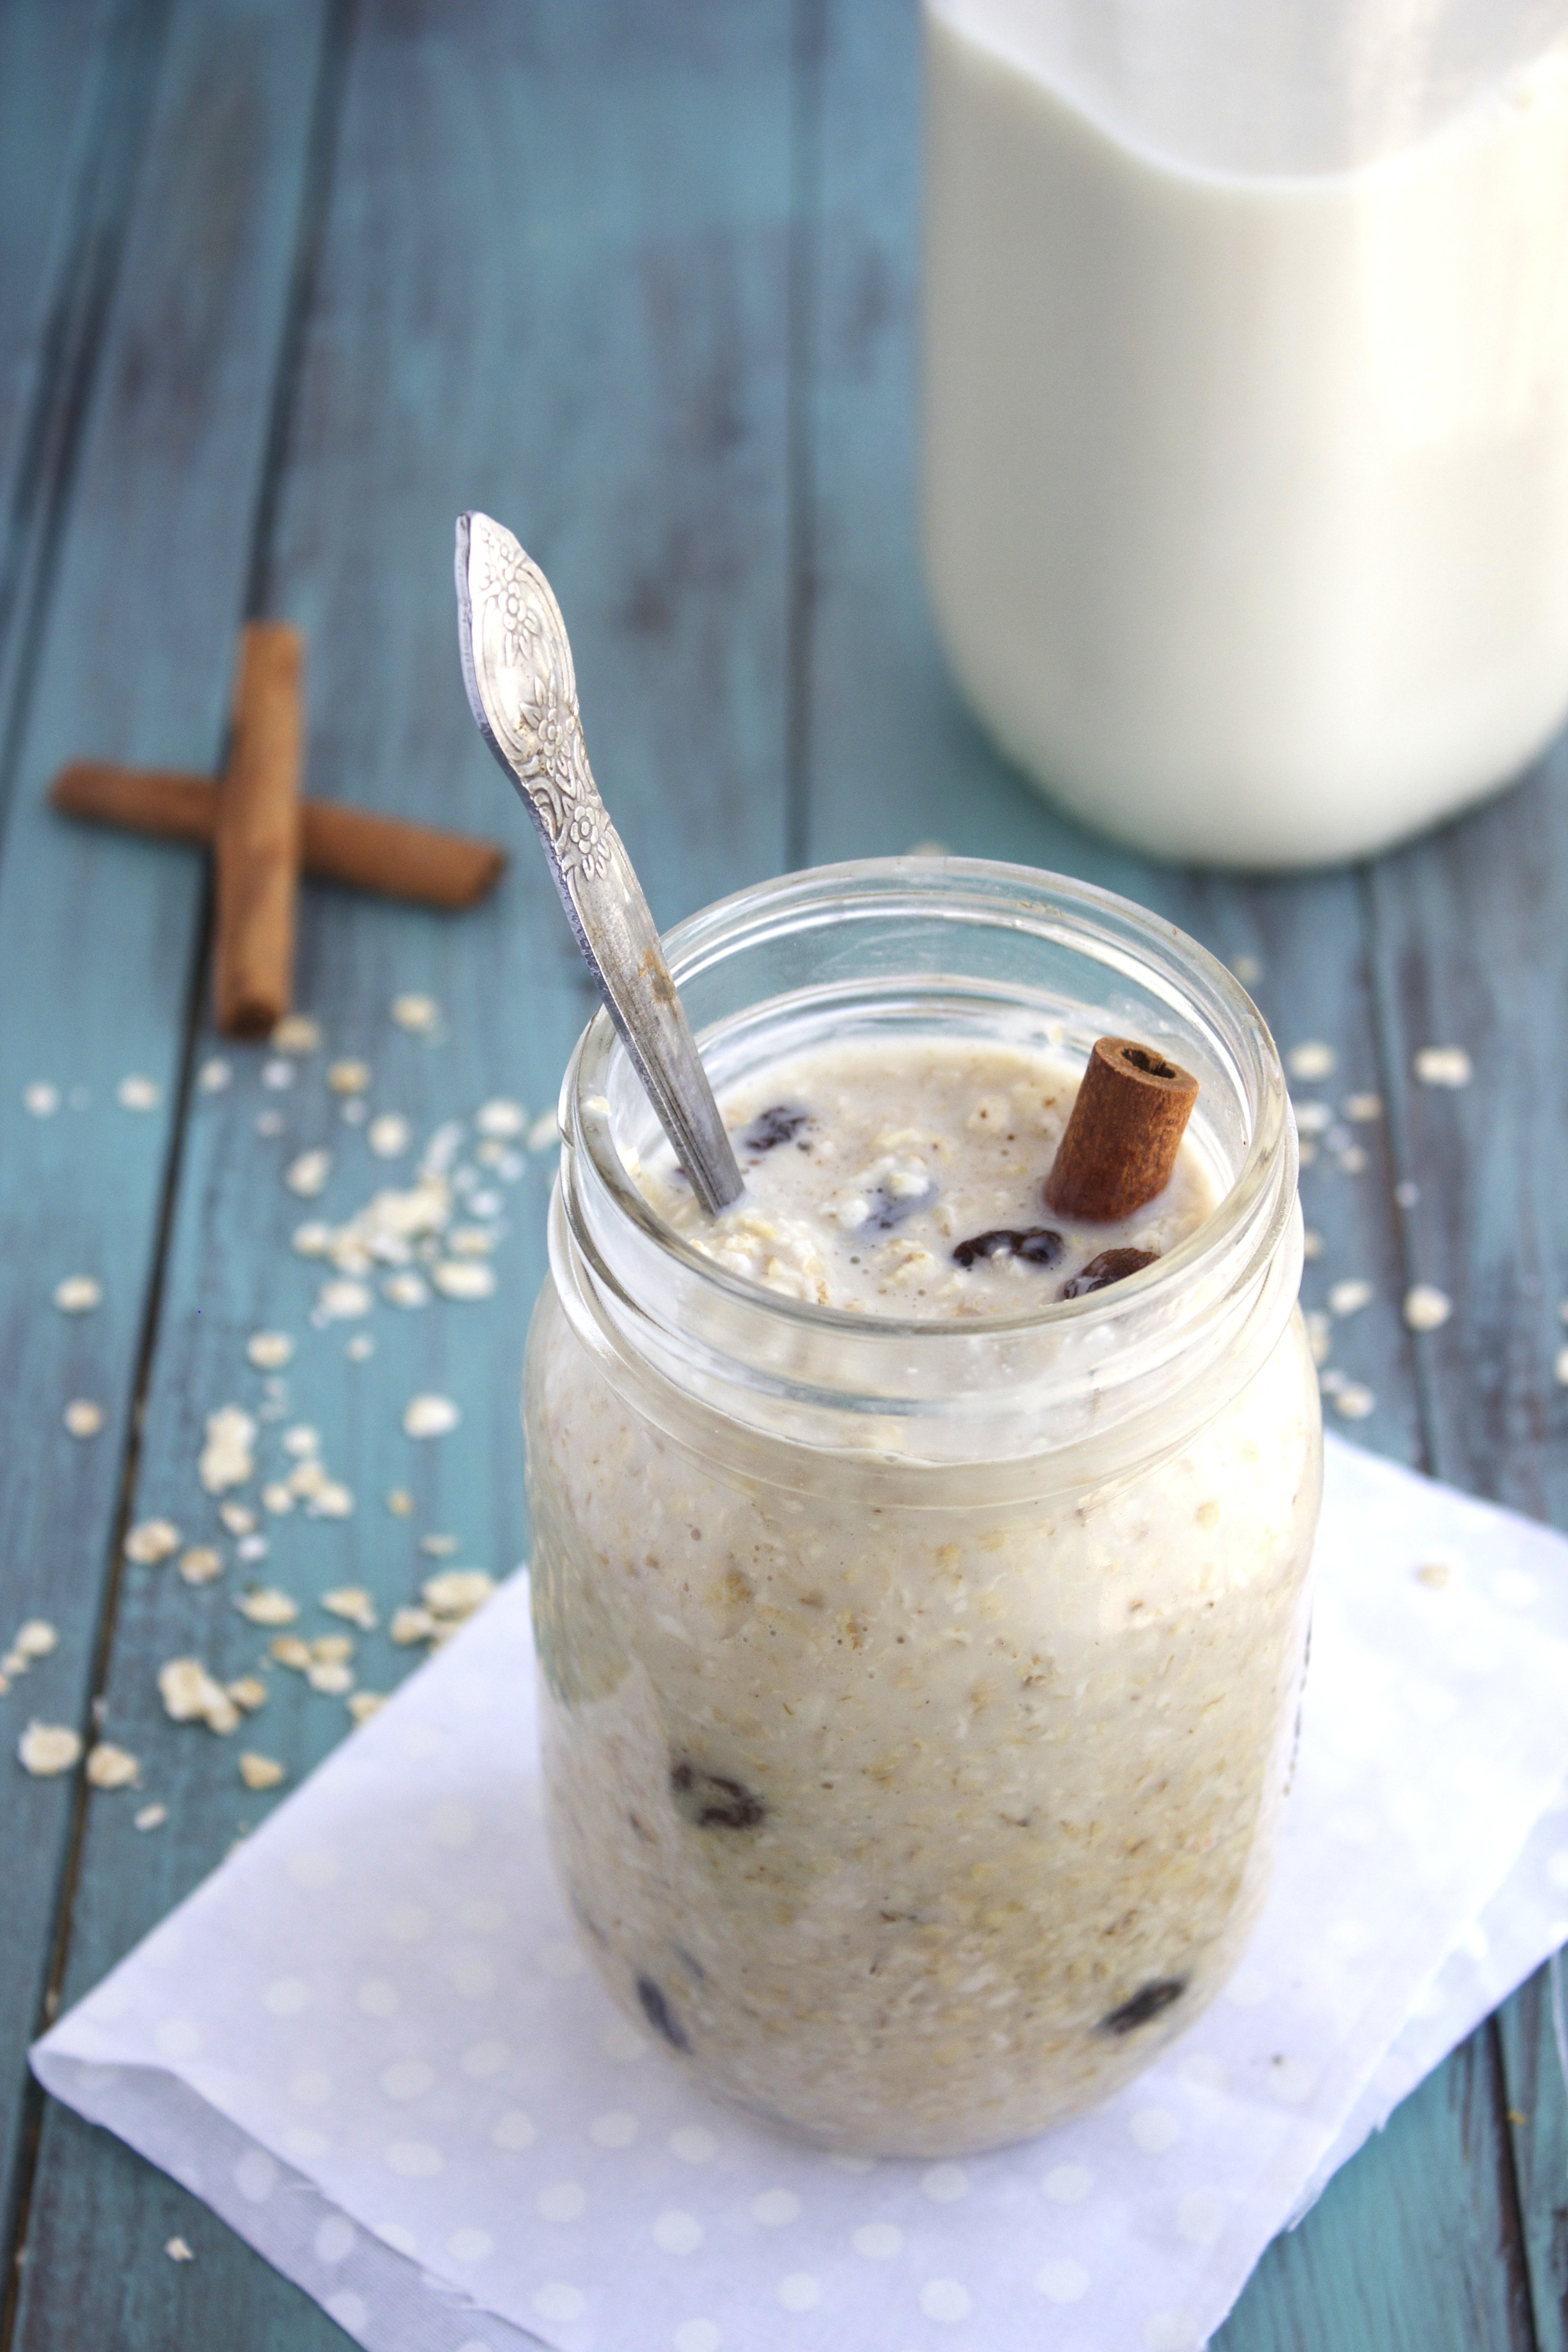
If you’ve never had overnight oats before, they’re just like oatmeal only cold and the texture differs depending on how much milk you include. I personally don’t enjoy soggy/mushy oats (ew), so I don’t use a ton of milk in mine. HOWEVER, if that’s your thing, go for it—the flavor will be just as good.

Oatmeal Raisin Overnight Oats 2


These particular oats are only SEVEN ingredients, and if I’m being honest, you could probably get away with only using five if you don’t have all of the ingredients and don’t feel like running to the store (this happens to me every other day). I totally get it. If you doooo want to/have to leave out any ingredients, I’d suggest the nutmeg and/or vanilla. I don’t recommend it, but if you’re completely out, those things add to the flavor but they aren’t the core of the flavor…. if that makes any sense.

Whatever you do, you’re going to want to whip up these oats TONIGHT so you’ll have something to look forward to in the morning. And when I say “something” I mean and oatmeal raisin cookie in the form of oats. NOM.

Oatmeal Raisin Cookie Overnight Oats!
Ingredients:
2 cups oats
2 cups almond milk
3 tbsp maple syrup
1 tsp vanilla
1/2 cup raisins
1/4 tsp nutmeg
1 cinnamon stick OR 1/2 tsp ground cinnamon

Directions:
Combine ingredients in a bowl/mason jar and let sit for at least 6 hours. Typically, it’s easiest to prepare these the night before and let them sit in the refrigerator overnight (hence the name ‘overnight oats’.) Enjoy!

Oatmeal Raisin Overnight Oats 5


Thanks for reading—for more recipes and things that I find amusing, like The Almond Eater on Facebook or follow me in Instagram  Xoxo


Thank you, Erin! We can’t wait to try these oatmeal raisin overnight oats!
Ciao!

Rice Krispies Treats Easter Eggs! Adorable And Fun Treats!

Is it the crispy bite or the gooey yummy marshmallow we love so much about Rice Krispies treats? Loved by children and super easy to make, Rice Krispies treats can be made fun and festive with a drop of food coloring or an addition of colored sprinkles!

image

To make the colorful treats, divide the butter/marshmallow mixture into thirds and added yellow, green, and purple (red and blue) coloring. Then add the cereal, mix well, and mold into a nonstick coated plastic egg! These can be a sticky mess so be sure to also grease your hands!
Enjoy making these treats everyone will love!

Rice Krispies Treat Easter Eggs
(Makes approx. 30 1-1/2 inch Eggs)

Ingedients:
6 cups Rice Krispies cereal
3 tbsp. butter
1 10 oz. bag mini marshmallows
food coloring

Directions:
Melt butter in a saucepan over low to medium heat so it doesn’t burn.

Add marshmallows and stir until melted and the ingredients are incorporated.

Remove from heat and separate into thirds- three mixing bowls.

image

Add food coloring to reach desired colors.

**It is important to work quickly at this point. Mix in the cereal before the marshmallow starts to harden.

Add 2 cups of cereal to each bowl. Stir with a wooden spoon until cereal is coated.

image<!

Grease hands and a plastic Easter egg. Press the cereal into the egg. After a few seconds, remove the cereal egg and place it on a piece of waxed paper.

image

Serve in an egg carton or in the plastic eggs!

image

image

Enjoy!
Ciao!

Cook At Home! Easy Button Honey Mustard Parmesan Crusted Chicken!

“Cook at Home” …a resounding theme popping up everywhere. A command whose meaning encompasses healthy eating, a healthy lifestyle, and makes a mean case for family dinners. The theme at Pittsburgh’s Farm to Table Conference this year, Cook at Home -for some- is an anxiety ridden task chalked full of botched recipes, a race against time to get dinner on the table, and often a defeated conclusion when take out and drive thrus lessen the stress.

Fortunately, thanks to a growing interest in food preparation and origination, and an endless recipe box available on the Internet, people are finding easy, healthy recipes and cooking more. Food bloggers are popping up and want to share with others a lifestyle change that can and does save lives and families!

How about a sweet, savory, and totally simple family dinner recipe? Enjoy!!

image

Honey Mustard Parmesan Crusted Chicken

4-5 boneless skinless chicken breasts, 8 thighs, 1-1/2 lb. chicken tenders
Marinade:
3 tbsp. butter, melted
1/4 cup honey
1/4 cup balsamic vinegar
2 tbsp. brown mustard or yellow mustard
1 tsp Sriracha
Coating:
1/2 cup fresh grated Parmesan cheese
1 tsp. garlic salt
2 tsp. dried basil
2 cups Panko Breadcrumbs

image

Directions:

Preheat oven to 350 degrees.

In a mixing bowl, whisk together melted butter, honey, balsamic vinegar, yellow mustard, and Sriracha.

Marinate the chicken in the above mixture overnight in the refrigerator OR Pour mixture into a Ziploc bag add chicken and move around until coated.

Mix the dry ingredients together and spoon into a pie plate. Press each piece of chicken into the mixture, flip to coat both sides, and place on a foil covered baking sheet.

image

Sprinkle the coated chicken with extra parmesan cheese and bake for 25-35 minutes or until the internal temperature reaches 165 degrees.

image

image

Enjoy!
Ciao!

Farm to Table Pittsburgh 2015 Conference
David L. Lawrence Convention Center
March 27 -28th

Register Here !!

Hellooo Friday!! Start The Weekend With A S’mores Cake!!

Sometimes we NEED chocolate! Don’t you?

image

S’mores Cake

You favorite boxed cake mix
OR up your baking game and try…

1 3/4 cups all-purpose flour, plus more for pans
2 cups sugar
3/4 cups good cocoa powder
2 teaspoons baking soda
1 teaspoon baking powder
1 cup buttermilk
1/2 cup vegetable oil
2 eggs
1 teaspoon pure vanilla extract
1 cup freshly brewed hot coffee

Filling and Frosting
Your favorite chocolate buttercream frosting
OR
Beat 1/2 cup cocoa
1 cup butter, softened
3 cups powdered sugar
1-2 tbsp. milk or half and half
Add more sugar or milk until desired consistency

1-2 cups Marshmallow Creme
2 sleeves 12 grahm crackers crushed to crumbs in a Ziploc bag

Directions:

Preheat the oven to 350 degrees F. Butter two 8-inch /9-inch x 2-inch round or square cake pans.
Grease pans with Crisco and light flour.

Sift the flour, sugar, cocoa, baking soda, baking powder, and salt into a mixing bowl.

Using an electric mixer, mix on until well combined and smooth.

In another bowl, combine the buttermilk, oil, eggs, and vanilla.

With the mixer on low, slowly add the wet ingredients to the dry.

With mixer still on low, add the coffee and stir just to combine, scraping the bottom of the bowl with a rubber spatula.

image

Whether using boxed cake mix or homemade, pour the batter into the greased pans and bake for approximately 35 minutes or until a toothpick tester comes out clean.

image

Let the cake cool completely before icing.

Slide a knife along edges of cake pans. Cake should have pulled away from the pan. Flip upside down and tap with a knife until cake comes loose.

Place on platter rough side down.
Frost the first layer with chocolate frosting, add a layer of marshmallow creme. Sprinkle a layer of crackers.

image

Remove the second layer of cake from the pan.
Place on top so the smooth side is facing up.
Frost the top of the cake and sprinkle the remaining crackers.

image

Enjoy!
Ciao!