Category: Desserts

My Favorite Dunk: Pumpkin Spice Biscotti!

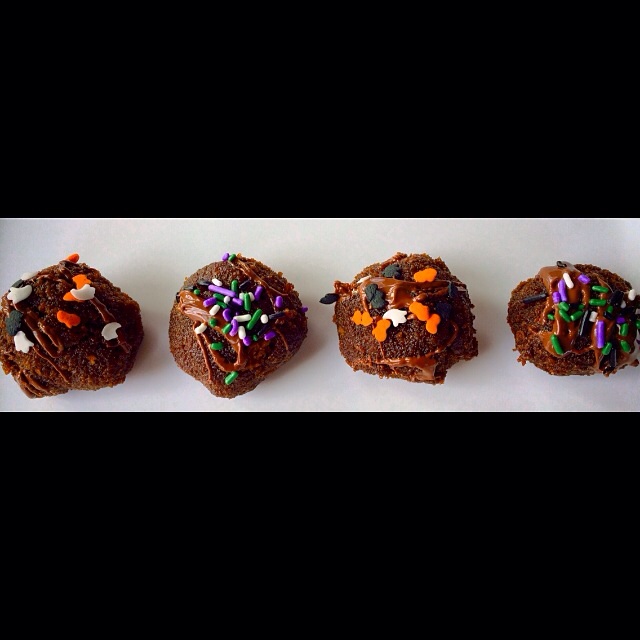
Coffee and Biscotti…

image

Should I mention I brewed some pumpkin coffee? I'm obsessed, I know!
Should I mention I brewed some pumpkin coffee? I’m obsessed, I know!

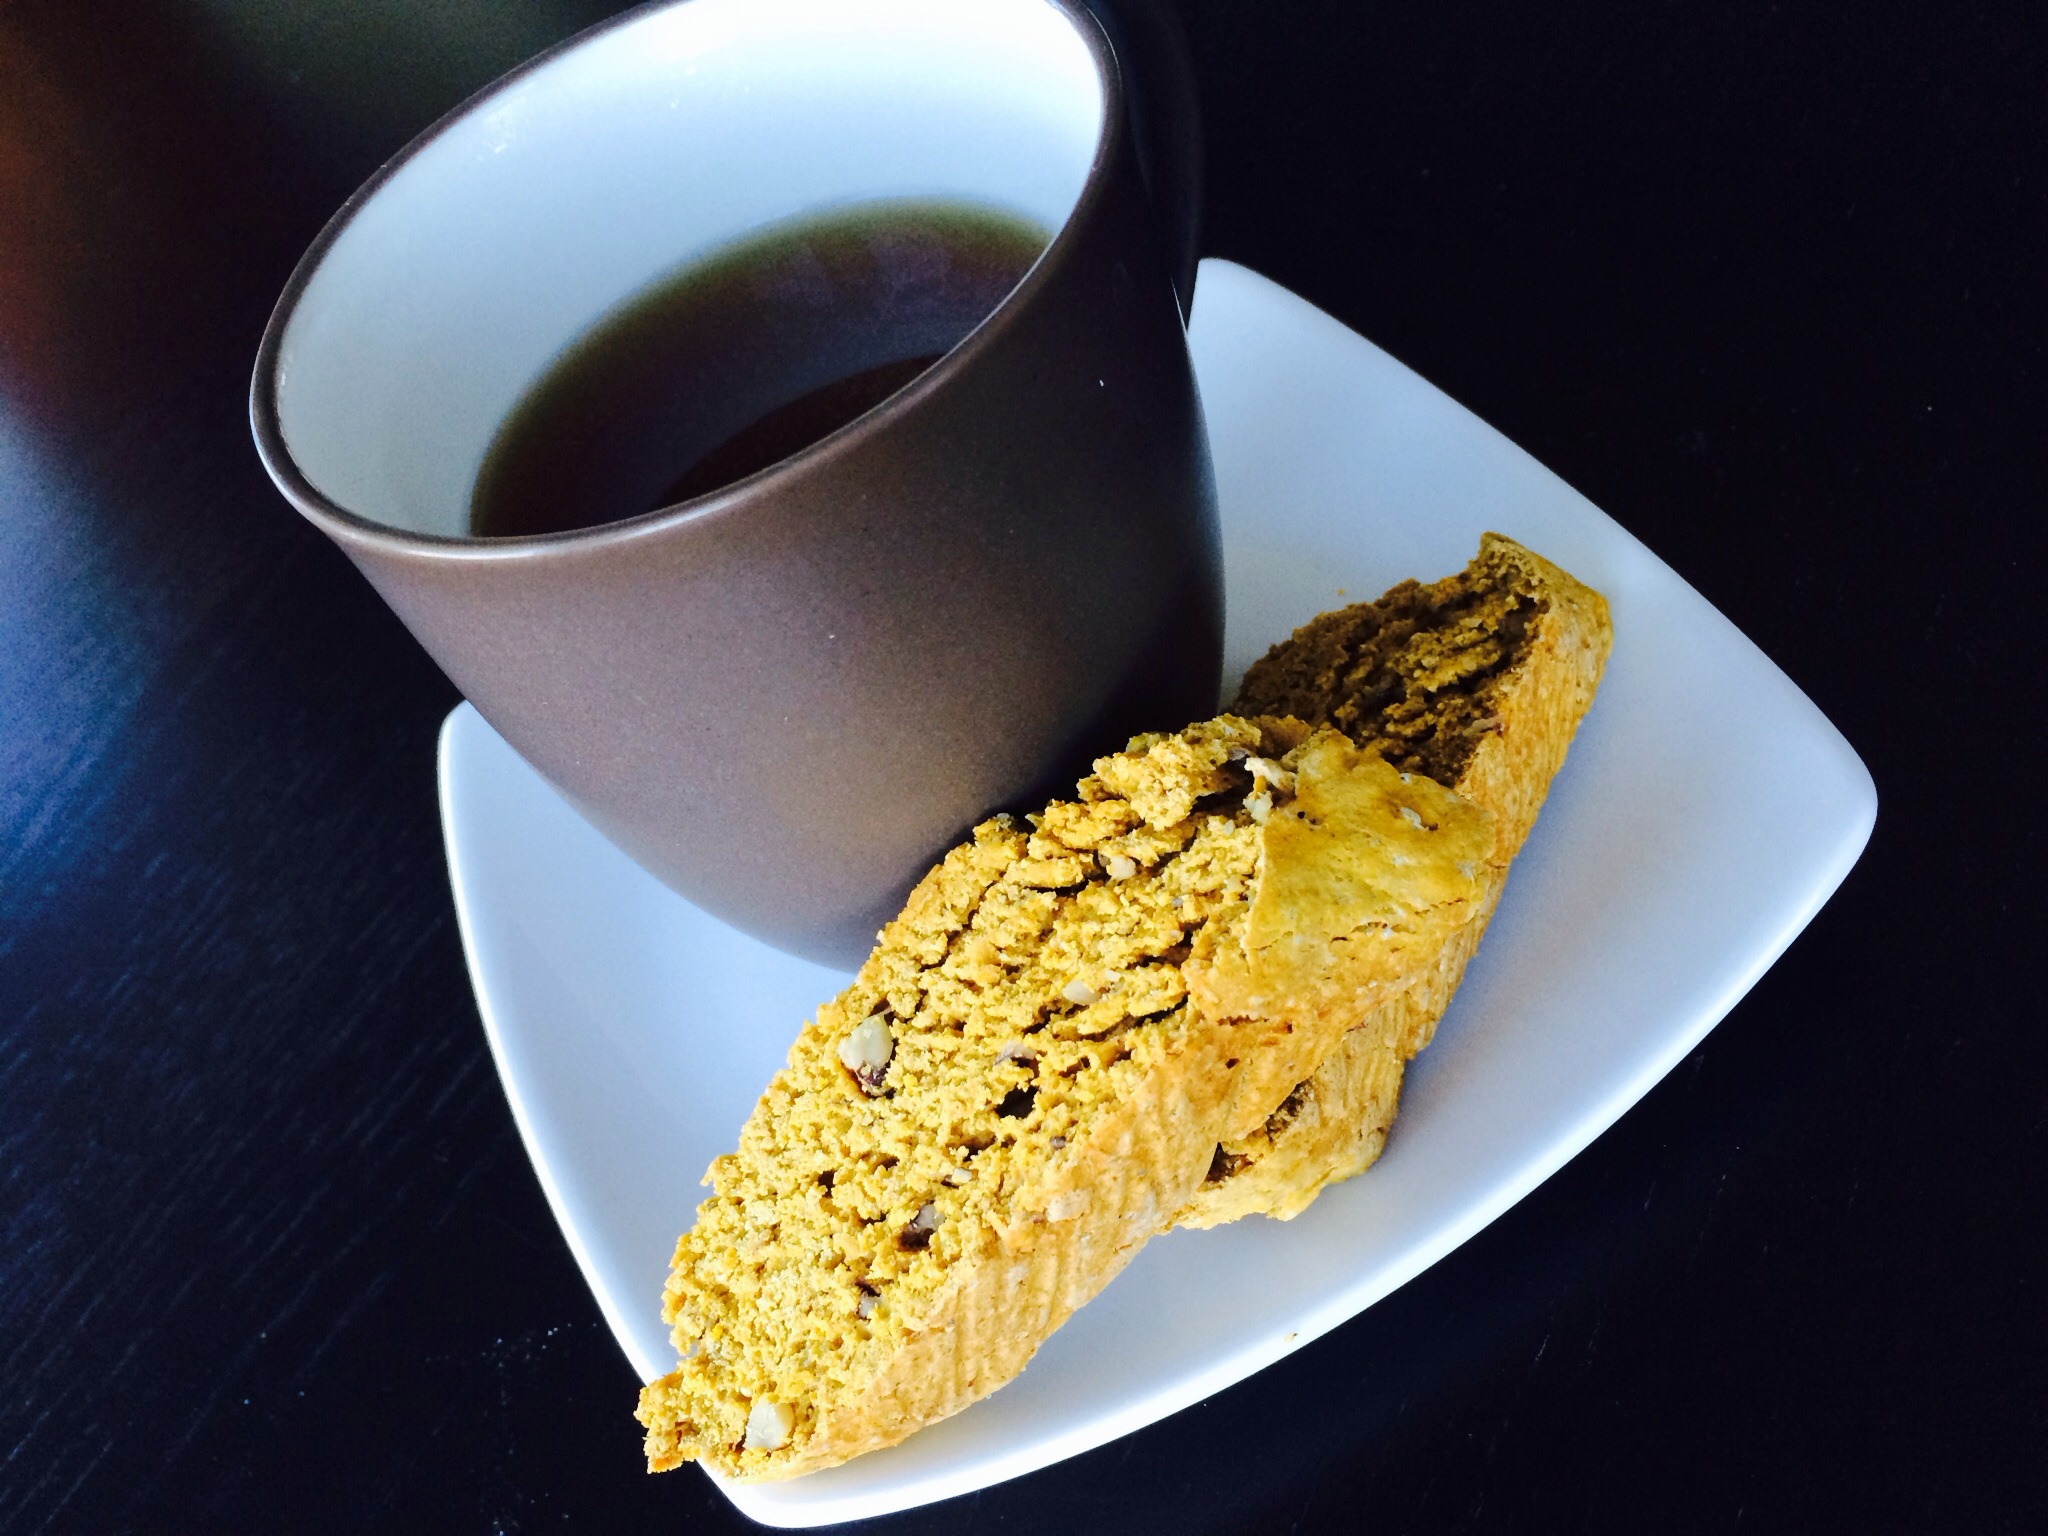
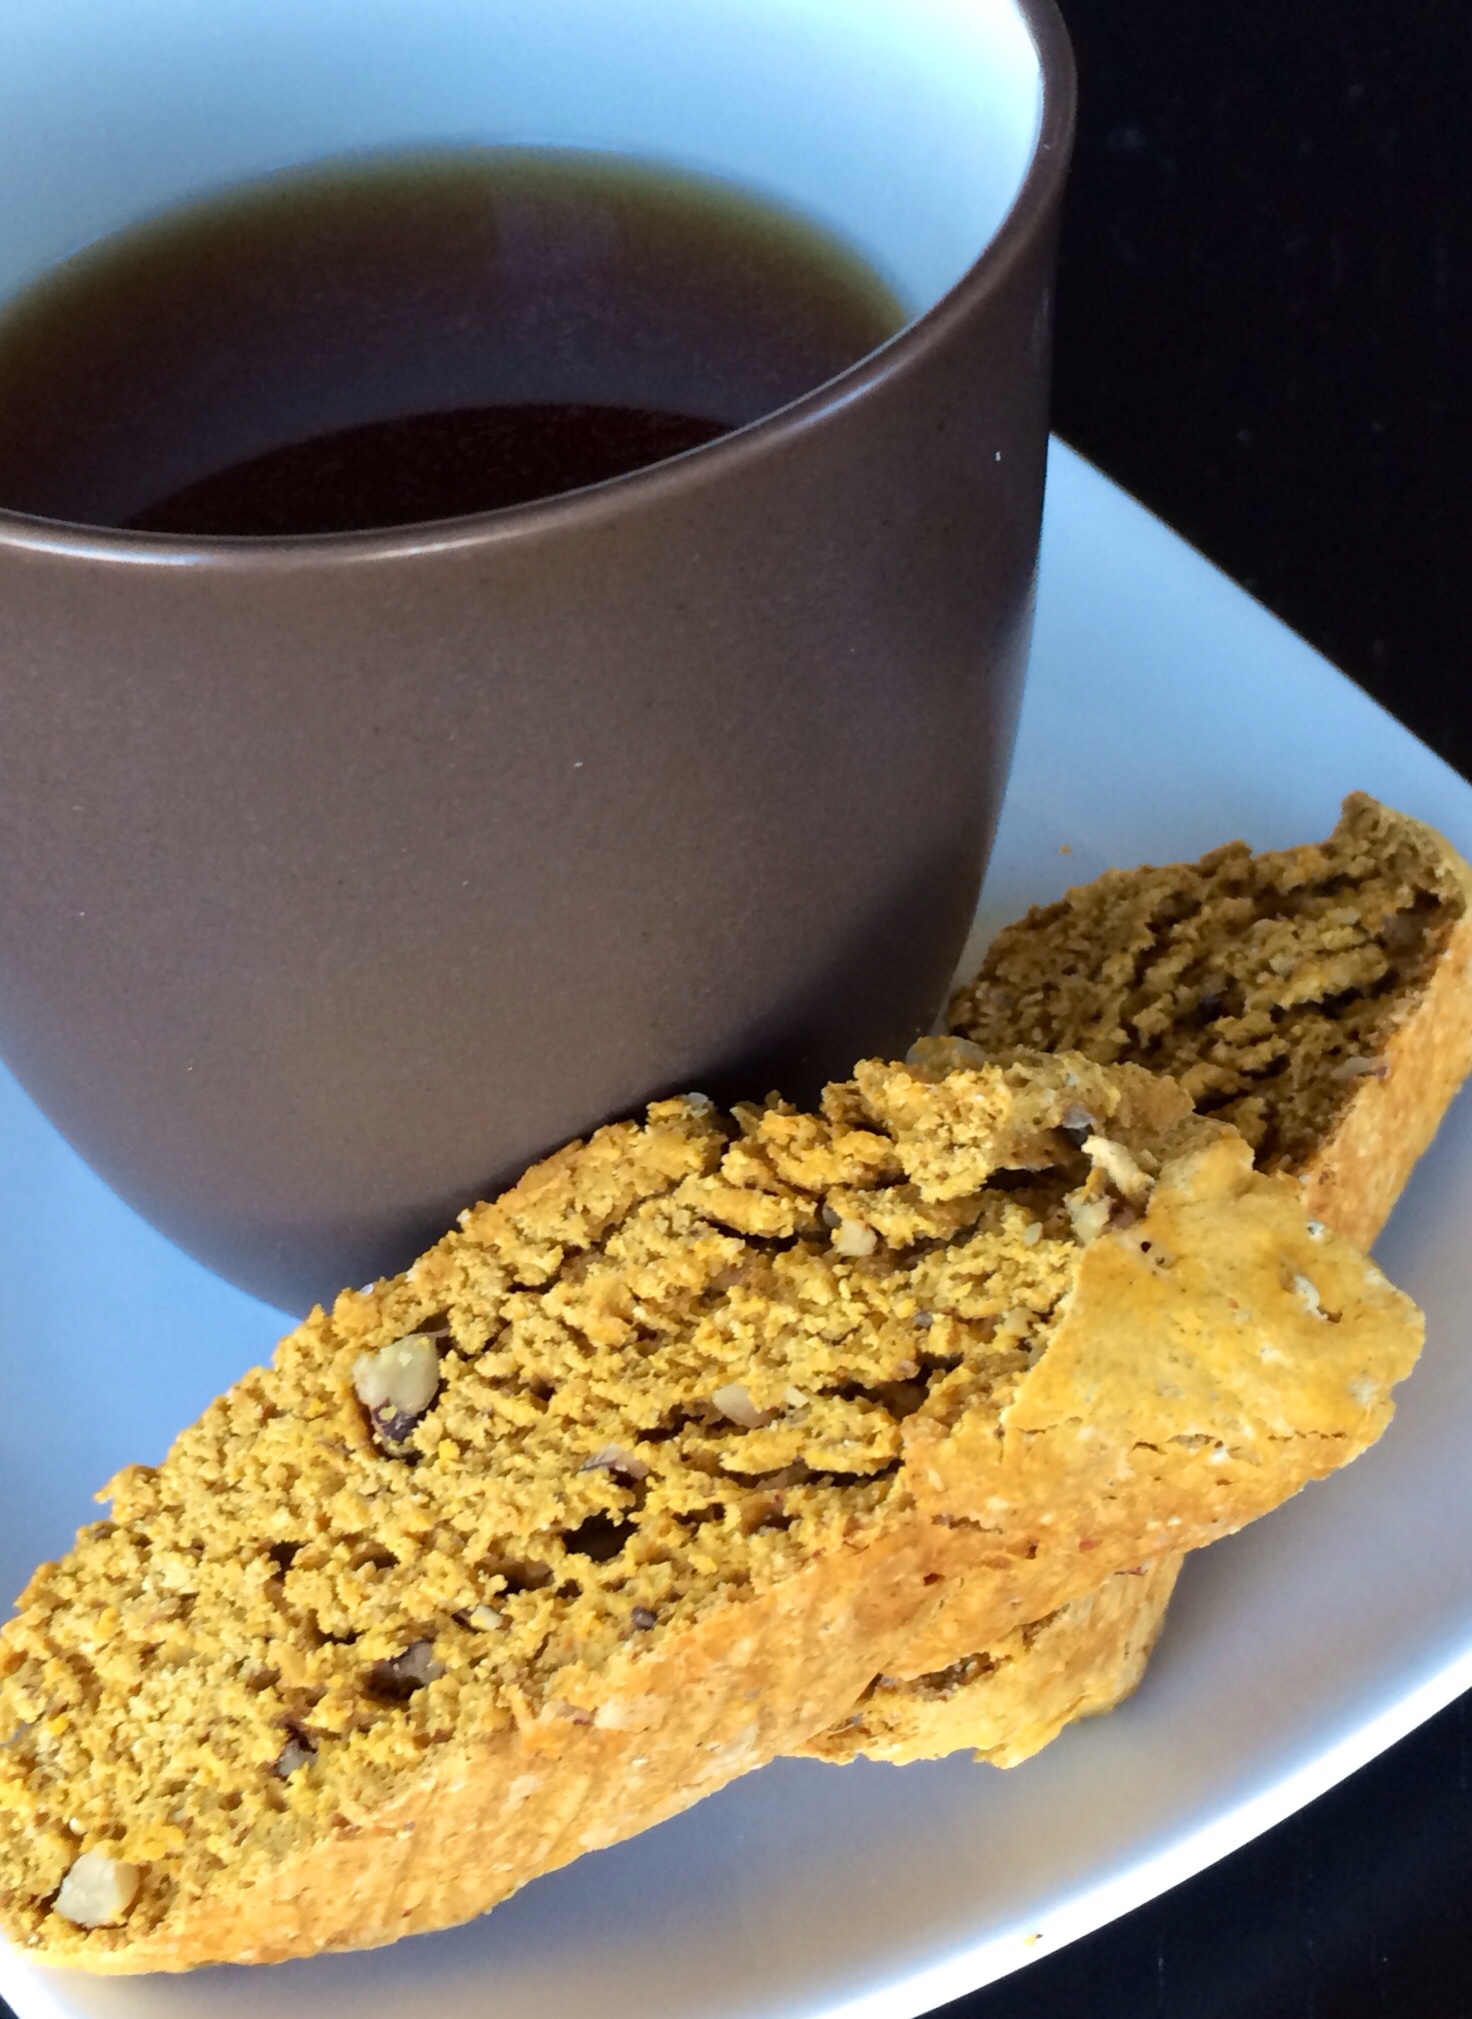
If you are a coffee addict, chances are you are also a cookie dunker. My favorite dunk? Biscotti, of course! So delicious!

In Italy, biscotti are usually served after dinner with wine and are “dunked” in a wine called Vin Santo. Vino Santo, or holy wine, is a dessert wine usually white, but often made into a rosé when using Sangiovese grapes.

I dunk my anise biscotti in red wine, but I prefer coffee for flavored biscotti.

Here is the recipe for the pumpkin spice version of my anise biscotti. I also added honey roasted pecans, but you can totally leave them out!

Pumpkin Spice Biscotti
(Makes 24 biscotti)

Ingredients:
4 cups flour
1 tsp. baking soda
1 tsp. baking powder
1 cup sugar
1-1/2 tbsp. Pumpkin Pie Spice (OR 2tsp. Cinnamon, 2 tsp. ground ginger, 2 tsp. nutmeg, 1 tsp. all spice, 1 tsp. ground cloves)
2 eggs
1-1/2 cup pumpkin
1 tbsp. Vanilla
1/3 cup crushed honey roasted pecans

Directions:

Preheat oven 350 degrees.

Line a baking sheet with parchment paper.

Combine flour, sugar, baking soda, baking powder, and pumpkin pie spice in a large mixing bowl and stir.

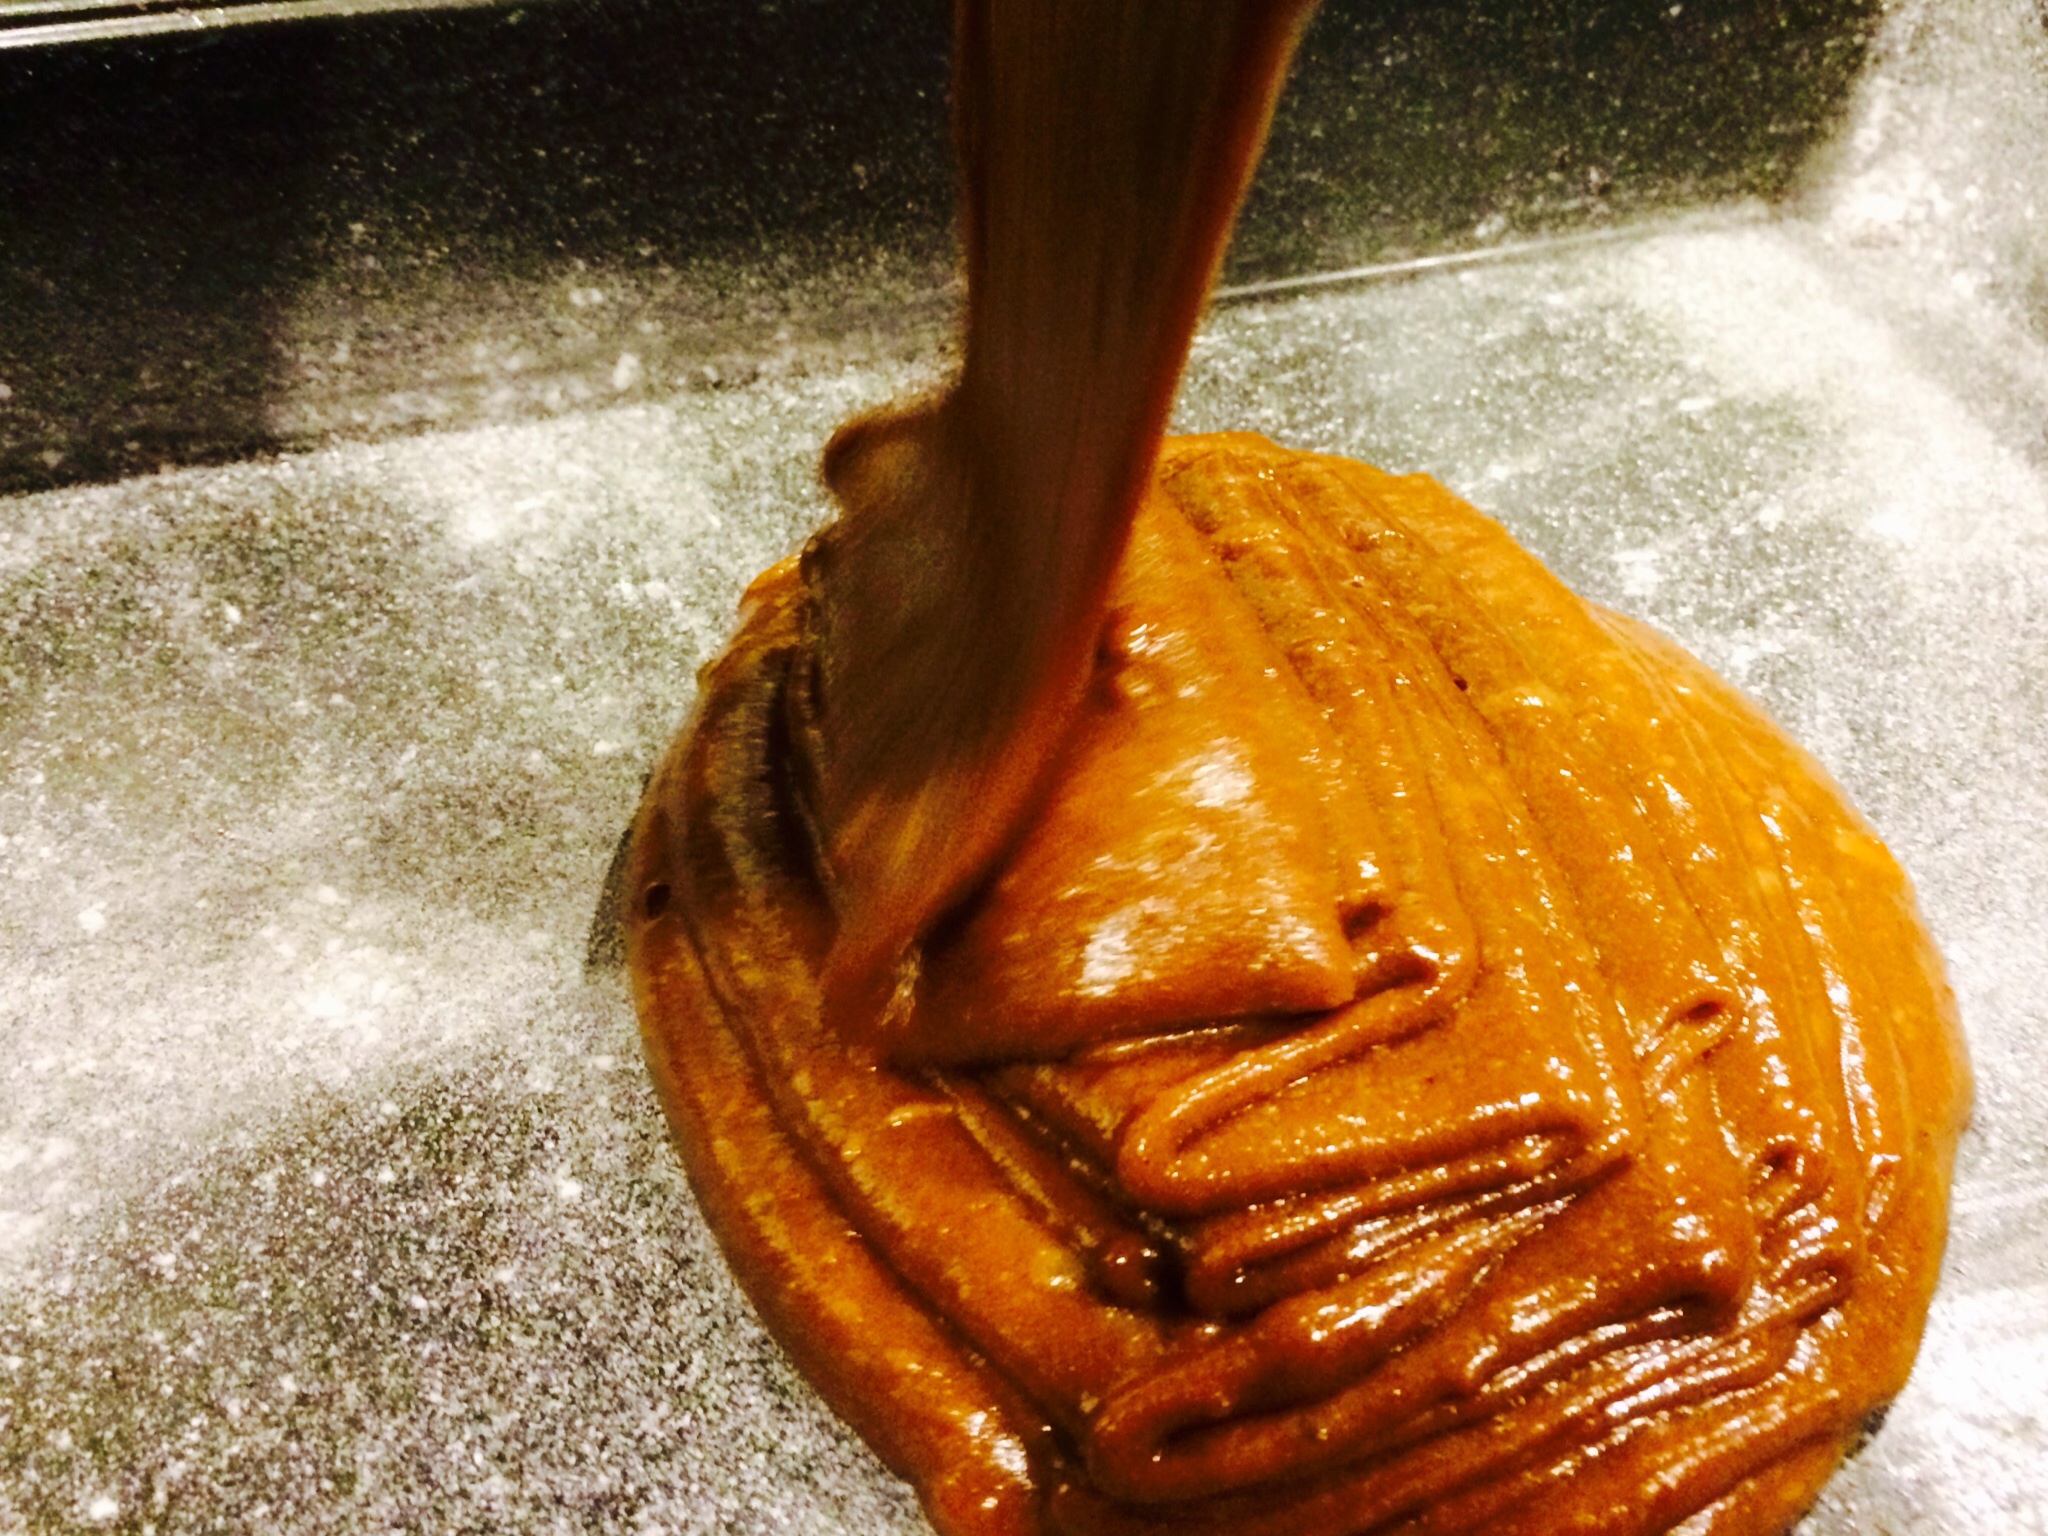
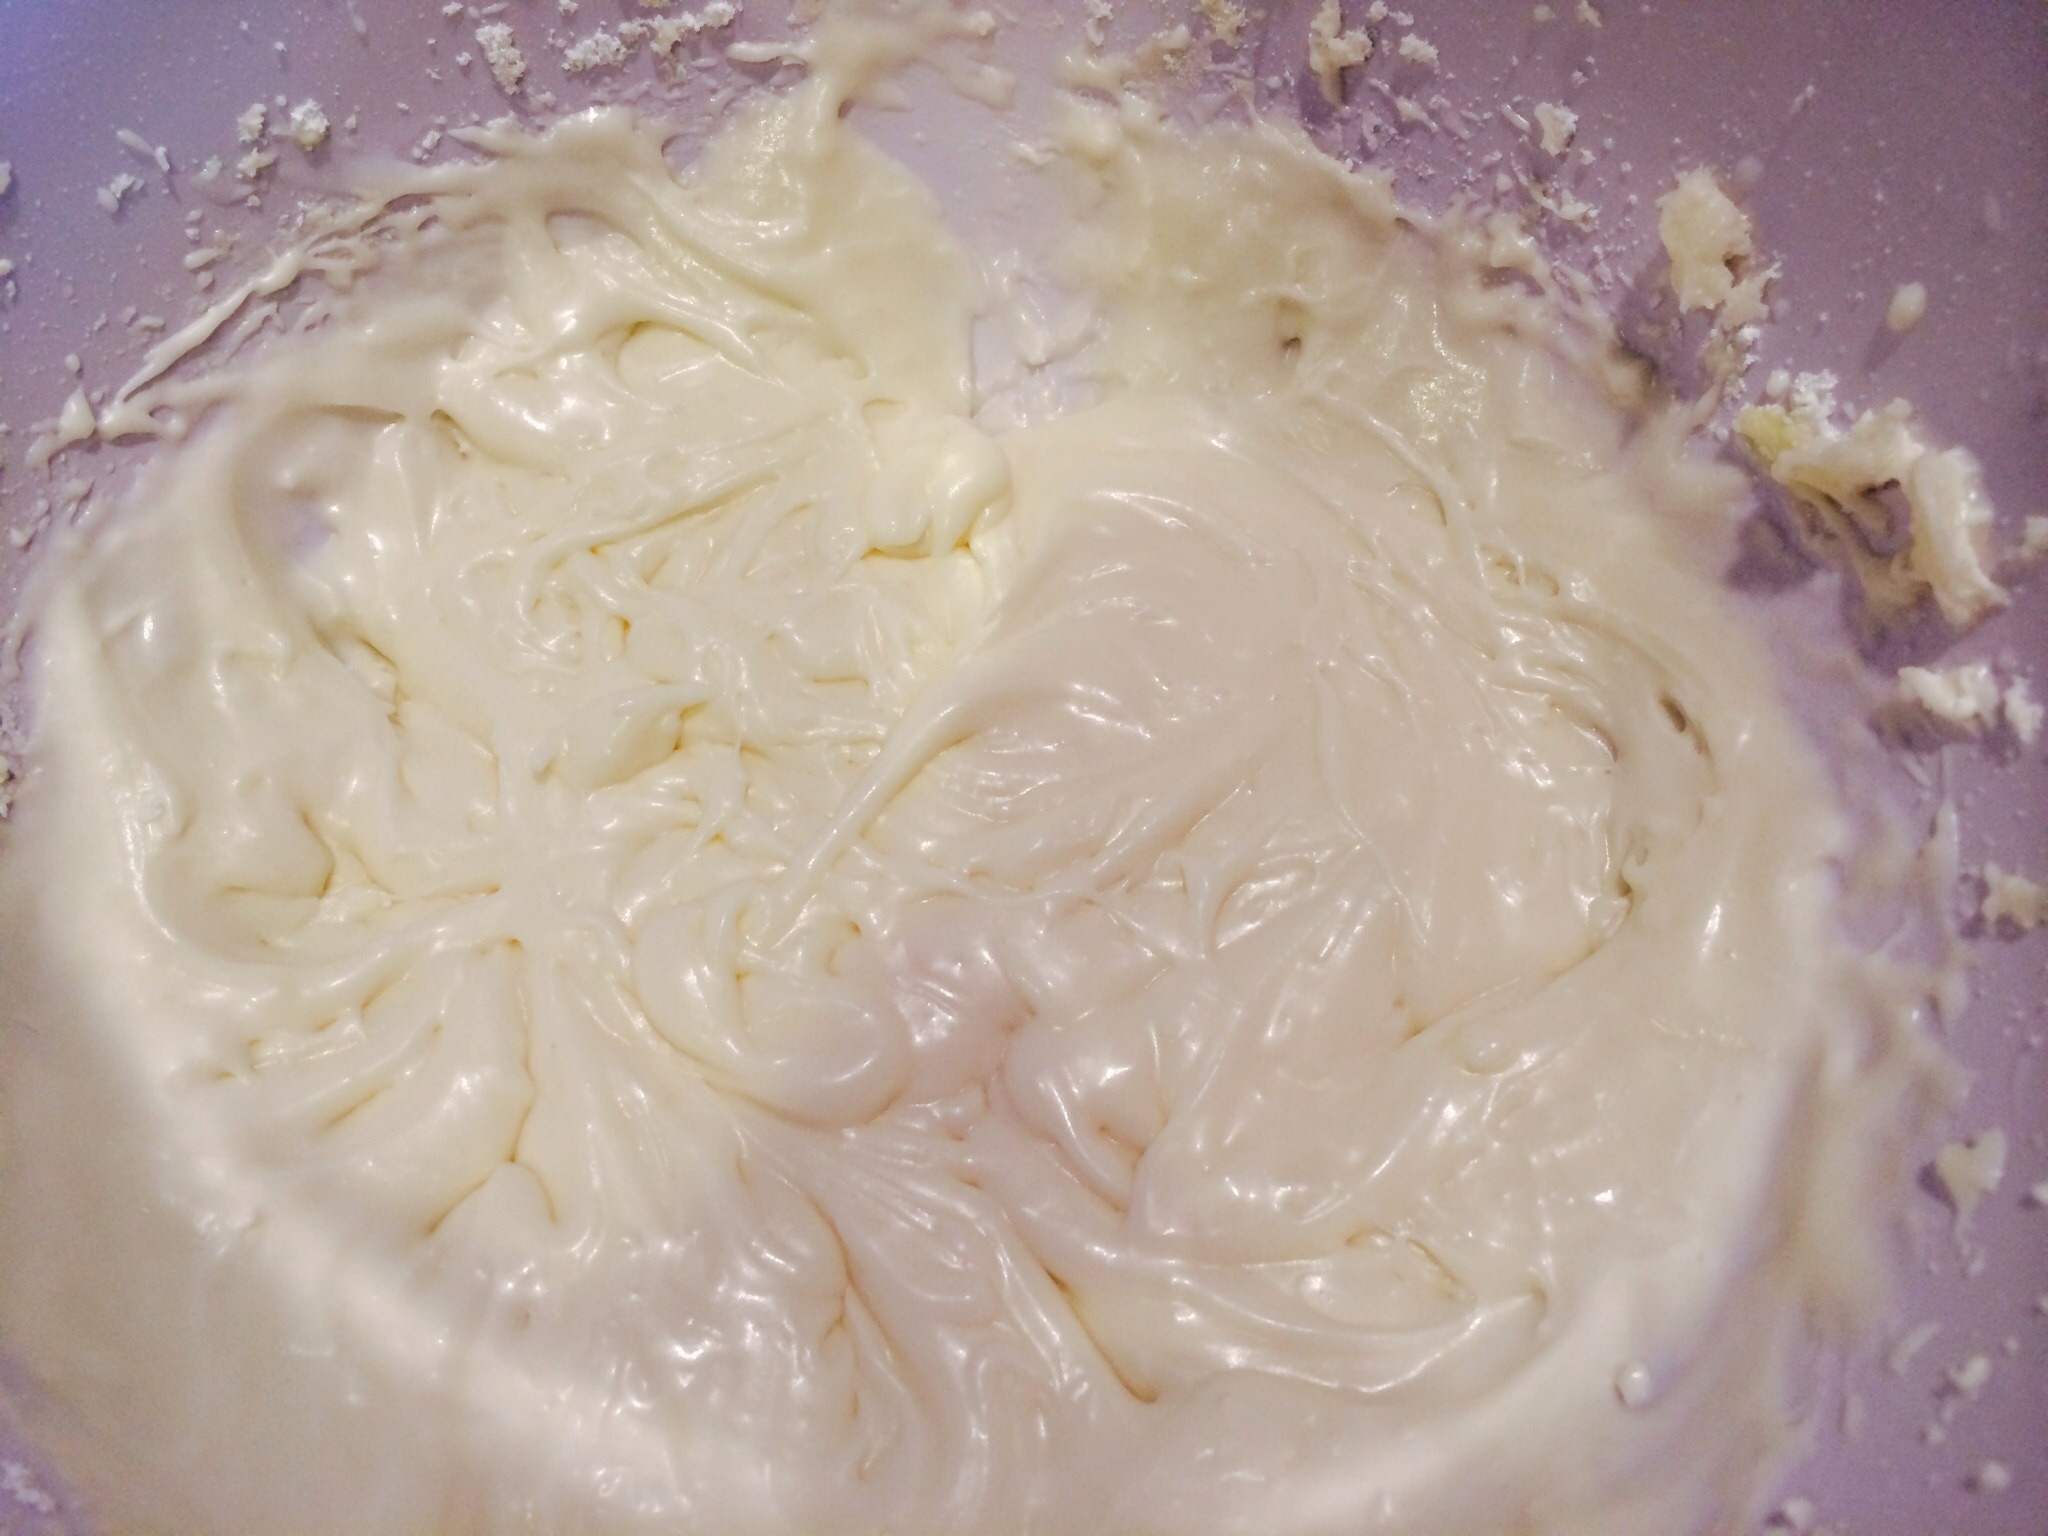
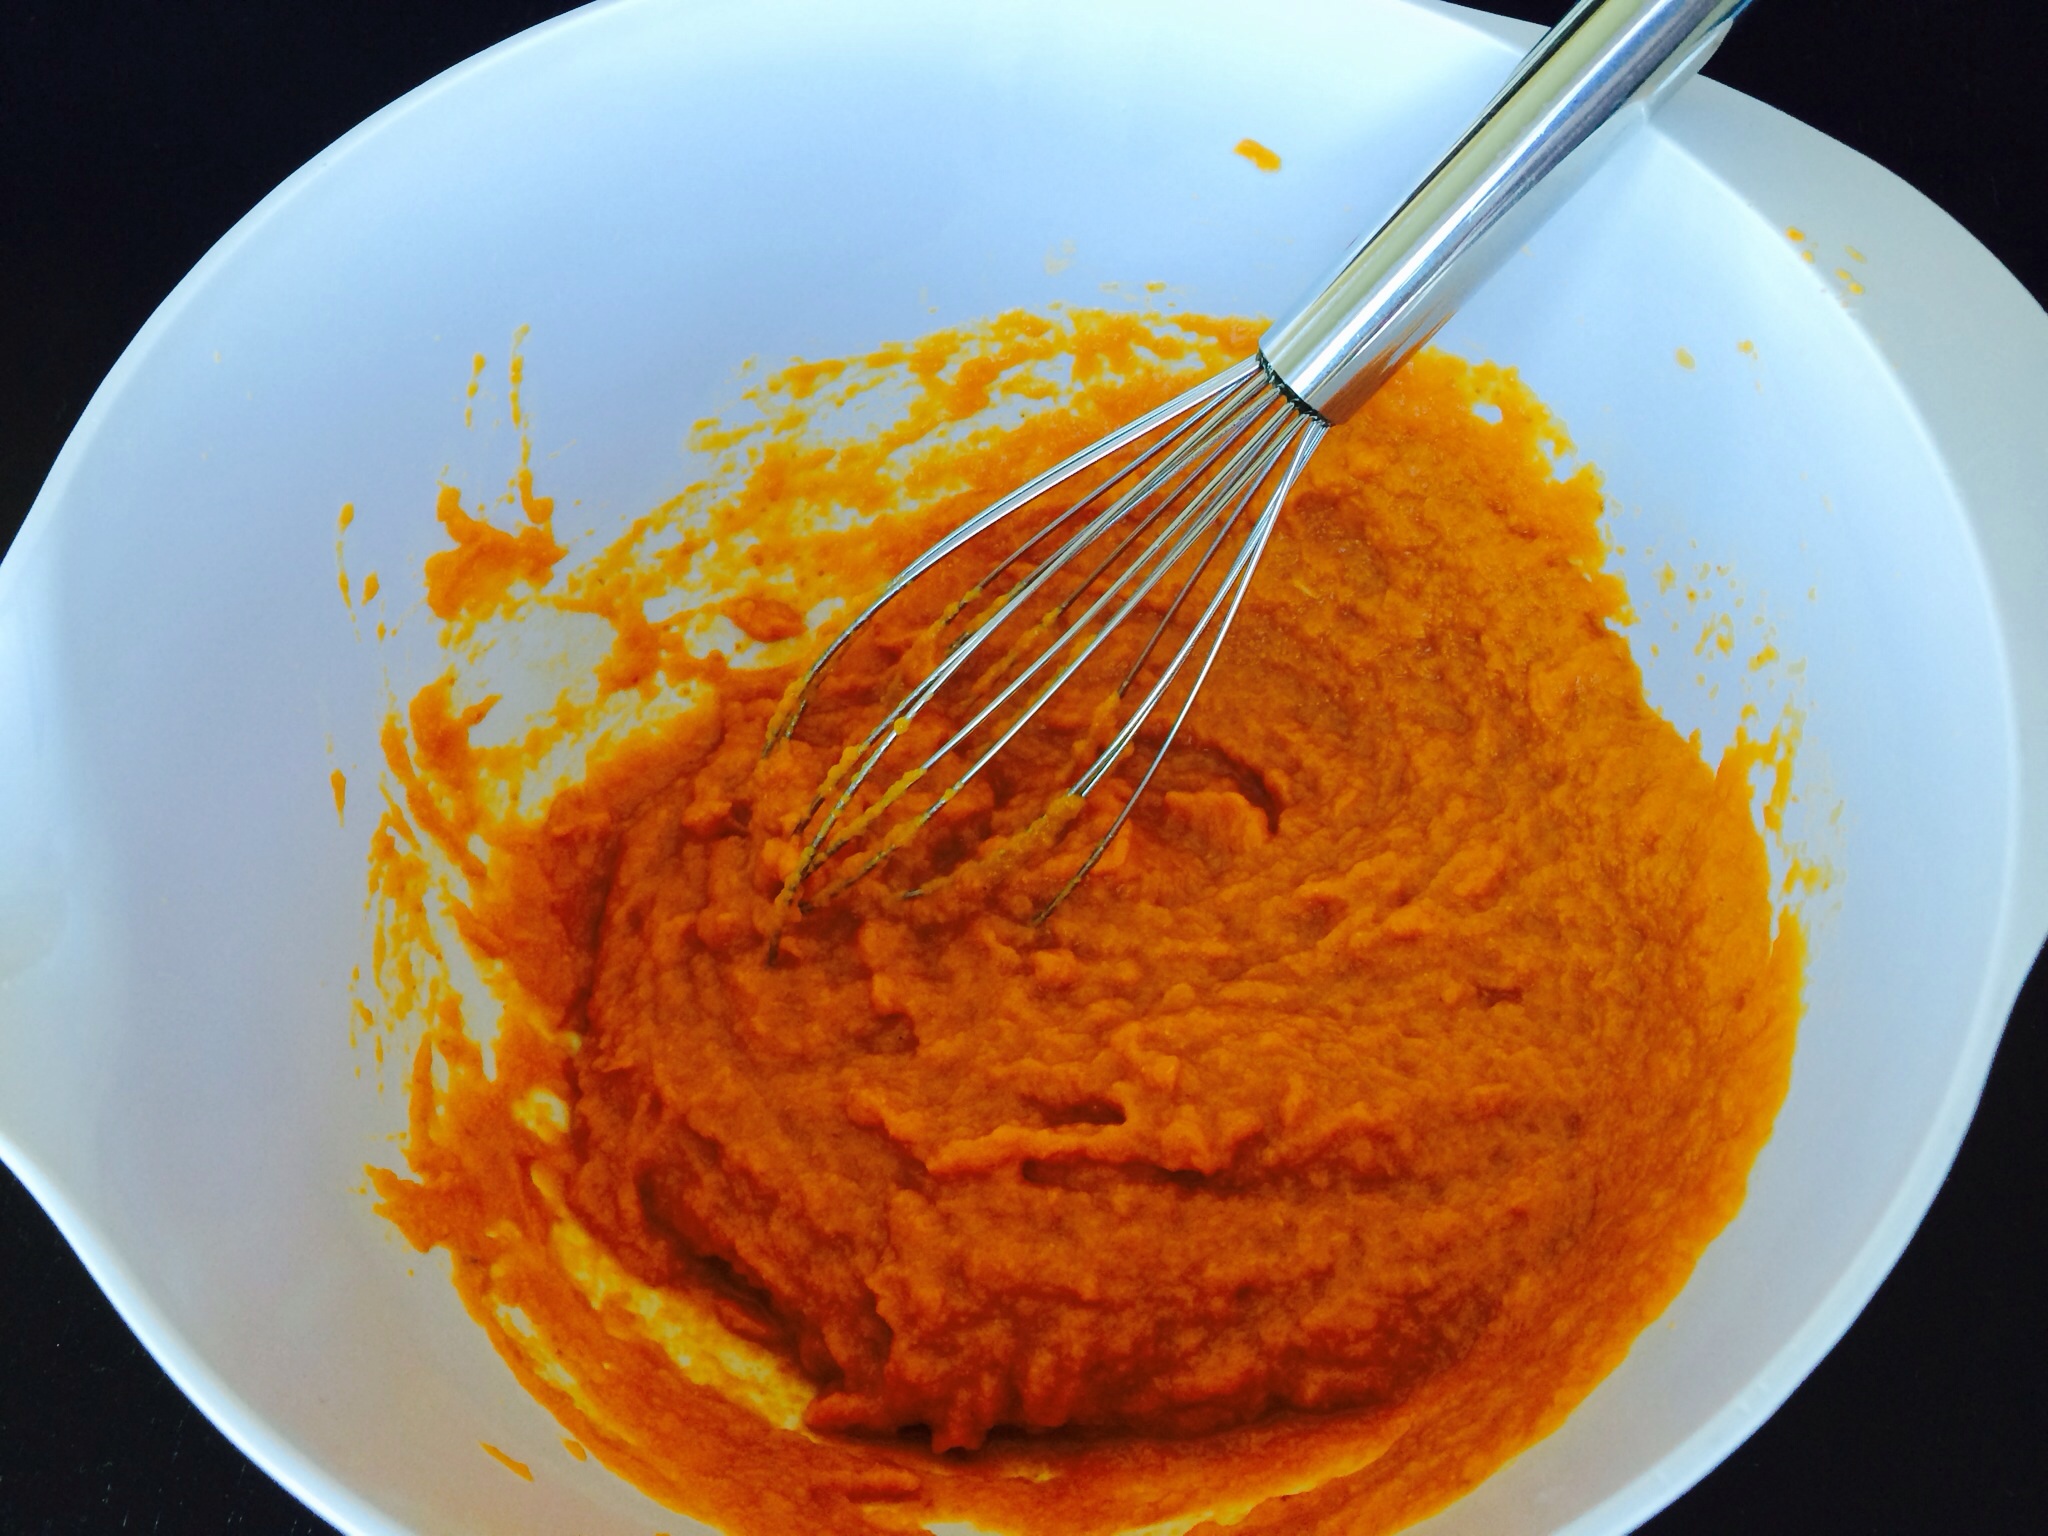
Using a whisk, combine pumpkin, eggs, and vanilla.

Sometimes I just love a "no mixer required" afternoon of baking! Less cleaning more eating, maybe?
Sometimes I just love a “no mixer required” afternoon of baking! Less cleaning more eating, maybe?

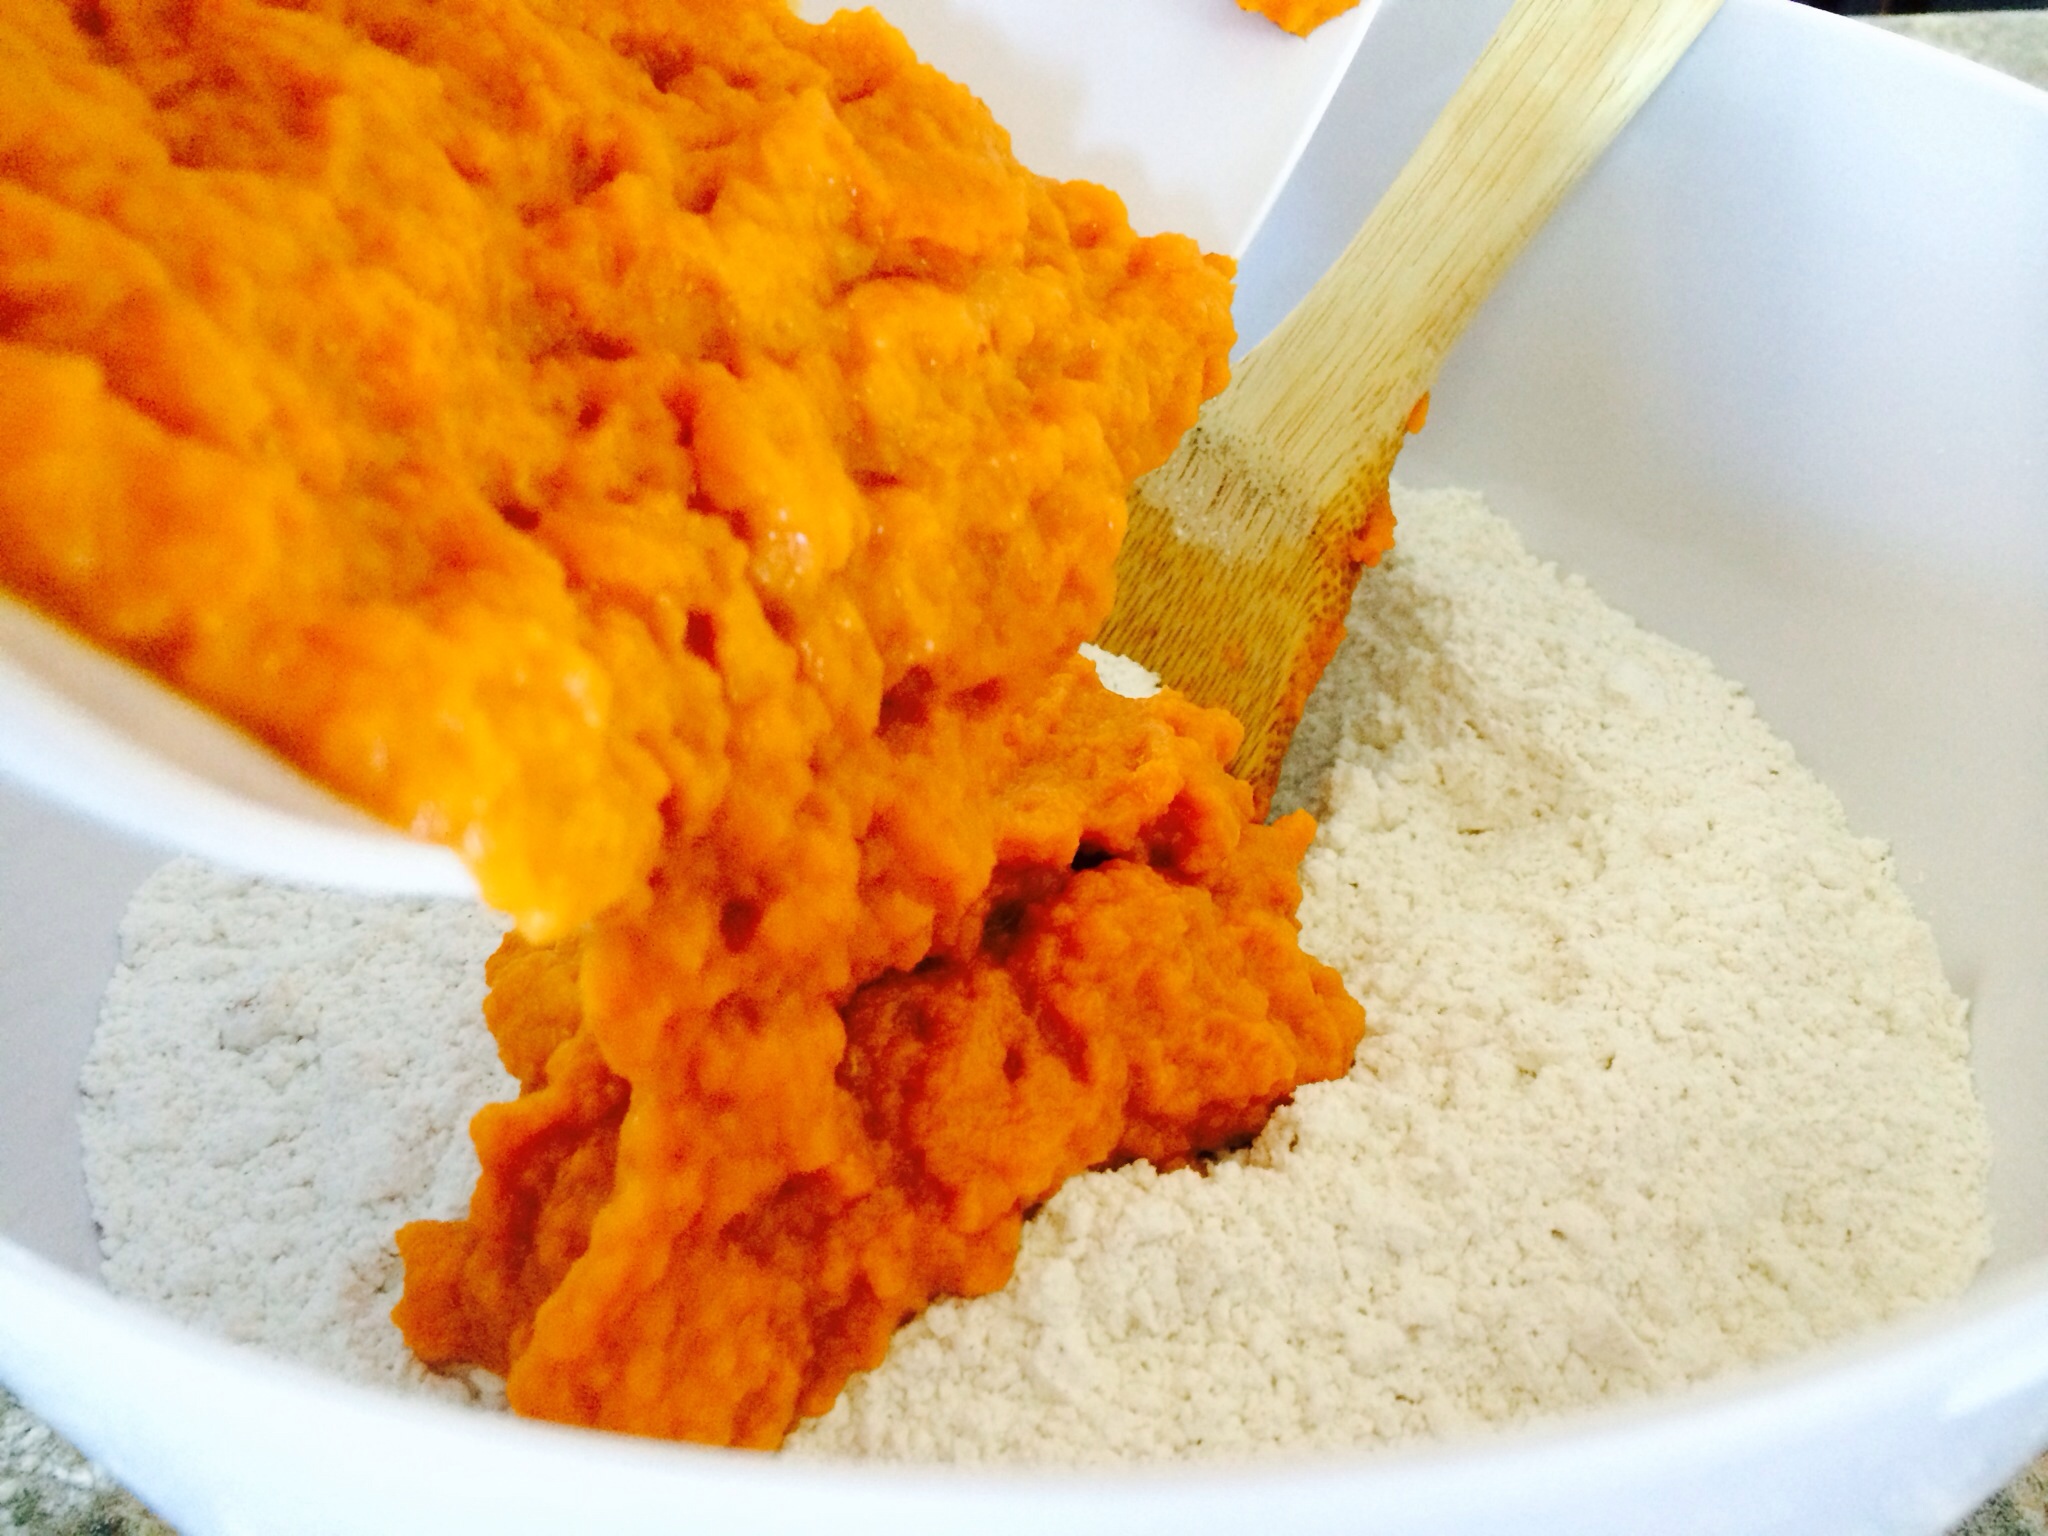
Add wet pumpkin mixture to dry flour mixture.

Note: Mix dry ingredients in a slightly larger mixing bowl! This makes adding the wet ingredients much easier!
Note: Mix dry ingredients in a slightly larger mixing bowl! This makes adding the wet ingredients much easier to combine!

Fold in pecans.

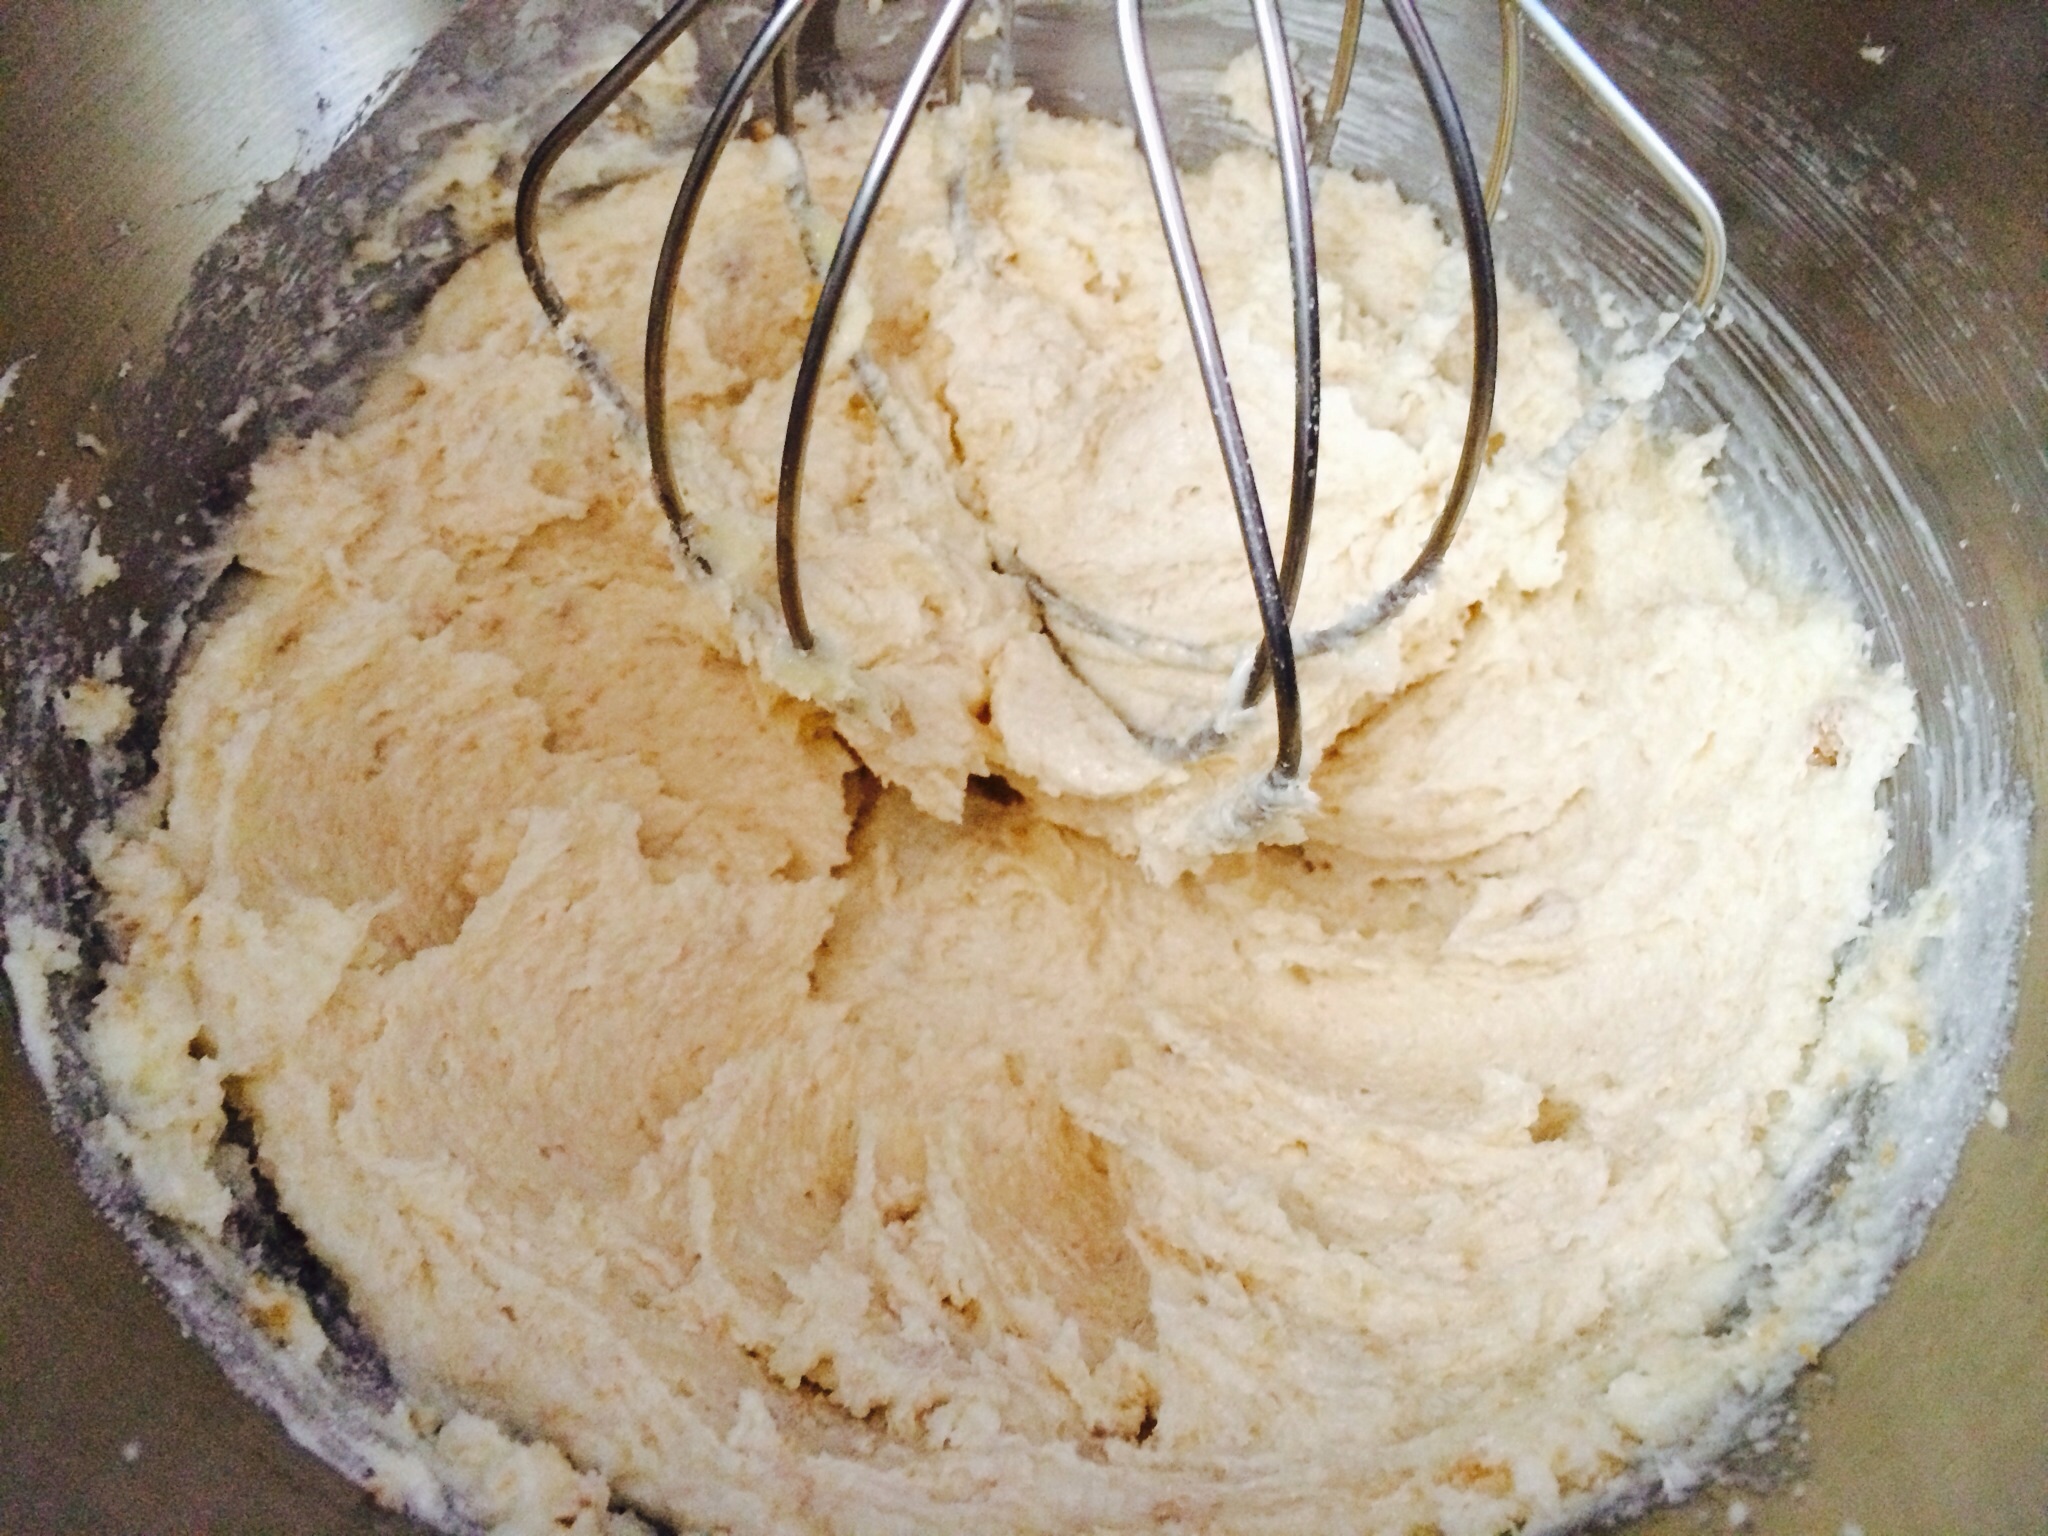
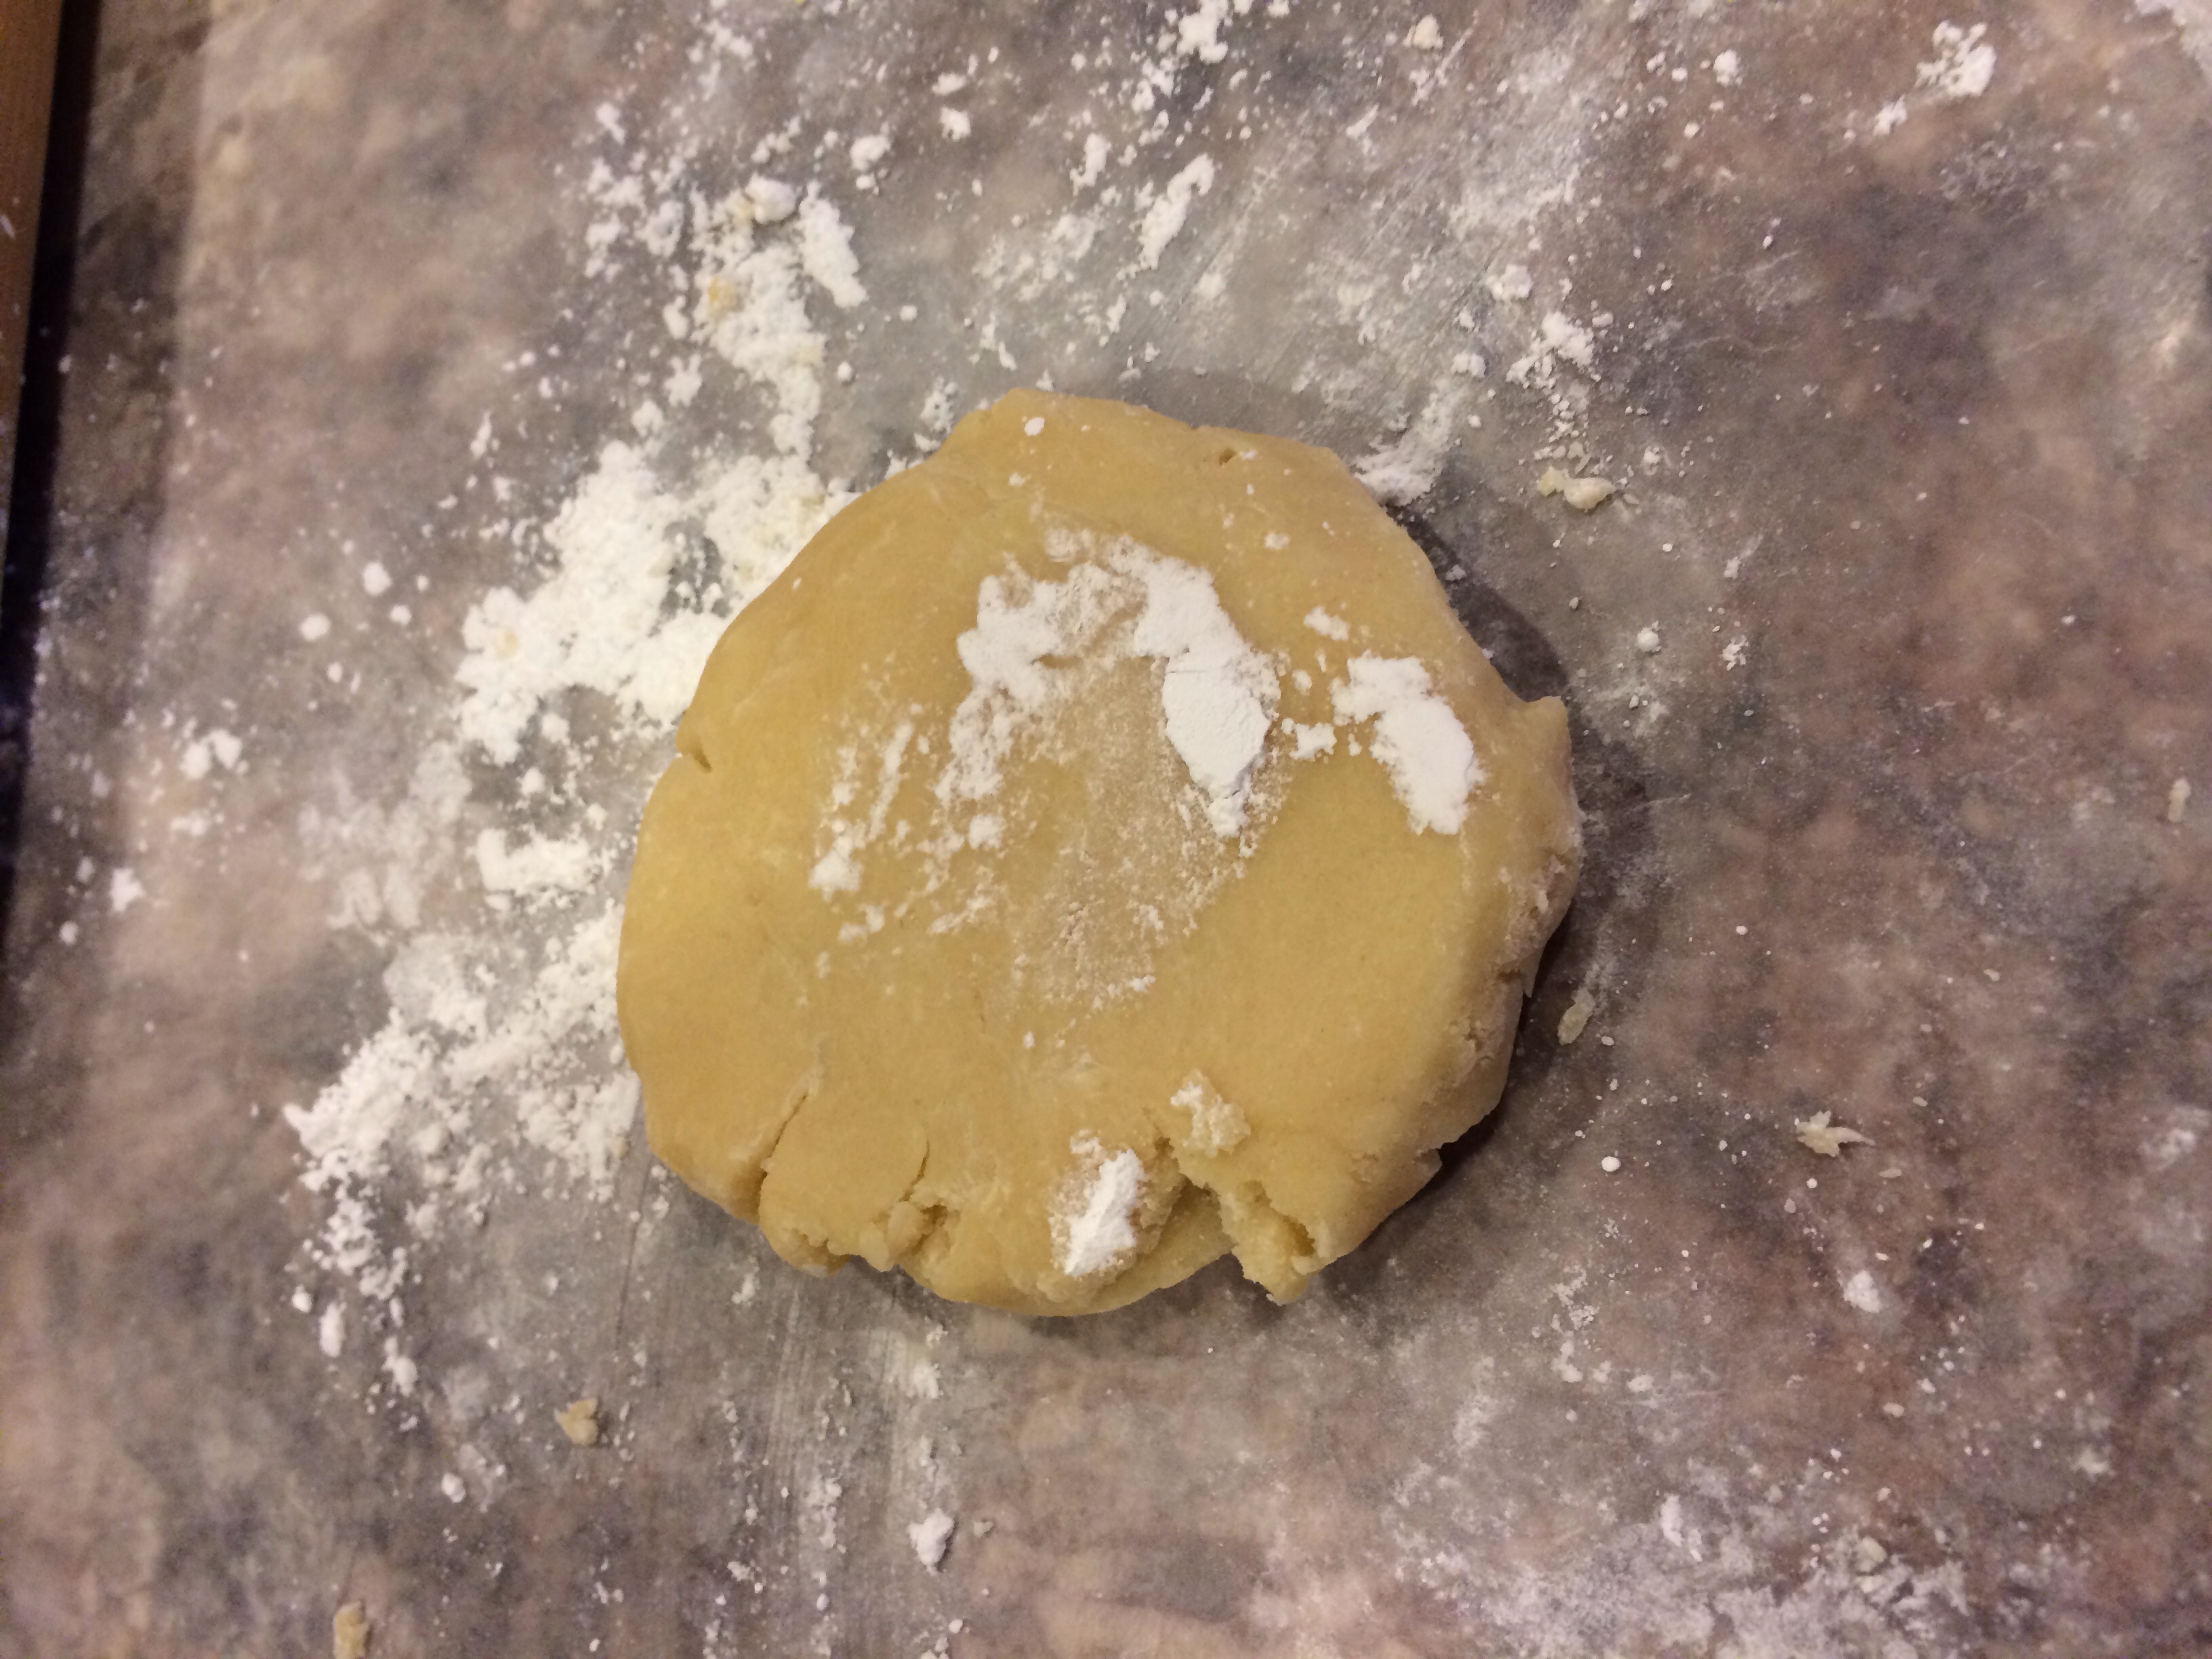
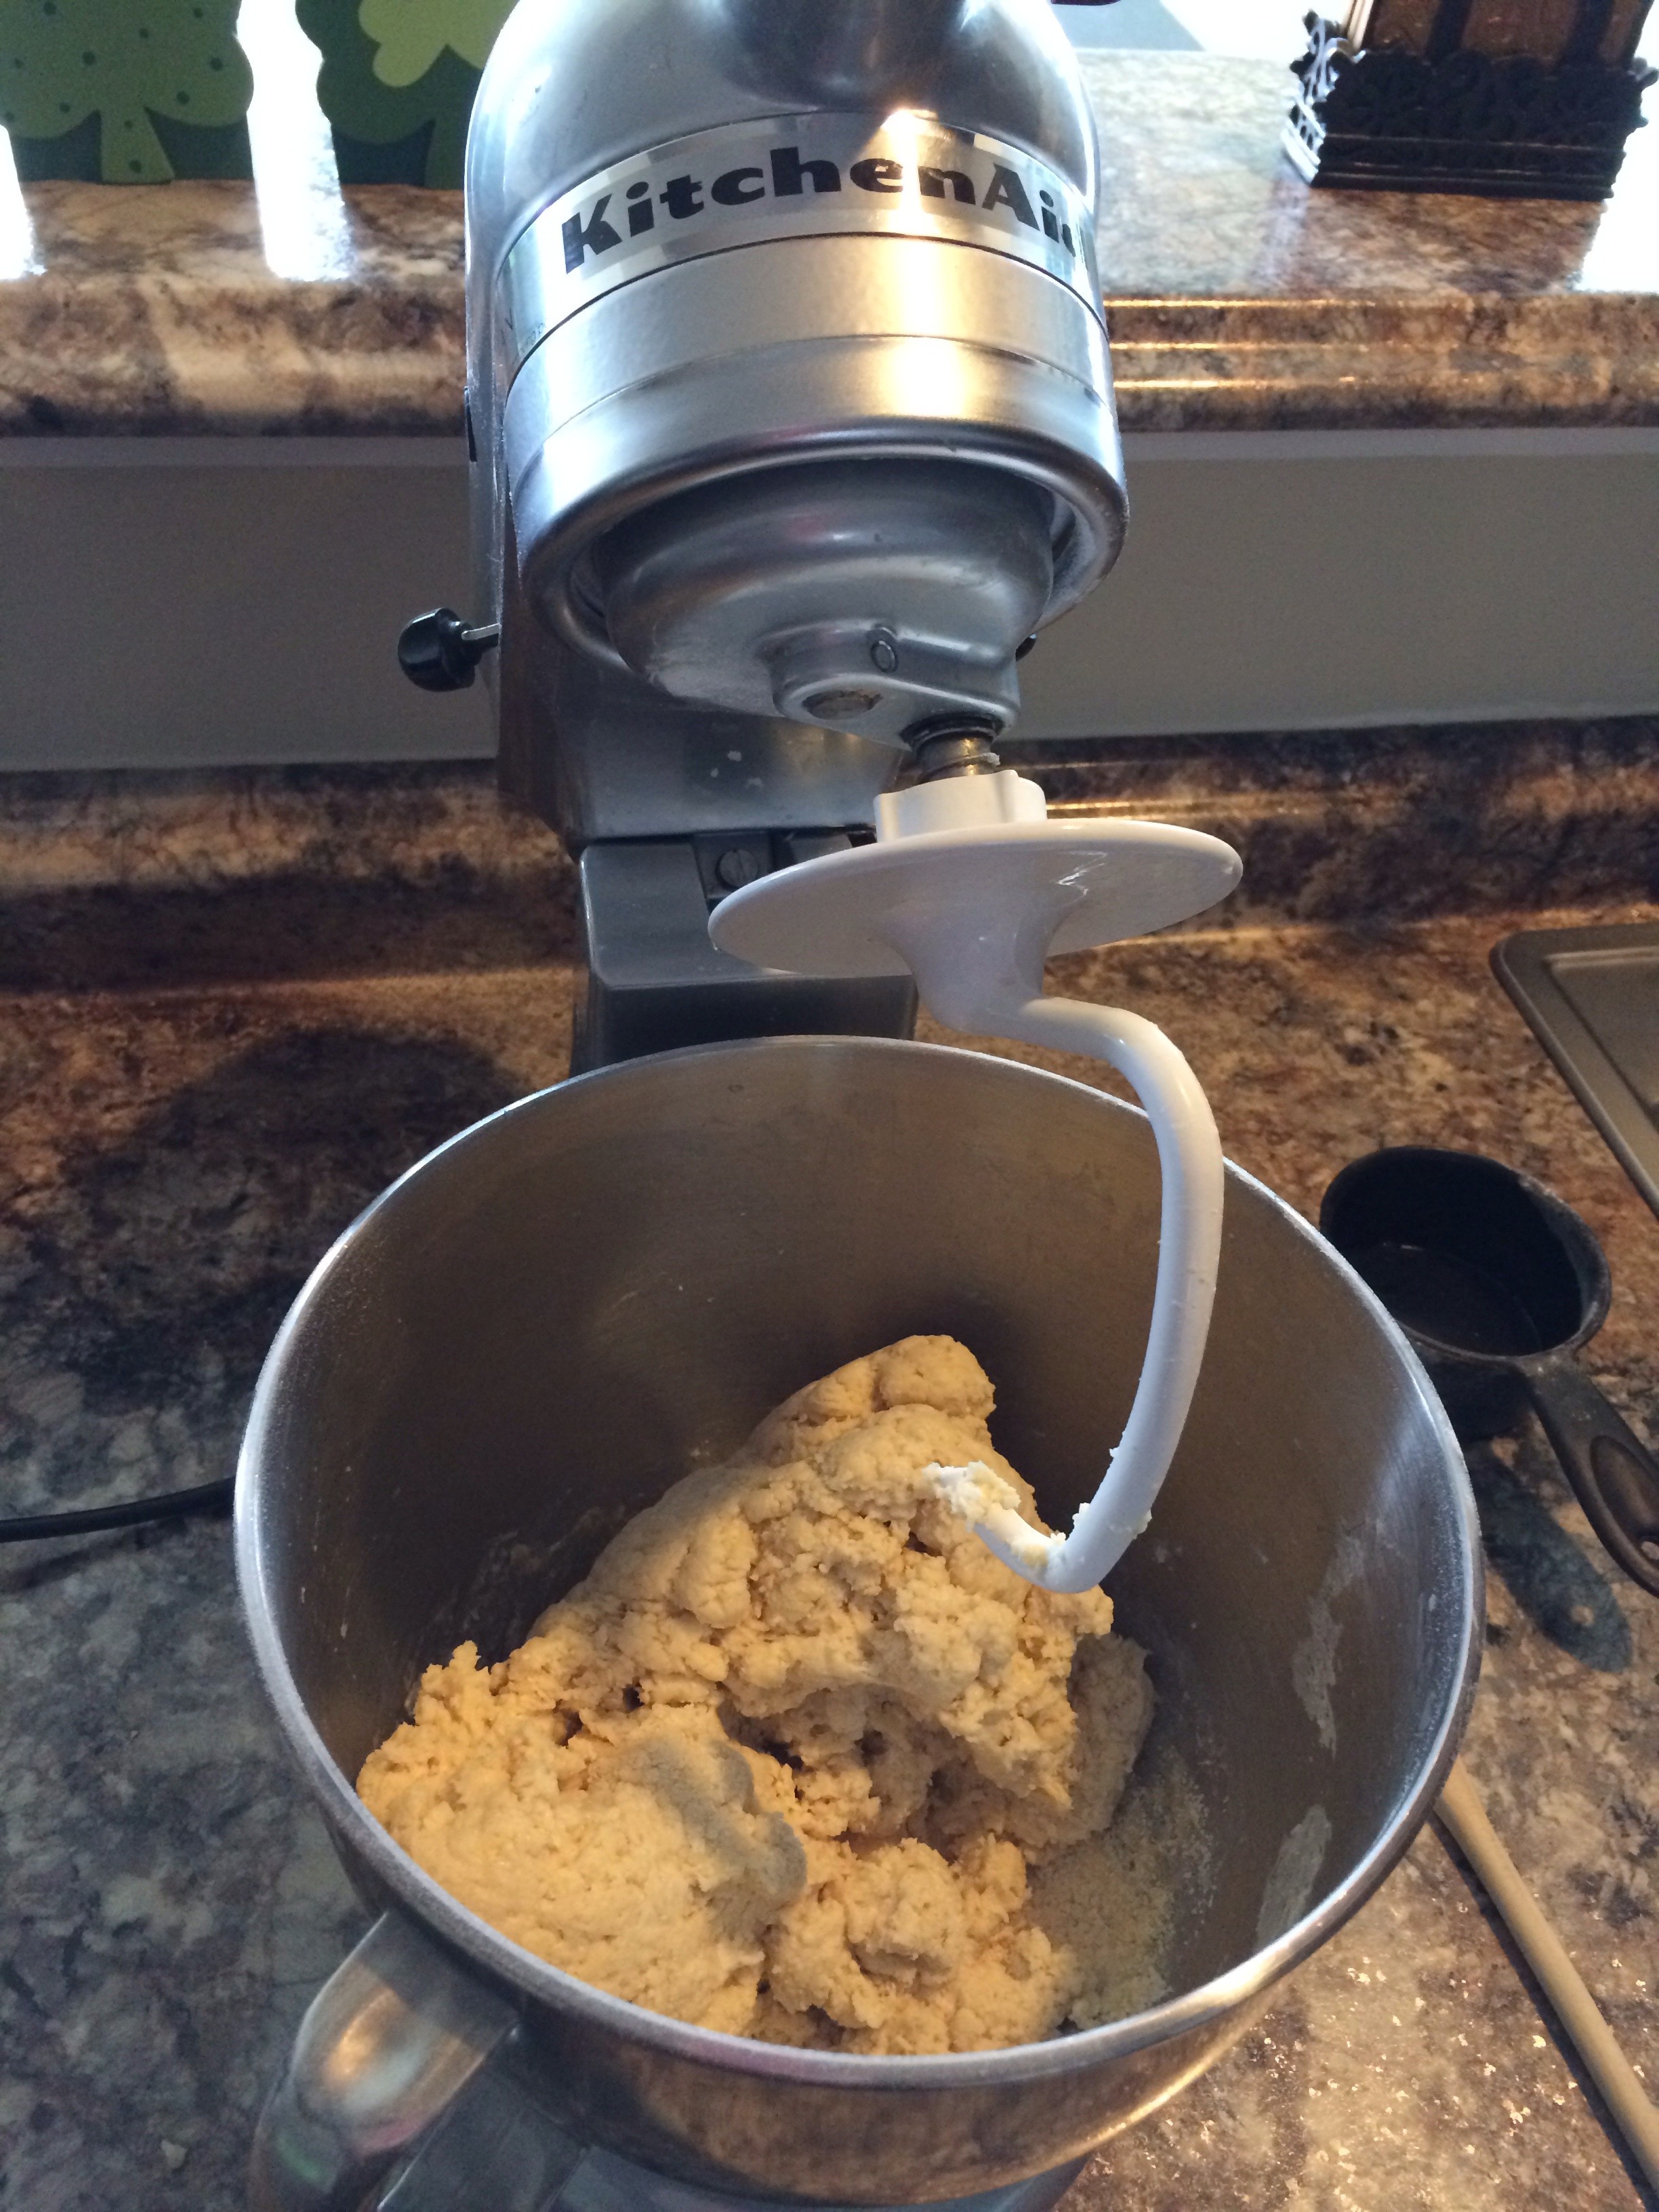
Dough will be dry- No worries! It will be great after kneading.

image

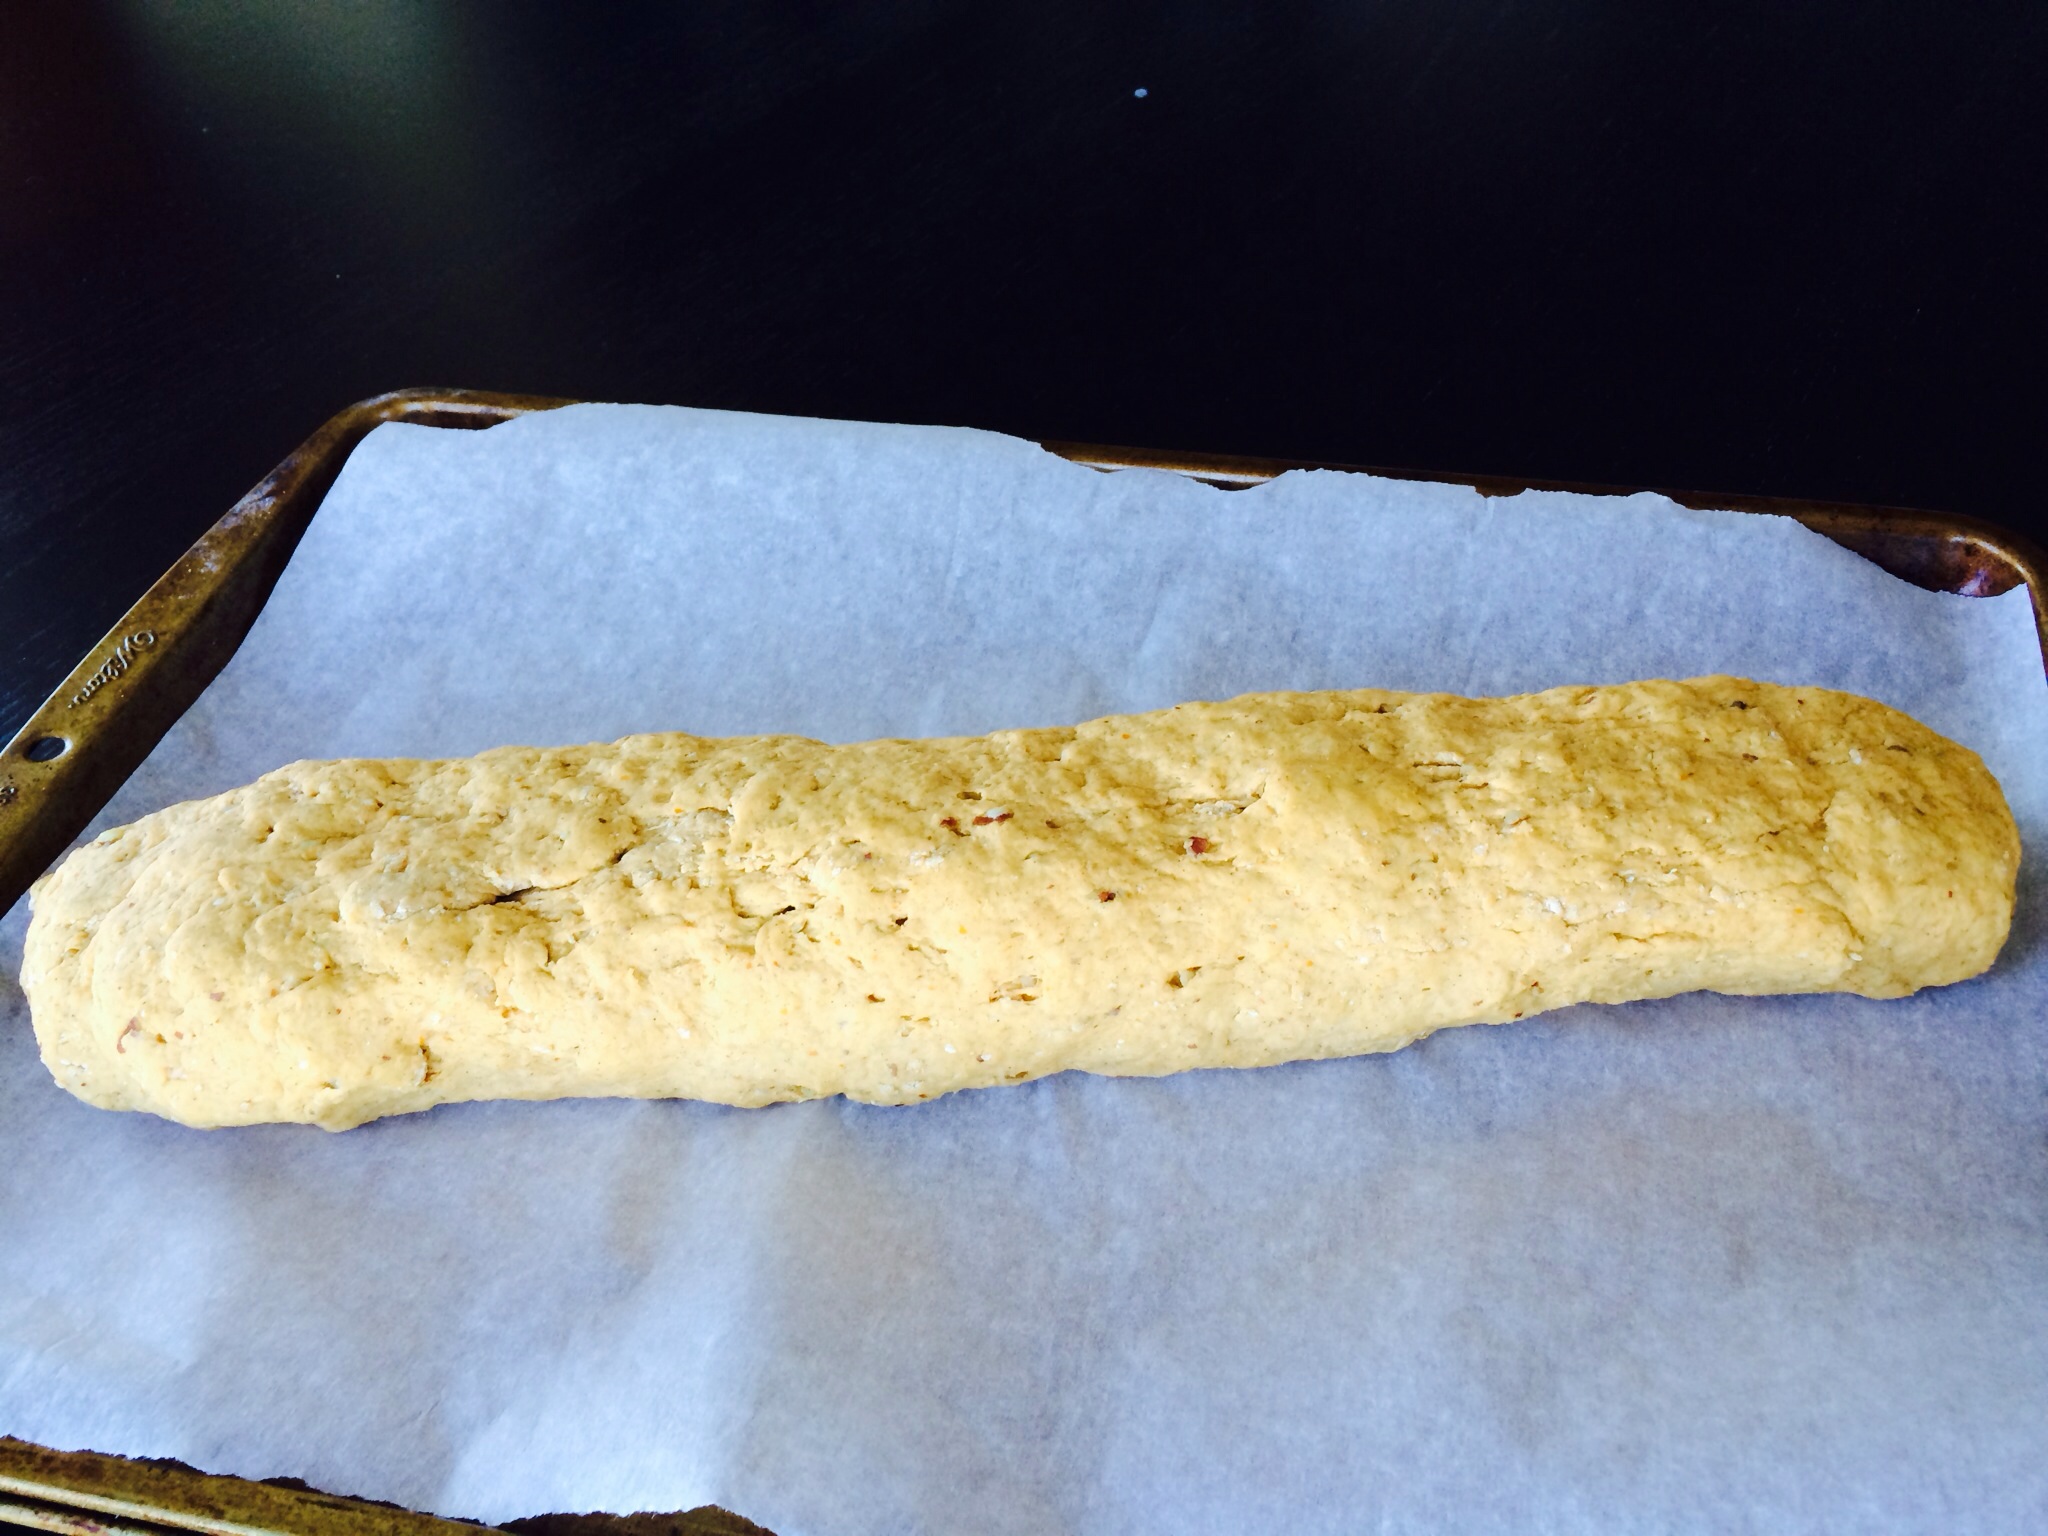
Wash hands and knead dough until a beautiful dough forms.

Form a log that will fit on your baking sheet- the length of your baking sheet and 3-4 inches wide.

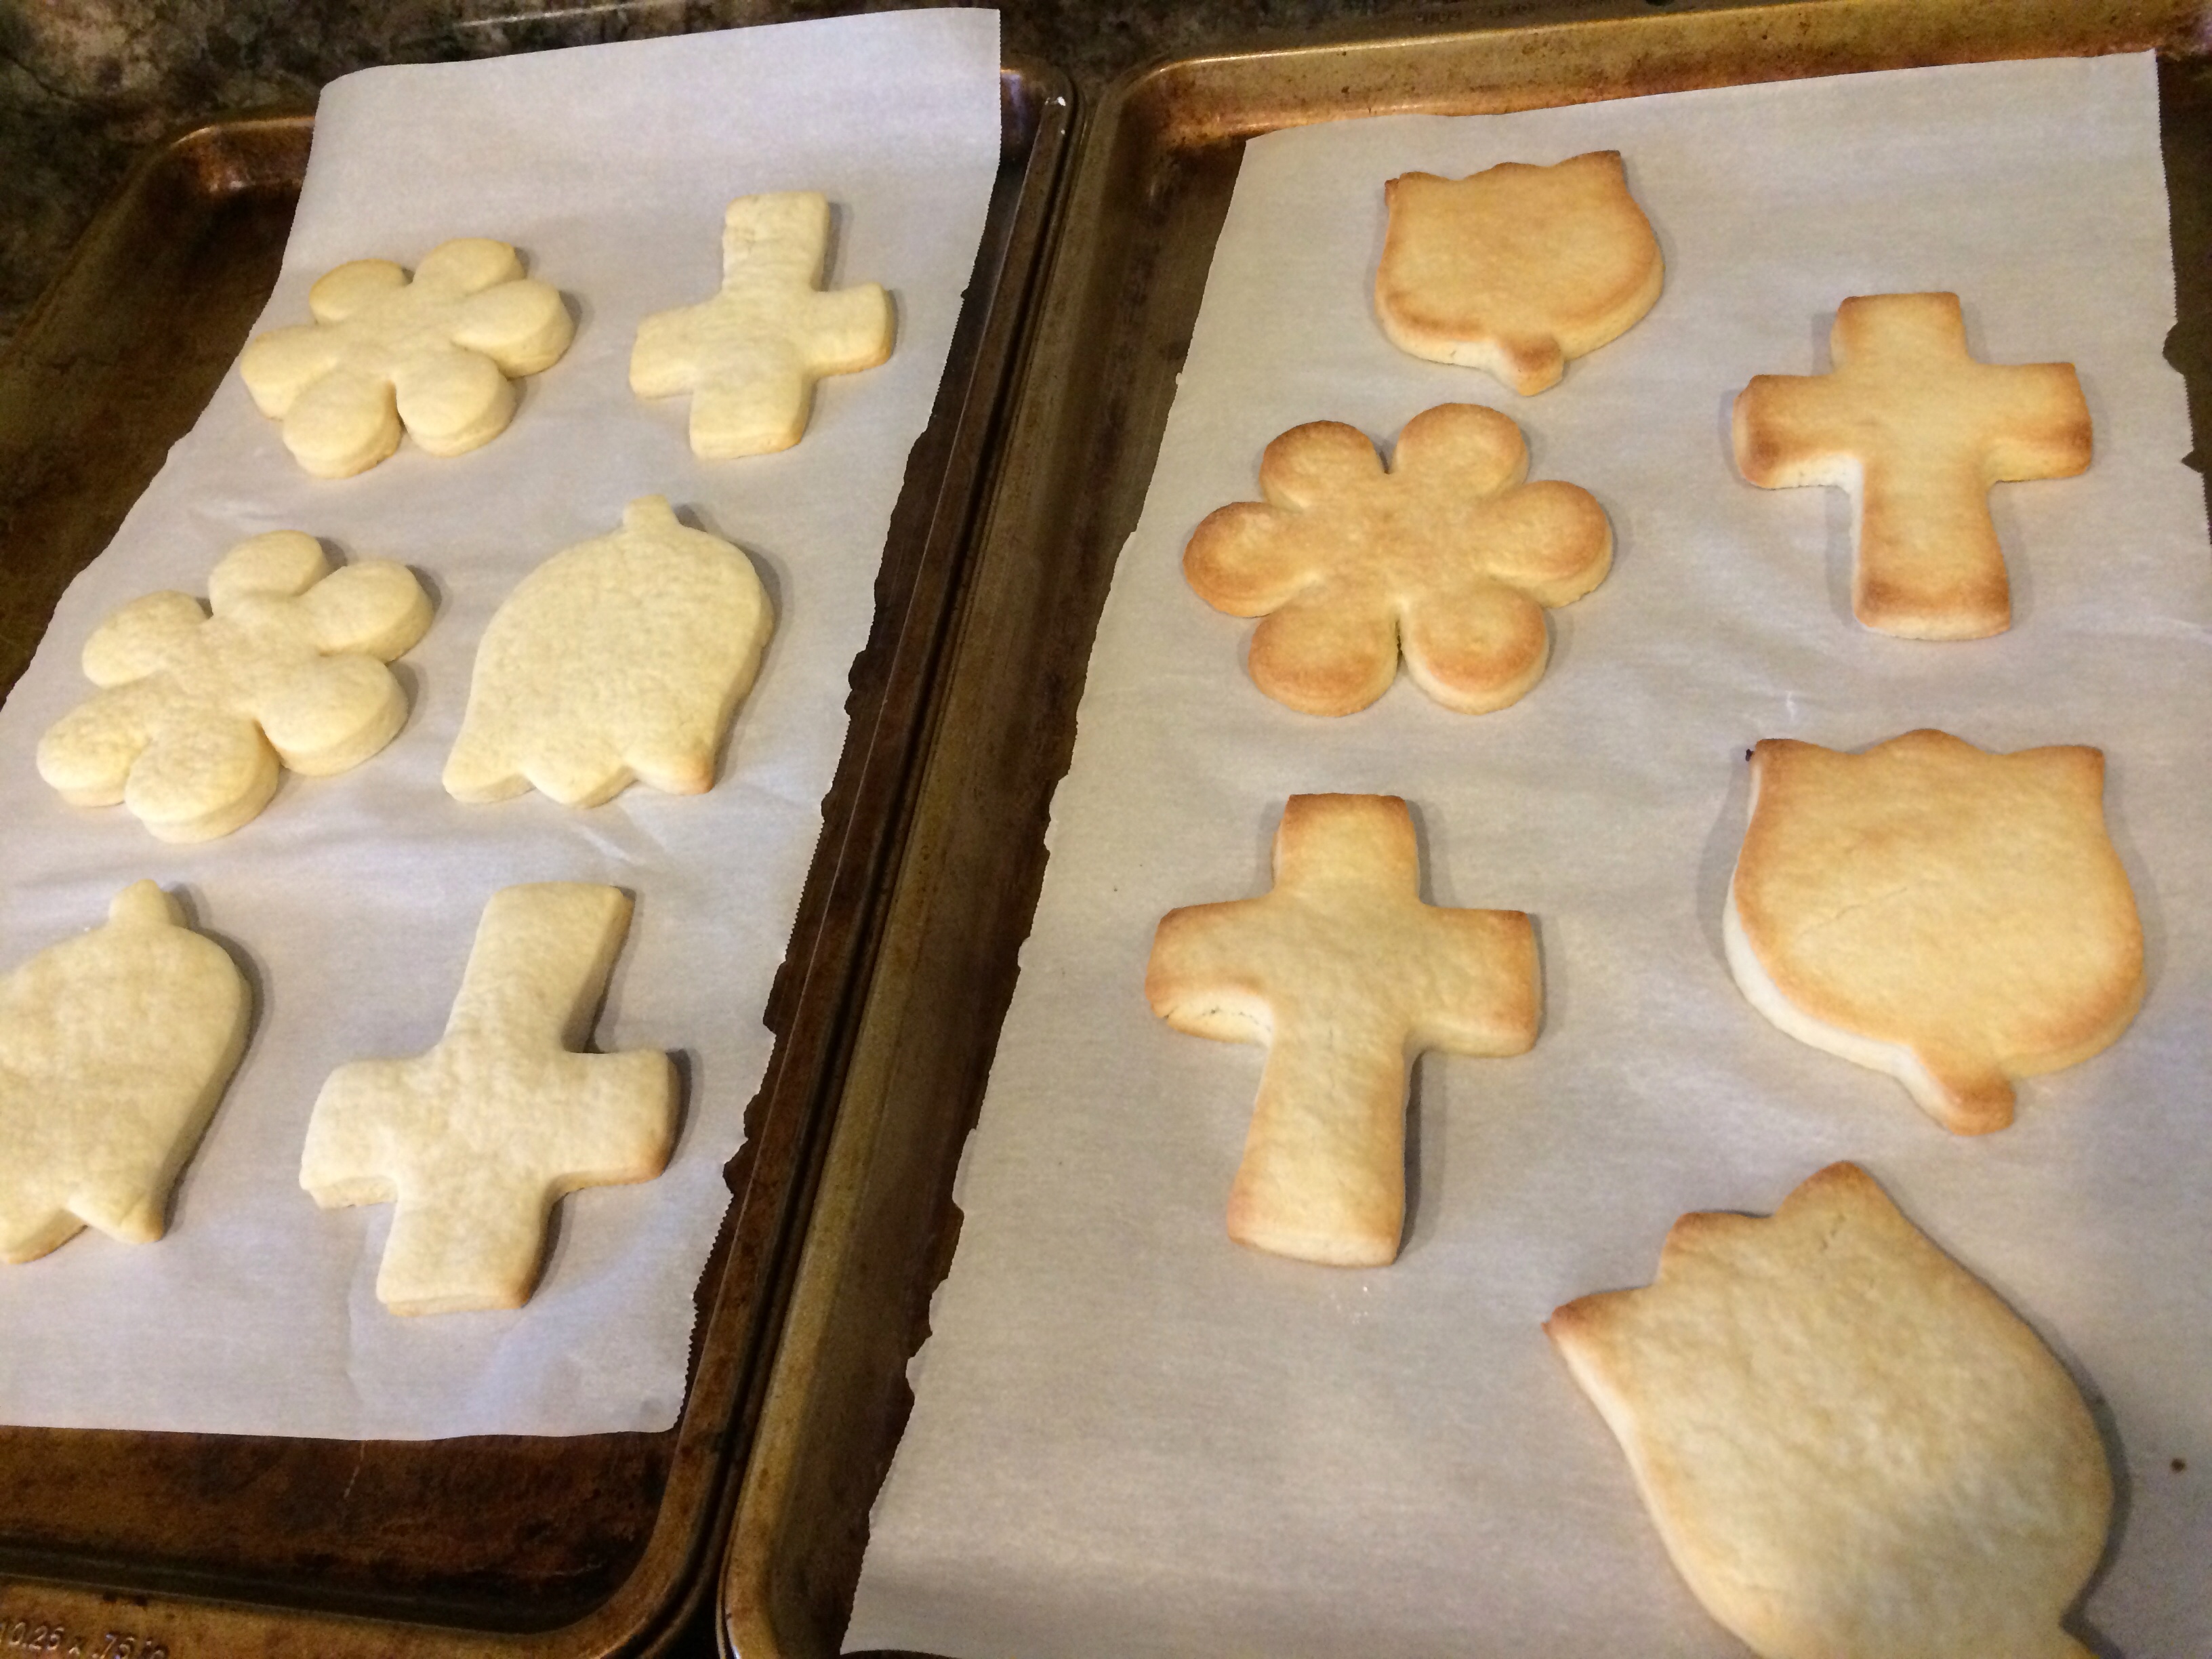
Bake 25-35 mins. or until center is firm and the bottom is lightly browned.

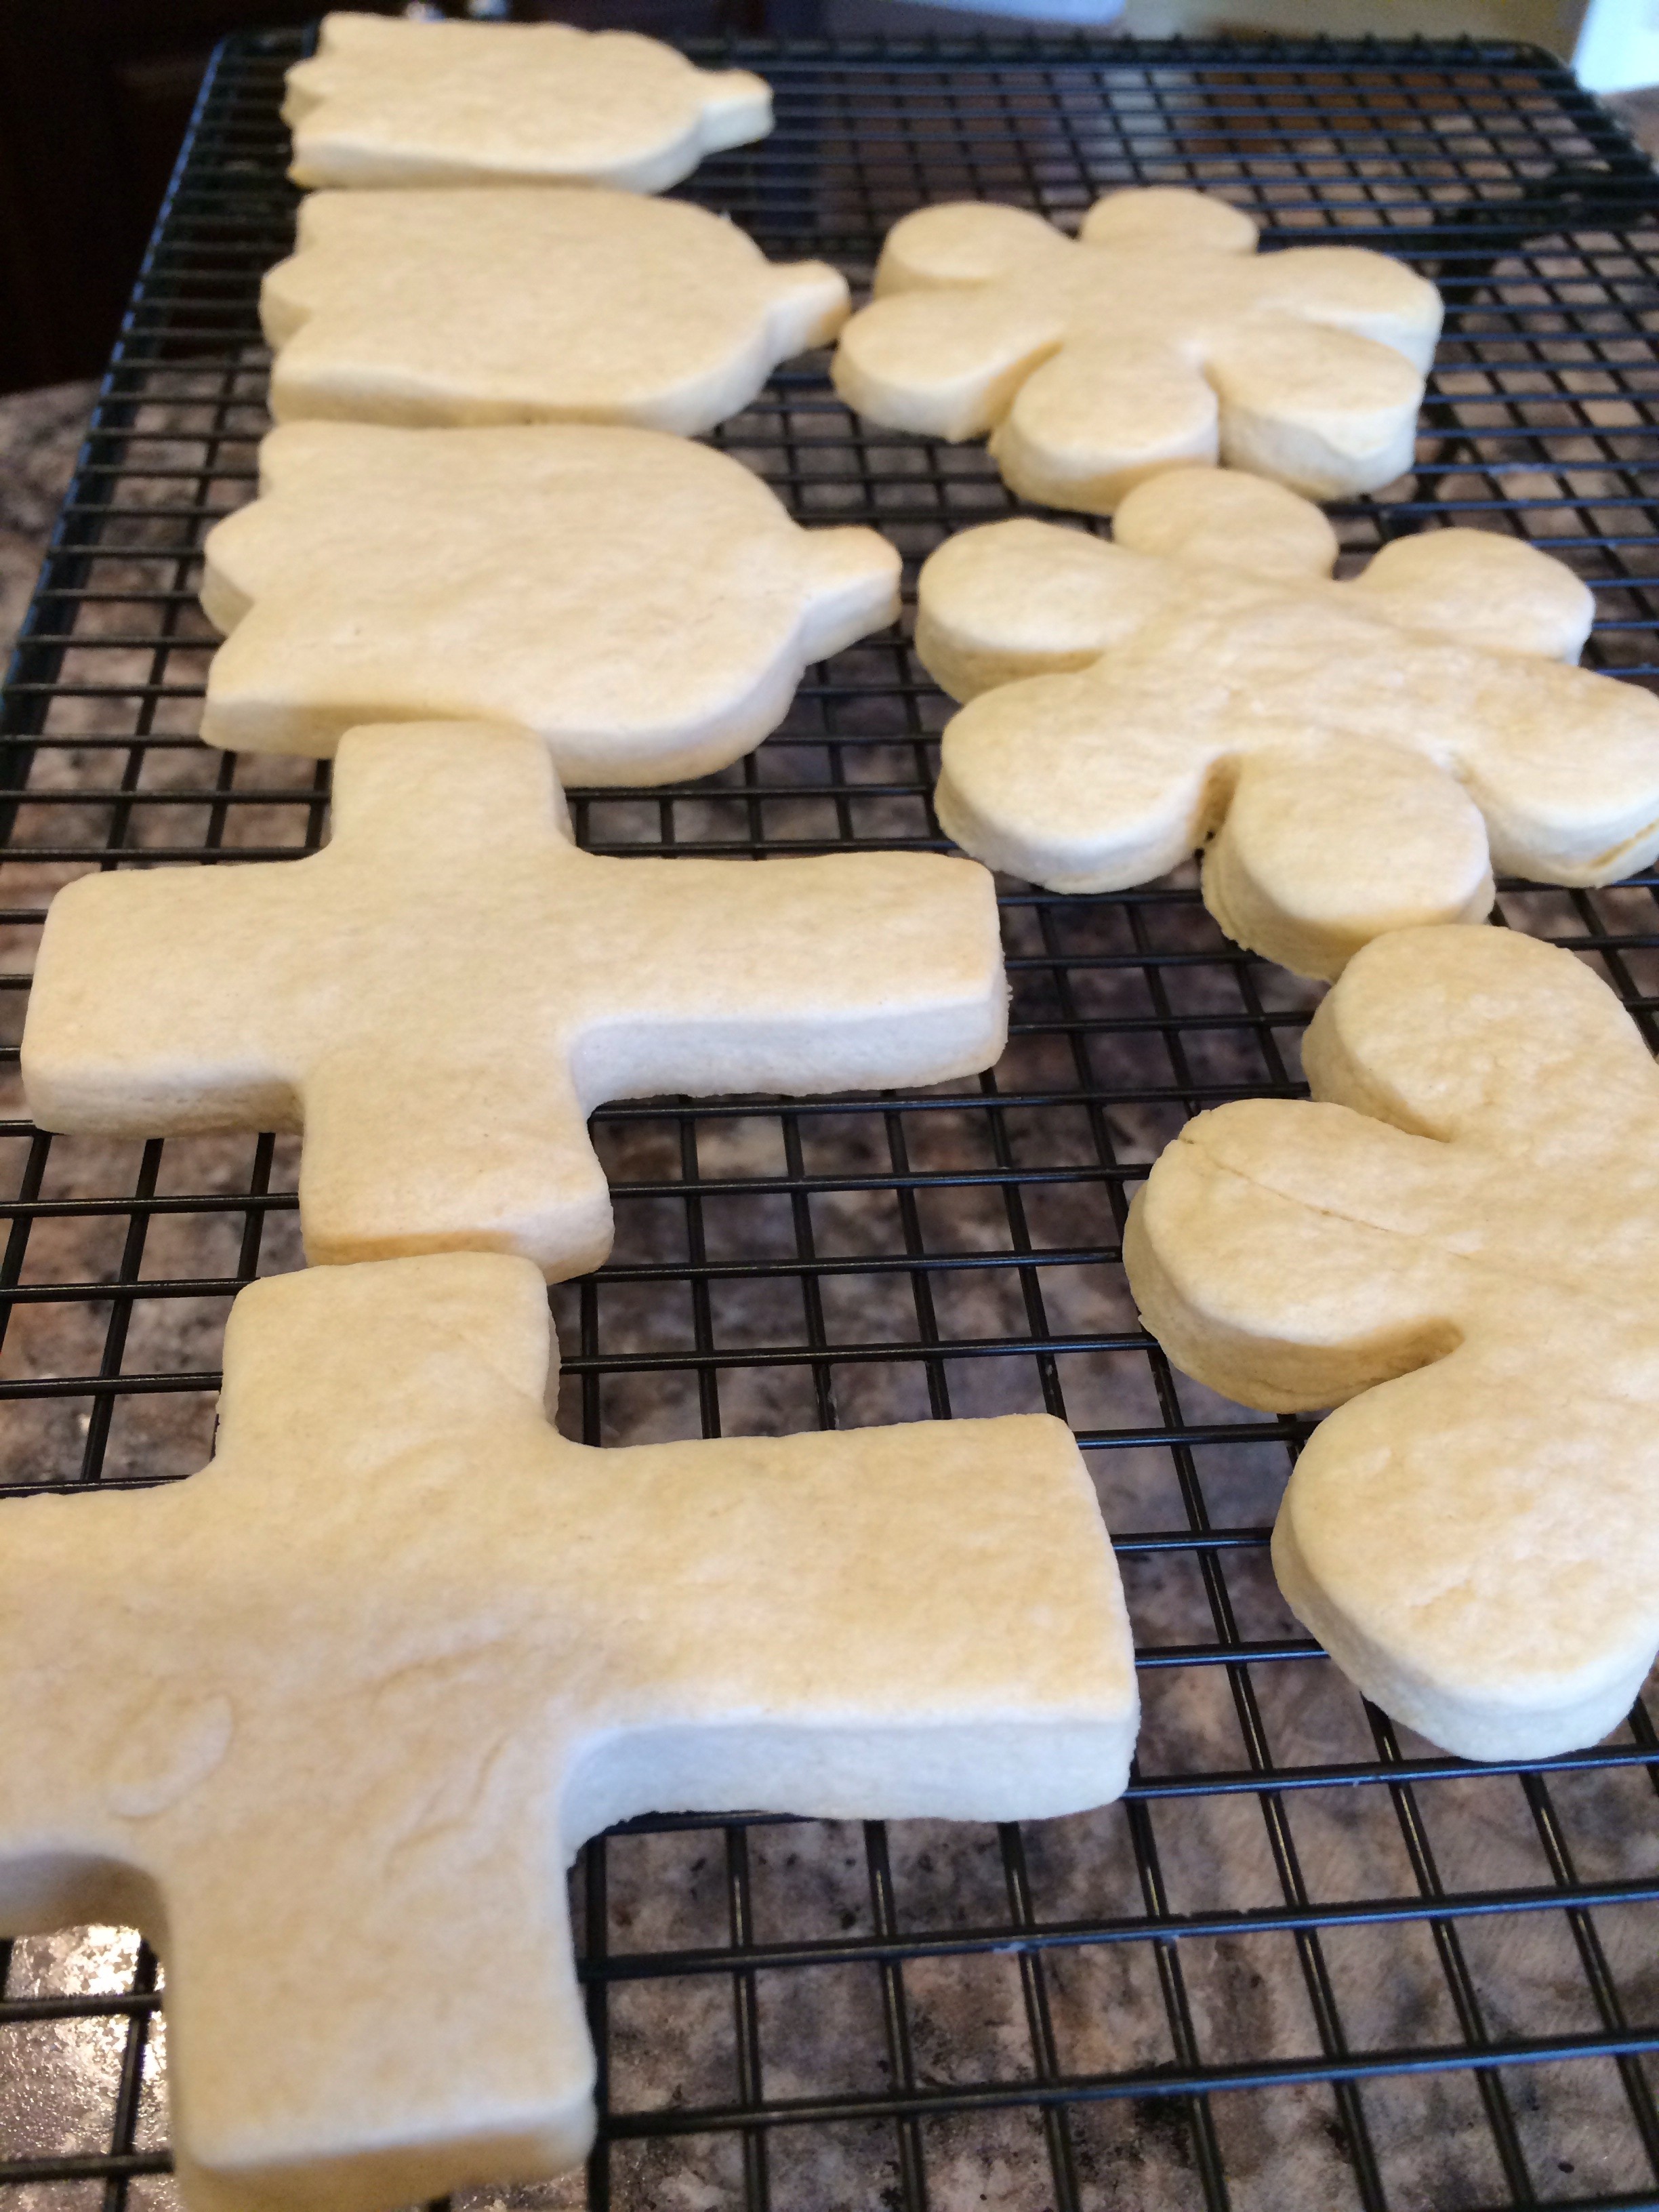
Lower the oven temperature to 300 degrees. Let log cool for 10 minutes.

Slice into 1 inch wide pieces with a serrated knife.

Slice horizontally in half and then on a diagonal into 1 inch wide cookies.

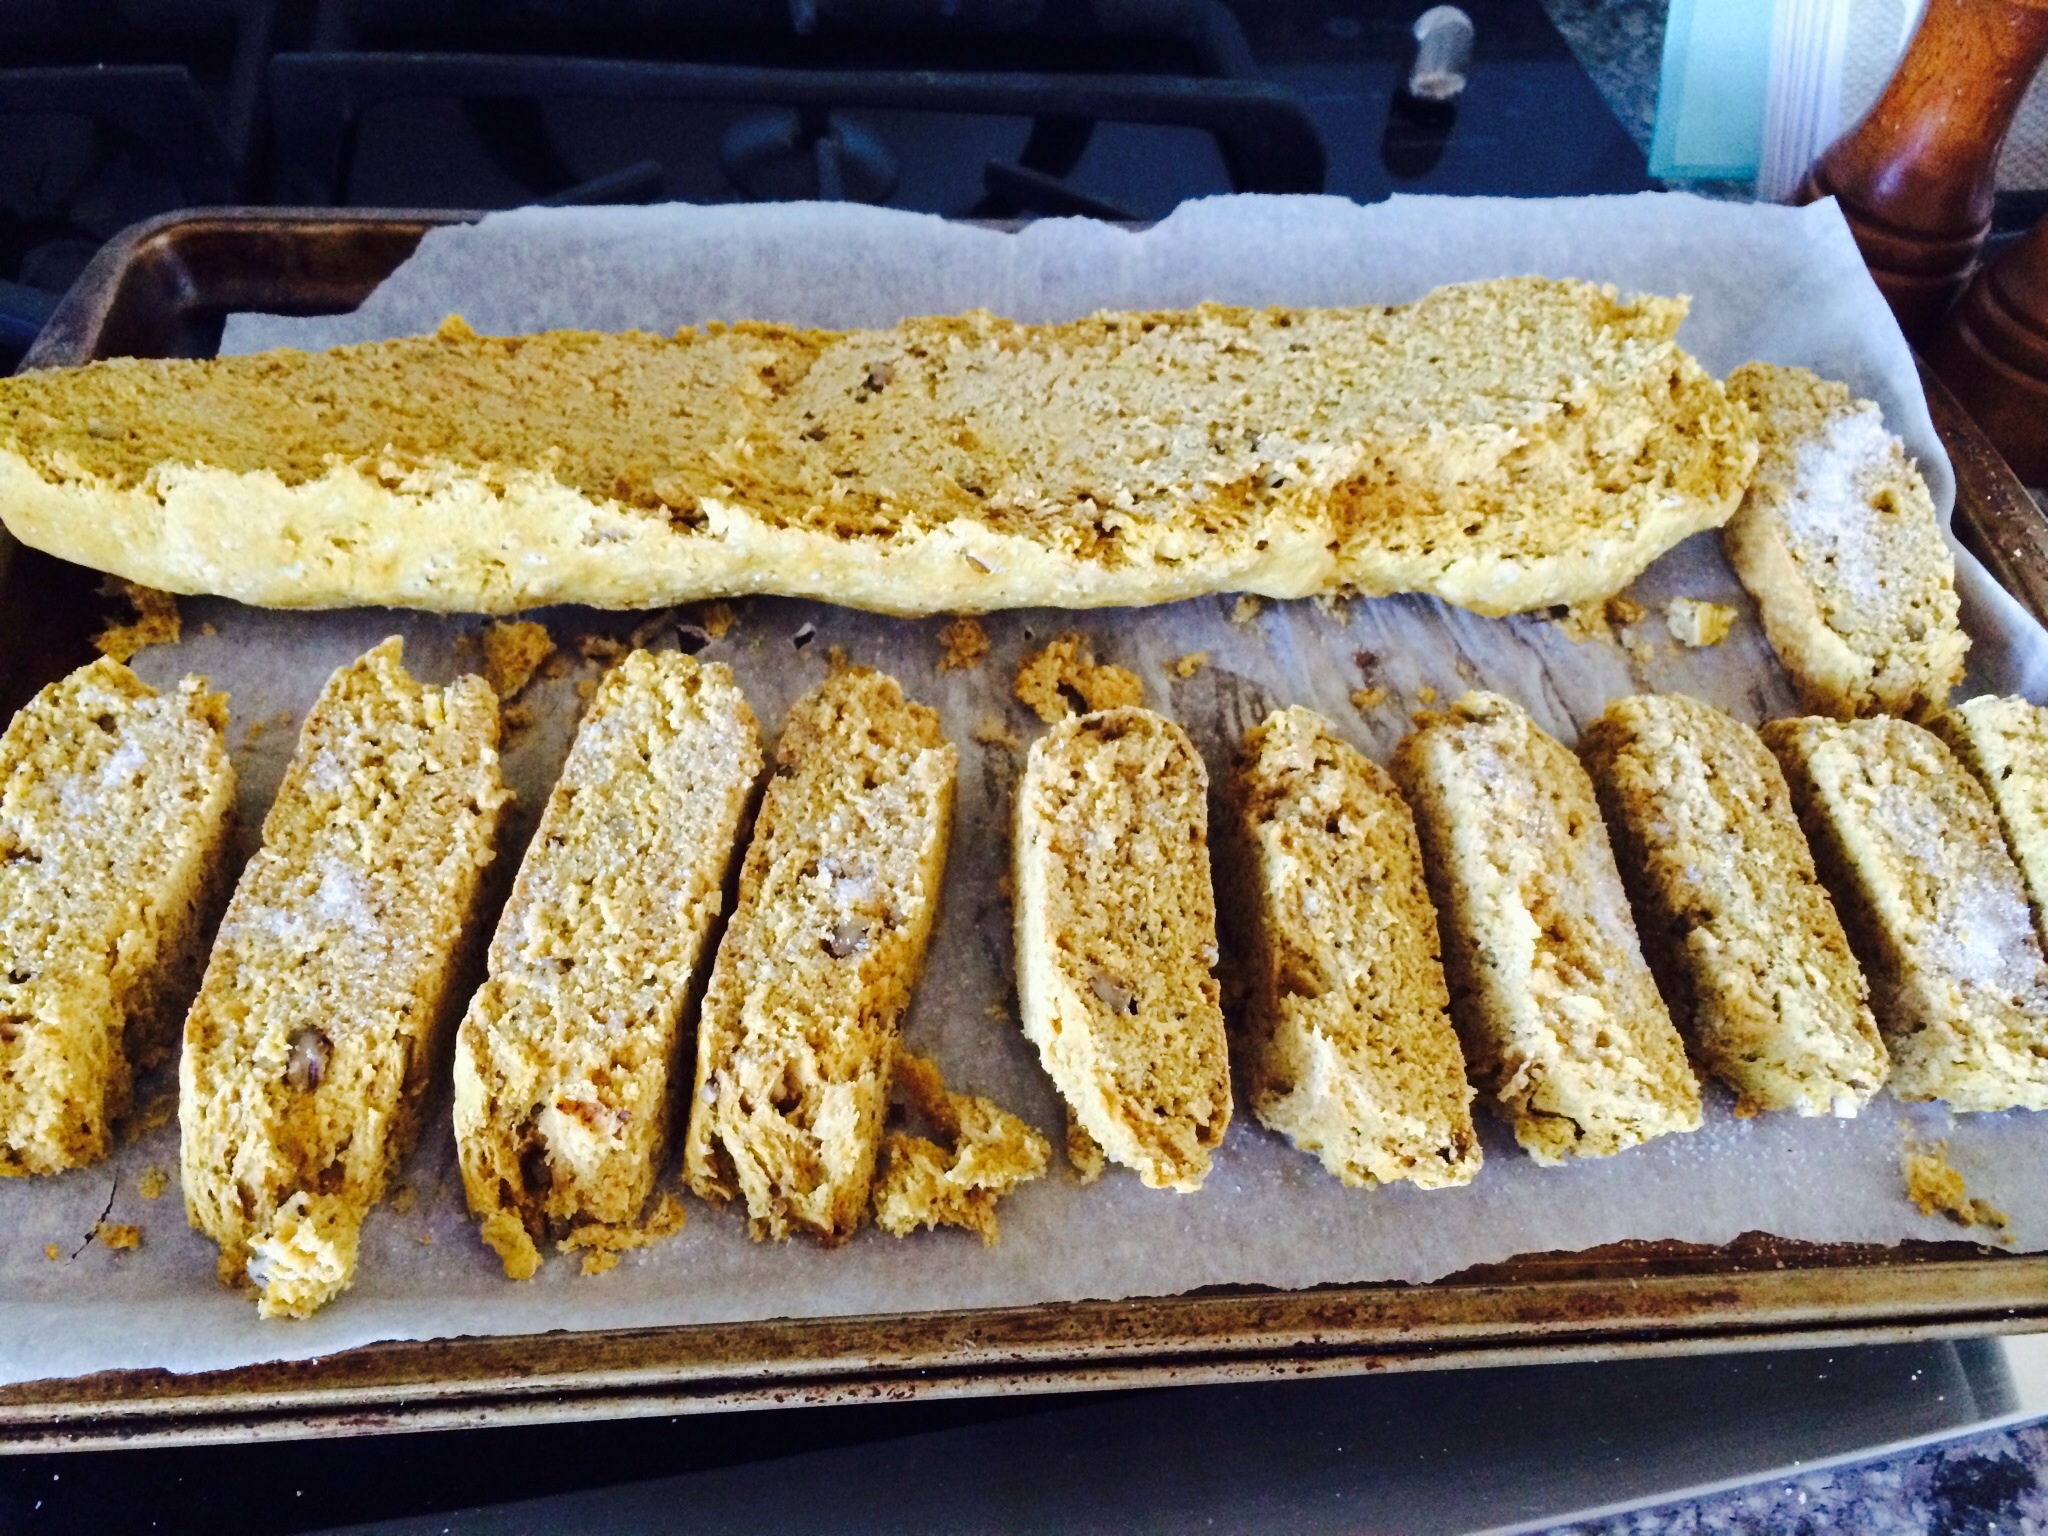
Lay them cut side up and bake 8 -10 mins. on each side or until crisp!
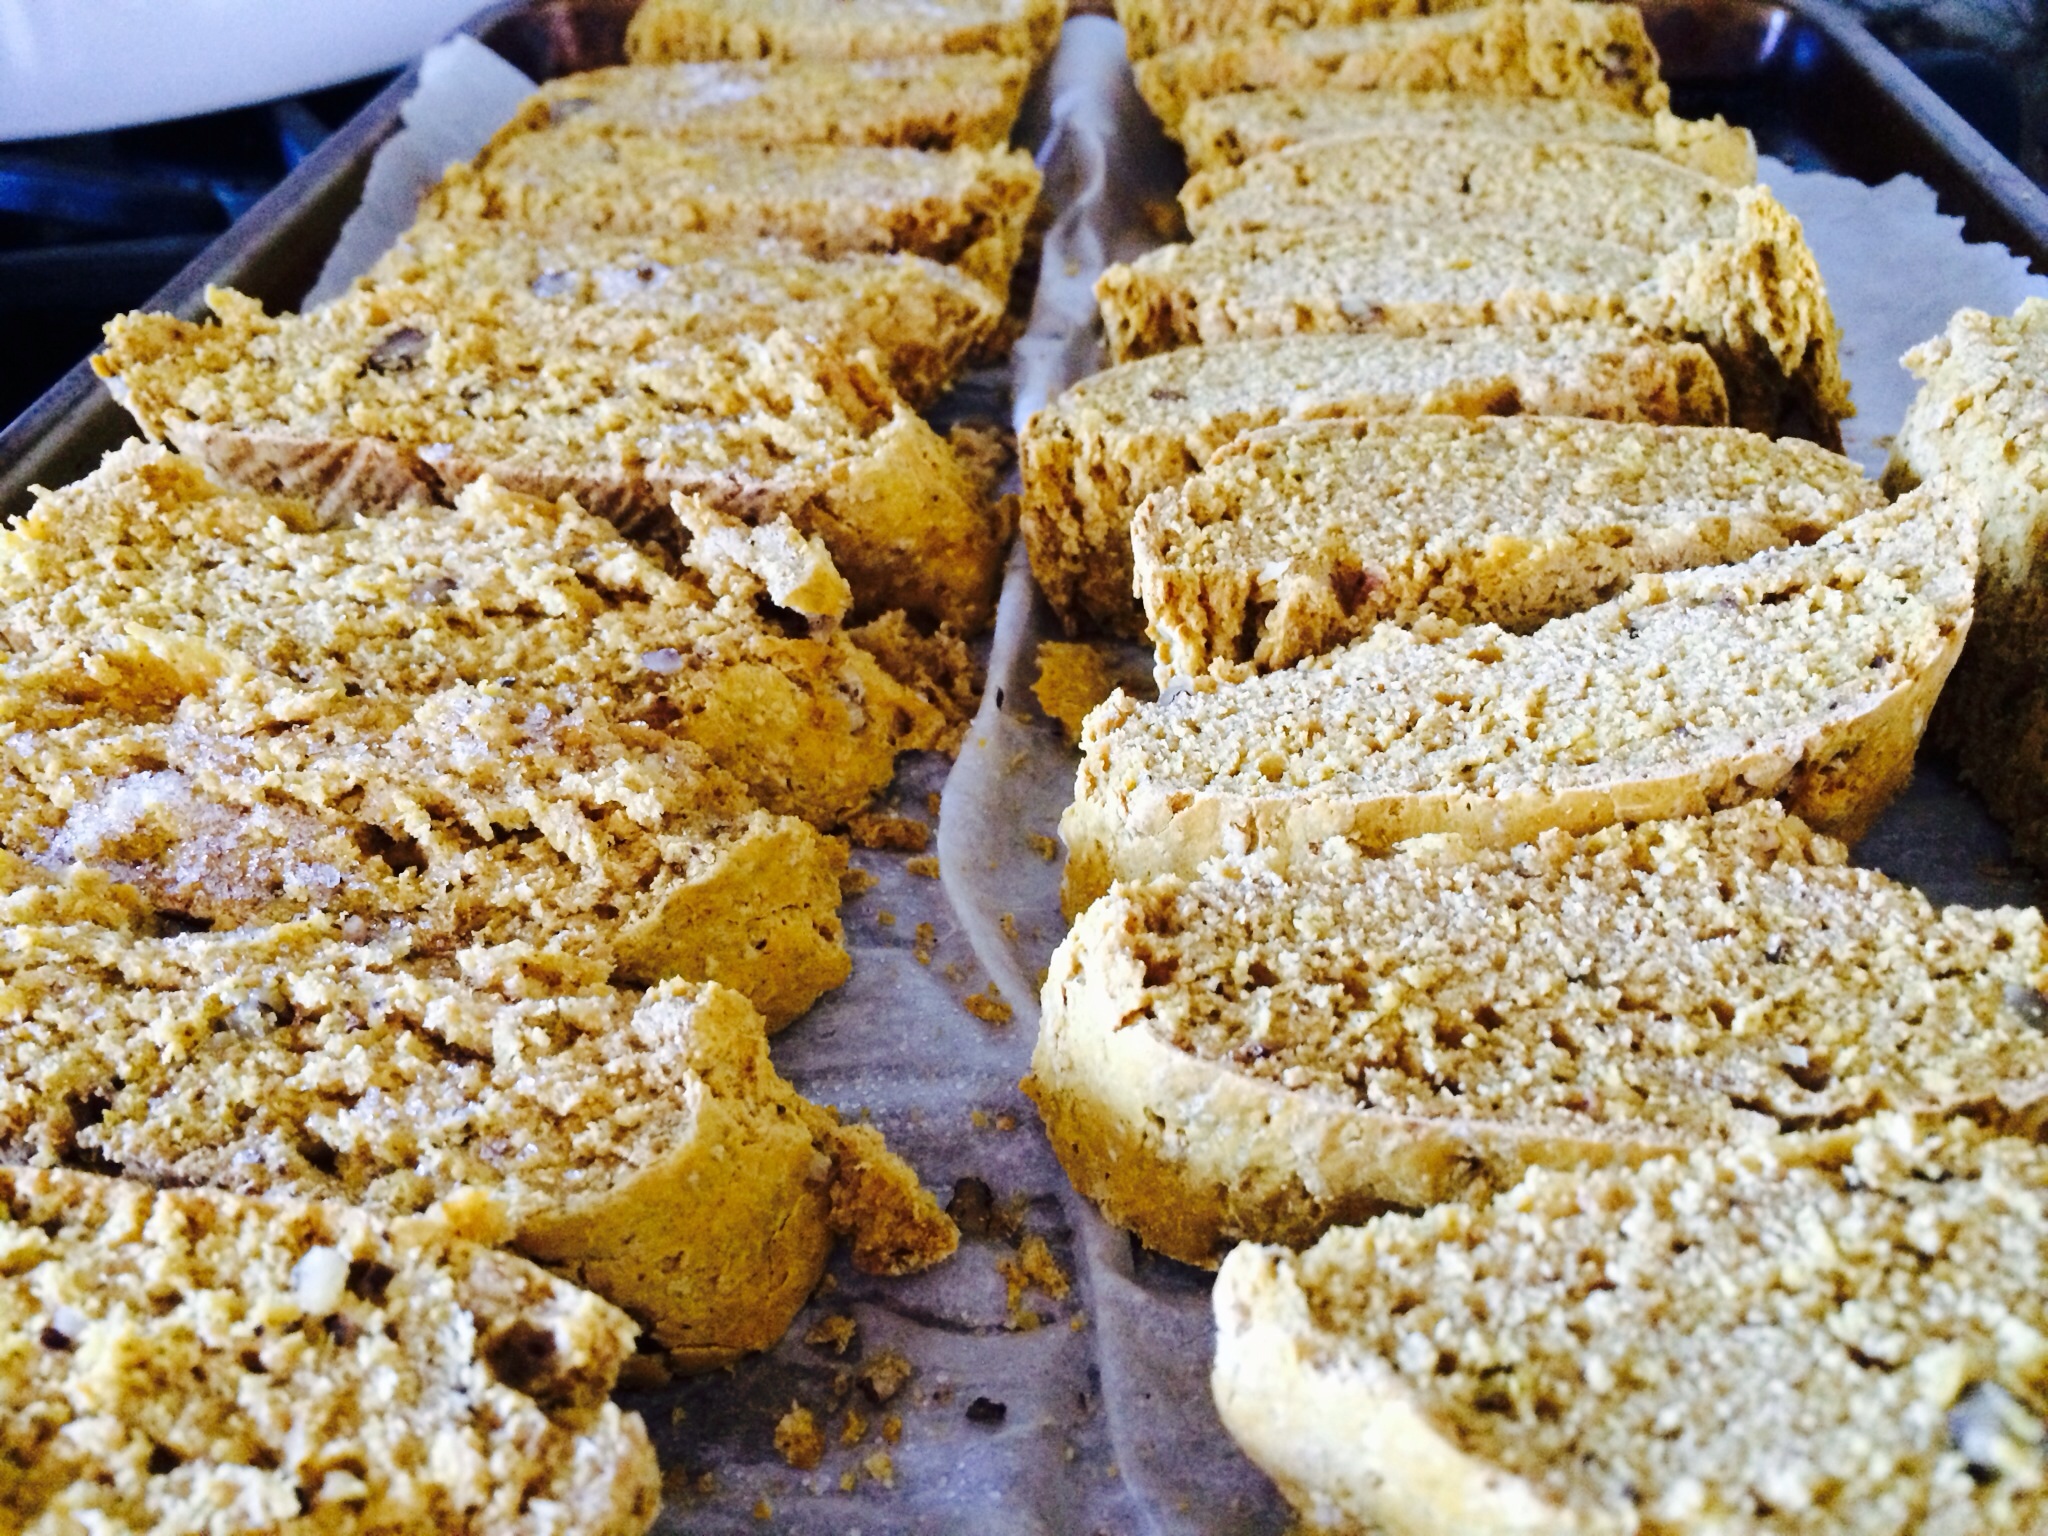
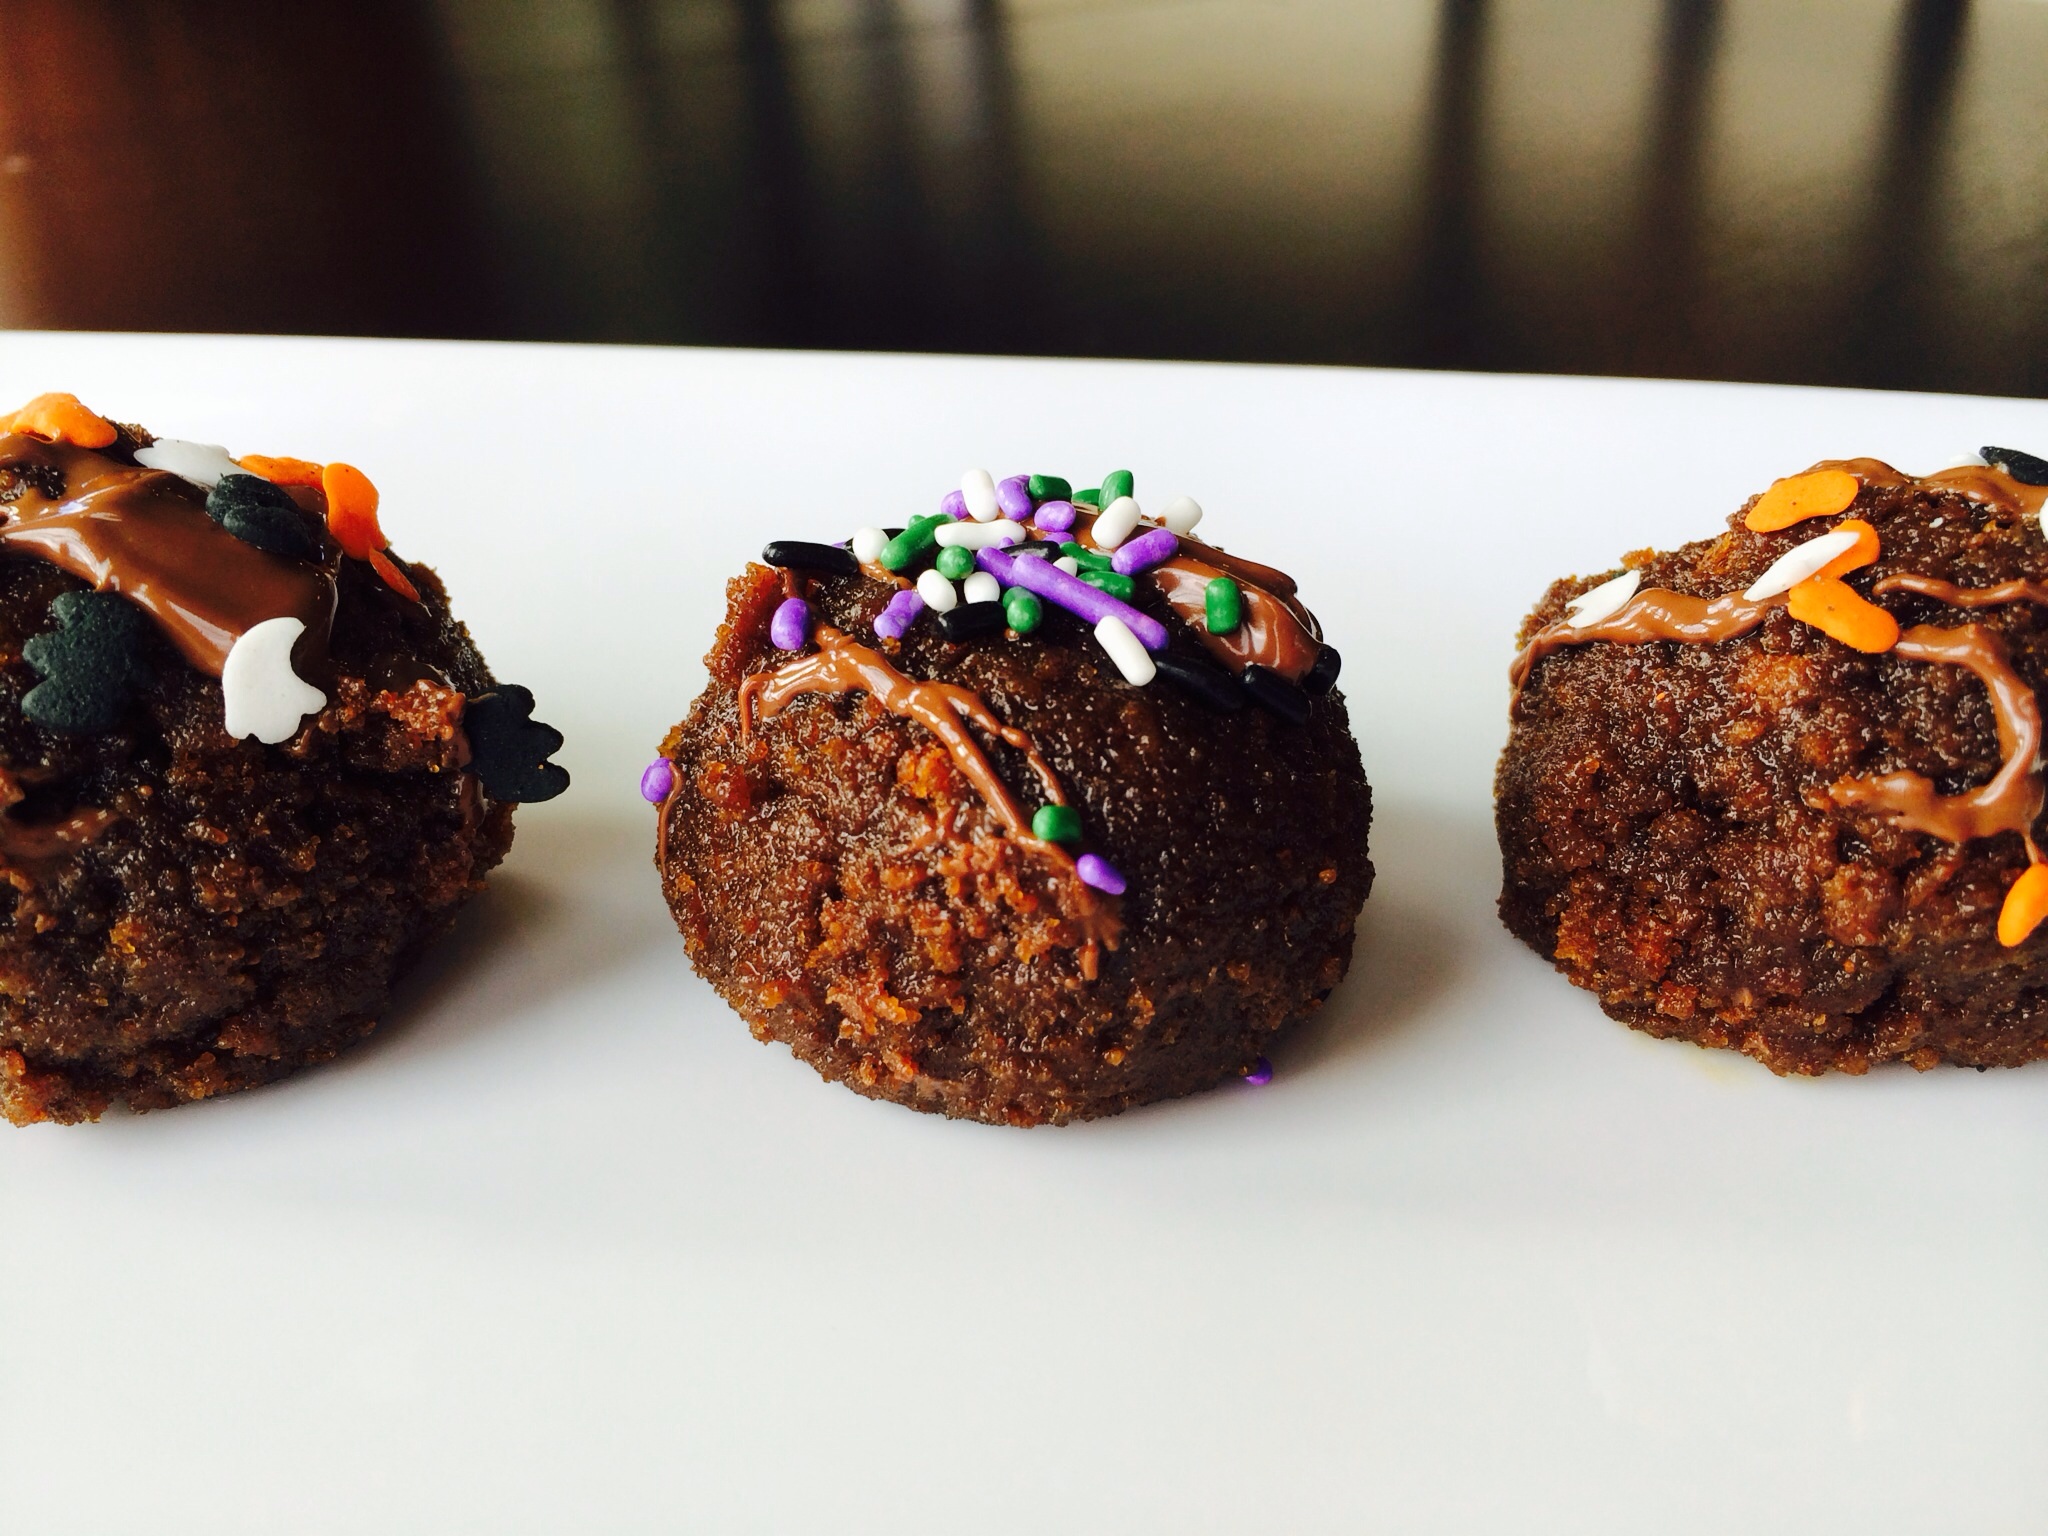
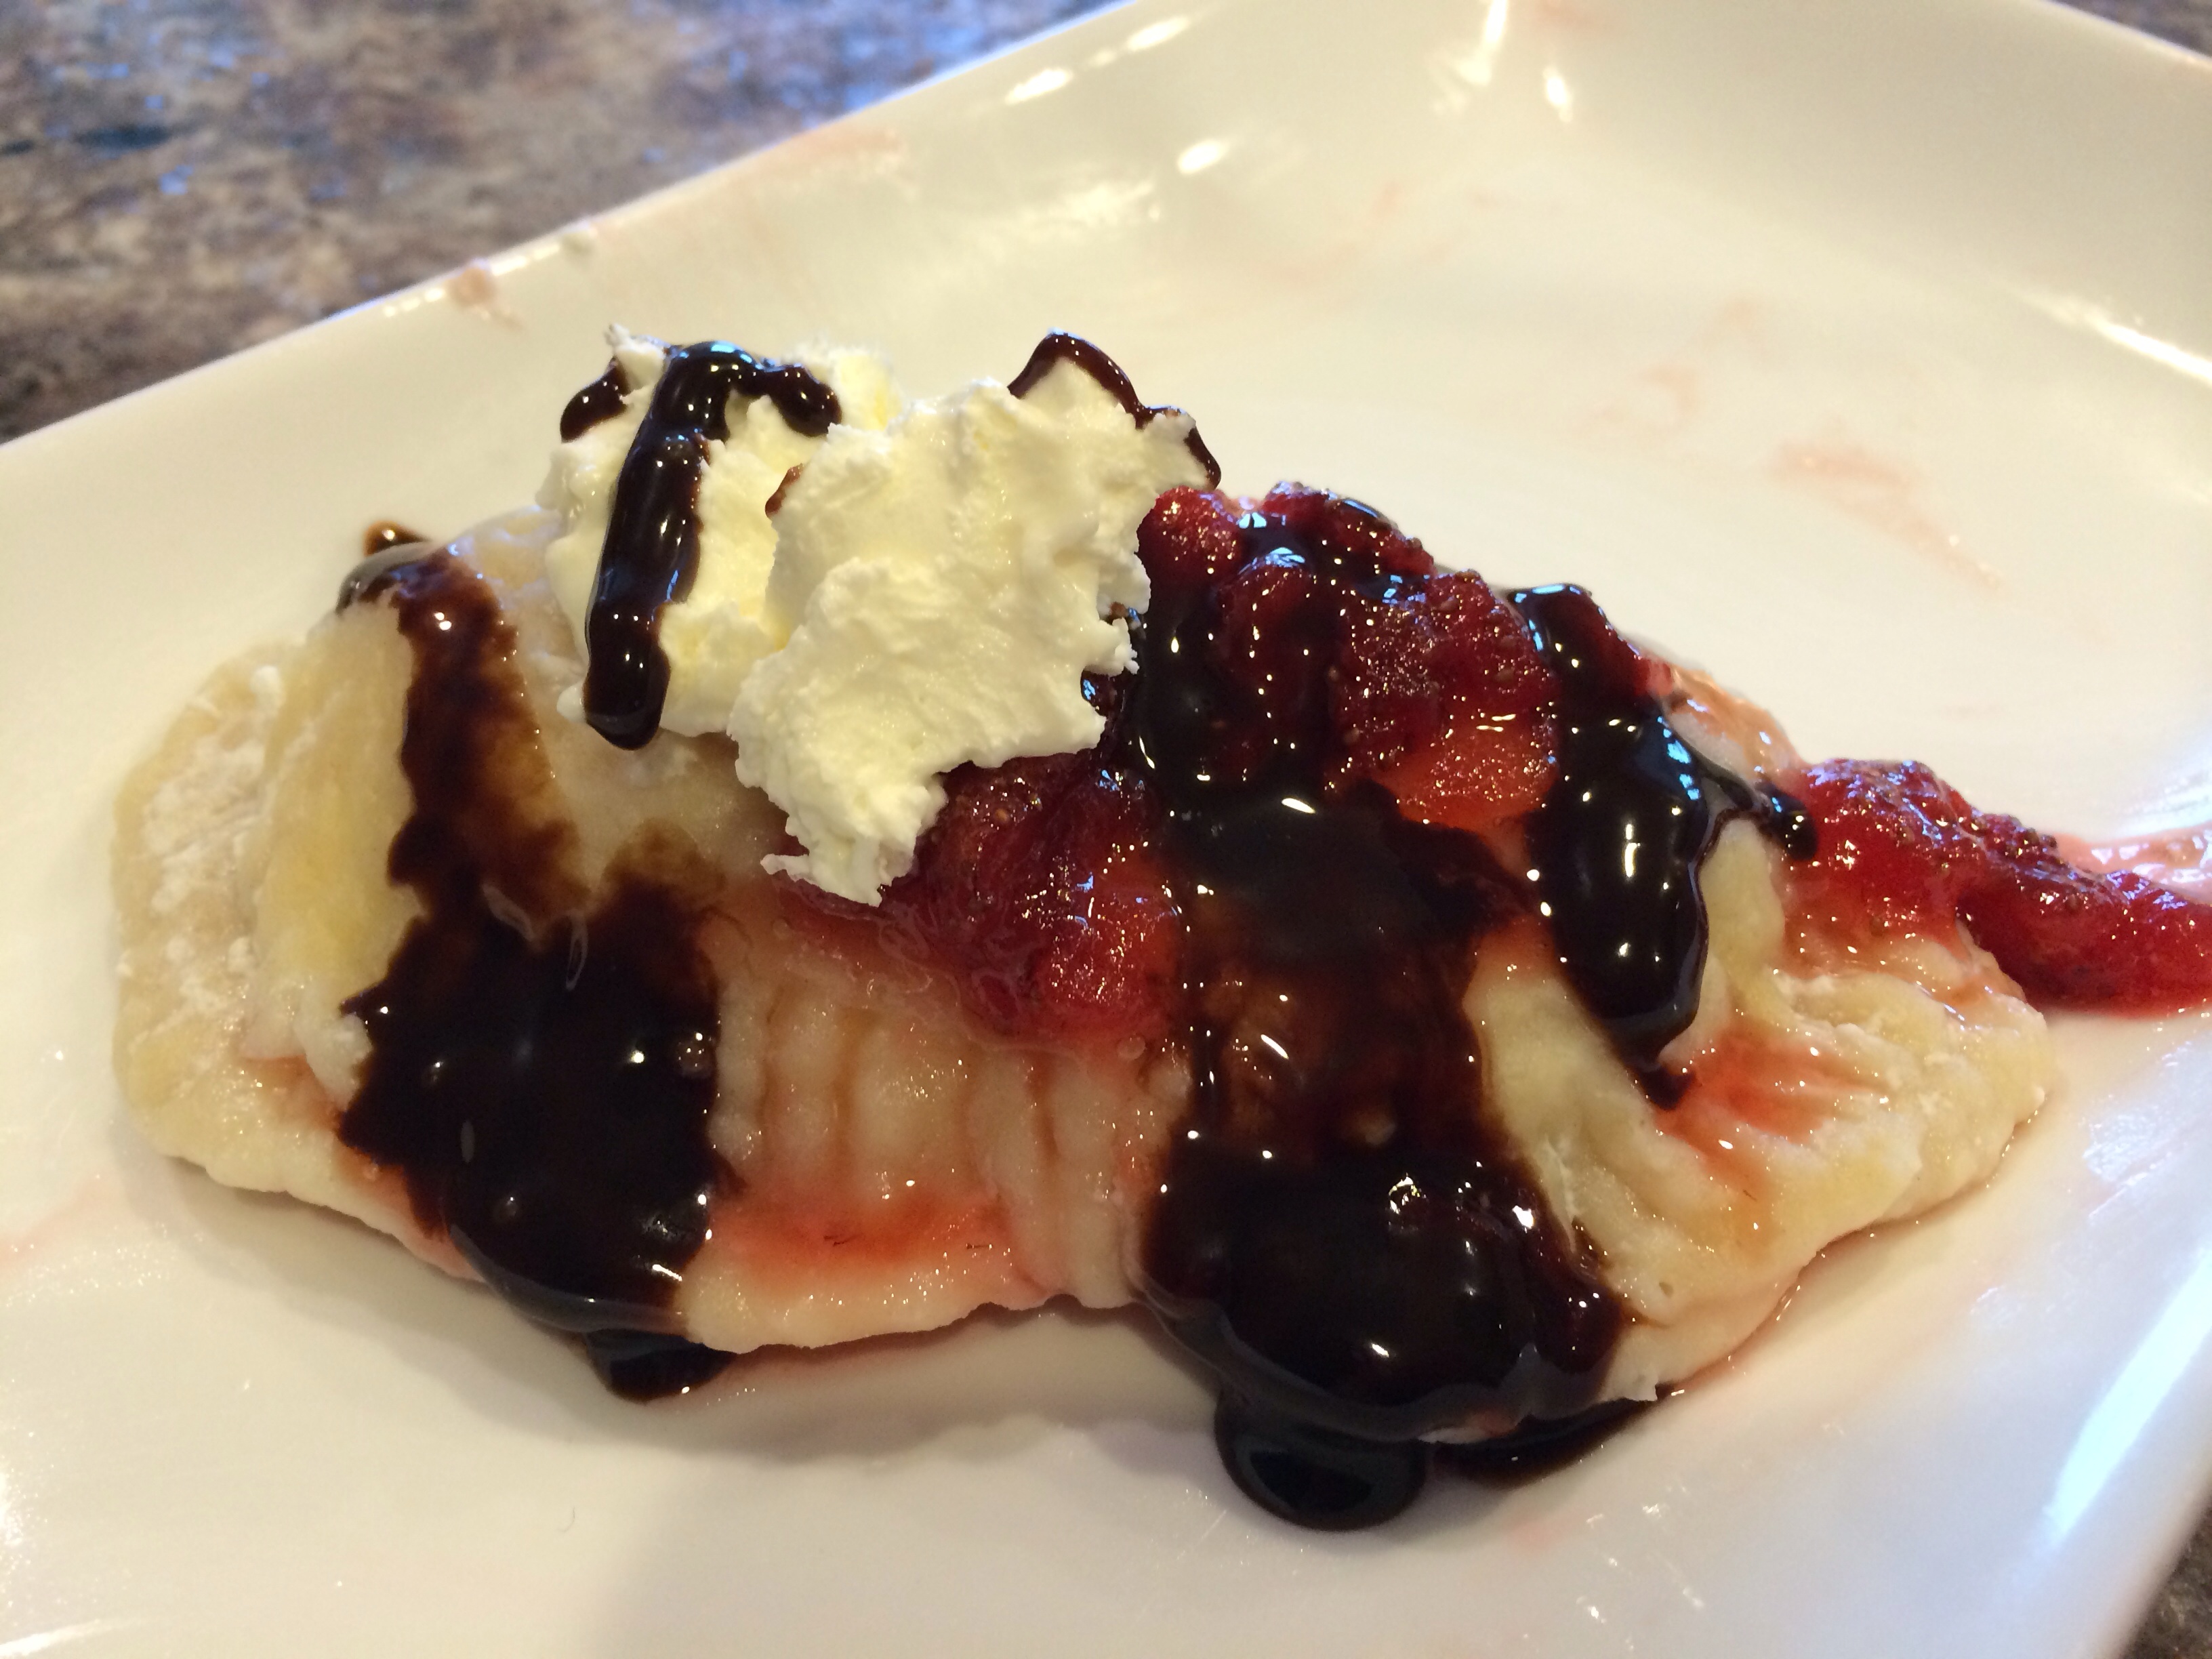
8 minutes and flip them over!
Dunk!

Enjoy!
Ciao!

Halloween Gingerbread Cake Balls: Bite Sized Desserts!

A spinoff of cake pops, cake ball cookies can be dipped in chocolate and truffled or rolled in powdered sugar and donuted. My most recent topping is a light chocolate drizzle and fun Halloween sprinkles! Wilton makes a 6-mix assortment which includes Halloween shapes and colorful sugars!

The perfect bite sized dessert!

Cake balls are made by baking a cake, crumbling the cake in a mixing bowl, adding an icing, rolling the mixture into balls, and decorating for any occasion!

Gingerbread Cake Balls #Halloween
makes 24 balls

Ingredients:

2 cups flour
2 tsp. baking soda
1 tsp. ground ginger
1 tsp. ground cloves
1 tsp. cinnamon
1 tsp. salt
1 stick butter,melted
1 cup sugar
2 eggs
1/3 cup brown sugar
1 cup molasses

Preheat oven to 350 degrees.

Sift flour, baking soda, and salt in a bowl and set aside.

Cream butter and sugar in mixer until light and fluffy.

Beat in the eggs one at a time.

Add the brown sugar, molasses, and spices, mixing on low speed.

Slowly add the dry mixture to the wet mixture, mixing well until smooth.

I always grease my cake pans with a tsp. of crisco and coat with flour. Shake off excess flour.

Pour batter into 9X13 pan.

Bake 25-30 minutes and set and a toothpick comes clean.

Mix the icing while the cake cooks.

Glaze Icing

Ingredients:

2 cups confectioners’ sugar
2 tbsp. melted butter
2 tbsp. Milk
1/2 tsp. vanilla

Directions:

Add all ingredients and mix until the powdered sugar is moistened.

Beat with an electric mixer until smooth.

Glaze Icing is the perfect decorative finish for cutout cookies, coffee cakes, and many more sweet treats!

Mix in icing until cake gets doughy.

Roll into 1-1/2 inch balls. (Add a stick before freezing to make cake pops.)

Freeze the cake balls for 2 hours.
(If you do not freeze them, they will be sticky.)

Add a drizzle or dip in chocolate. Finish decorating with your favorite toppings.

Add a drizzle of white, milk, or dark chocolate! Jimmies, colored sugar, or powdered sugar!

Enjoy!
Ciao!

Cannoli Sandwich Cookies

“Leave the gun. Take the cannoli.” Peter Clemenza says this to Rocco who just killed Paulie in the 1972 movie The Godfather. A tubular pastry shell filled with a chilled ricotta, mascarpone cheese, or custard filling, the cannoli has been a popular Italian dessert originating in Polermo.

These cannoli from Colanglo's bakery in Pittsburgh's Strip District are dipped in chocolate. A typical plain cannoli is filled with ricotta cheese and dipped in crushed pistachios. Cannoli are now made with various flavors and toppings.
These beautiful cannoli are from Colanglo’s Bakery in Pittsburgh’s Strip District are filled and dipped in chocolate shavings. A typical plain cannoli is filled with ricotta and is dipped in crushed pistachios. Cannoli are now made with various flavors and toppings.

A twist on traditional cannoli, the sweet chilled cannoli filling can be used in other dessert favorites.

I found this cannoli cupcake at Little Italy Days in the Bloomfield neighborhood of Pittsburgh.
I found this cannoli cupcake at Little Italy Days in Bloomfield neighborhood of Pittsburgh.
Look at the creamy delicious cannoli filling-  Made by Patti's Pastries in Aliquippa, PA.
Look at the creamy delicious cannoli filling- Made by Patti’s Pastries in Aliquippa, PA.

Here is another version of the cannoli dessert:

Cannoli Sandwich Cookies:
(makes 18 whole sandwiches)

Ingredients: Cookies

2 sticks butter, softened
3/4 cup sugar
2 eggs
1/2 cup brown sugar
1 tbsp. Vanilla extract

2 cups All Purpose flour (or substitute 1 cup oat flour and 1 cup All Purpose flour)
2 tbsp. Baking soda
1-1/2 tbsp. Cocoa powder
1 cup semi-sweet chocolate chips

Ingredients: Cannoli Filling
2 cups ricotta cheese
1/2 cup mascarpone cheese
1/4 cup sugar
1 tbsp. Vanilla
2 cups chocolate chips

Directions:

Preheat oven to 350 degrees.

Mix dry ingredients except chocolate chips and set aside.

Using a mixer, cream butter and sugar.

Add eggs and vanilla.

The wet ingredients will create a fluffy mixture when creamed.

Slowly add dry ingredients mixing on low speed.

Fold in chocolate chips using a spatula.

Cookie dough
Cookie dough

On parchment paper lined cookie sheets drop 1 tbsp. Dough and space 2 inches apart.

Bake for 10 minutes or until cookies are set and darken a bit.

Let the cookies cool for a few  minutes before moving them to the cooling rack.
Let the cookies cool for a few minutes before moving them to the cooling rack.

Let the cookies cool on a cooling rack.

Mix all ingredients except chocolate chips for the cannoli filling.

Feel free to use just ricotta cheese, sugar, and vanilla. The mascarpone gives the filling a heavier texture.
Feel free to use just ricotta cheese, sugar, and vanilla.
The mascarpone gives the filling a heavier texture.

Spoon onto one cookie and top with another to create a sandwich .

These cannoli sandwich cookies are a delicious alternative to cannoli rolls. Something different!

Roll cookies on plate of chocolate chips to coat.


Serve chilled. Enjoy!

Ciao!

The Summer Of S’mores!

We have been obsessed with s’mores this summer. We don’t camp, yet (gulp) and we don’t have a fire pit at home, so I have tried to incorporate the summer favorite without the traditional sticks and campfire.

It all started with s’mores pudding shots for a party…
Via MyBakingAddiction.
Recipe:
s’mores pudding shots

Delicious!! My guests loved these little cups of heaven!
The chef must taste before serving!

S’mores Pudding Shot Cups
Use margarita glasses or plastic dessert cups to recreate the pudding shots.
Grate chocolate on top for elegance.
Layer the ingredients for a mini trifle look.

The kids wanted real s’mores. So, we made the best s’mores…in the toaster oven!!

The broil setting on the toaster oven roasted  the marshmallows perfectly!
The broil setting on the toaster oven roasted the marshmallows perfectly!
Add a top graham cracker and you have a gooey delicious s'more to enjoy!
Add a top graham cracker and you have a gooey delicious s’more to enjoy!

Then we tried s’mores for breakfast! S’mores Oatmeal!
Here is the blog post and my recipe:

S’Mores Oatmeal For A Healthy Breakfast?? Use Oatmeal And Chia Seeds To Curb The 11AM Binge!

Healthy and chocolate!

For a Fourth of July party, I was asked to bring a dessert! So I made a S’mores Trifle using the pudding shot recipe. Yes, it contained alcohol. It was a party!

Look how beautiful! Super easy, too!
Look how beautiful! Super easy, too! This dessert looked great on the dessert table!
The recipe definitely needed to be altered! One layer of crushed graham crackers , one layer of pudding, one layer of marshmallow cream, shaved chocolate, and repeat. I used 2 jars of marshmallow cream!

There is still time left this summer for s’mores! Do you have a favorite recipe? Please, share!

Ciao!

Death By Chocolate Peanut Butter Lava Cake!! Our 7 Year Anniversary Treat!

Chop peanut butter cups into small bits.
Cake with gooey chocolate peanut butter marshmallow bites. Yummy!

Our 7 year anniversary happened to be on a Monday this year …bummer!! I wore my wedding dress first thing in the morning and had a tea party with “wedding doll” my Bella.

Bella was so excited! What a fun morning !

I wear my wedding dress every anniversary! #1 to feel like a princess AGAIN and #2 to make sure it fits! Ha! I don’t see the point in preserving the dress in a box!

I love to get my wedding dress out and walk around the house!
Monday, I drank coffee and even threw a load of laundry in the washing machine!

Kevin had an evening work meeting, so instead of a special dinner, I created a special dessert we could enjoy at home!

Wow! Amazing!
Wow! Amazing!

Death By Chocolate Peanut Butter Lava Cake

Ingredients:Cake

1 box Betty Crocker dark chocolate cake
3 eggs
1/3 cup oil
1 cup water
1/4 cup chia seeds

Don't forget the chia seeds!! Tasteless and packed with vitamins and antioxidants, they are the key ingredient for an unhealthy dessert splurge! That's how I justify it!
Don’t forget the chia seeds!! Tasteless and packed with vitamins and antioxidants, they are the key ingredient for an unhealthy dessert splurge! That’s how I justify it!

Ingredients: Lava Filling/icing

1 cup chocolate chips
1 cup peanut butter
1/2 cup mini marshmallows
2 tbsp. coconut milk
1 sleeve king Reese’s peanut butter cups

Chop peanut butter cups into small bits.

Directions:

Preheat oven 350 degrees.

Grease and flour cake pan.

Blend cake as directed by box.

Bake cake for 25-30mins. or until toothpick test is clean.

A toothpick In the cake should come our  clean of batter. 5 more minutes!
A toothpick In the cake should come
our clean of batter. 5 more minutes!

Meanwhile, melt lava ingredients in a small saucepan on low heat, stirring continuously until melted evenly.

Keep a low flame and stir! You don't want it to cook just melt.
Keep a low flame and stir! You don’t want it to
cook just melt.

Take the handle of a wooden spoon and make holes 1-1/2inch deep and 2 inches apart in cake.

Use a wooden spoon handle. Press into cake and fill with lava filling .

Pour lava mixture in holes until full.

I used a teaspoon! I wanted to really fill the holes. You could just spread mixture like icing on top of holes, too!

Spread leftover lava mixture for icing.

Top with chopped peanut butter cups.


Flavor burst ! Wow!
Flavor burst ! Wow!

 
Serve warm!

Enjoy!
Ciao!

Gluten Free Super Chocolate Chip Cookies! A Healthy Snack!

Can't get enough!

I am always looking for healthy, delicious, easy snacks for my family! Lots of chia seeds, kale, Greek yogurt, sweet potatoes…Anything that is really healthy and tastes great! We are not into the hold-your-nose-and-drink bitter green juices!!

Throw in the chia when baking anything!! Chia seeds are tasteless and have enormous health benefits!

Here is a great healthy snack recipe! Definitely not a chewy gooey, rich chocolate chip cookie recipe. Kid and mommy approved! Packed with chia seeds, fiber and a bonus, they are gluten free!


Just can't get enough!
Just can’t get enough!


Super Chocolate Chip Snack Cookies

Recipe makes 24

Ingredients:

1-1/2 cups oat flour
1/2 tsp. baking powder
1/2 tsp. baking soda
1/2 cup sugar
1/3 cup chocolate chips
2 tbsp. chia seeds
1/4 cup Greek yogurt
1/2 cup Almond milk

Directions:

Preheat oven to 375 degrees.

Mix all dry ingredients, except chocolate chips, in a mixing bowl.

Add Greek yogurt and mix well.

Add Almond milk little by little and mix thoroughly with each addition until a dough forms.

Make sure the dough is forming but not too sticky or wet! If so, easy fix! Add some more flour a little bit at a time until it gets stiff.
Make sure the dough is forming, but that it is not too sticky or wet! If so, it can easily be fixed! Add some more flour, a little bit at a time, until the dough loses its shine.

Stir in chocolate chips.

Scoop tablespoon-sized scoops onto a parchment paper lined cookie sheet.

Space them about 1 inch apart!
Space them about 1-2inches apart!

Bake for 12 mins.turning cookie sheet at 6 mins. for even baking.

Bake until golden! Approx. 12 mins!

Enjoy!
Ciao!

Simply Super Sugar Cookies!! Sugary Bonus, Sweet Tips And Tricks!!

Ready to pull your hair out when you need to make cutout sugar cookies?? Take a deep breath, I have a never fail recipe and some great tips to ensure cookie success every time!! No tears! And they are delicious!!!

Ever eat a beautifully decorated cookie that tastes like cardboard?? Yup! Make sure your cookies taste amazing!

I am no cookie connoisseur, but I have learned a few tricks along the way that I wish someone would have told me!!!

#1 Always place cutouts on parchment paper lined cookie sheets!
This eliminates scraping cookies off of the sheet, breakage and bottom burning!

#2 Always set a cold cookie sheet on dough while you are working!
If the dough gets warm, it get sticky and sticks to the rolling pin and work surface. Not to mention, the cookies will not rise when baked!

#3 Always switch to the dough hook after creaming butter and sugar. The dough can bend or break your beater arm! It gets way to heavy!

#4 Always let the cookies cool before trying to use icing or decorate!
If the cookies are not completely cool the icing will run and waste your hard work! They will taste good, but look a mess!

Simply Super Sugar Cookies
Makes 3 dozen 2-1/2 inch cookies

Ingredients:

3 cups flour
3/4 tsp. baking powder
1/4 tsp. salt
1 cup unsalted butter
1 cup sugar
1 egg, beaten
1 tbsp. milk

1 cup powdered sugar for work area

Directions:

Preheat oven 350
Cream butter and sugar and beat until light and fluffy.
Add egg and milk, beat.
Sift together flour, baking powder and salt .
Mix on low dry mixture into bowl a little at a time.
Beat until it pulls away from bowl.

Refrigerate dough in 2 balls wrapped in waxed paper for 3-4 hours.
Brush rolling pin and work area with powdered sugar.

When making sugar cookies try using powdered sugar instead of flour for your rolling pin and work area!!

Roll out 6 inch ball into an oval 1/4 inch thick.
Cut with cookie cutters.
Place cutouts 1″ apart on parchment covered cookie sheets.
Bake 10-12 minutes or until edges are golden!

The difference between a slight golden finish on the left and a crispy overcooked version was. 50 seconds! Watch them closely for the last minutes!!
The difference between a slight golden finish on the left and a crispy overcooked version on the right was 50 seconds! Watch them closely for the last minutes!!

Let them cool 5 minutes on pan and transfer to cooling rack.

Theme cutouts are my favorite! Birthday parties, showers, weddings, celebrations! These are for the church fish fry! Crosses, tulips and daisies!!
Theme cutouts are my favorite! Birthday parties, showers, weddings, celebrations! These are for our church’s Friday fish fry! Crosses, tulips and daisies!!

Decorating is a whole different post for sure! It can be a meticulous process! Making delicious cookies, is definitely the first priority. Use an easy cookie glaze or buy the squeeze bottle Wilton icing as a start!

Ciao!

Super Sweet Sunday! Dessert Ricotta Ravioli With Strawberry Sauce!

A great dessert is an essential, and the best part, of Sunday dinners. You know, everyone falls asleep on the couch with full bellies of spaghetti and meatballs and wake up to round 2!! Ding, ding, ding! If you are my brothers, it means another round of spaghetti and meatballs. But, for everyone else, it is coffee and a decadent dessert! I made this one today!

Amazing! Sweet ricotta filling!!

Dessert Ravioli With Ricotta Filling in a Strawberry Sauce

Ingredients:

Filling:
3 cups ricotta cheese
2 tsp. lemon juice
2 eggs beaten
1/4 cup sugar
1 tsp.vanilla extract

Strawberry Sauce:
4 cups fresh strawberries diced
1/2 cup rum
1/2 cup sugar

Dough:
31/2 cups all-purpose flour
3 large eggs
3/4 cup water

Directions:
Start with the filling:
Stir together the ingredients in a mixing bowl and refrigerate

The Strawberry Sauce:
Combine strawberries, rum and sugar in a saucepan on medium heat. Let cook 15- 20 minutes. It will bubble and simmer. Shut of heat and let it sit until ready!

Strawberries will cook down! Have kids? The rum cooks off! No worries!

The dough:
In a mixing bowl combine the flour, eggs, and 3/4 cup of water. Gradually add the water until the mixture is forming a solid ball.


Using a KitchenAid mixer? Switch to the dough hook before adding flour!

Powdered sugar rolling surface. Make 2 inch round balls and roll them in powdered sugar. With a rolling pin, roll out ball into a circle. Spoon filling onto circle. Close the ravioli by folding circle in half. Pressing dough edges together and securing with a fork press! Make sure they are closed all the way around!

Be careful not to overfill! It will ooze out and will open while cooking !
Be careful not to overfill! It will ooze out and will open while cooking ! Press firmly around the edges. The dough will adhere together securing the filling inside! Press firmly around the edges. The dough will adhere together securing the filling inside!  Yes, I’m totally old school. A simple fork gets it done…every time!

Drop no more than 4 ravioli at a time into a pot of boiling water. After they float back to the surface, allow them to cook another 4 minutes. Remove very gently with a slotted spoon and place on a cooling rack to drain and cool.

Ravioli 101! When they float they are nearly done! Give it another minute!

Serve the ravioli with a spoon of strawberry sauce, a drizzle of chocolate, a scoop of ice cream and don’t forget a dollop of whipped cream!!!

Get creative!! My mind is racing- mascarpone cheese, Caramel sauce…Enjoy!

Ciao!