Many of you are asking me for gluten free recipes and substitutions. Chickpea Flour is my newest gluten free favorite! With an earthy, sweet taste, this gluten free flour creates delicious pizza dough, muffins, cakes and sweet potato falafel balls!
Bob’s Red Mill is the easiest to find! Pennsylvania Macaroni sells chickpea flour in one pound plastic bags.
Chickpea flour gets sticky. Be sure to wet hands before trying to mold it and grease your baking vessels well before baking. It will stick!
Supercharged Sweet Potato Balls
Ingredients:
3 sweet potatoes, peeled (see directions)
1/2 cup kale, finely chopped
1 clove garlic, finely chopped
3/4 cup chickpea flour
1 tbsp. Cumin
1 tbsp. Brown sugar
Salt/pepper
1 tbsp. Chia seeds
1 tbsp. Sesame seeds
Directions:
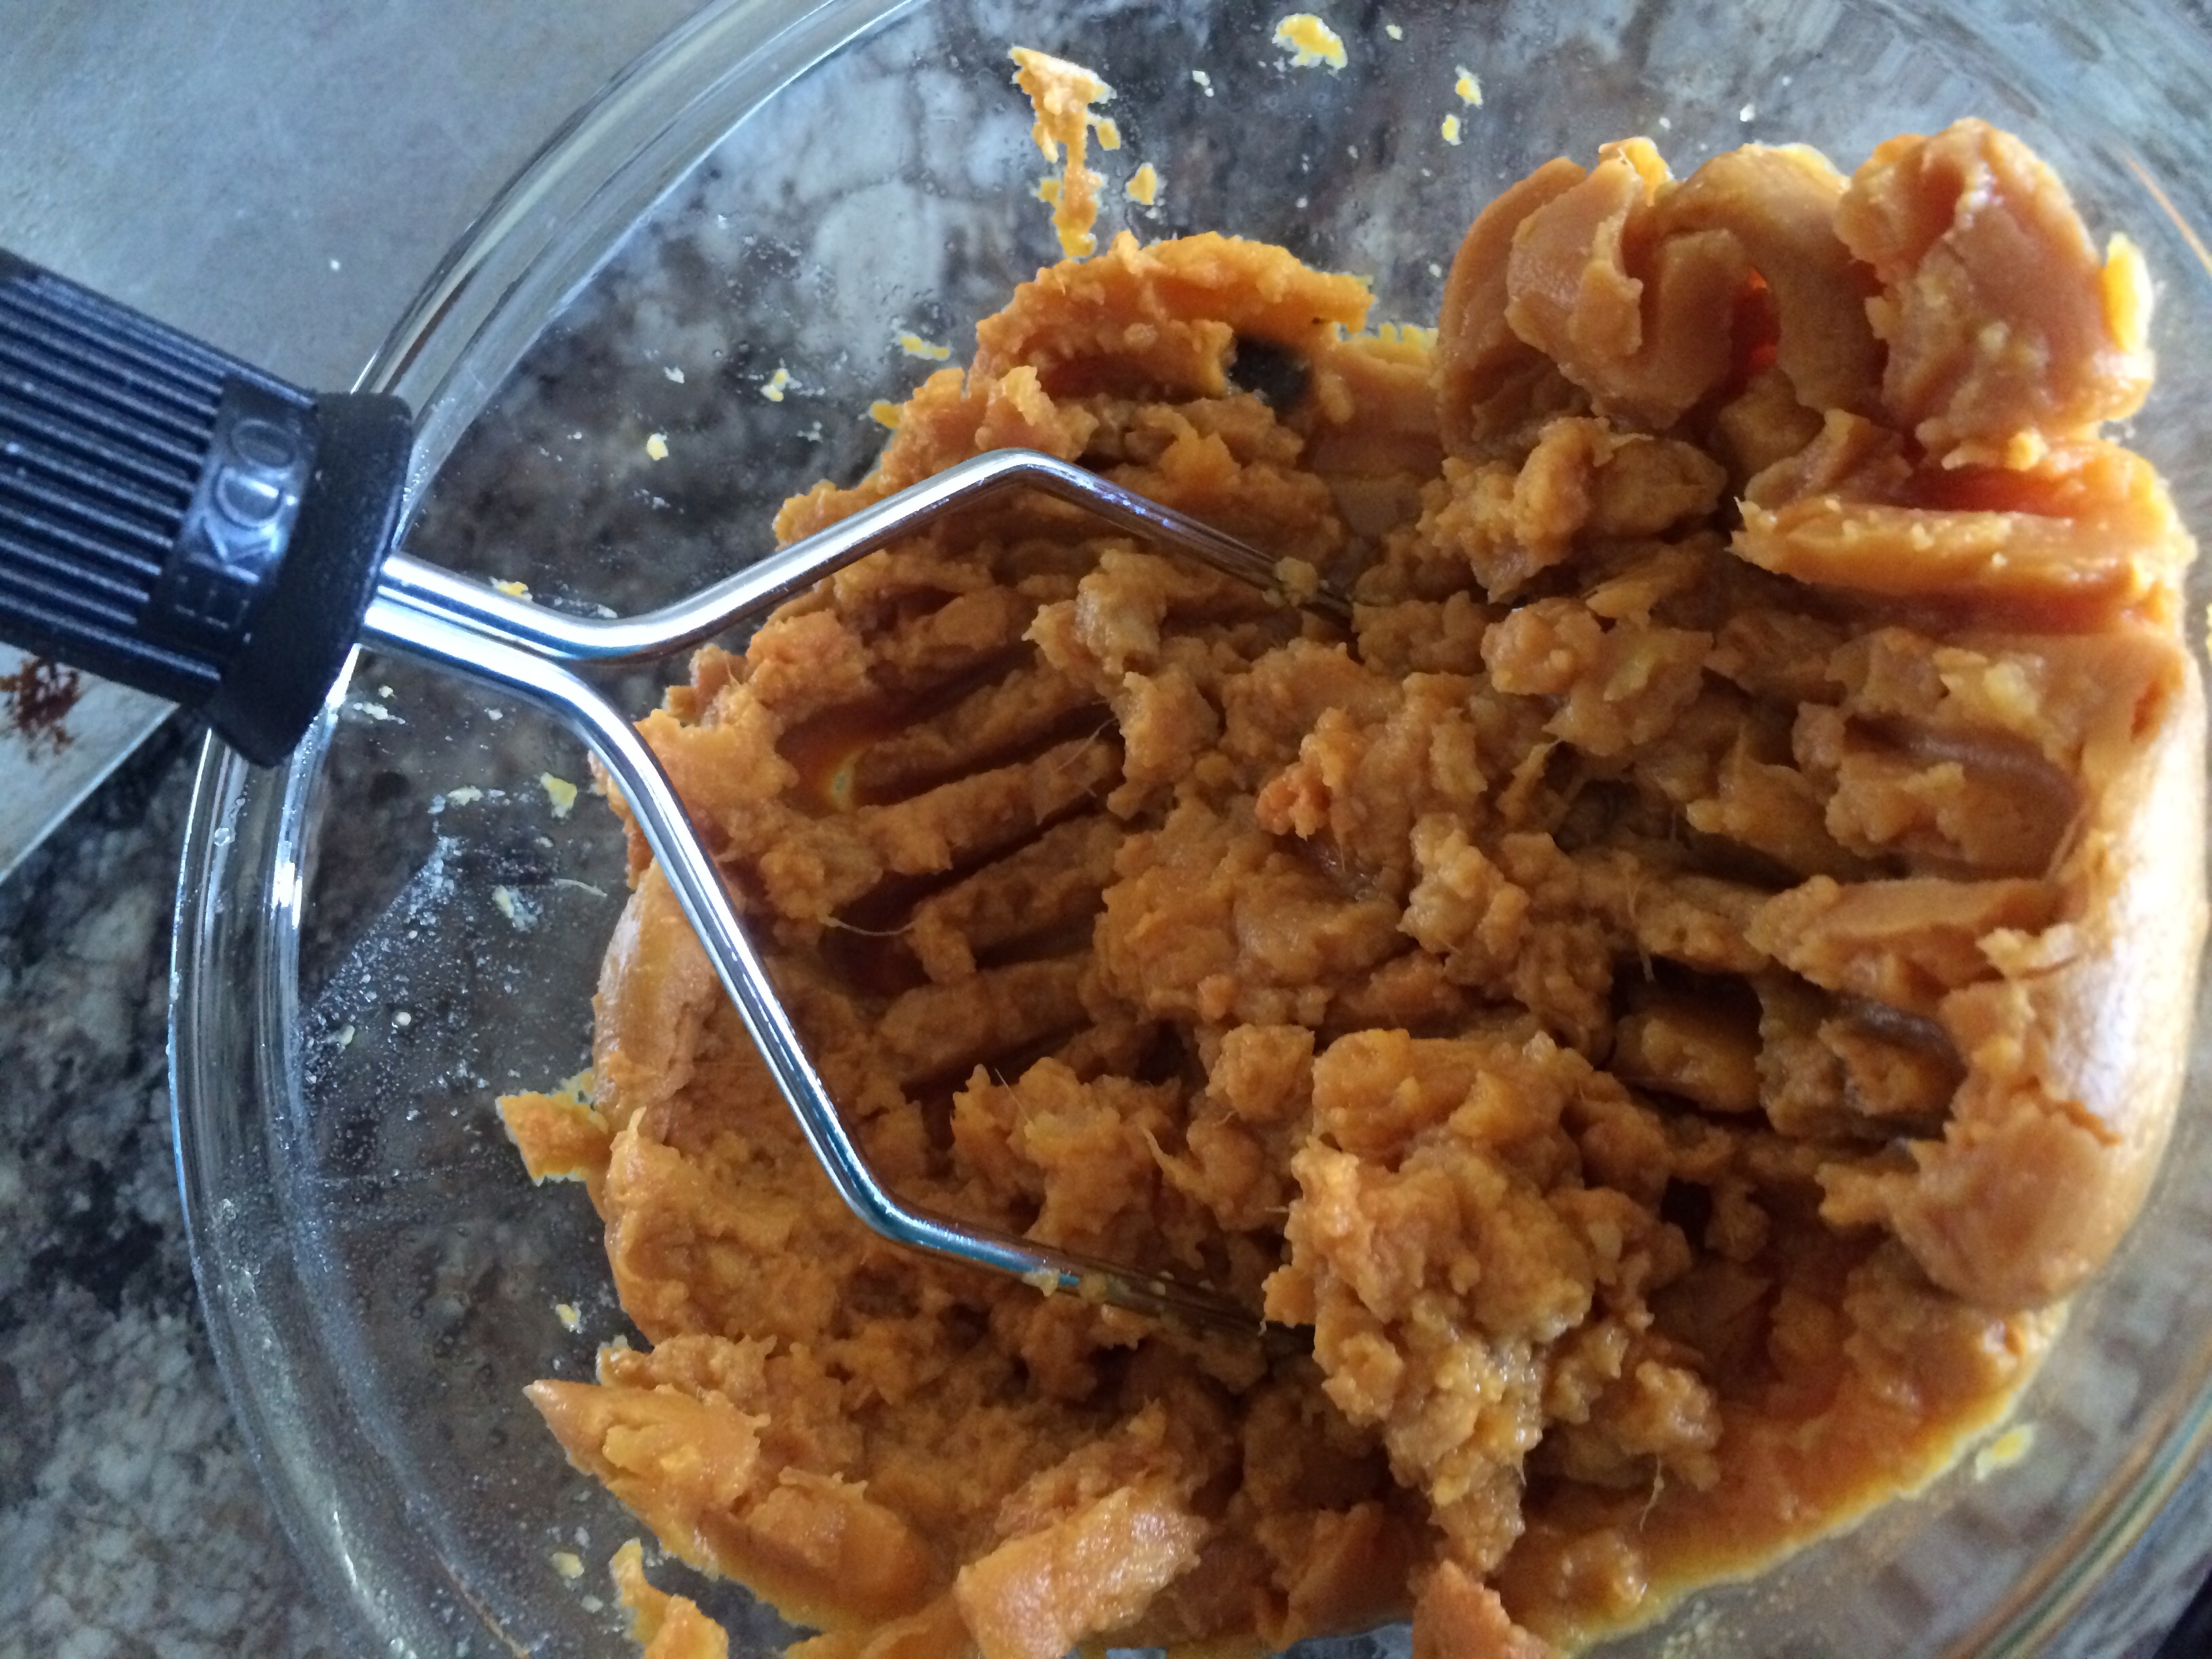
(Long method, shorter method, shortest method.) Bake peeled sweet potatoes for 1 hour at 400 degrees and mash or microwave peeled potatoes 10-12 minutes and mash or mash drained potatoes from the can.
Use a potato masher or a fork!
Preheat oven to 400 degrees.
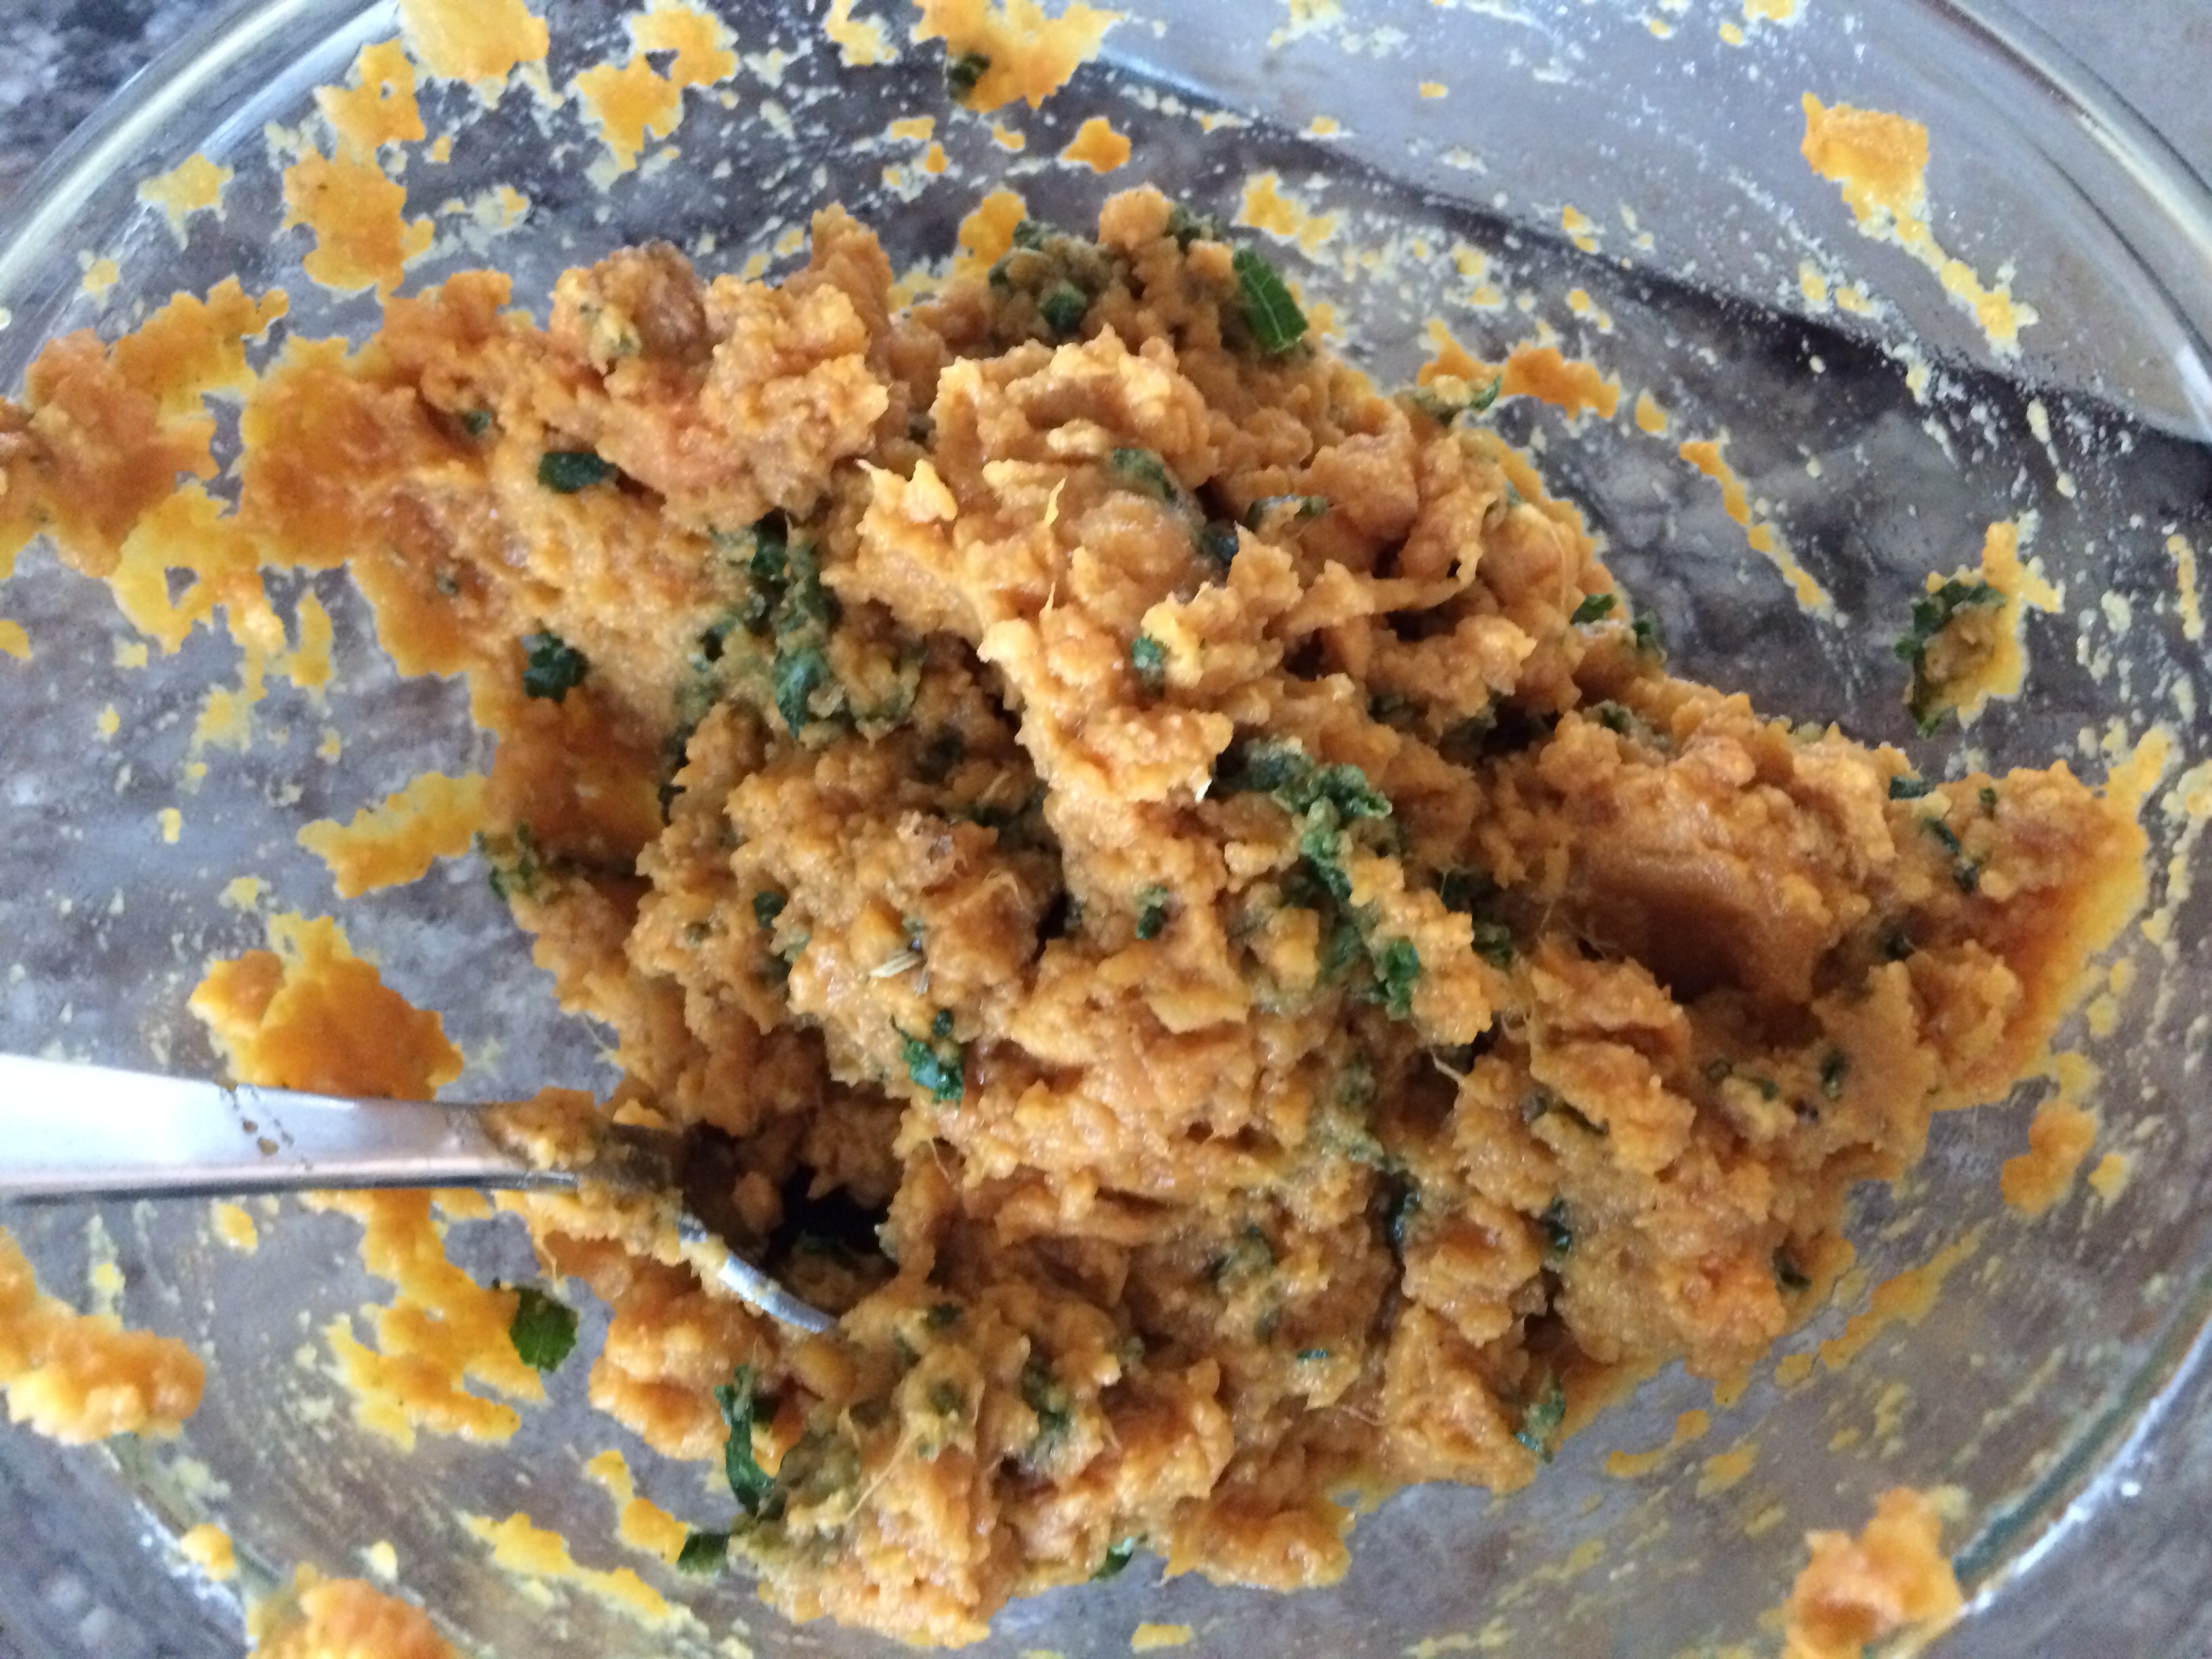
Mix in kale, flour, garlic, cumin, salt and pepper.
Mix well! Chickpea flour will stick to some ingredients and not others!
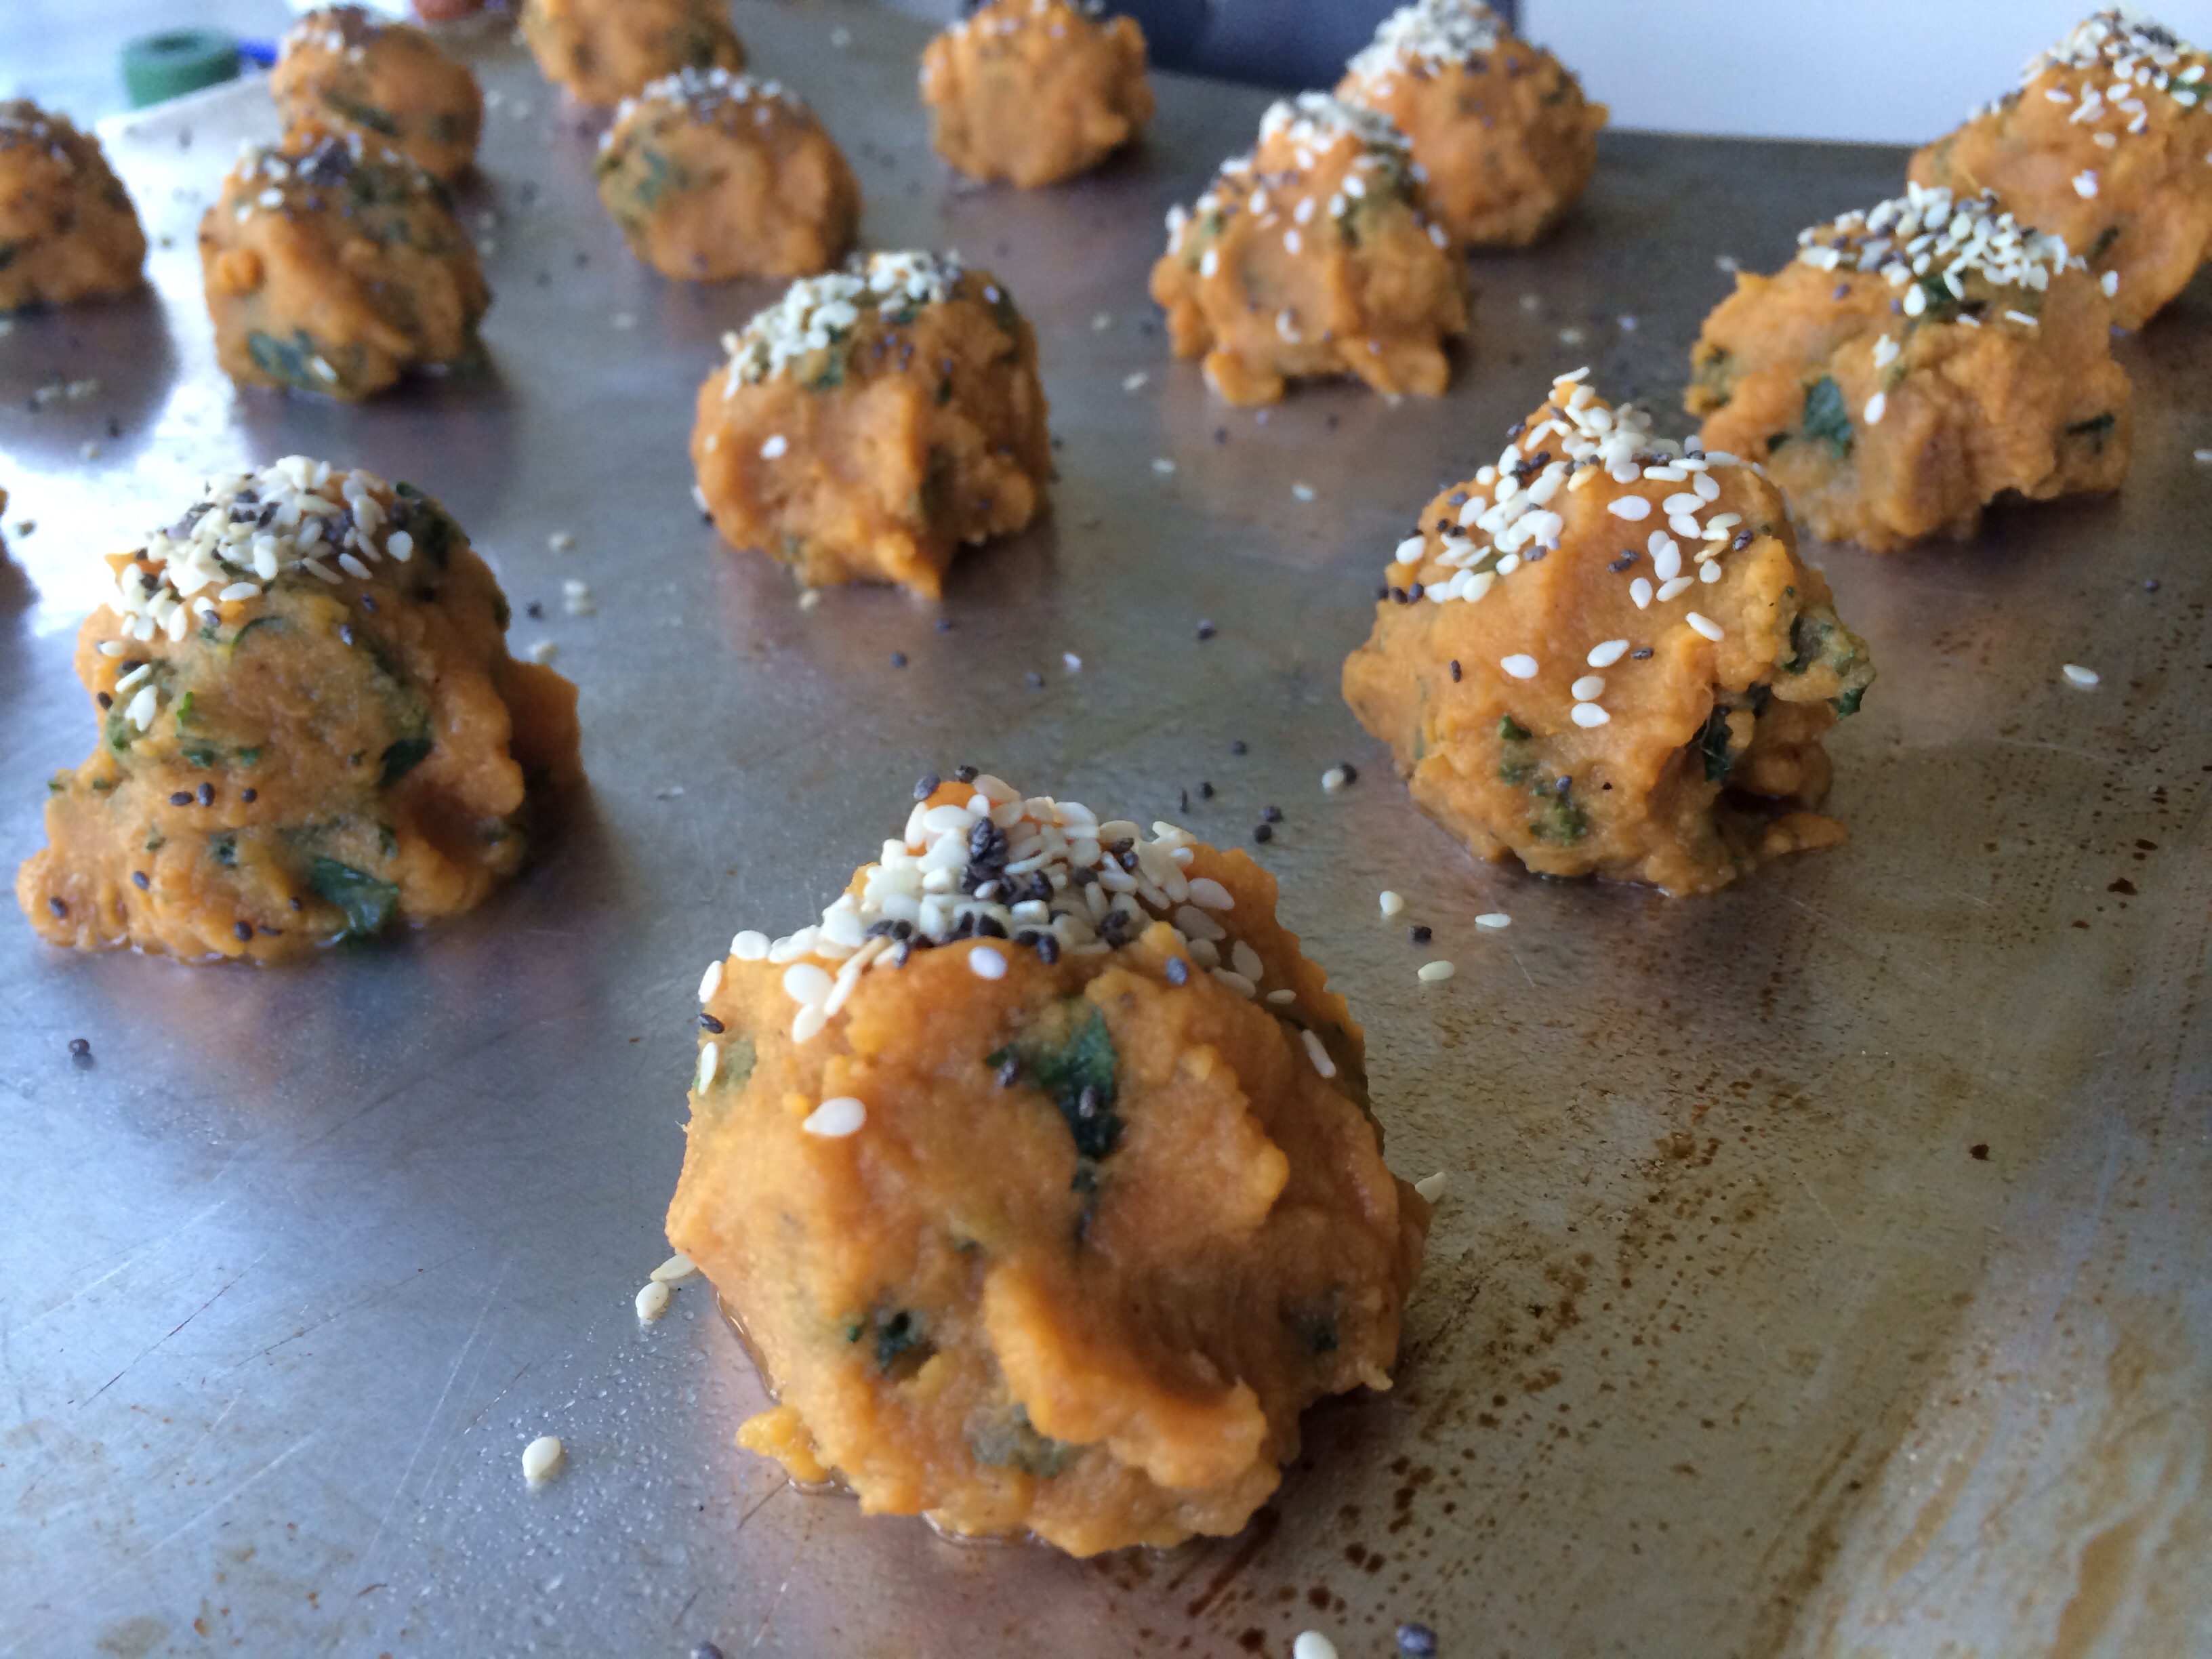
Wet hands and roll mixture into 1 inch balls.
Place the balls approx. 1 inch apart on a greased baking sheet.
Sprinkle on chia seeds and sesame seeds.
Spray baking sheet with Pam.
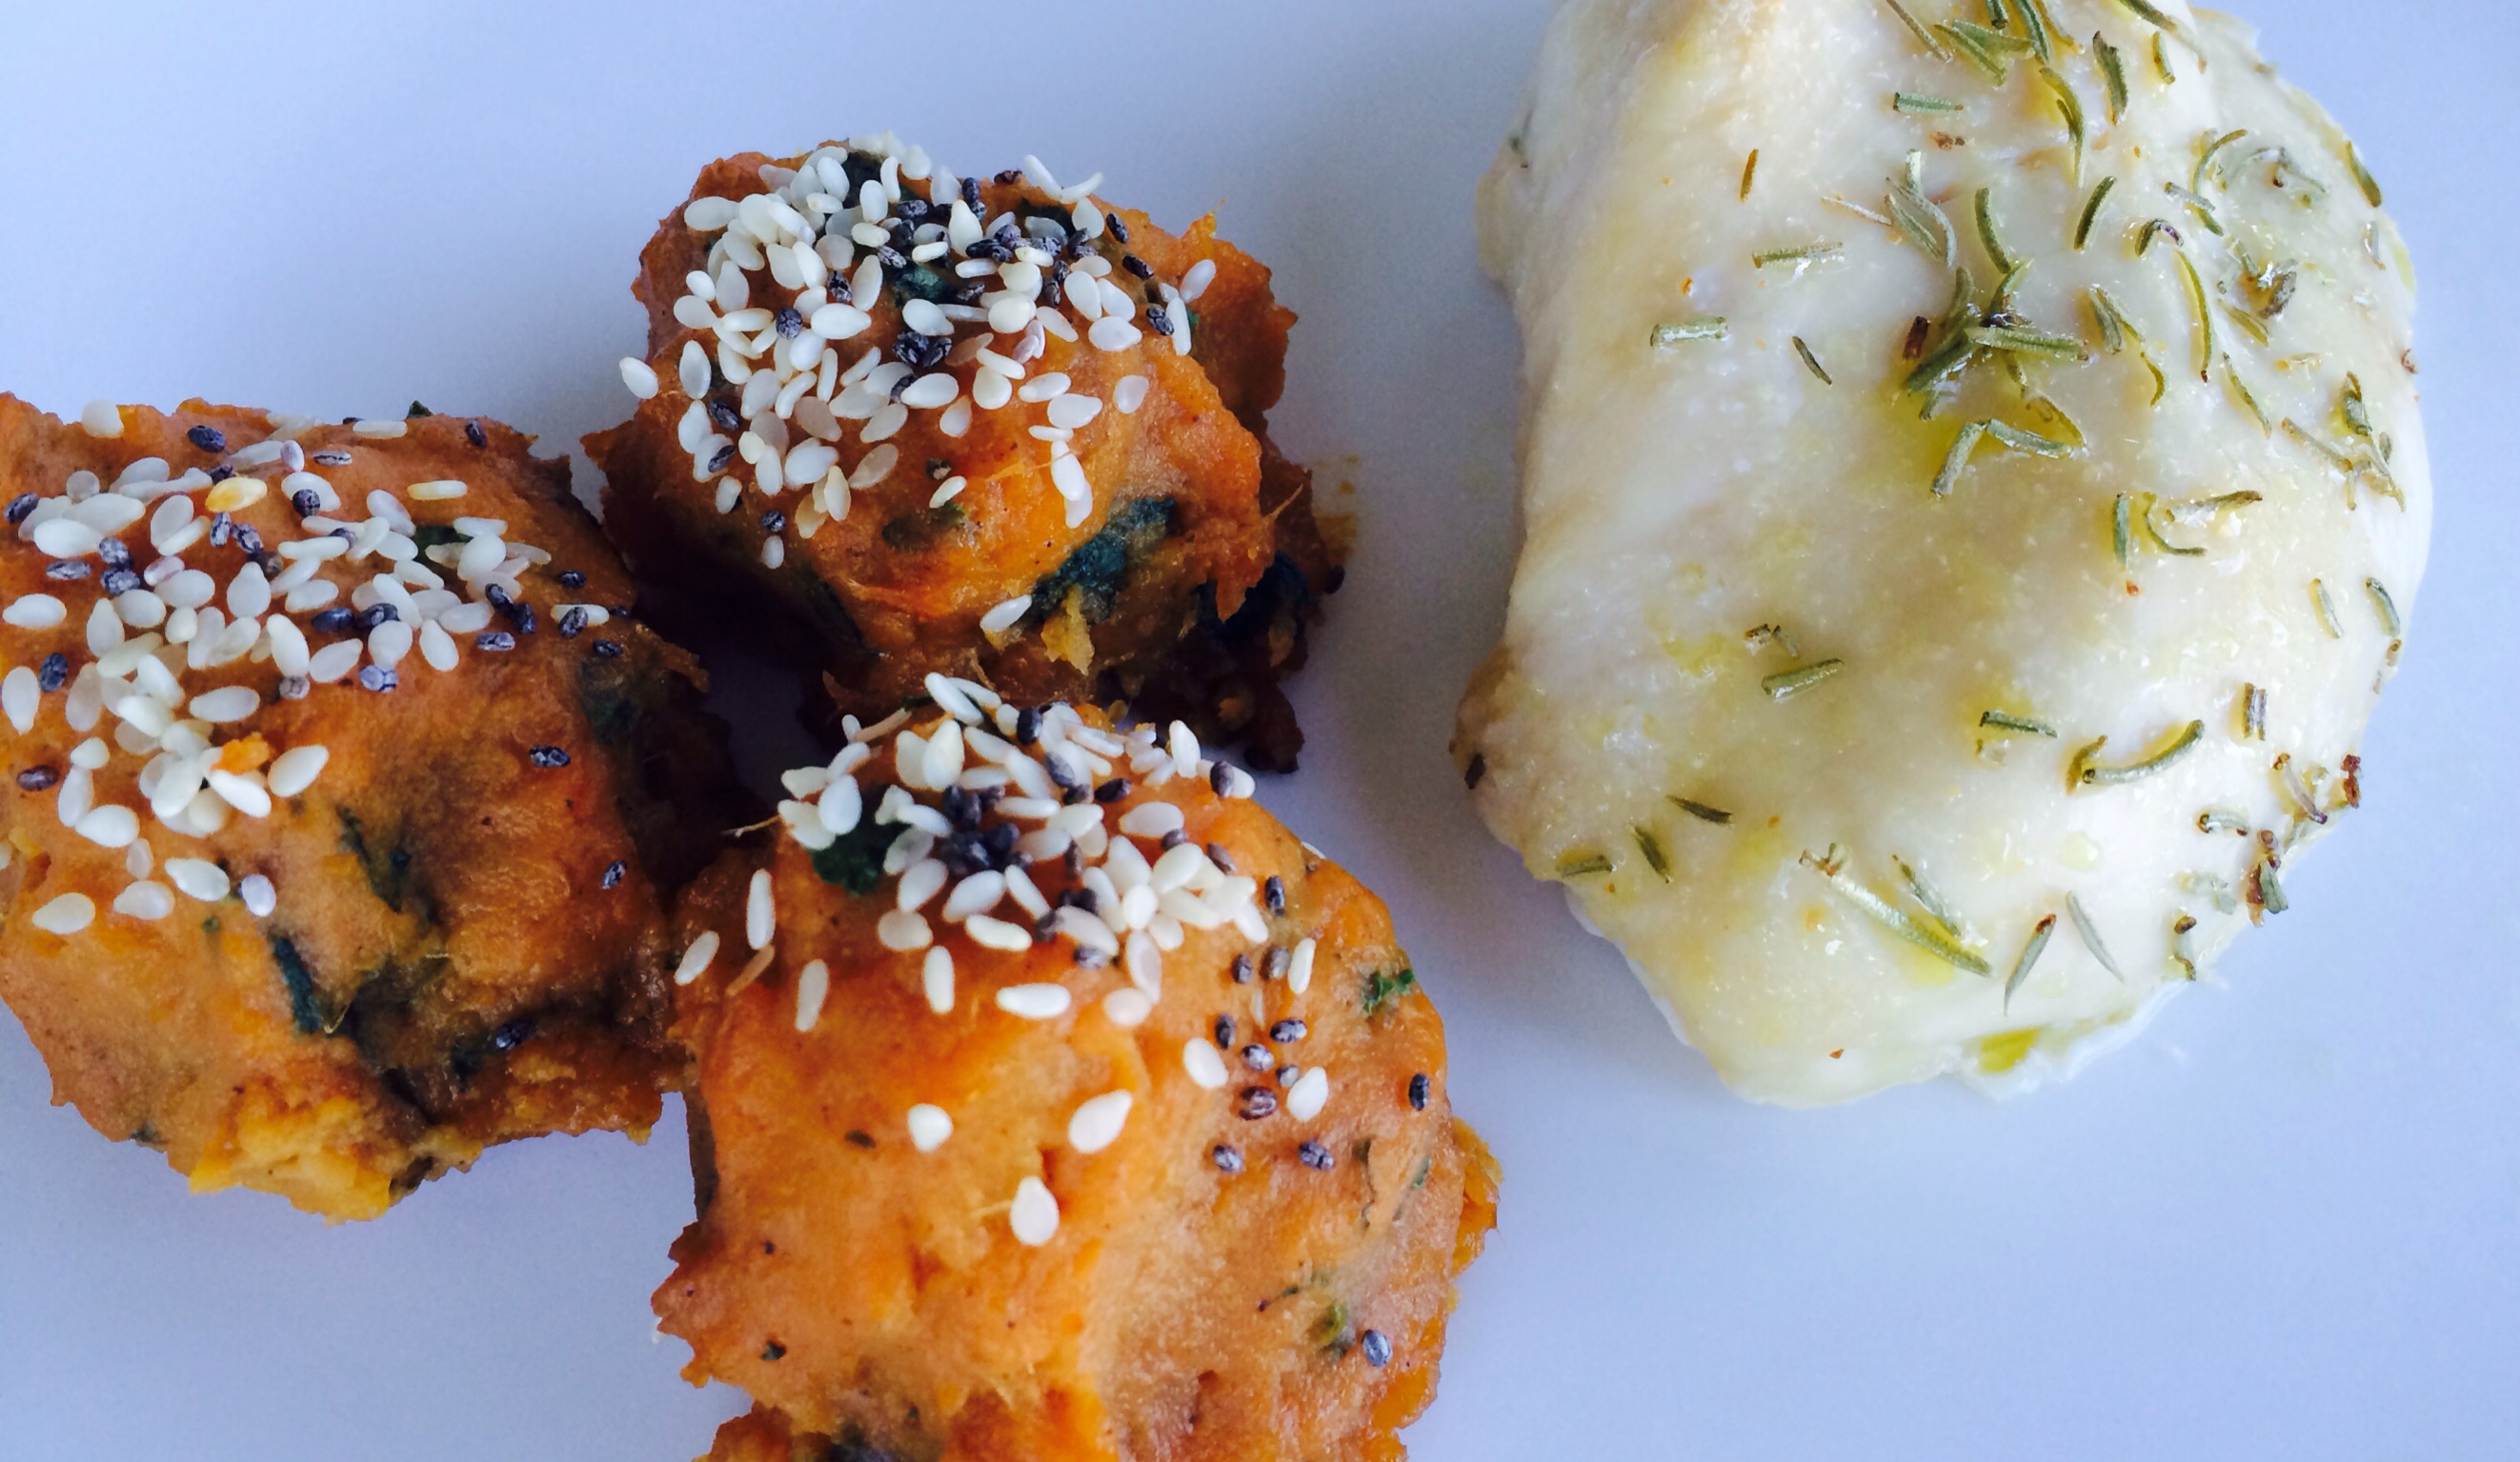
Bake for 12-15 minutes at 450 degrees or until the sweet potato firms.
Serve with your favorites as a side dish, or alone as a snack!
Photo by Amy Wilson Photography http://amywilsonphotography.com
Back to school for a mom of a preschooler and a half-day kindergartener means pick ups and drop offs all day long. Other than 4pm-5pm, there is little time to prep and cook dinner! Oh yeah, and on Mondays with baseball at 4:30 and dance at 5, there is absolutely no time!
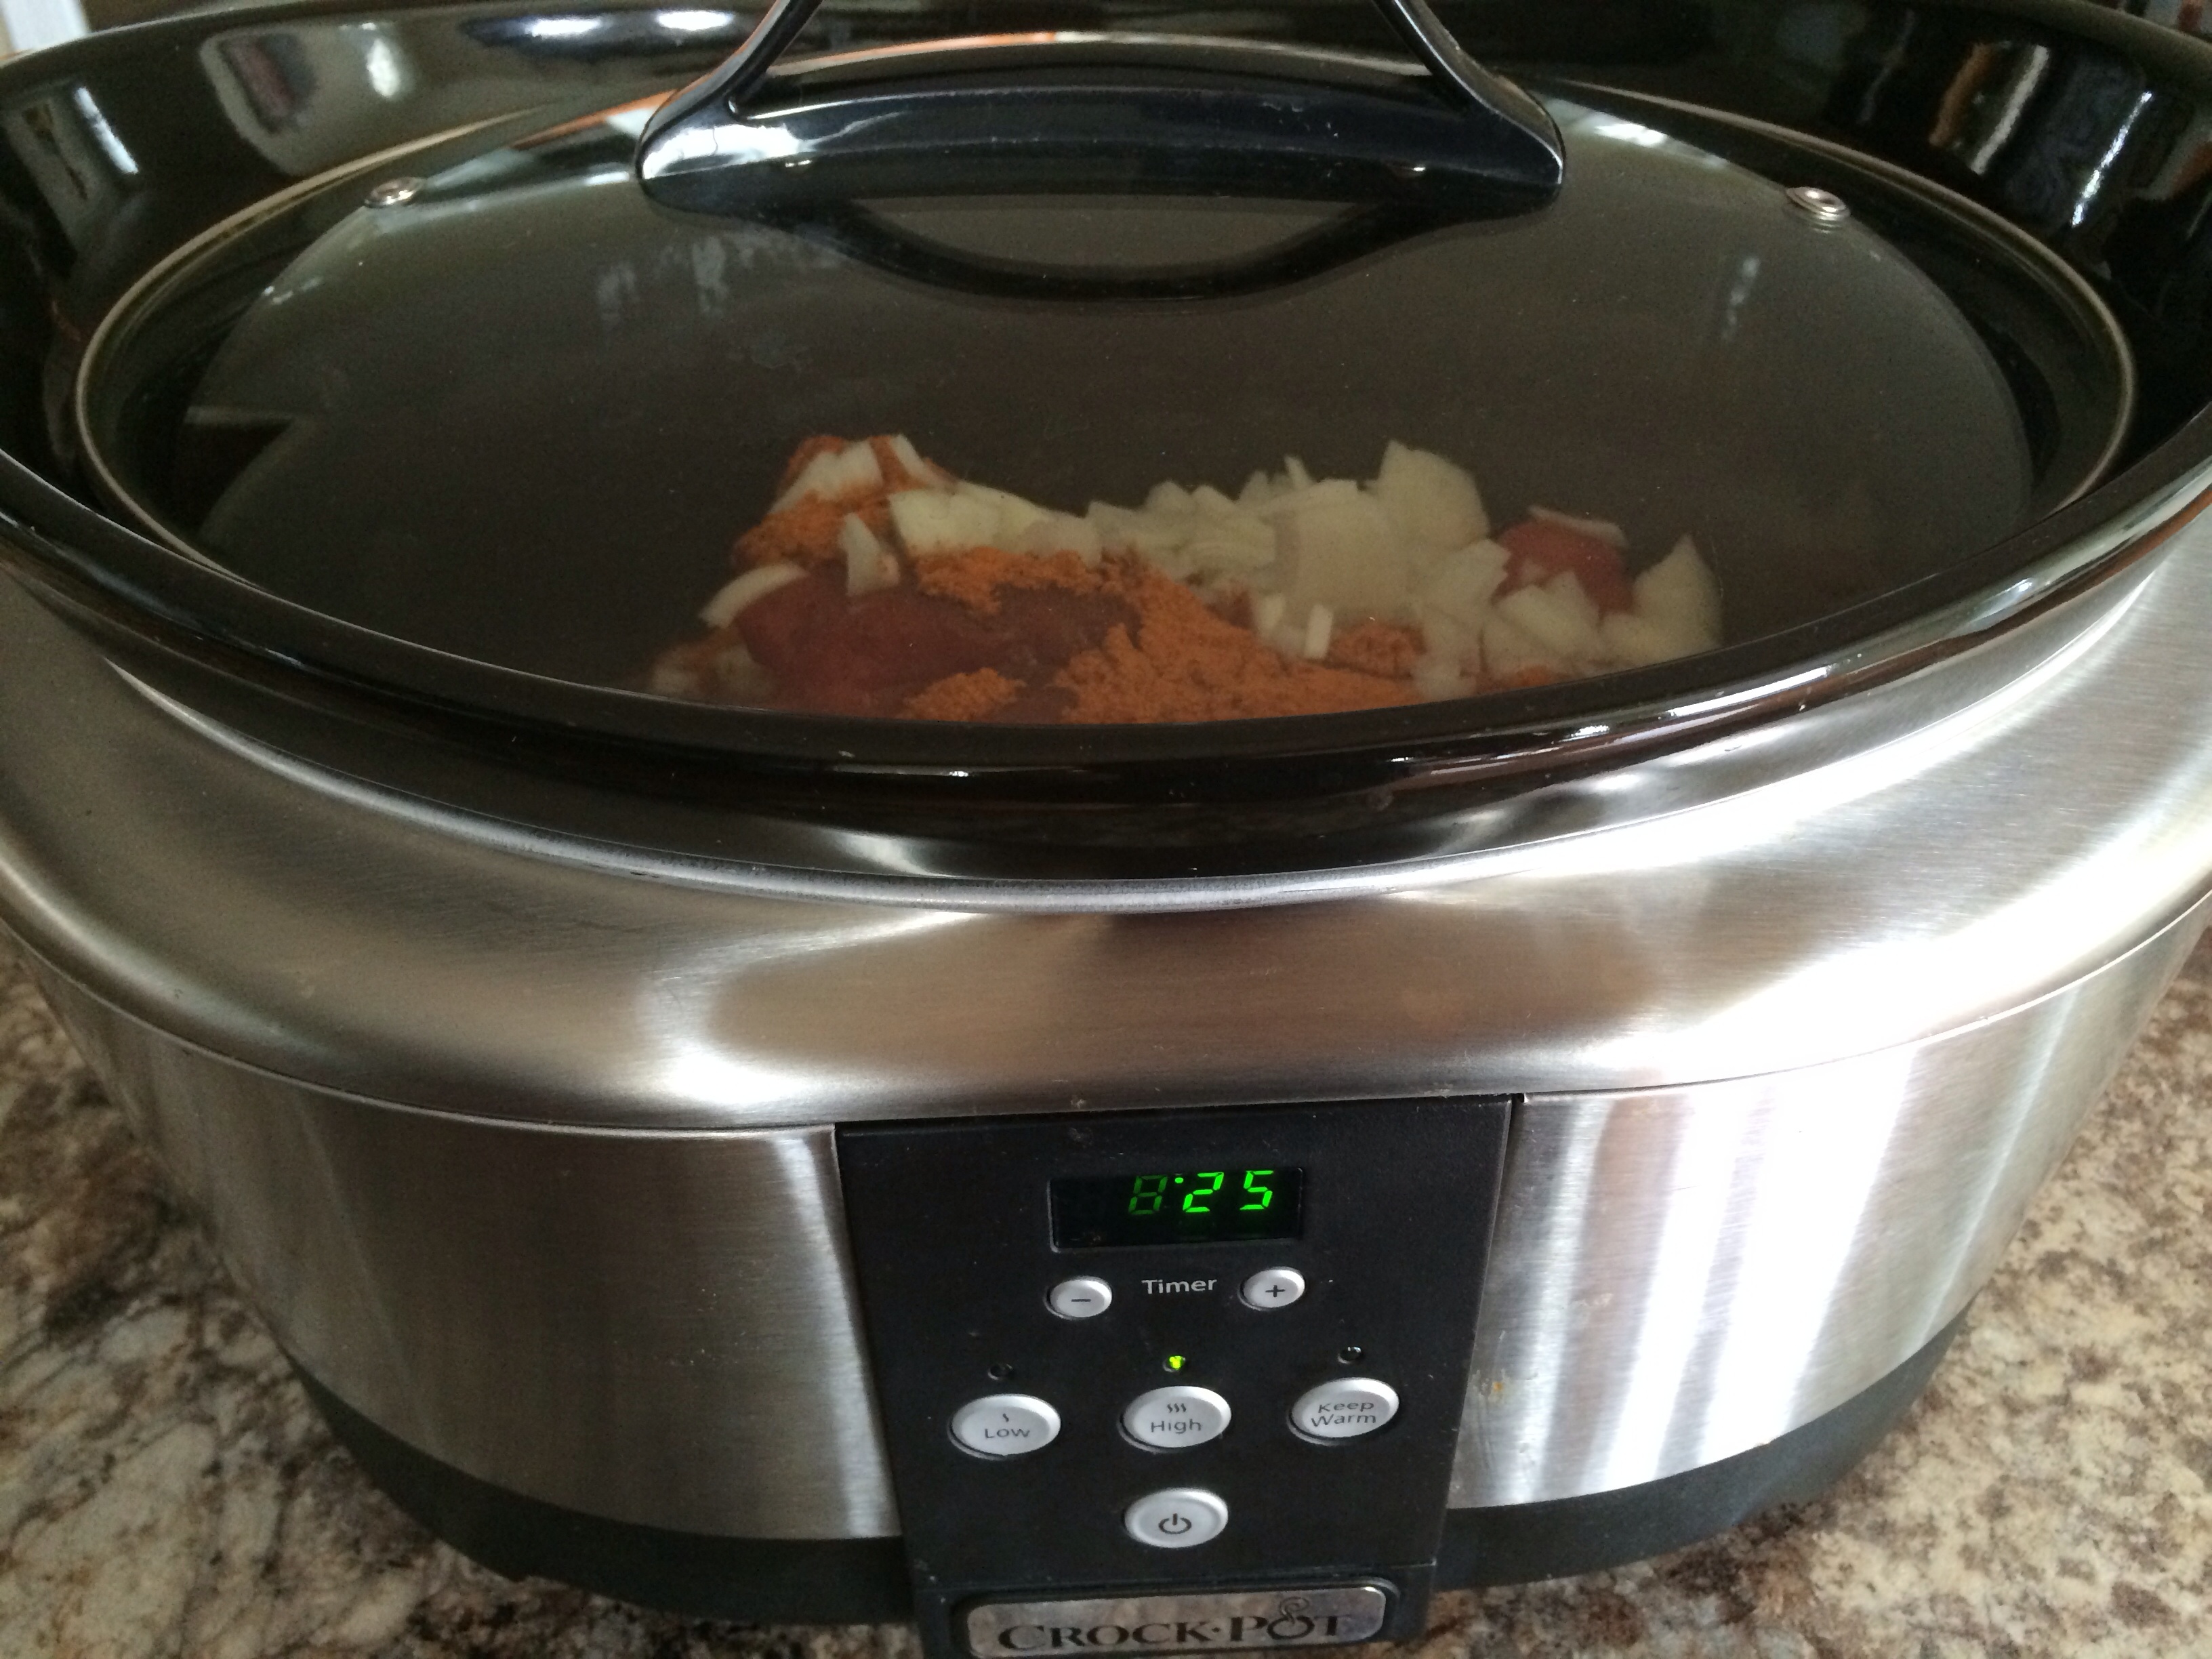
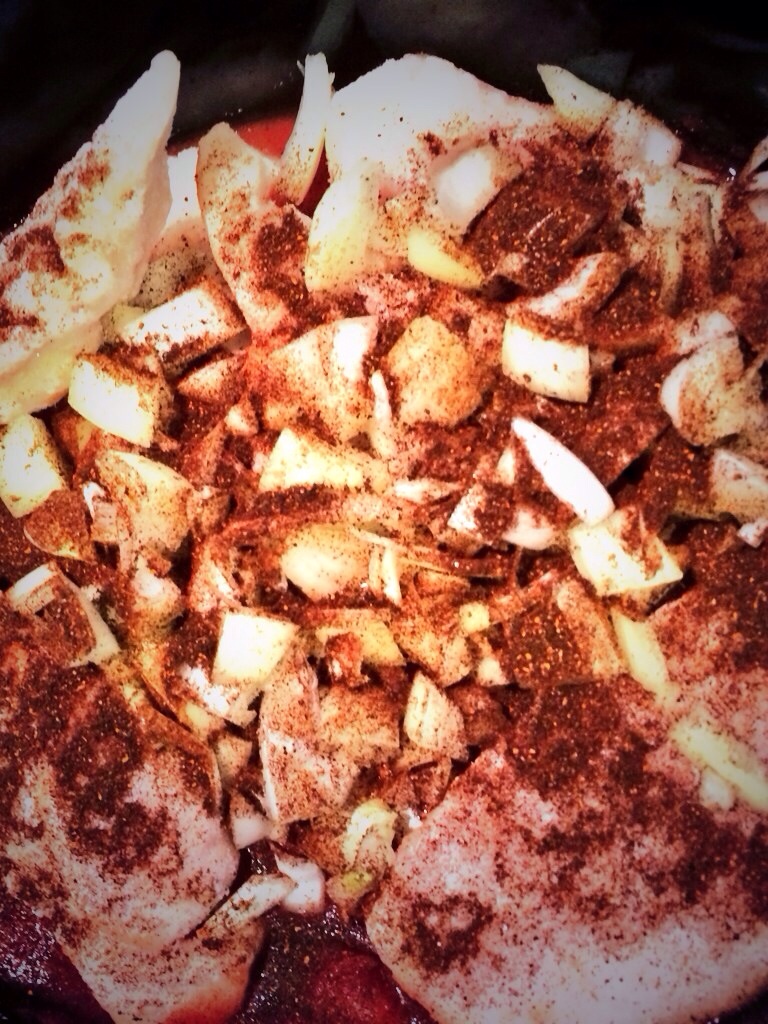
Mexican is great in the crockpot! Make enchilada, taco, empanada, and burrito filling!
On these busy days, a crockpot meal is a perfect option! And Mexican is healthy and super easy in the crockpot! Throw in frozen chicken or beef, pork, with the ingredients that you have onions, peppers, corn, beans, taco seasoning, salsa, etc. Let it cook for the day and your crockpot mixture is ready to be stuffed into fresh tortillas!
Ingredients:
1 lb. Frozen boneless chicken (use any meat or no meat!)
1 35oz. can whole tomatoes
1/4 cup taco seasoning (you can substitute chili powder)
Salt/pepper
1/2 cup salsa
1-2 bell peppers, chopped
1 medium onion, chopped
1 can black beans
1 8oz. bag frozen corn
10 of your favorite tortilla shells
For extra spice, add 1 tbsp. Of cayenne pepper and 1-2 tbsp. Red pepper flakes and/or chopped habanero peppers.
Additions: Making burritos? Add quinoa or rice-1 cup uncooked.
Directions:
Throw it all in and cook all day 8 hours + on low or 4-6 hours on high!
Take the lid off when you get home to thicken if it is runny. The amount of liquid varies based on the brand of tomatoes and by the amount of absorption of the additions!
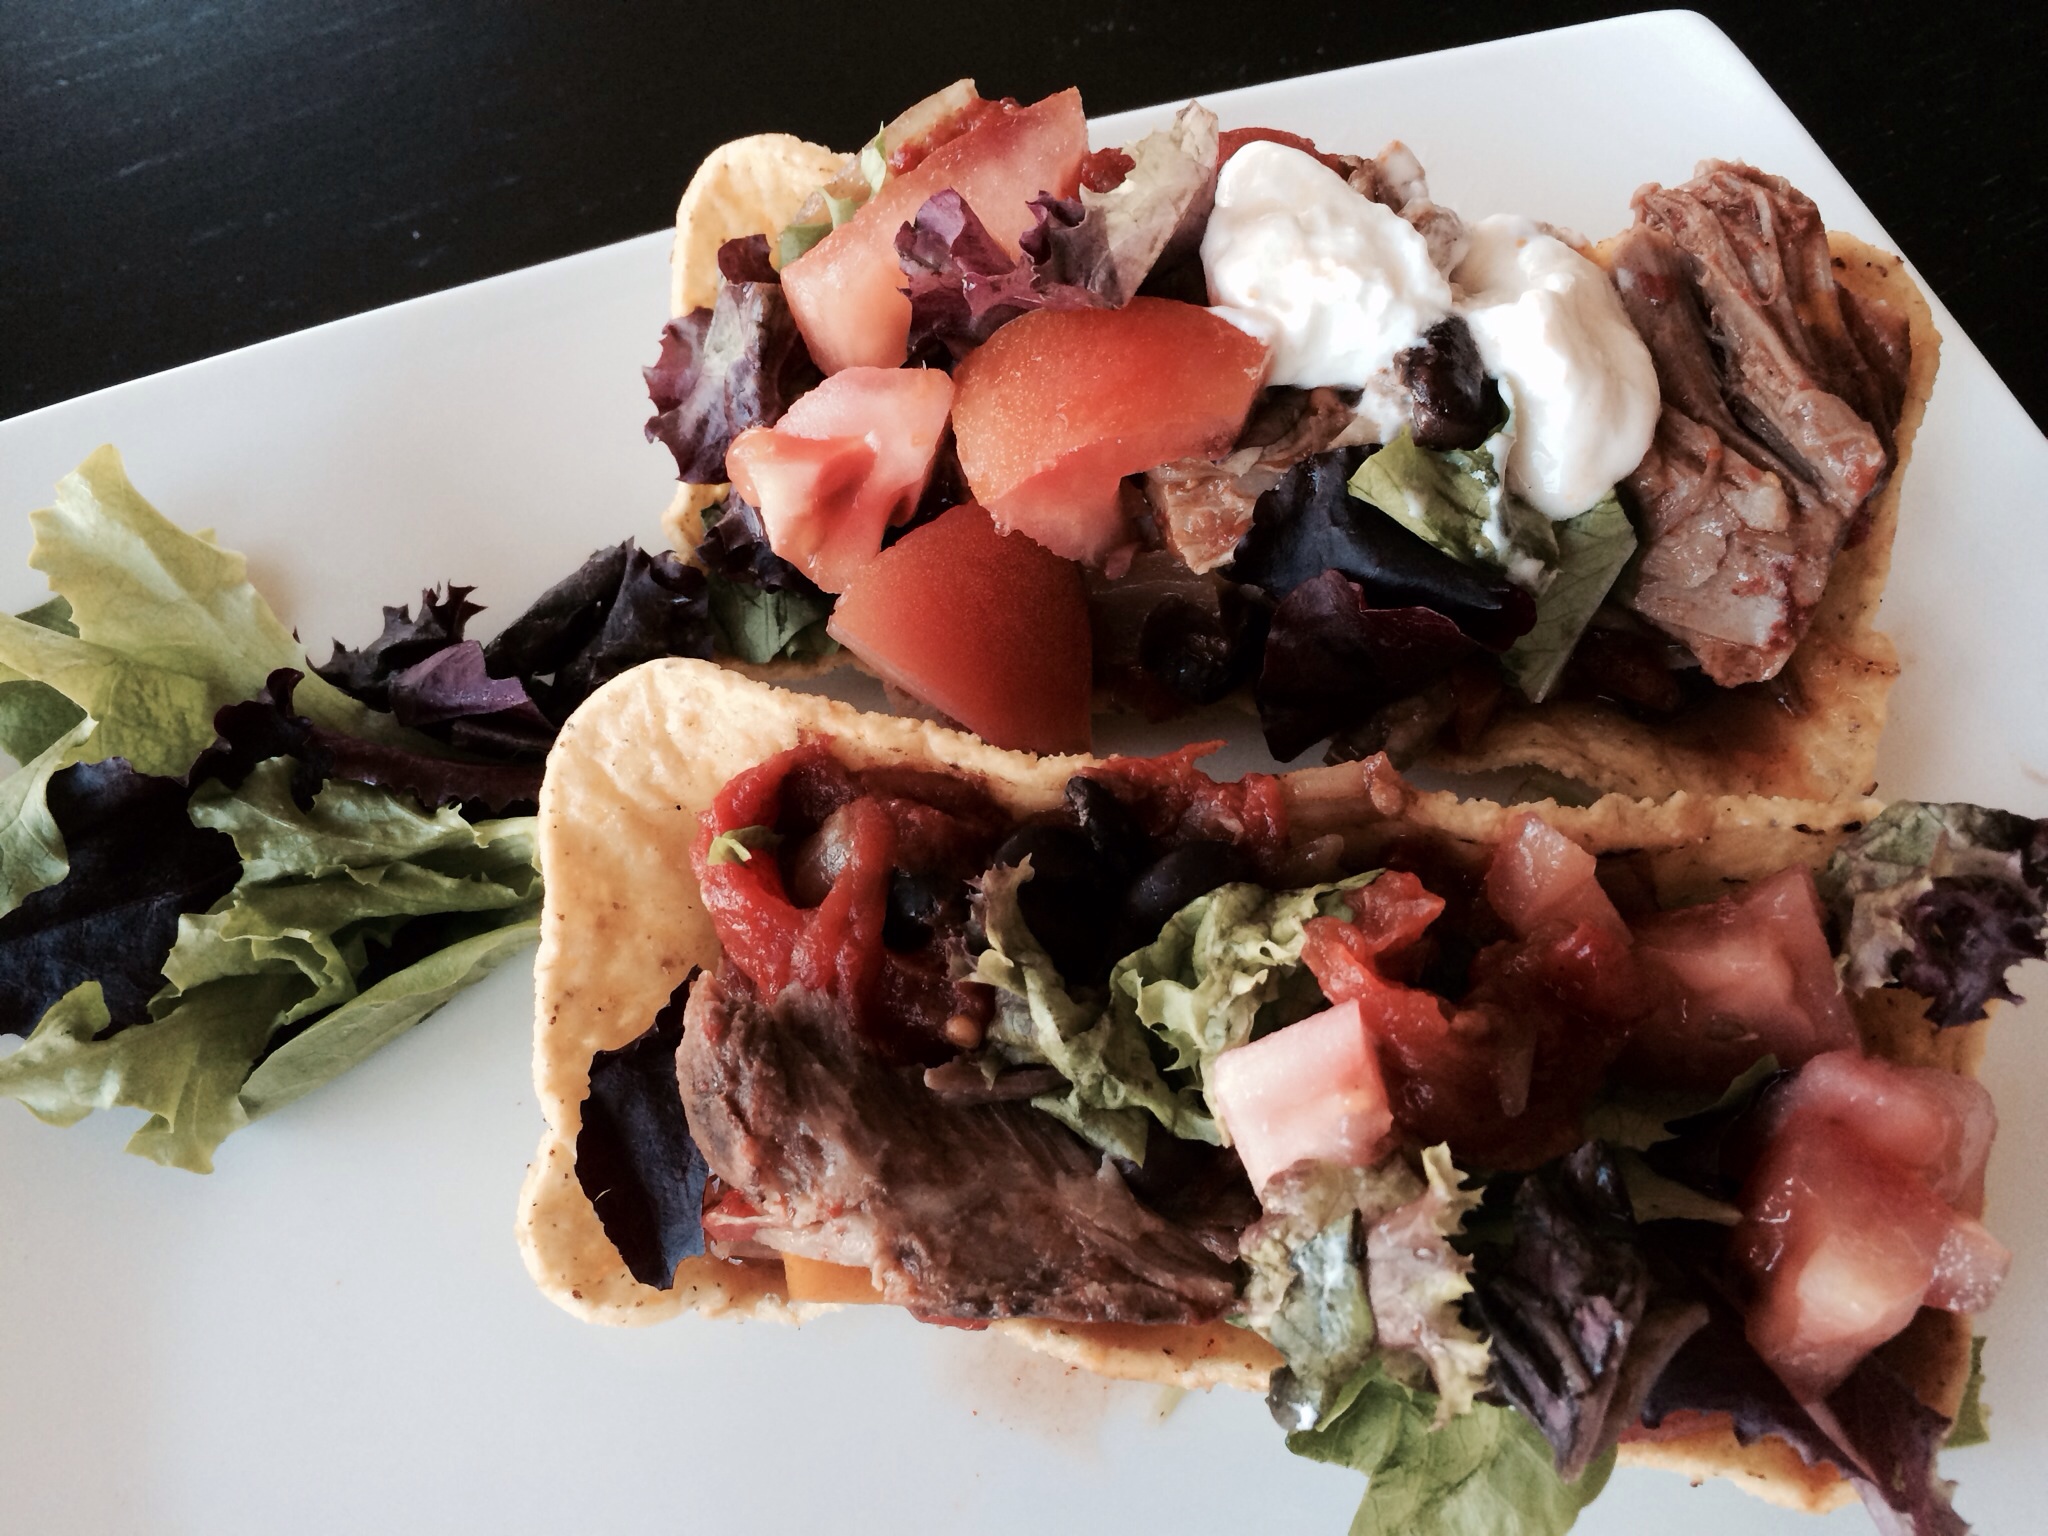
Chicken and pork will shred easily with a fork.
Chop fresh tomato, lettuce.
Top with sour cream, shredded chihuahua cheese and guacamole.
Easy, delicious, healthy dinner! #backtoschool
The ingredients can vary based on your family’s preferences!
Enjoy!
Ciao!
Don’t mess with my sauce! For those of us who make homemade pasta sauce, more than likely, we are in agreement about one thing: Our sauce is the best sauce. Whether it’s grandma’s recipe, Giada’s recipe, or from the internet ; ), we take possession and will defend our sauce anyday, anytime. Back up.
Ok, maybe too strong.
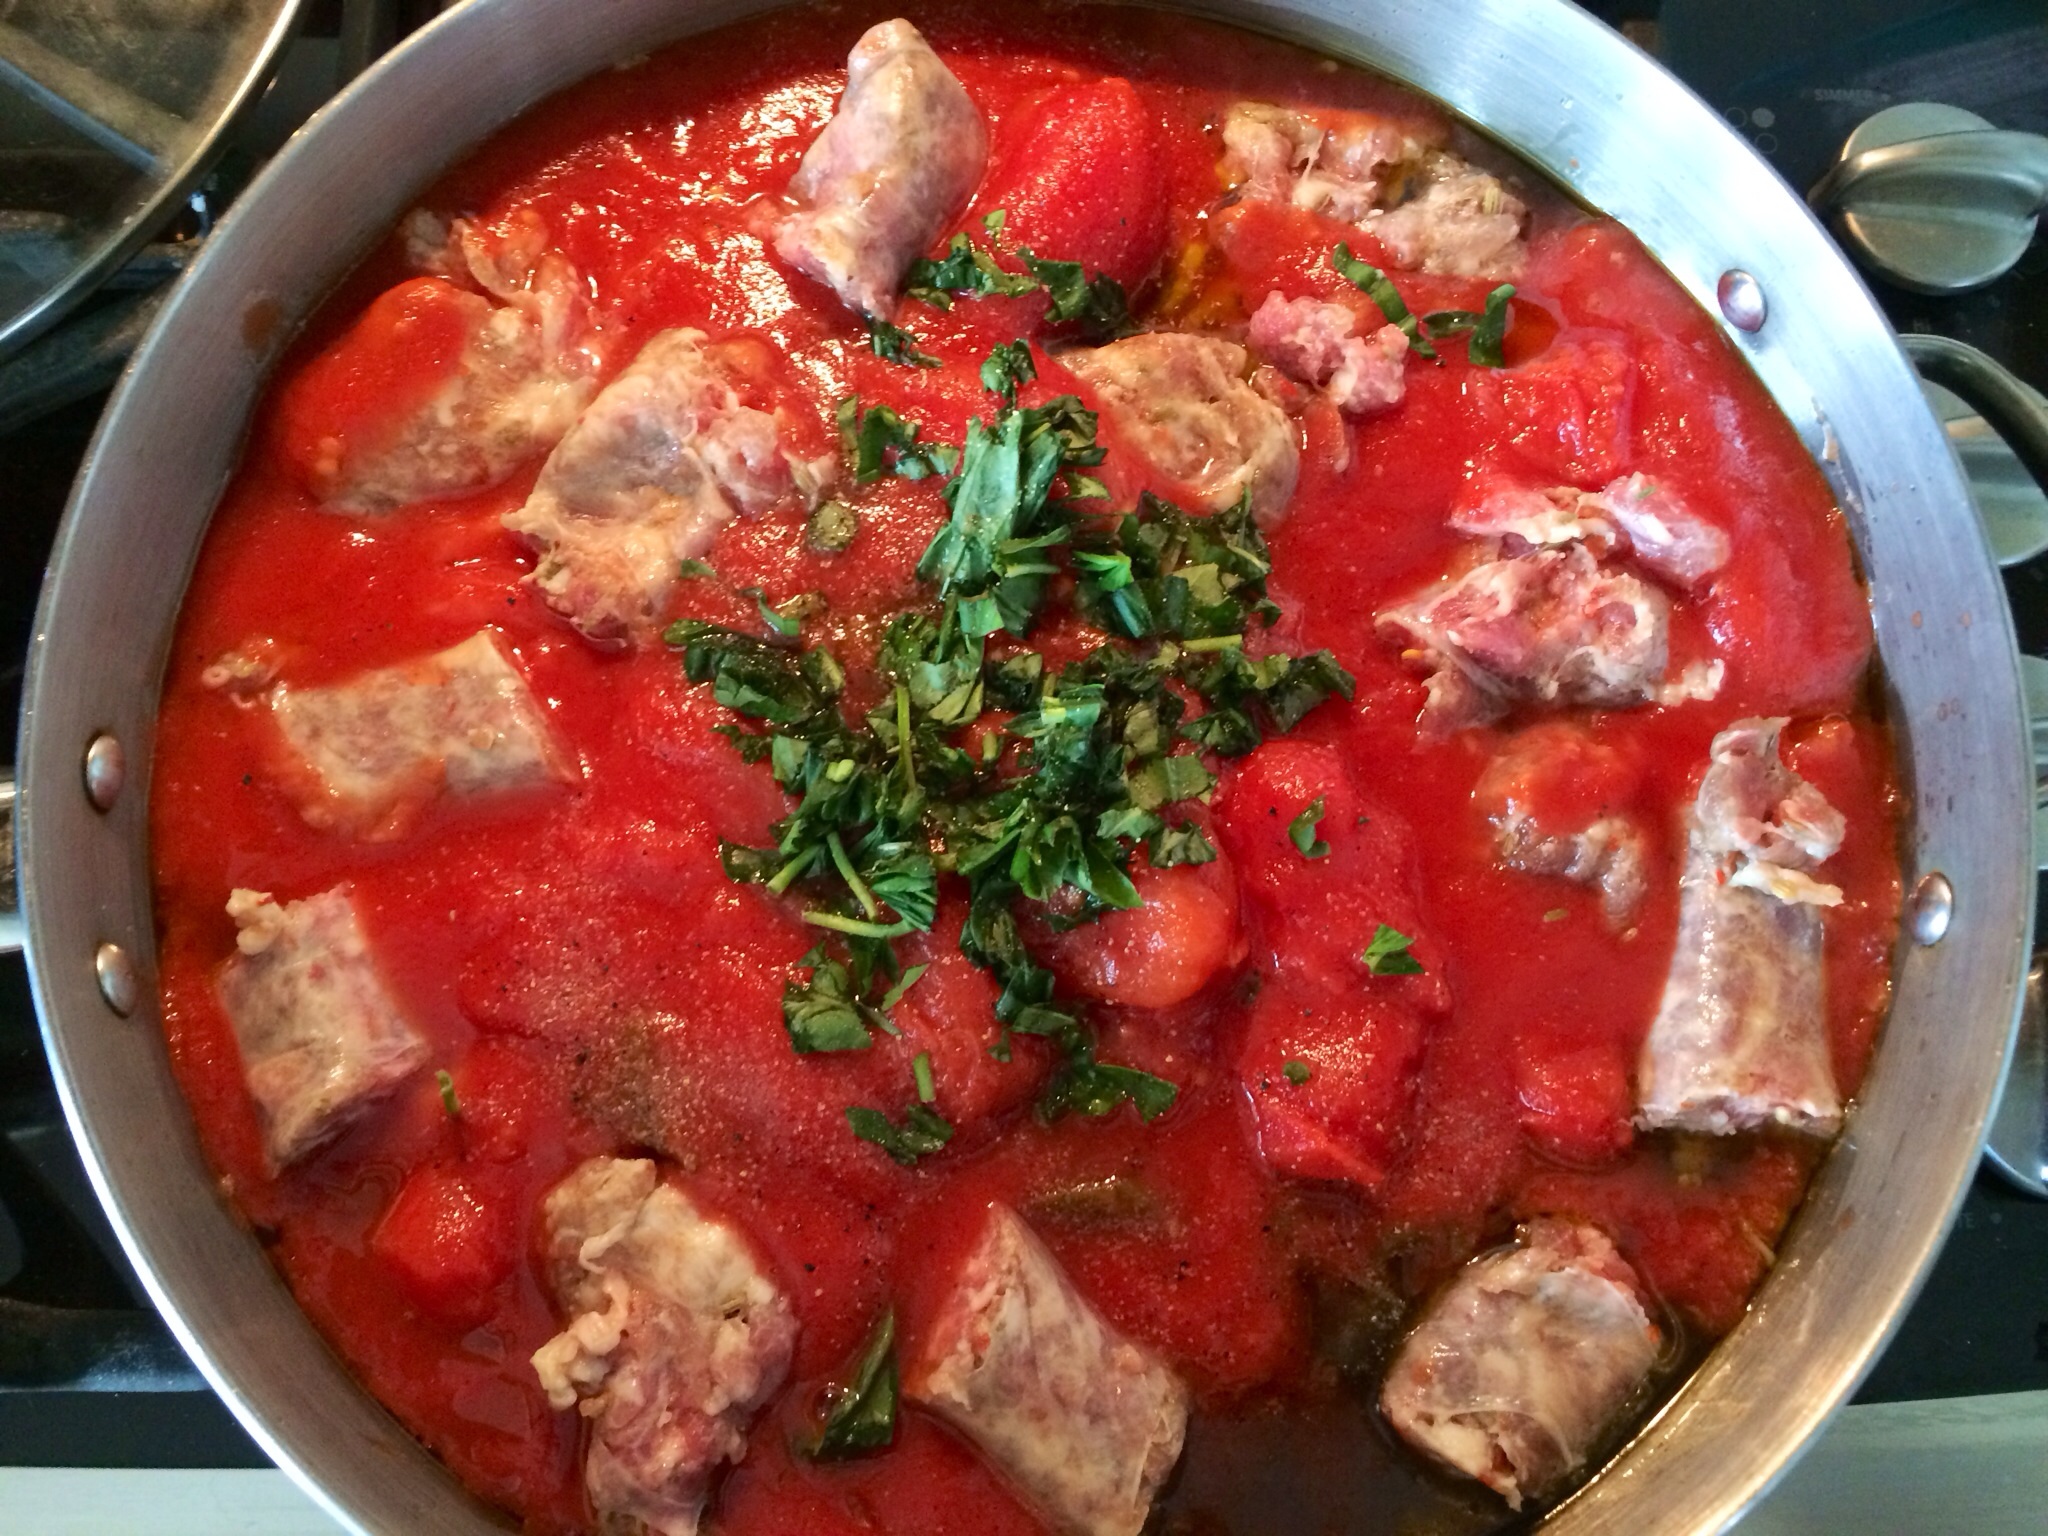
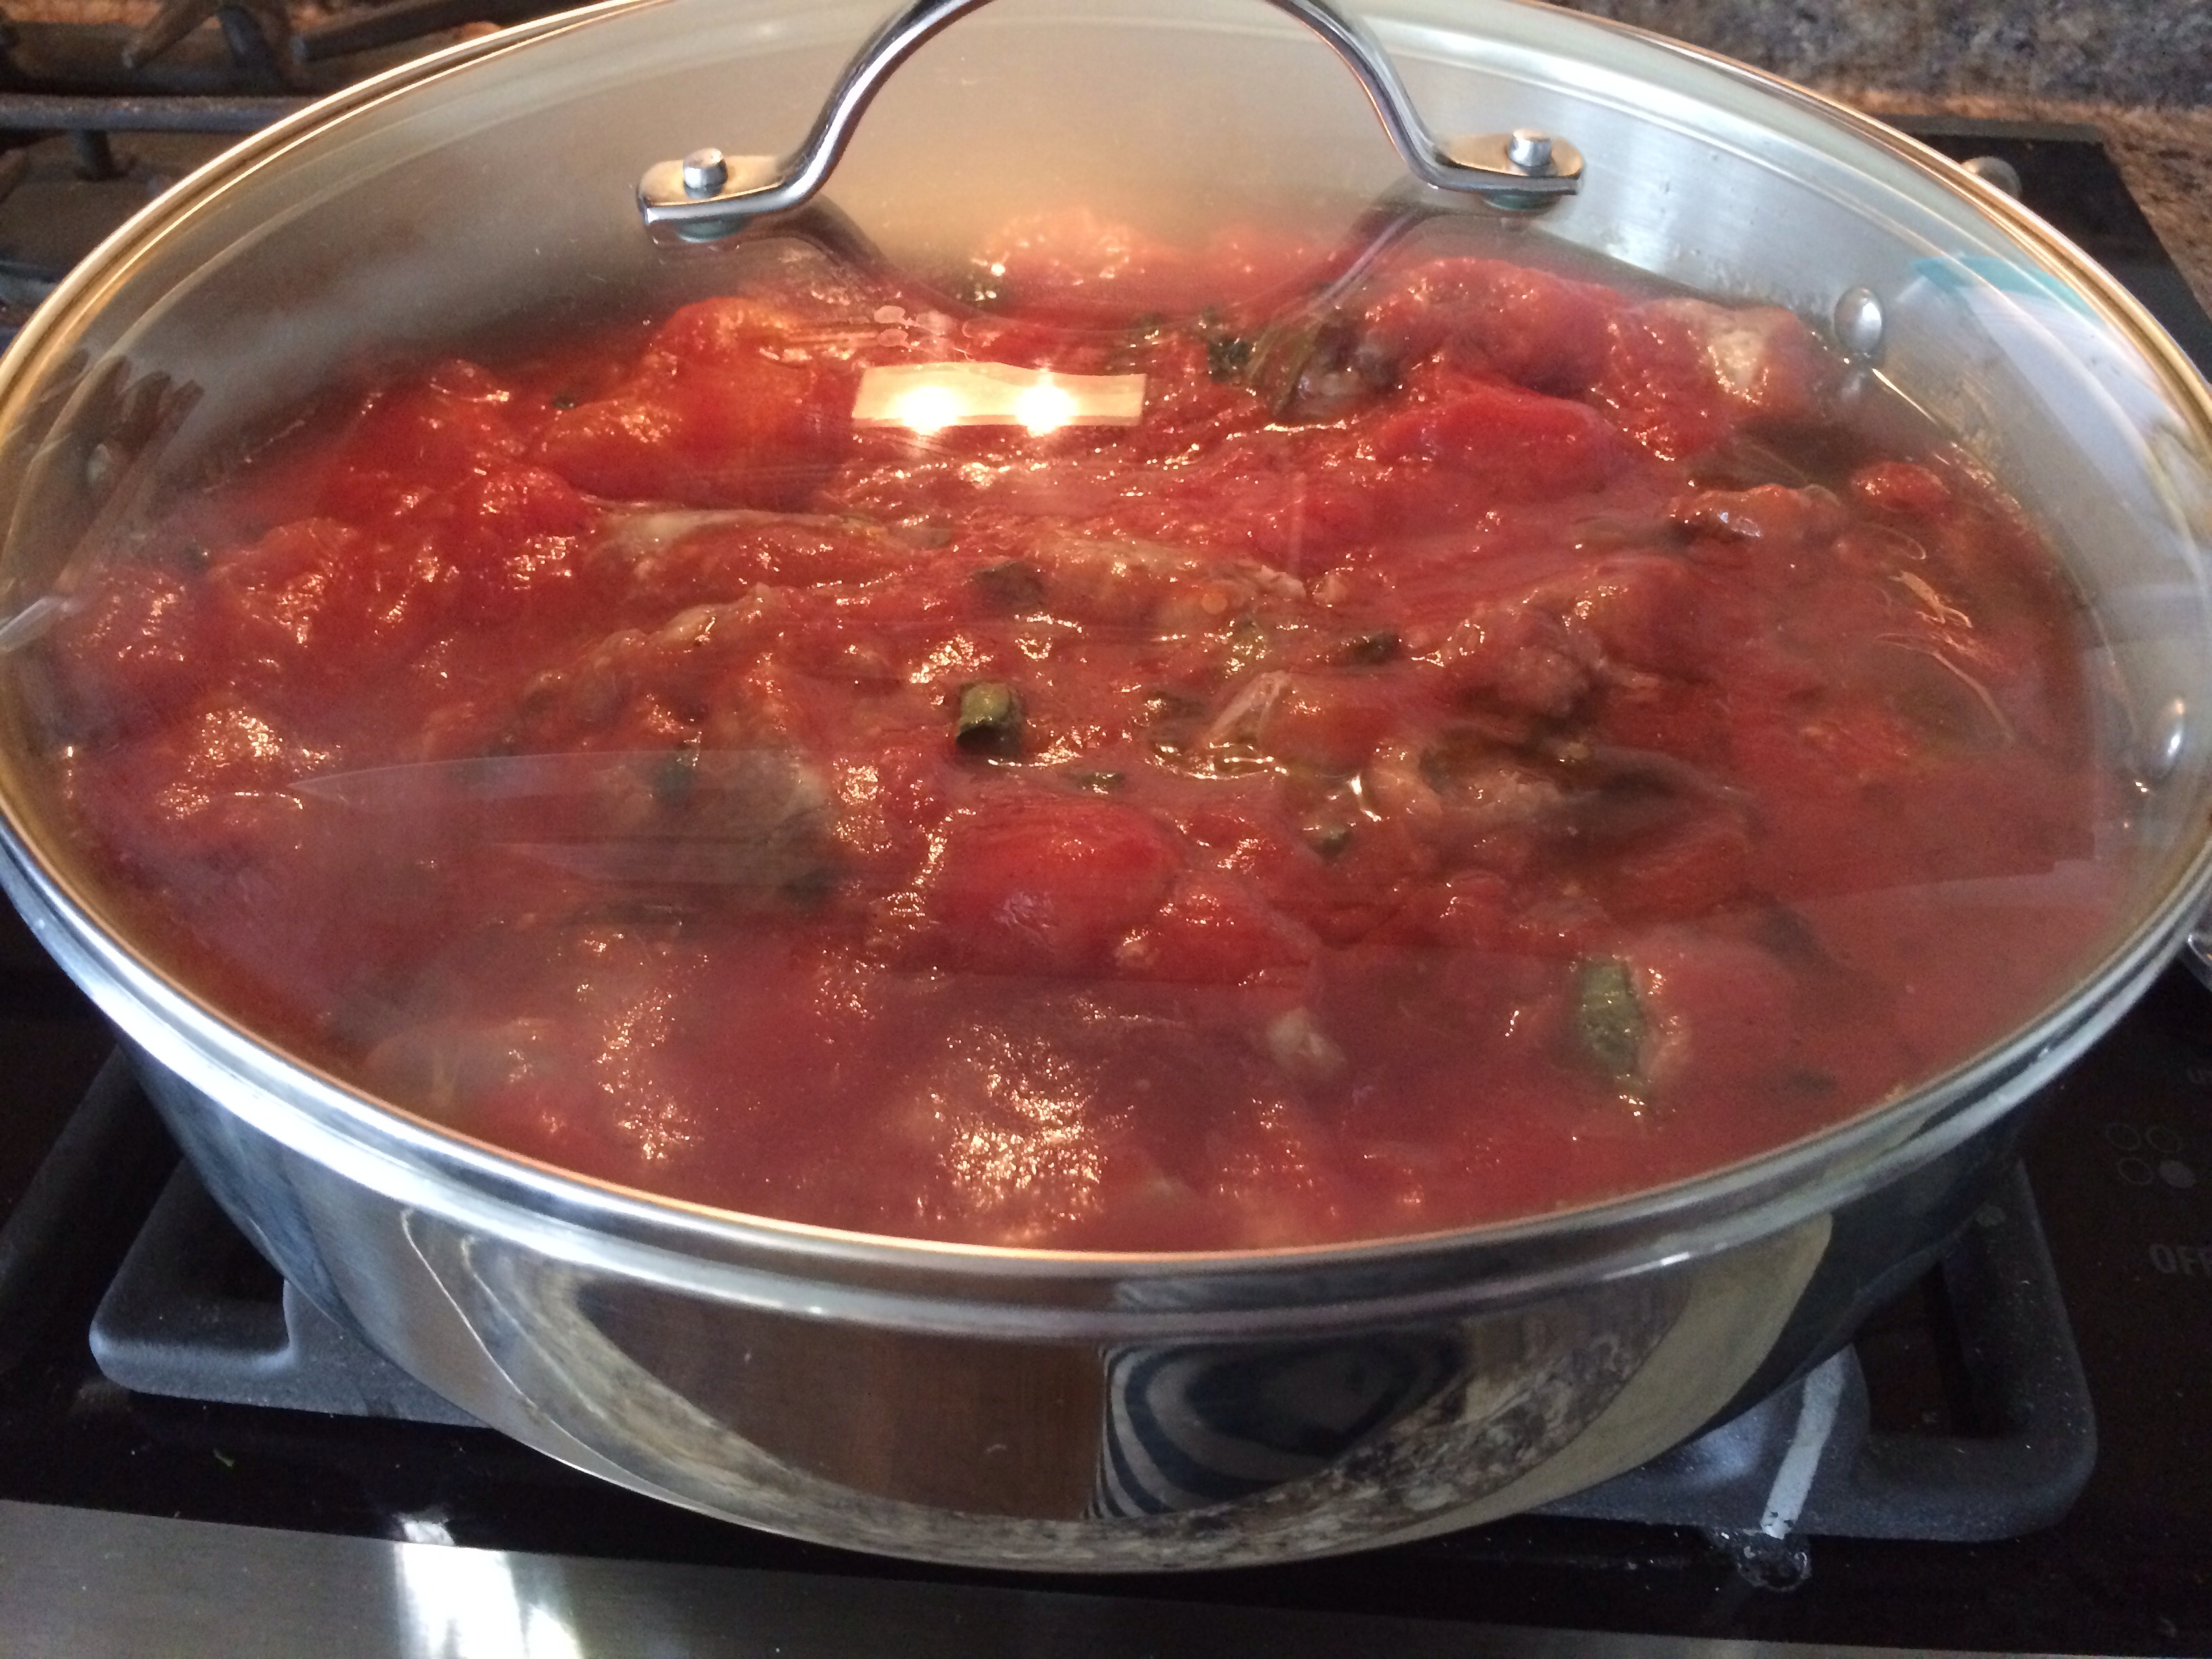
Sunday Sauce with Homemade Italian Sausage
So many different recipes and ingredients all yield a great sauce! From crushed tomatoes, whole tomatoes, and San Marzano tomatoes, to veggies, meat, and spices, there are many different types of sauce and cooking variations.
I get many questions and comments regarding sauce do’s and dont’s. The latest question is “Should I brown my meat before putting it in the sauce?” Great question!
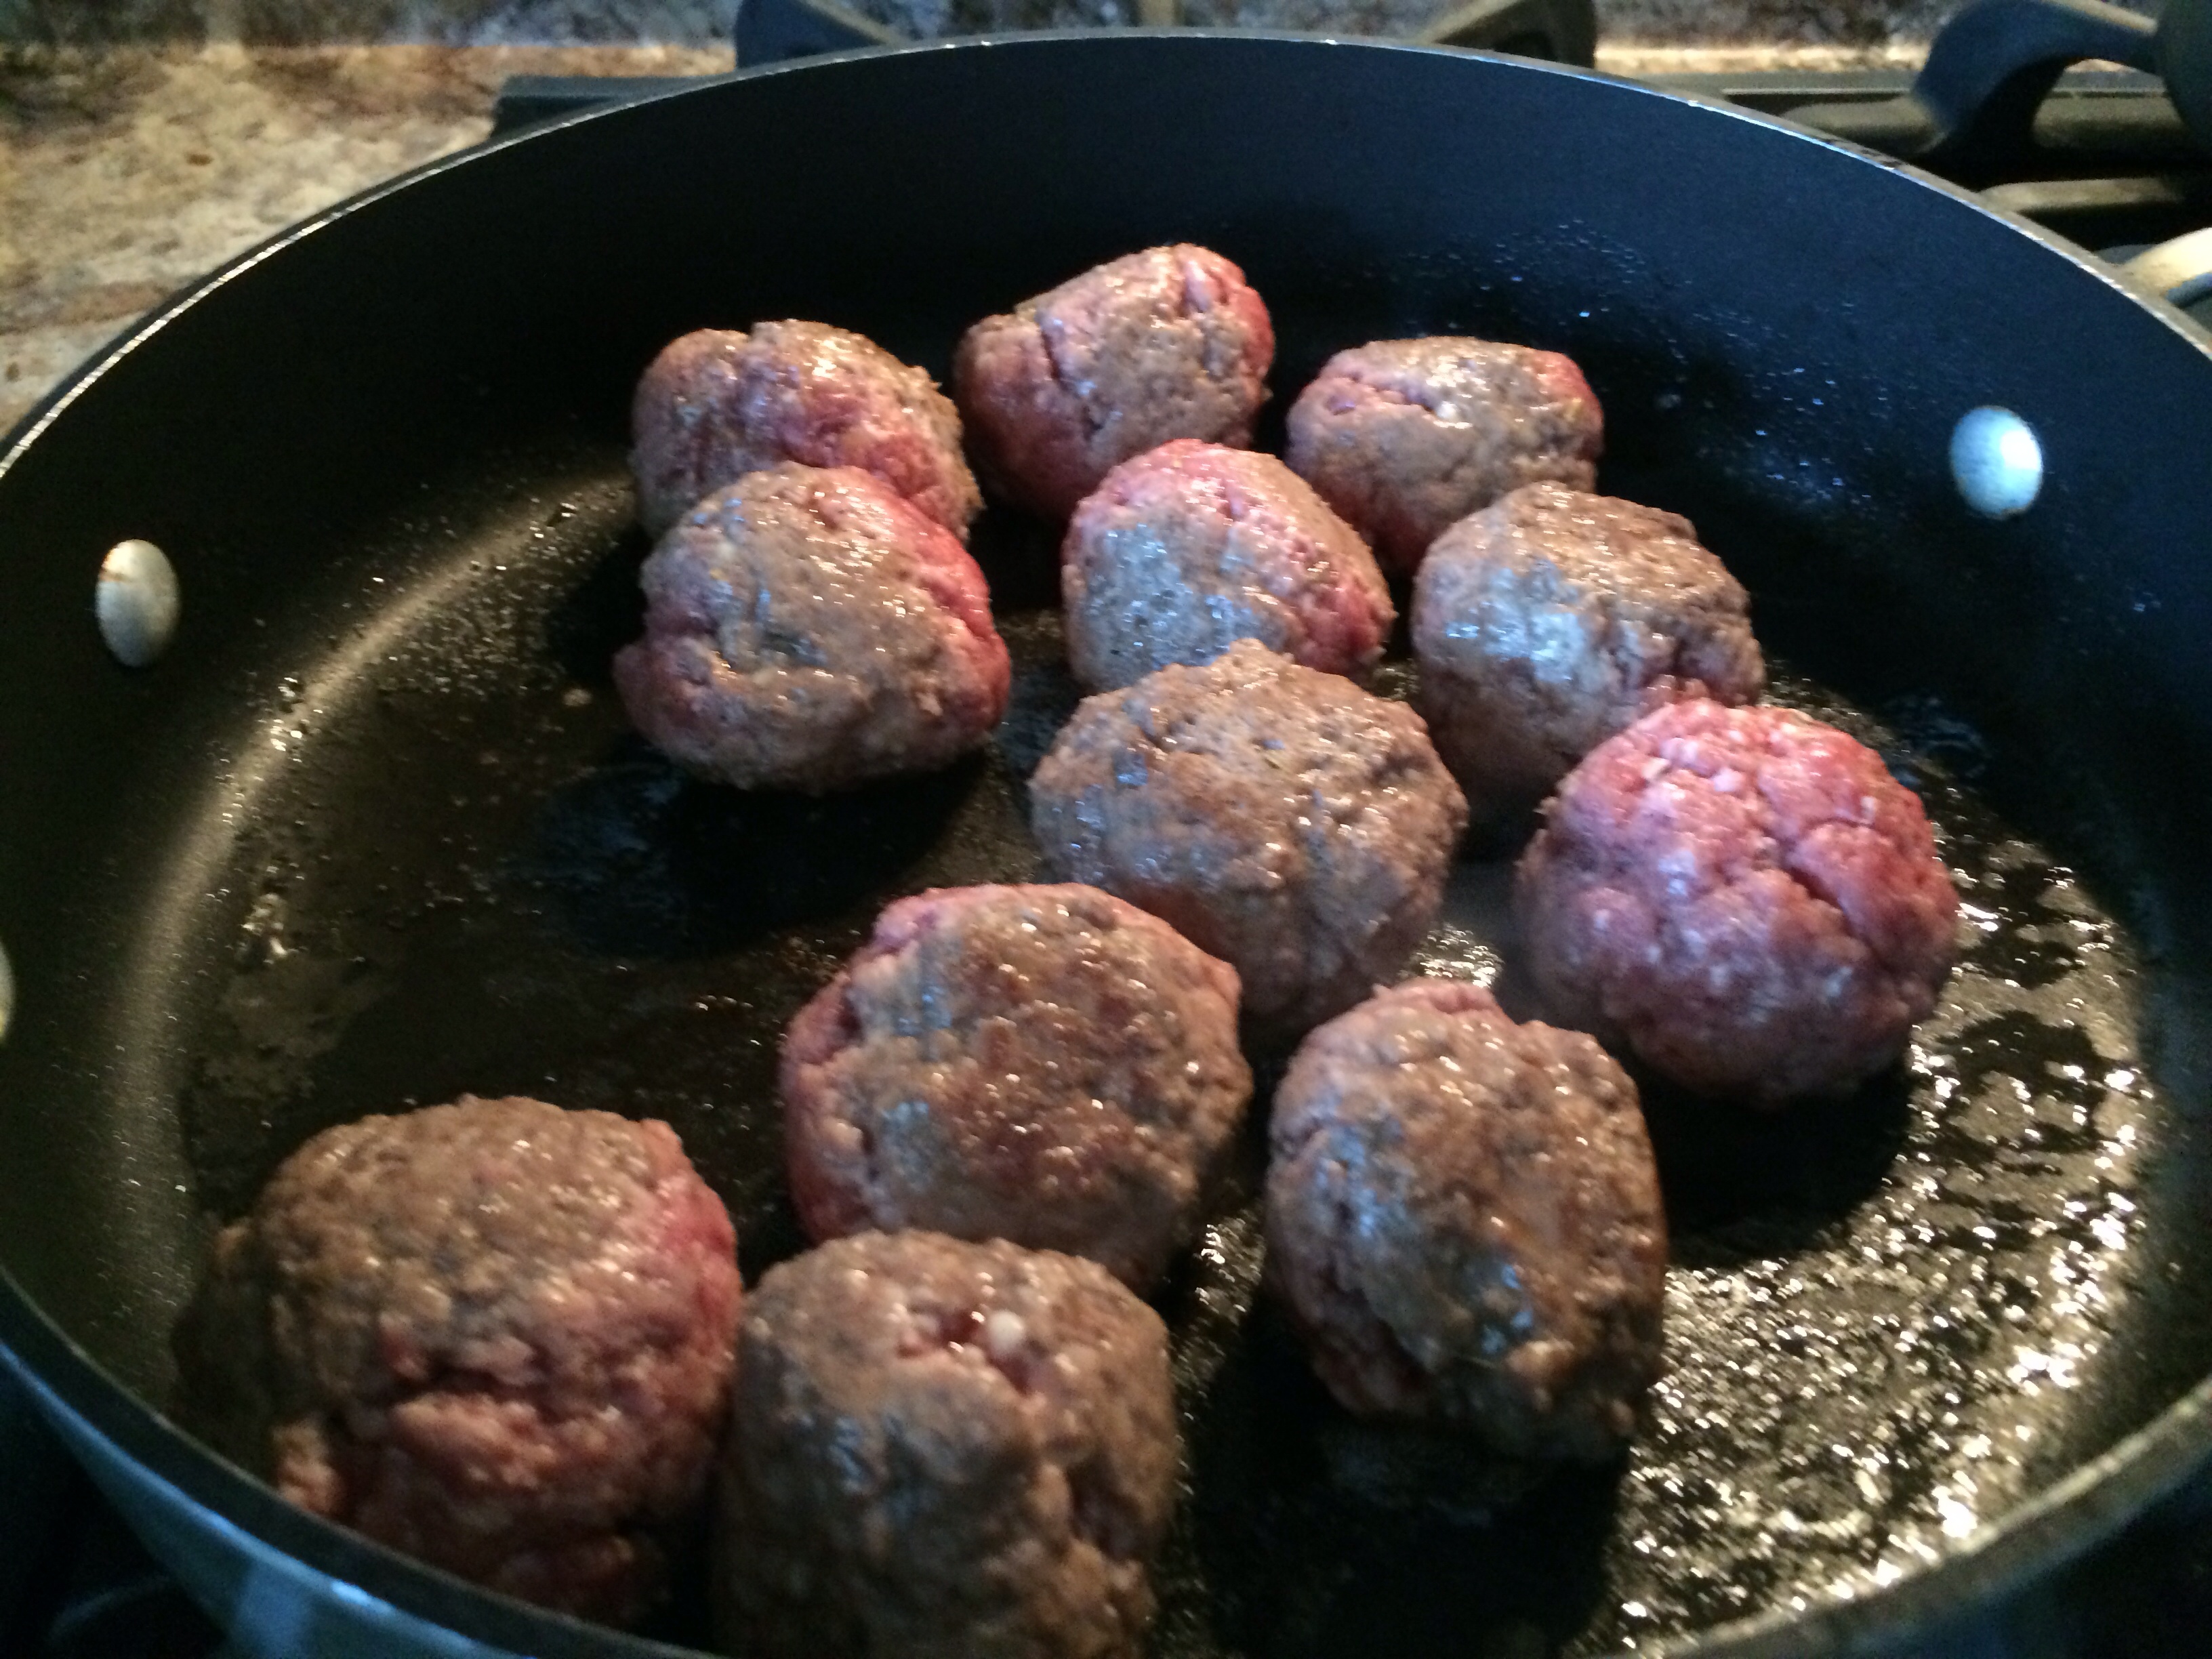
I don’t brown…but there are great reasons for both methods! Ground meatballs, Italian sausage, pork, or ox tail, can all be put directly into the sauce raw as long as you are cooking the sauce until the meat is cooked. I cook my sauce for approximately 4-6 hours.
Here are 5 observations I have made after trying both methods:
1. I love putting my round meatballs into the sauce and having them come out round! I have tried browning meatballs and it caused some kind of cone head problem. My meatballs ended up like triangles.
I have browned when I didn’t have 4-6 hours to cook the sauce! If you don’t mind 3-sided meatballs!
2. Cooking raw meat in the sauce for 4-6 hours creates the yummy tender tiny bites throughout that surprise our palates.
Cover while cooking on low heat and stir every hour or so. Take lid off for the last 30 mins to thicken sauce.
3. The carmelaization during browning will help hold together the meat as it cooks in the sauce.
4. Browning adds flavor and texture to the meat.
5. The fat can be drained after browning. Shhhh! (The fat adds and irreplicable flavor!!)
Do you brown or sauce? I would love to hear from you! Please share!
Of course, both methods are great! I encourage you to try them, get creative, and don’t forget to add fresh grated Parm!
I absolutely love fish tacos, any kind of tacos, and I’m always searching for the best! Between Penn Ave Fish Company’s fish tacos and Edgar’s Taco stand’s Carne Asada tacos, I am a happy girl.
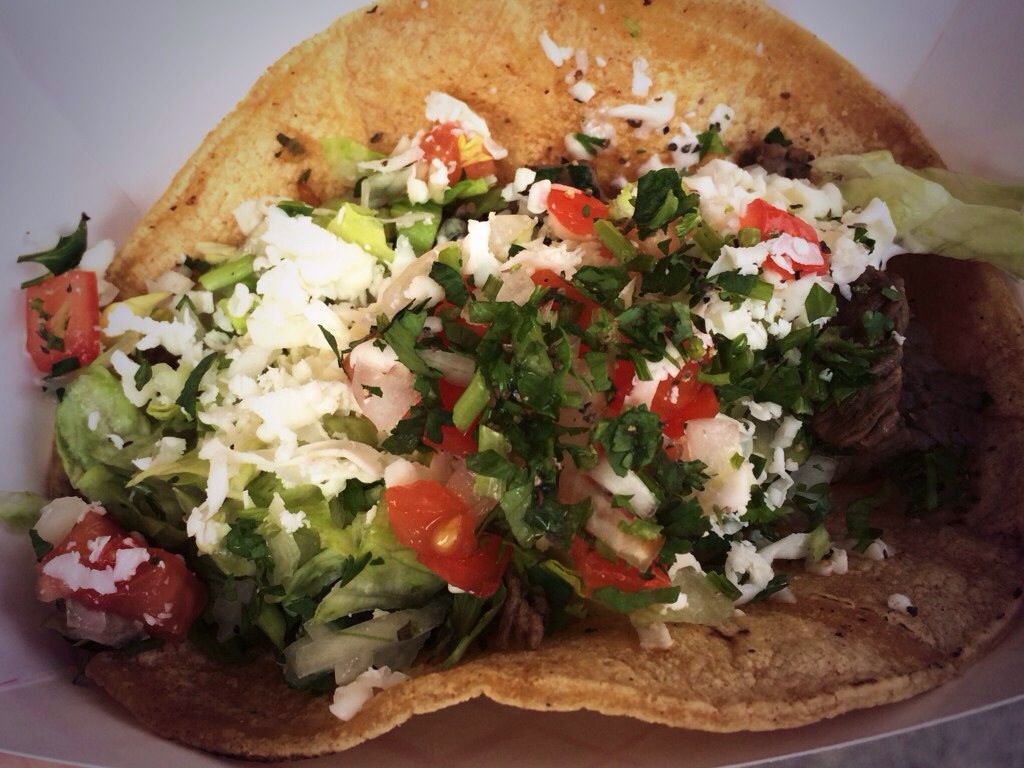
Edgar’s Tacos 21st and Penn in the Strip! Carne Asada Taco!
I eat some form of taco every time I’m in the Strip District! (And Penn Mac olives and cheese and La Prima coffee and Colangelos pizza and Pittsburgh Popcorn Company) Yikes!
When these two are with me we usually end up at Penn Ave Fish for fish tacos!
Anyway, every fish taco is different; made with different fish, cooked plain or spicy, stuffed with lettuce or cabbage, and the list goes on. Penn Ave Fish Company uses a variety of fish, boiled in onion water, totally spicy, stuffed with cabbage, topped with tomatoes…and they are delicious!
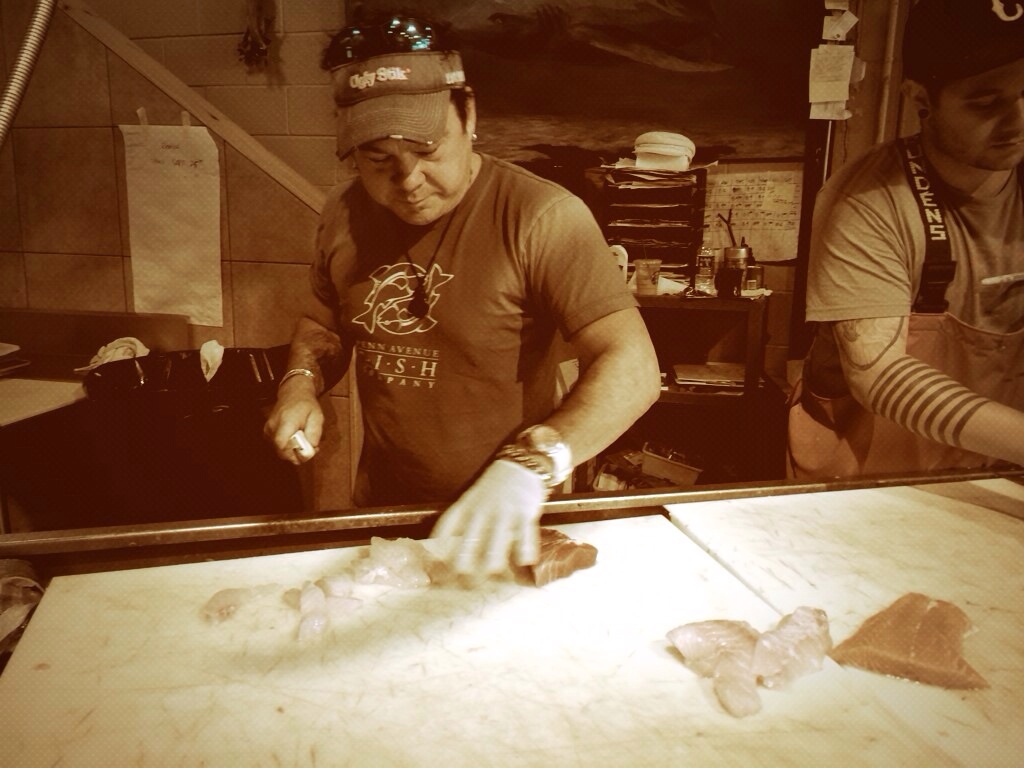
I visited my fish mongers at Penn Avenue Fish Company and told them, for Fish Week on the blog, I wanted to make amazing fish tacos like the ones they make everyday! They chopped fresh grouper, salmon, and tuna, ready to cook. This saved me the fish choosing process, of which I am totally clueless, and the chopping time for sure! This is why you need a good fish monger!
Doesn’t get much fresher than this!
Penn Avenue Fish-ish Fish Tacos
(makes 6ish tacos)
Ingredients:
1-1/2 lbs. chopped tuna, grouper, and salmon
1 medium onion, chopped
2 tbsp. taco seasoning
4 oz. sour cream
1/2 cup chunky medium salsa (I used Ortega)
2 tbsp. Sriracha sauce
2 cups shredded cabbage
1 chopped tomato
Chopped cilantro
6 tortilla shells
Directions:
Fill a pot with water and chopped onions.
Bring to a boil.
Add fish.
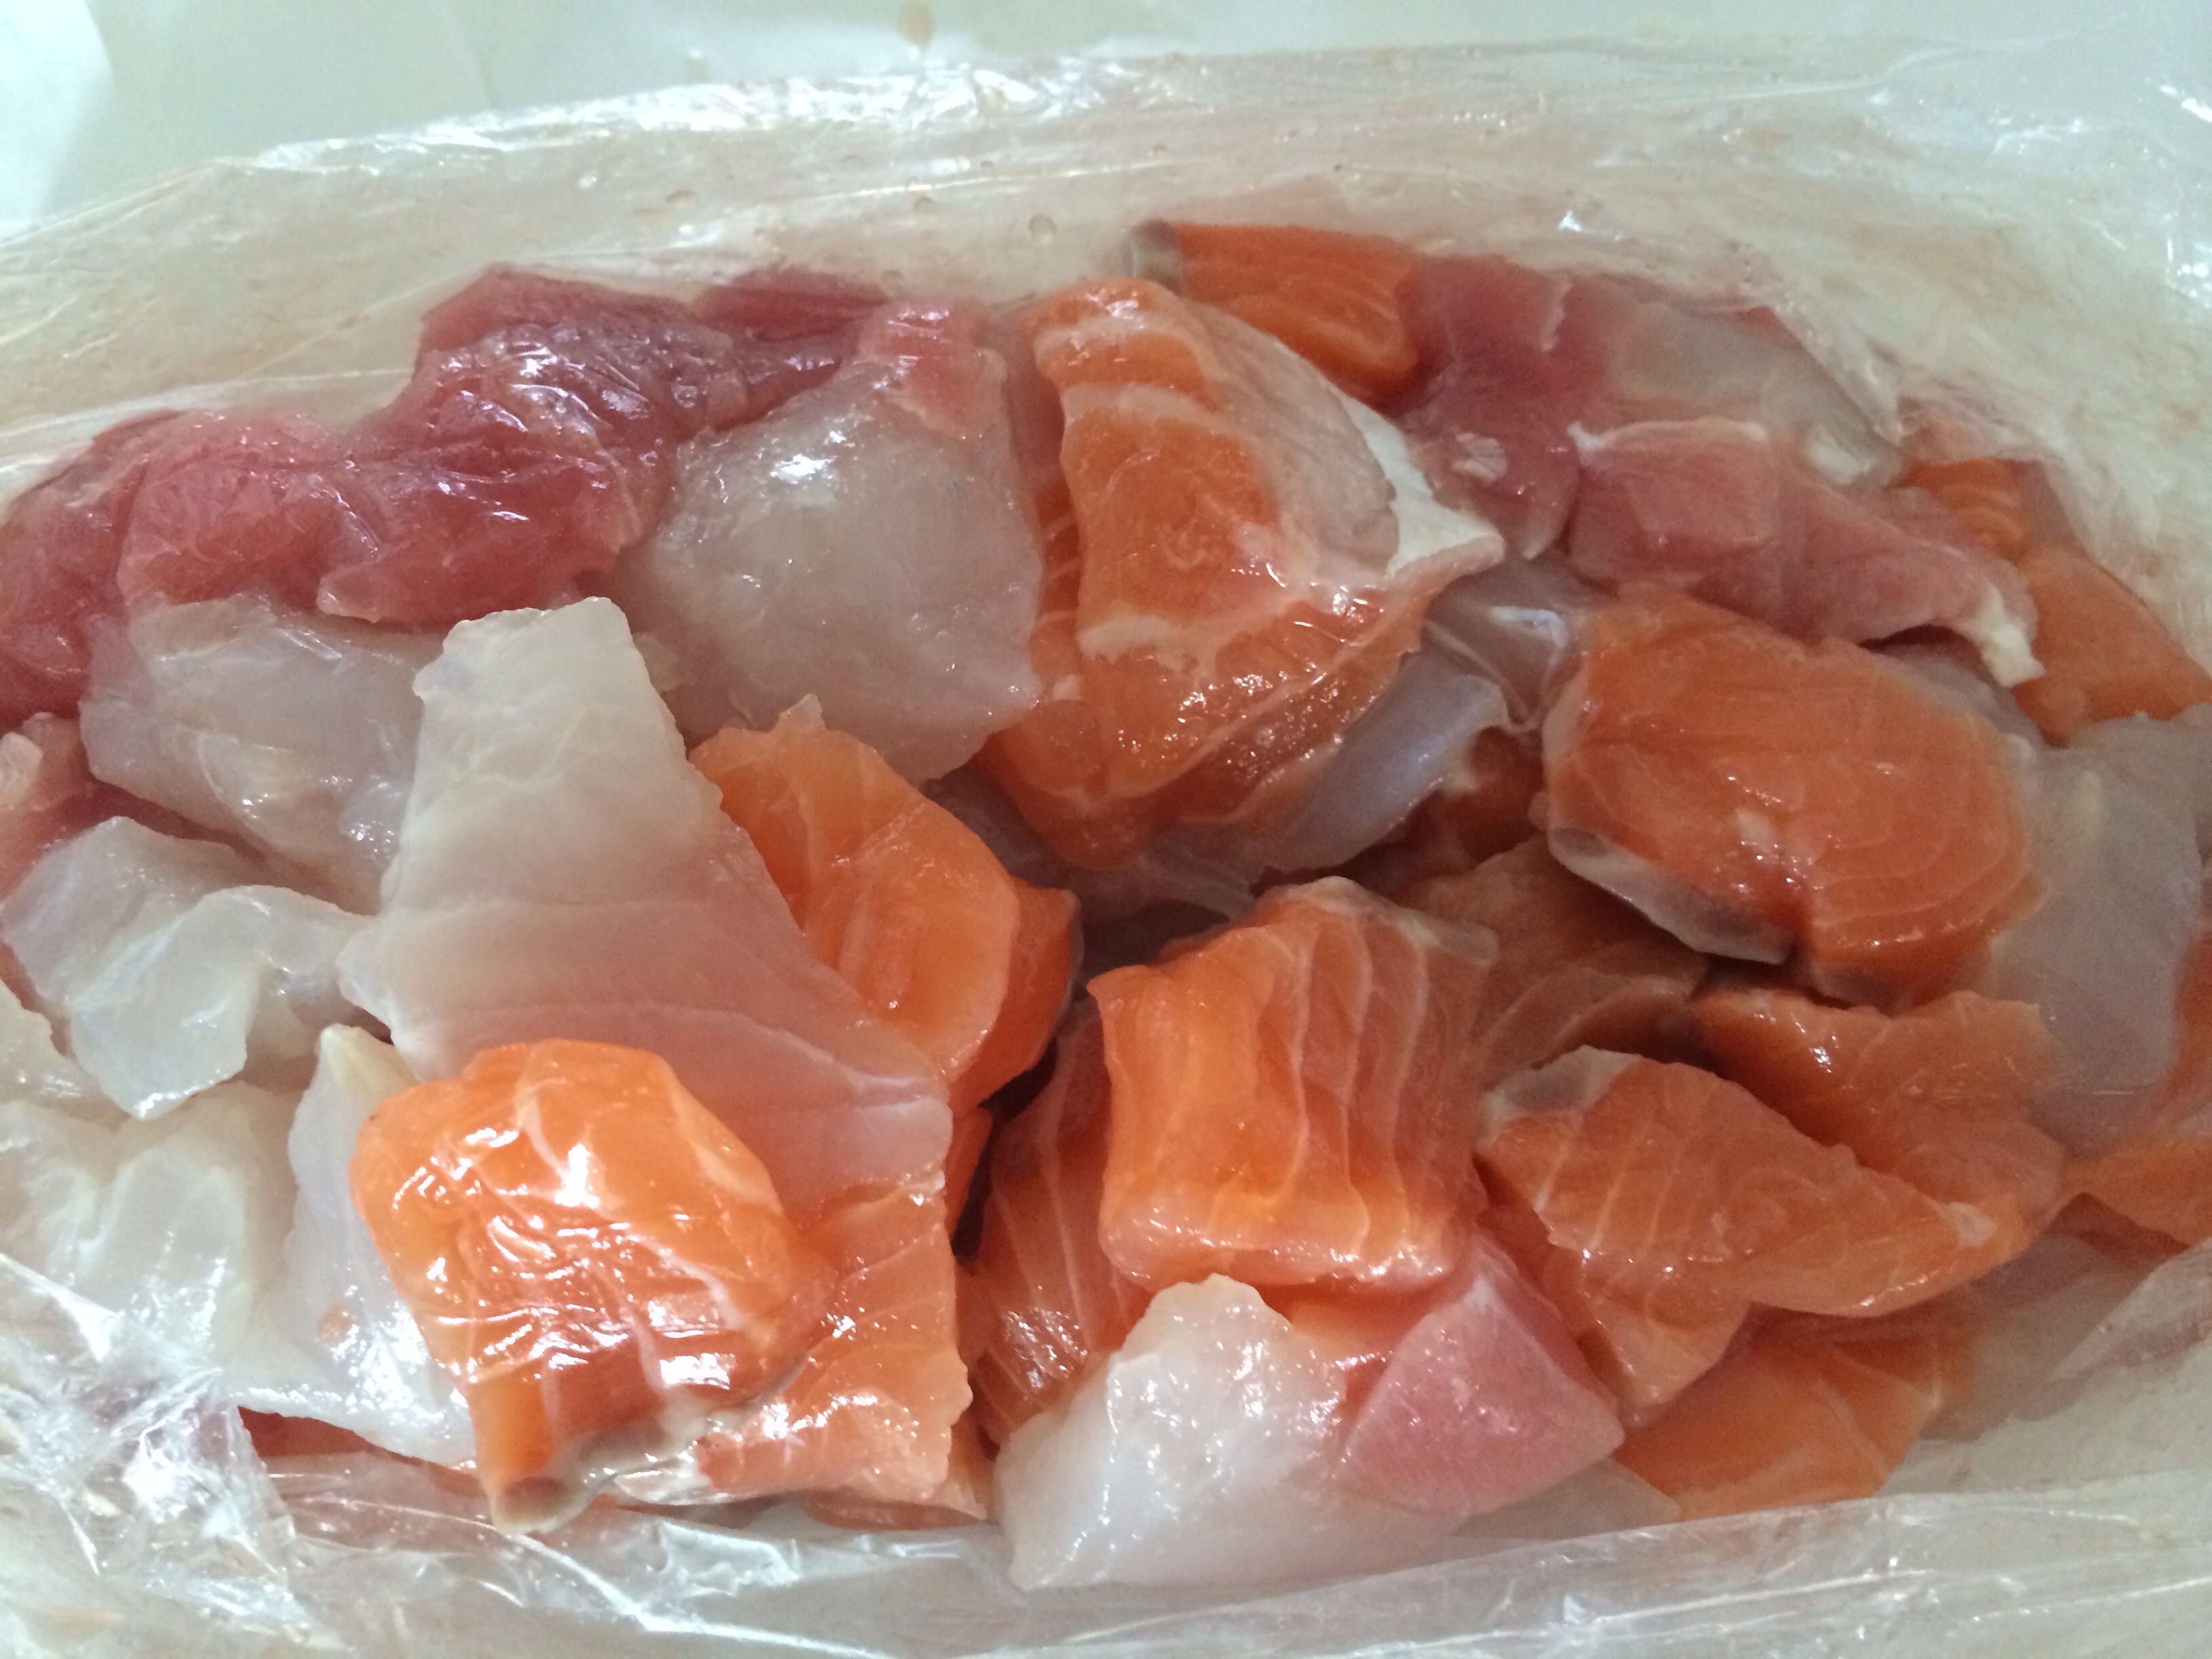
This is what I brought home! Chopped and ready to go!
Cook until the chopped fish floats (5-8 mins, not long!)
Remove fish with a slotted spoon to drain water.
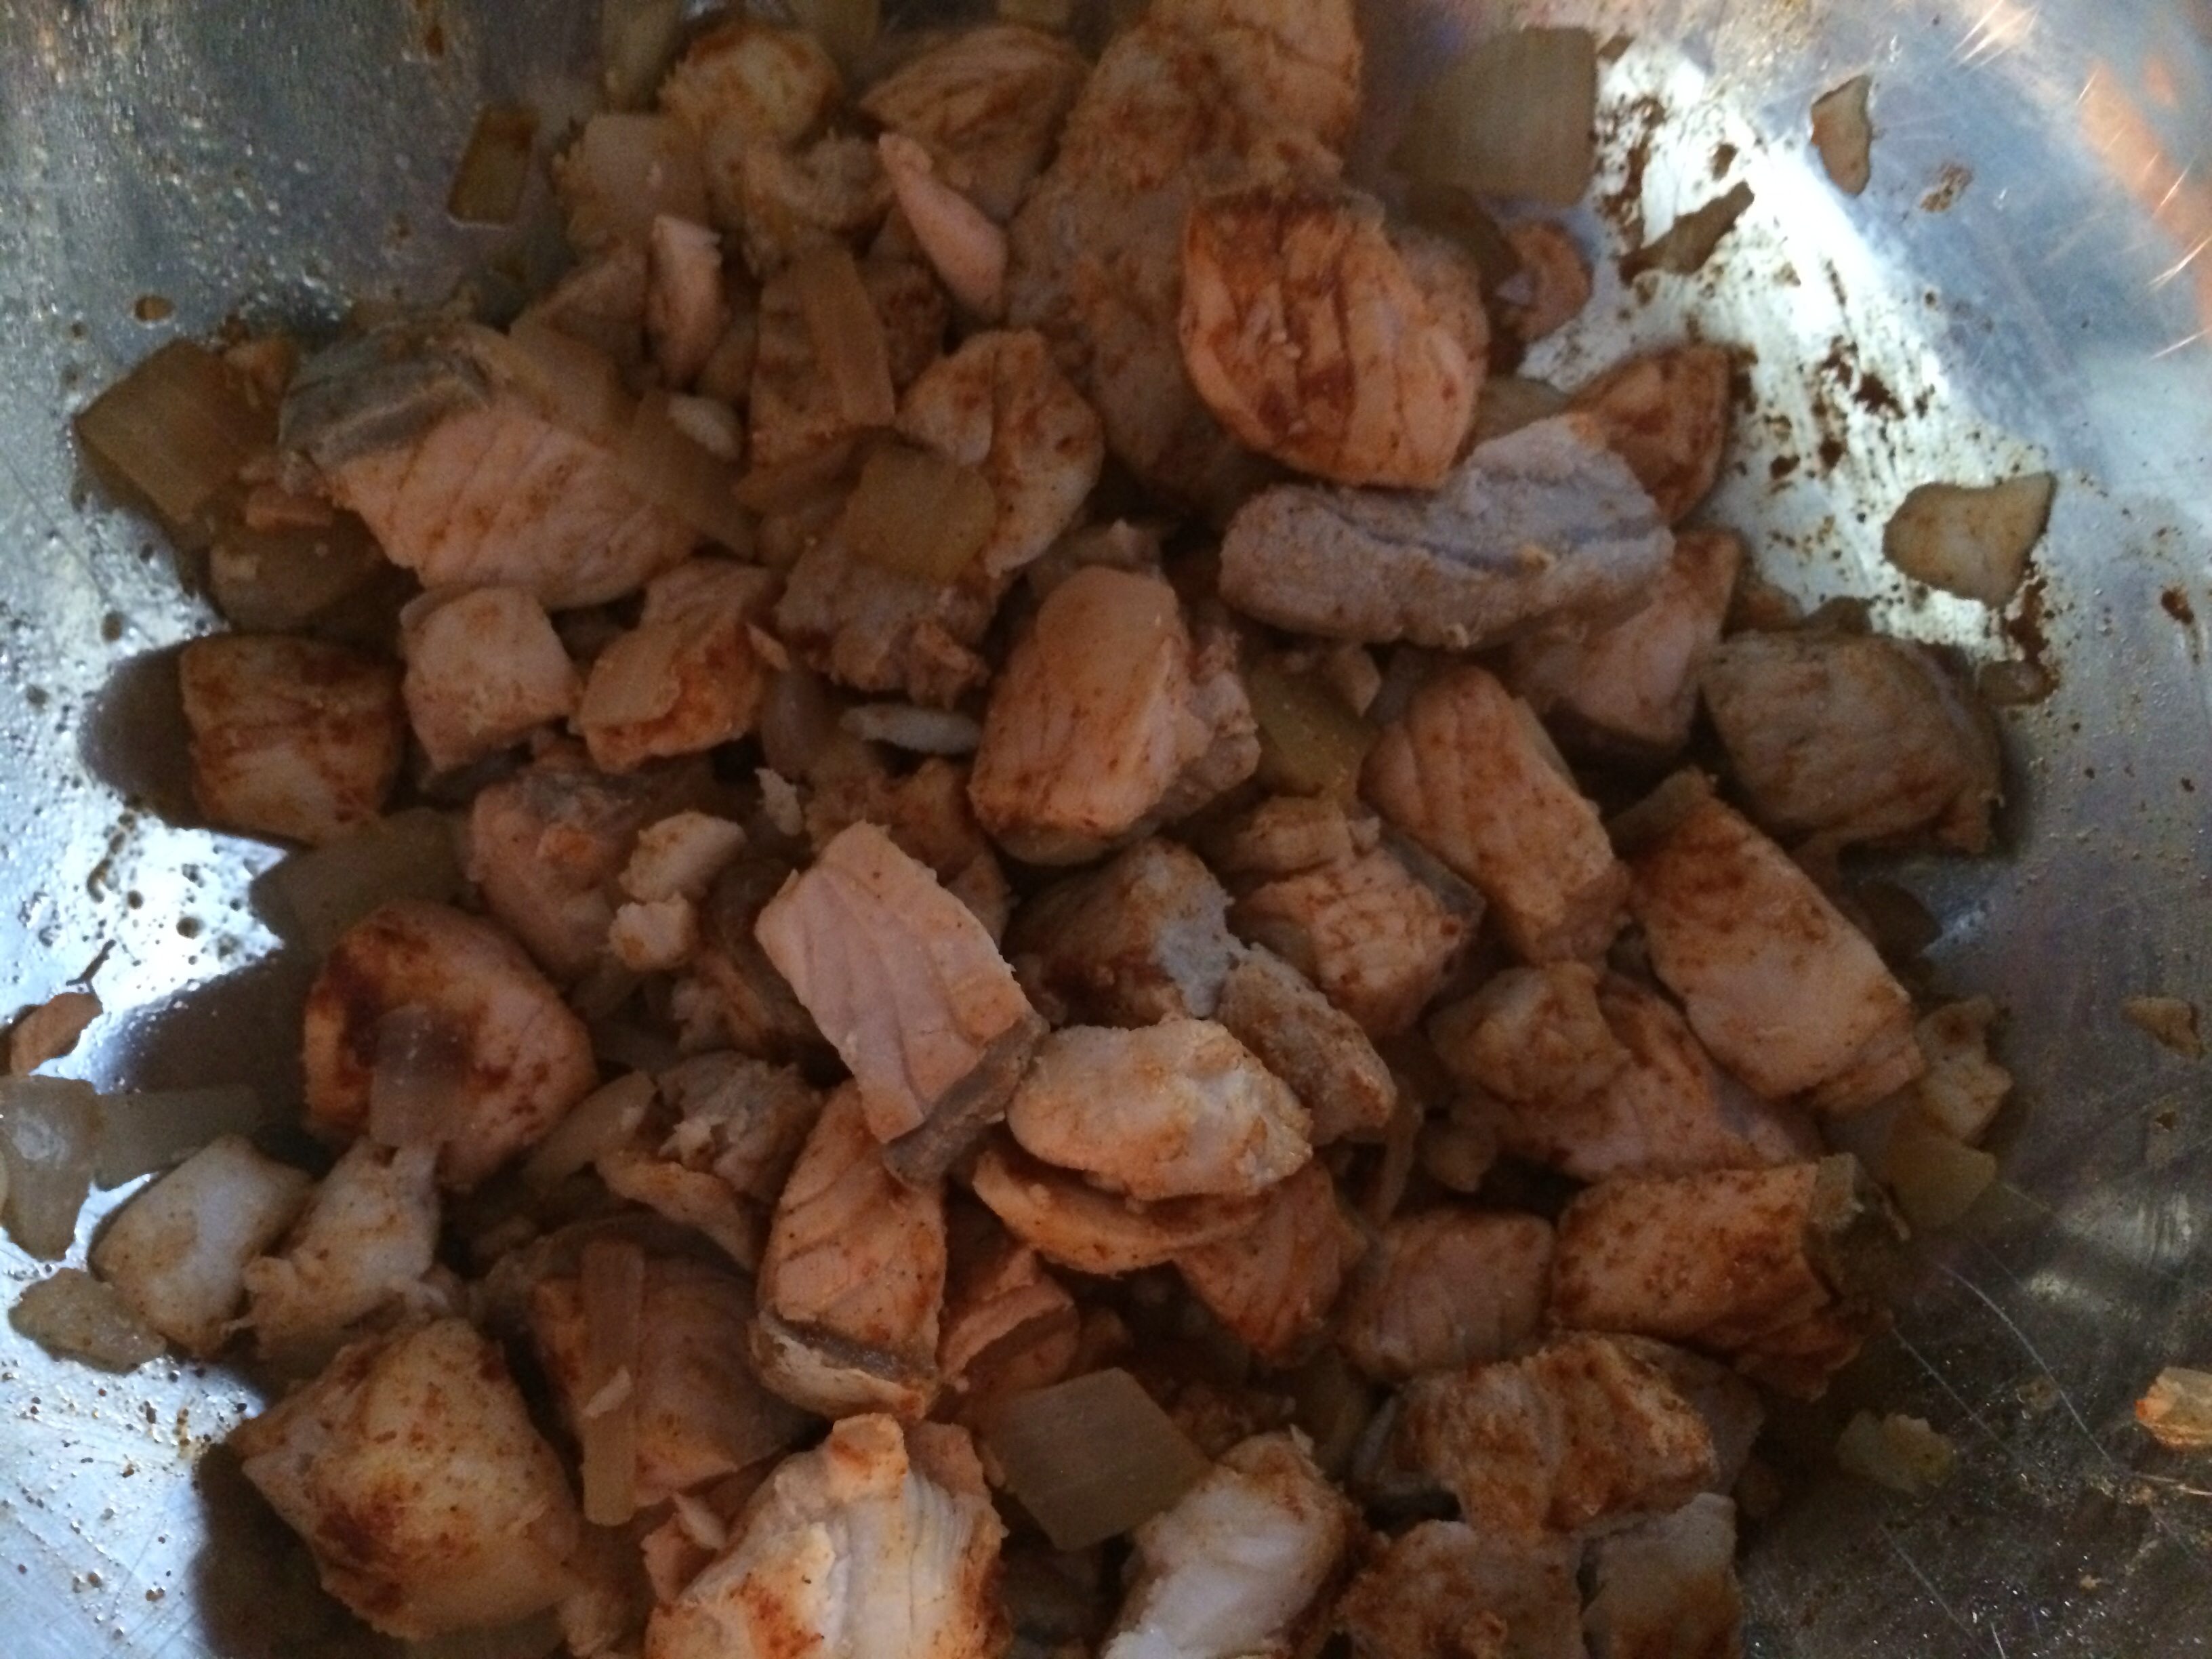
Place fish in a mixing bowl and coat with taco seasoning while warm.
Quick and easy meal! On the table in less than 30 minutes !
Mix together the sour cream, salsa, and sriracha in a small bowl.
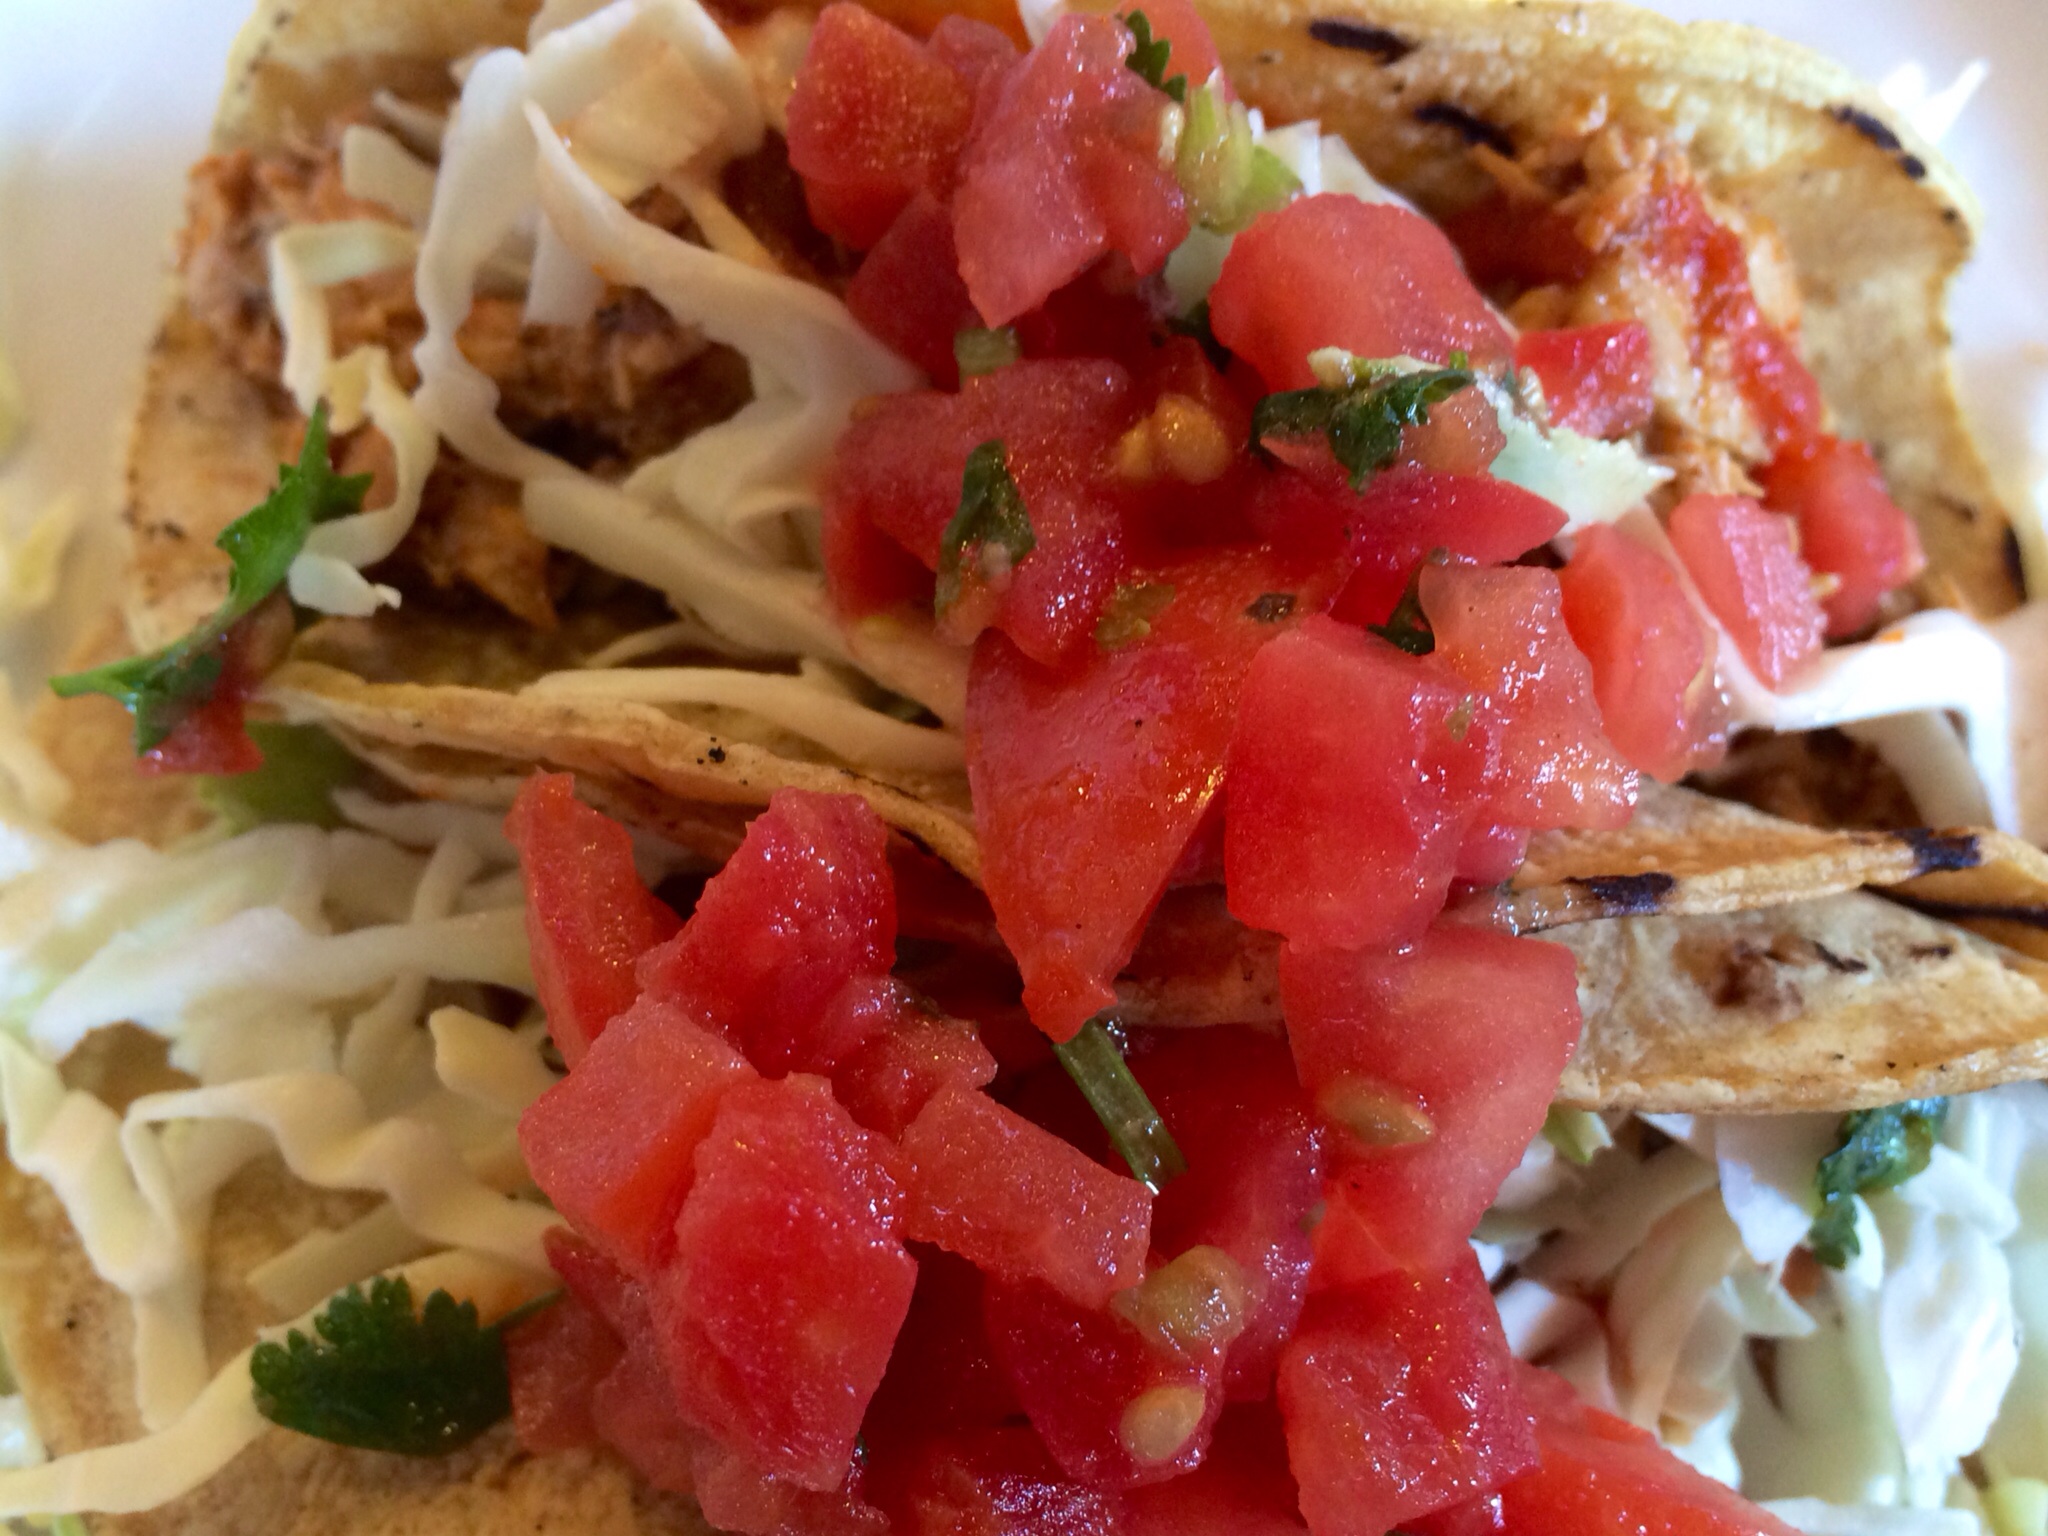
Fill the tortilla shells with shredded cabbage, tomatoes, fish and sauce! Sprinkle some cilantro!
I got my fix, but Penn Ave Fish Company makes the best in the Burgh!
Ever hear of Monterey Bay Aquarium Seafood Watch? If you are worried about seafood safety, this is your app! Whether you are buying fresh fish or ordering in a restaurant, the Seafood Watch app recommends ocean friendly seafood and gives up to date information regarding how each item should be fished or farmed.
My fish mongers at Penn Avenue Fish Company in Pittsburgh’s Strip District introduced me to this cool app! Have you found your fish monger, yet?
Enjoy another easy fish week dinner! On the table in 30 minutes!!
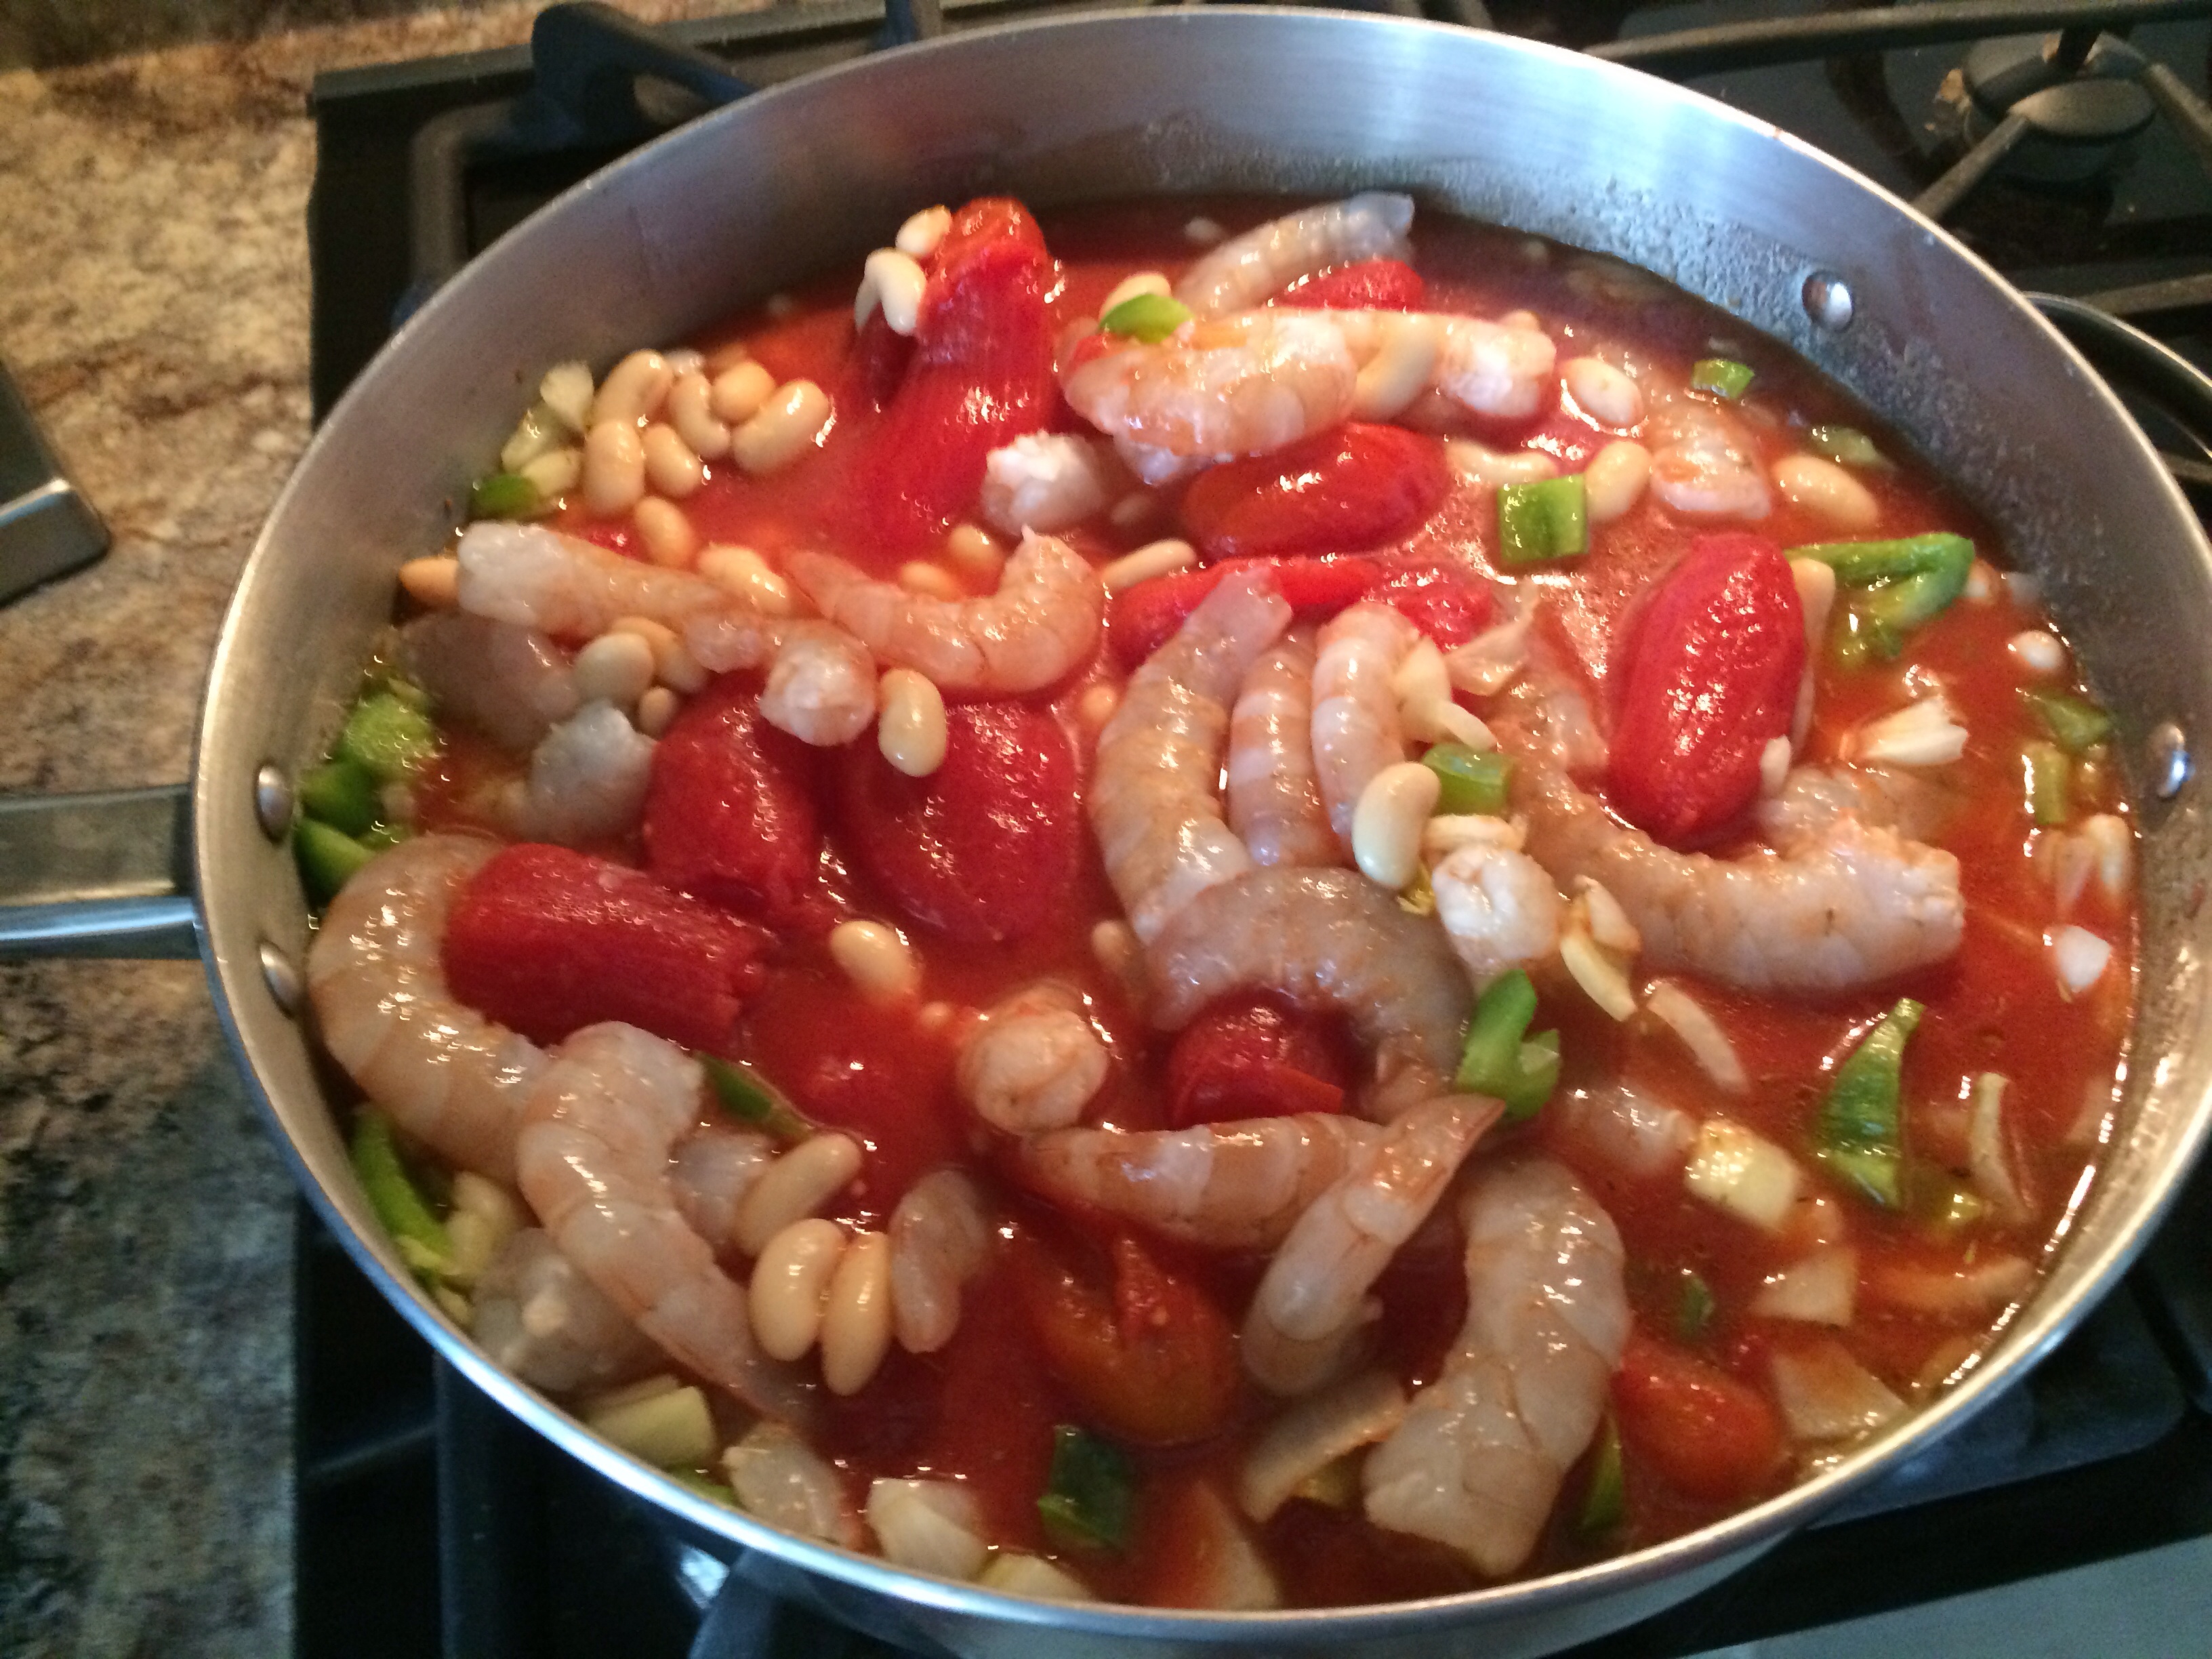
Shrimp jambalaya served over red quinoa!
Shrimp Jambalaya
Ingredients:
2 cups shrimp, cleaned and deveined.
1 35 oz. can whole peeled San Marzano tomatoes
1 tbsp. chopped thyme
2 garlic cloves, pressed
1 small onion, chopped
1 bell pepper, chopped
1 15oz. can white cannellini beans
2 tbsp. cayenne pepper
1 tbsp. chili powder
Salt/pepper
1 tsp. Red pepper flakes ( and a little extra to sprinkle on top)
Directions:
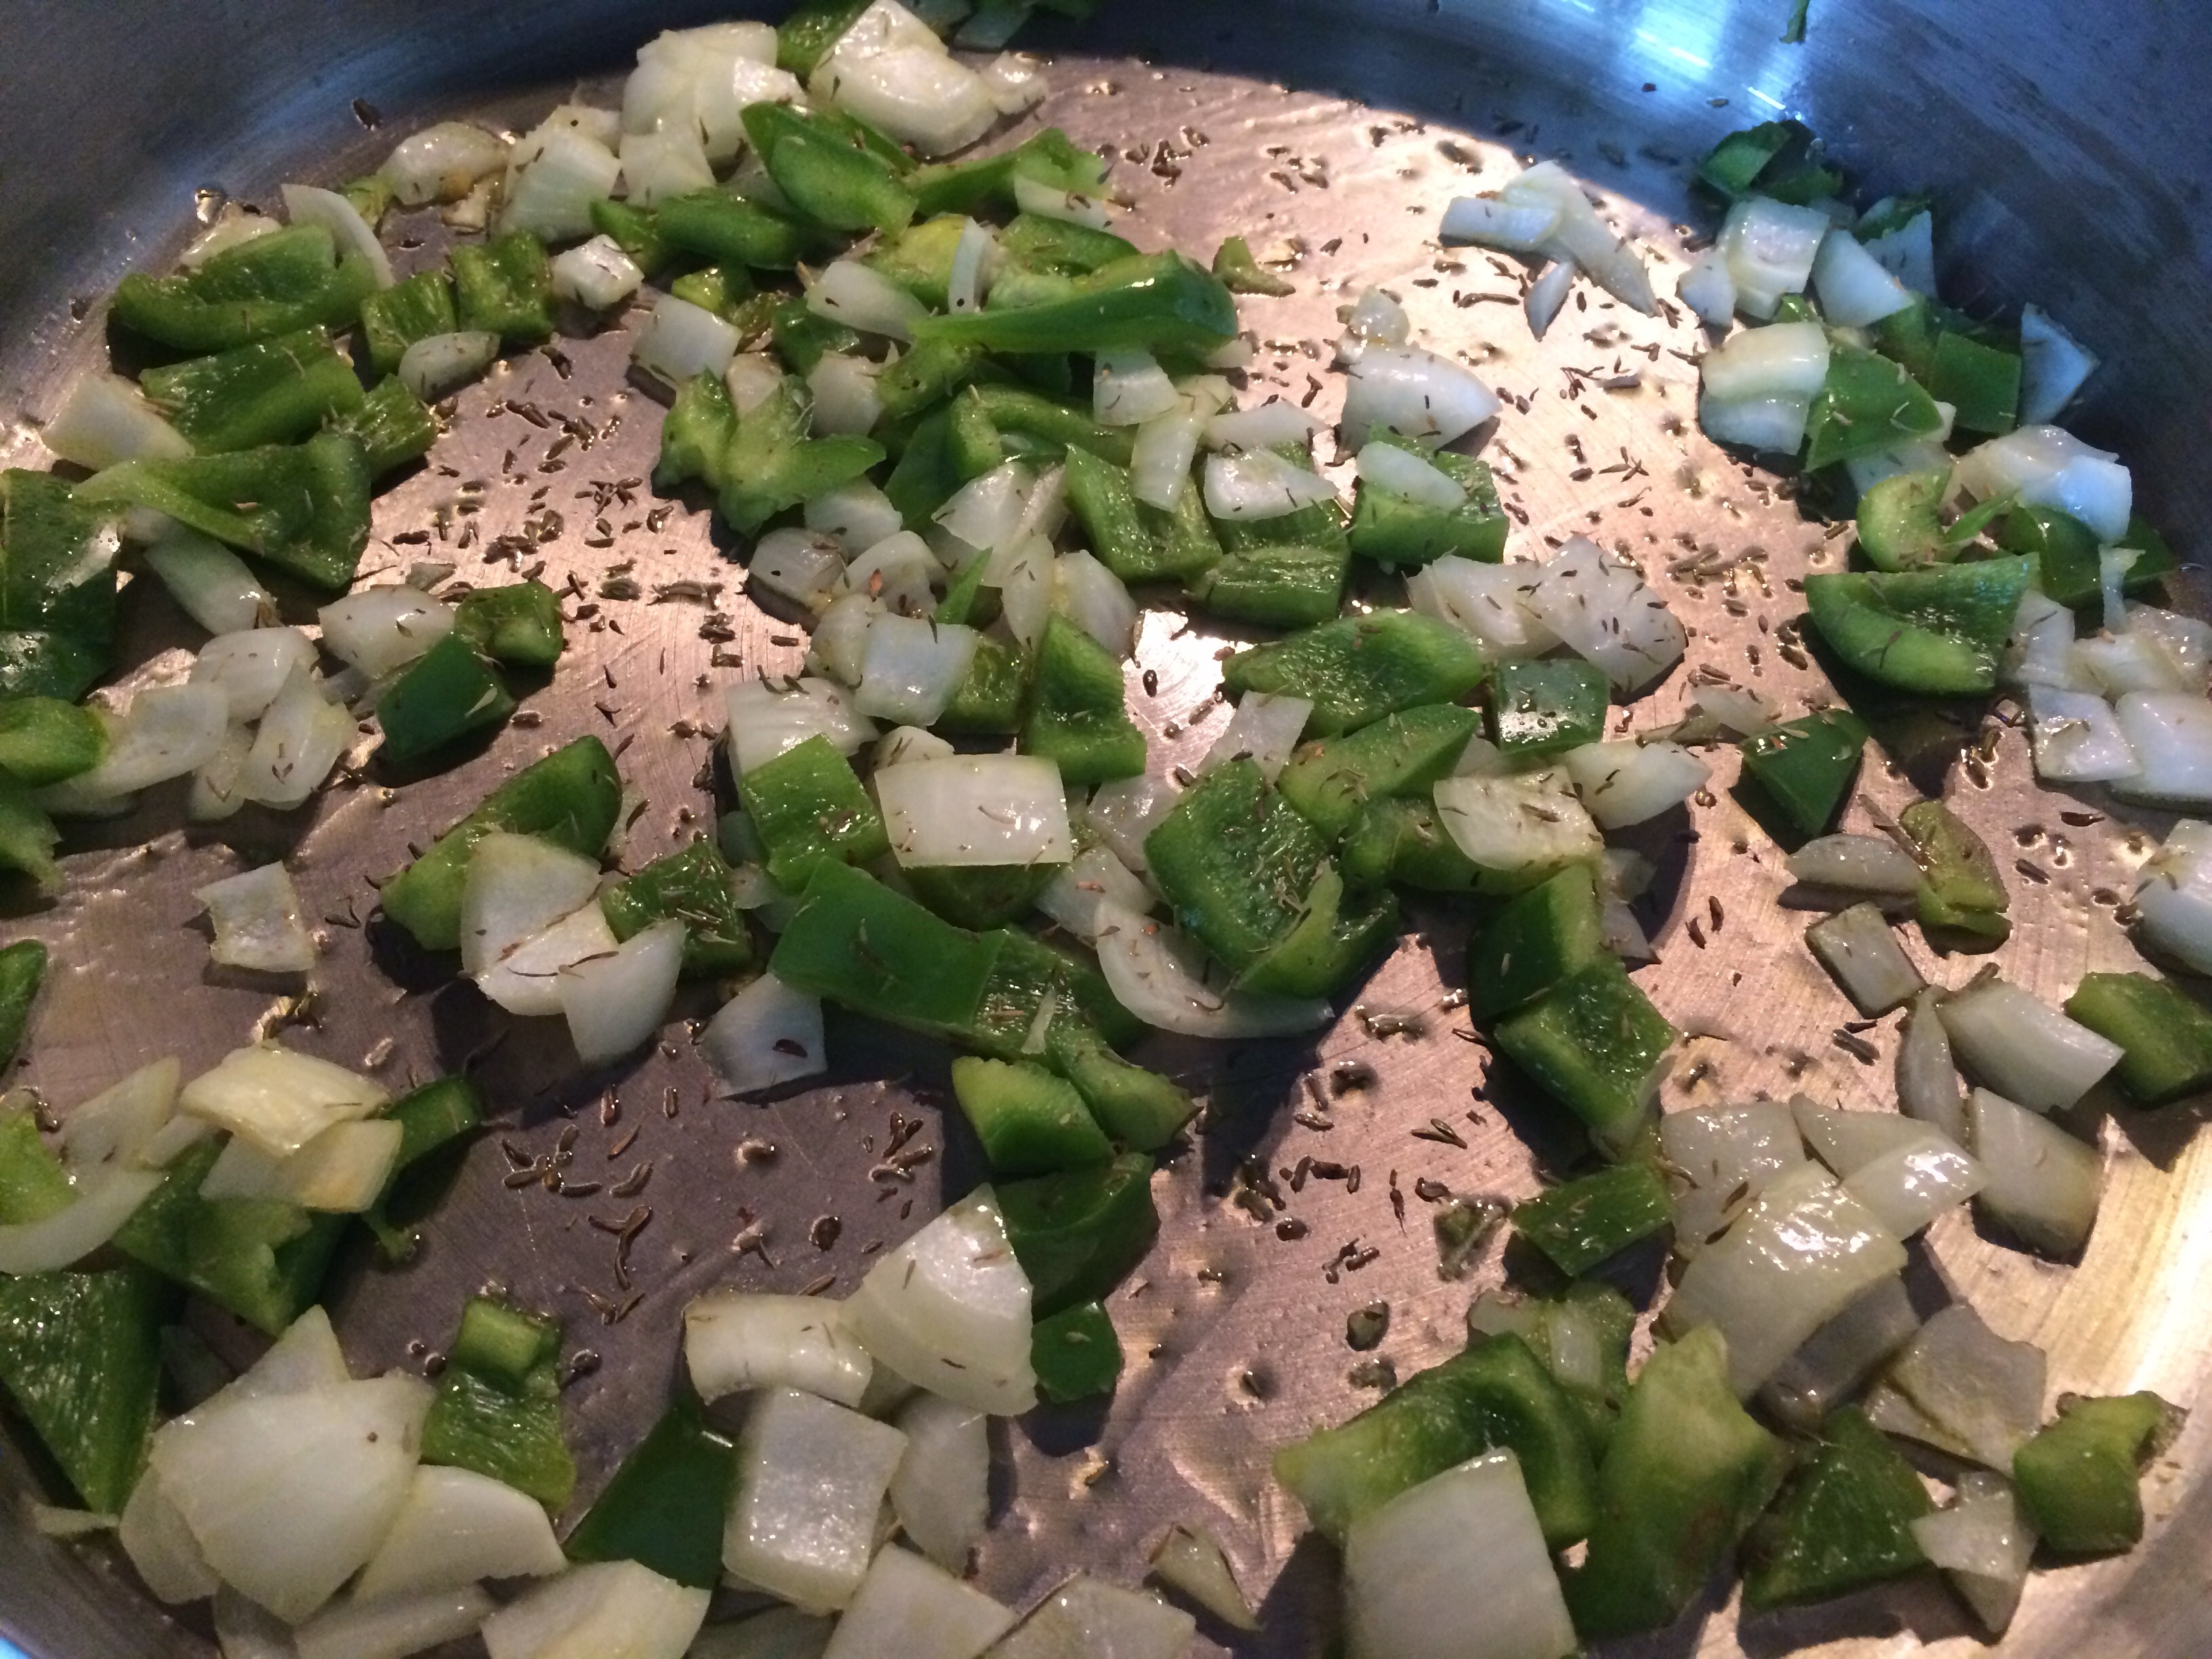
Heat olive oil in your deepest frying pan on medium heat.
Add garlic, onions, pepper and cook for a few minutes to soften the veggies.
Remember, if the heat is too high you will burn the garlic! Start over! No shame. I do this weekly.
Add tomatoes, shrimp, beans, herbs, and spices.
Let it cook and stir after a few minutes. Mix up the shrimp so they cook evenly. Shrimp on the bottom will cook faster.
Cook until shrimp are cooked through -approximately 7 minutes with the lid on. The shrimp will lose their translucency and pink/whiten up when cooked.
Red Quinoa
Directions:
1 cup uncooked quinoa, rinsed and drained, for 1-1/2 cup water.
Heat water and quinoa to a boil.
Simmer until liquid is absorbed.
Serve the shrimp jambalaya over the red quinoa and top with extra red pepper flakes for an extra kick!
I have been watching Food Network’s “Beat Bobby Flay,” have you? This dish could totally win! Delicious!
Ciao!
Penn Avenue Fish Company
2208 Penn Ave. in the Strip
http://pennavefishcompany.com/fresh_fish.html
Why are we scared of fish? Is it our lack of fish knowledge? Our ability to overcook fish EVERY TIME!? (Yep, this was me!)
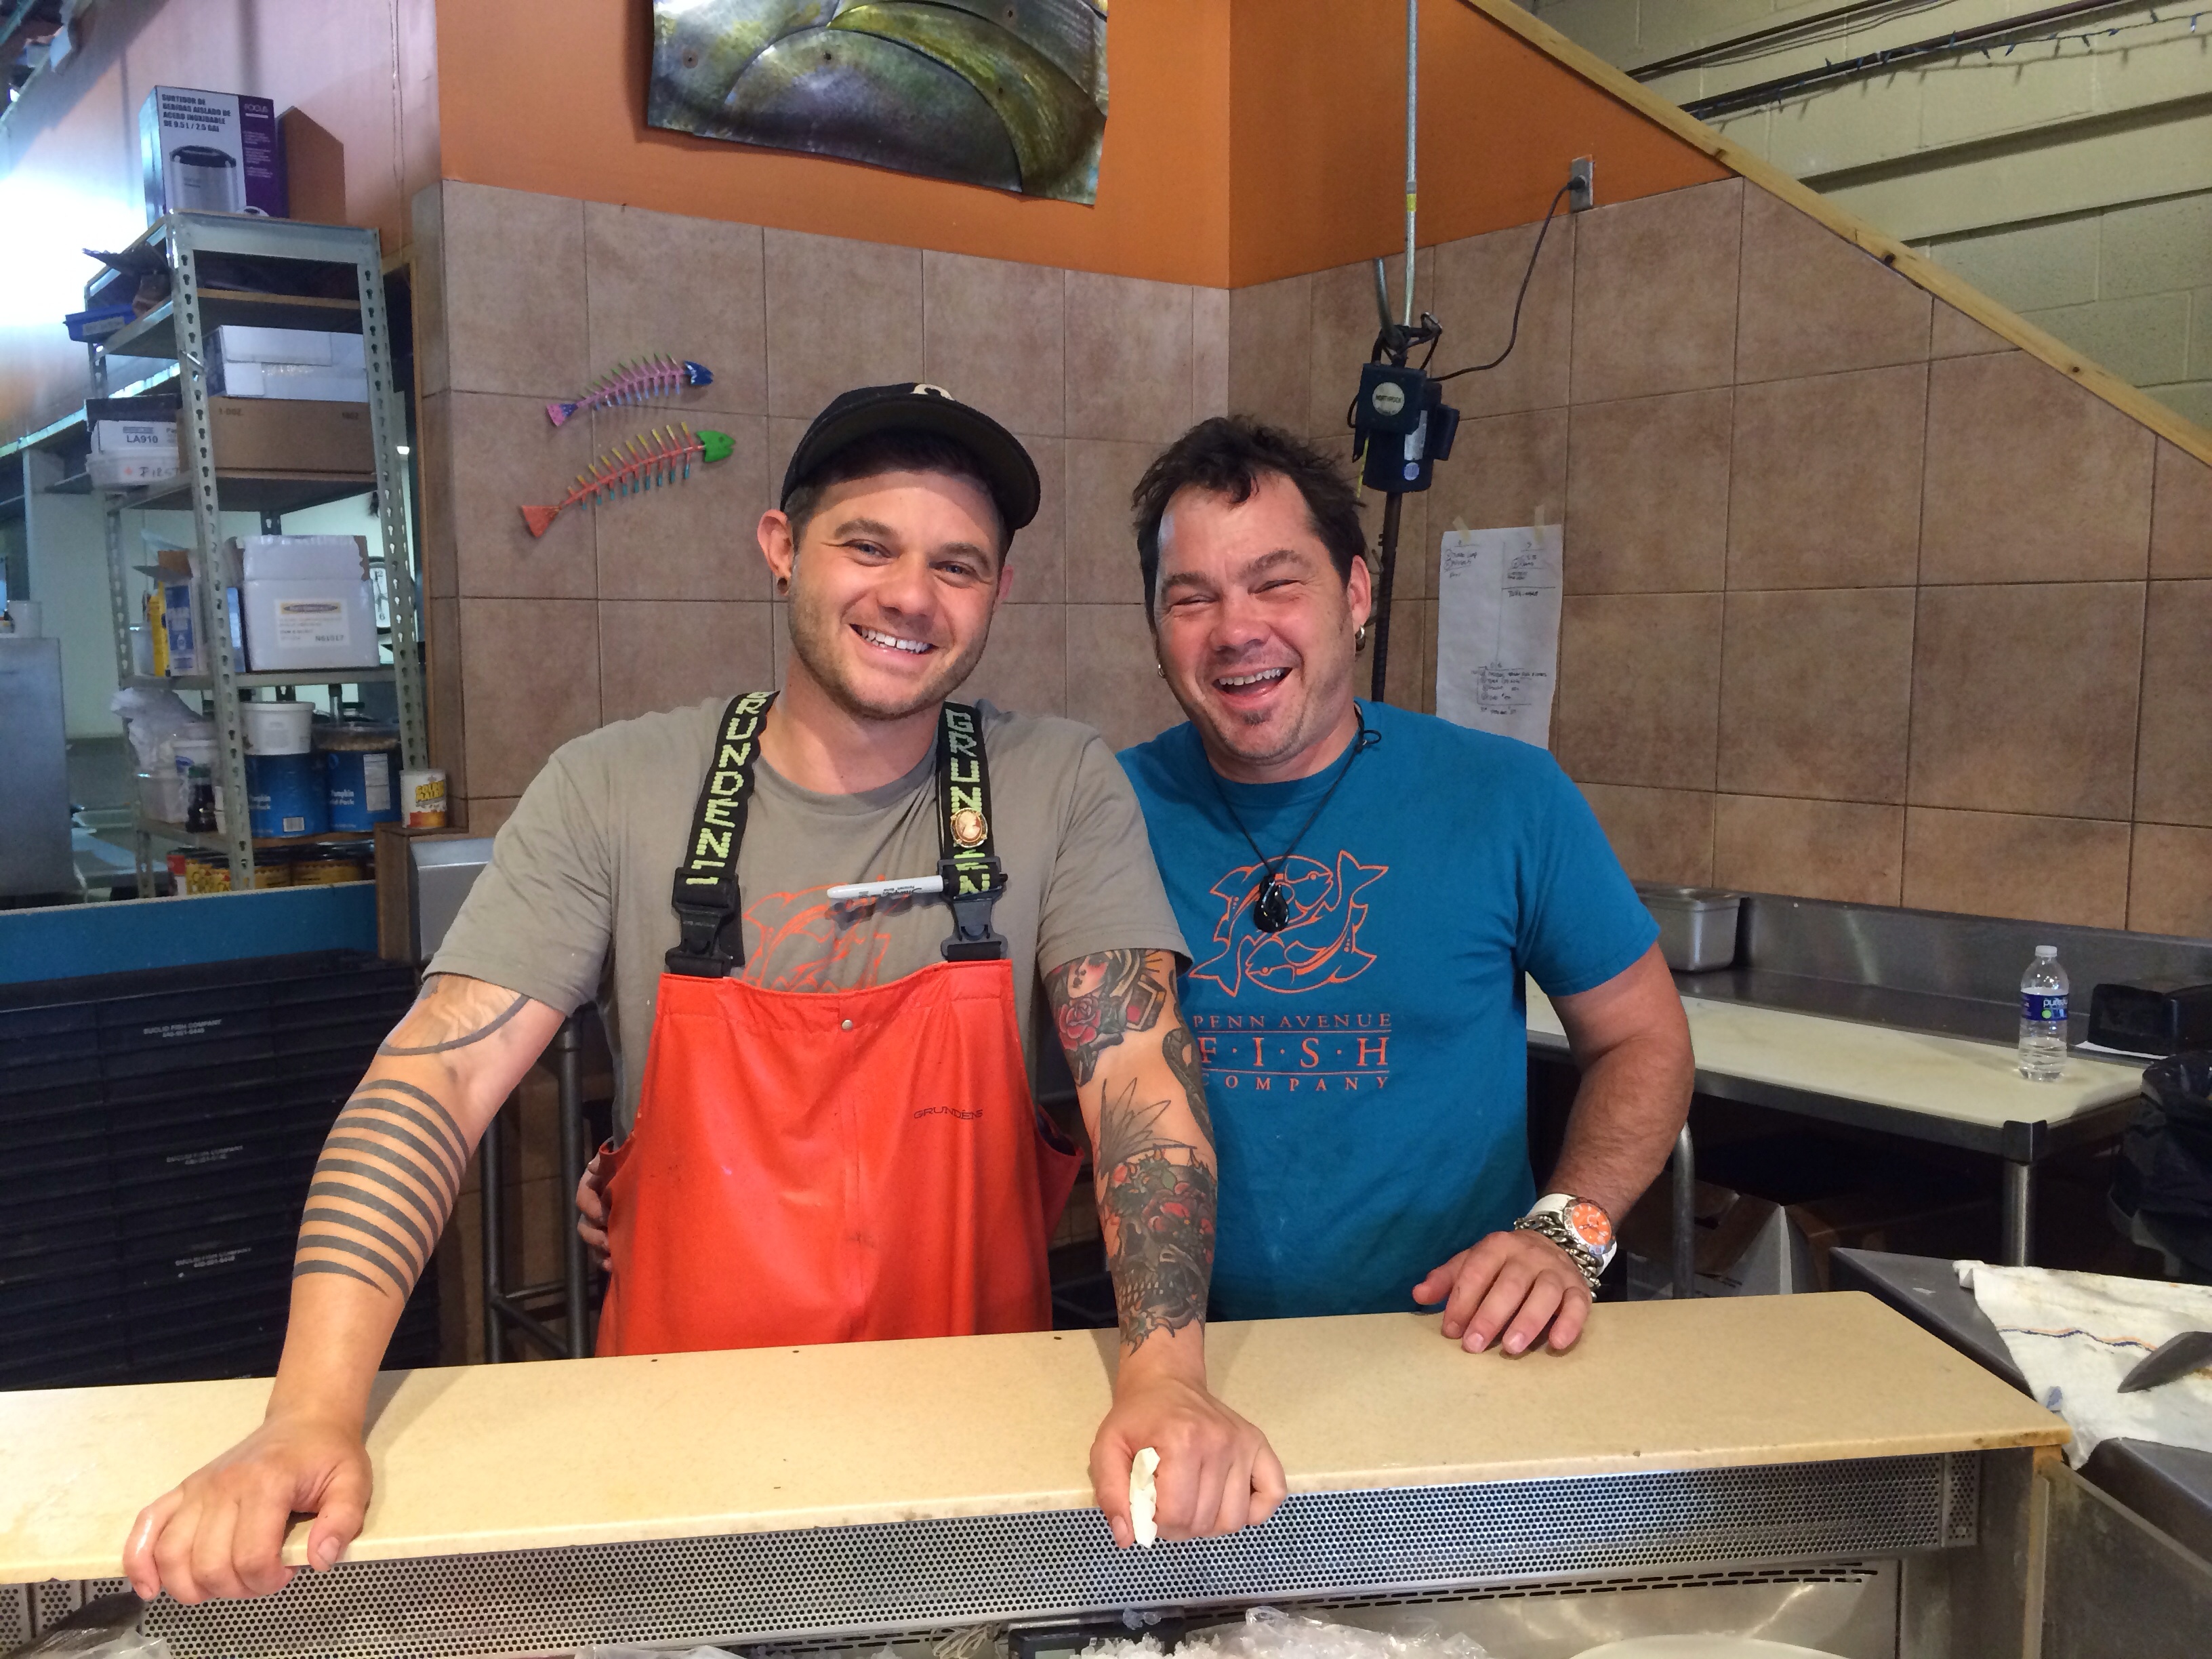
Meet Henry Dewey, co-founder of Pittsburgh’s hip fish market/restaurant Penn Avenue Fish Company! Pittsburgh is lucky to have Henry and his team of fish mongers!
These guys know their stuff, always providing excellent customer service as well as the highest quality product. Mark Clowney, left, Henry Dewey, right.
Henry explained that everyone needs a knowledgeable fish monger to navigate them through the fish buying ocean. “Find someone you can trust,” Dewey says, “and build a loyal relationship.” That way, there is no question about the origination or freshness of the fish.
Tilapia is a great starting point when introducing fish on your menu. Tilapia does not have a fishy taste and is easy to determine when it’s cooked.
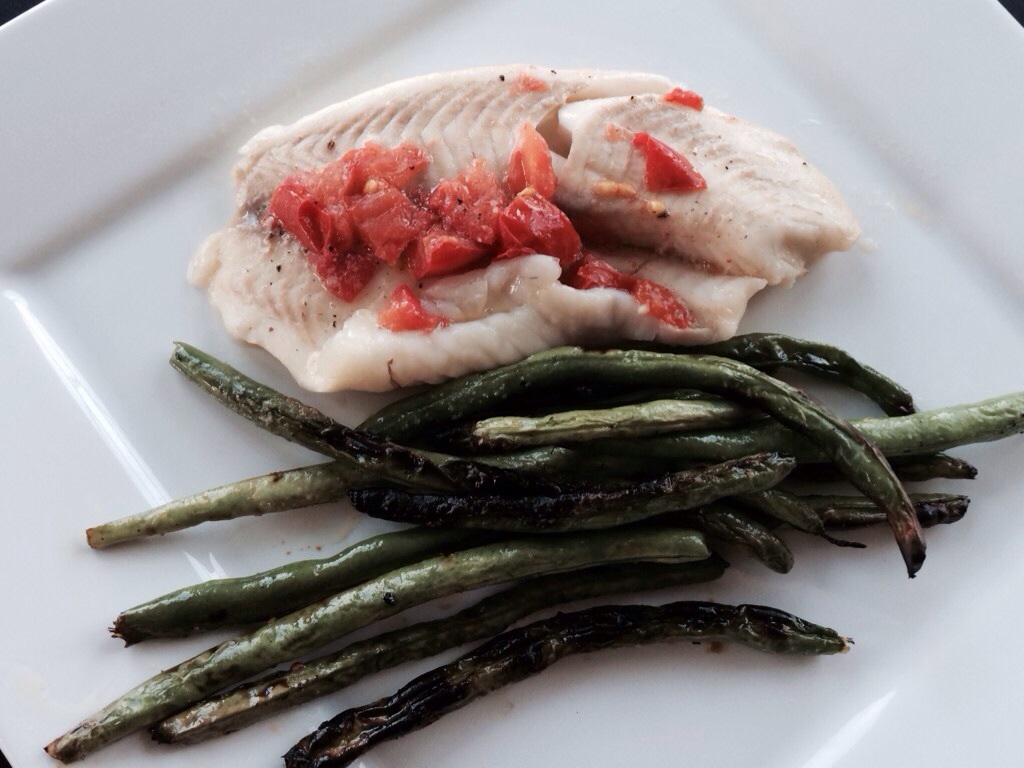
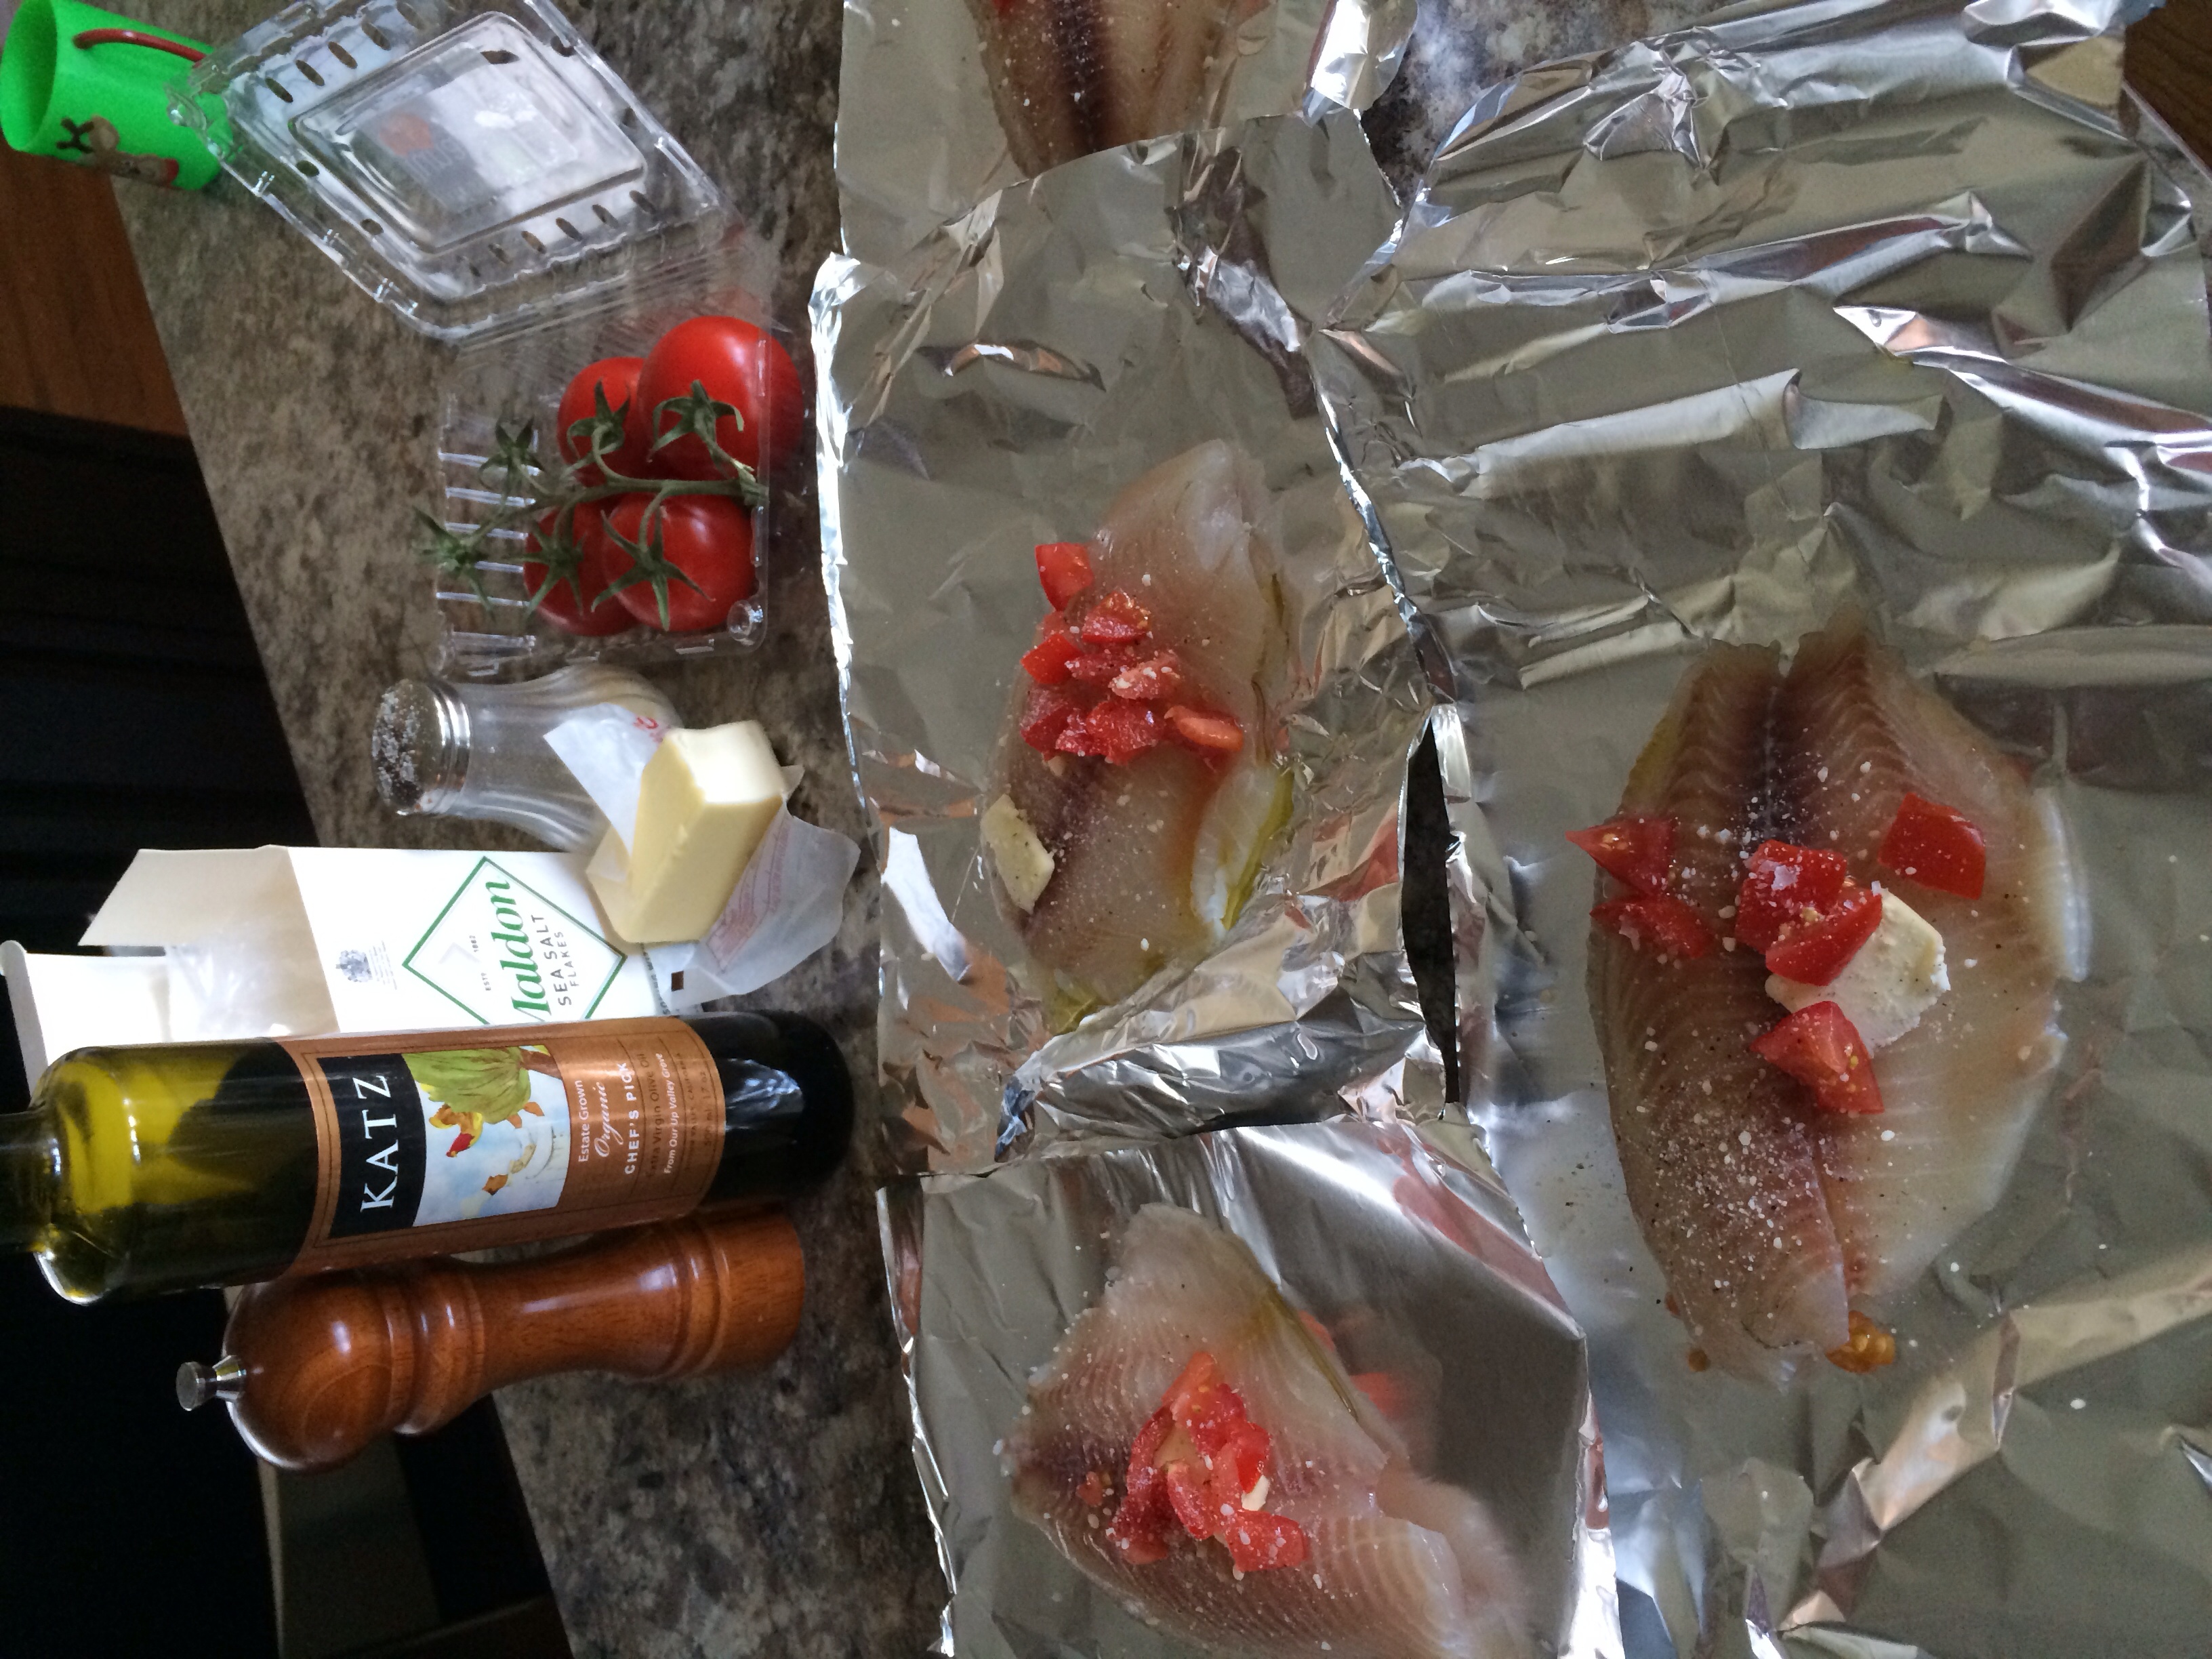
Grilled Foil Packet Tilapia
Ingredients:
1lb 8oz.-or 6 count tilapia fillets (thawed if fresh frozen)
1 large tomato chopped
2 cloves of garlic, roasted (foil packet on grill for 3- 5 mins. during grill heat up) and finely chopped
4 tbsp. olive oil
6 very small, thin pats of butter
Freshly grated parmesan
Course salt/pepper
Directions:
Heat grill to medium heat 300-350 degrees.
Place tilapia fillets on 6 aluminum foil sheets large enough to fold and seal.
Looking for portion control help? The packet grilling method ensures portion awareness!
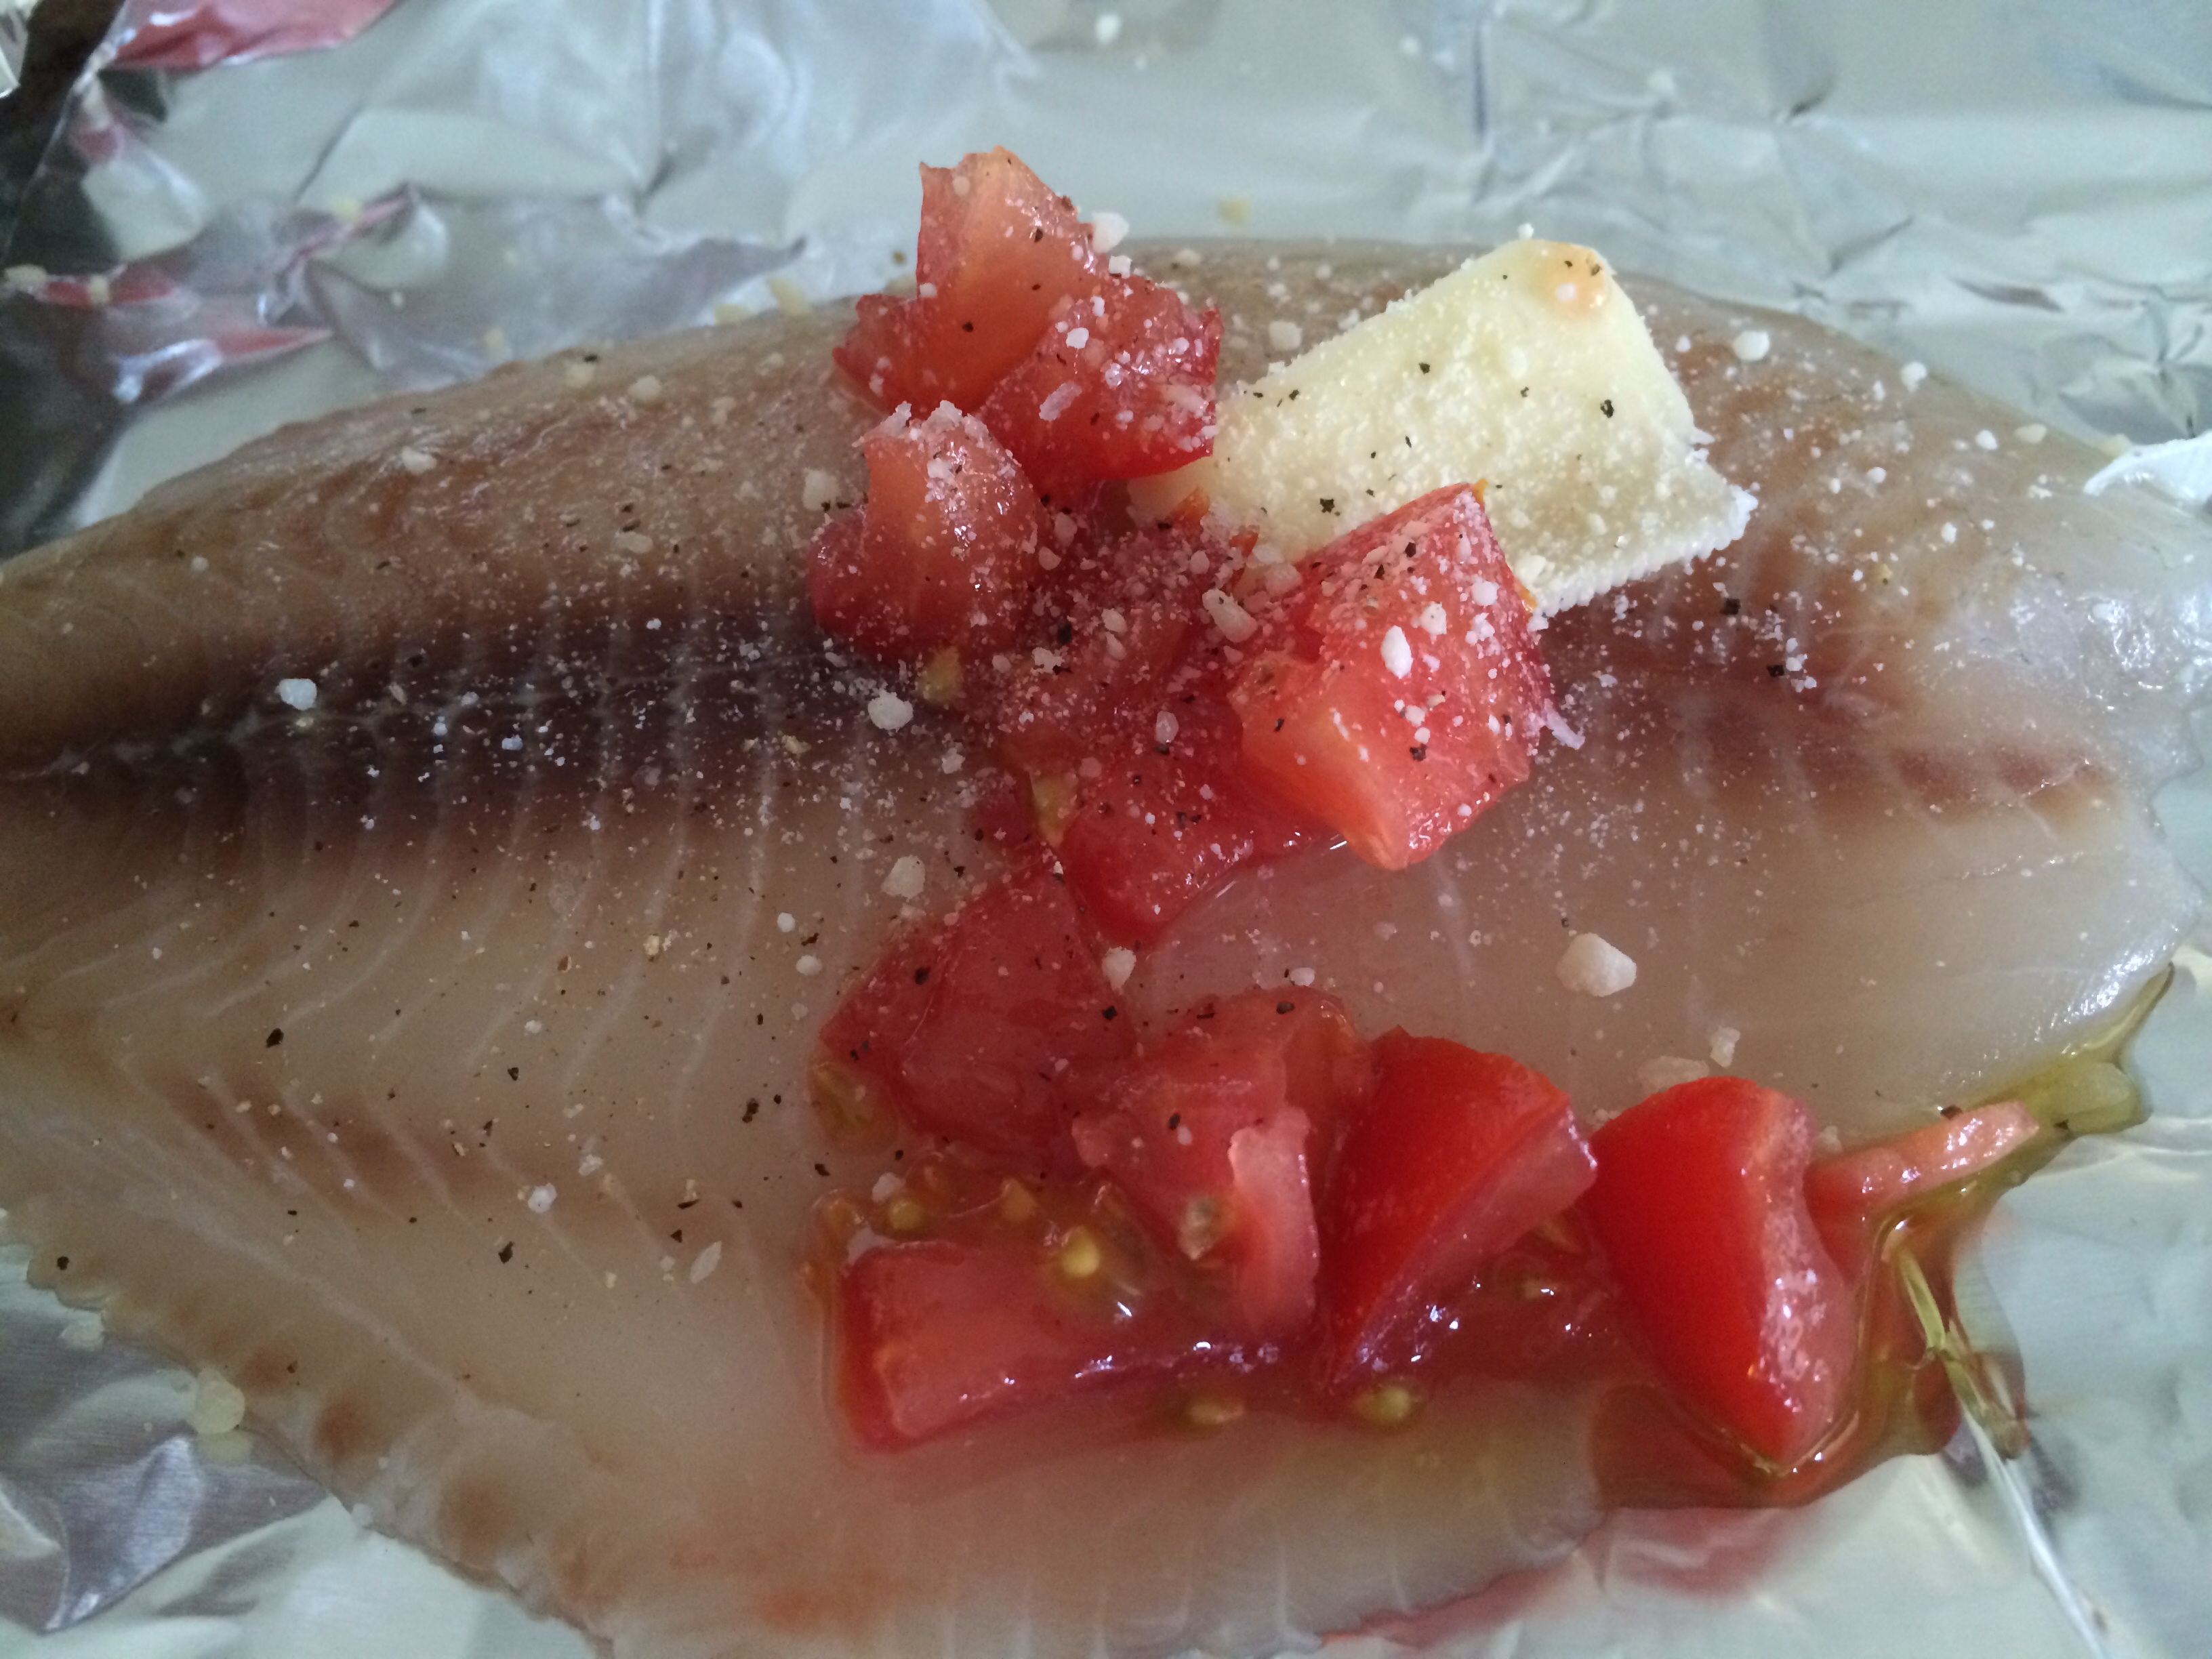
Top each fillet with 1/2 olive oil, 1 small pat of butter, 1/6 chopped tomatoes, 1/6 roasted garlic,a shake of freshly grated parmesan, salt and pepper.
Fold foil to seal packets.
I chose to add chopped tomatoes to my packets this time. The fish is delicious with or without them!
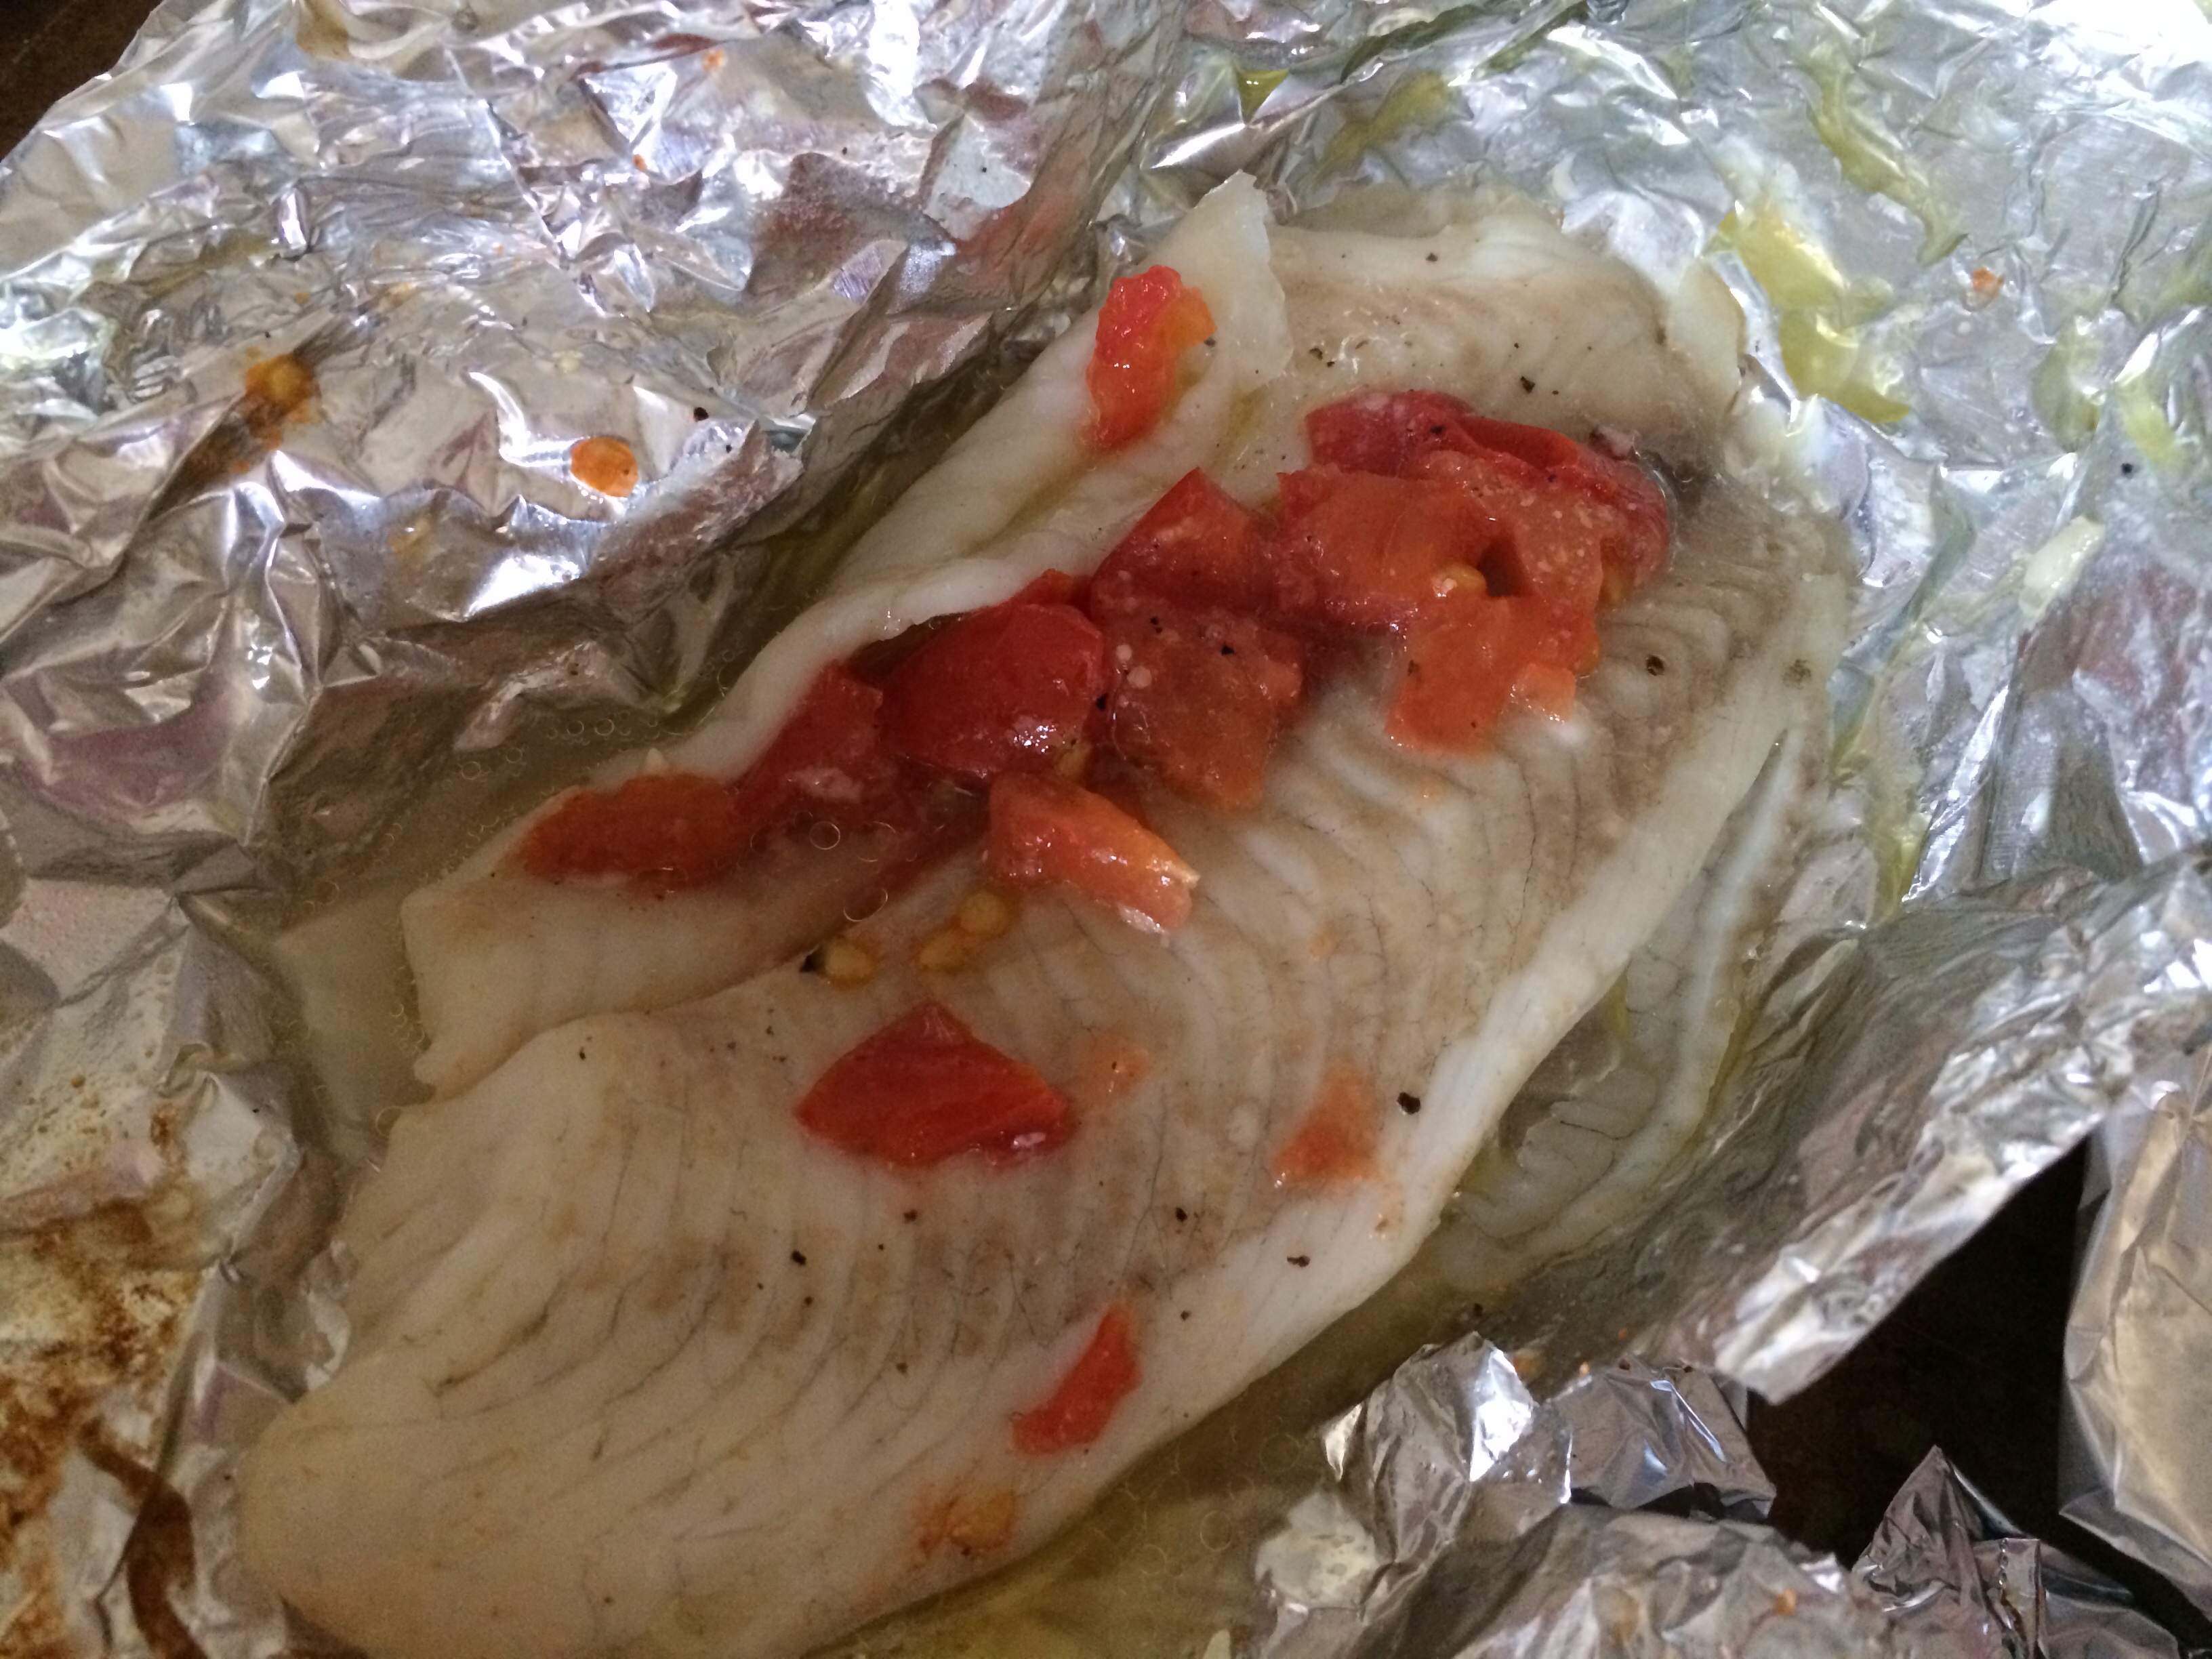
Place packets on the grill for 5-7 minutes or until the fish flakes and turns white, losing its translucency. (I guess that’s a word! Ha!)
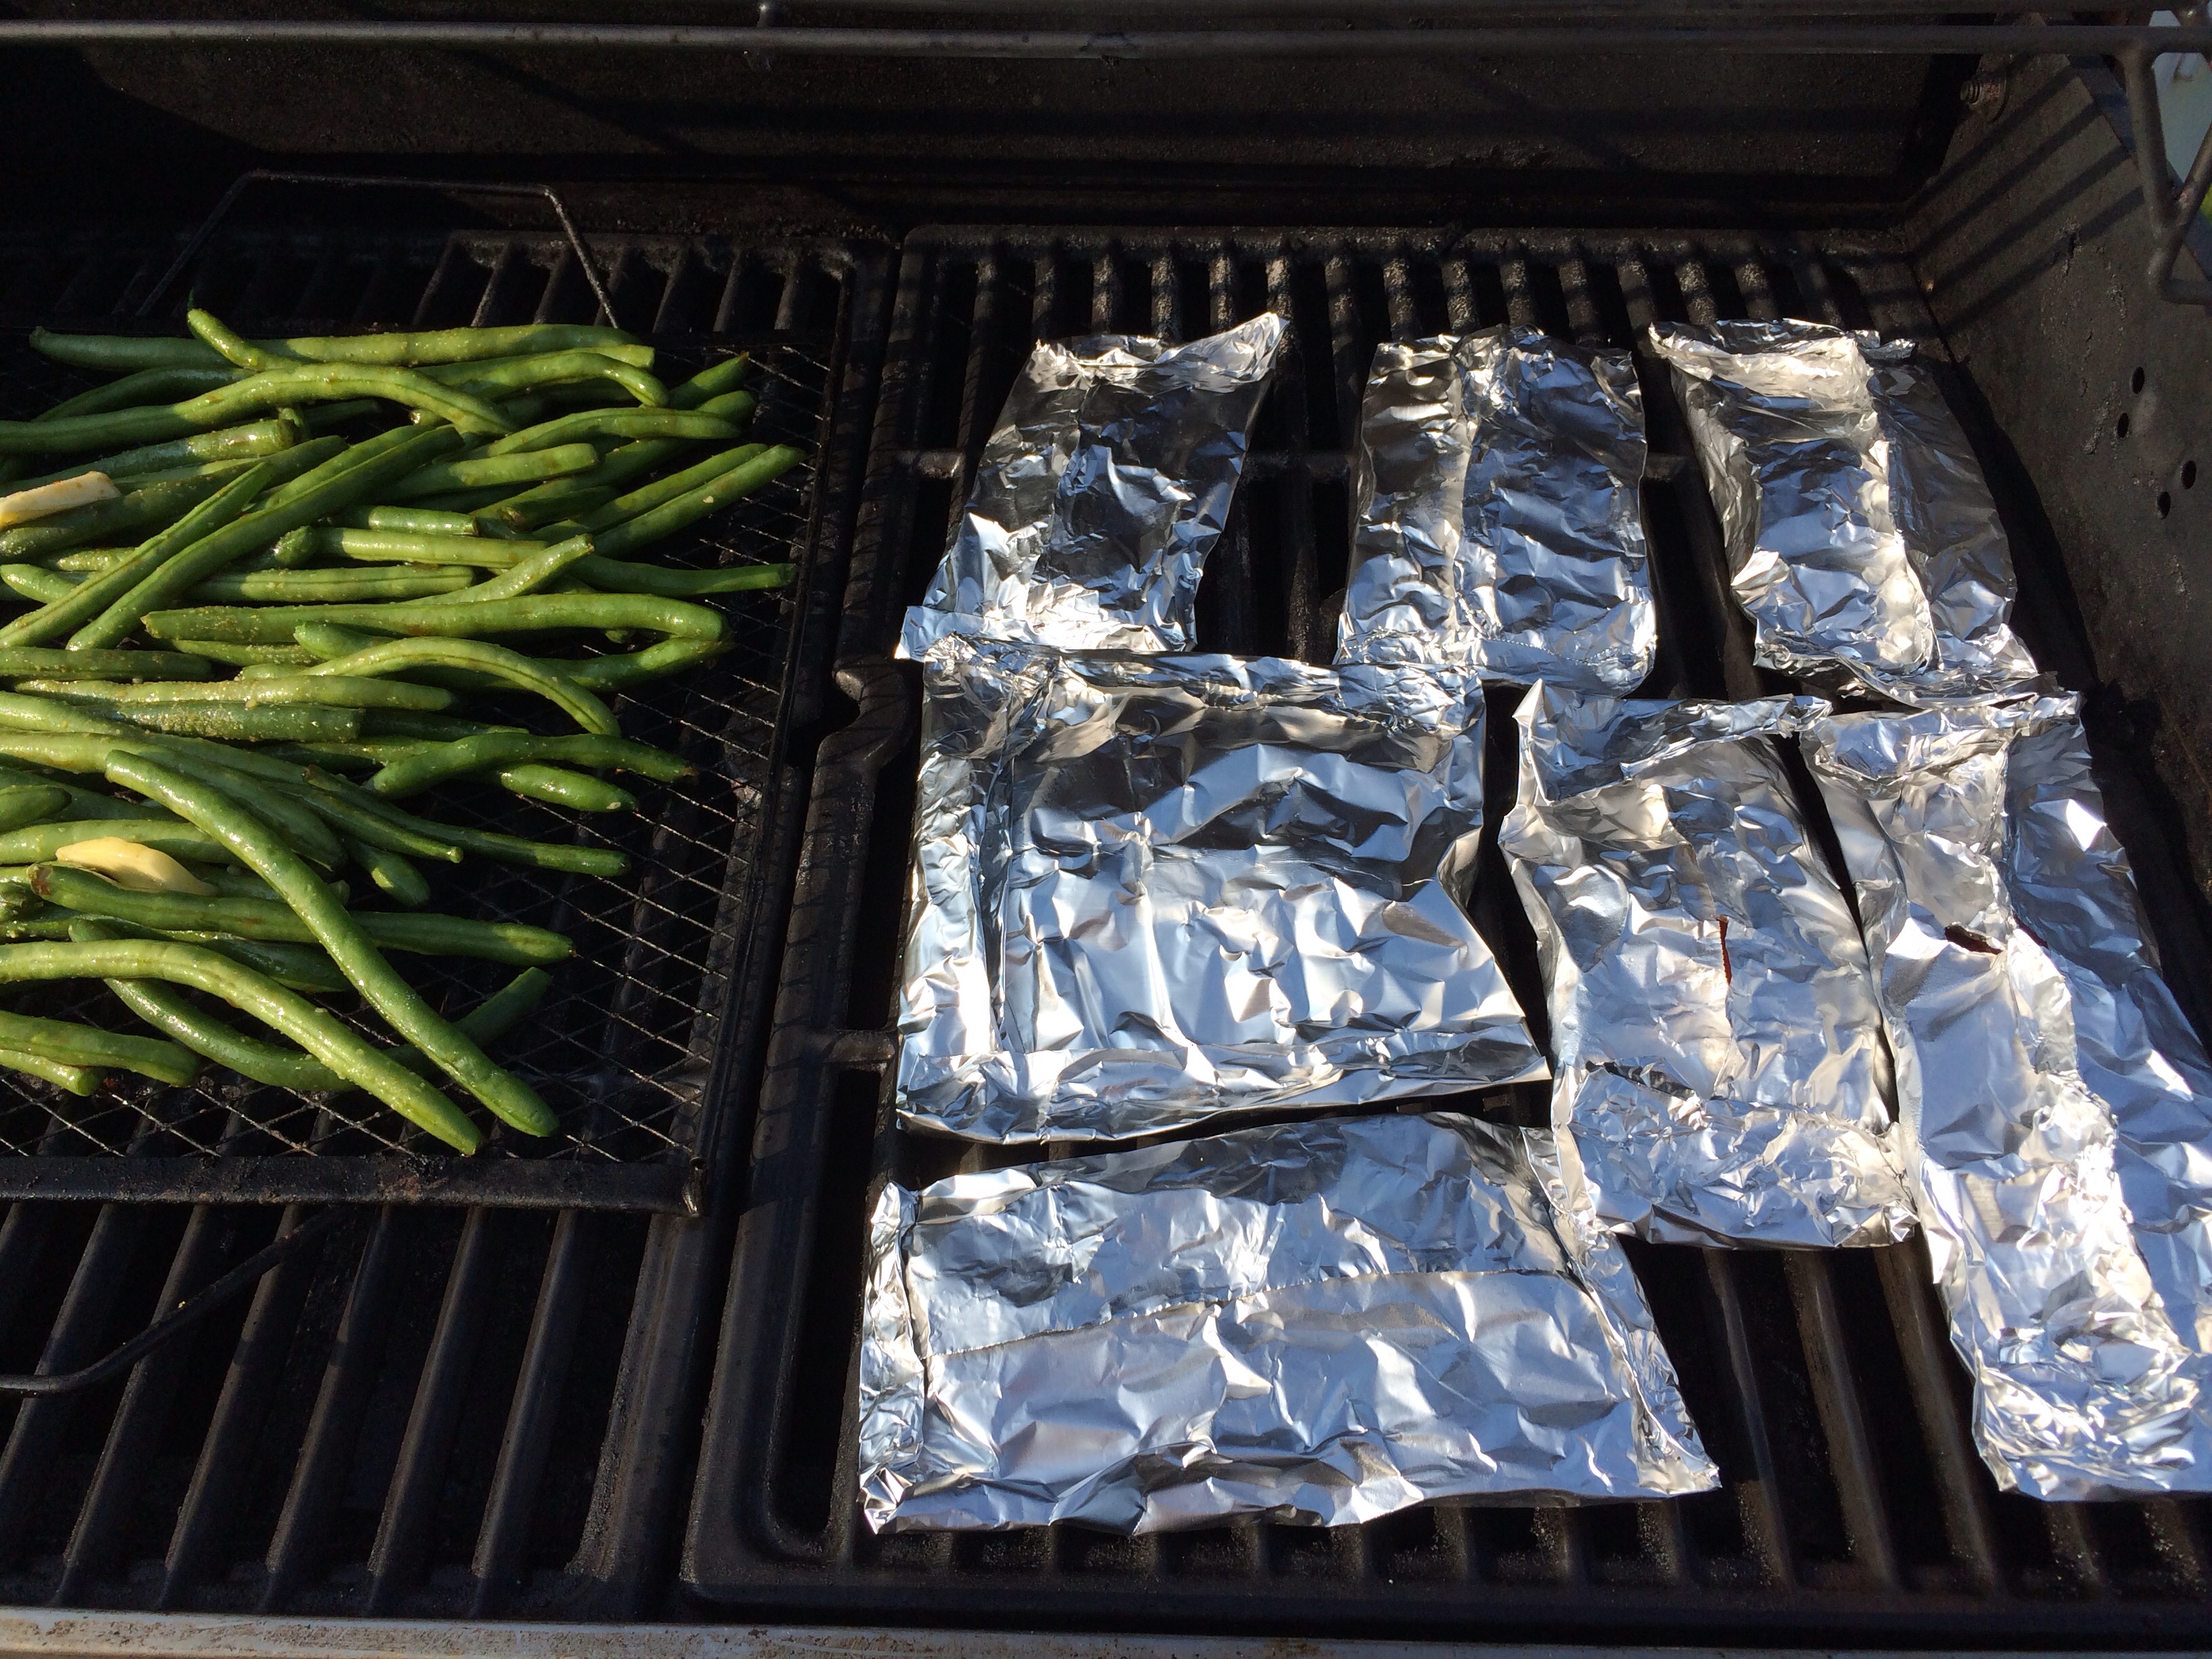
Place packets a few inches apart on the hottest part of the grill- the lower grate.Perfect! The fish flakes when poked with a fork and has turned an opaque white! Done!
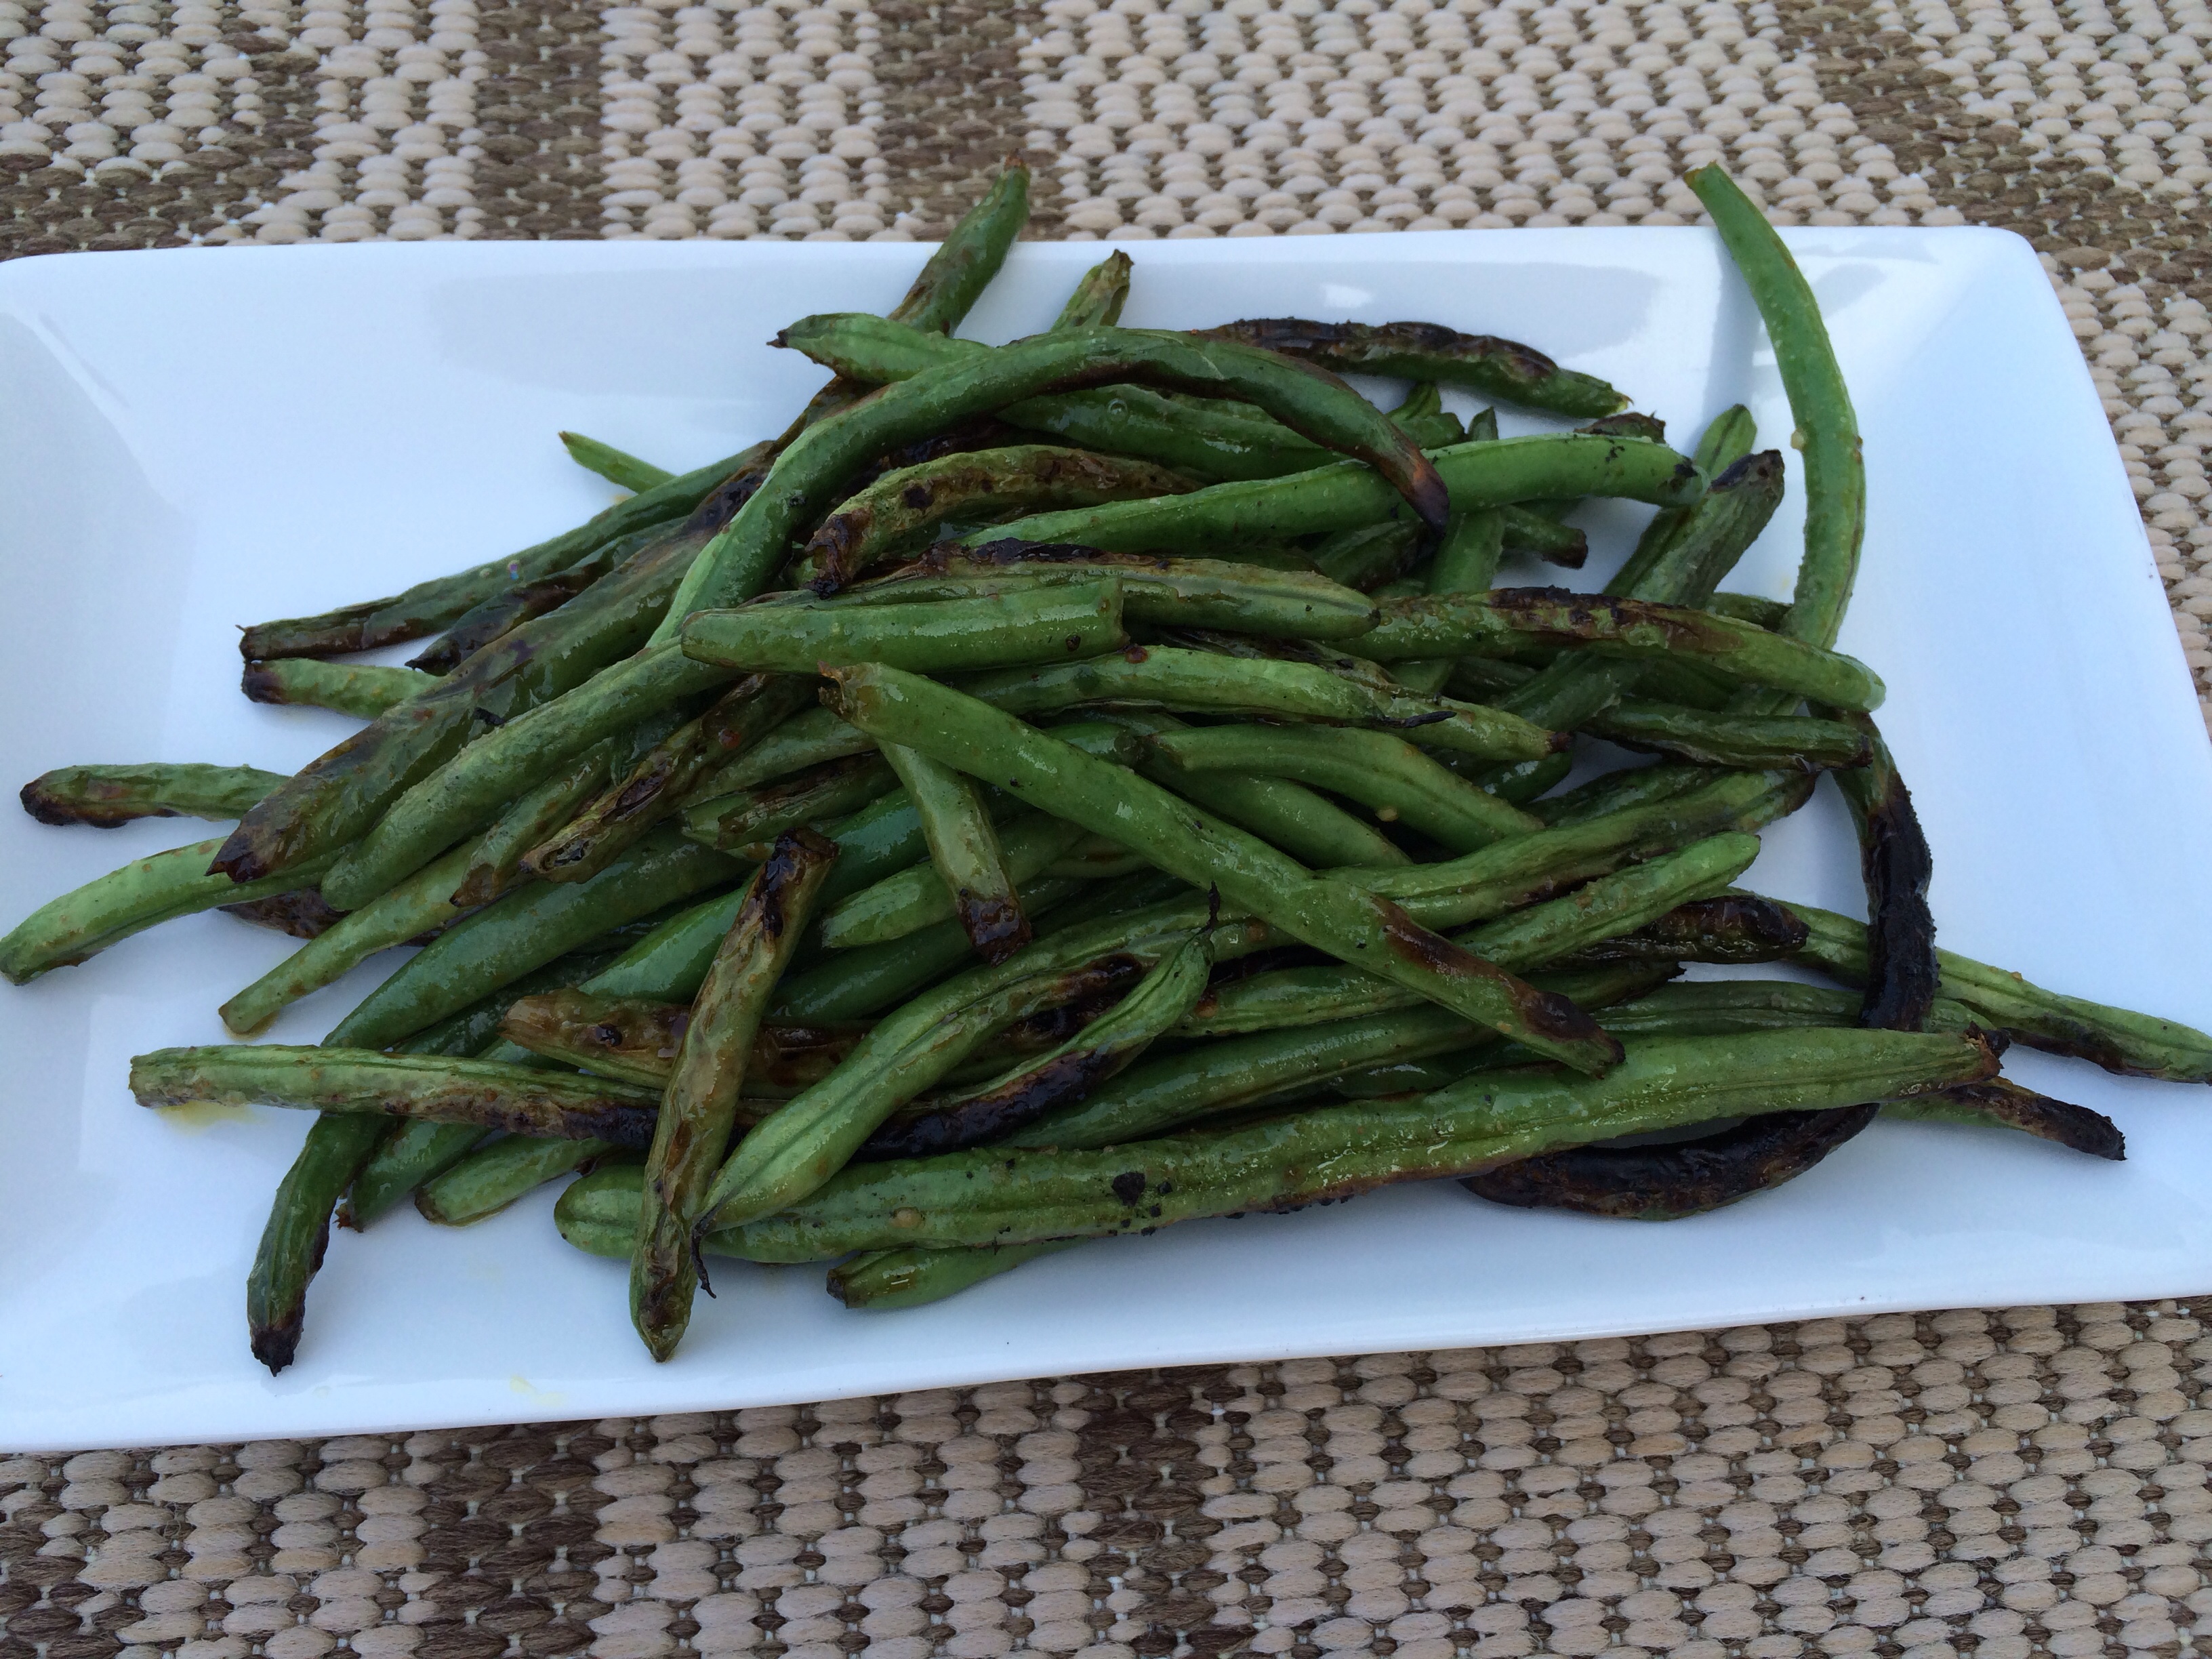
Spicy Grilled Green Beans
Mix one pound of fresh green beans with 2 tbsp. olive oil, 1 tbsp. Dijon mustard, and 1 tbsp. Sriracha in a Ziploc bag.
Coat the beans in the bag.
Place beans evenly on your grill’s vegetable grate or foil.
Cook for 5 -7mins. or until cooked and hot, but still crunchy.
Grilling vegetables on the tray or right on the grill gives them the extra char!
Enjoy!
Ciao!
Stop in and try the fish tacos! The kids and I think they are the best in the Burgh!
http://pennavefishcompany.com/home_strip.html
2208 Penn Ave. in the Strip!
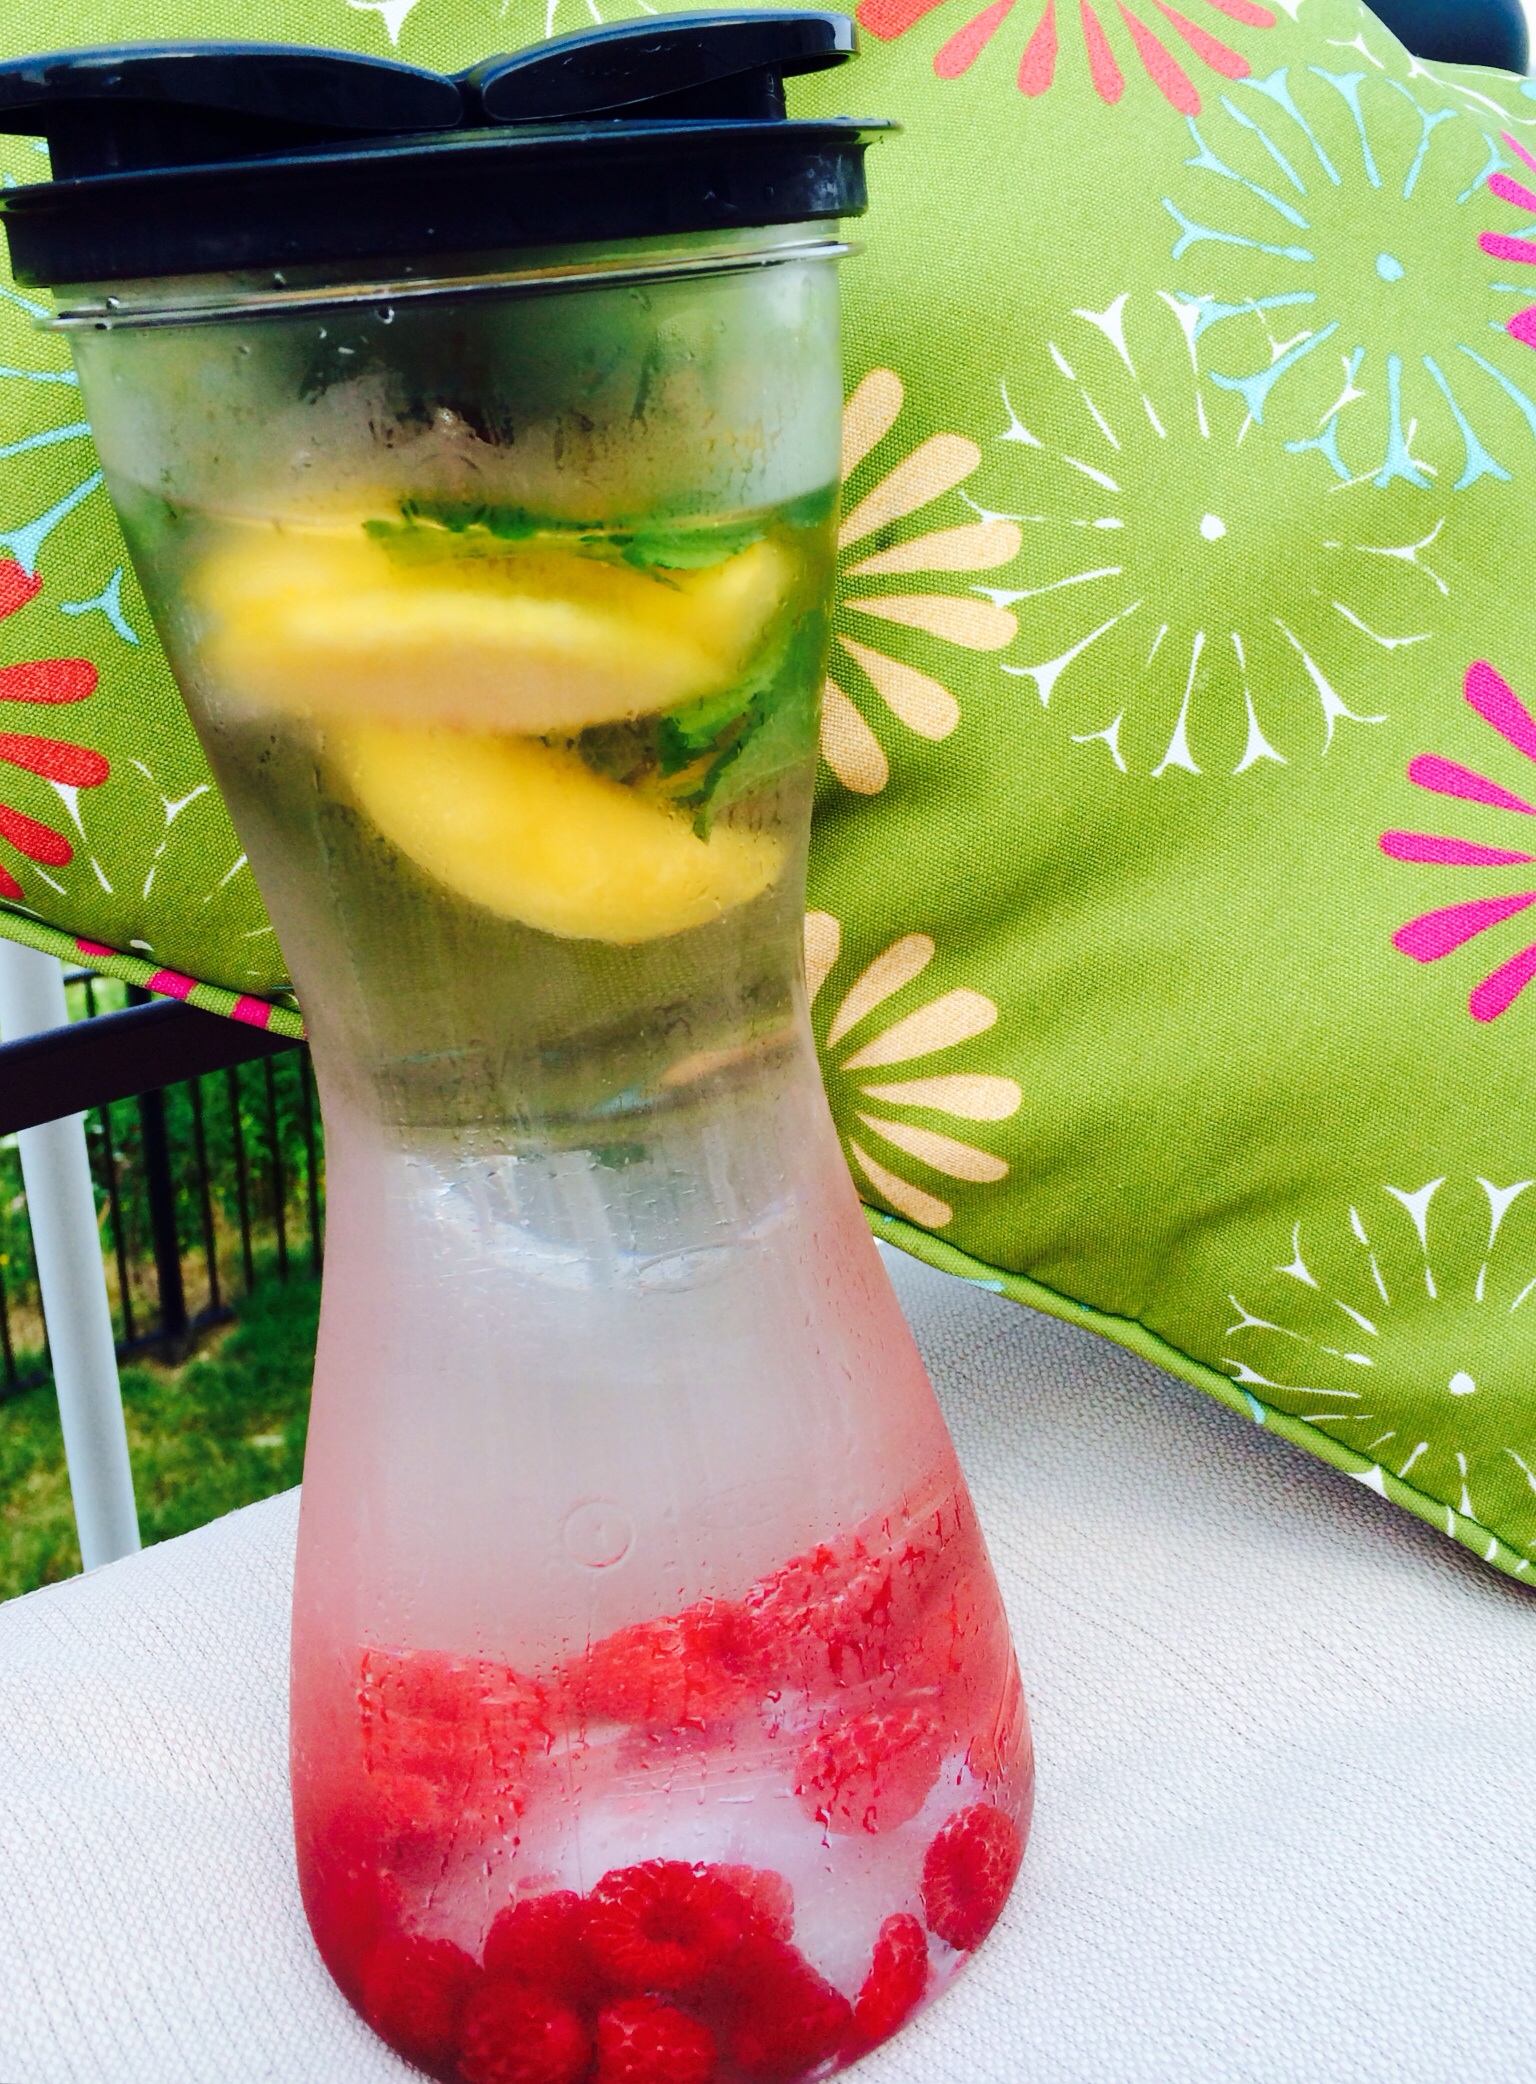
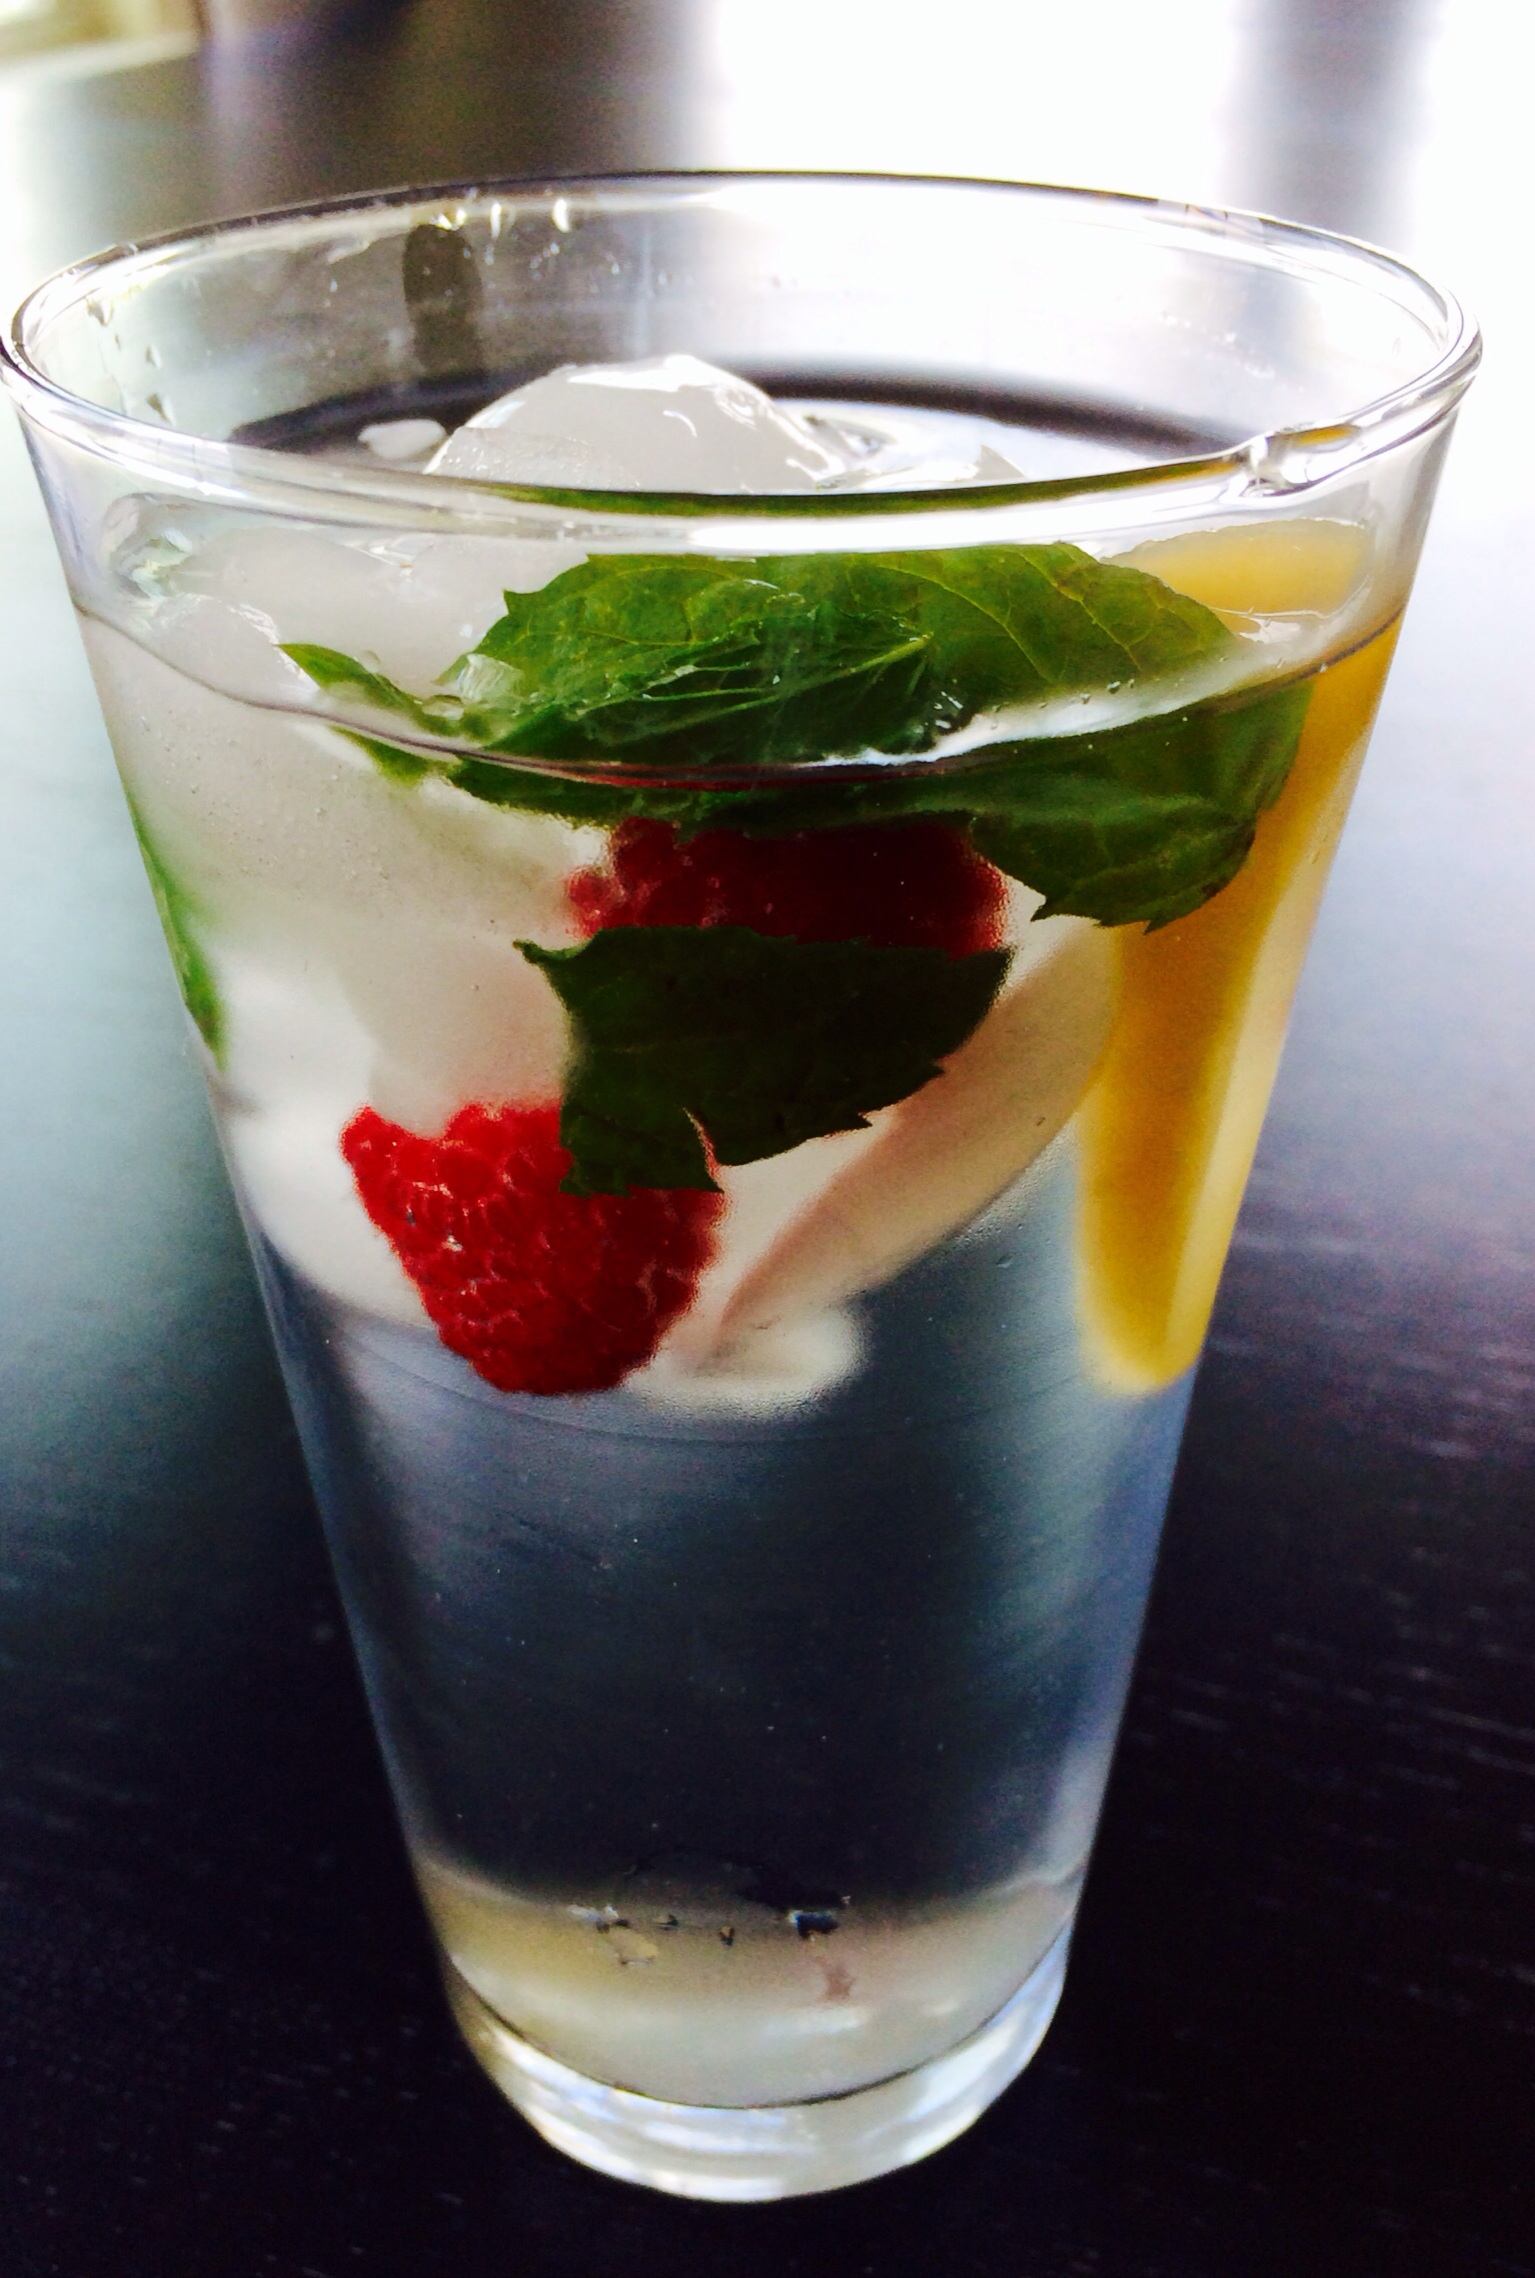
Fruit and vegetable infused water hydrates in the heat while adding a flavor burst. Water is essential, but so so boring!! Why not jazz it up? As a healthy alternative to sugary drinks, fruit and veggie infused water has found itself at the top of diet plans and cleanses. It’s sexy, it’s “in.” Well, for right now!
Serve this to your guests as a non-alcoholic beverage! Add a beautiful garnish and they will be wowed!
With combinations like carrot-ginger and pear-cucumber-mint, anything goes! Try different flavor combinations or do what I did and use what you have in the refrigerator!
Some fruit floats and some will sink! Chill overnight to ensure infusion.
Here is the recipe:
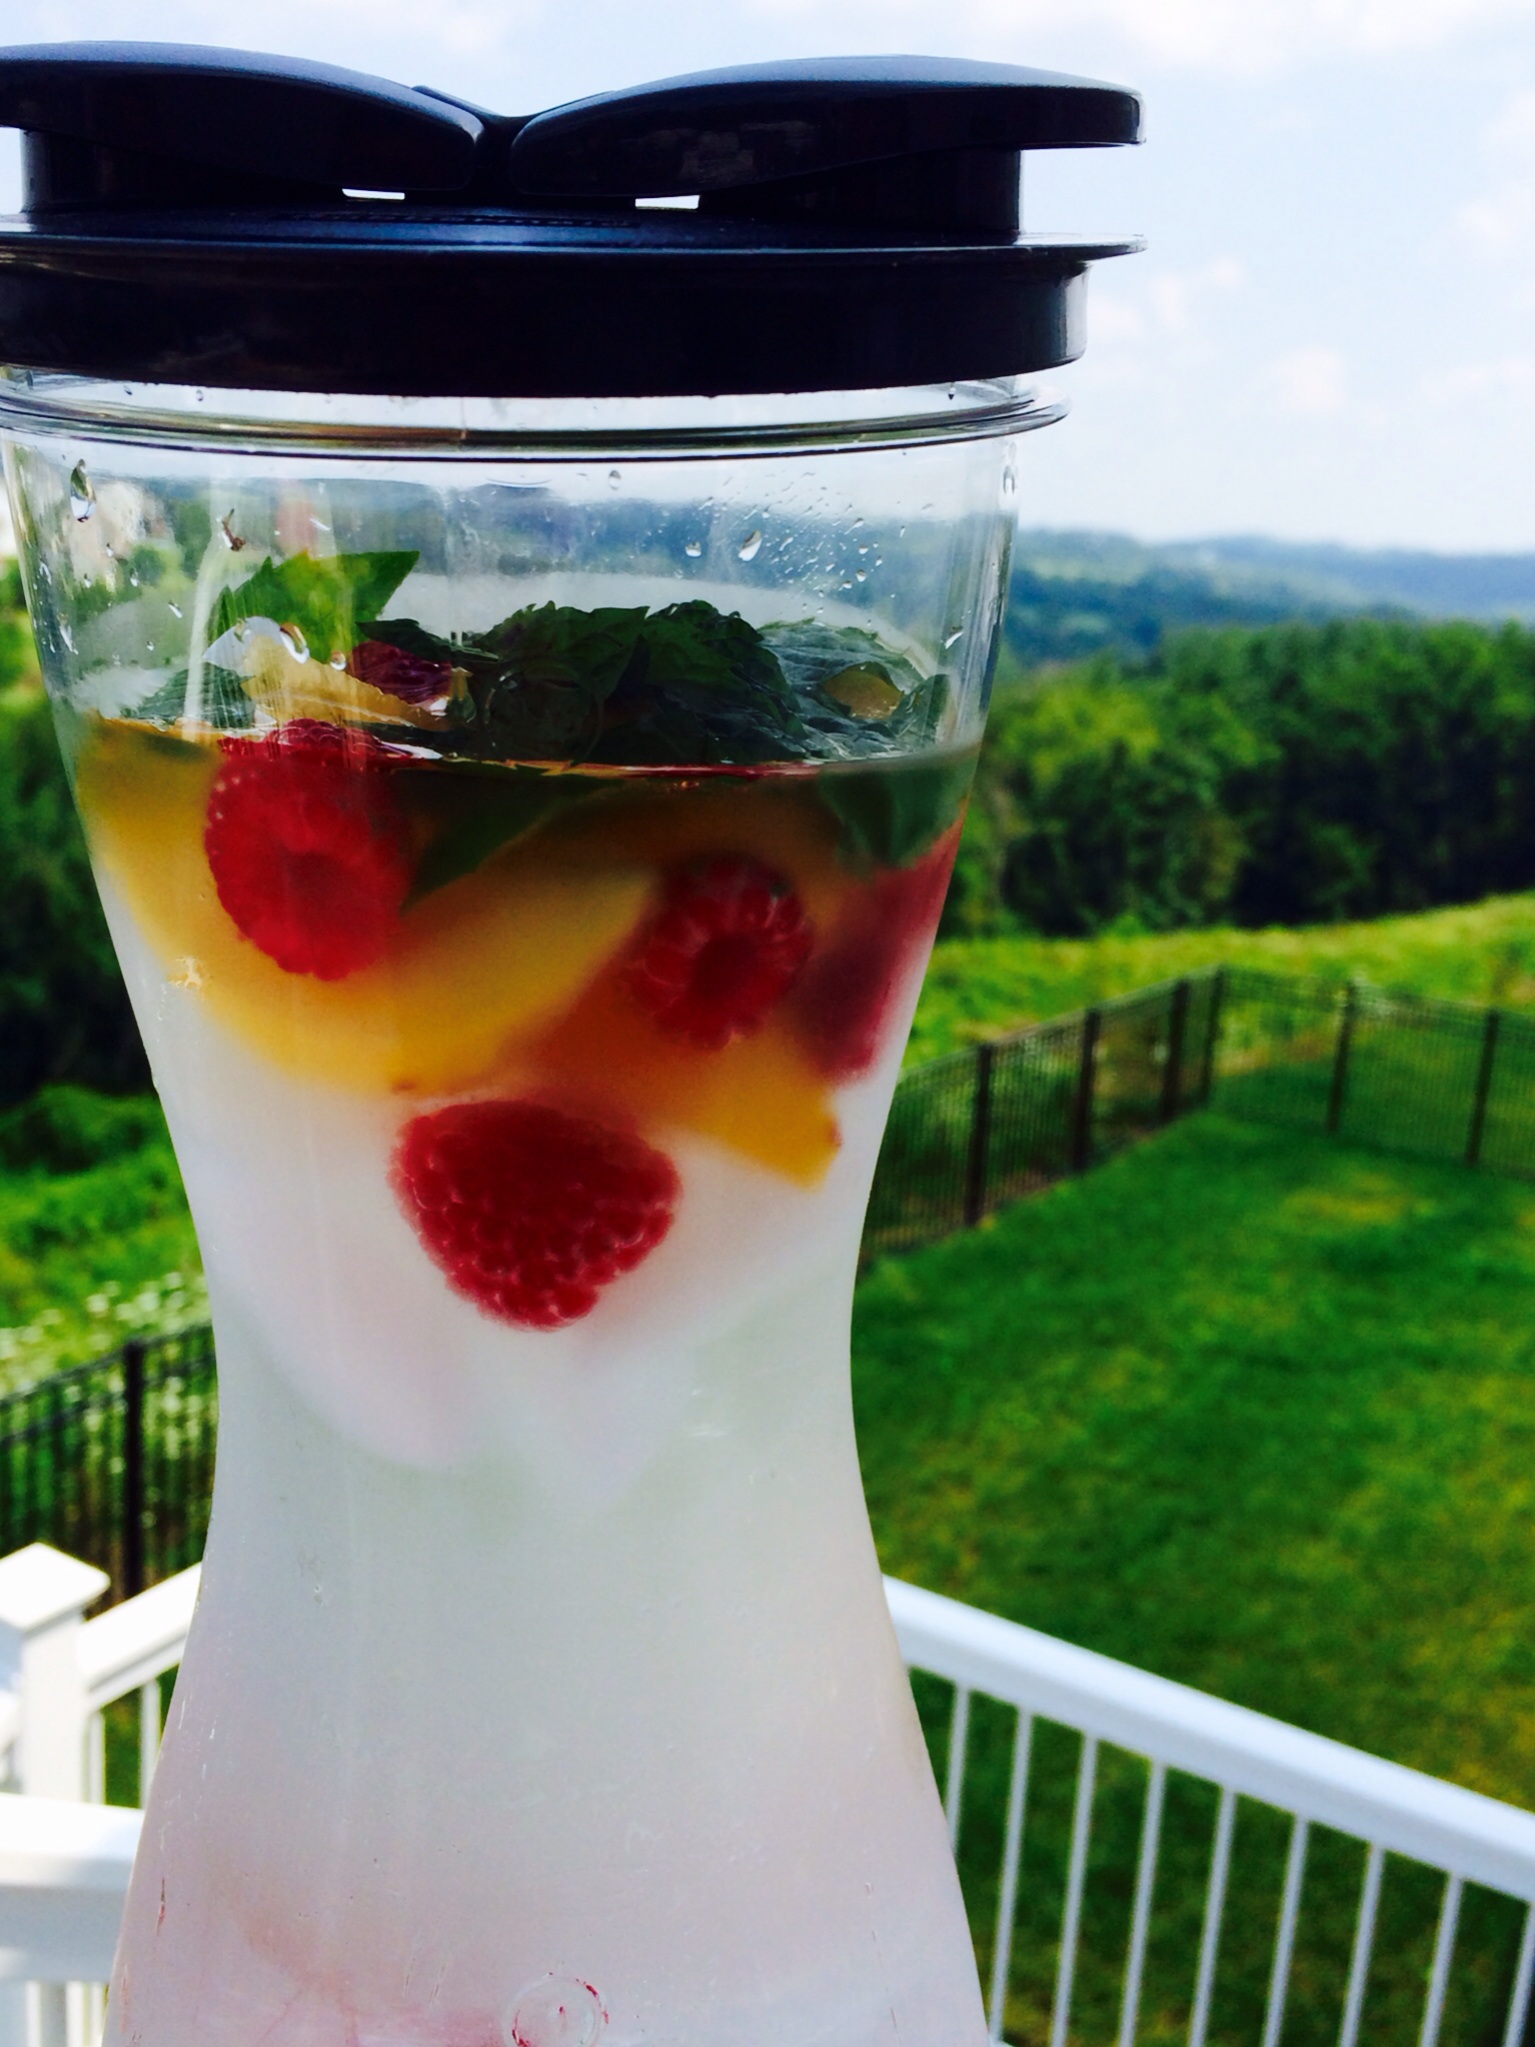
Peach Raspberry Mint Infused Water
Ingredients:
2 quarts of water
3 peaches sliced
1/2 cup of raspberries
1/4 cup mint
Directions:
Chill for at least 8 hours!
Enjoy! Experiment! Please share your favorite flavor combinations!
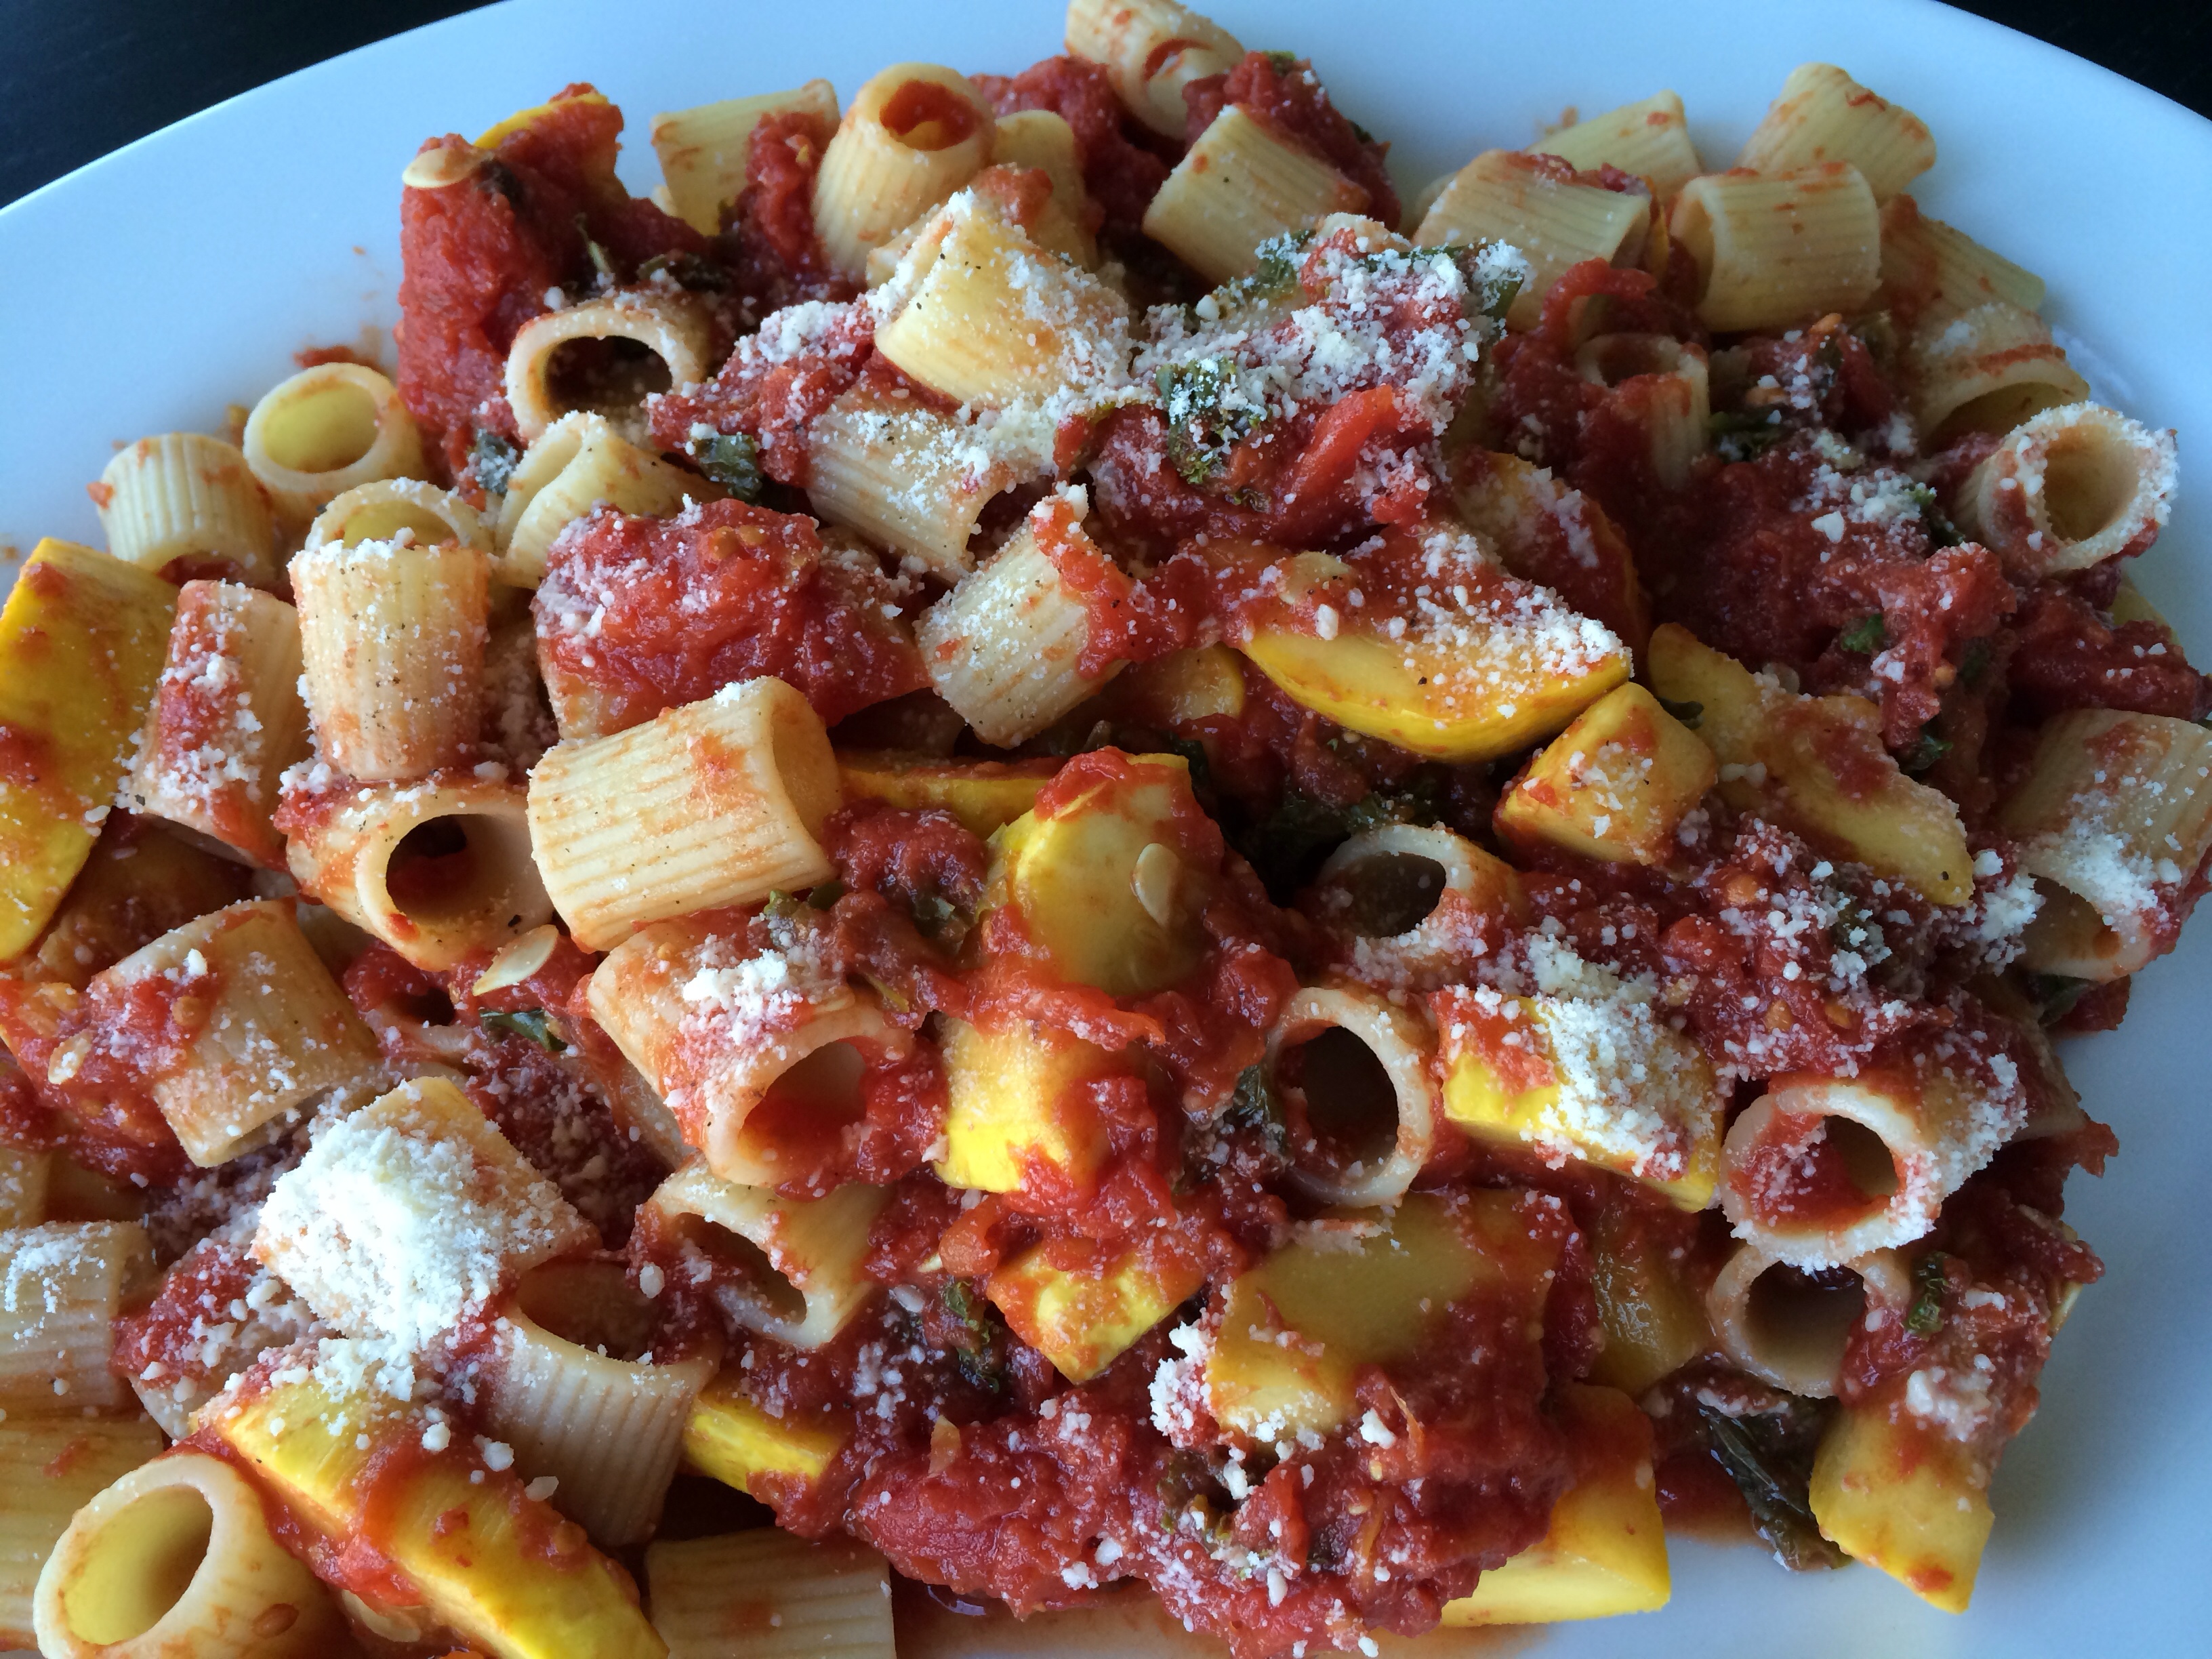
Sometimes I only have 20 minutes to cook dinner! A quick San Marzano tomato pan sauce mixed with cooked pasta is quick, light, and delicious! In the summertime, I include fresh vegetables and fresh herbs! Here is one of my favorite summertime dishes!
The key to a great tasting quick pan sauce is getting the acidity out of the veggies by tossing them with olive oil and garlic before adding them to the tomatoes.
Simply adding squash and zucchini to the tomatoes creates a sour taste. Follow these simple steps and your simple pan sauce will be transformed into a gourmet dinner!
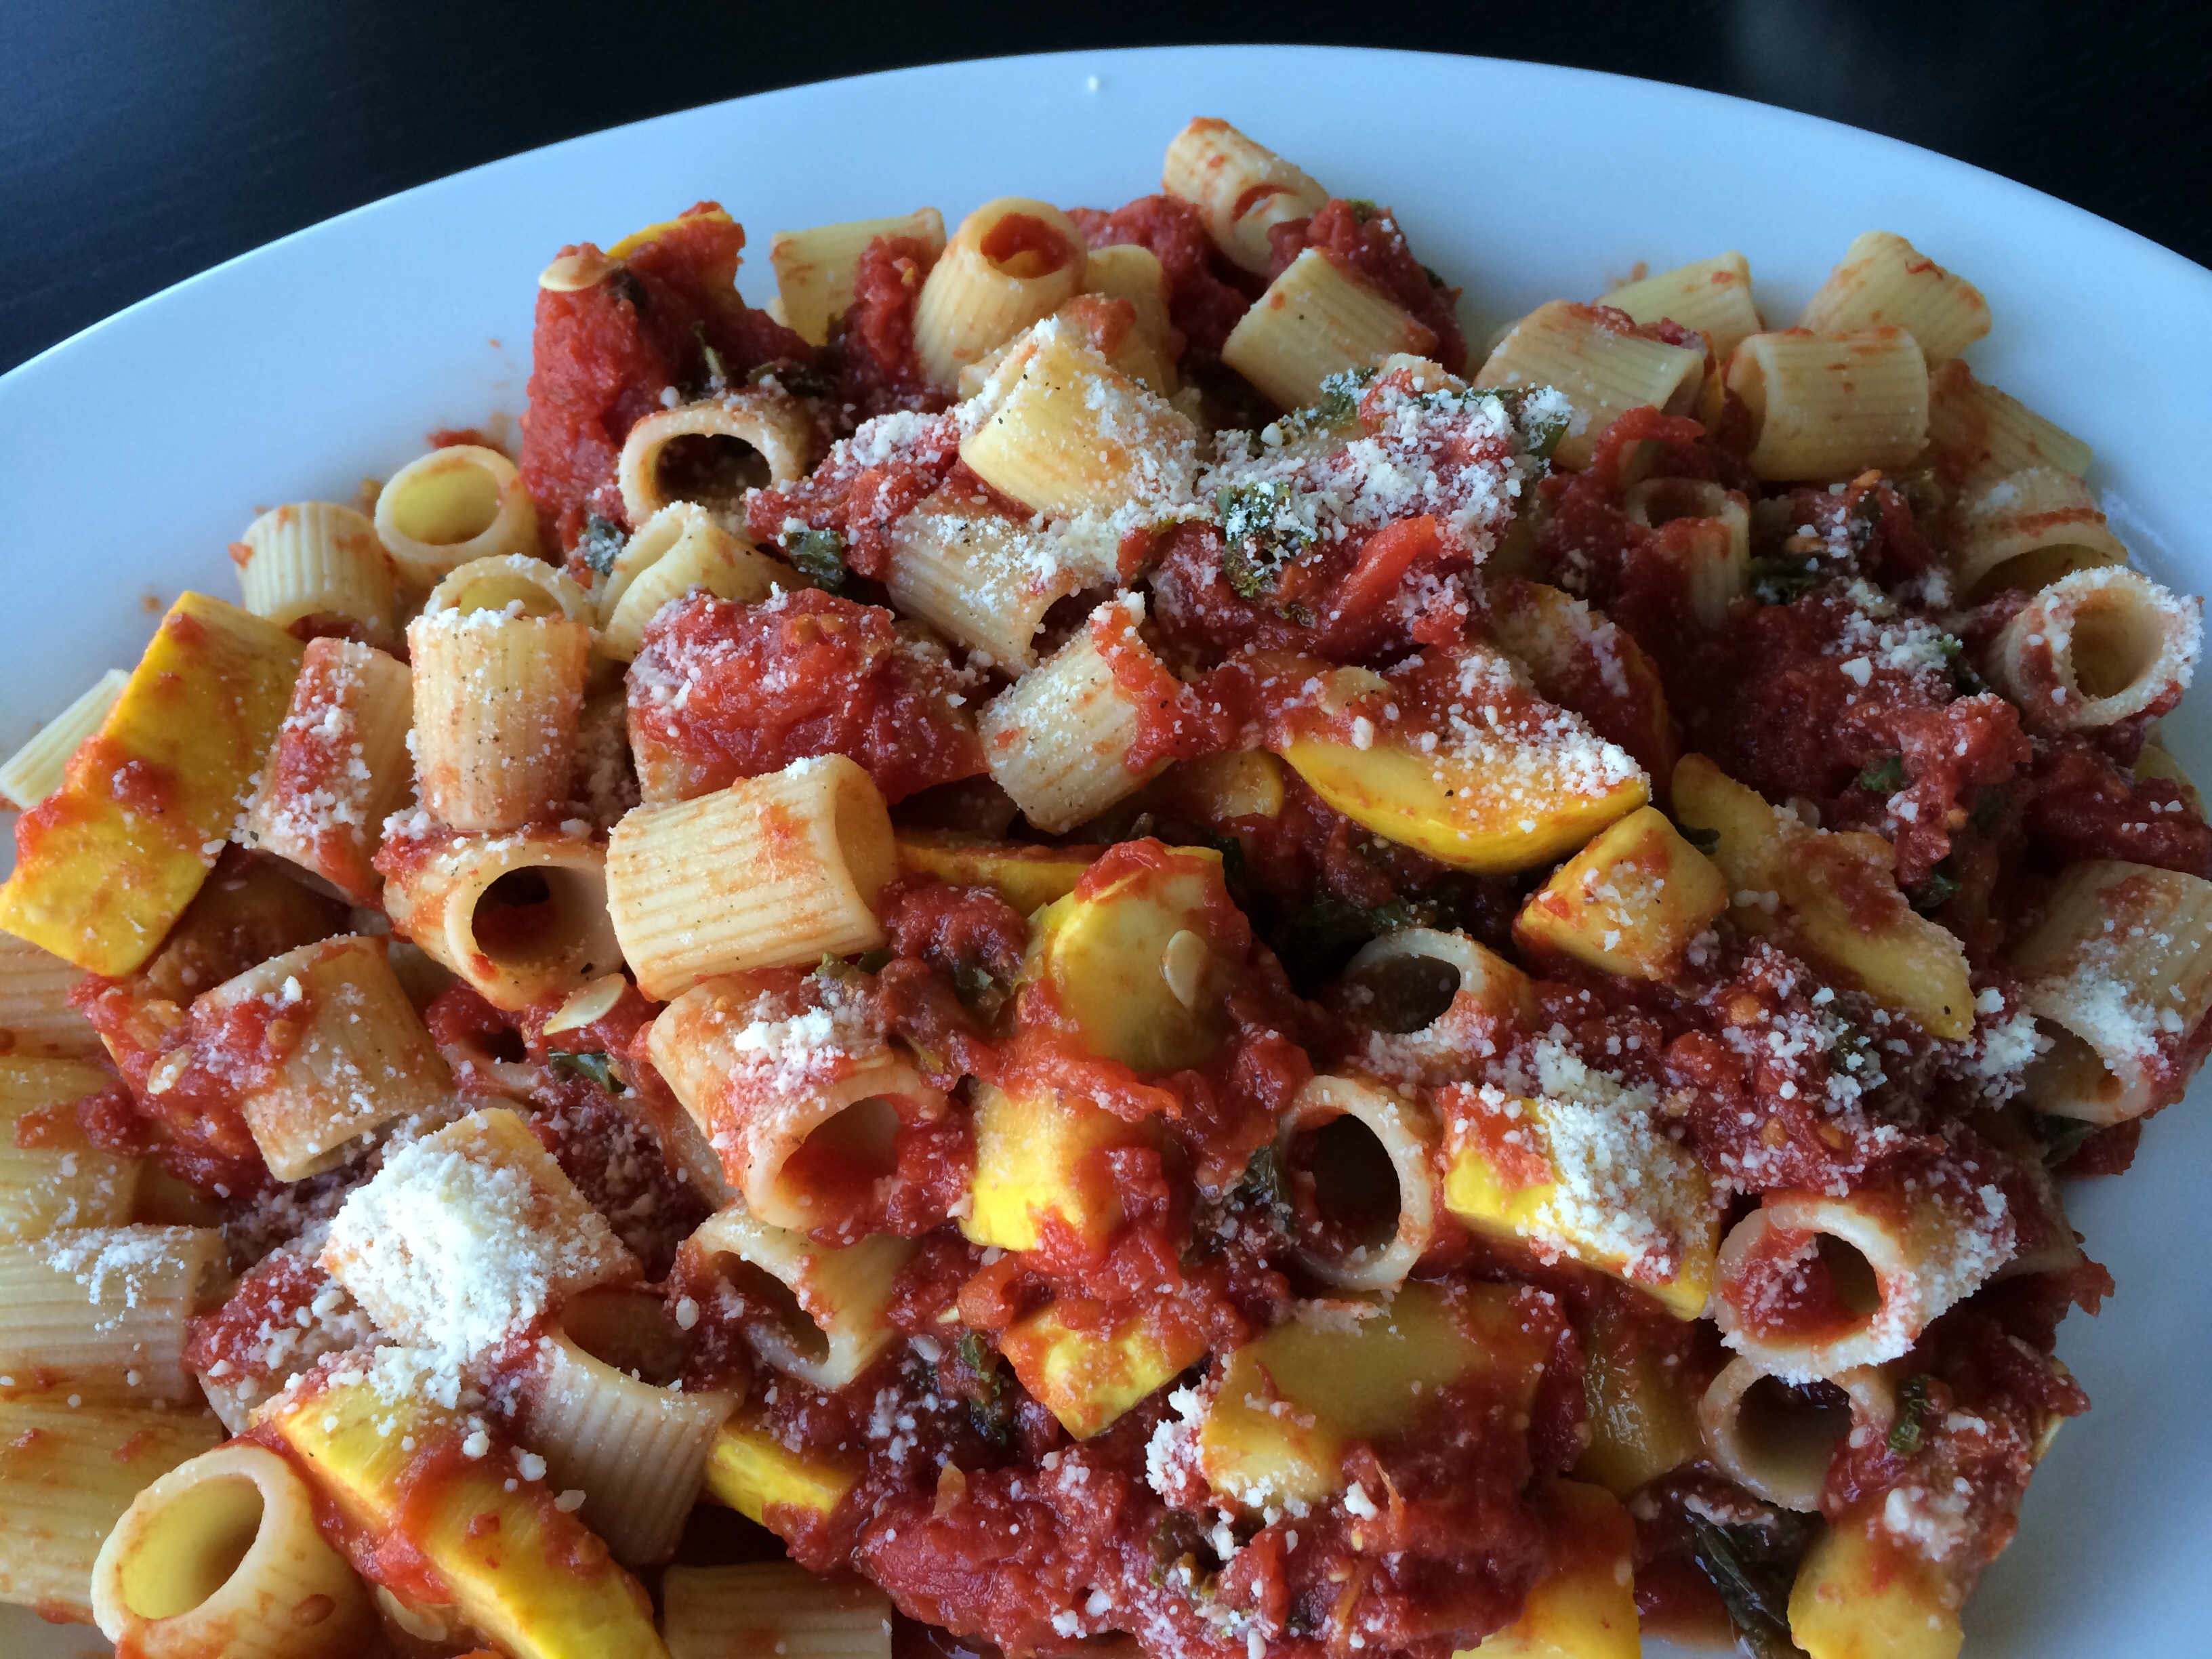
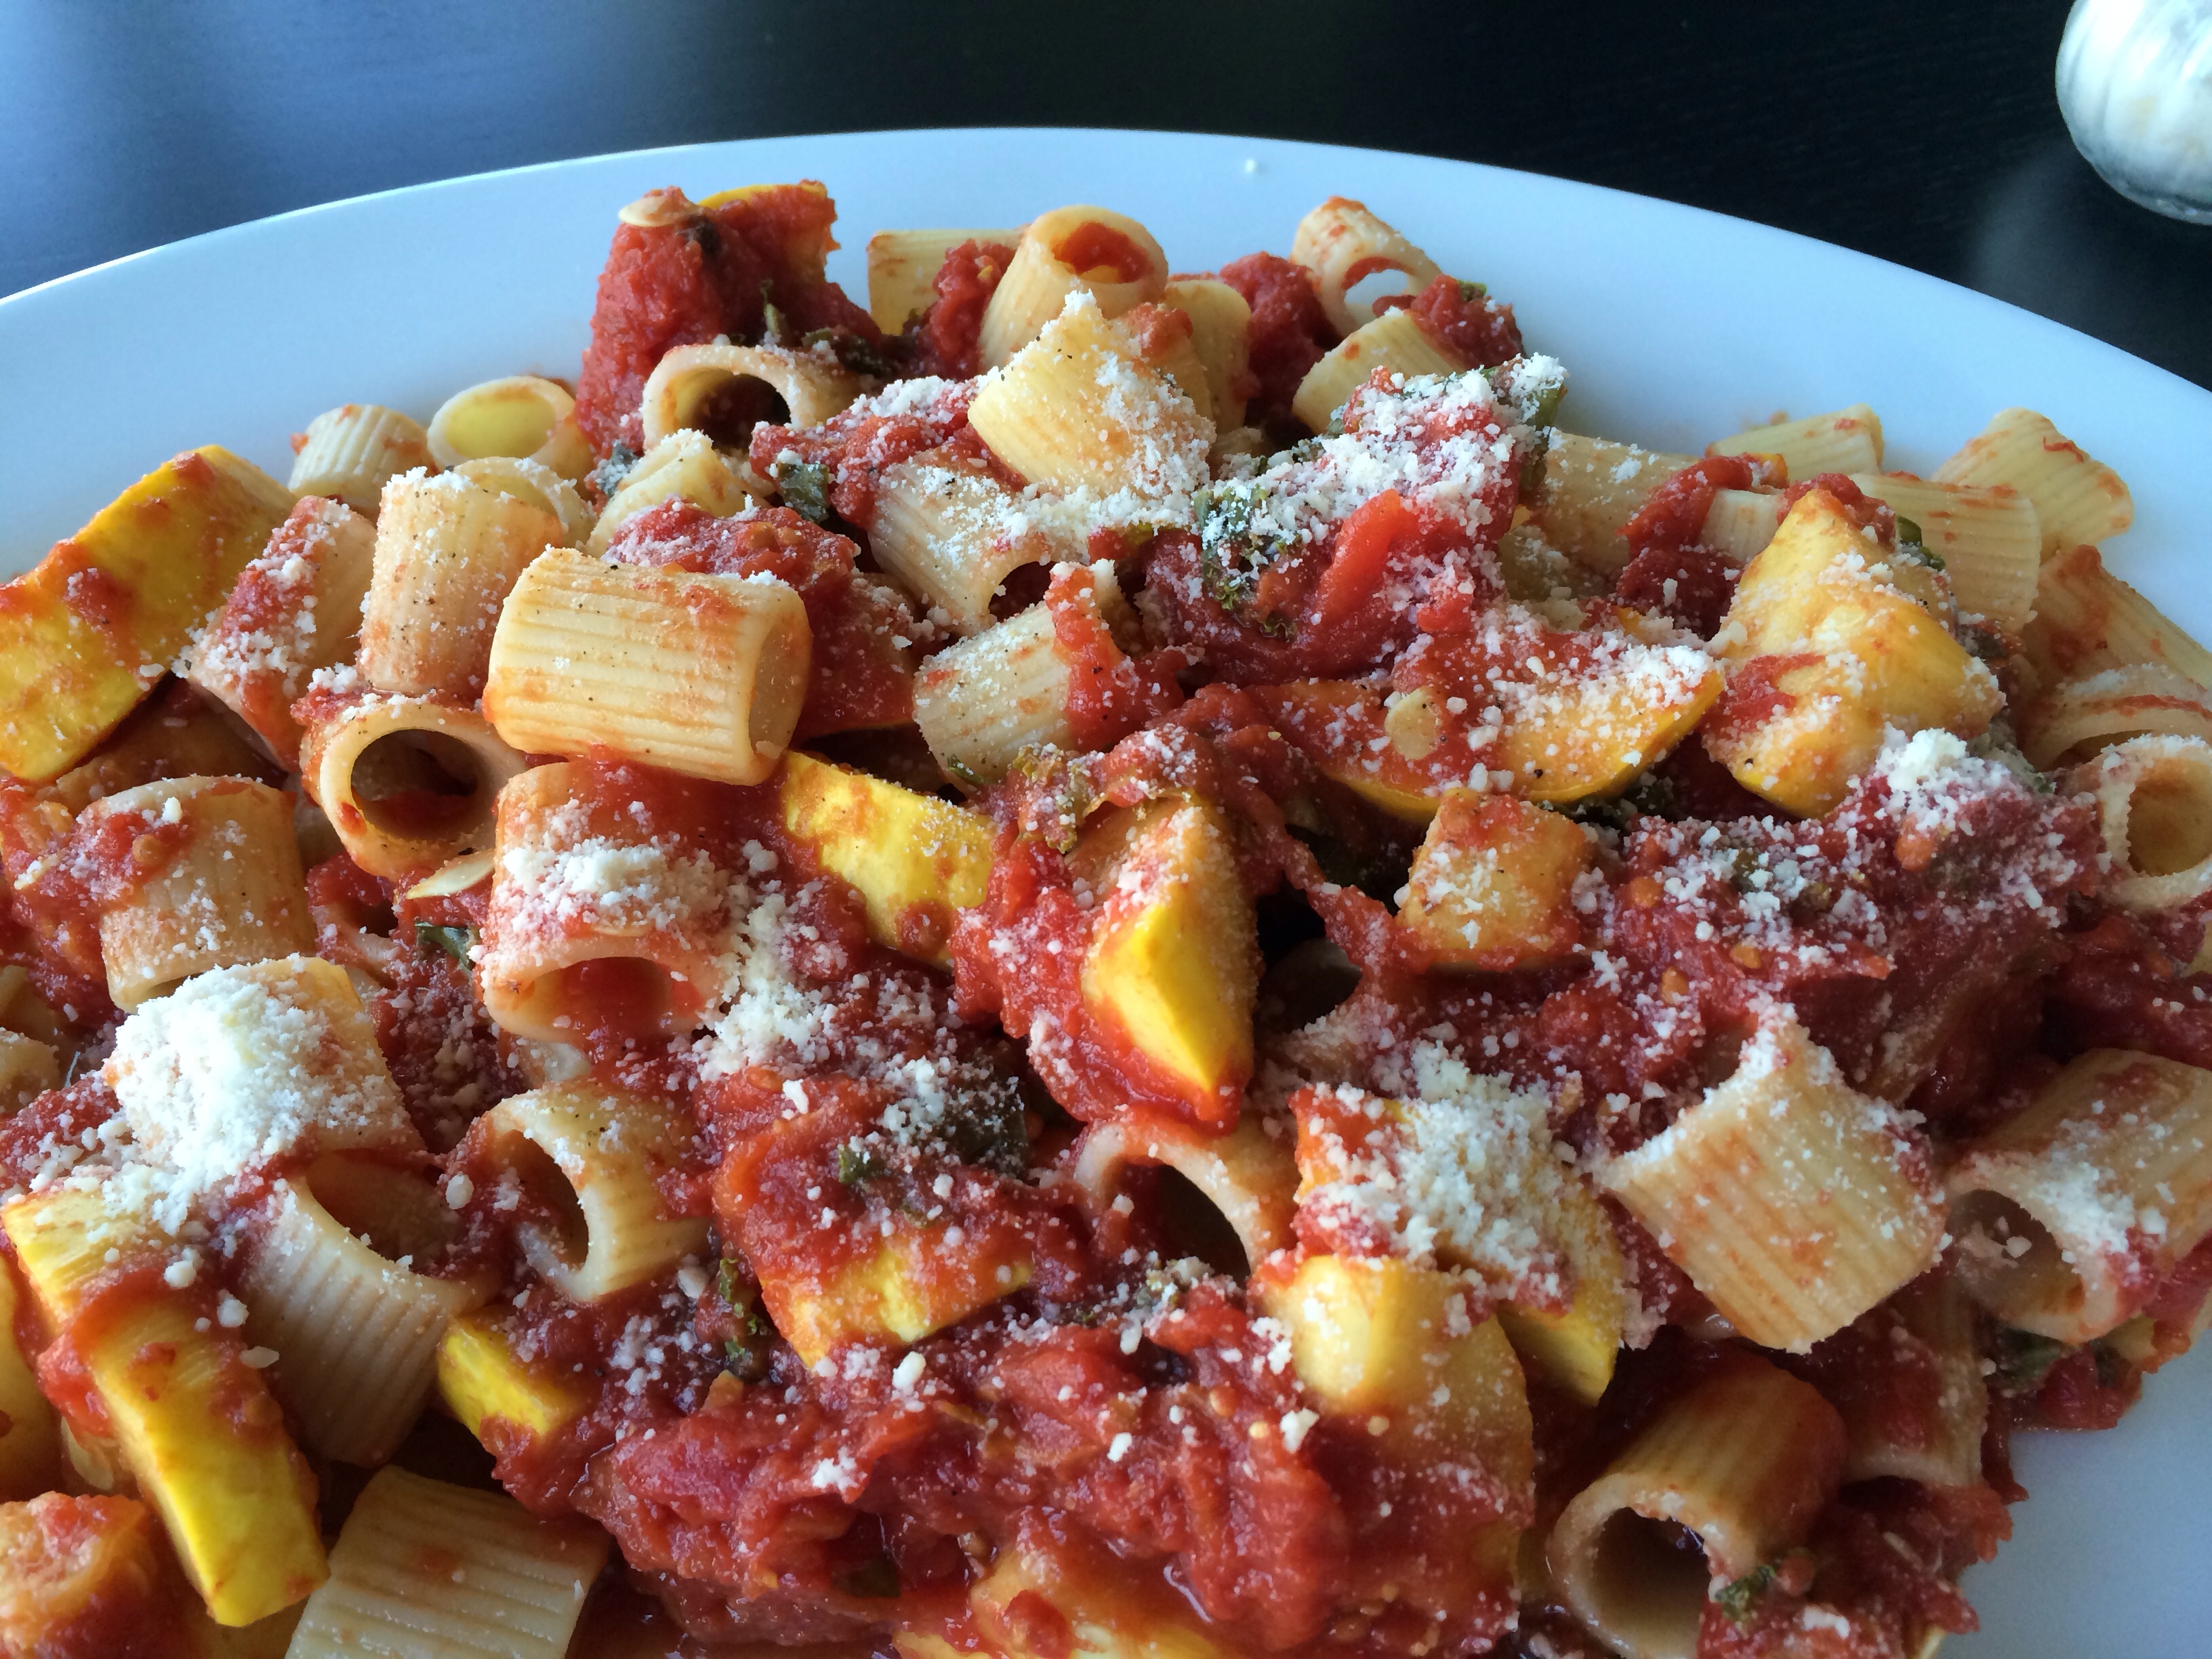
Super easy and so flavorful, a summer vegetable pasta can be dressed up or down! Serve it with a salad and fresh ciabatta or by itself!
Summer San Marzano Veggie Pasta
Ingredients:
1 yellow squash, chopped into quartered rounds
1 zucchini, chopped into quartered rounds
2 cloves garlic, pressed
2 tbsp. olive oil
1/4 cup chopped kale
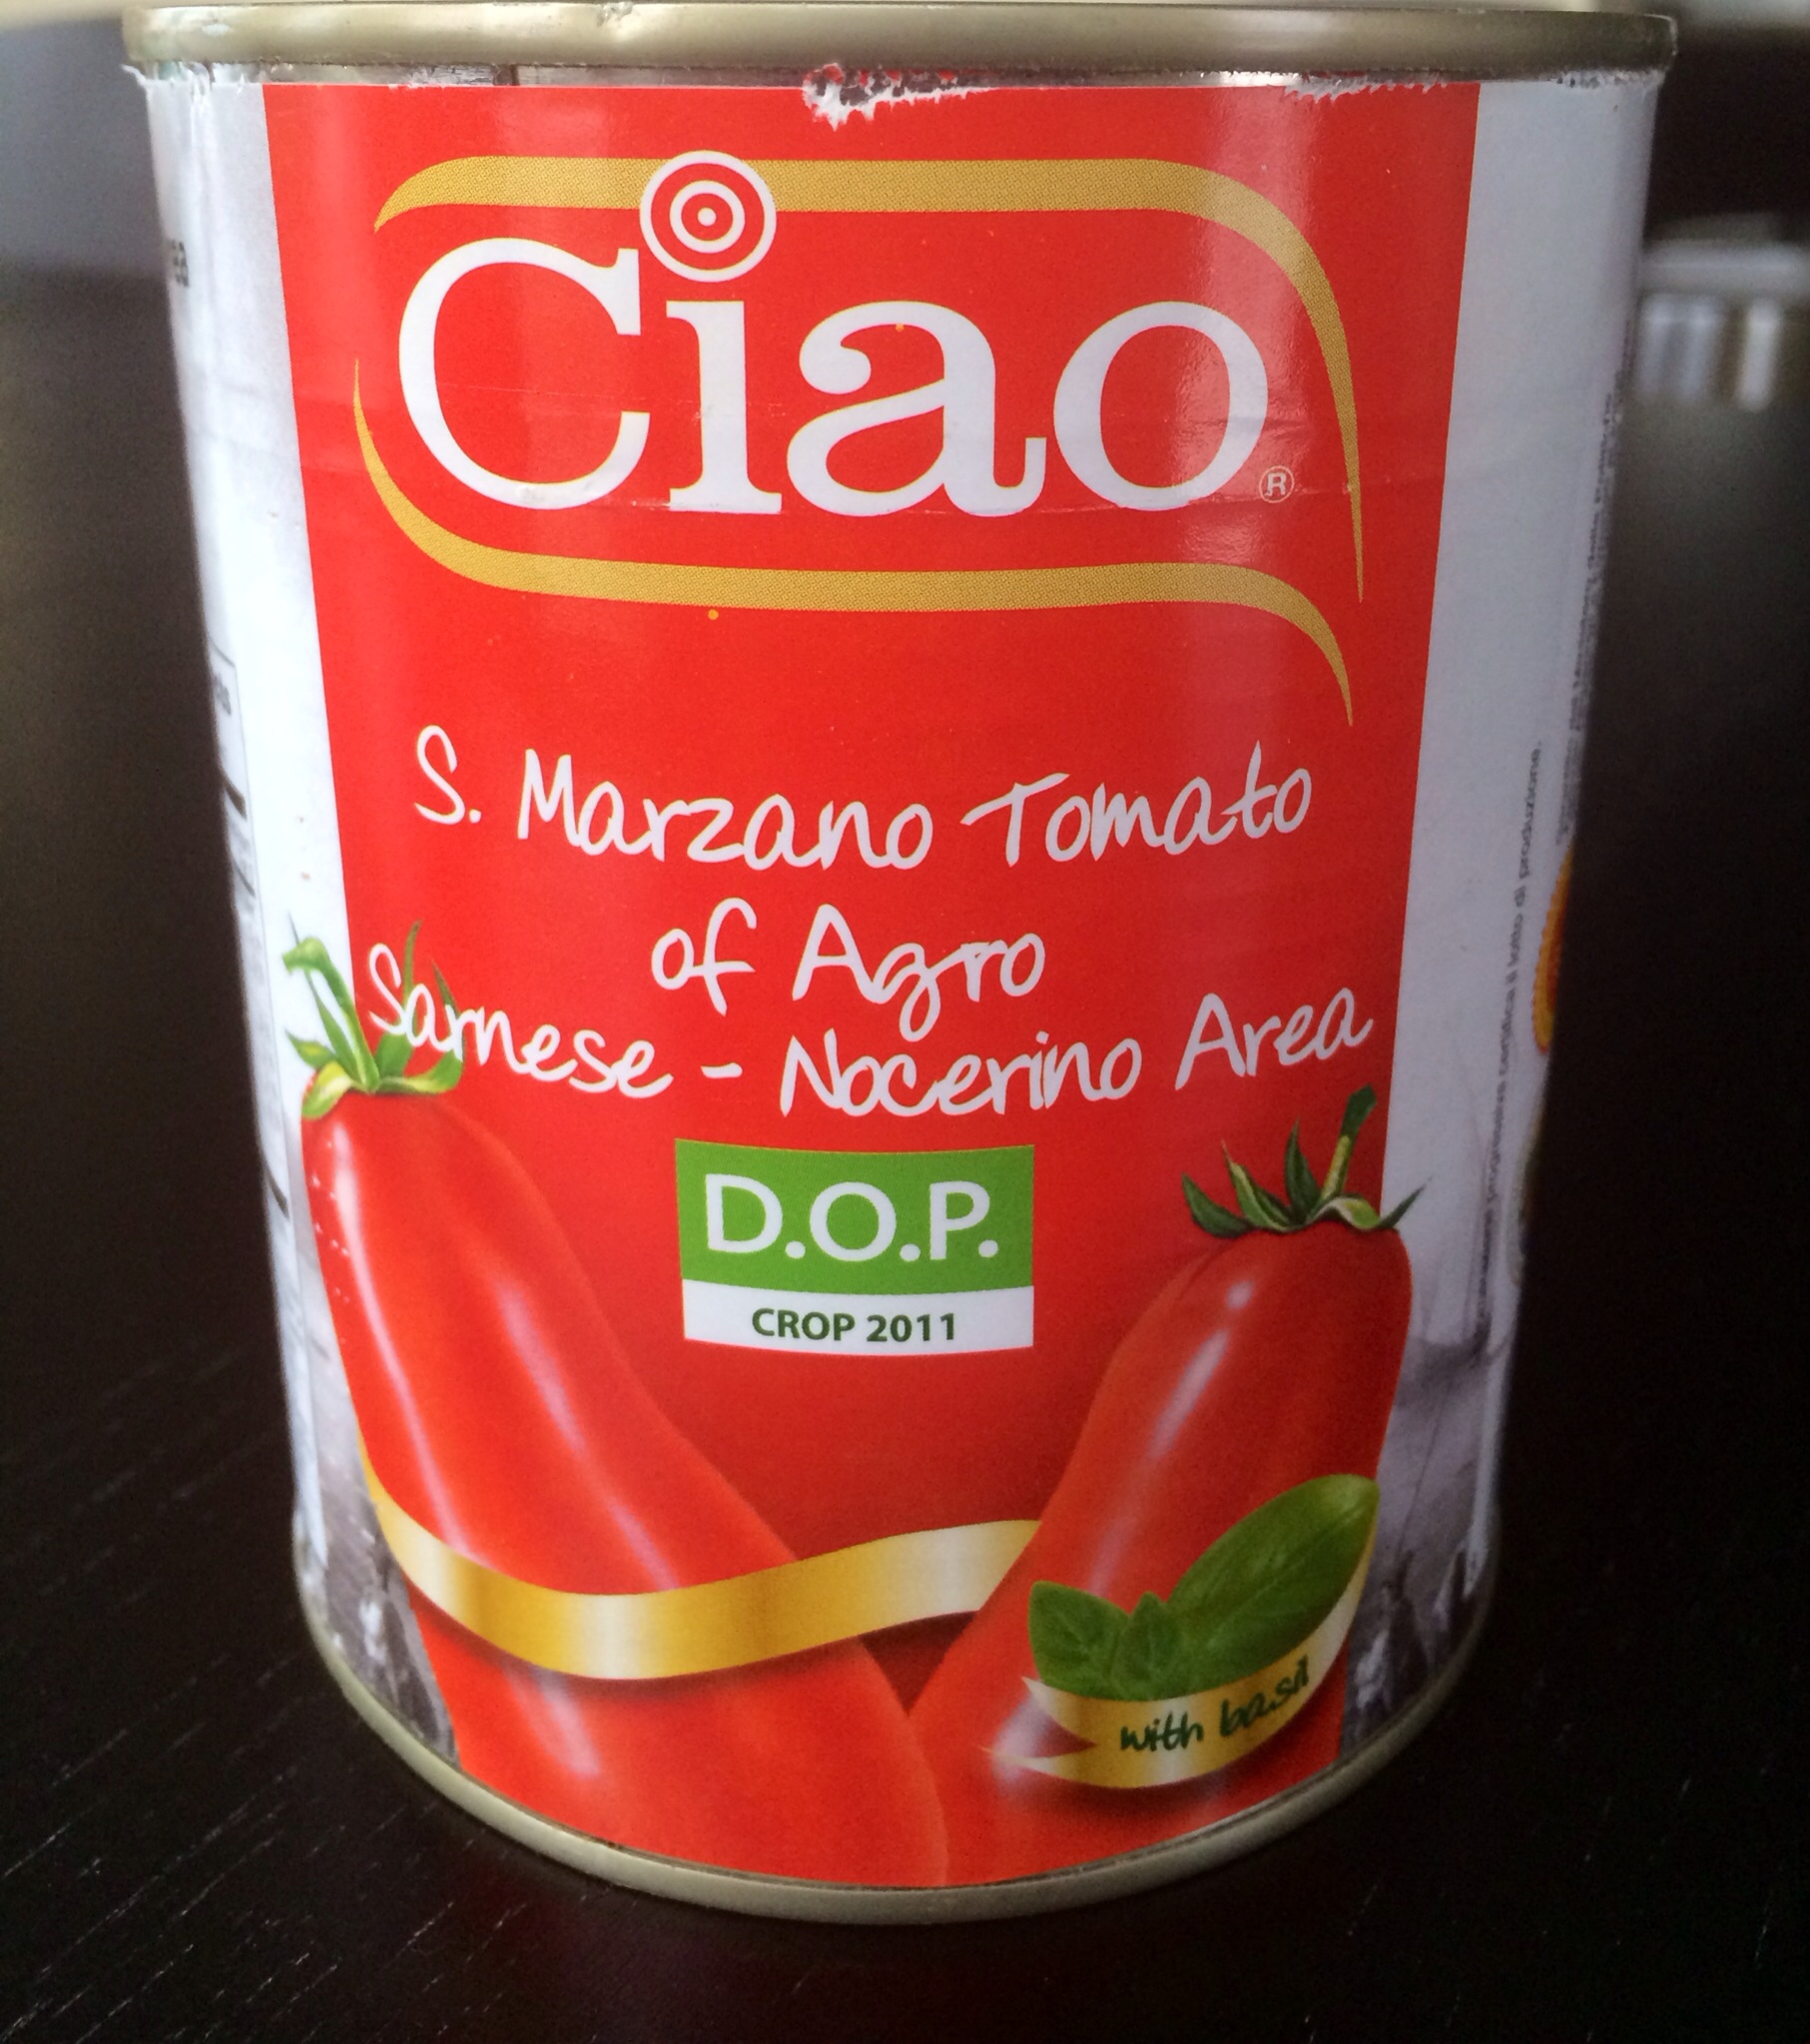
2 35 oz. cans San Marzano tomatoes
1 tbsp. fresh chopped basil
1 tbsp. fresh chopped rosemary
Salt/pepper
Freshly grated parmesan cheese
1 lb. of your favorite pasta
Directions:
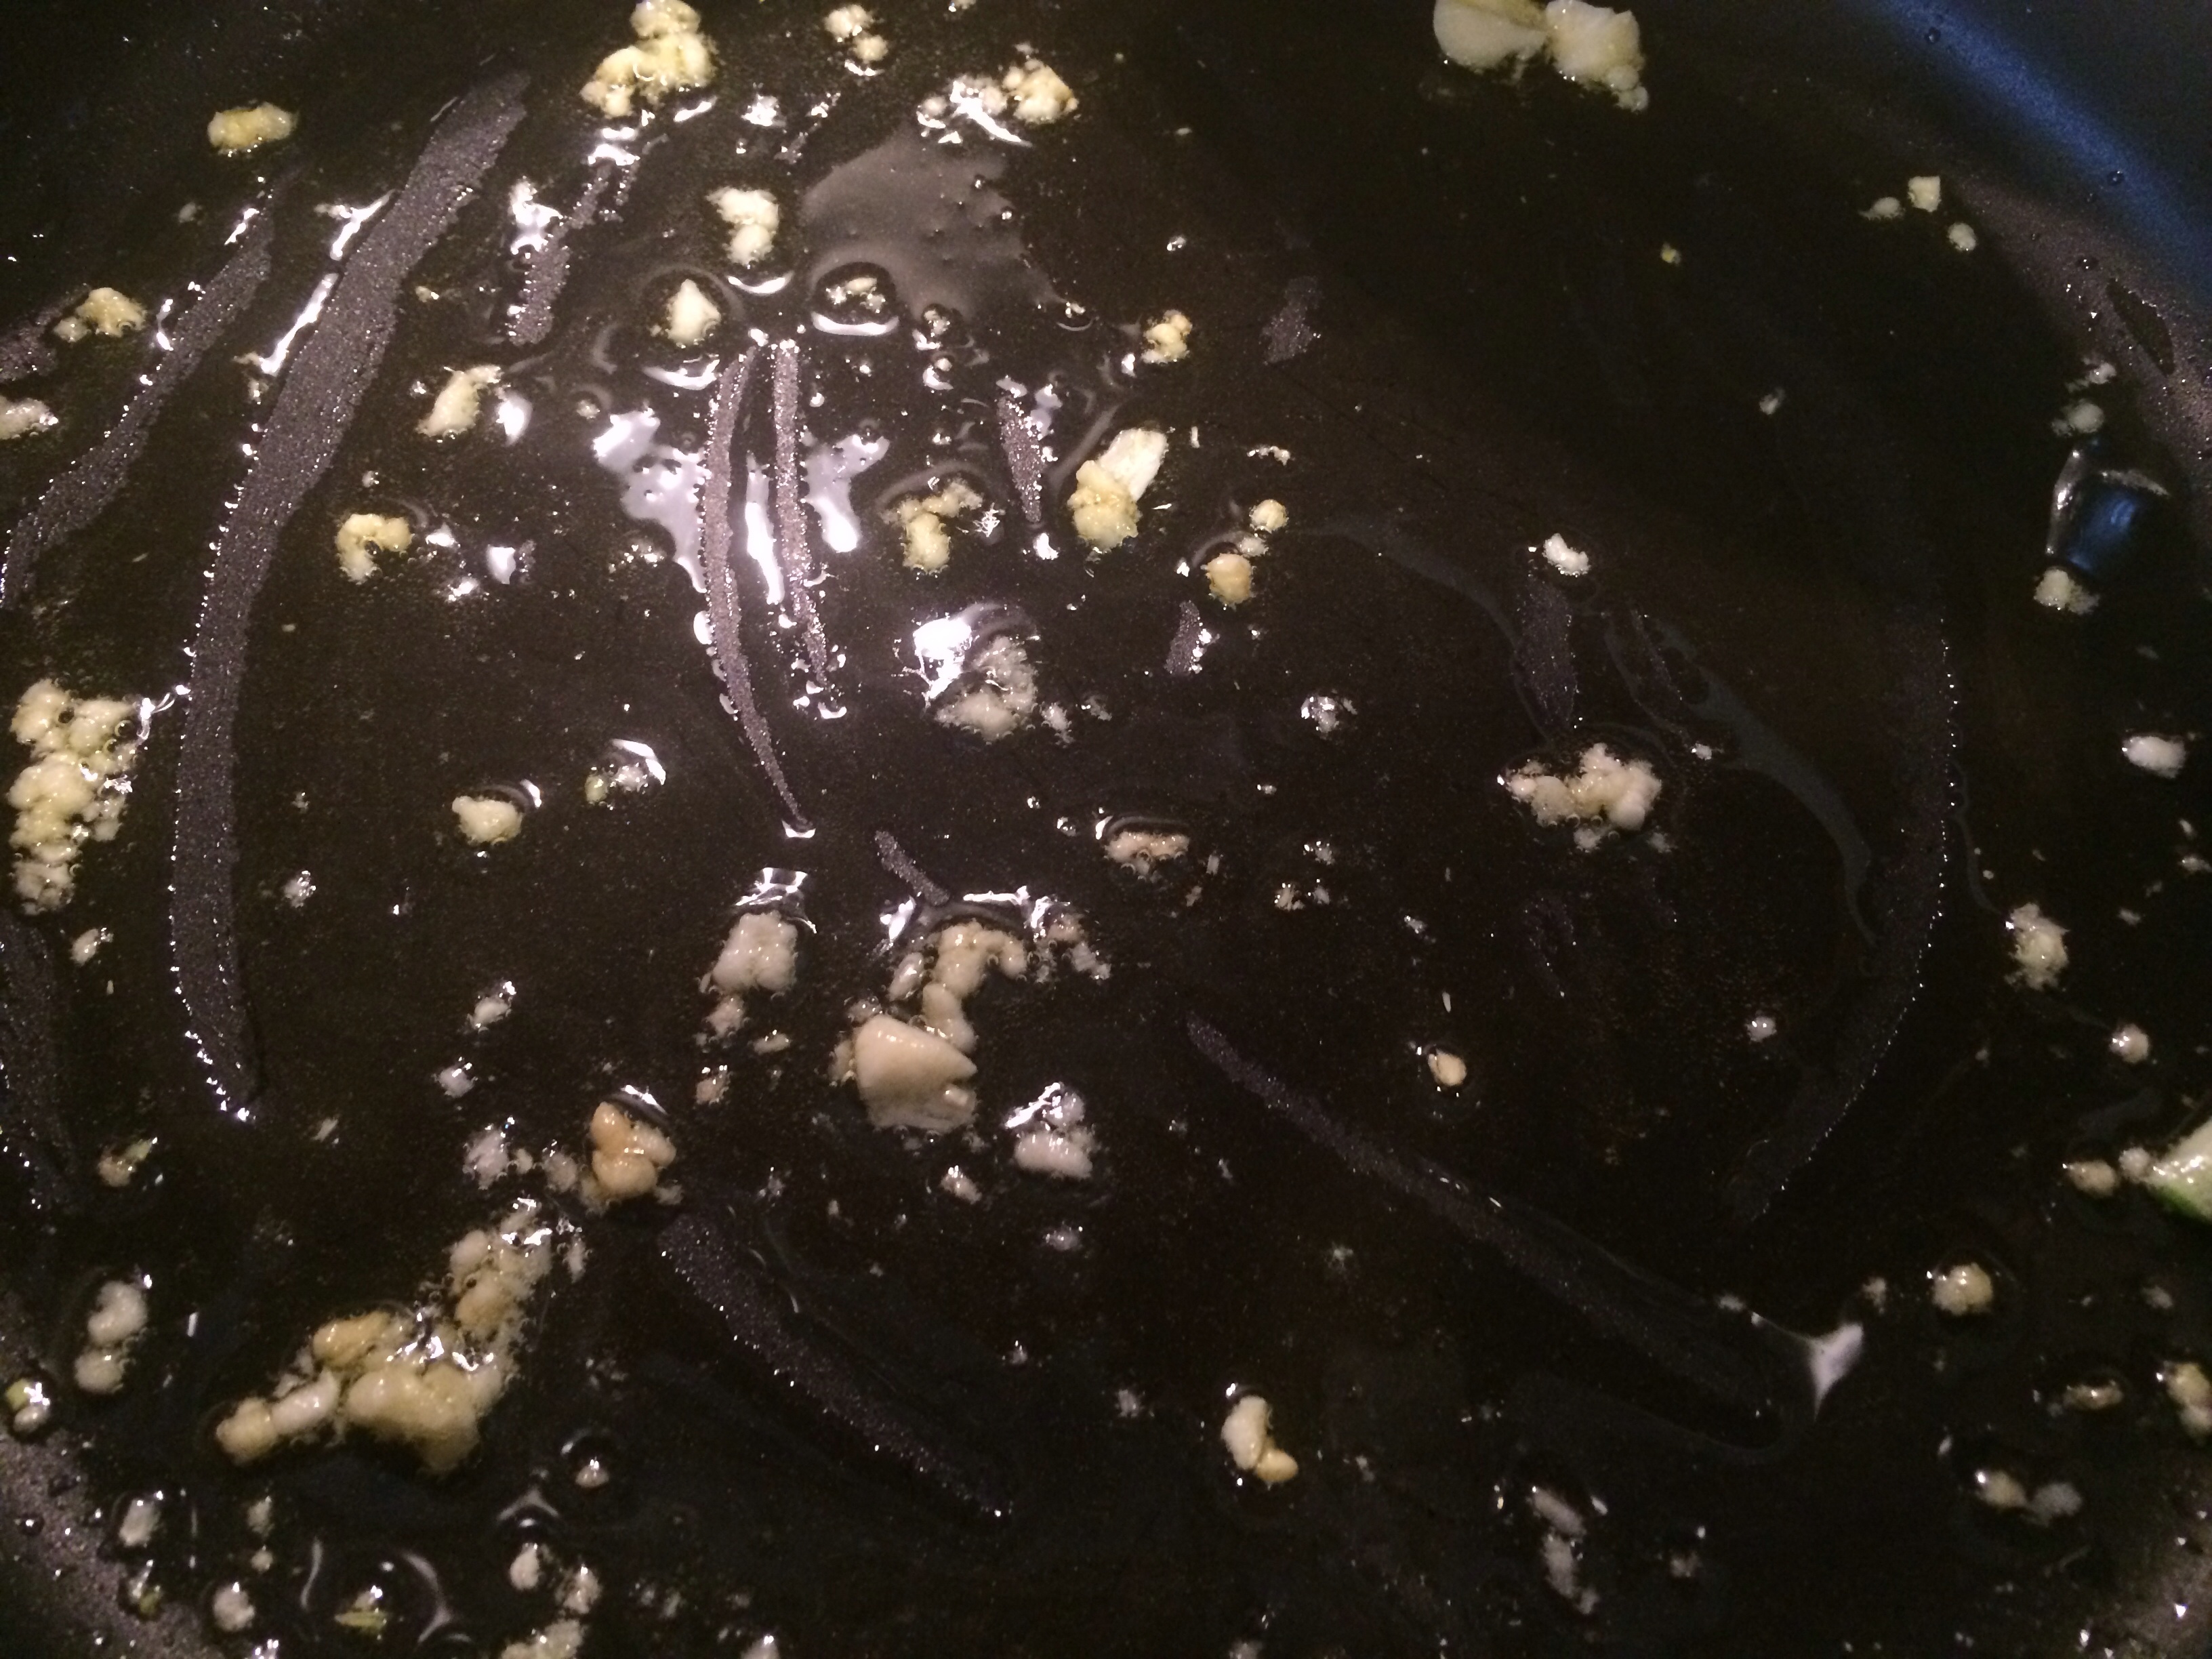
Heat olive oil in your largest, deepest frying pan on low to medium heat, and add pressed garlic.
Cook on low/medium heat. Be careful not to burn the garlic! No brown just a golden glow!
Add squash and zucchini, cook until slightly softened but still firm.
Add kale, basil and rosemary and coat with liquid.
Mix in tomatoes and heat through.
My favorite brand is Ciao tomatoes! Break up the whole tomatoes while mixing.
Cook pasta according to package in a separate pot of boiling water until al dente.
Add pasta to sauce and mix well.
Always top with fresh grated parmesan cheese.
Dinner tonight! Summer Veggie Pasta!
Want to add meat?
The addition of chopped bacon, italian sausage, or ham adds another layer of flavor! Experiment!
Sometimes lettuce is overrated. Although I am a sucker for traditional leaf lettuce, spring mix, “rabbit food” salads, I always spice them up with fun toppings such as cranberry, pecans, and crumbled blue cheese. Need a salad change? Hold the lettuce!
A cool summer salad is a must!
Perfect for entertaining, a veggie stack or veggie and cheese stack with a drizzle of olive oil and vinegar is easier to serve and easier for your guests to eat!
Did you know cutting salad greens is a major dining etiquette no no? Proper salad eating etiquette is to shove the leafy lettuce in your mouth and chew with puffed cheeks while spatters of sticky dressing cover your entire mouth area, cheeks, and probably make their way up a nostril or two. Sounds perfectly proper to me! This comes from the past when knives were made from steel or iron and could react with the vinegar from the dressing. Today, cutting huge pieces of lettuce is acceptable one piece at a time; however, chopping your entire salad is still frowned upon.
Etiquette expert Nancy R. Mitchell, The Etiquette Advocate, shows us how…
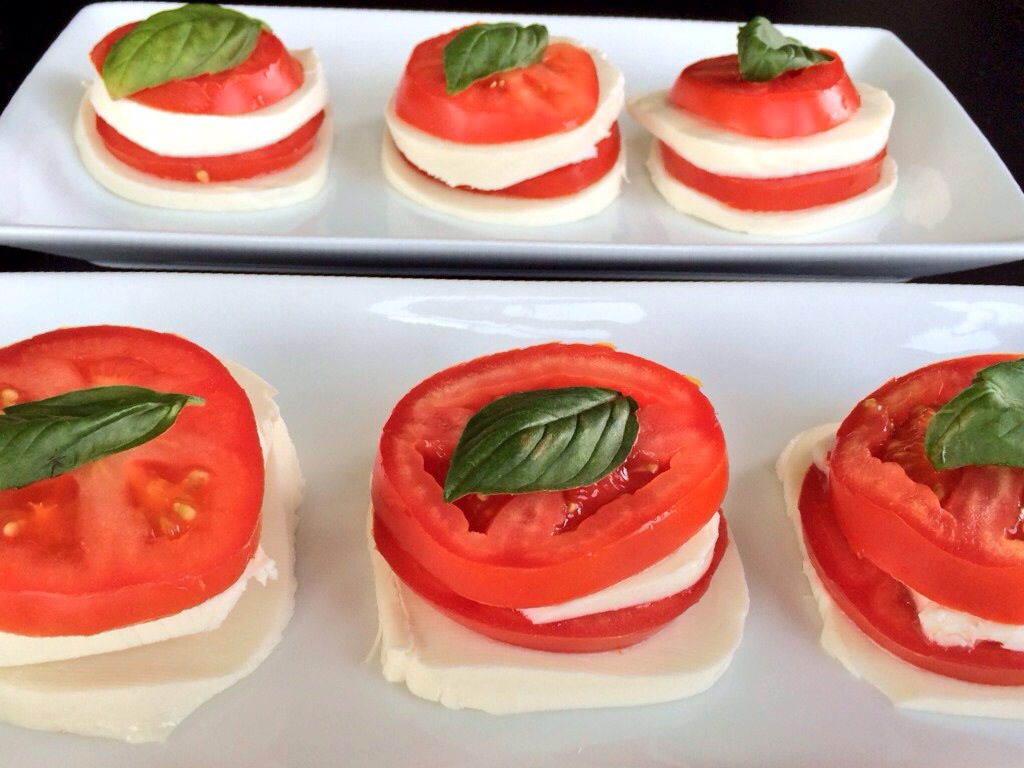
Here is a basic Caprese salad I love to serve because it looks beautiful and tastes delicious!
Nothing tastes more like summer! The firm fresh mozzarella, the juicy crisp tomato, and the flavorful basil leaf picked right off of the plant!
Tomato Mozzarella Caprese Salad
Makes 6 individual salads
Ingredients:
5 vine ripe tomatoes, slices 1/4 inch thick
1-1/2 lb. fresh mozzarella sliced 1/4 inch thick.
12 fresh basil leaves
Olive oil to drizzle
Course salt and pepper
Directions:
Layer the slices starting with the mozzarella, following with a tomato, and then a basil leaf.
Drizzle with olive oil and sprinkle with salt and pepper!
Eggs plus flour plus water equals homemade pasta! Surprised? The ingredients are extremely basic. The process takes practice, and a whole lotta patience!
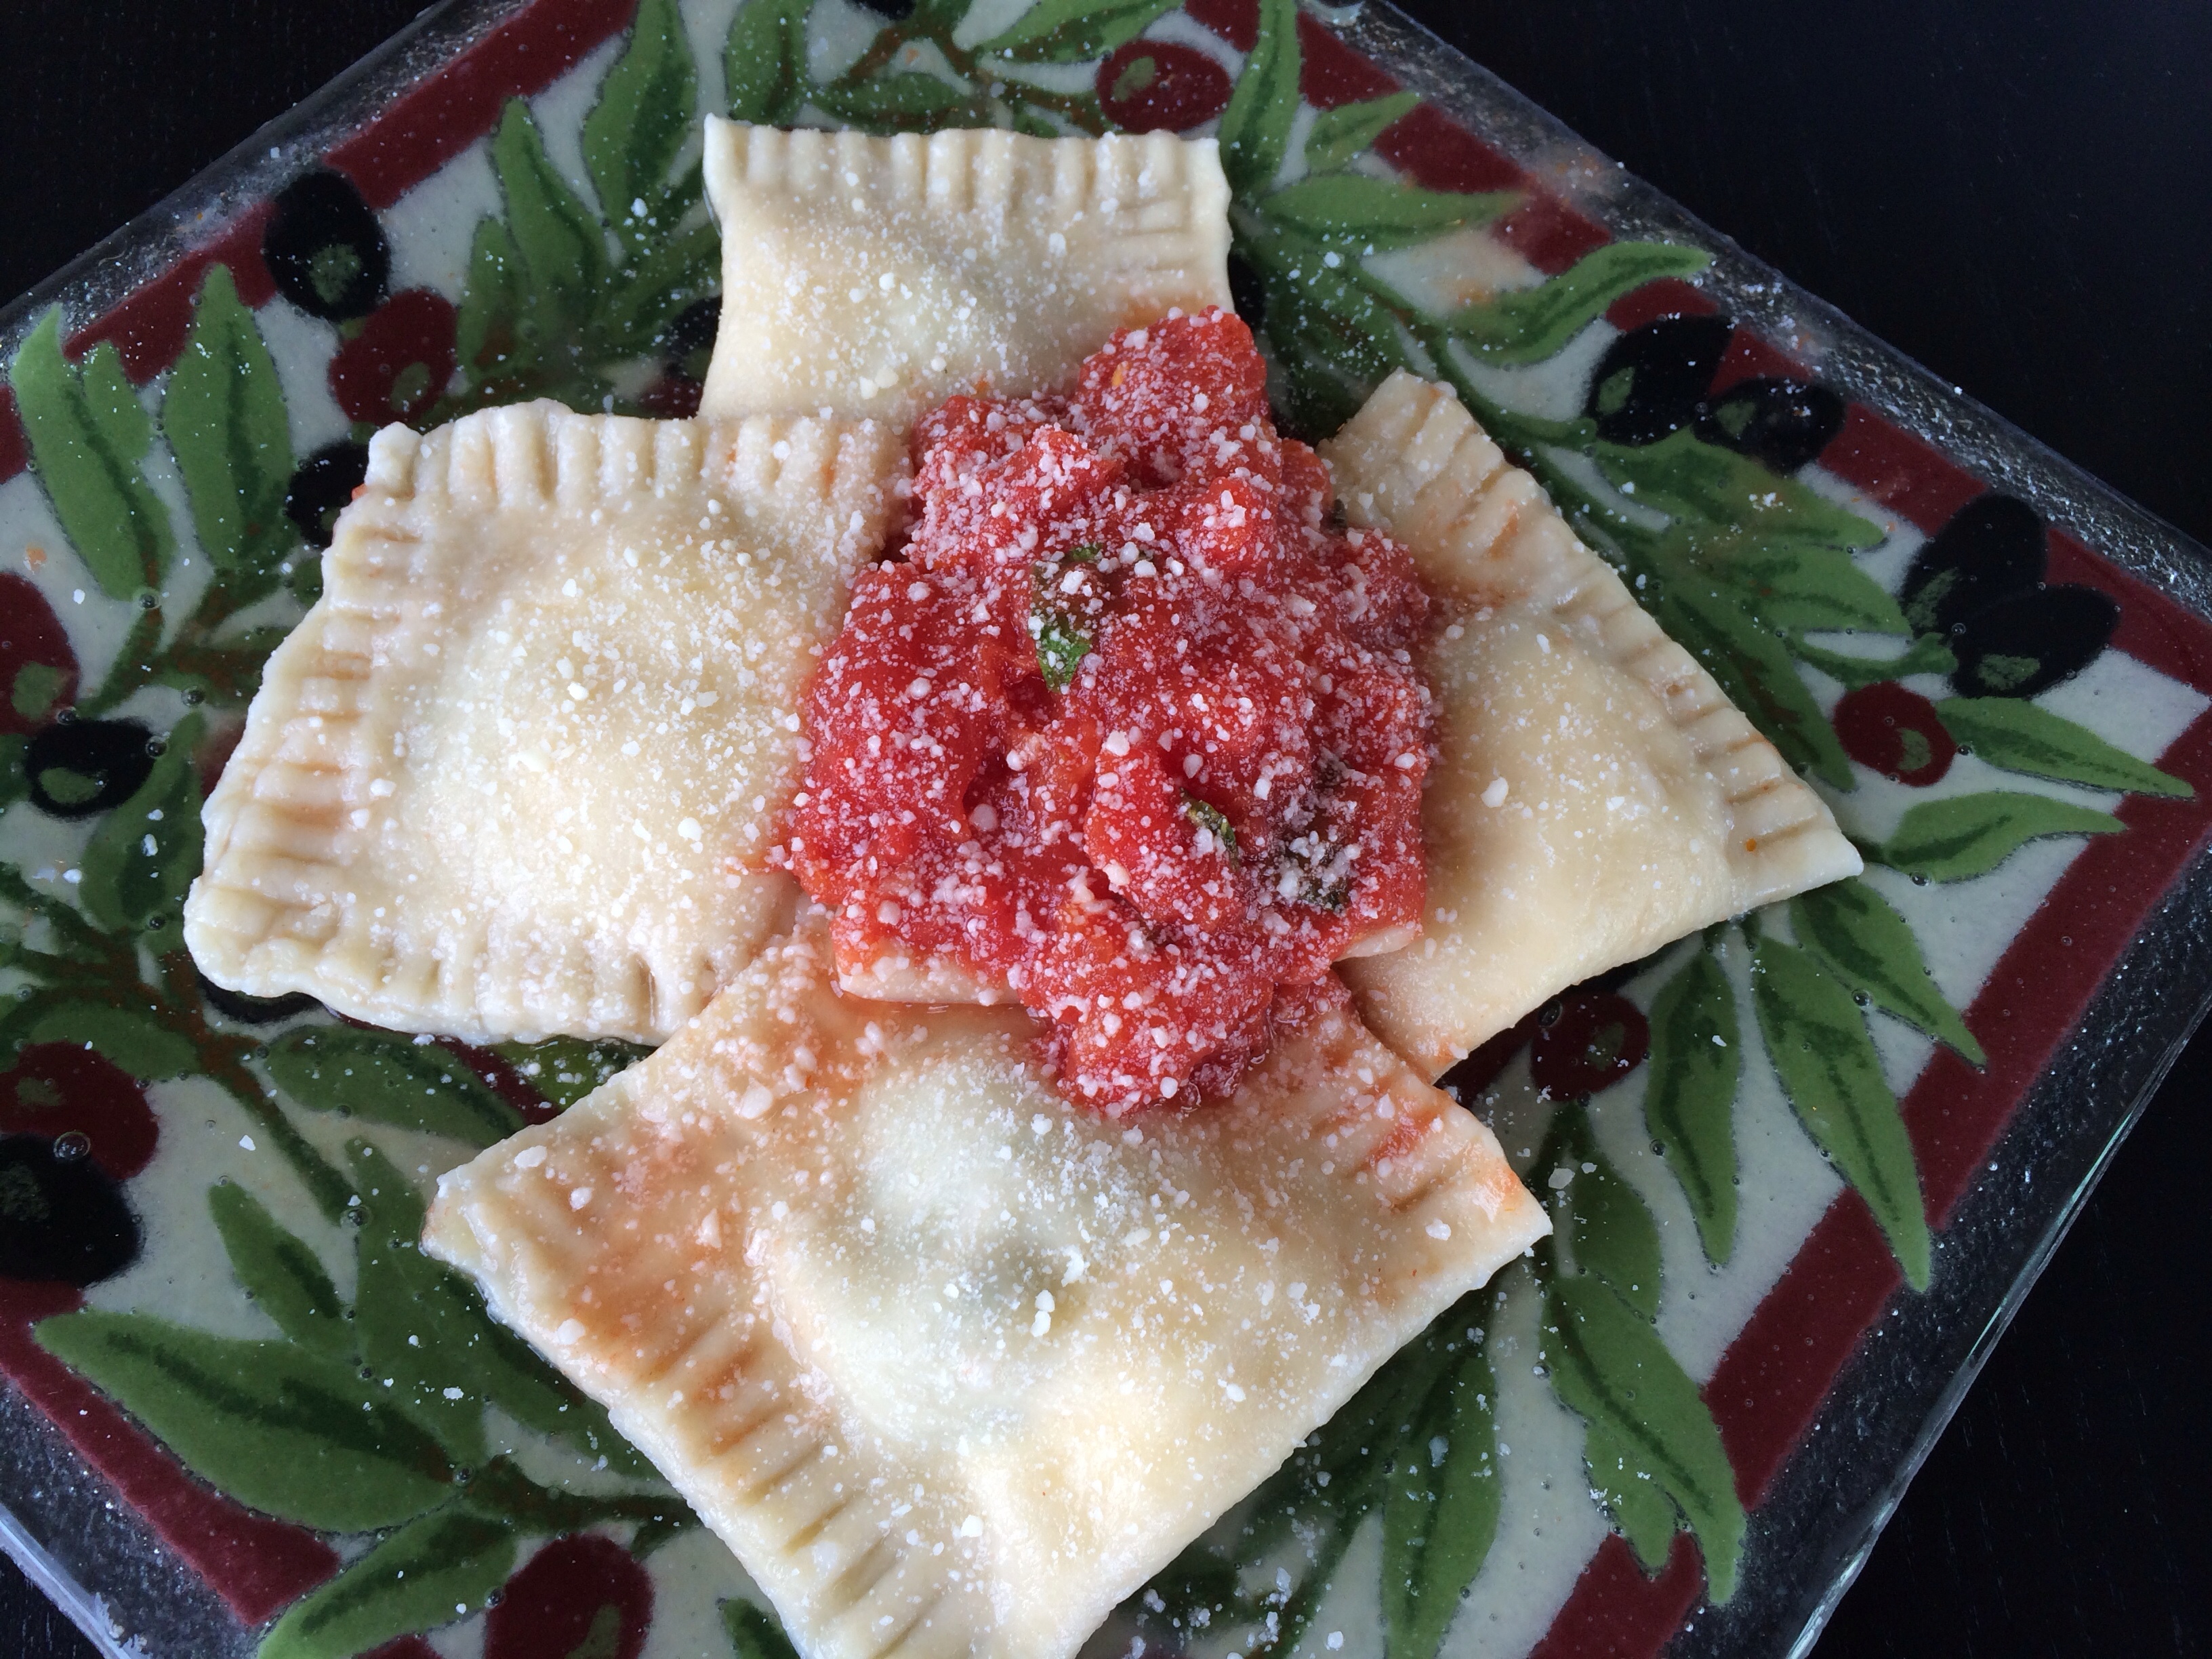
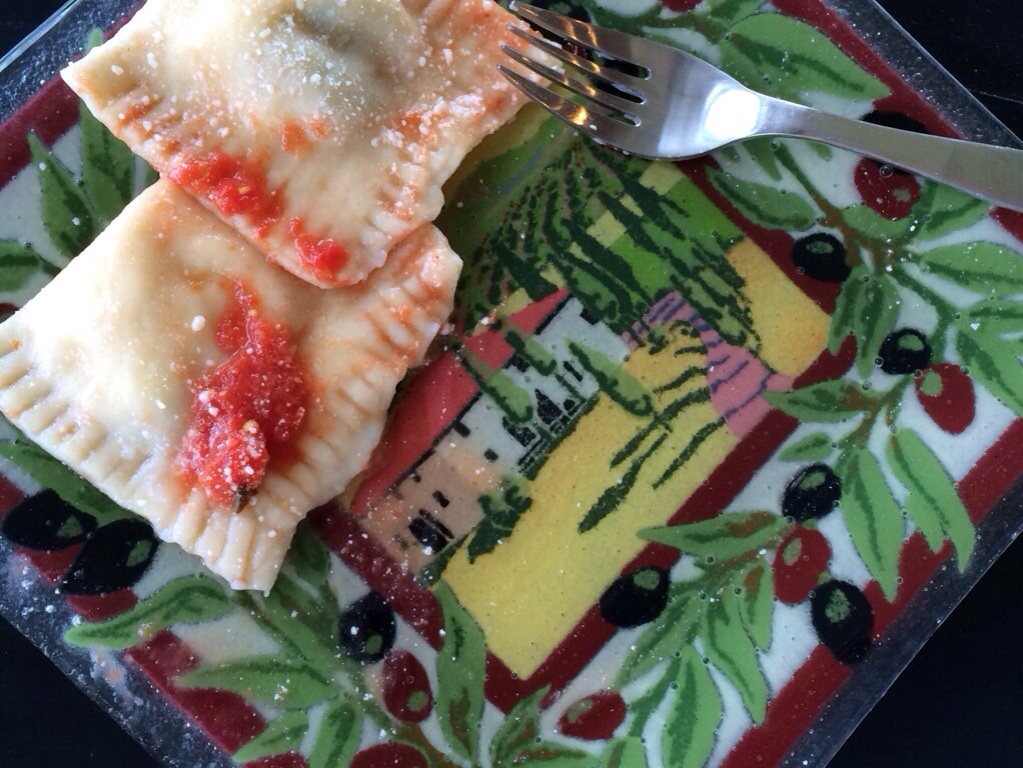
Ravioli … Little pockets of taste explosion! I love creating different flavor combinations!
I am very “old school,” so everyone says, and old school ravioli making involves a hard surface, eggs-flour-water, a hand crank pasta machine, some filling, a knife, and a fork. I do not use pasta making KitchenAid attachments or ravioli cutters. I’m so fancy. Ha!
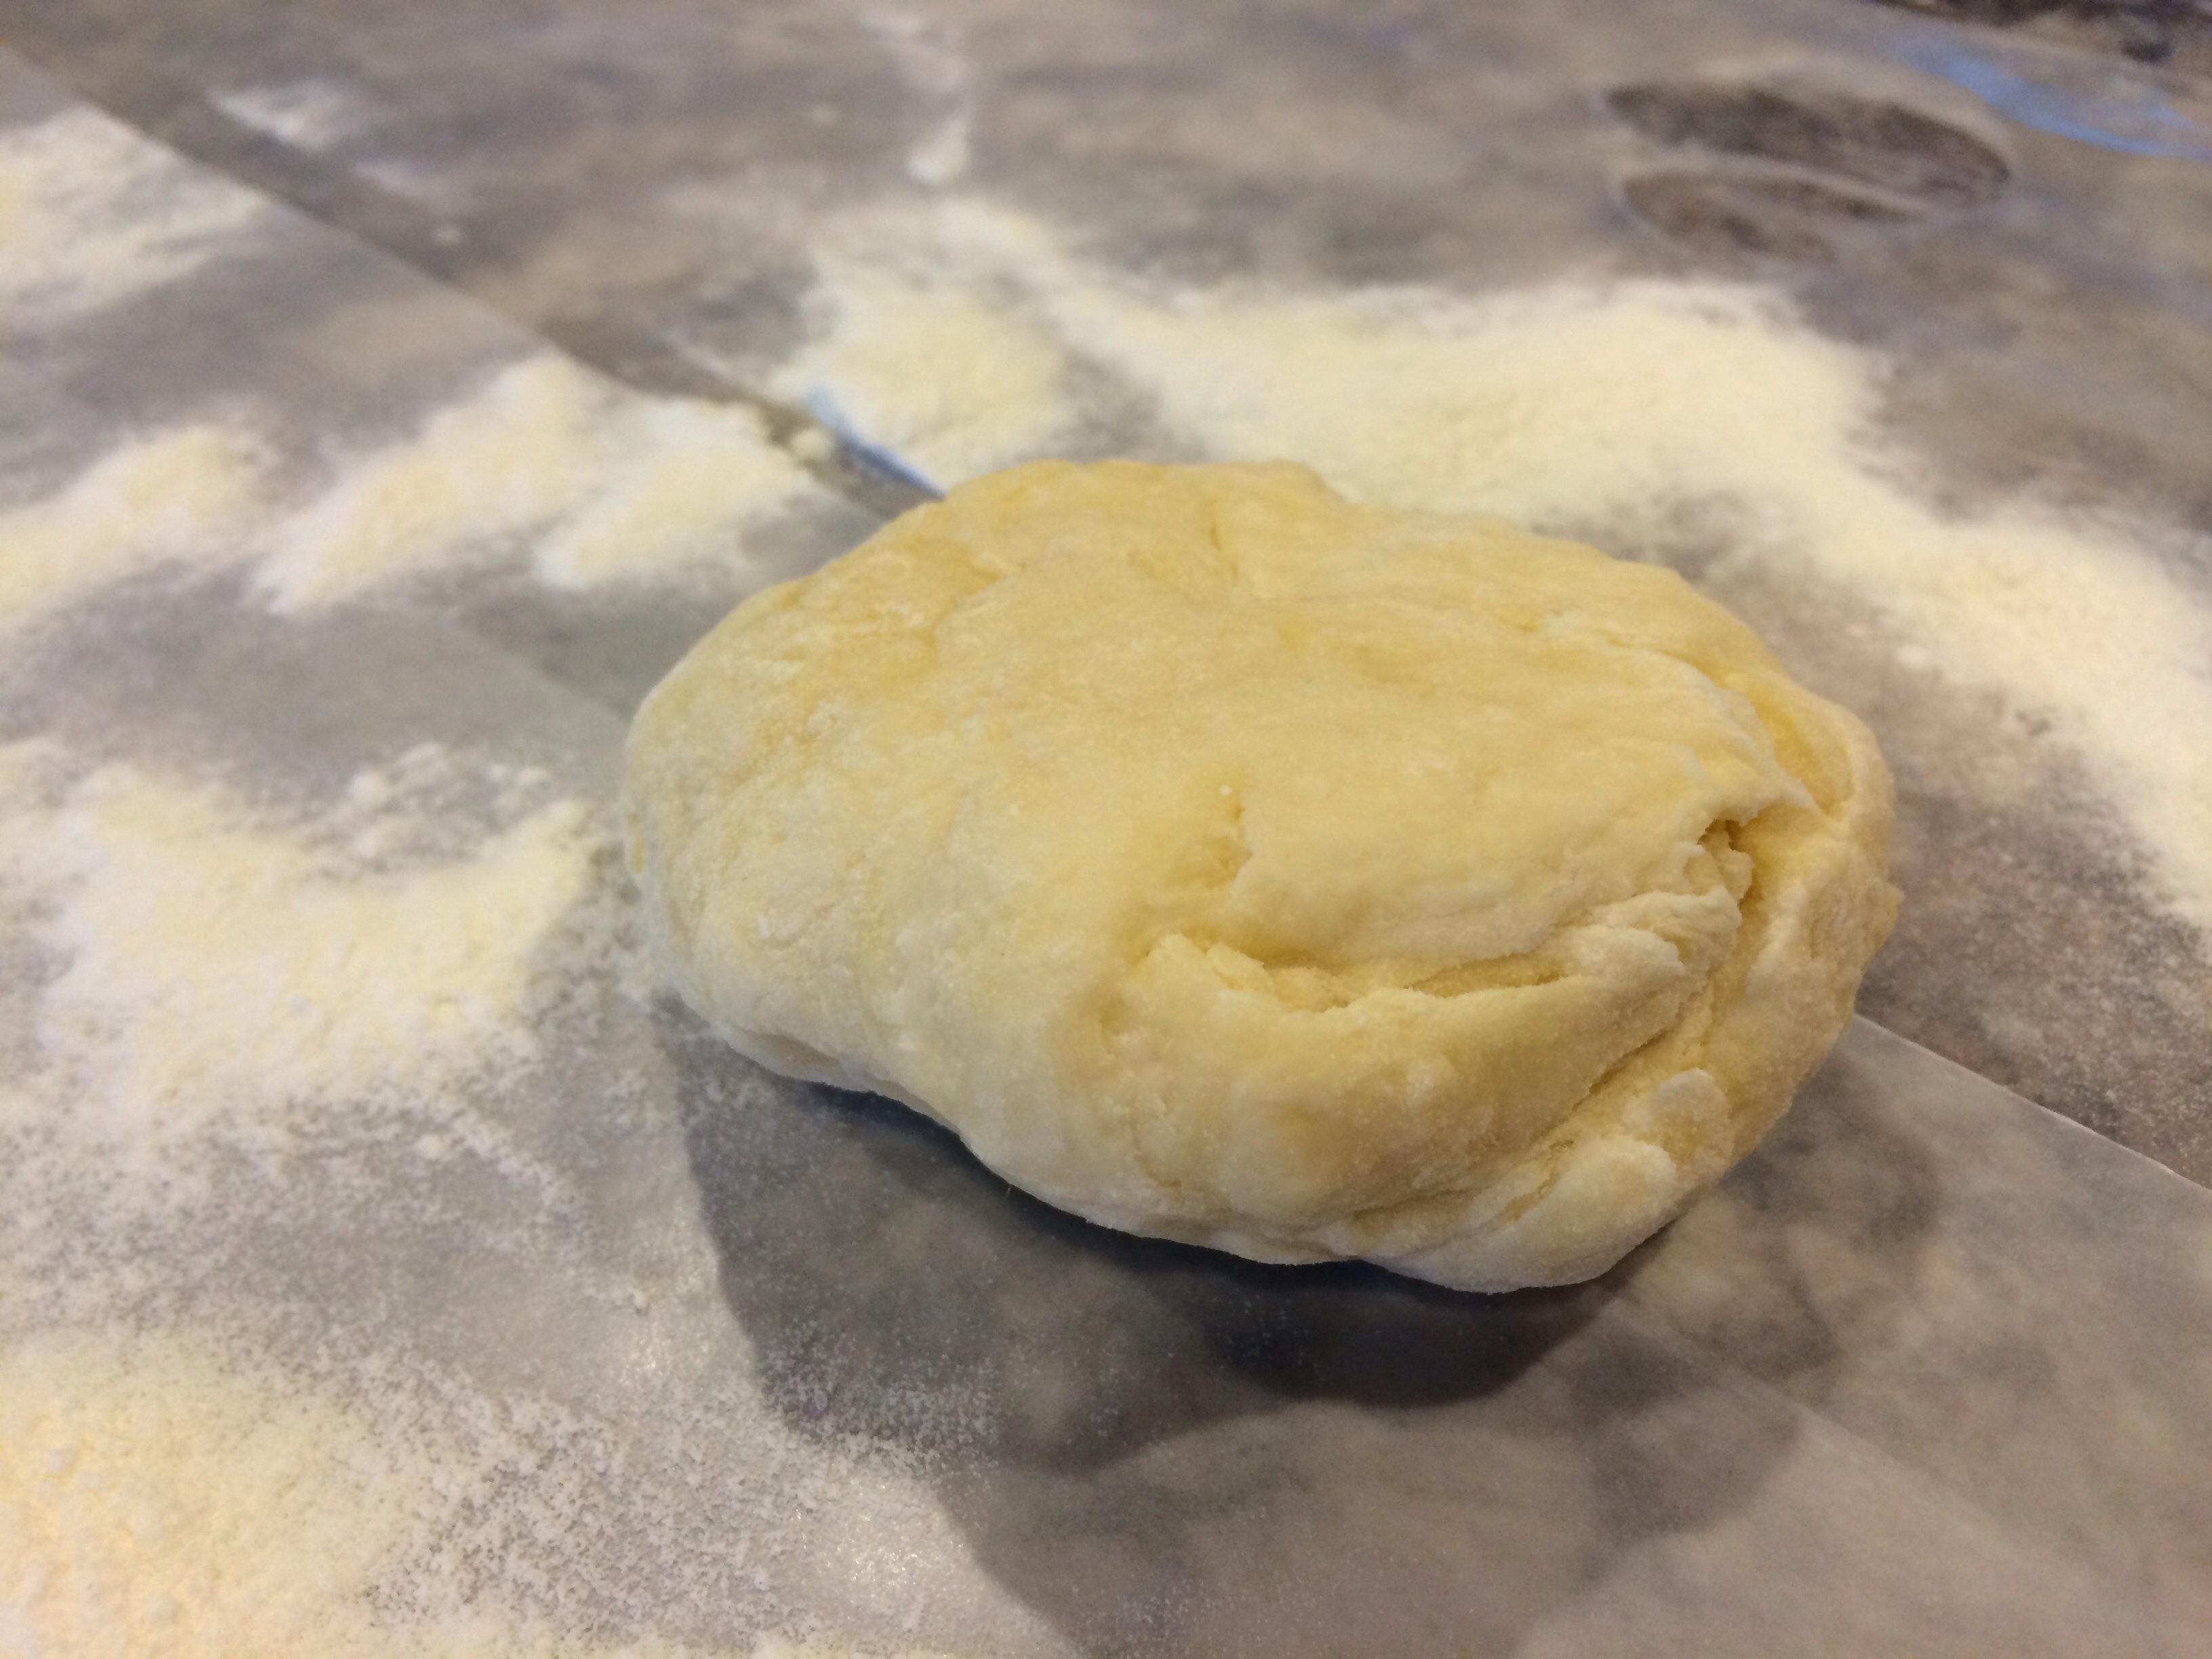
One big beautiful dough ball!
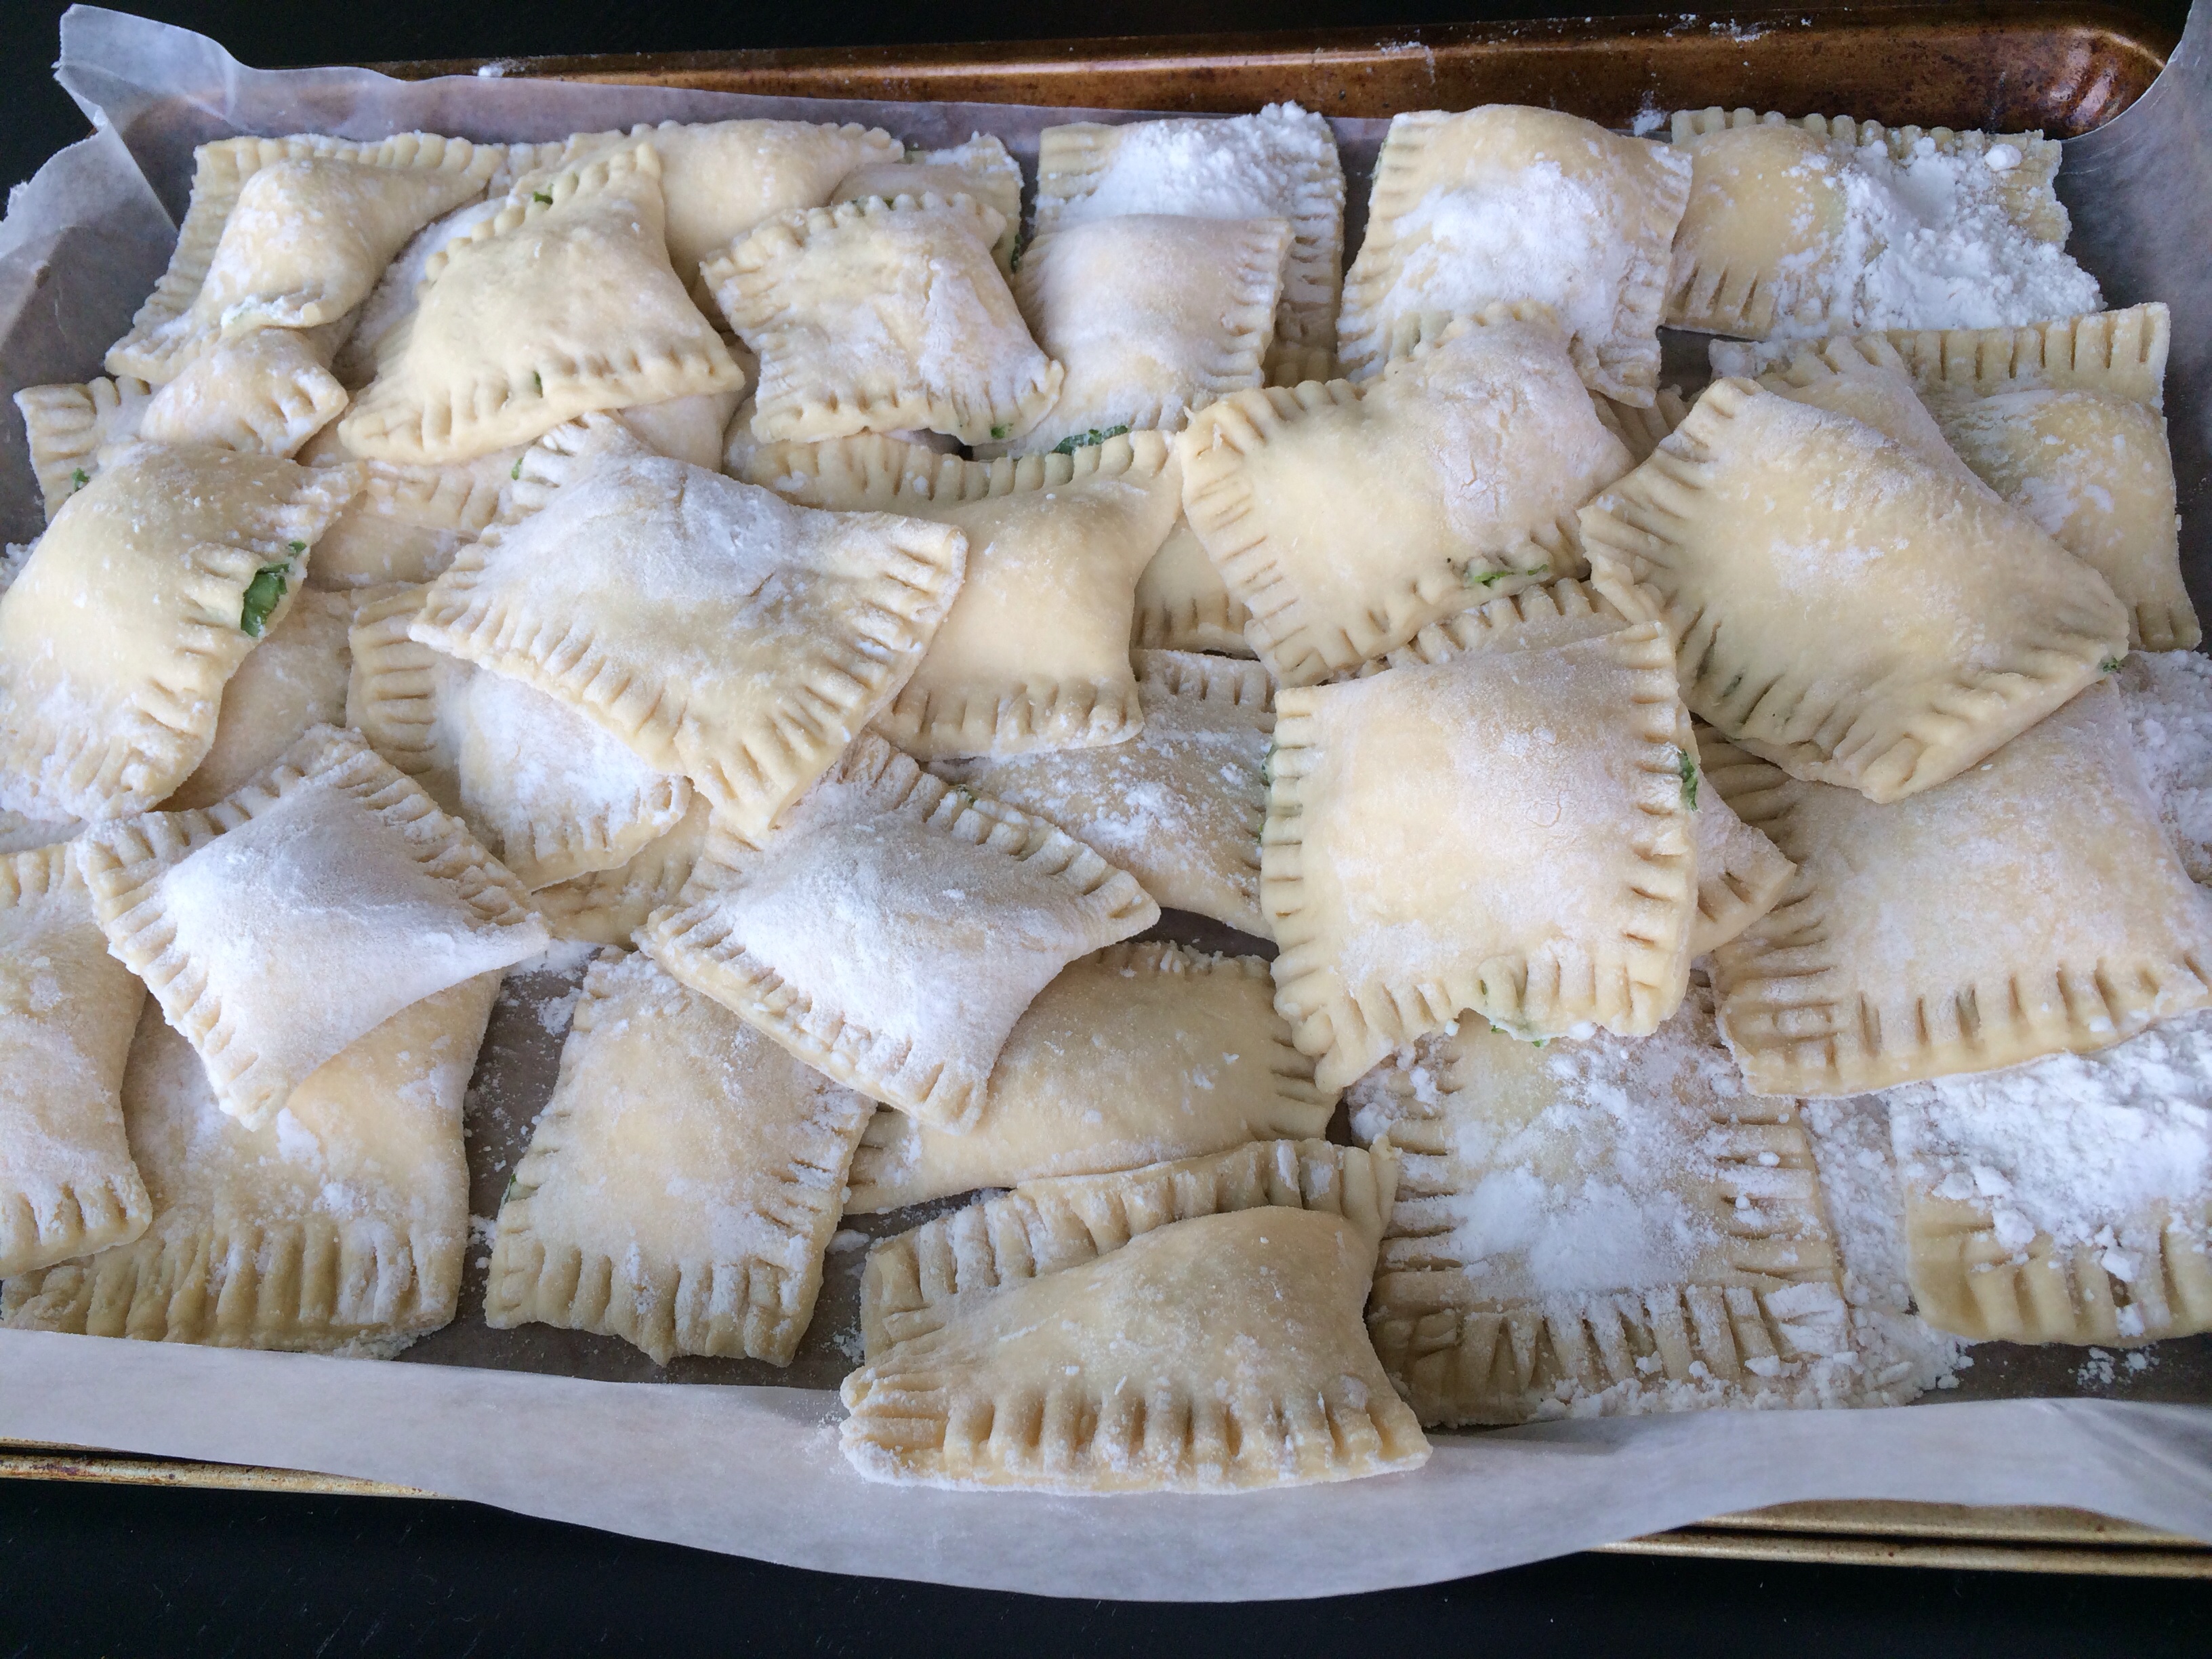
Kale Ricotta Ravioli
Makes approx. 3 dozen 3″X 3″ ravioli
Ravioli Ingredients:
3 eggs
3 cups flour
1/2 cup water
Extra flour for surface.
Filling:
2 cups ricotta
2 tbsp. Parmesan cheese
Salt and pepper
1/2 cup kale, finely chopped
Fun Fact: One is a Raviolo and the plural is Ravioli.
Directions:
Clean your work surface. If it is porous, cover it with waxed paper.
Wash your hands!
Crack the eggs on top of the flour pile and mix with your hands using a squeezing molding motion.
Add water 1 tbsp. at a time and continue kneading until a dough ball forms.
If the dough is sticky, add 1 -2 tbsp. flour. If the dough is dry and cracked looking, add water 1-2 tbsp. at a time.
This is the trickiest part. I always keep a pile of flour and a a little bowl of water right on the work surface. So many external factors are involved with dough making including humidity and air temperature.
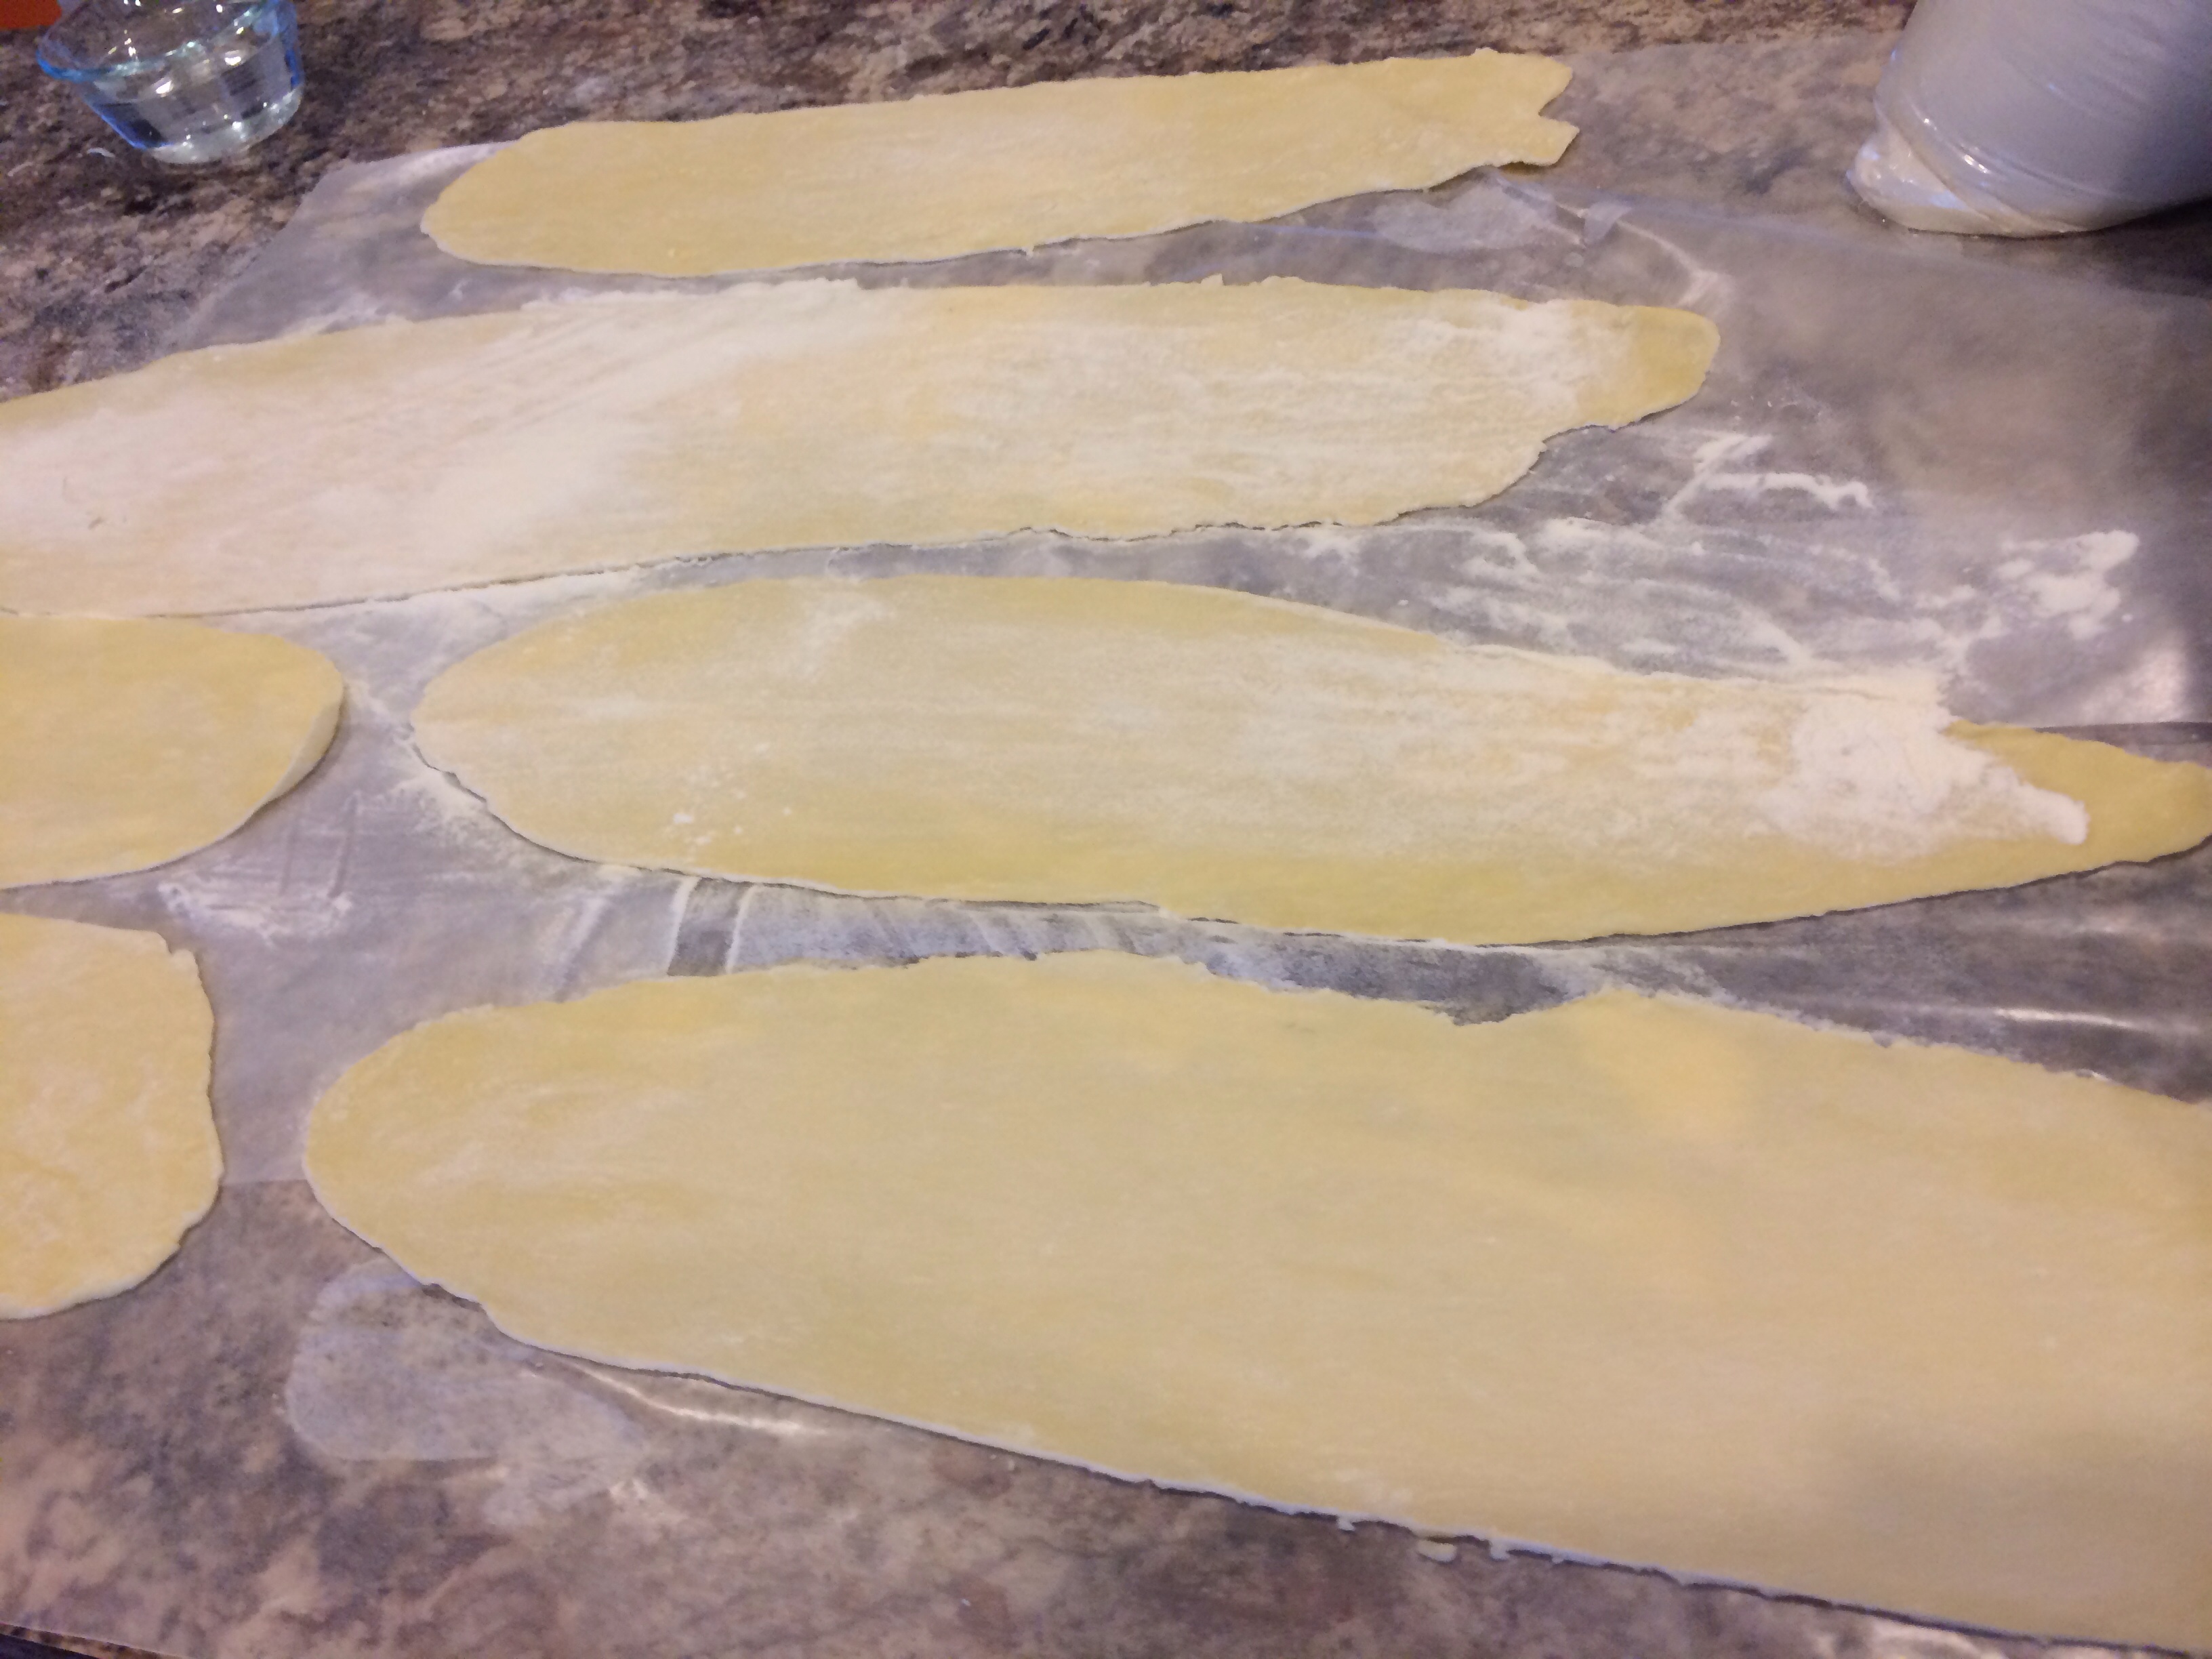
When you feel that the dough ball is malleable and well mixed, break off a handful of dough and flatten it into an oval.
Sprinkle some flour on the pasta machine and work surface.
Starting at #1 setting, feed the dough through the machine while turning the crank in one fluid motion. Repeat at #3 and finish on #6.
(I have the craziest pasta machine ever! The numbers are backwards, so I start with #7. Took me minute to figure it out!)
Trim the ends to leave a rectangle shape. That way the ravioli will be square.
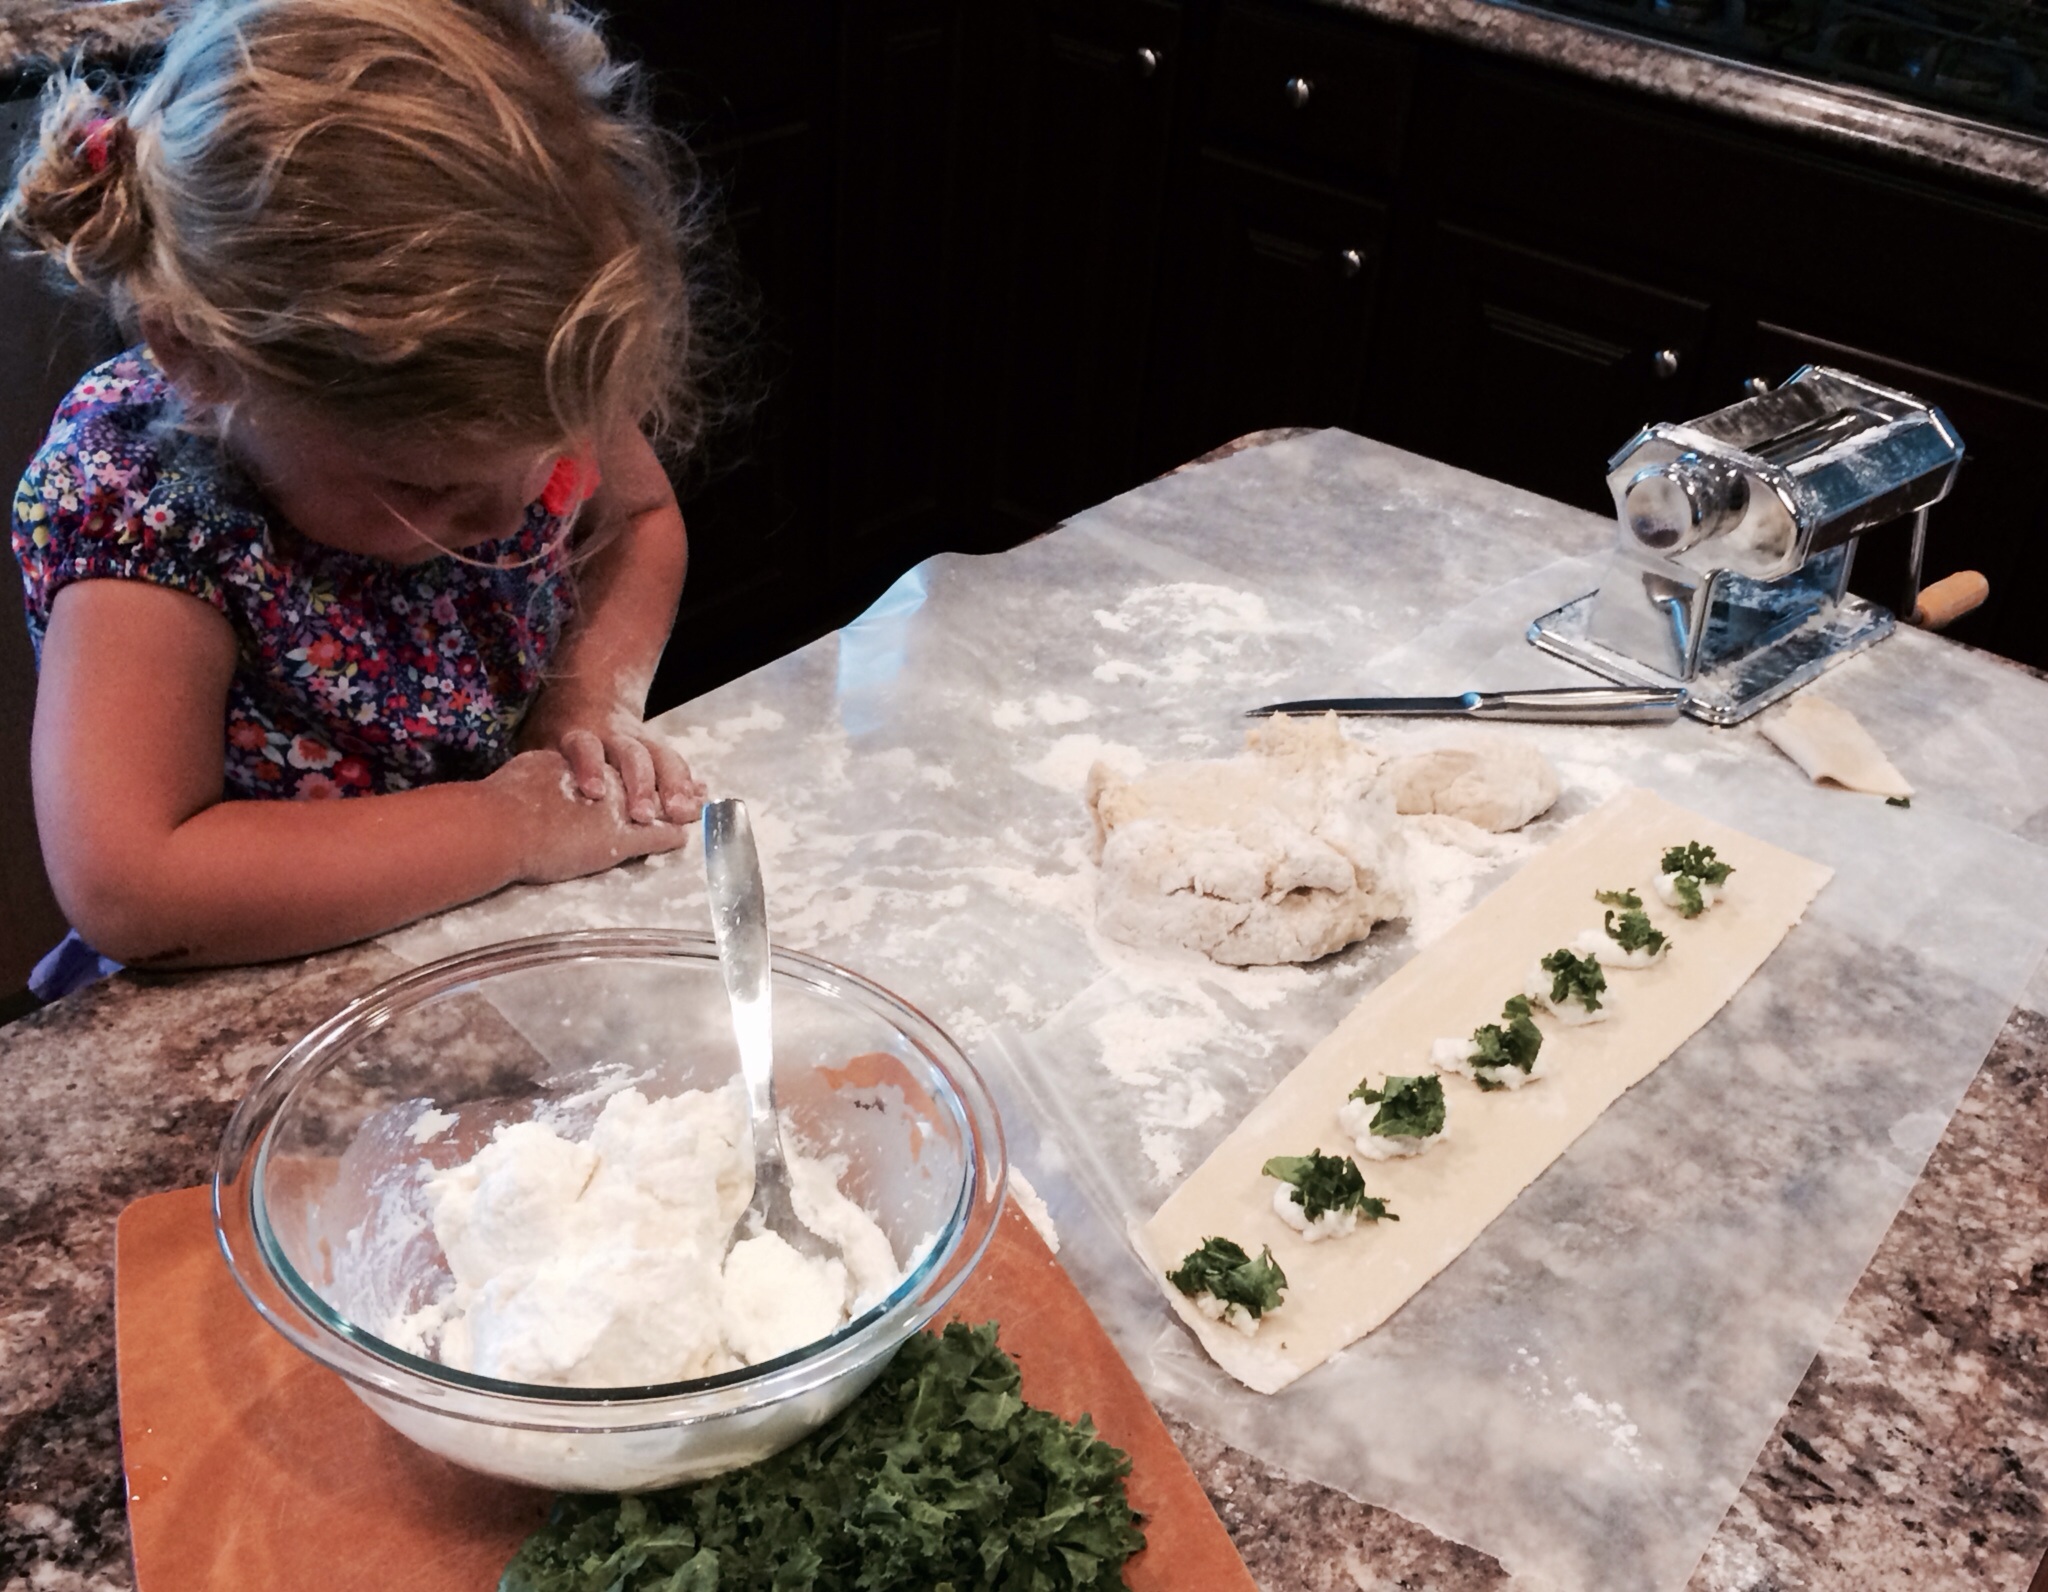
Place 1 tbsp. of filling on the dough approx. 1 inch apart.
A skinny rectangle and placing the filling closer together will make smaller ravioli. See photo!
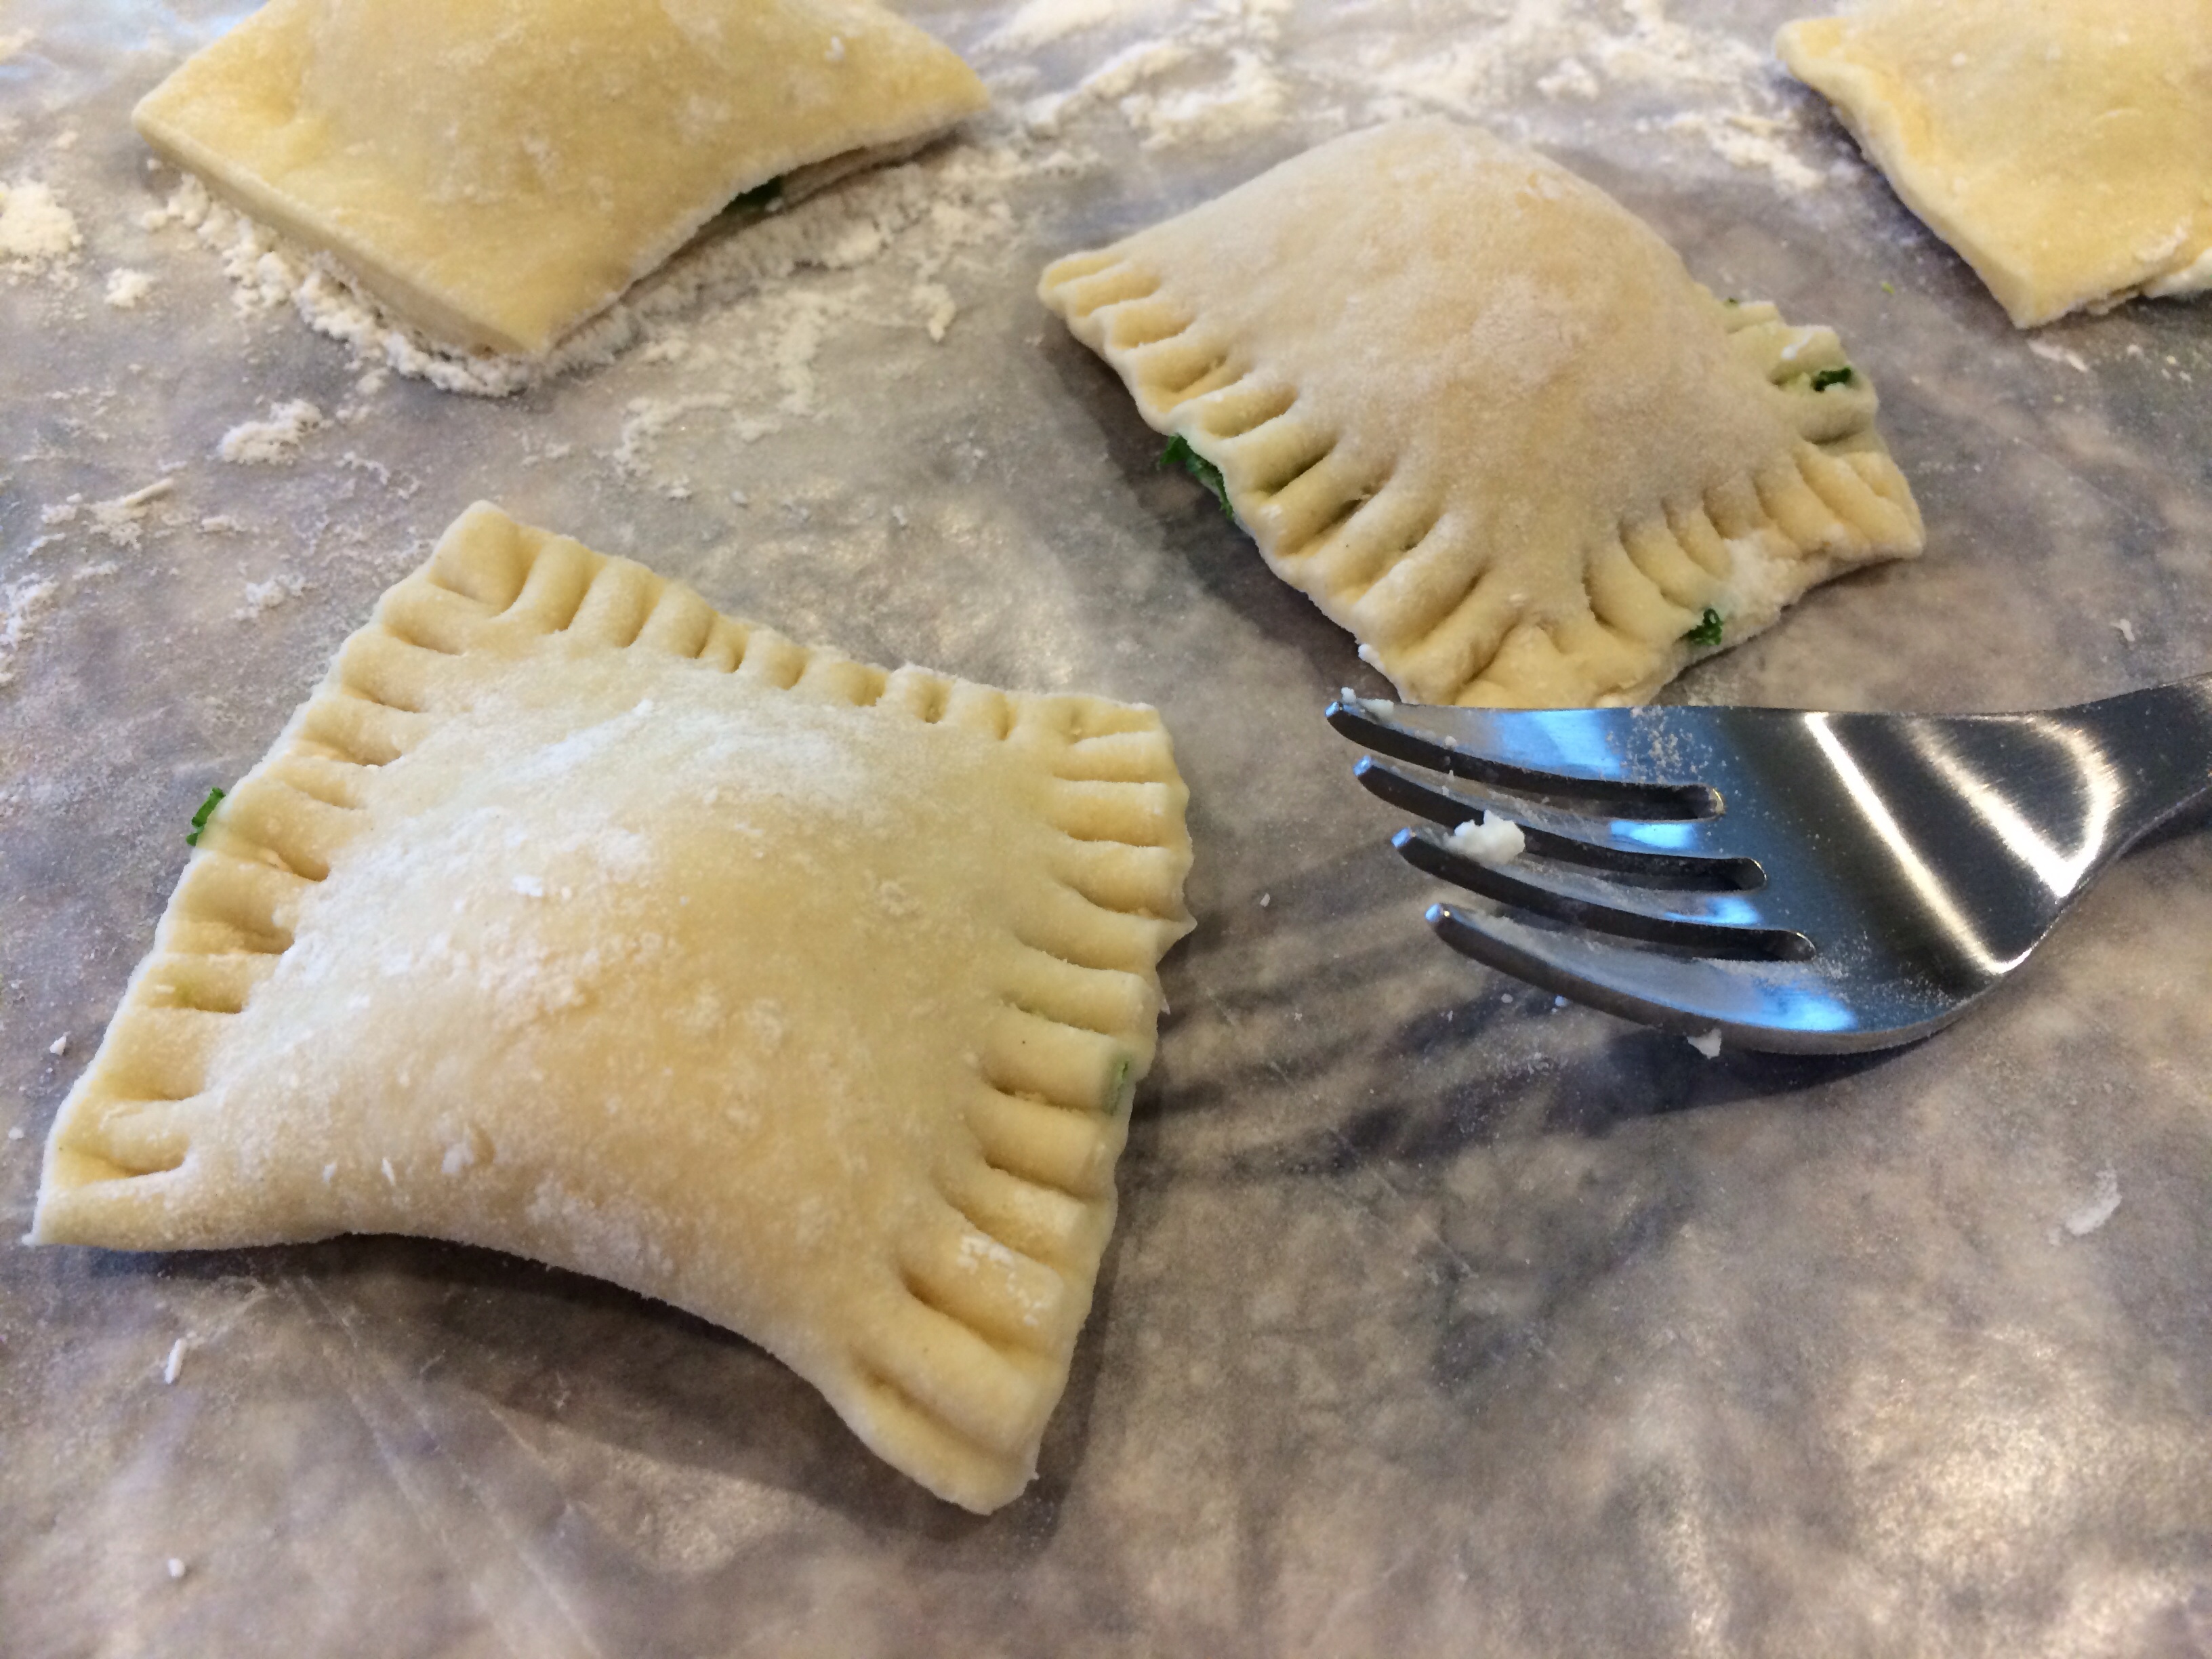
Fold the dough over and press finger between filling.
My assistant Bella helped me! I assisted my grandparents in making thousands of dozens of ravioli. I remember the feel of the dough between my fingers, the smell of the dough, the smell of my grandparents, and the sputter of the pot of sauce cooking in the background. I knew with absolute certainty the taste and the bite of a perfectly cooked raviolo. I teach my kids and through repetition it will become easy for them. I hope they will make ravioli for and with their families, as I do, from the heart.
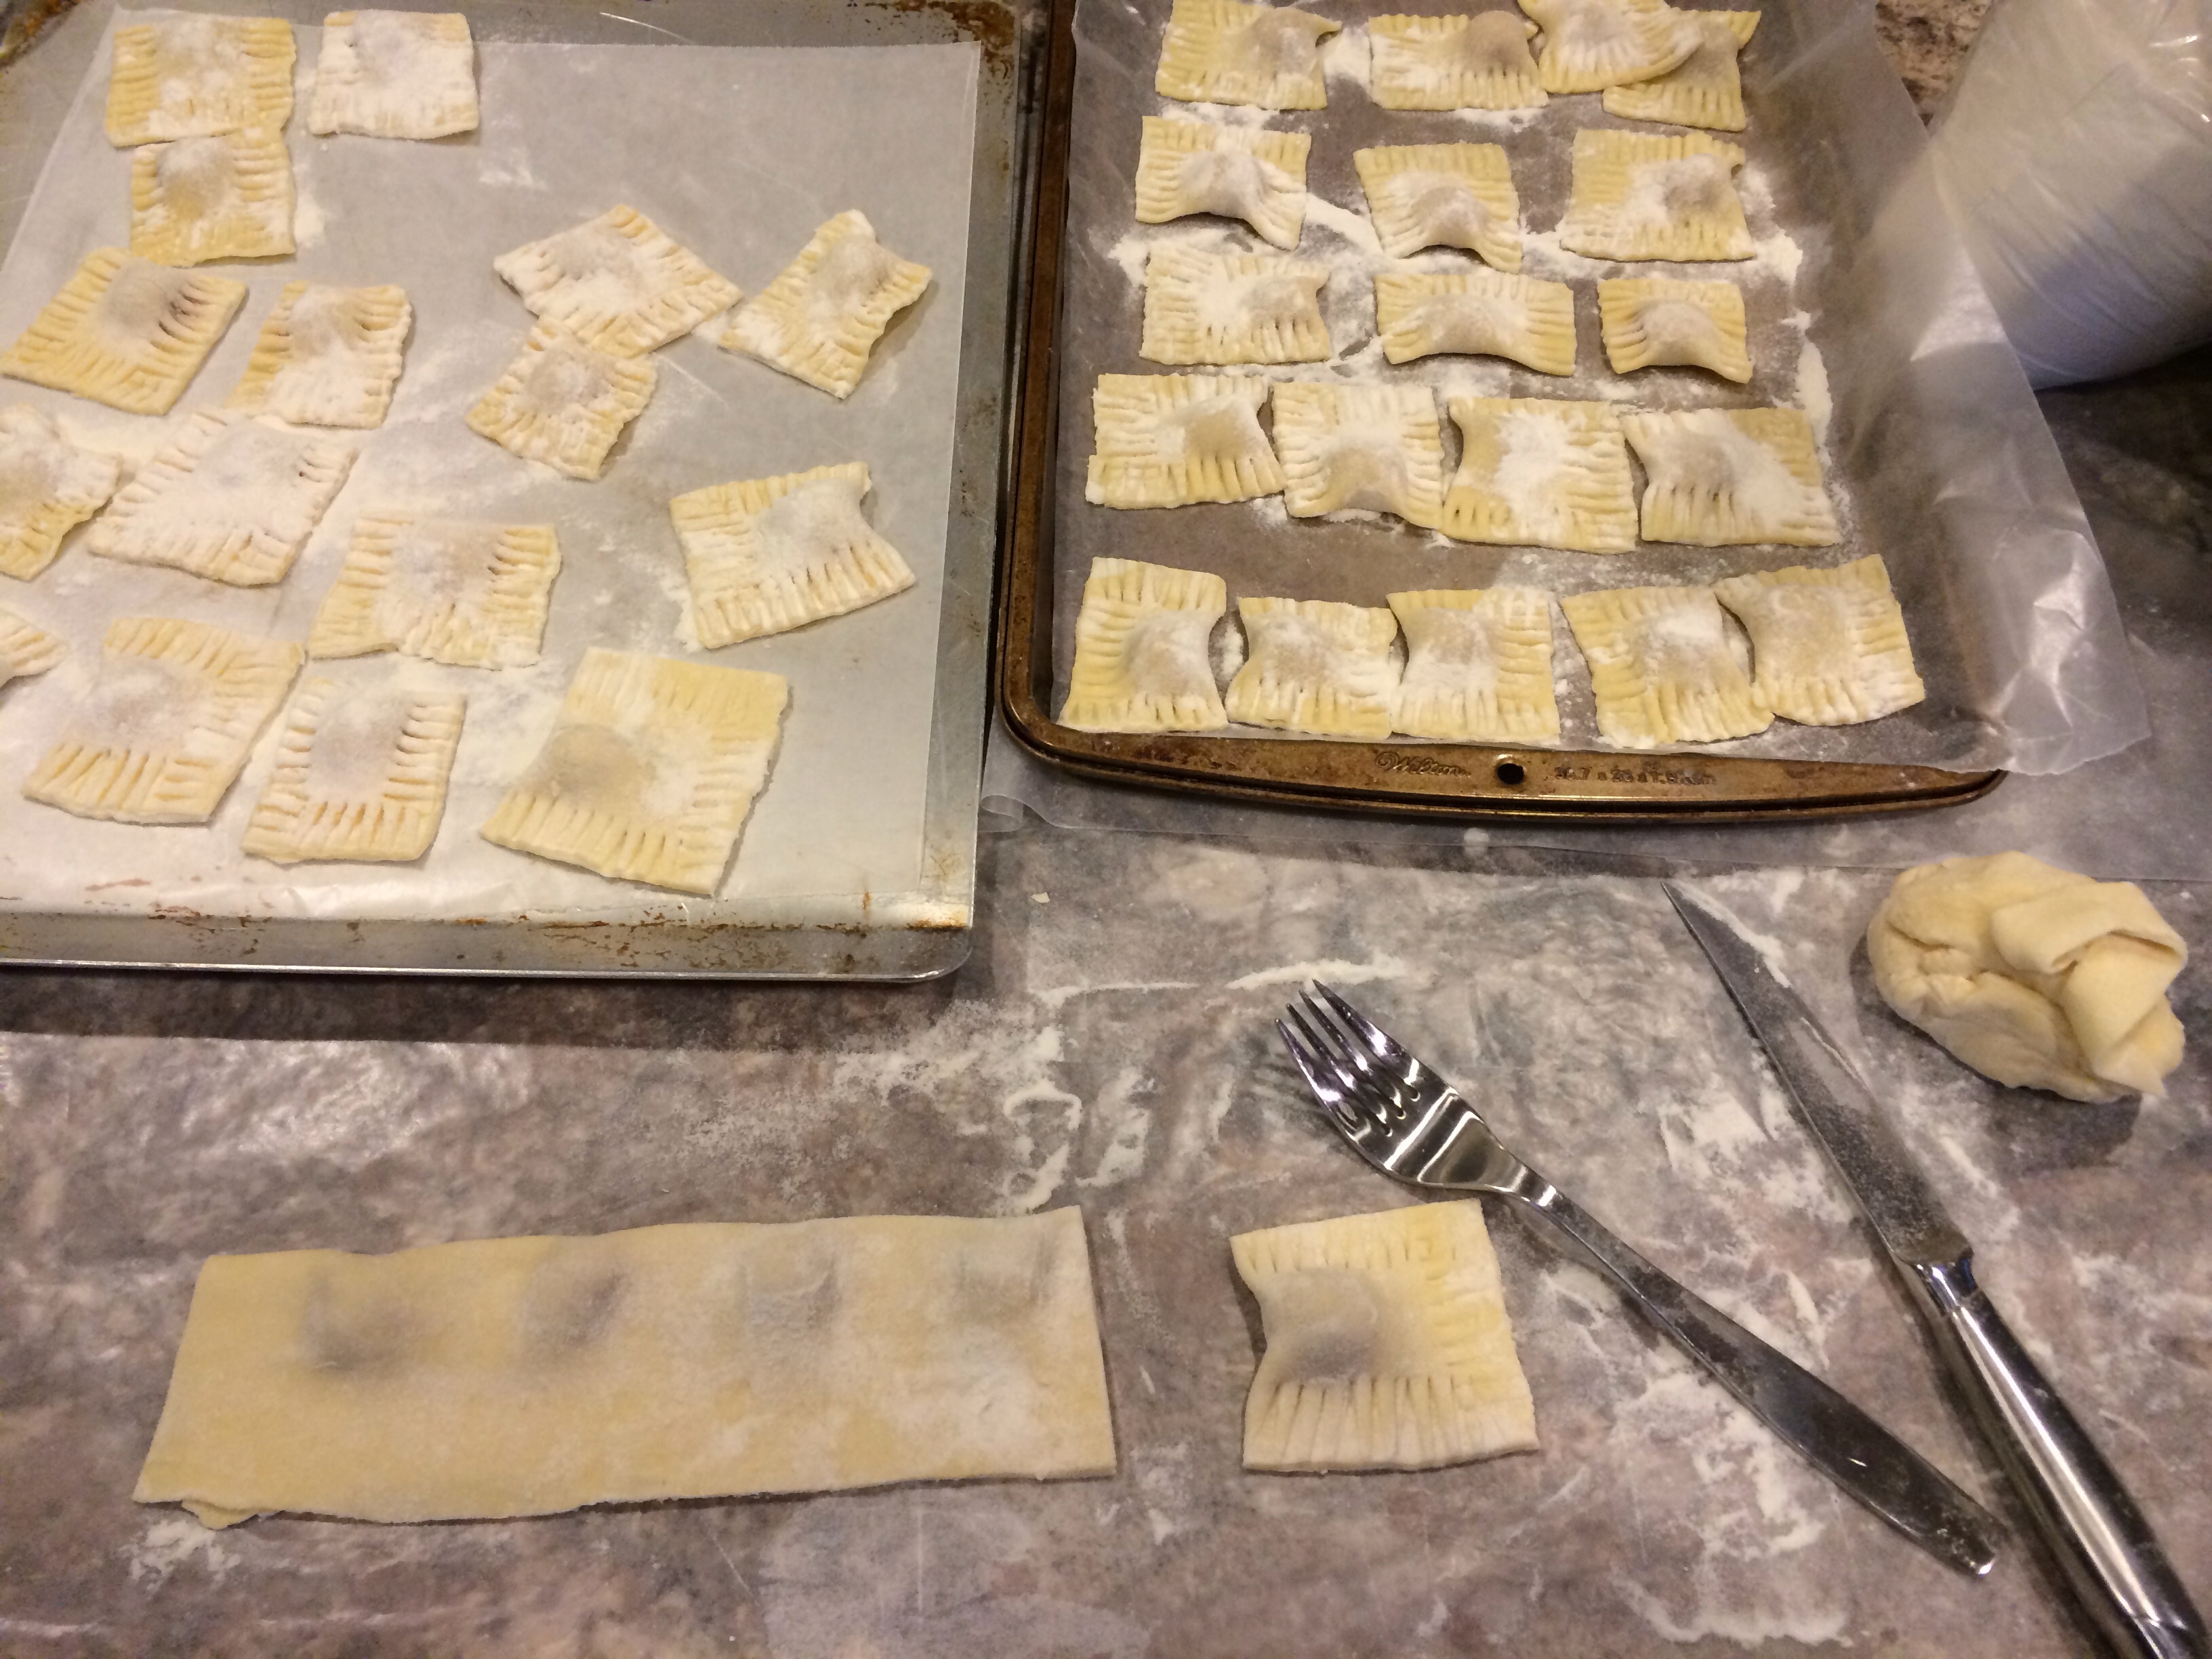
Cut with a knife into squares.
Press and seal the raviolo’s edges with a fork.
Press hard so that the dough adheres and so that the ravioli won’t lose their filling in the water!
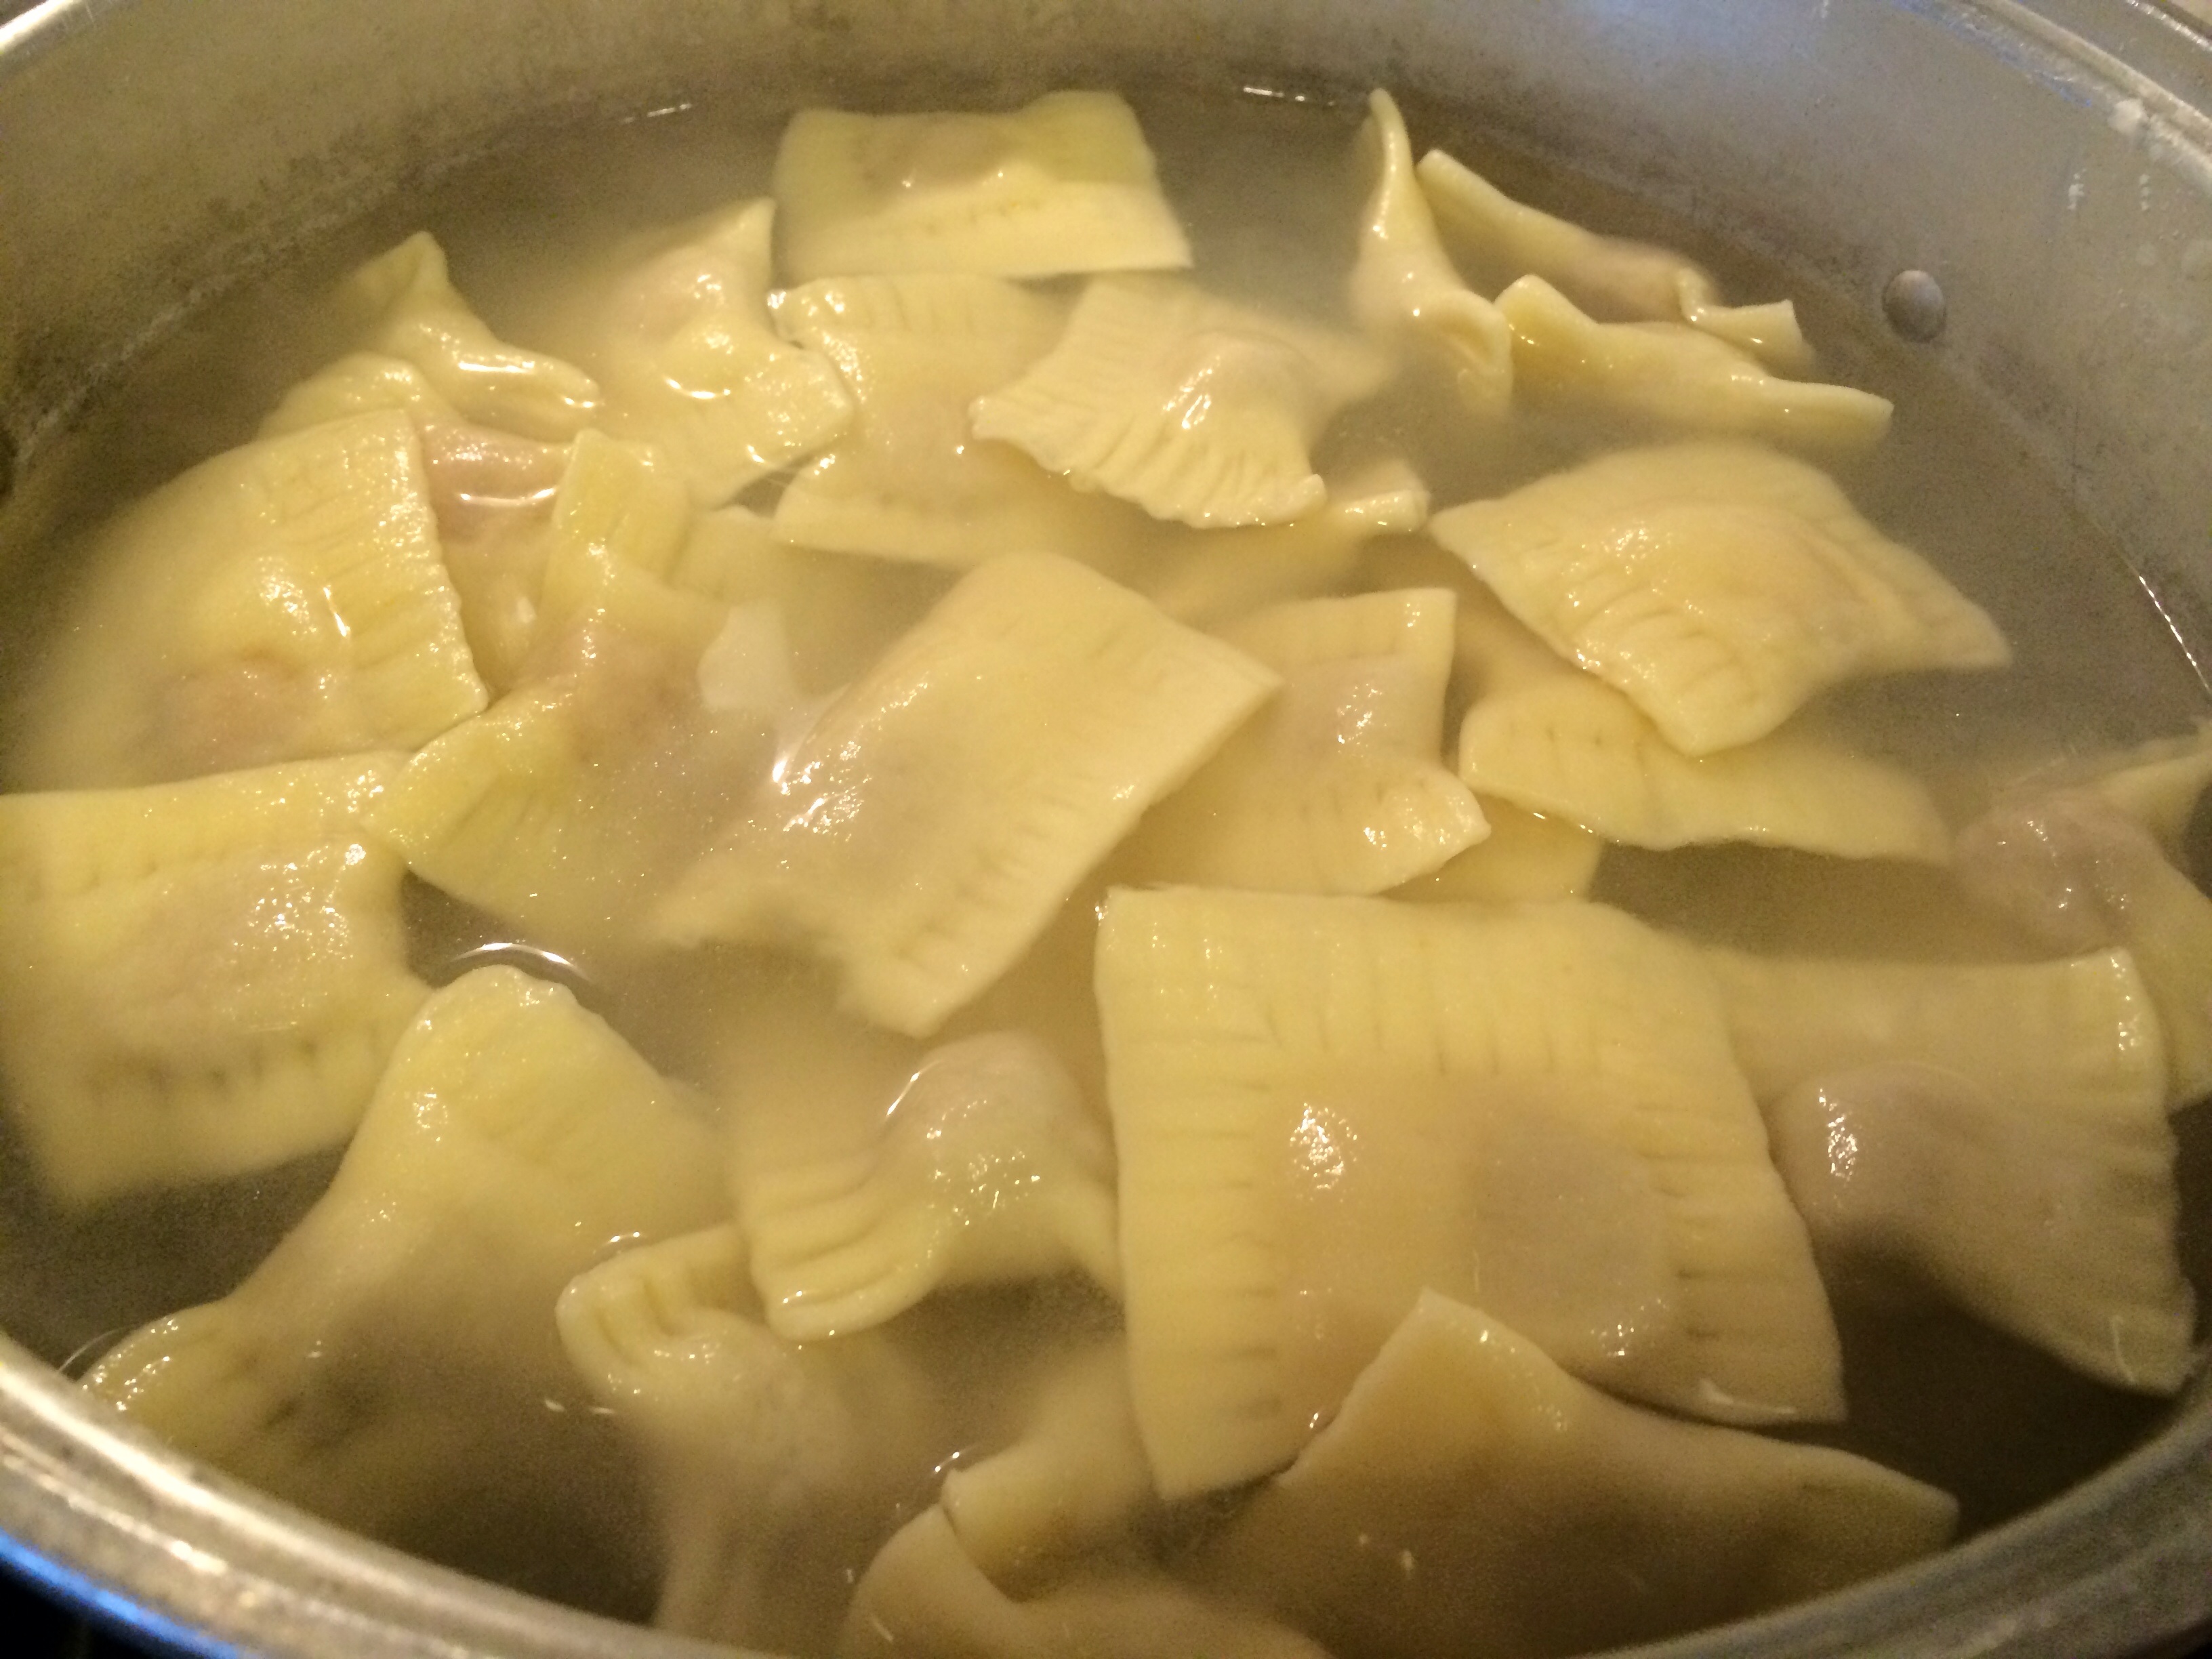
Add the ravioli to salted boiling water and remove with a slotted spoon when the ravioli are floating.
When they are floating, spoon them out with a slotted spoon and add the second batch to the water. I cook 12-20 at a time (depending on the pot) to ensure even cooking.