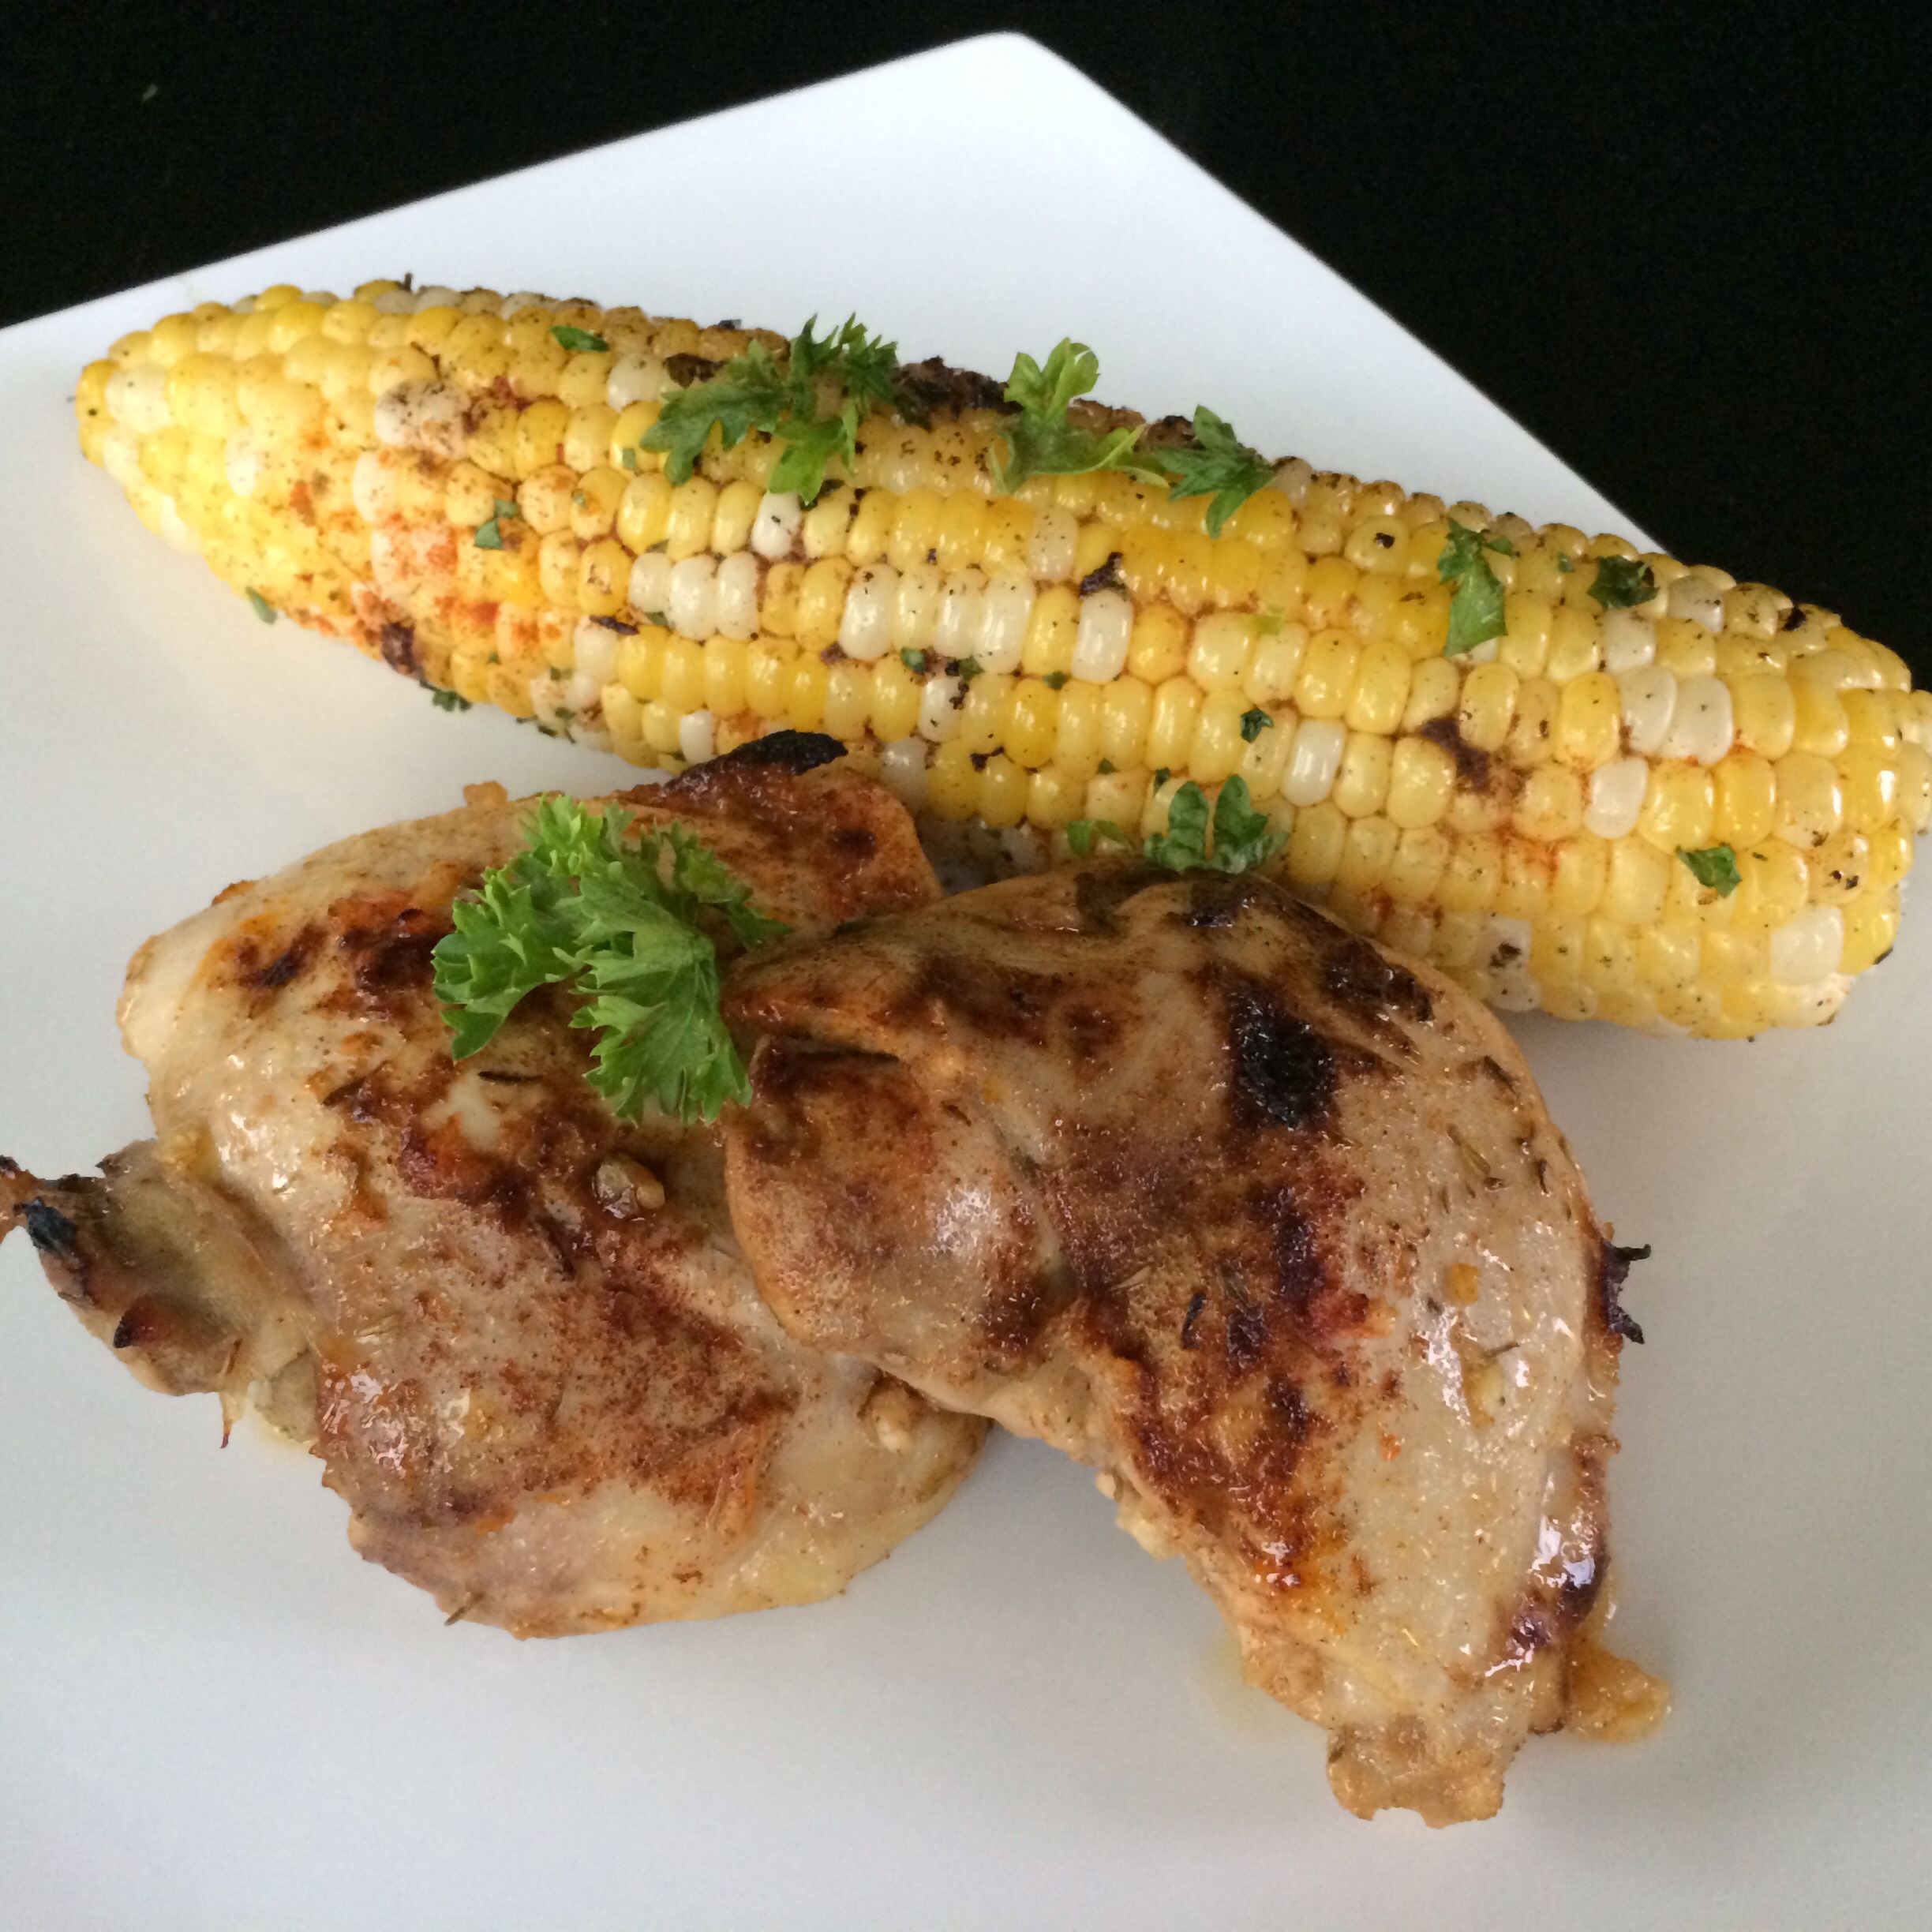
My neighbors are awesome fishermen and who do you think gets a bag of fresh caught fish after the trip? The neighborhood food blogger of course. Ha! Thank you so much! The fresh walleye I was given this week soaked up the marinade beautifully and made a delicious base for some fresh fish tacos.
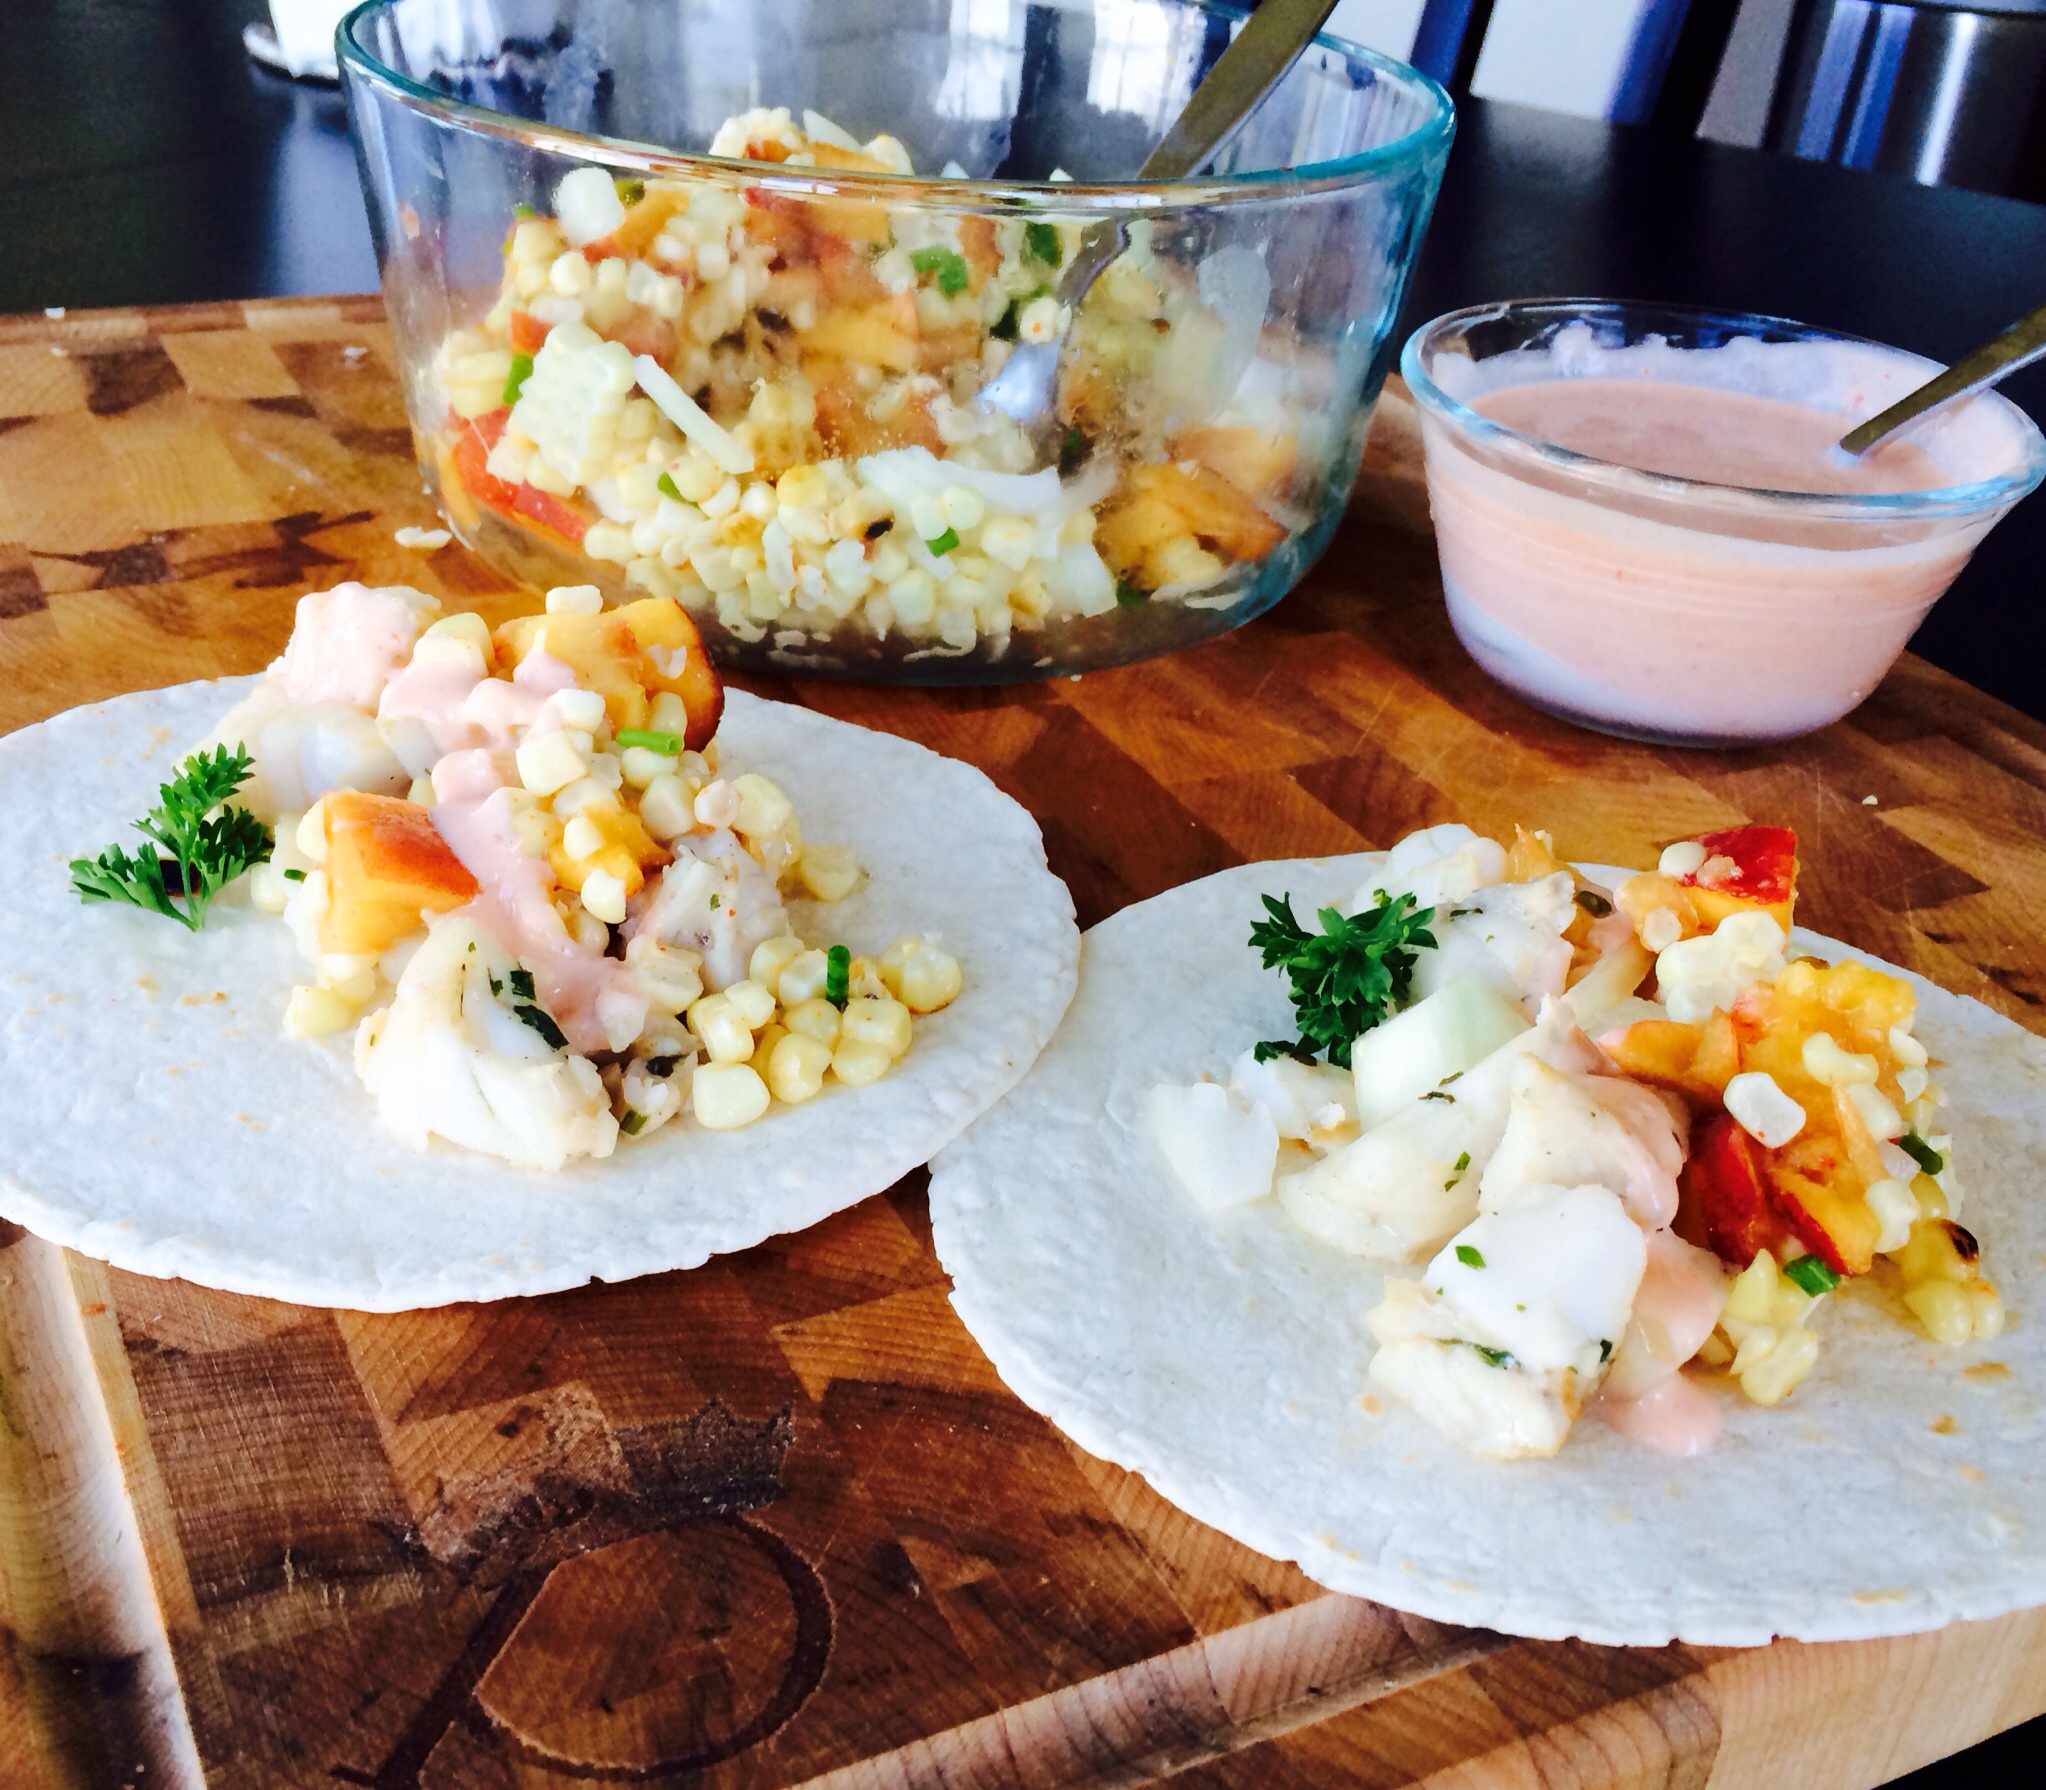
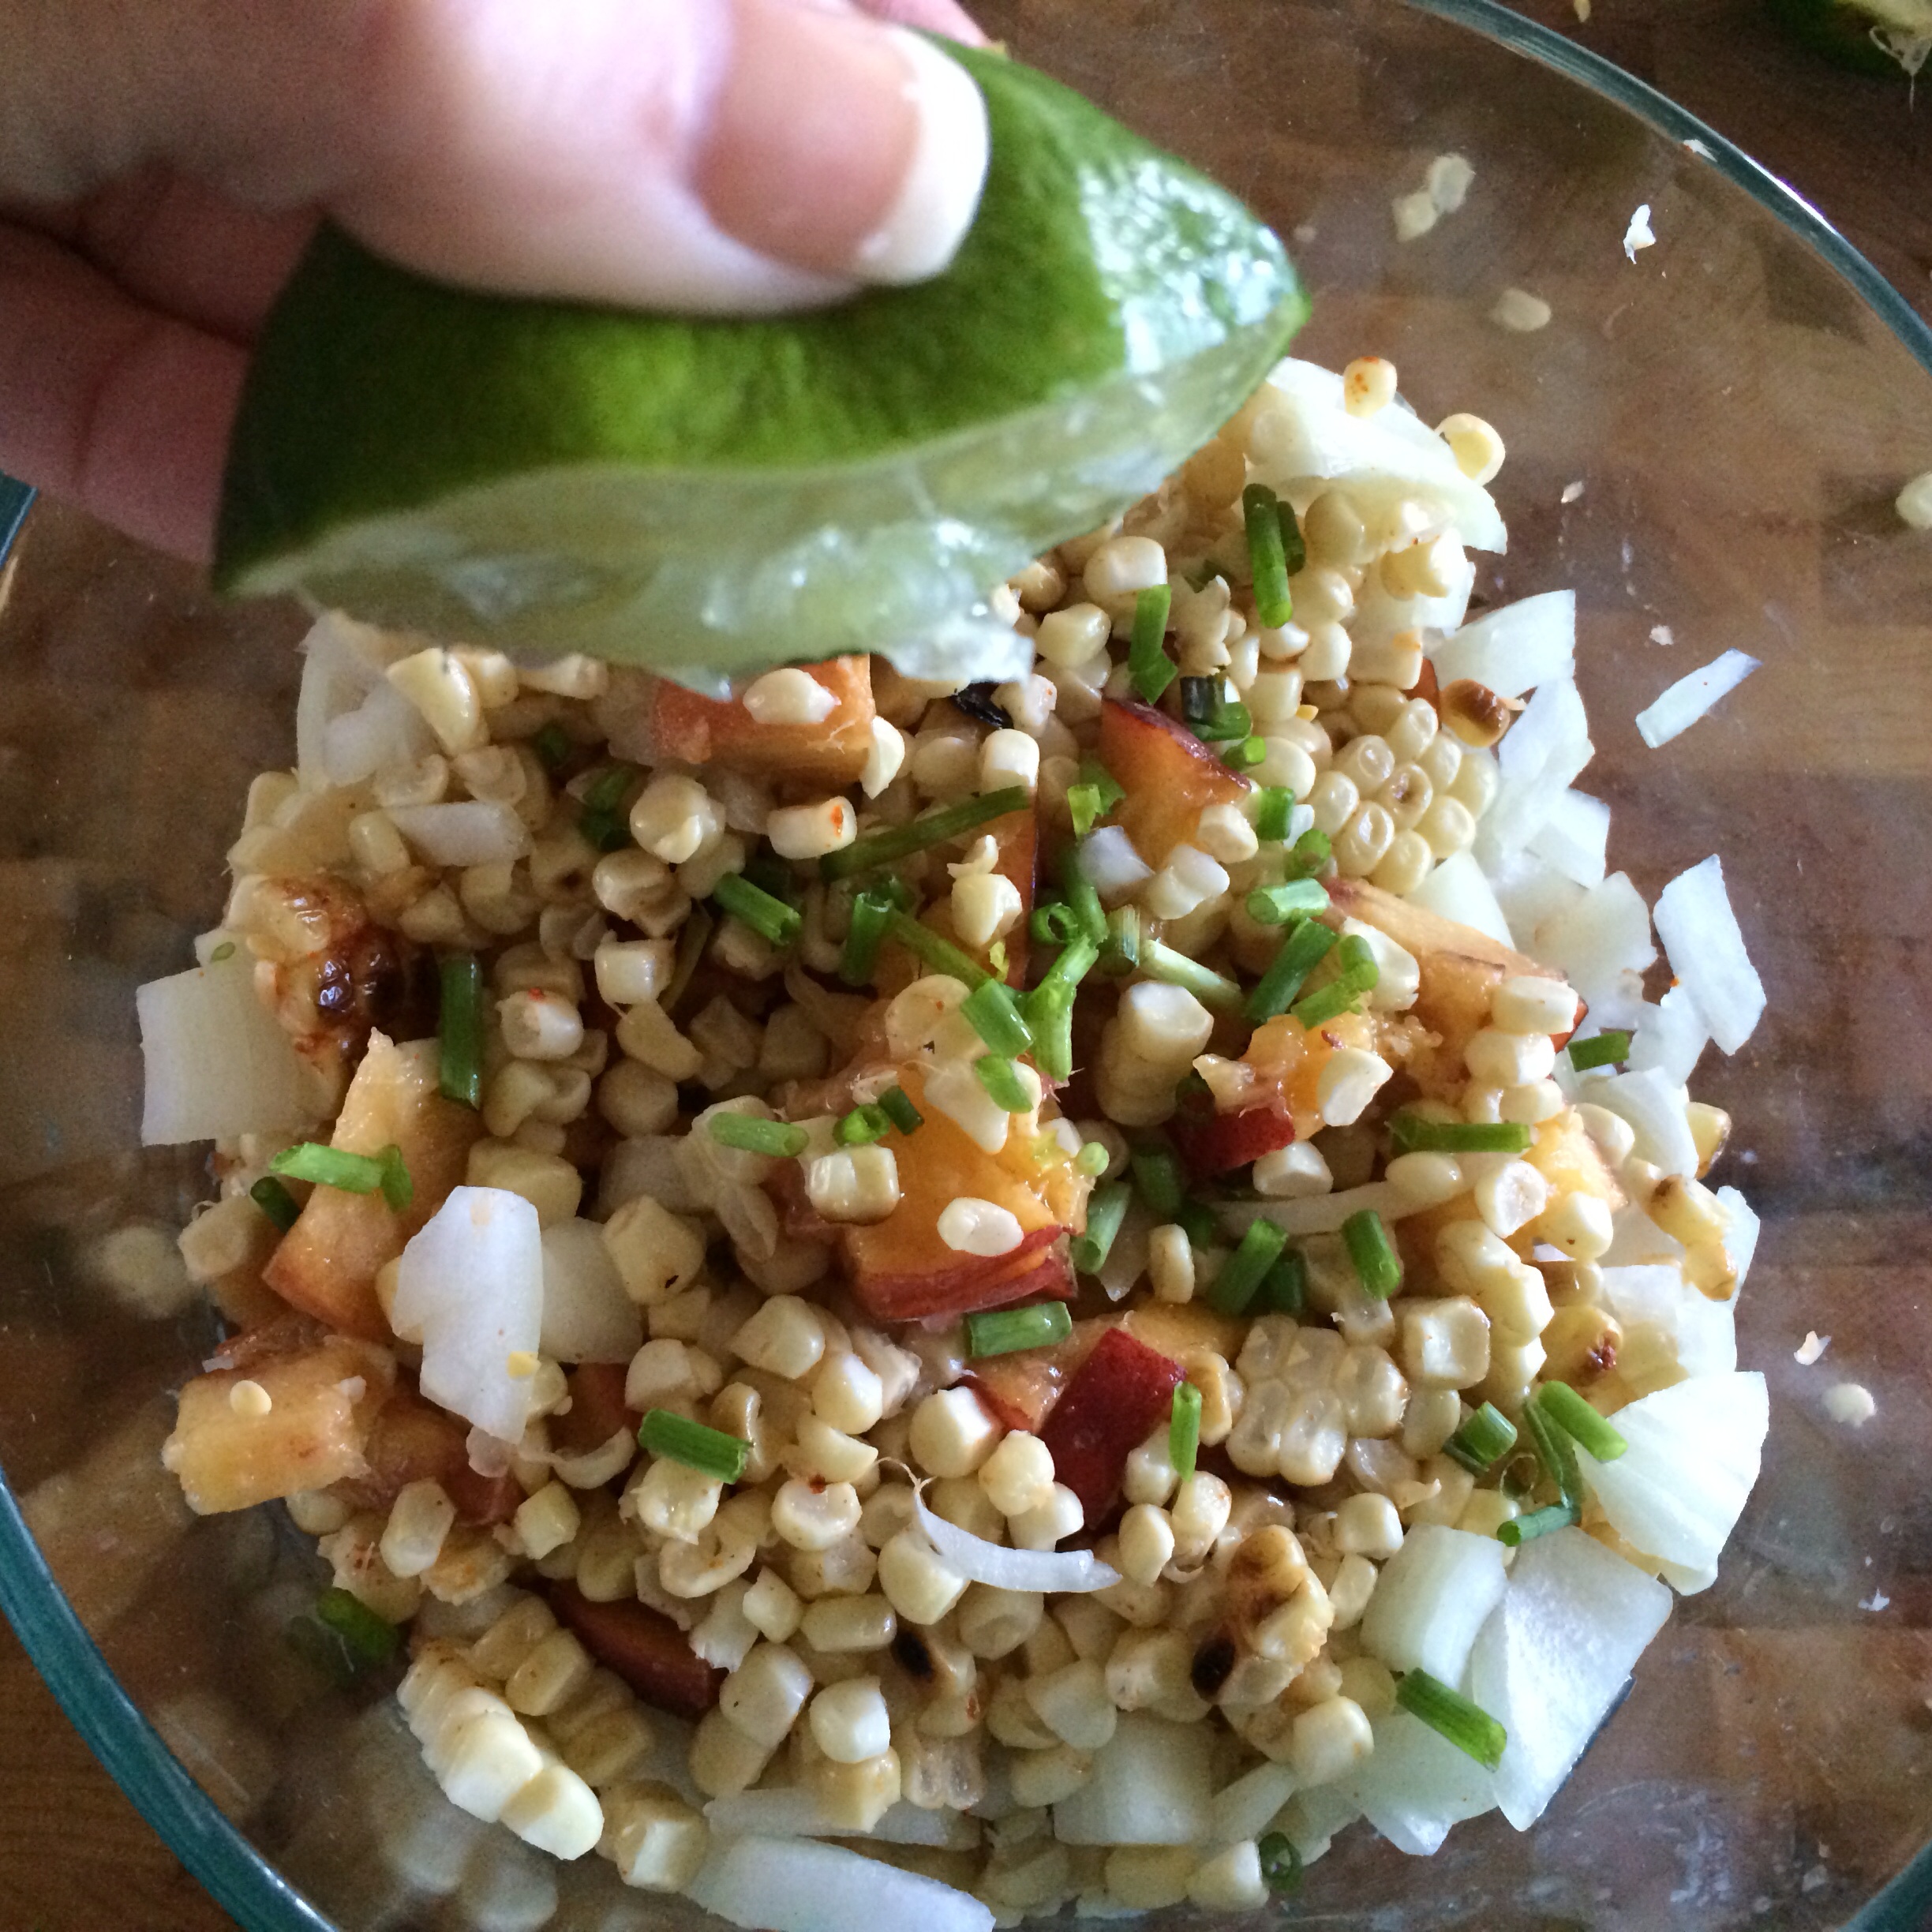
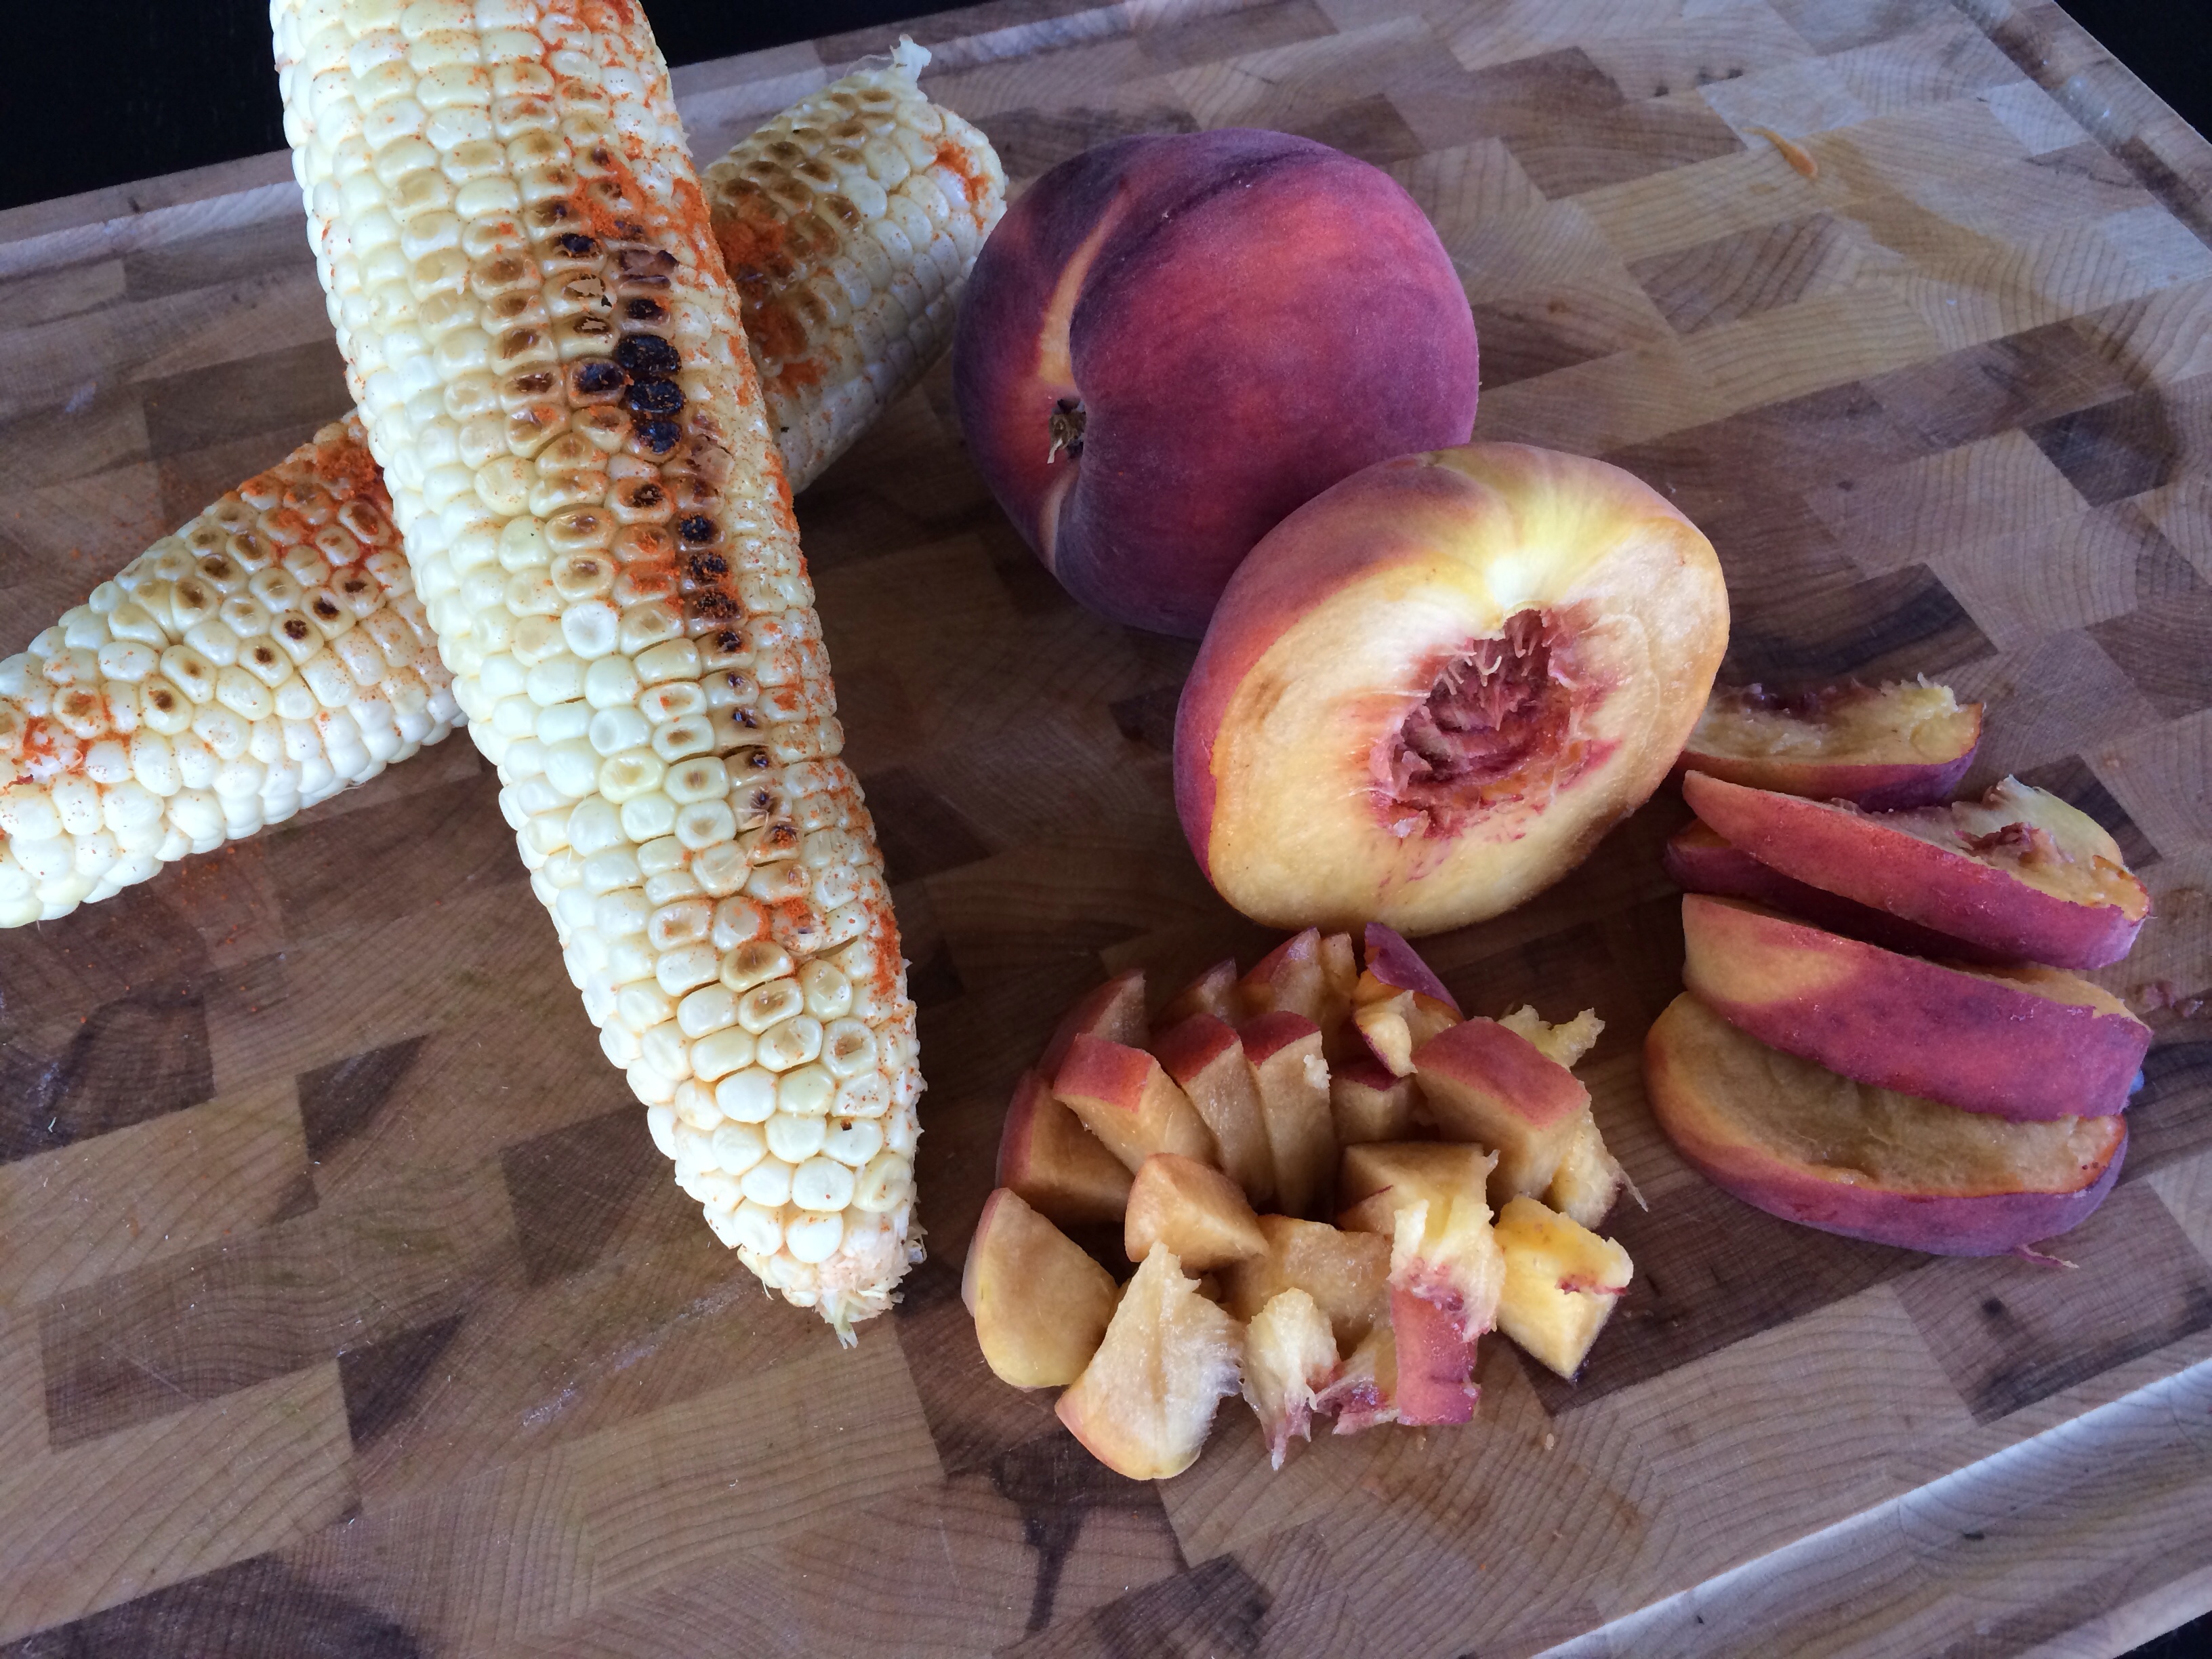
I made a totally amazing roasted corn and peach salsa by cutting spicy pan roasted corn on the cob off the cob and adding the sweet flavors of a diced peach, a small onion, and a handful of chopped chives. Fresh squeezed lime juice pulled it all together!
Seriously, Pittsburgh might just have a new “thing”…fish tacos!
Fish tacos are most definitely one of my favorite dishes to order out in Pittsburgh. Believe it or not, many of our restaurants have nailed a fabulous fish taco entreé! Some of my favorites…Penn Avenue Fish Company, Kaya, Täkõ, and Round Corner Cantina. All totally exceptional! Of course I make them at home, too!
Walleye Fish Tacos
Ingredients:
1-1/2 lb. raw walleye fillets
1 lime
1/2 cup fresh cilantro, chopped
1 tbsp. chili powder
1 tsp. cumin
Directions:
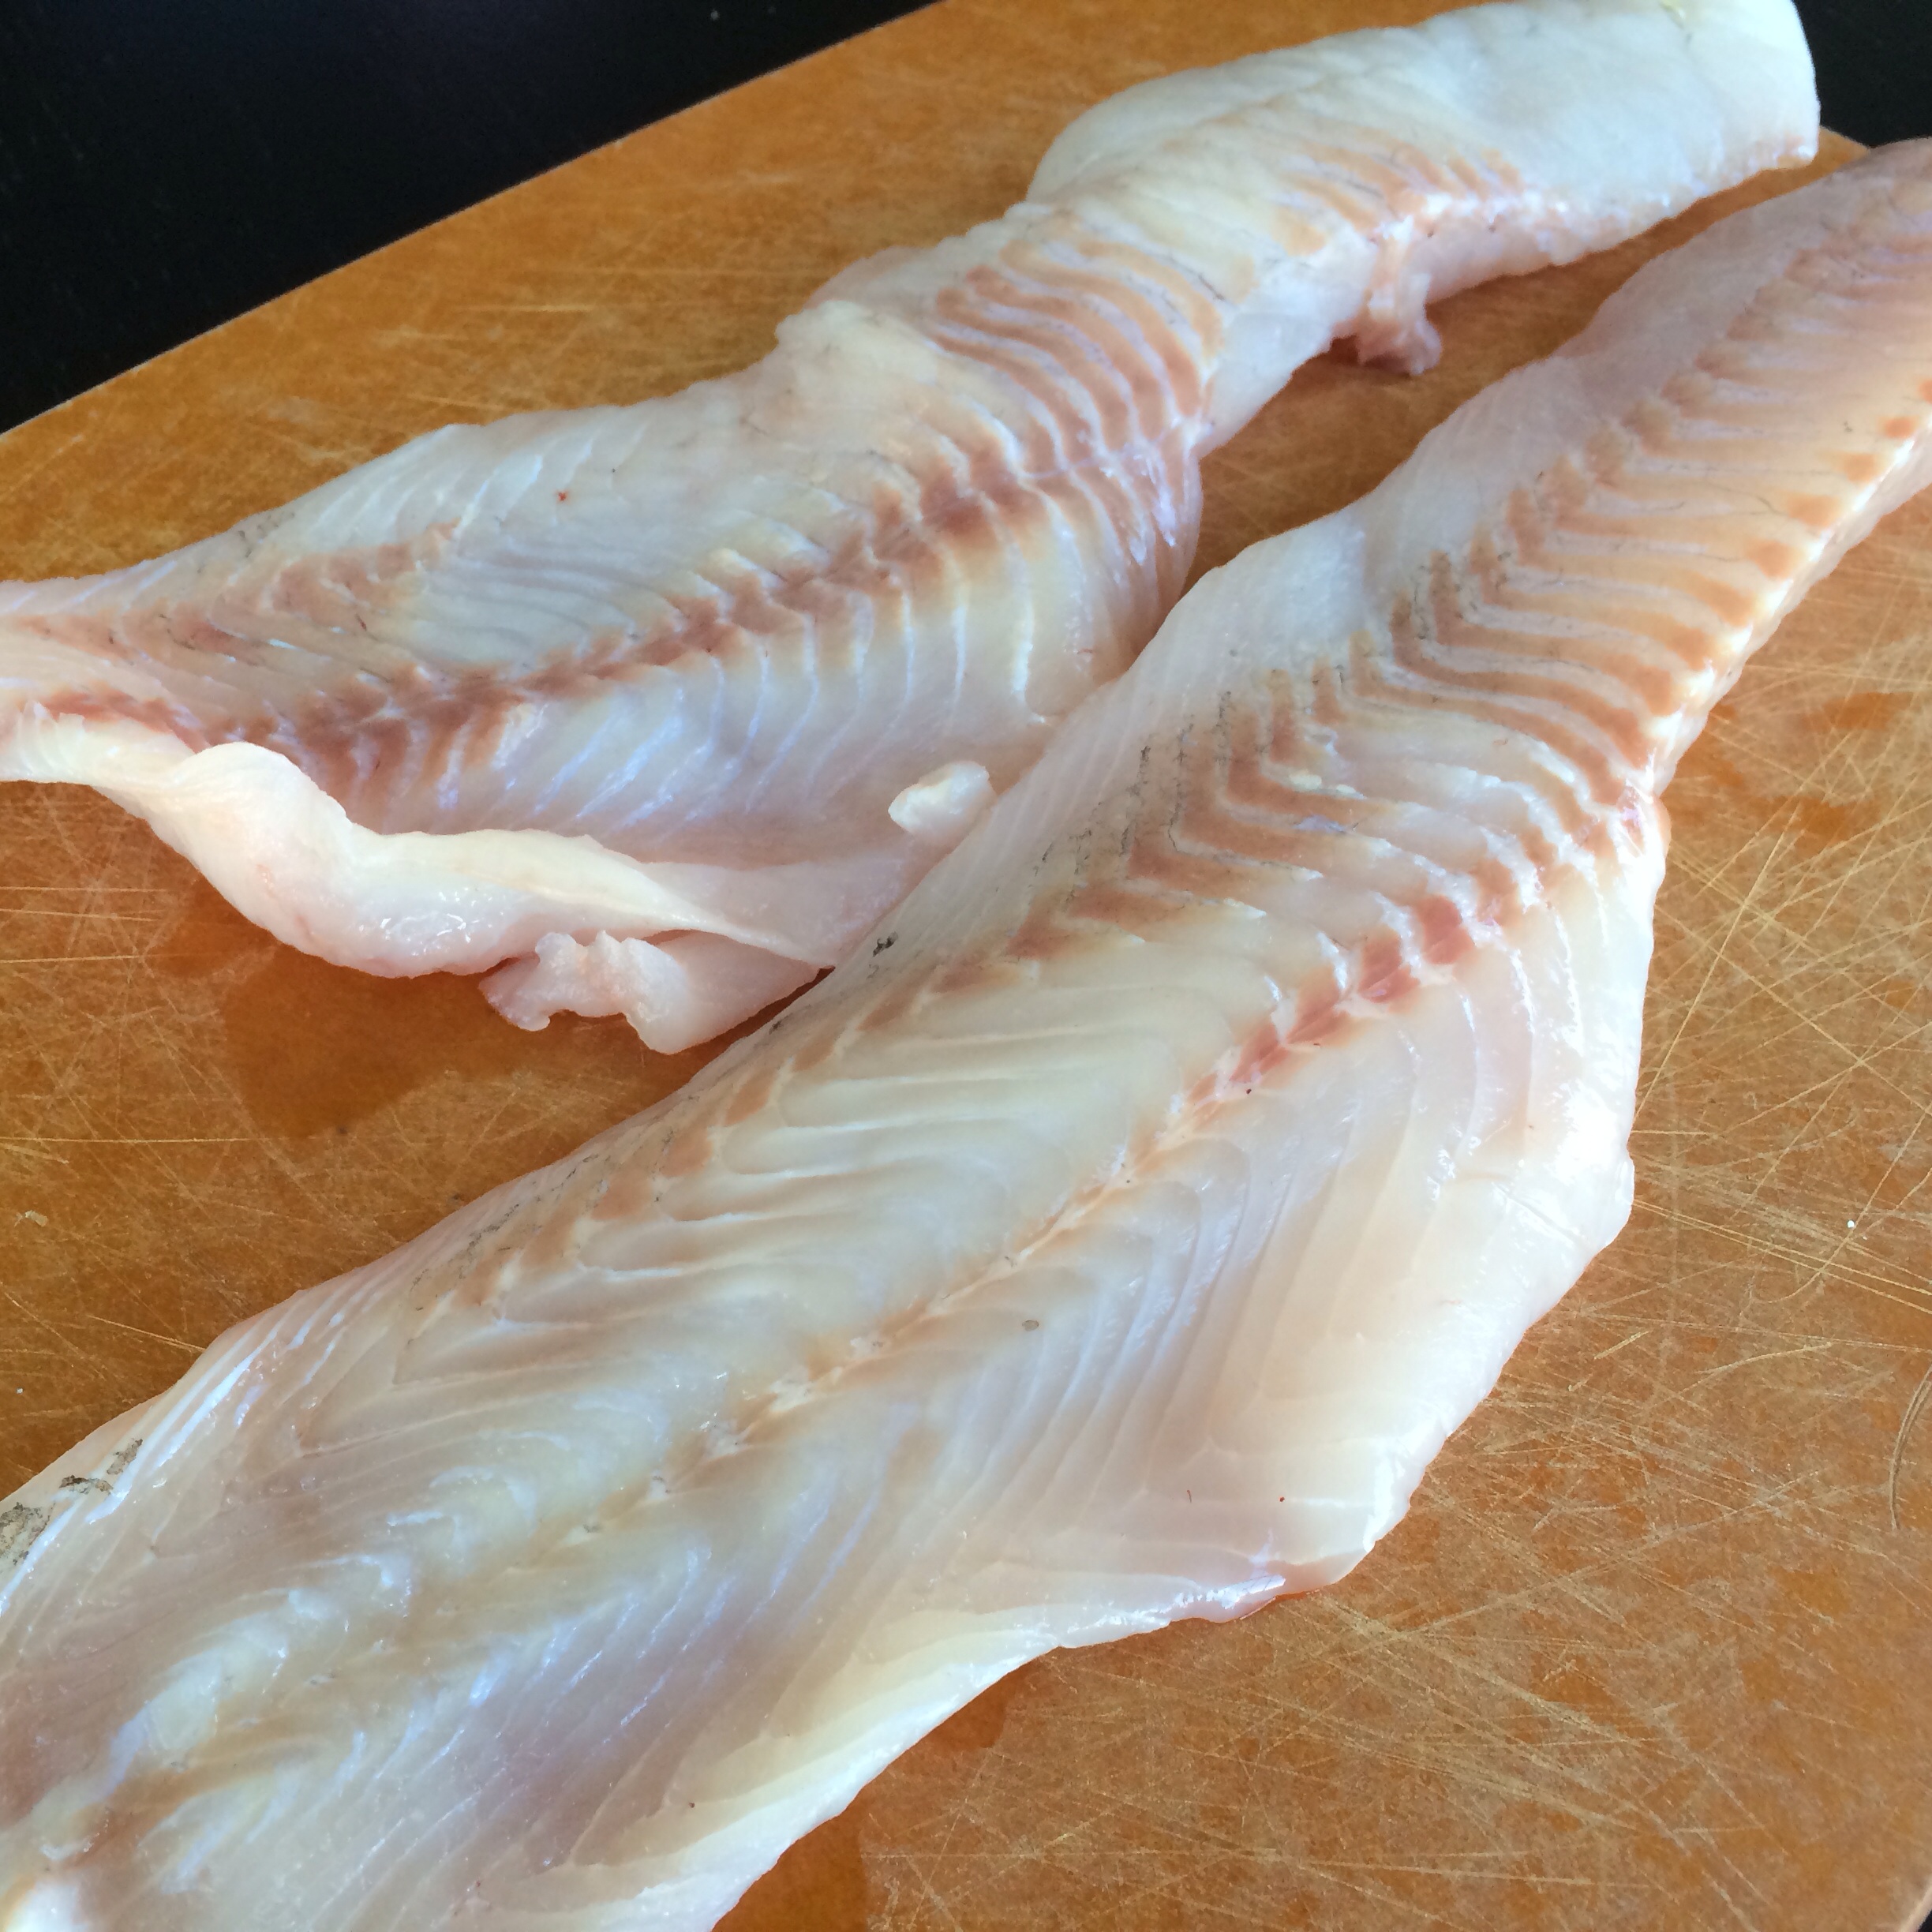
Cube raw walleye.

Mix lime juice, cilantro, chili powder, and cumin in a mixing bowl.
Add walleye cubes, coat with marinade and refrigerate.
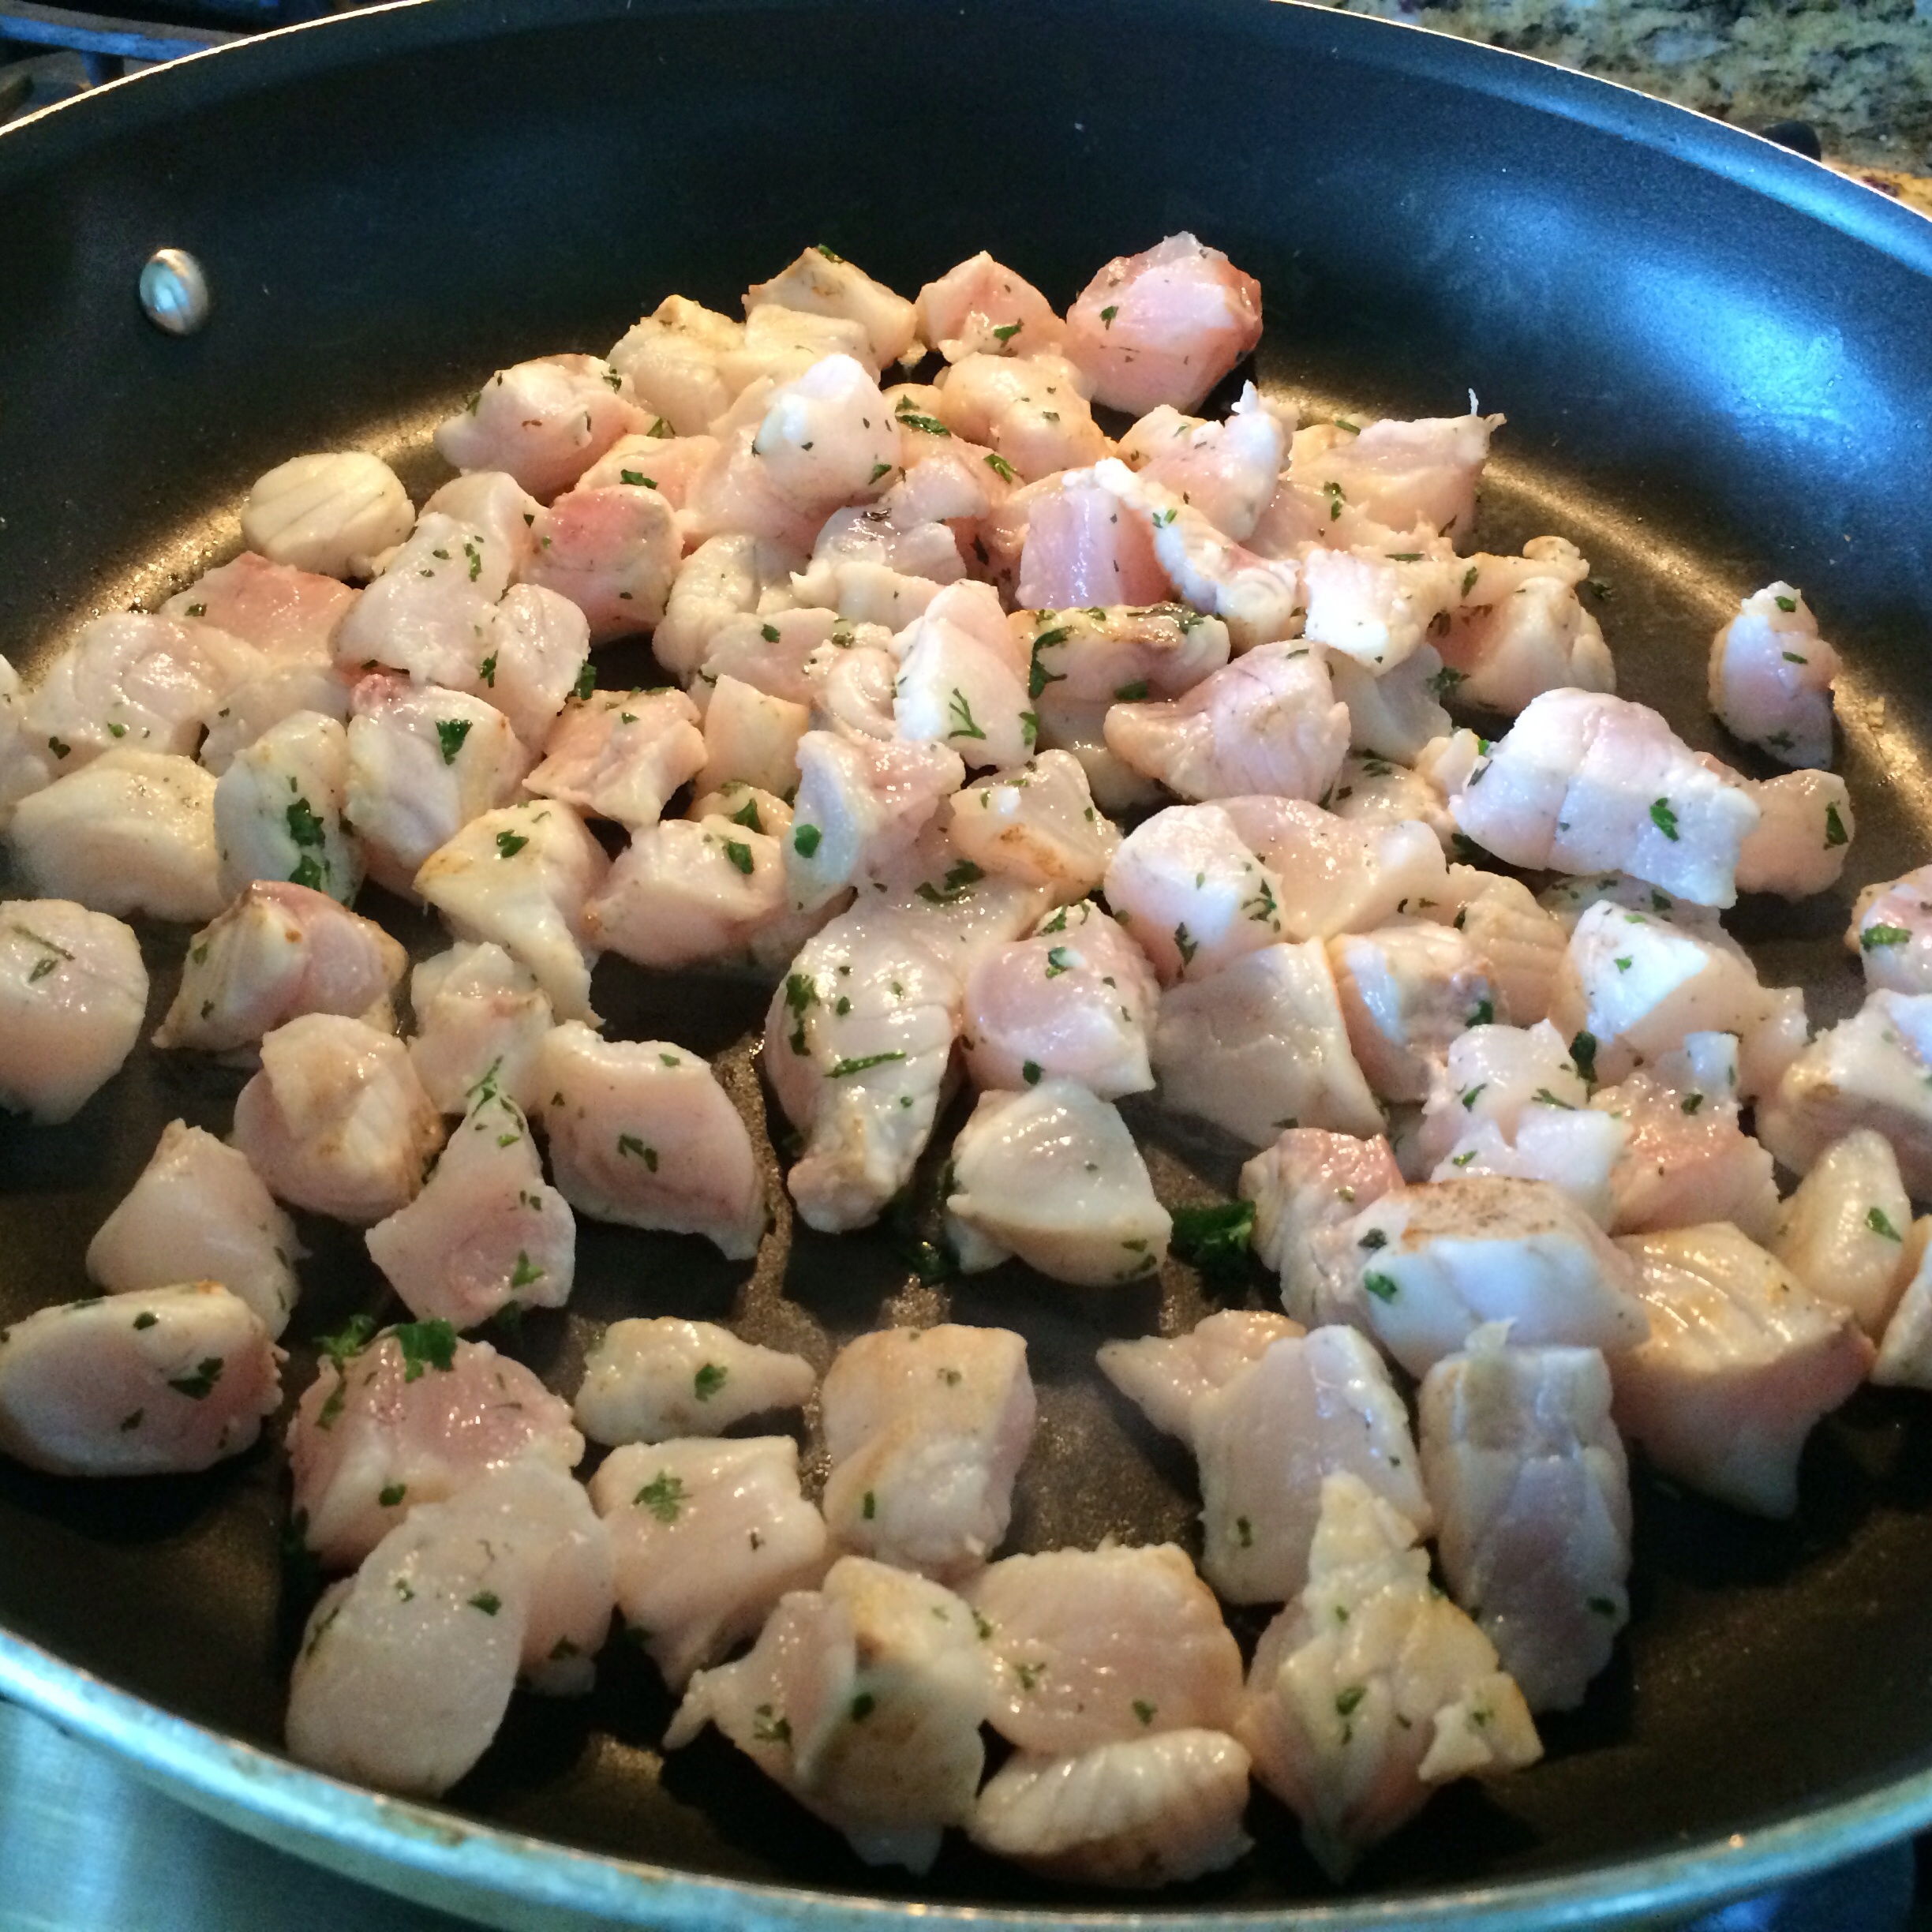
Heat a pan and cook walleye cubes until just cooked through- pink turns white and flake with a fork.
Roasted Corn and Peach Salsa
Ingredients:
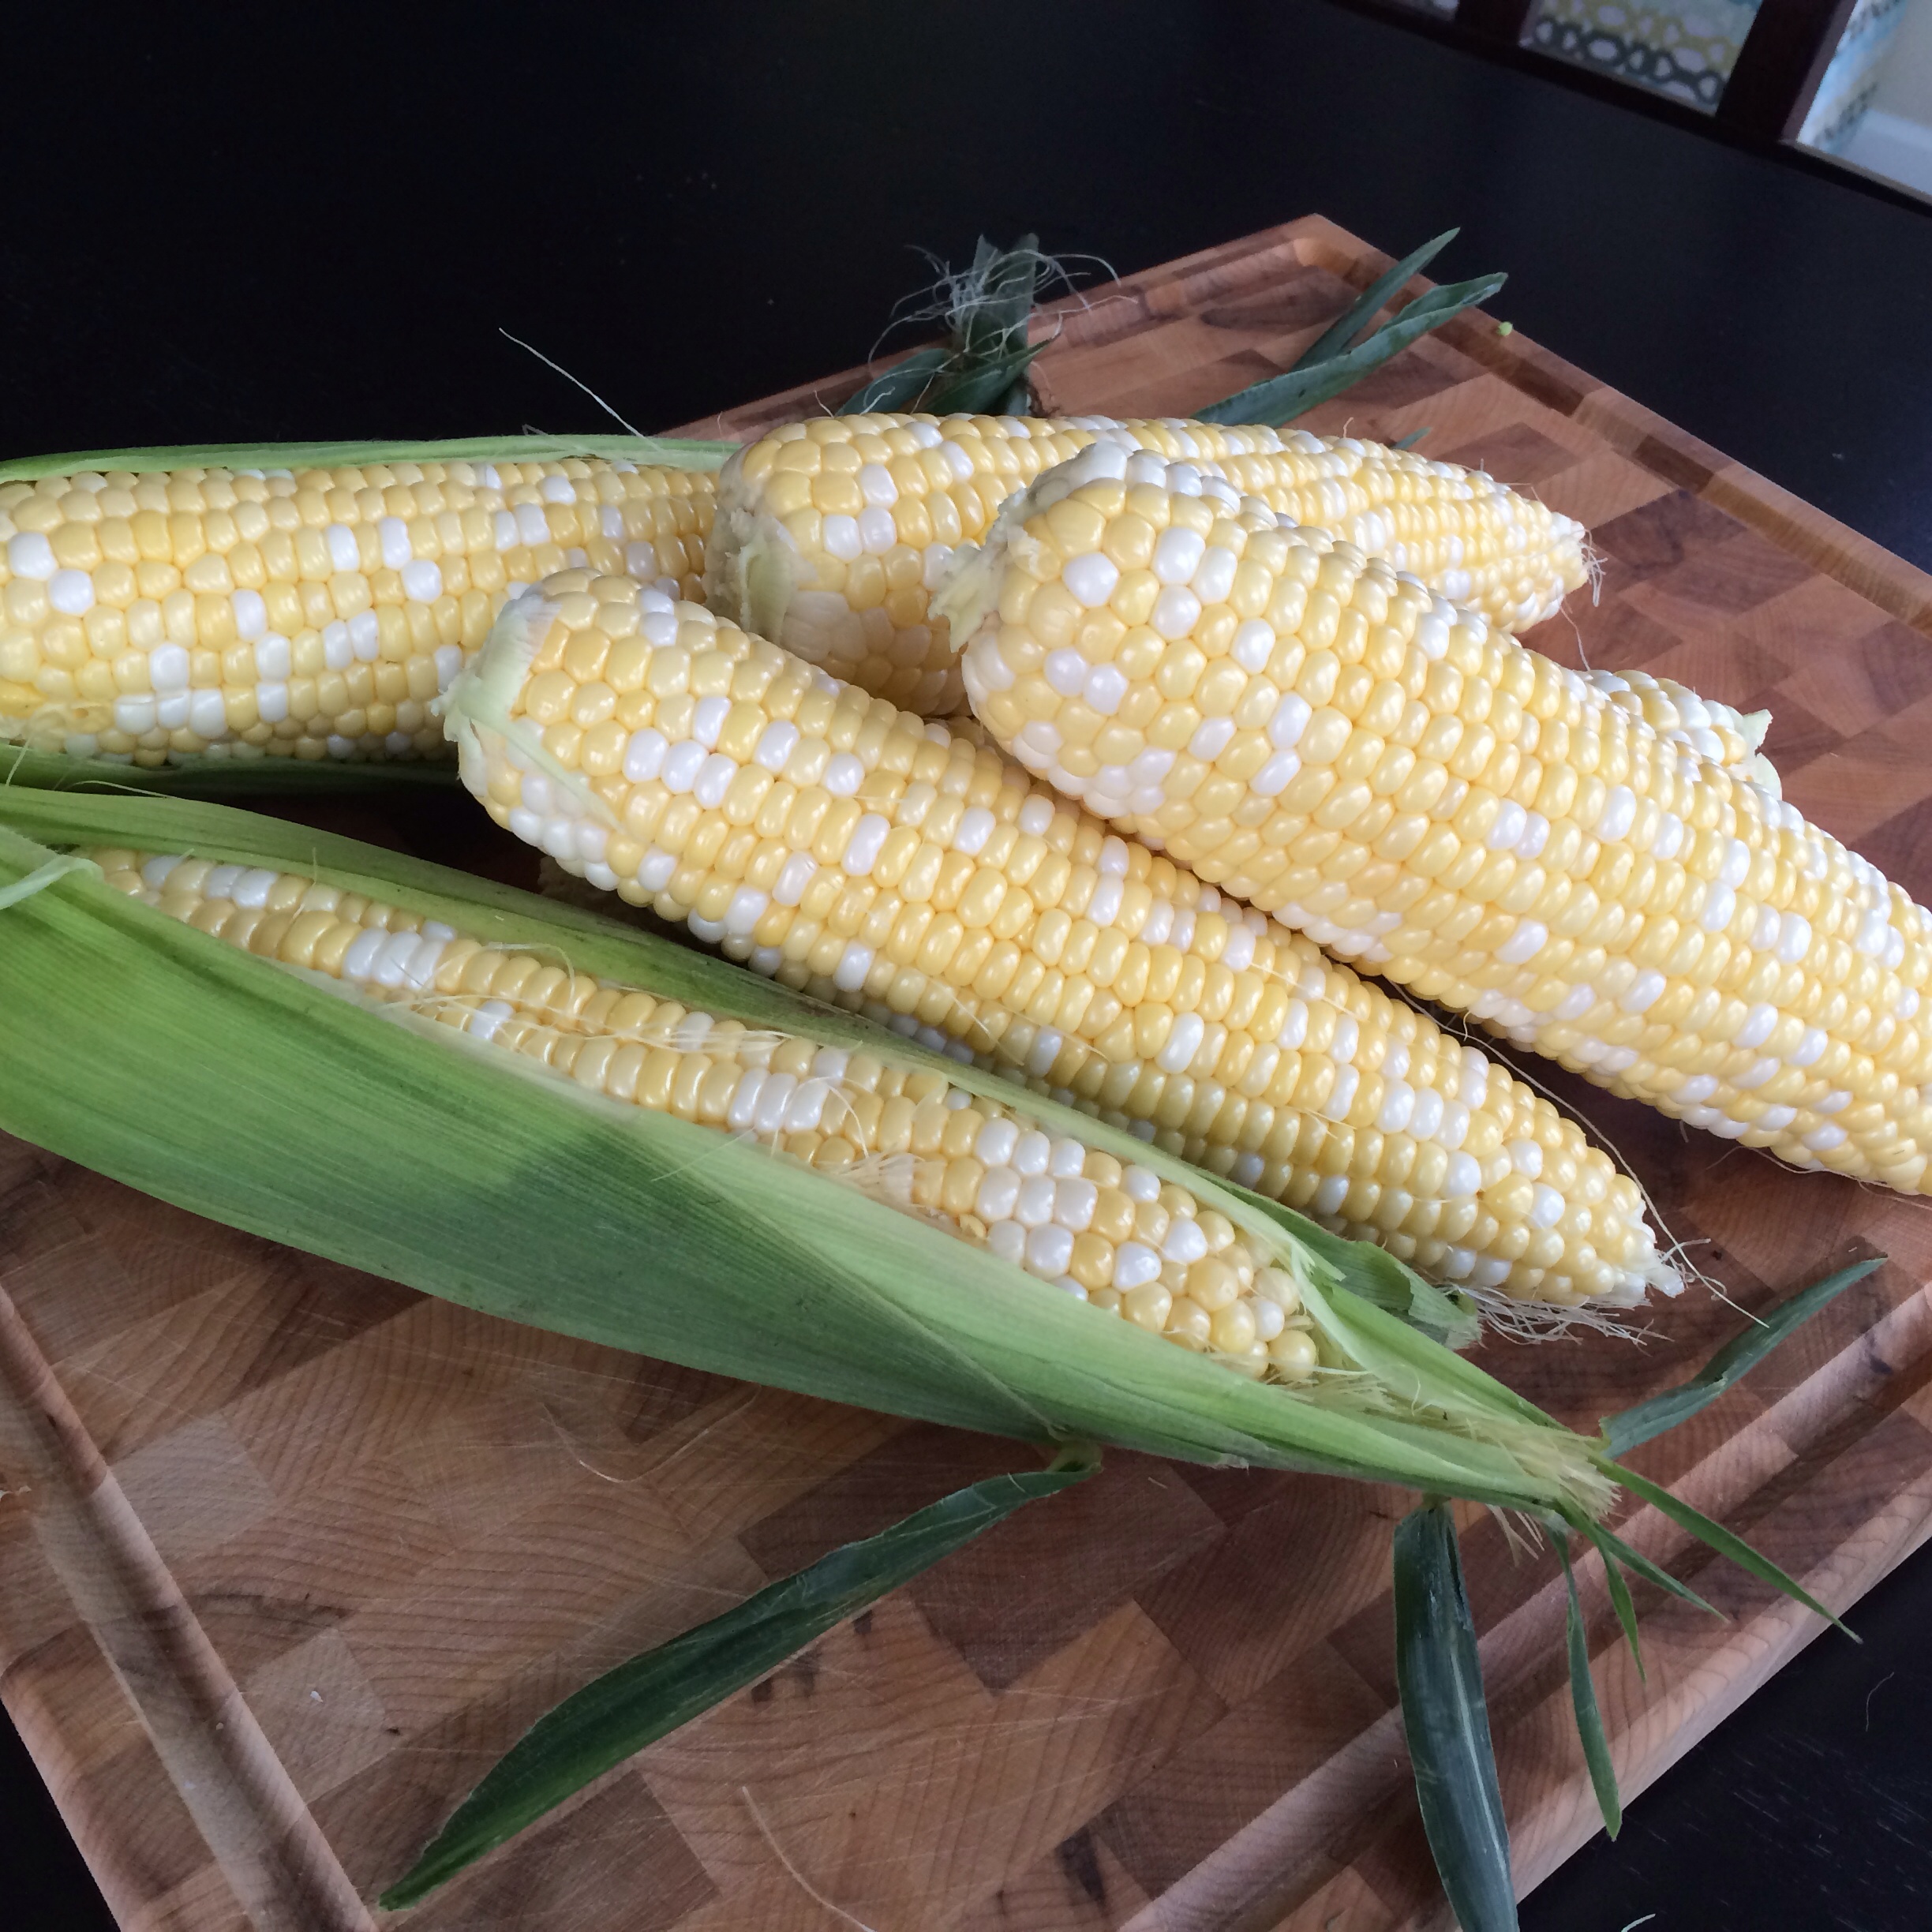
2 corn on the cob
1 peach, chopped
2 pats butter
2 tsp. cayenene pepper
1 small onion, finely chopped
1 tbsp. finely chopped chives
1 tsp.cilantro or parsley, chopped
1 lime
Directios:
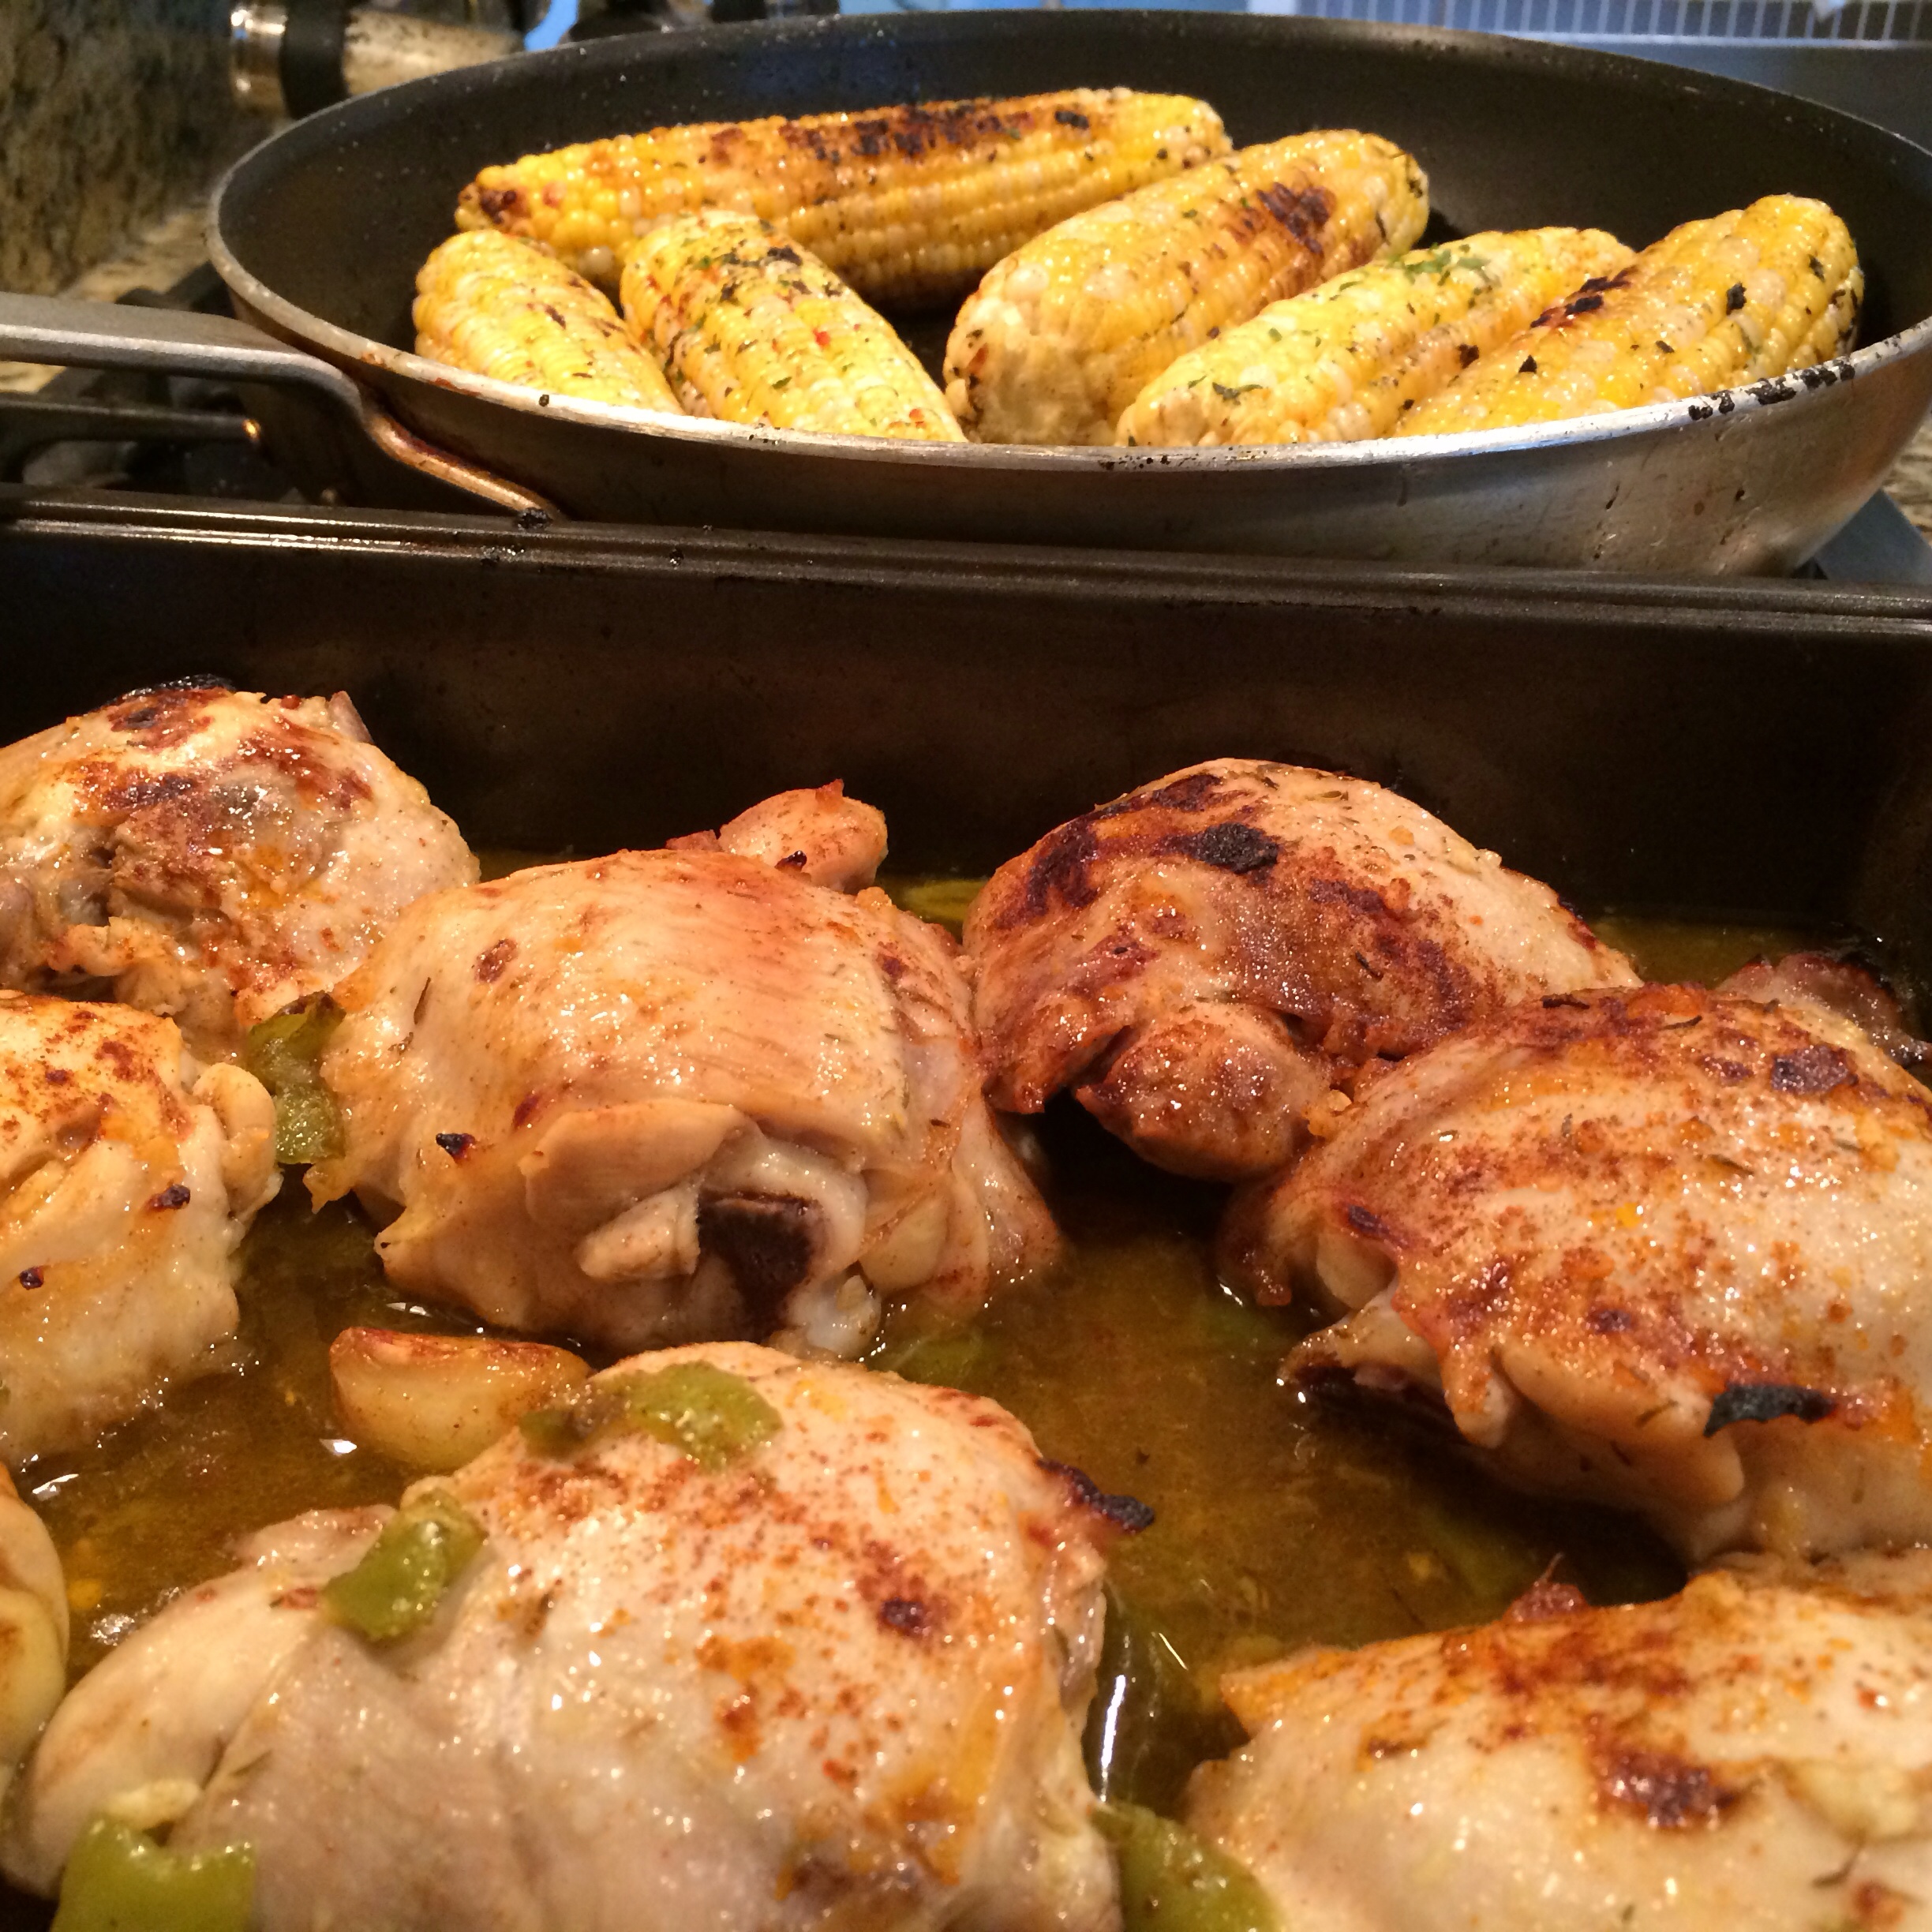
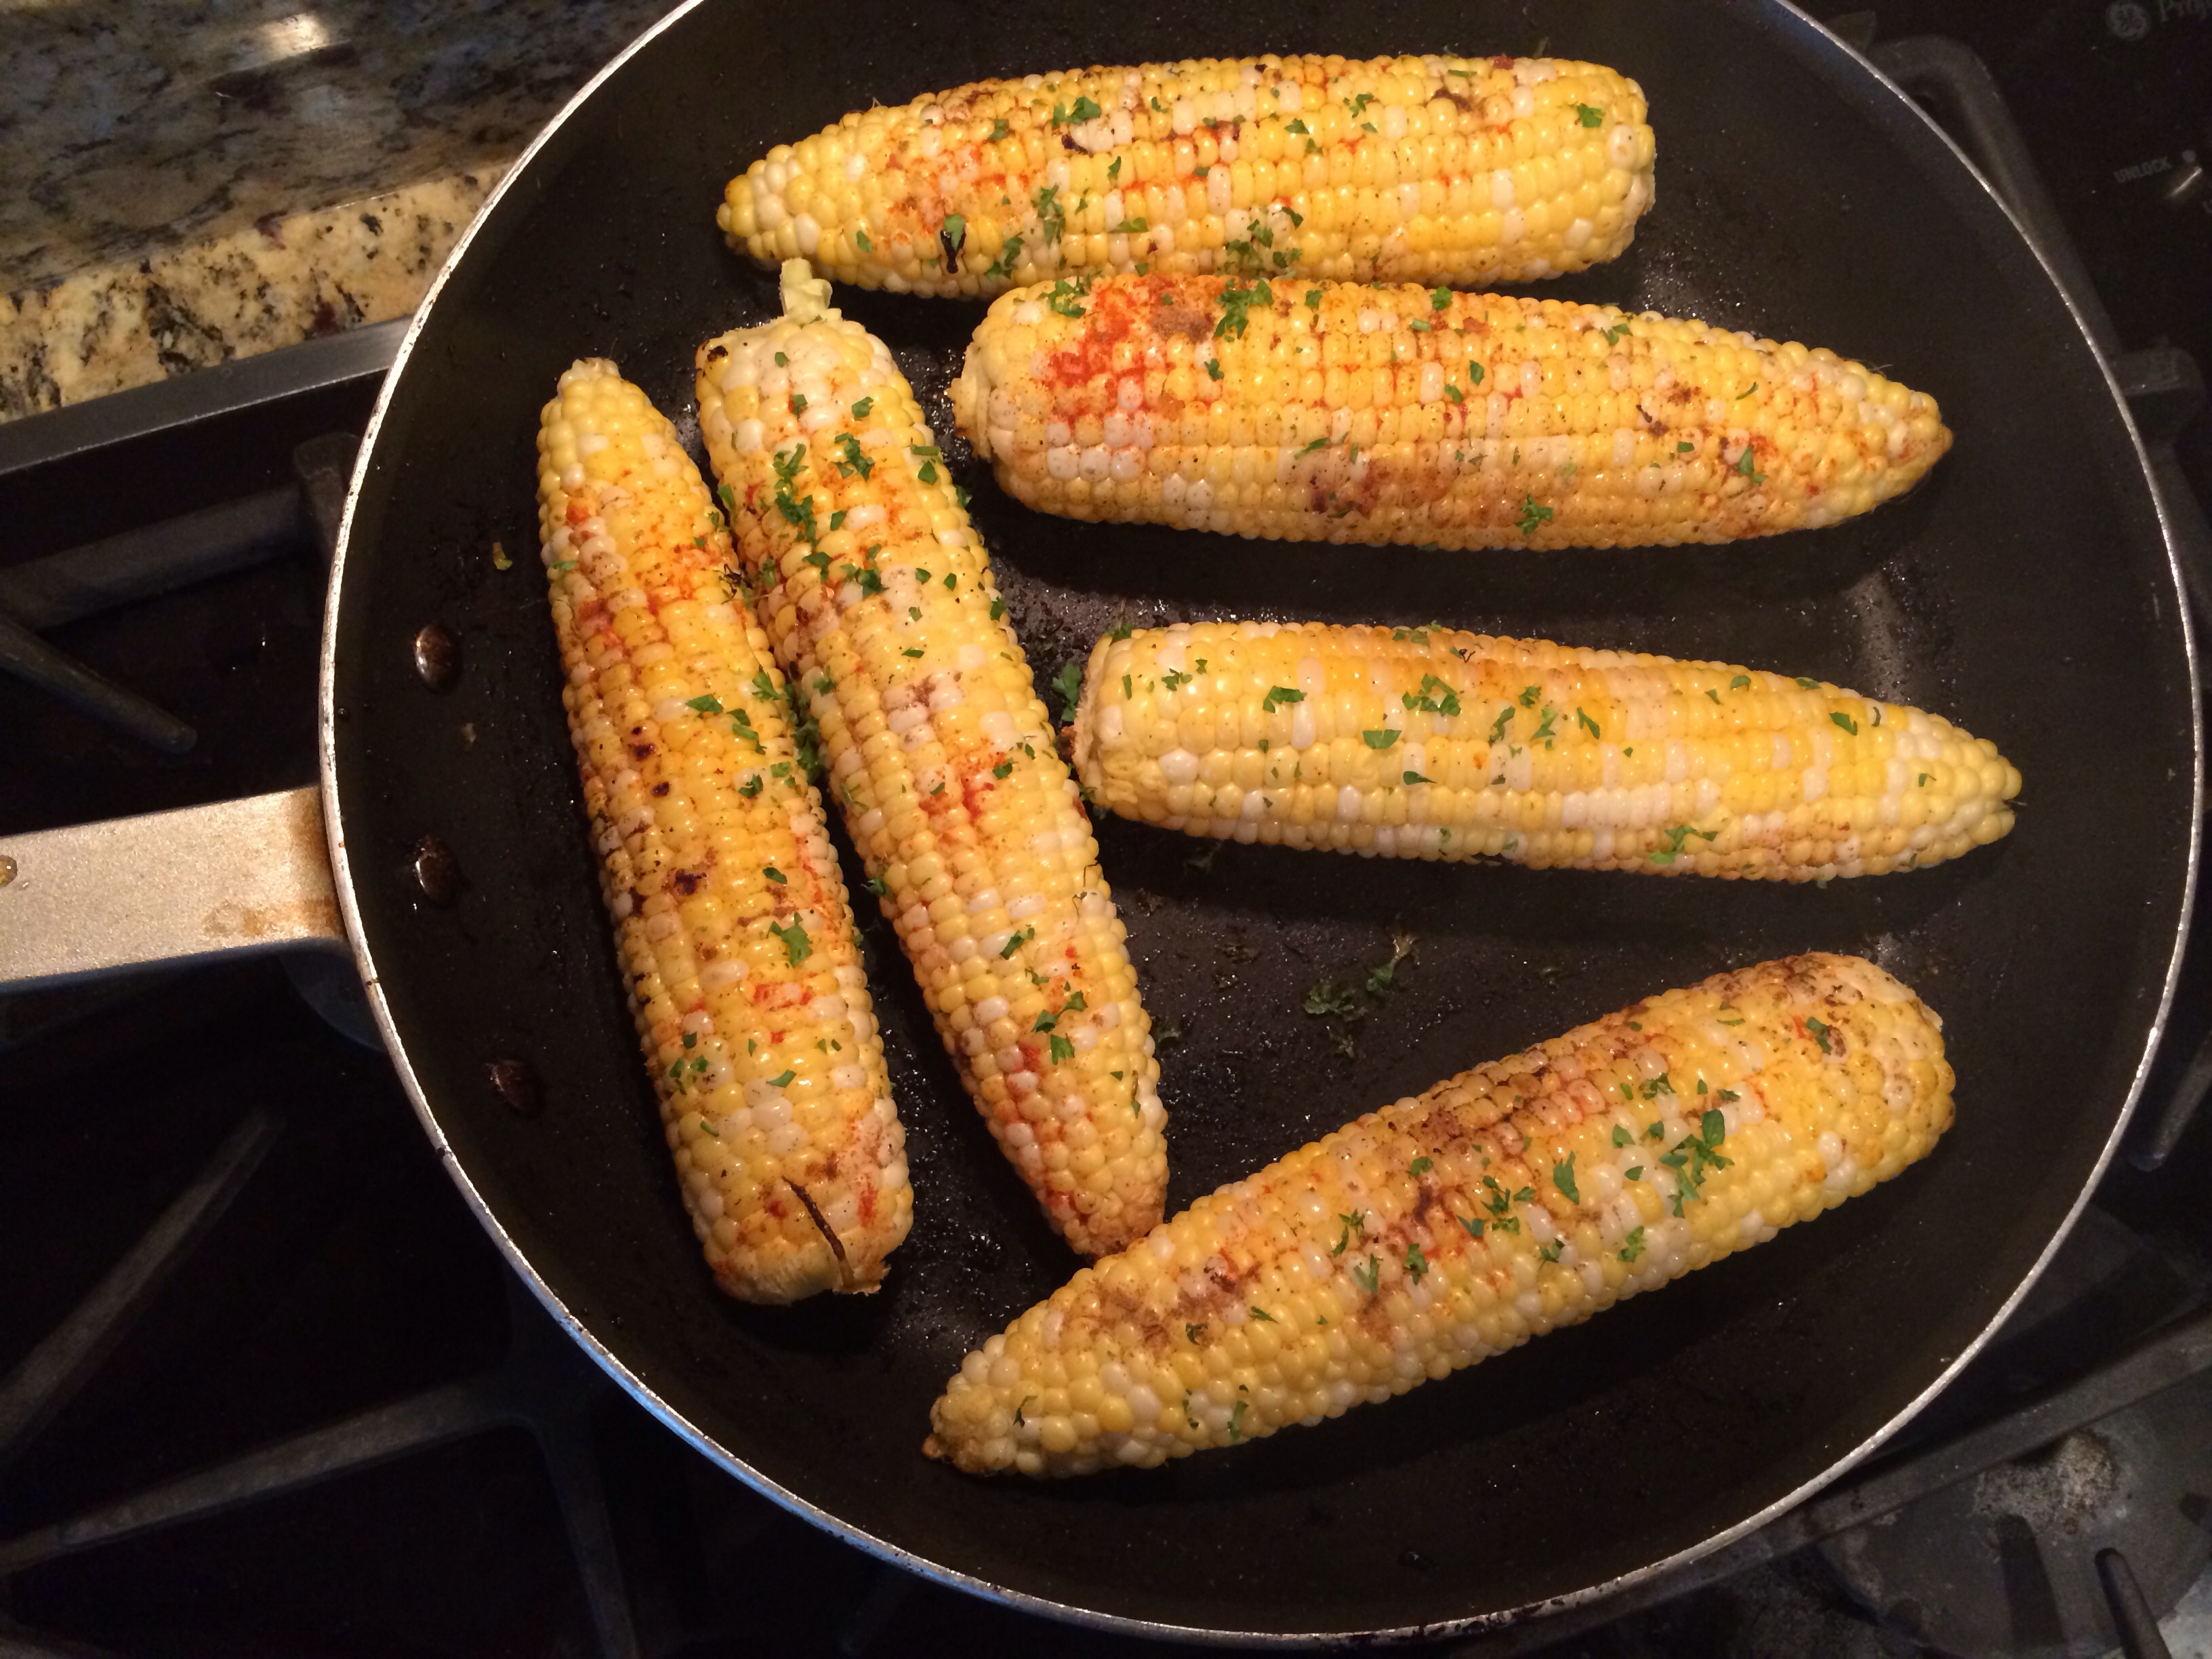
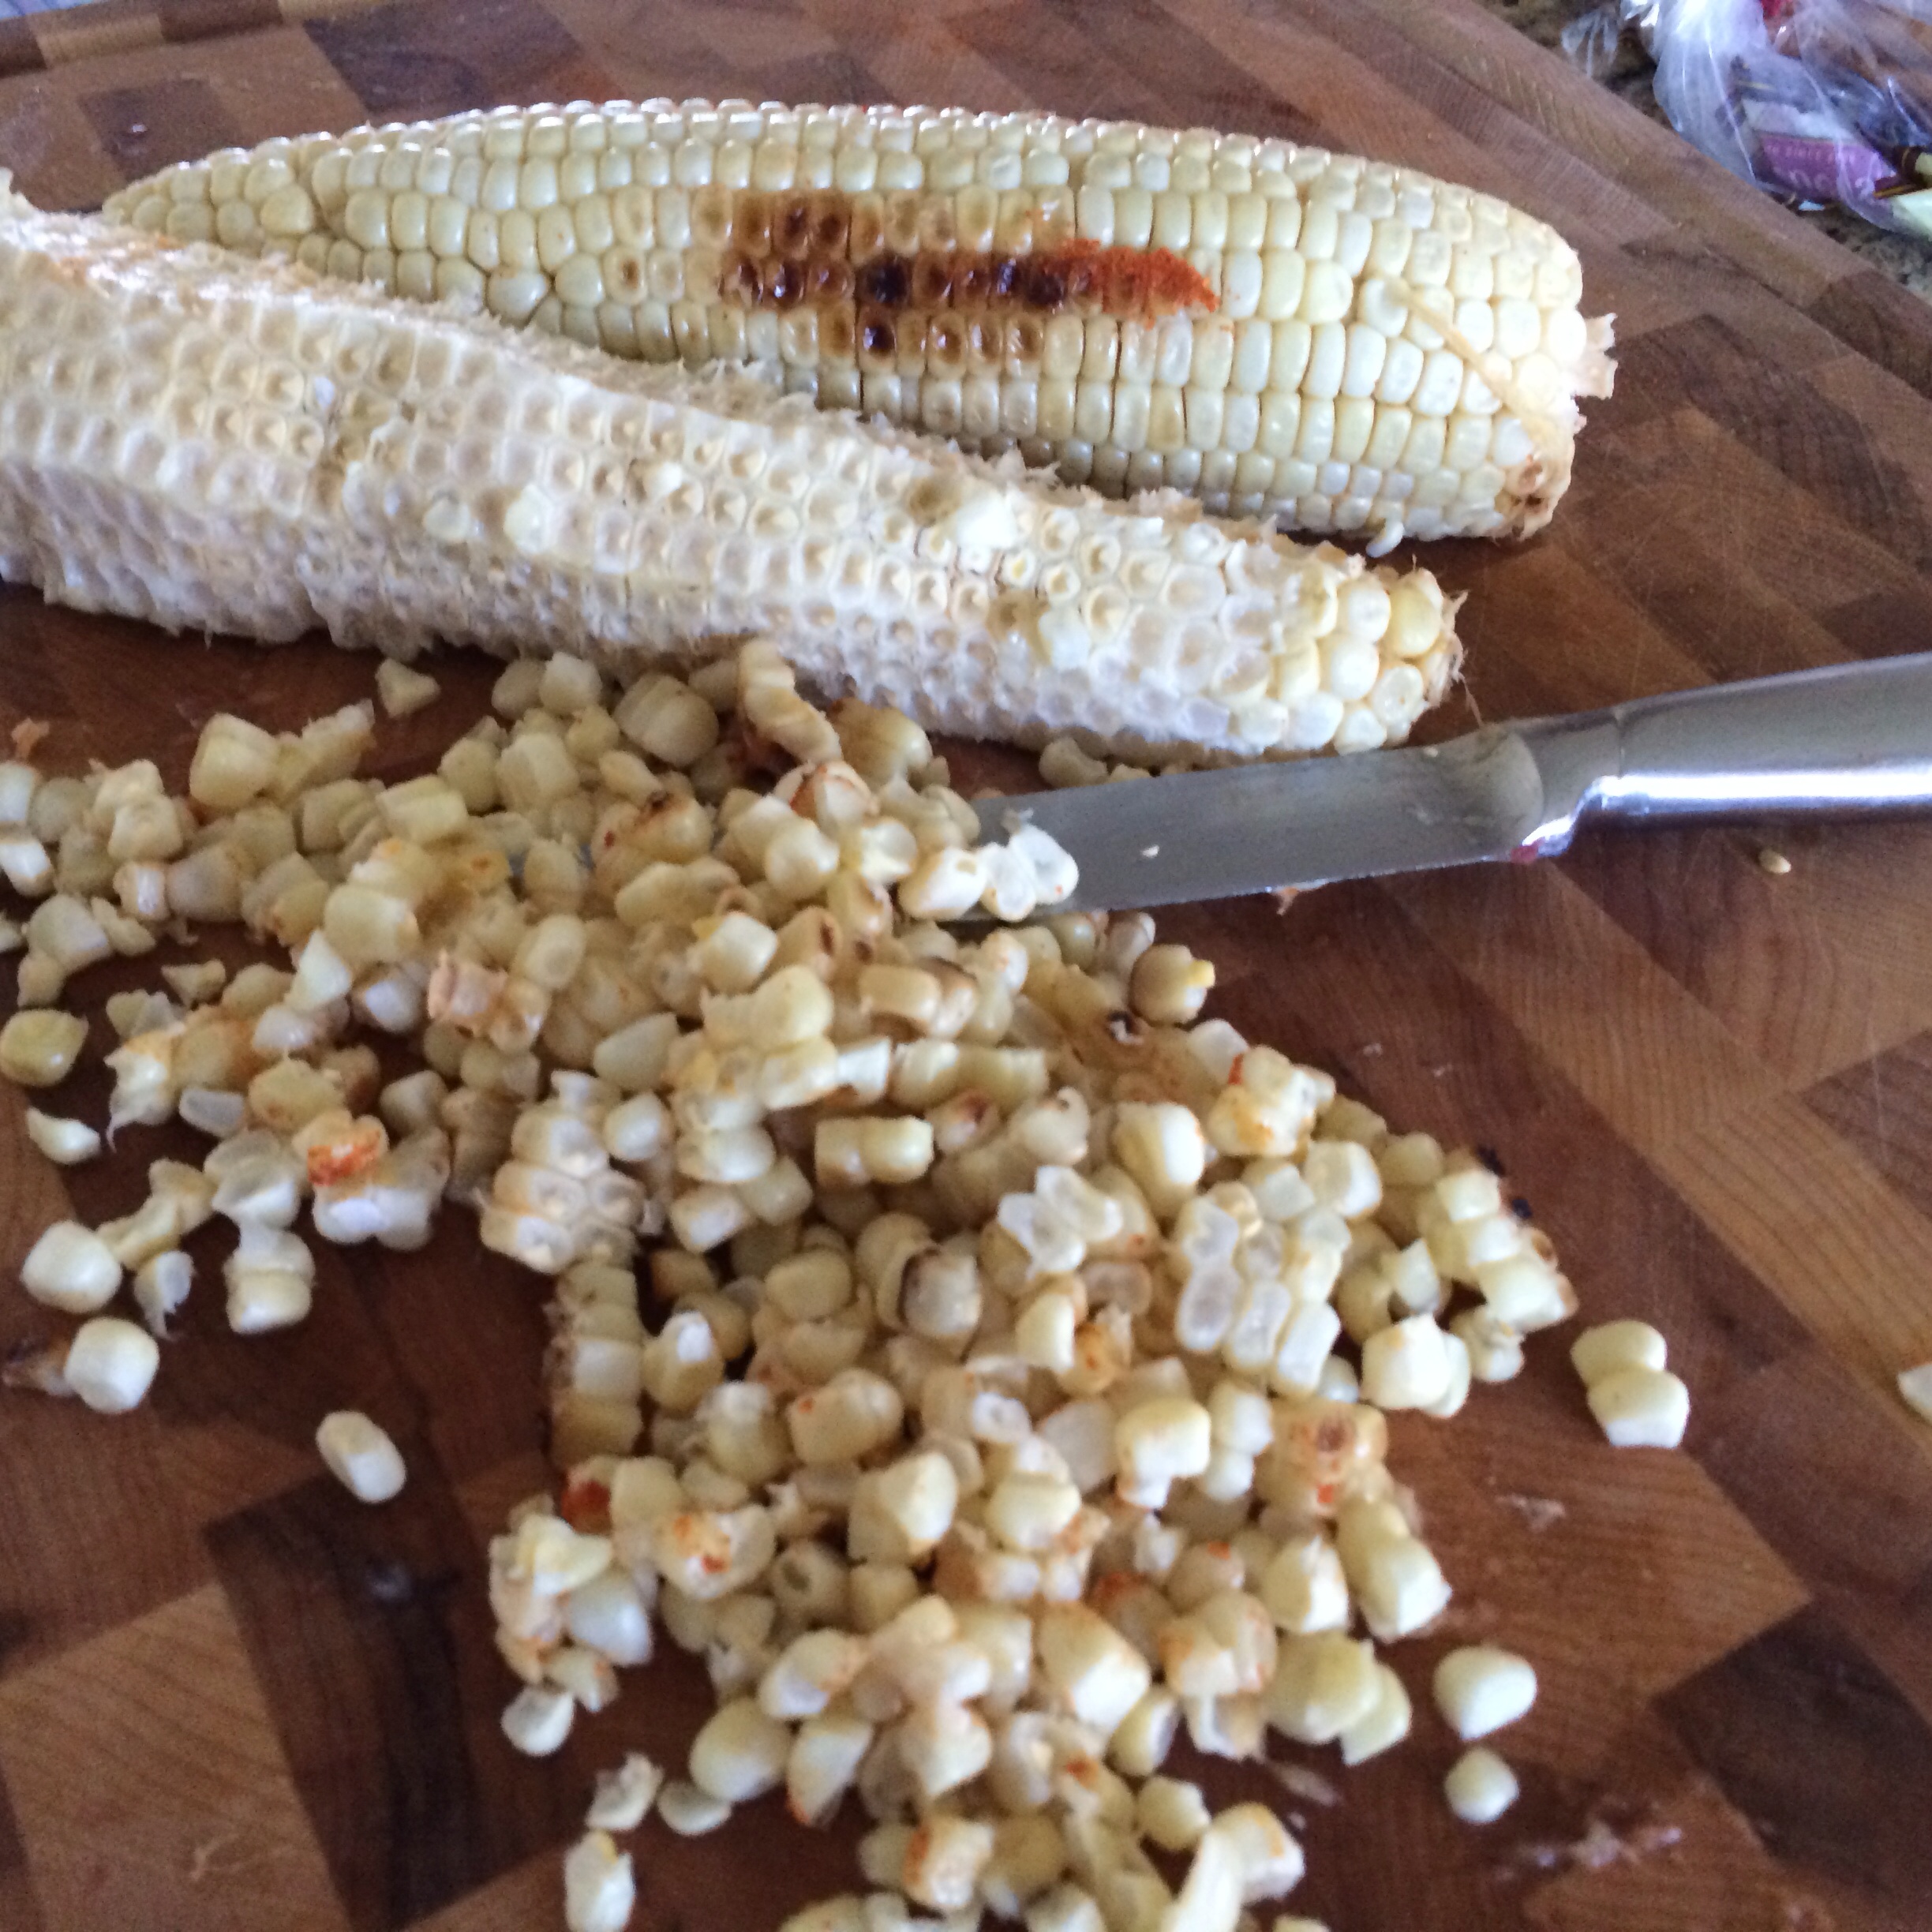
Roast buttered corn in a pan or on the grill until desired doneness.
Sprinkle with cayenne pepper.
Cut corn off the cob after it cools a bit.
Add onion, chives, cilantro or parsley to corn.
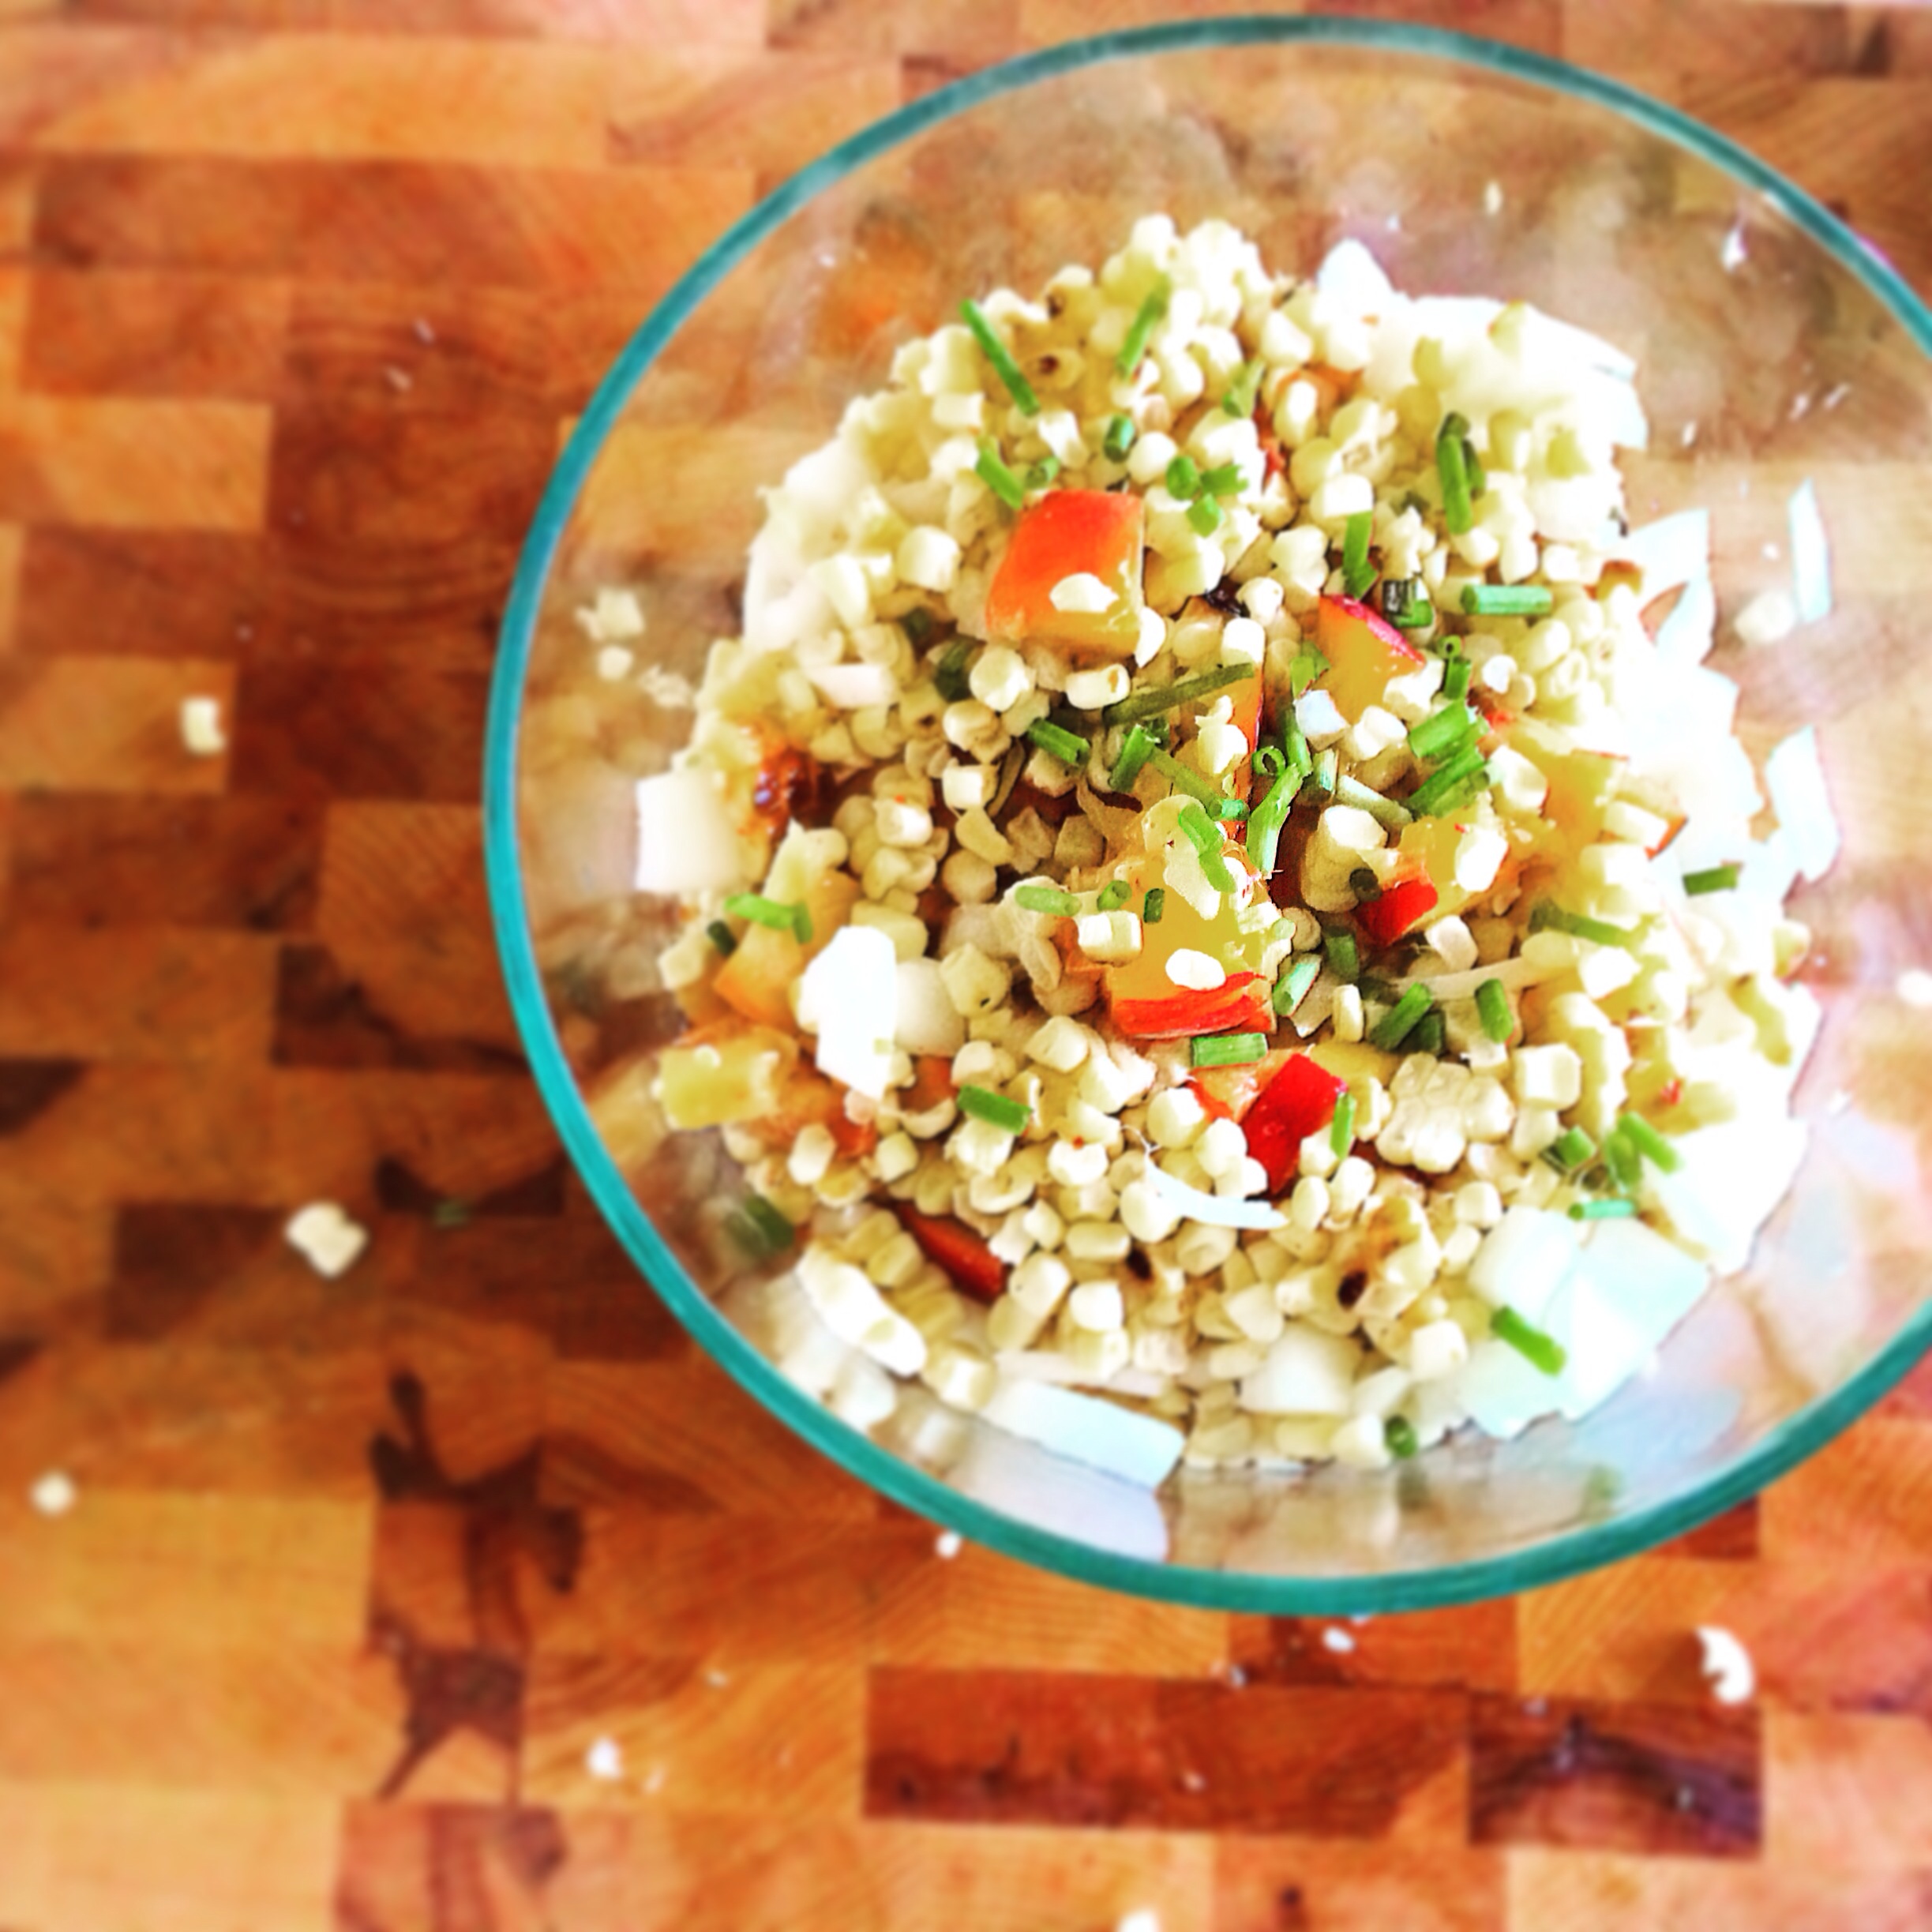
Squeeze the juice of one lime into bowl.
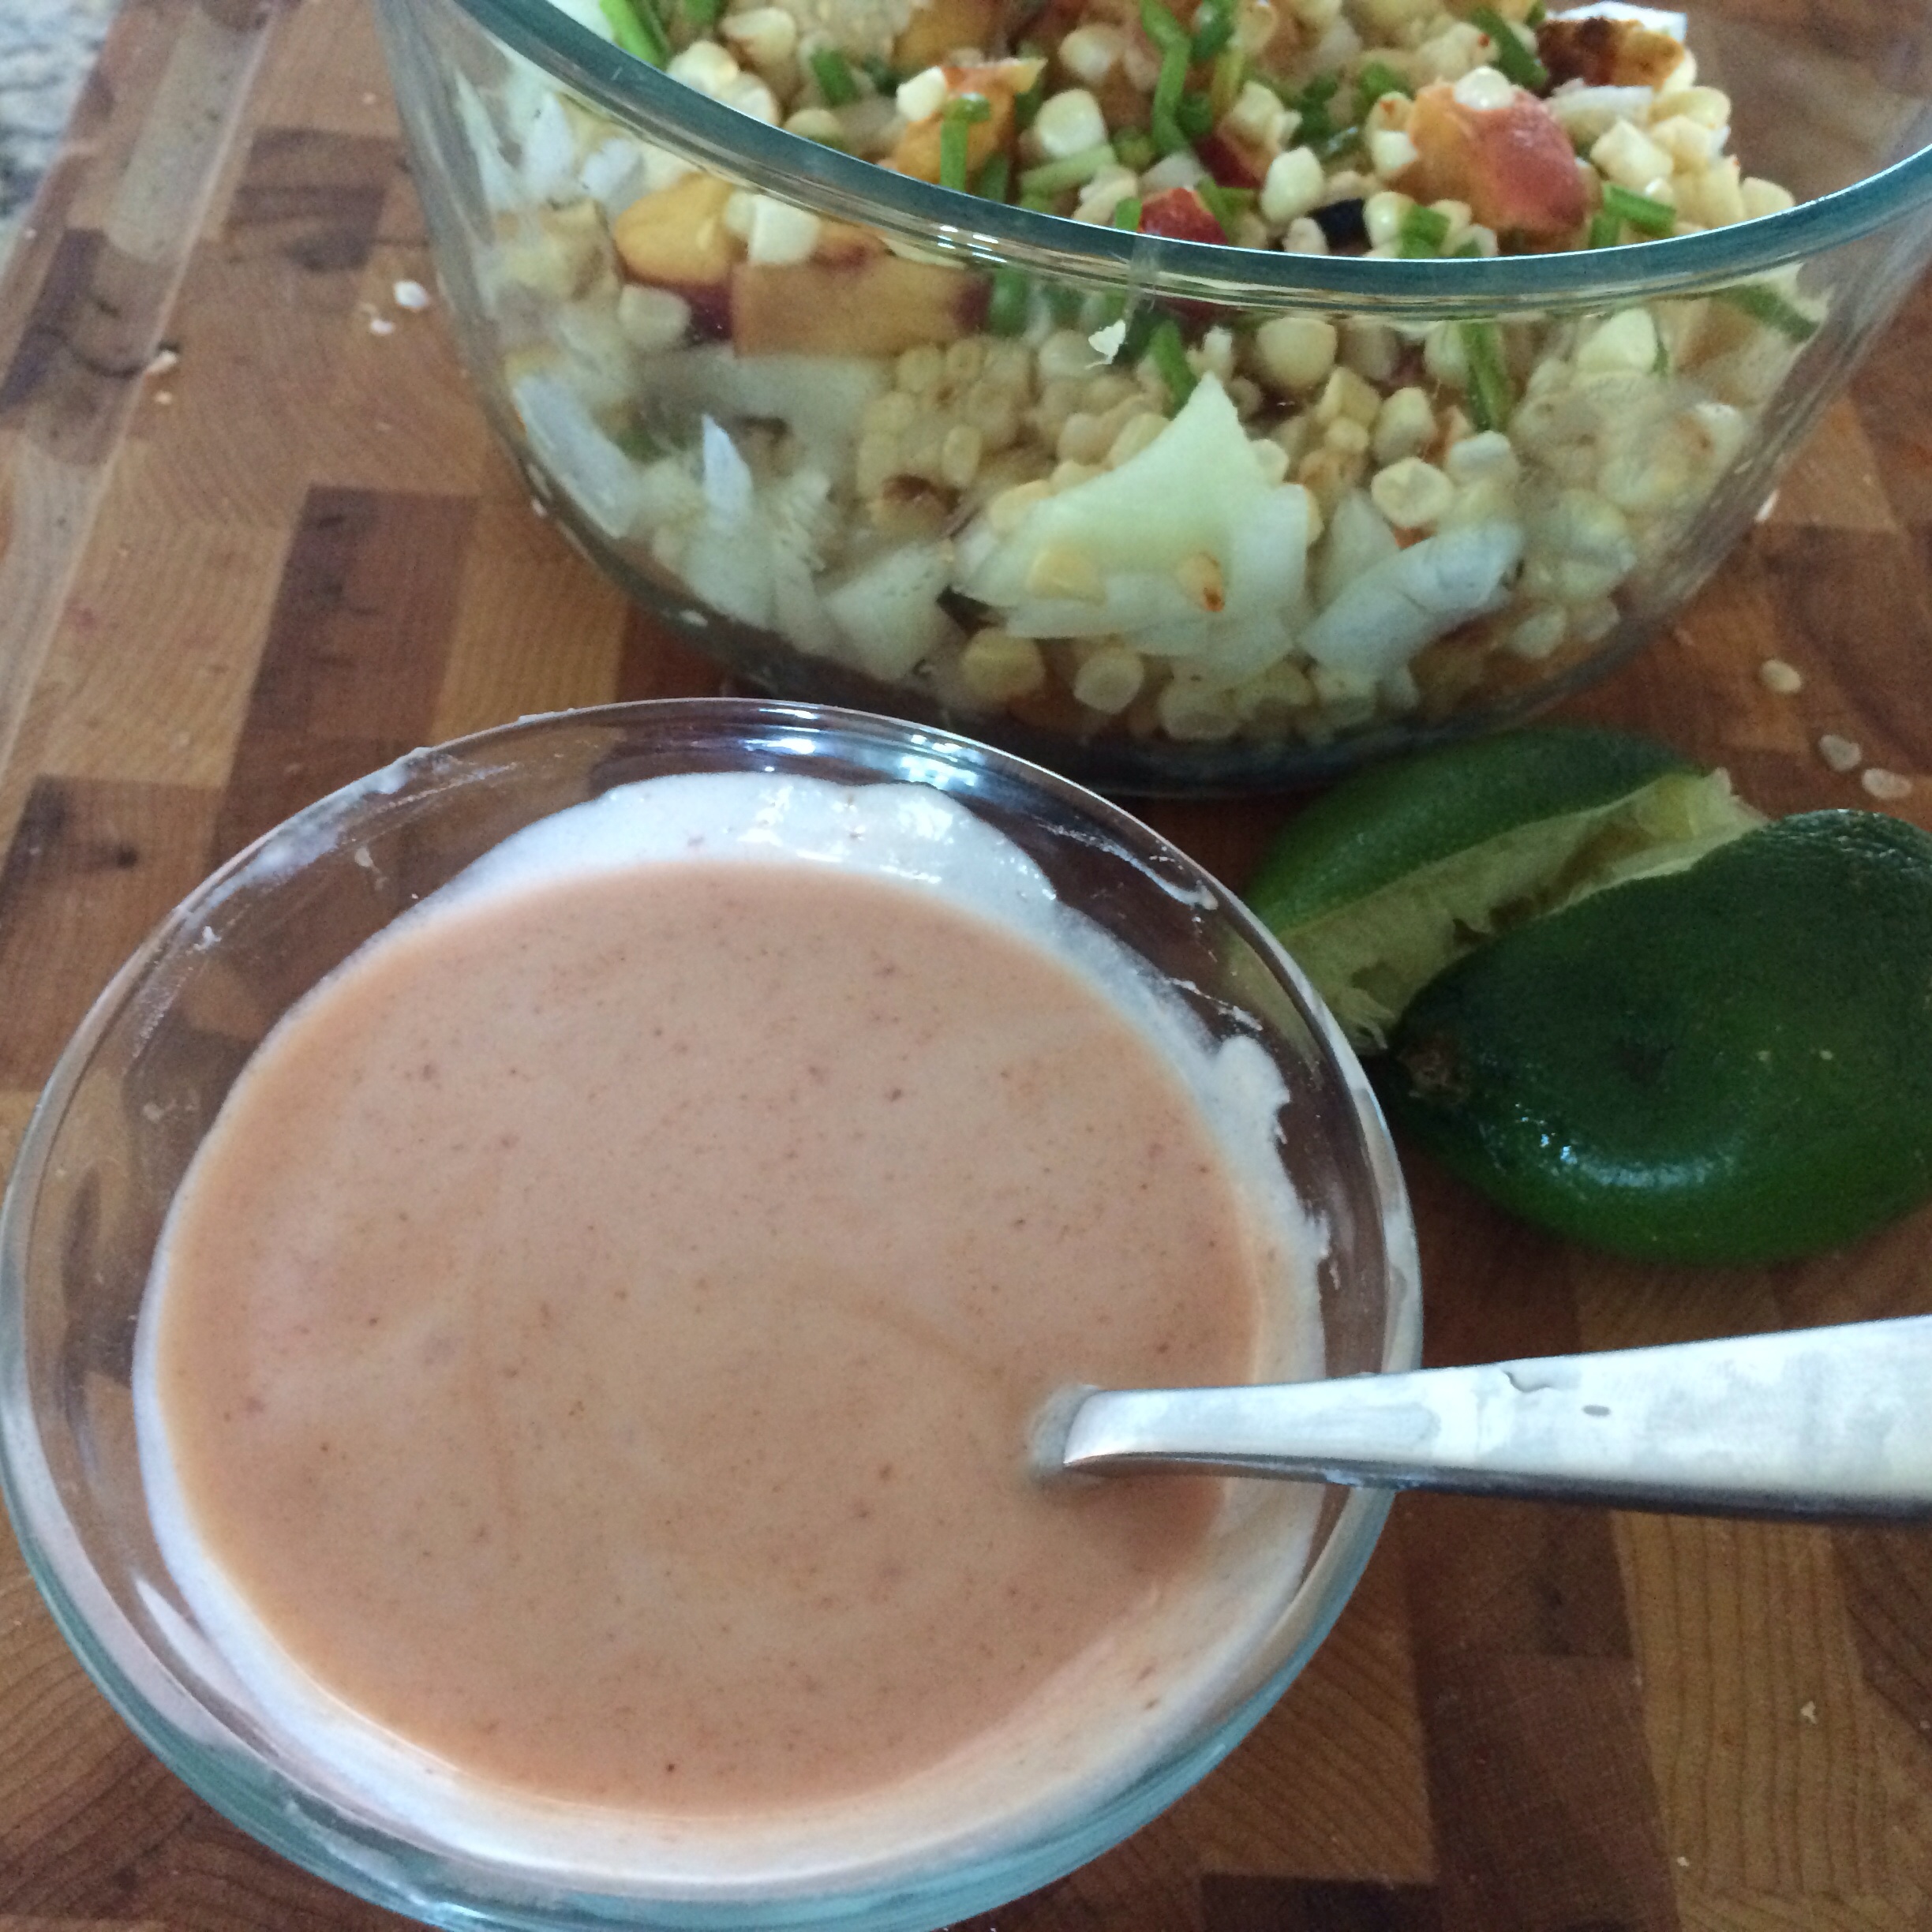
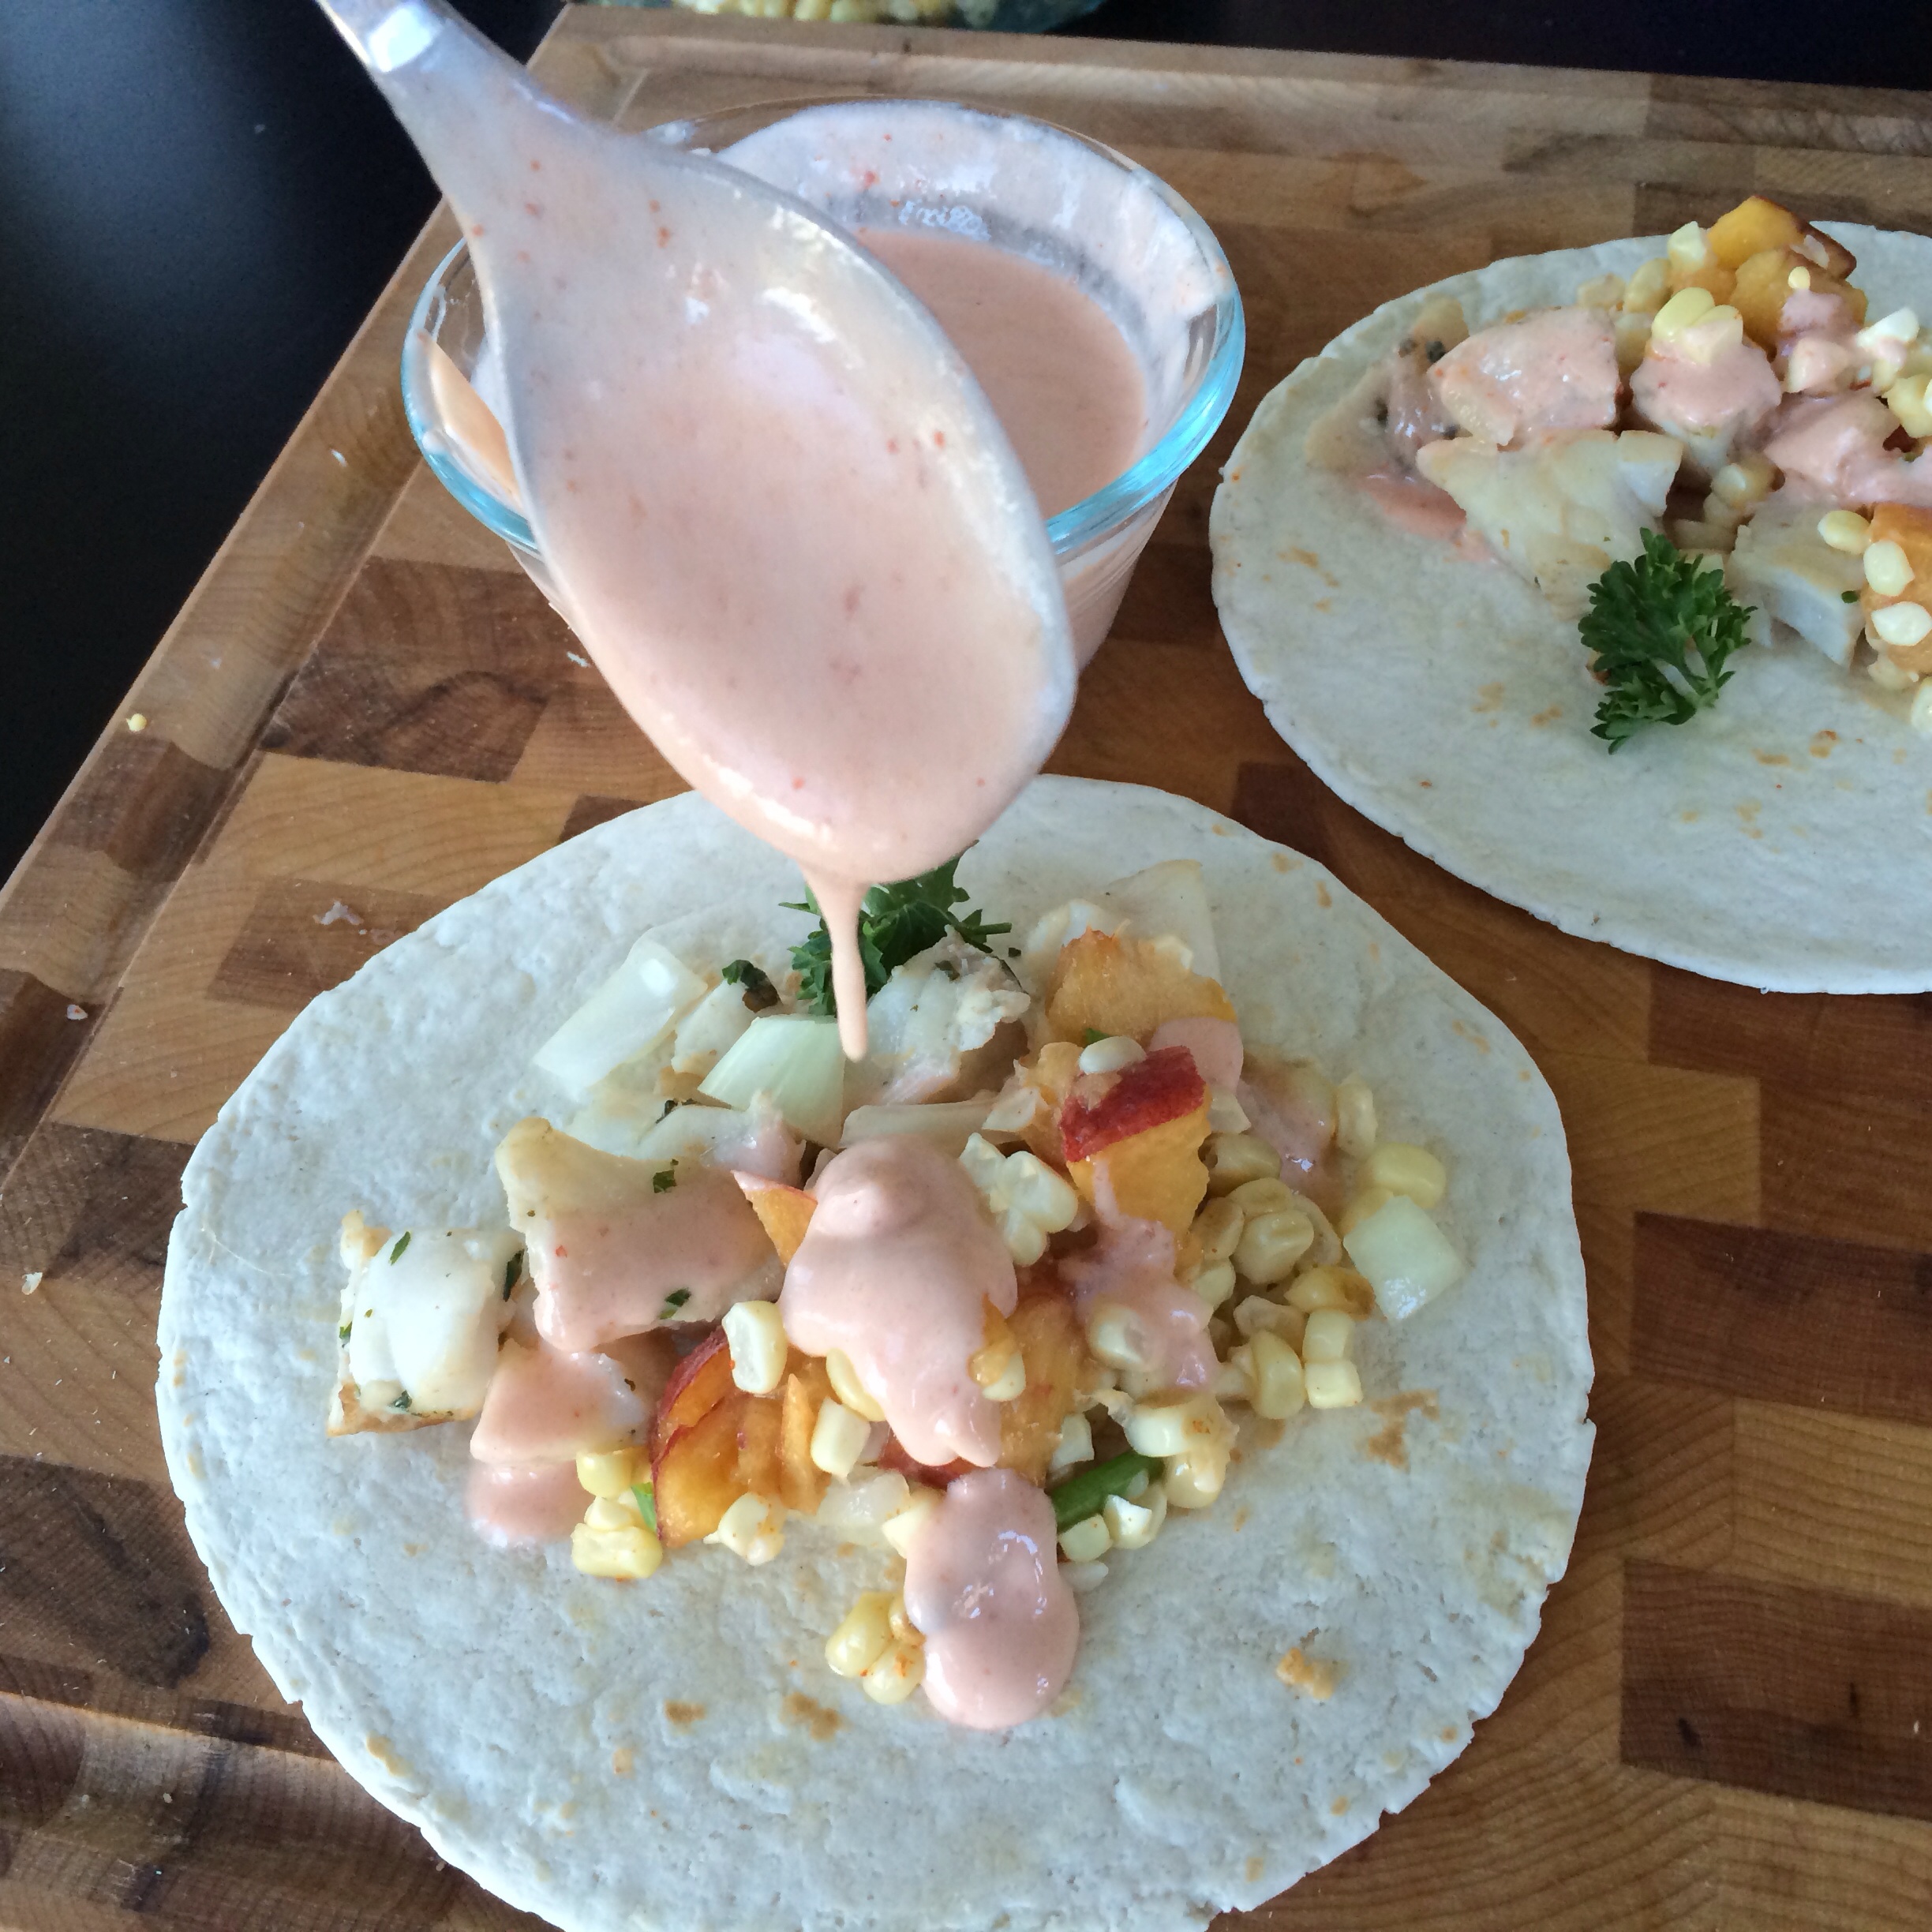
Fish Taco Sauce
1/4 cup sour cream
1 tbsp. sriracha
Mix together and add more or less sriracha to taste
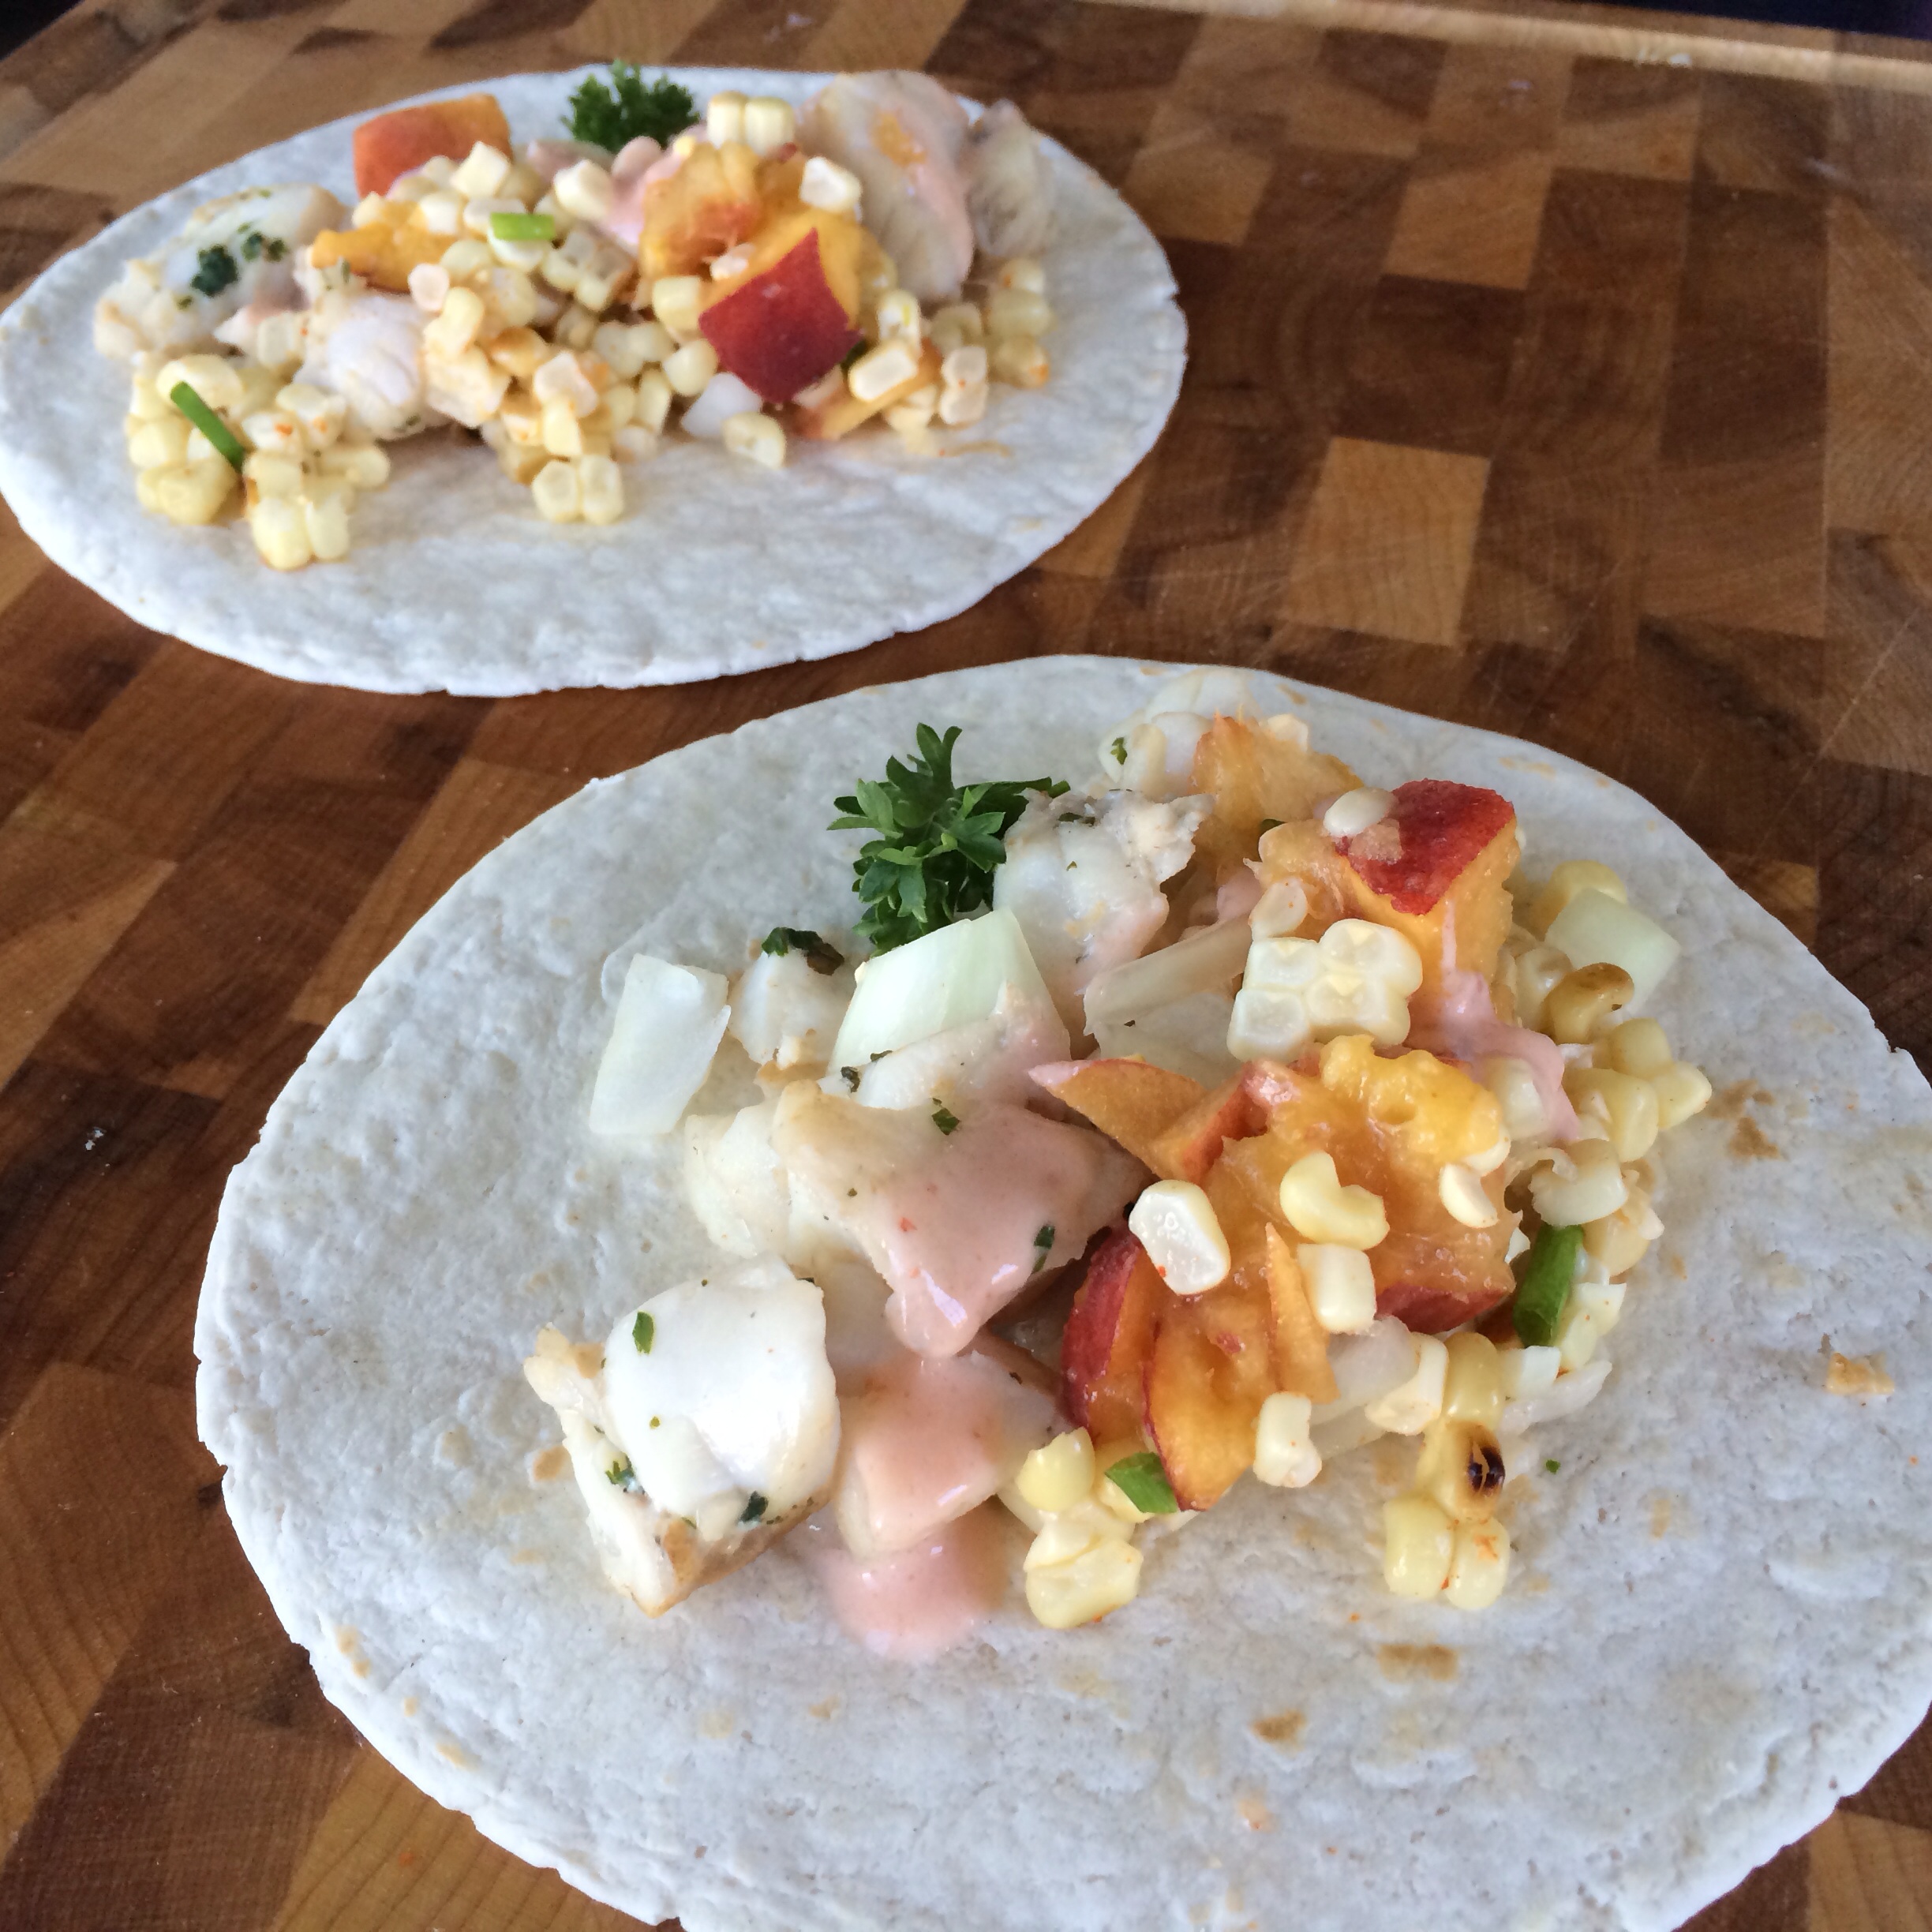
Build your taco with your favorite flour tortilla.
Add the roasted corn and peach salsa, and top with sriracha sauce.
Enjoy!
Ciao!