Month: February 2015

Apple Pear Tart ! A Simply Delicious Dessert!

Those of you who have been following Parmesan Princess know I’m on a mission to “up my baking game.” I feel like it will be an ongoing goal because I am slow to catch on to the baking patience, the annoyingly important precision of baking times and temps, not to mention the humidity in the air of which a baker has absolutely zero control.

With that said, those of you who know me well are probably saying, “OK, giving up control and requiring patience…Poor thing, I hope she sticks to cooking!”
True. Yes, but I am diving into a new world of fancy French pastry words because this impatient control freak also enjoys a good old fashioned challenge. Bring it on!!

image

I love the taste of pear and apple mixed together, smothered in layers of sugar, cinnamon, and vanilla, wrapped in a flaky sweet crust. Yummy! So technically we make a páte brisée and wrap it up galette -style. I know it sounds ridiculously complicated, but it’s not! What is páte brisée? Actually a really easy and perfectly flaky pastry crust, but a Pilsbury pie crust works just fine! And what is galette -style? Folding up the pastry crust on the sides and leaving the center open. The process is really not that complicated! Pie -ish. So I figured out an easy, totally doable tart recipe!! Here it is!

Apple Pear Tart

Ingredients:
Pâté Brisée
Adapted from Jacques Pepín
1-1/2 cups flour
1-1/2 stick unsalted butter, cold and sliced into 1/2 inch squares
1/2 tsp. salt
1/3 cup ice water
OR
Use Pilsbury refrigerated pie crust – let stand until room temperature.

Filling
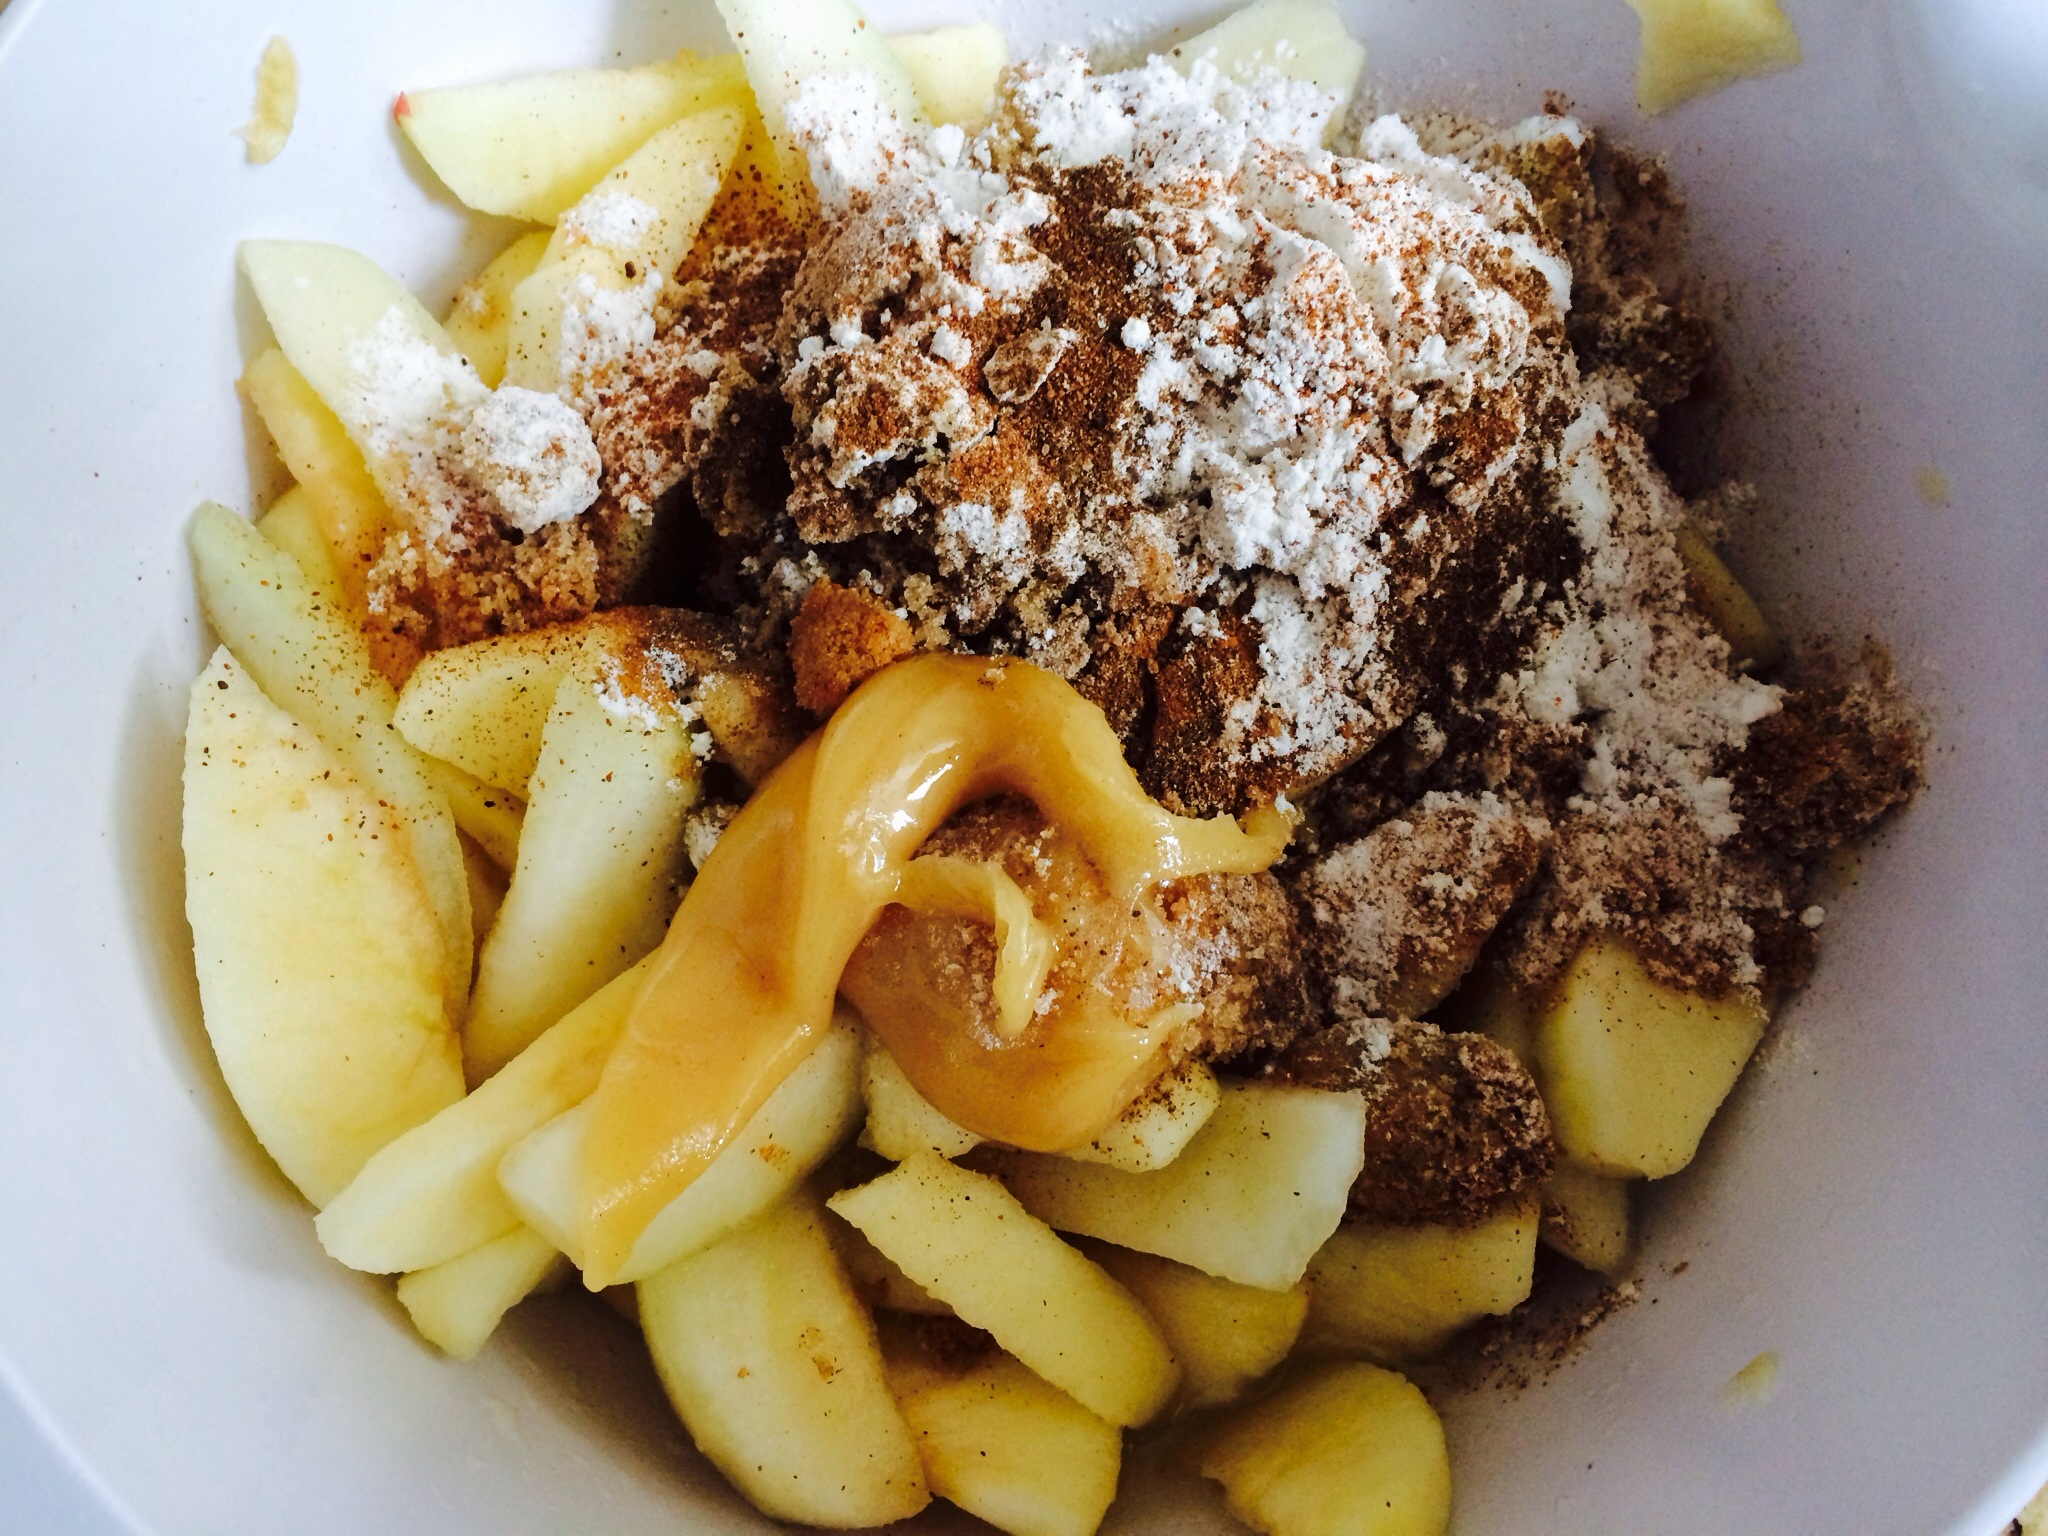
2 apples, cored and sliced mixed with lemon juice to prevent browning
2 pears, cored and sliced mixed with lemon juice to prevent browning
1-1/2 tsp. vanilla
1 tbsp. Ground cinnamon
1/2 tbsp. ground nutmeg
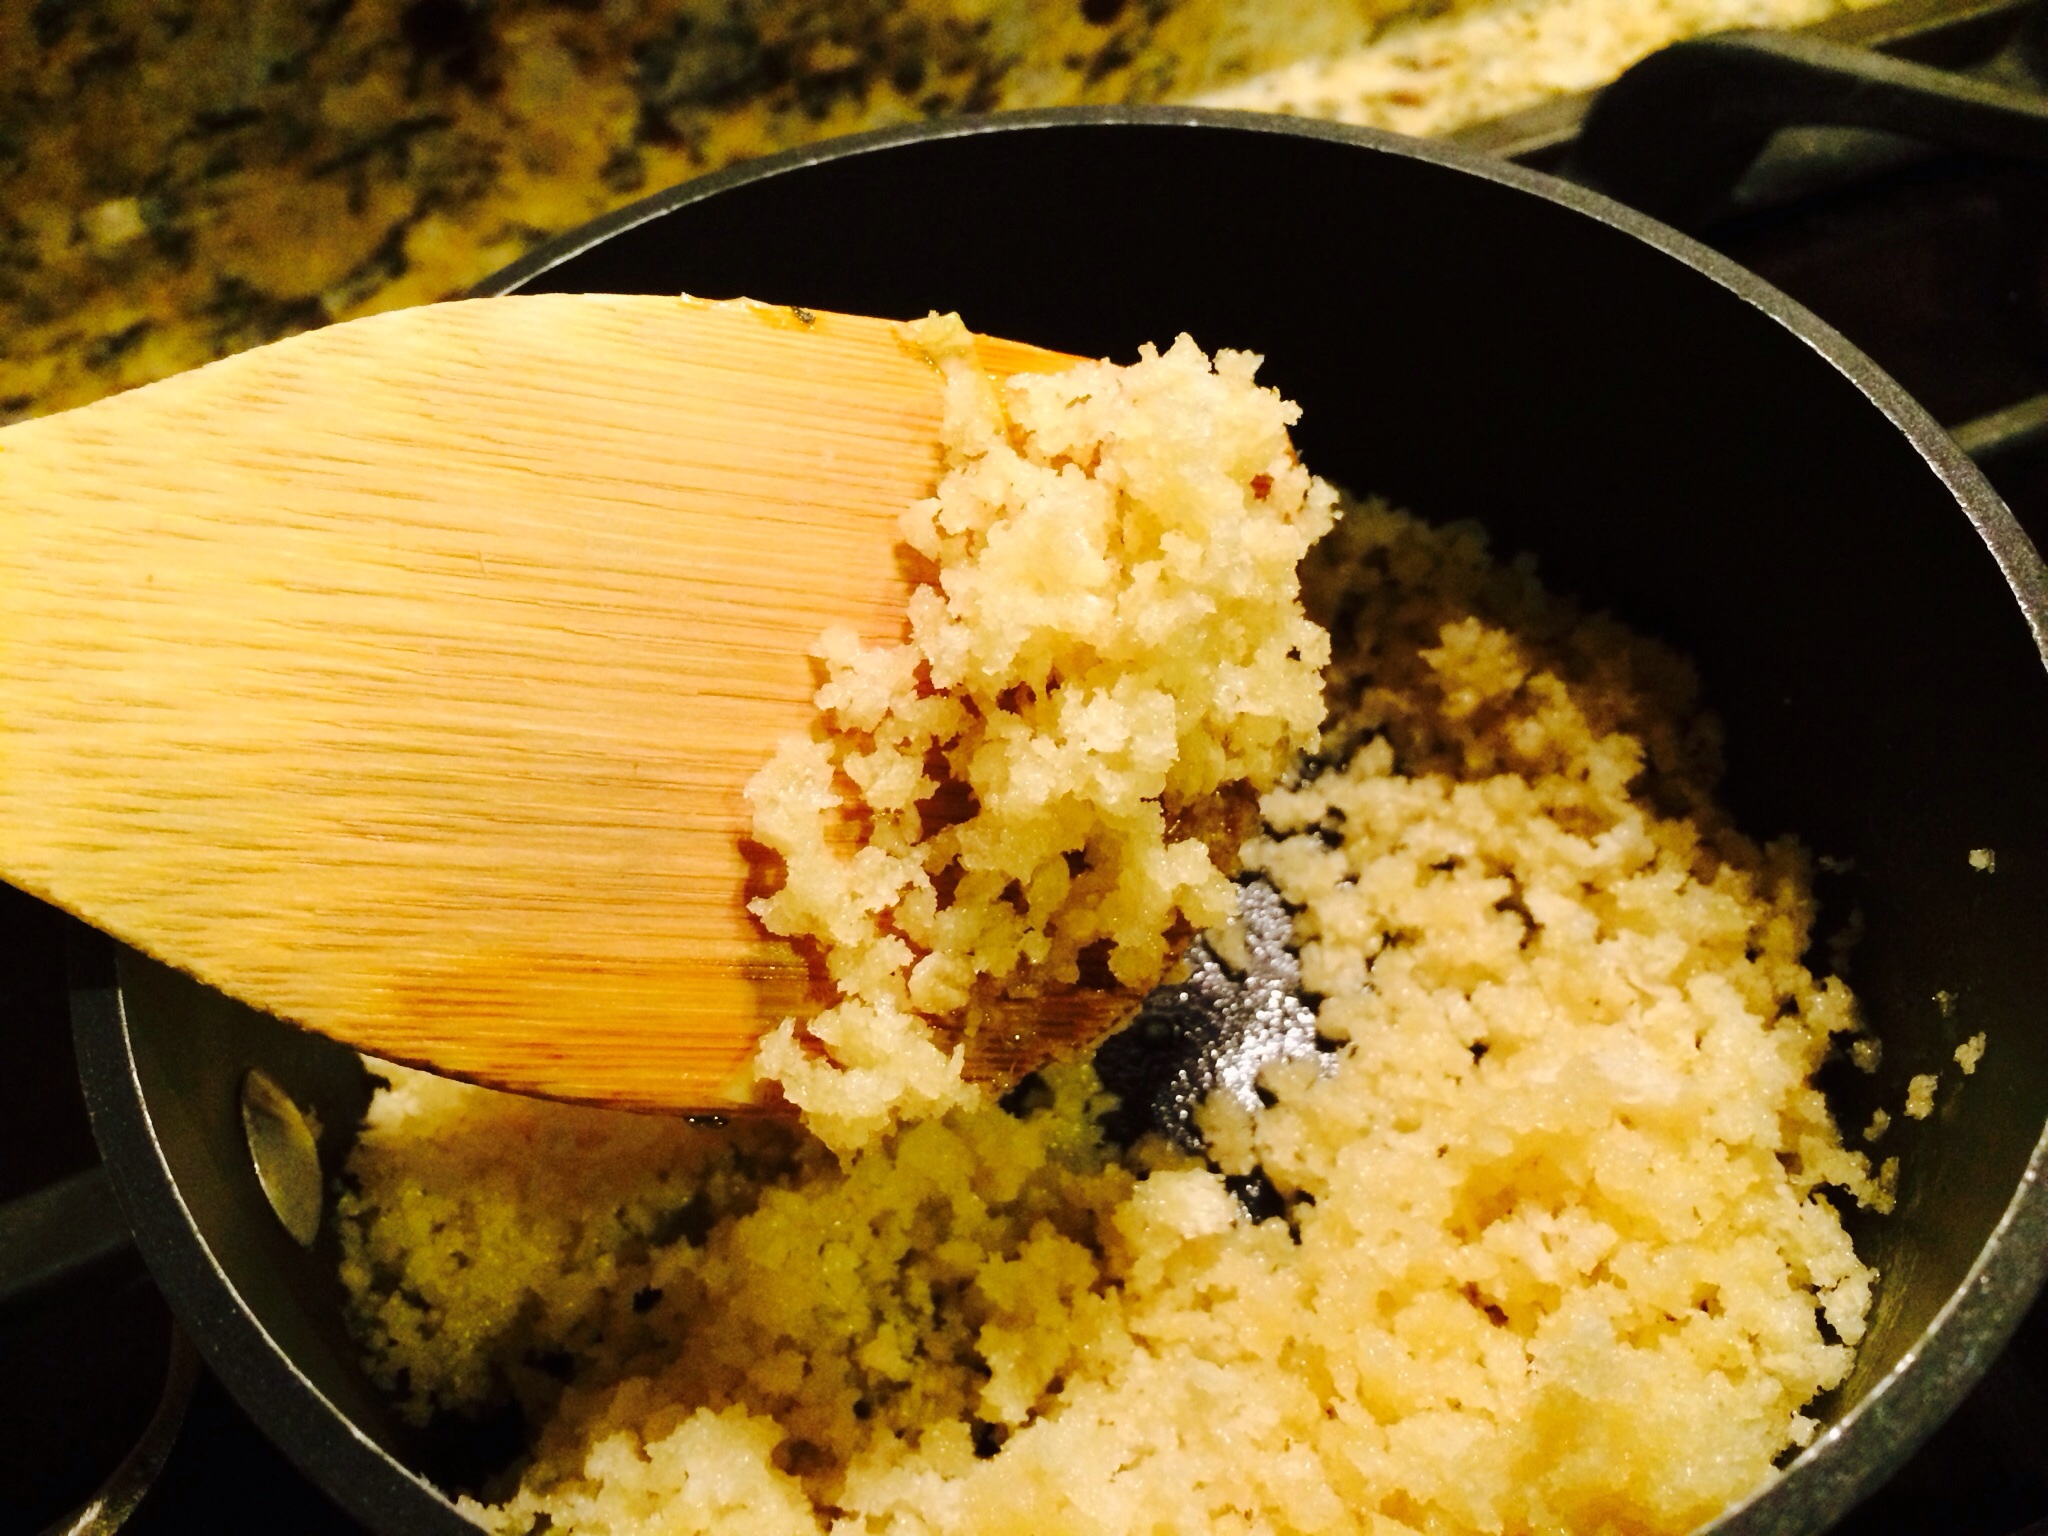
1/4 cup whipped honey
2 tbsp. flour
1/3 cup white or light brown sugar
Egg white wash and
Sugar for sprinkling

Directions:

If making the pâté brisée…
Add flour, butter, and salt to
a food processor.
Run for 5 seconds, the butter will still be in pieces.
Add ice water and run for 5 seconds just until dough forms. The butter will still be seen.
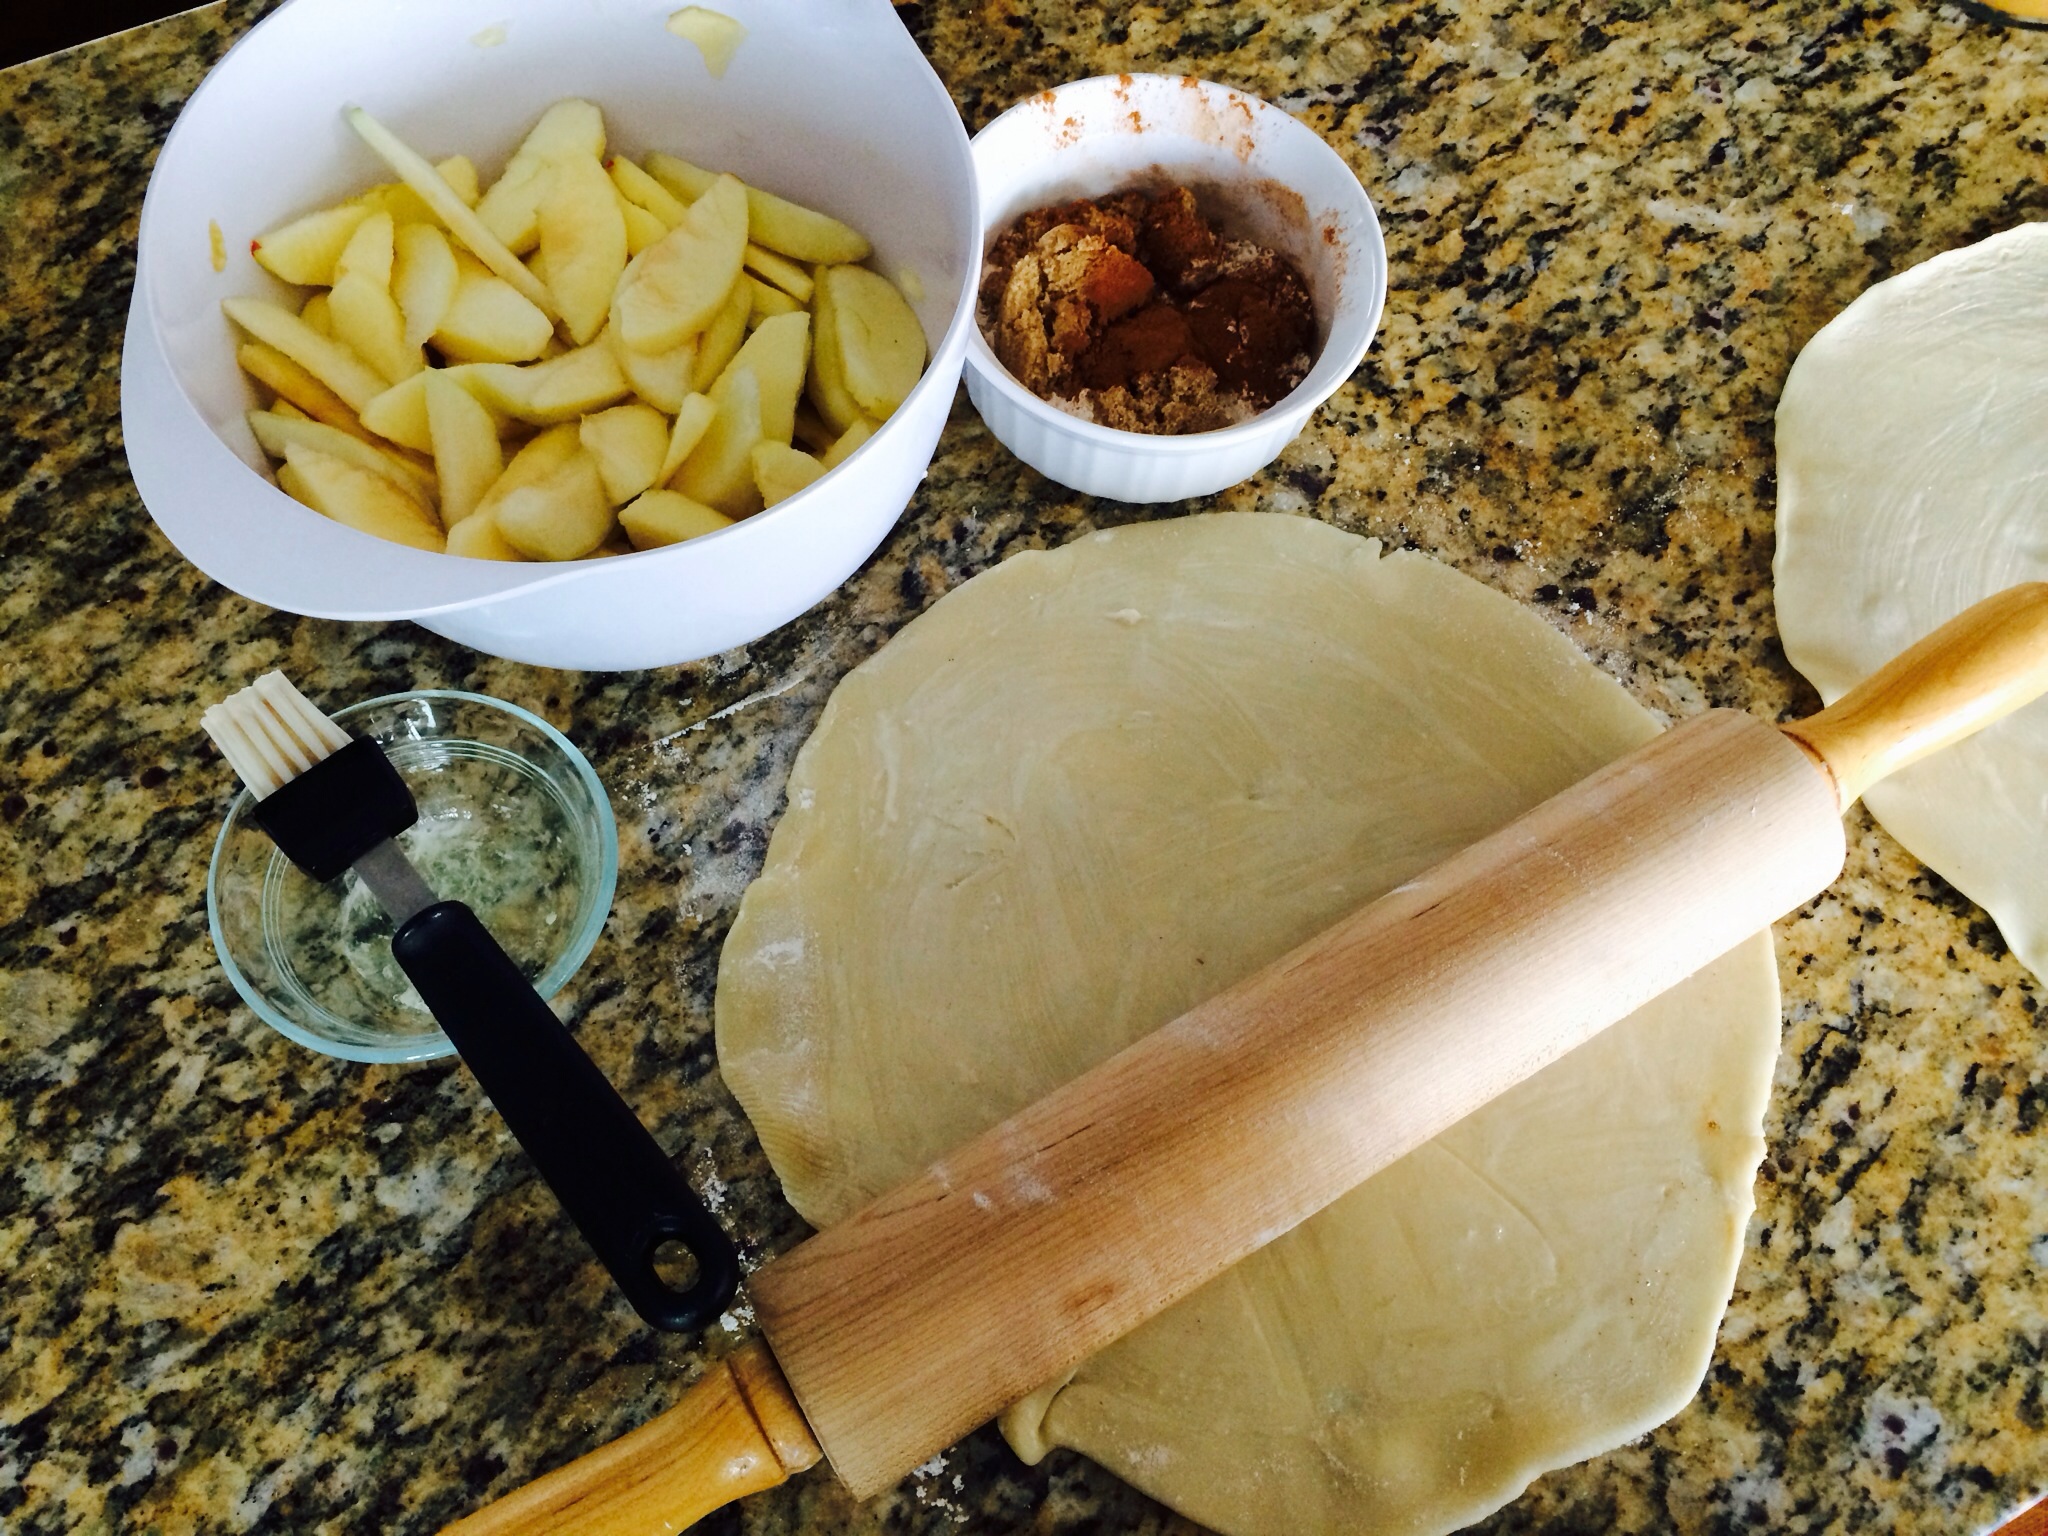
Roll dough in a ball.
Roll out into an oval 1/8 inch -1/4 inch thick .
Transfer to a baking sheet and refrigerate 30 mins.

OR
Roll out one Pilsbury Pie crust.

image

Preheat oven 400 degrees.

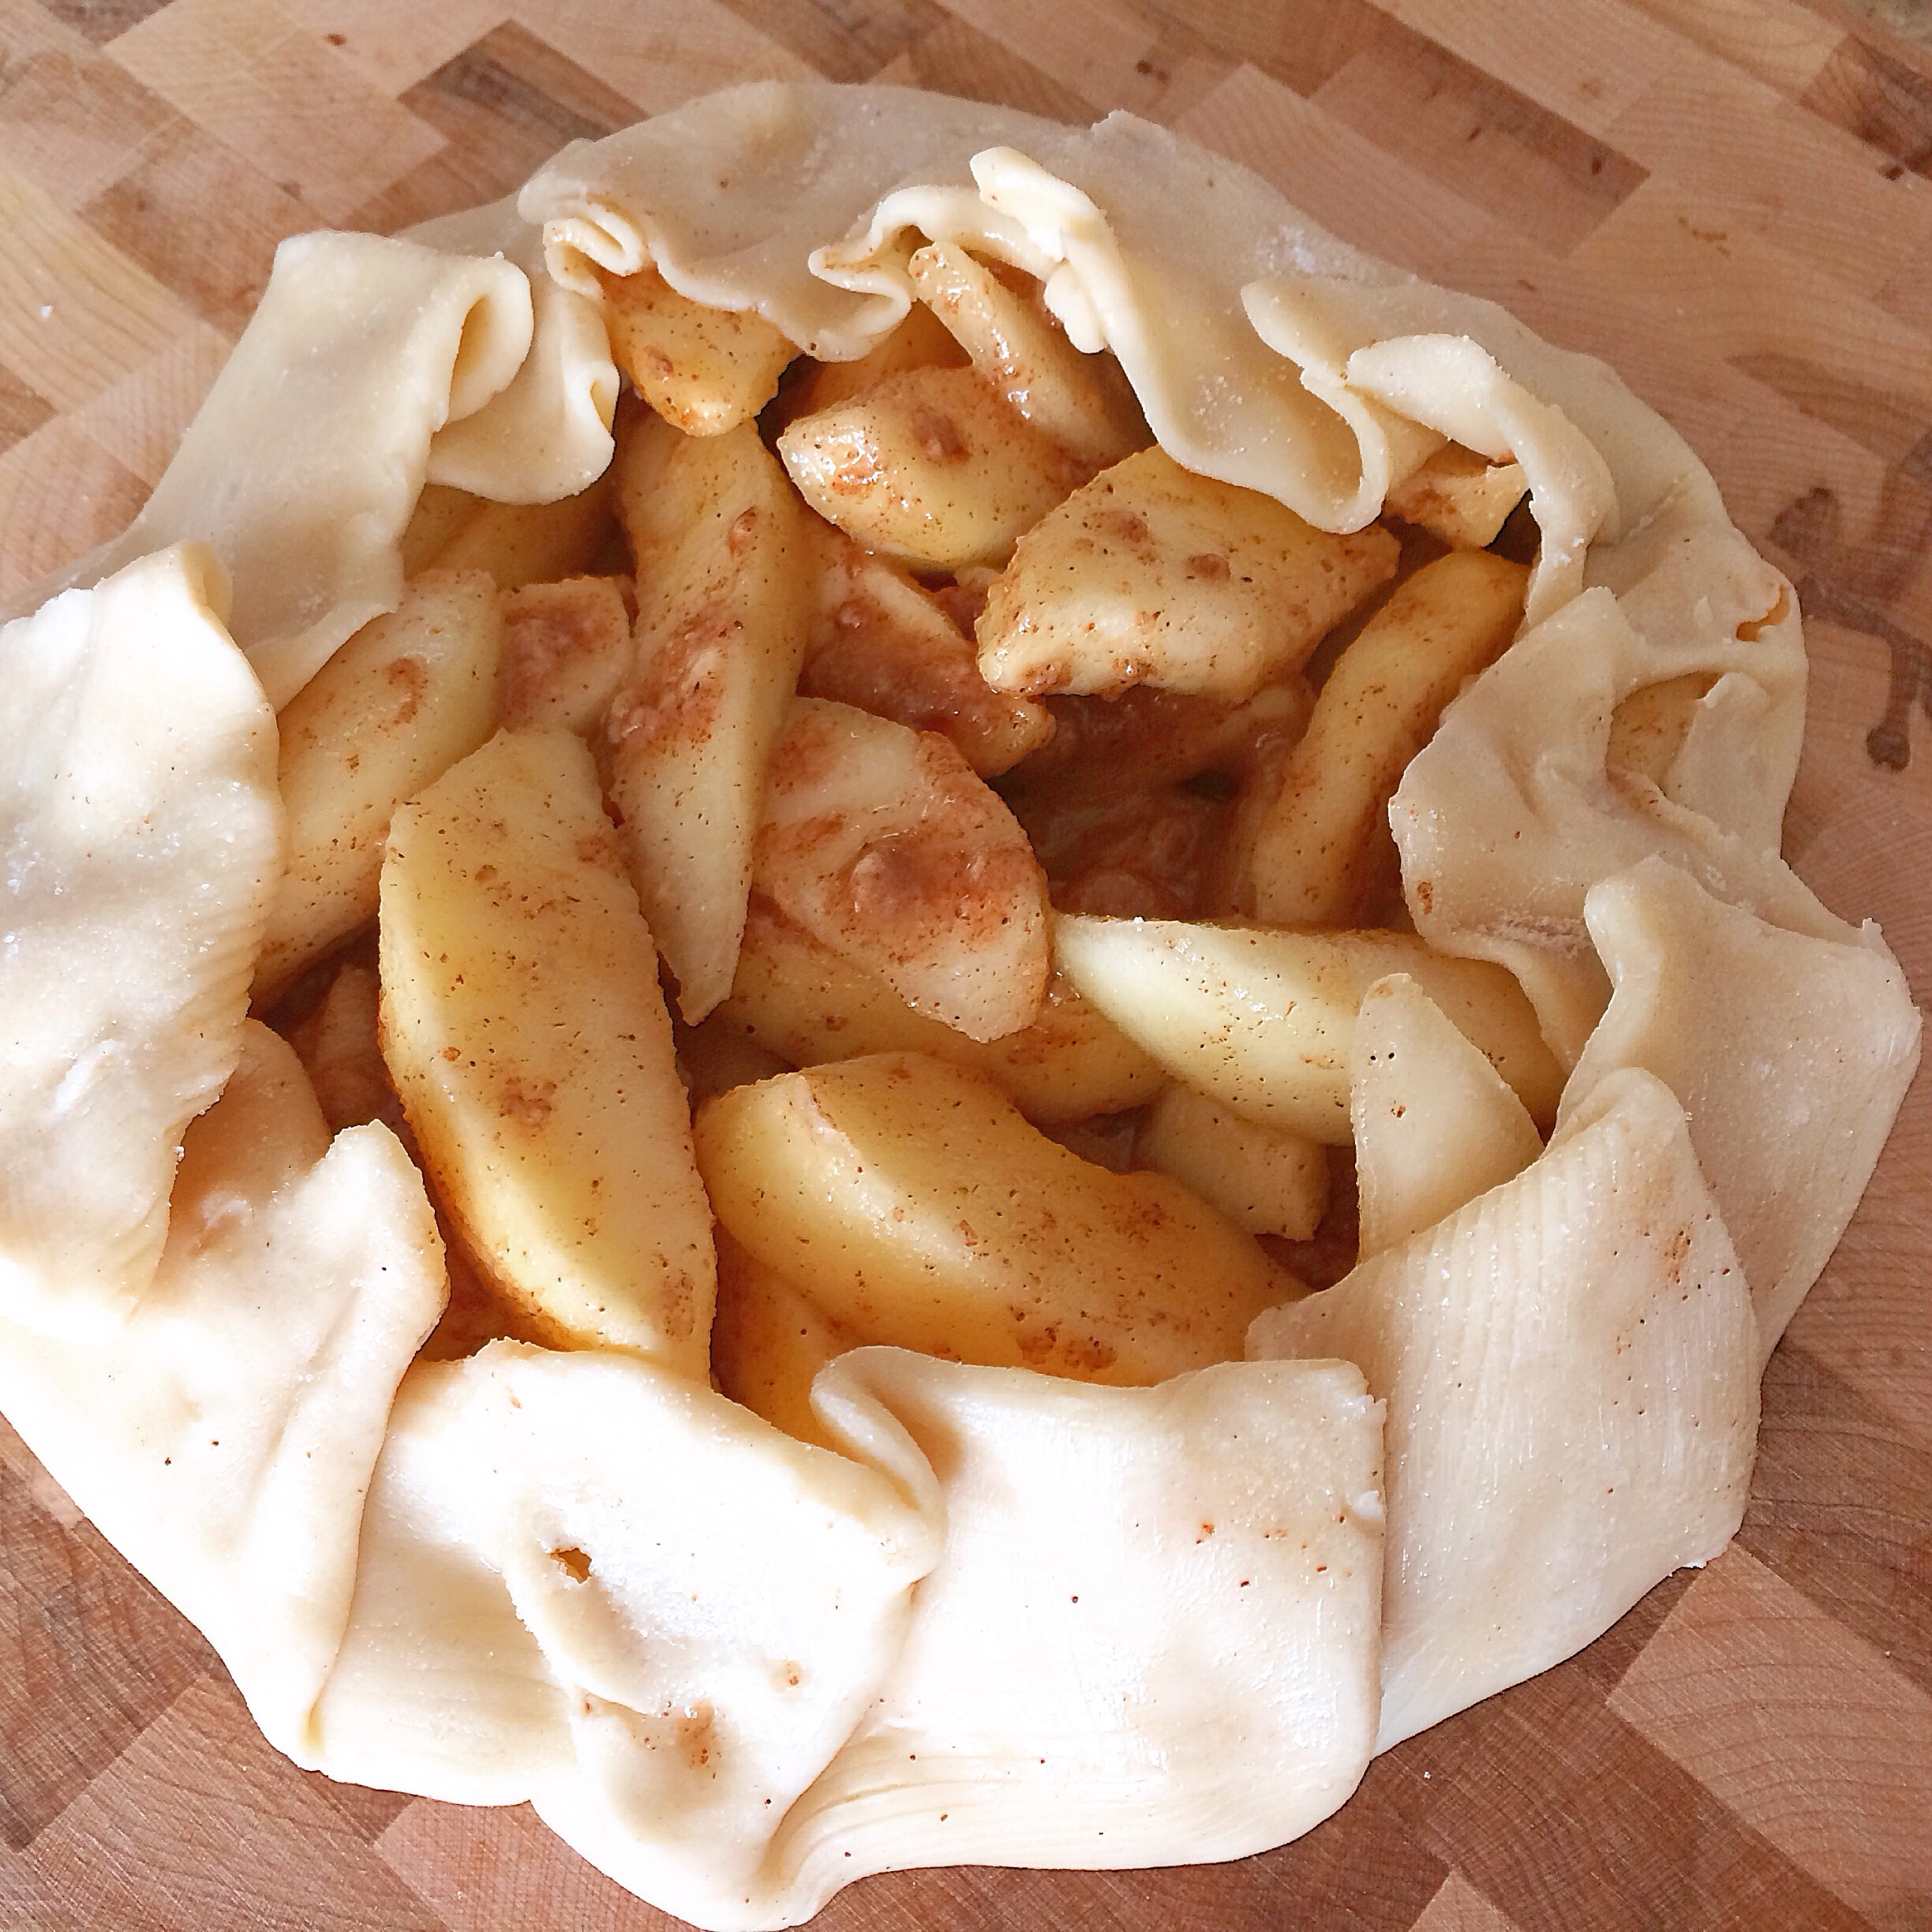
Meanwhile, add apples, pears, cinnamon, nutmeg, vanilla, sugar and whipped honey, and flour. Mix to coat.

image

Fan out slices in the center of the pastry dough.
Create a fan pattern or a pattern of your preference.

image

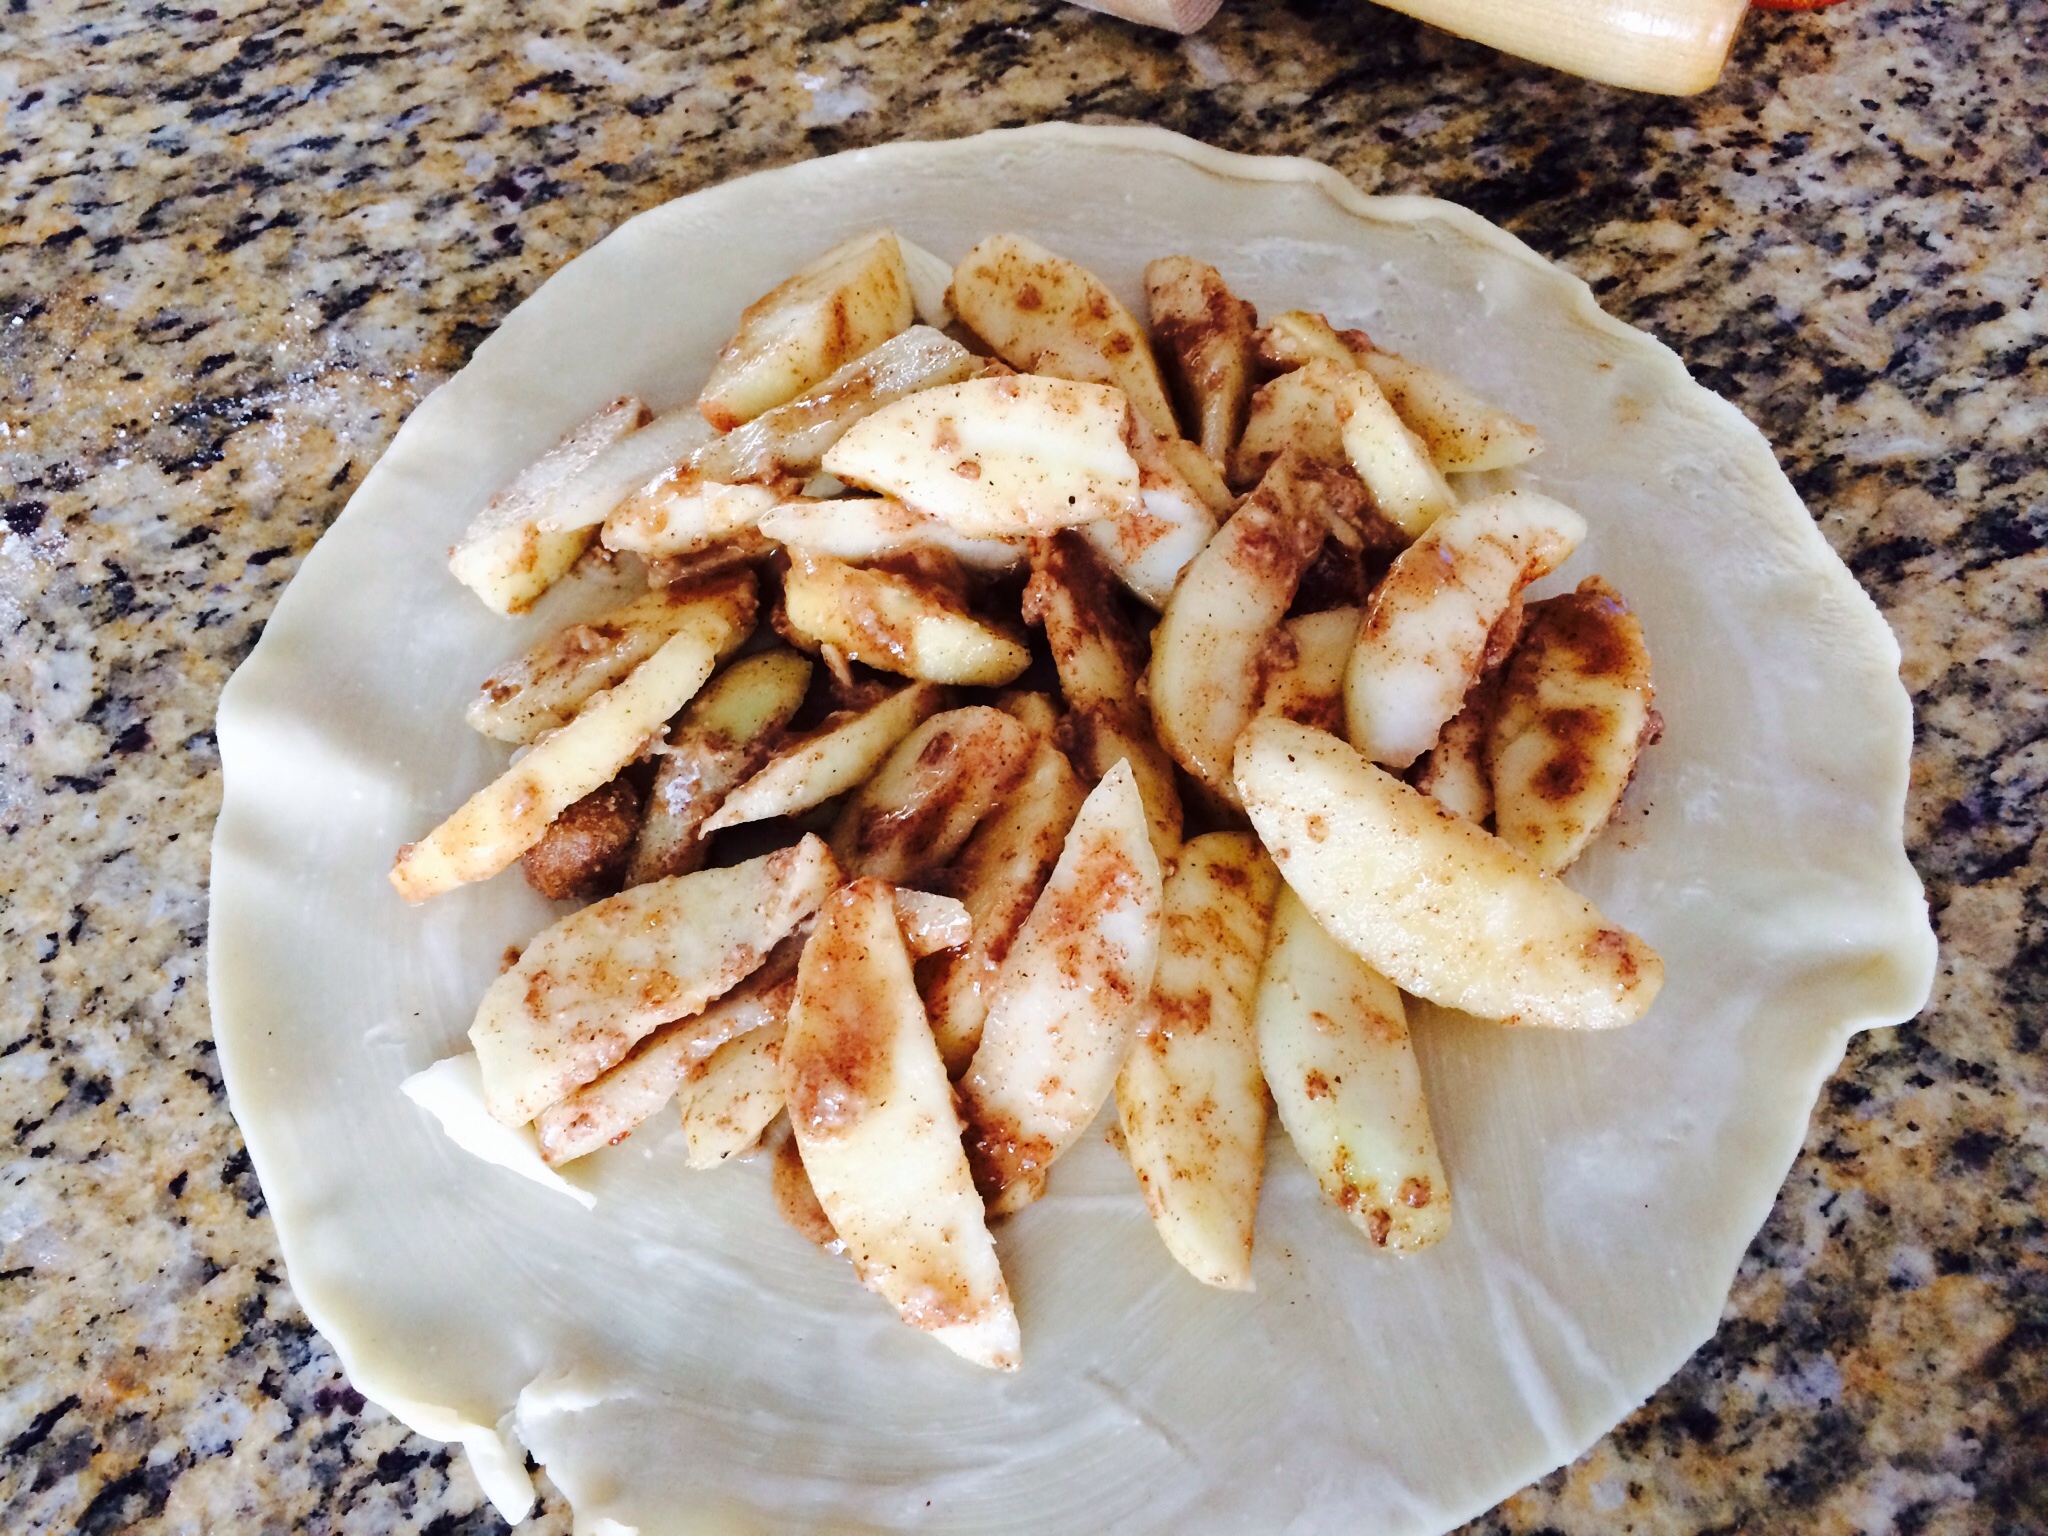
Galette-Style : Fold up the dough 1 inch over the filling and pinch.
Continue folding and pinching until a crust is completely formed in a complete circle.

image

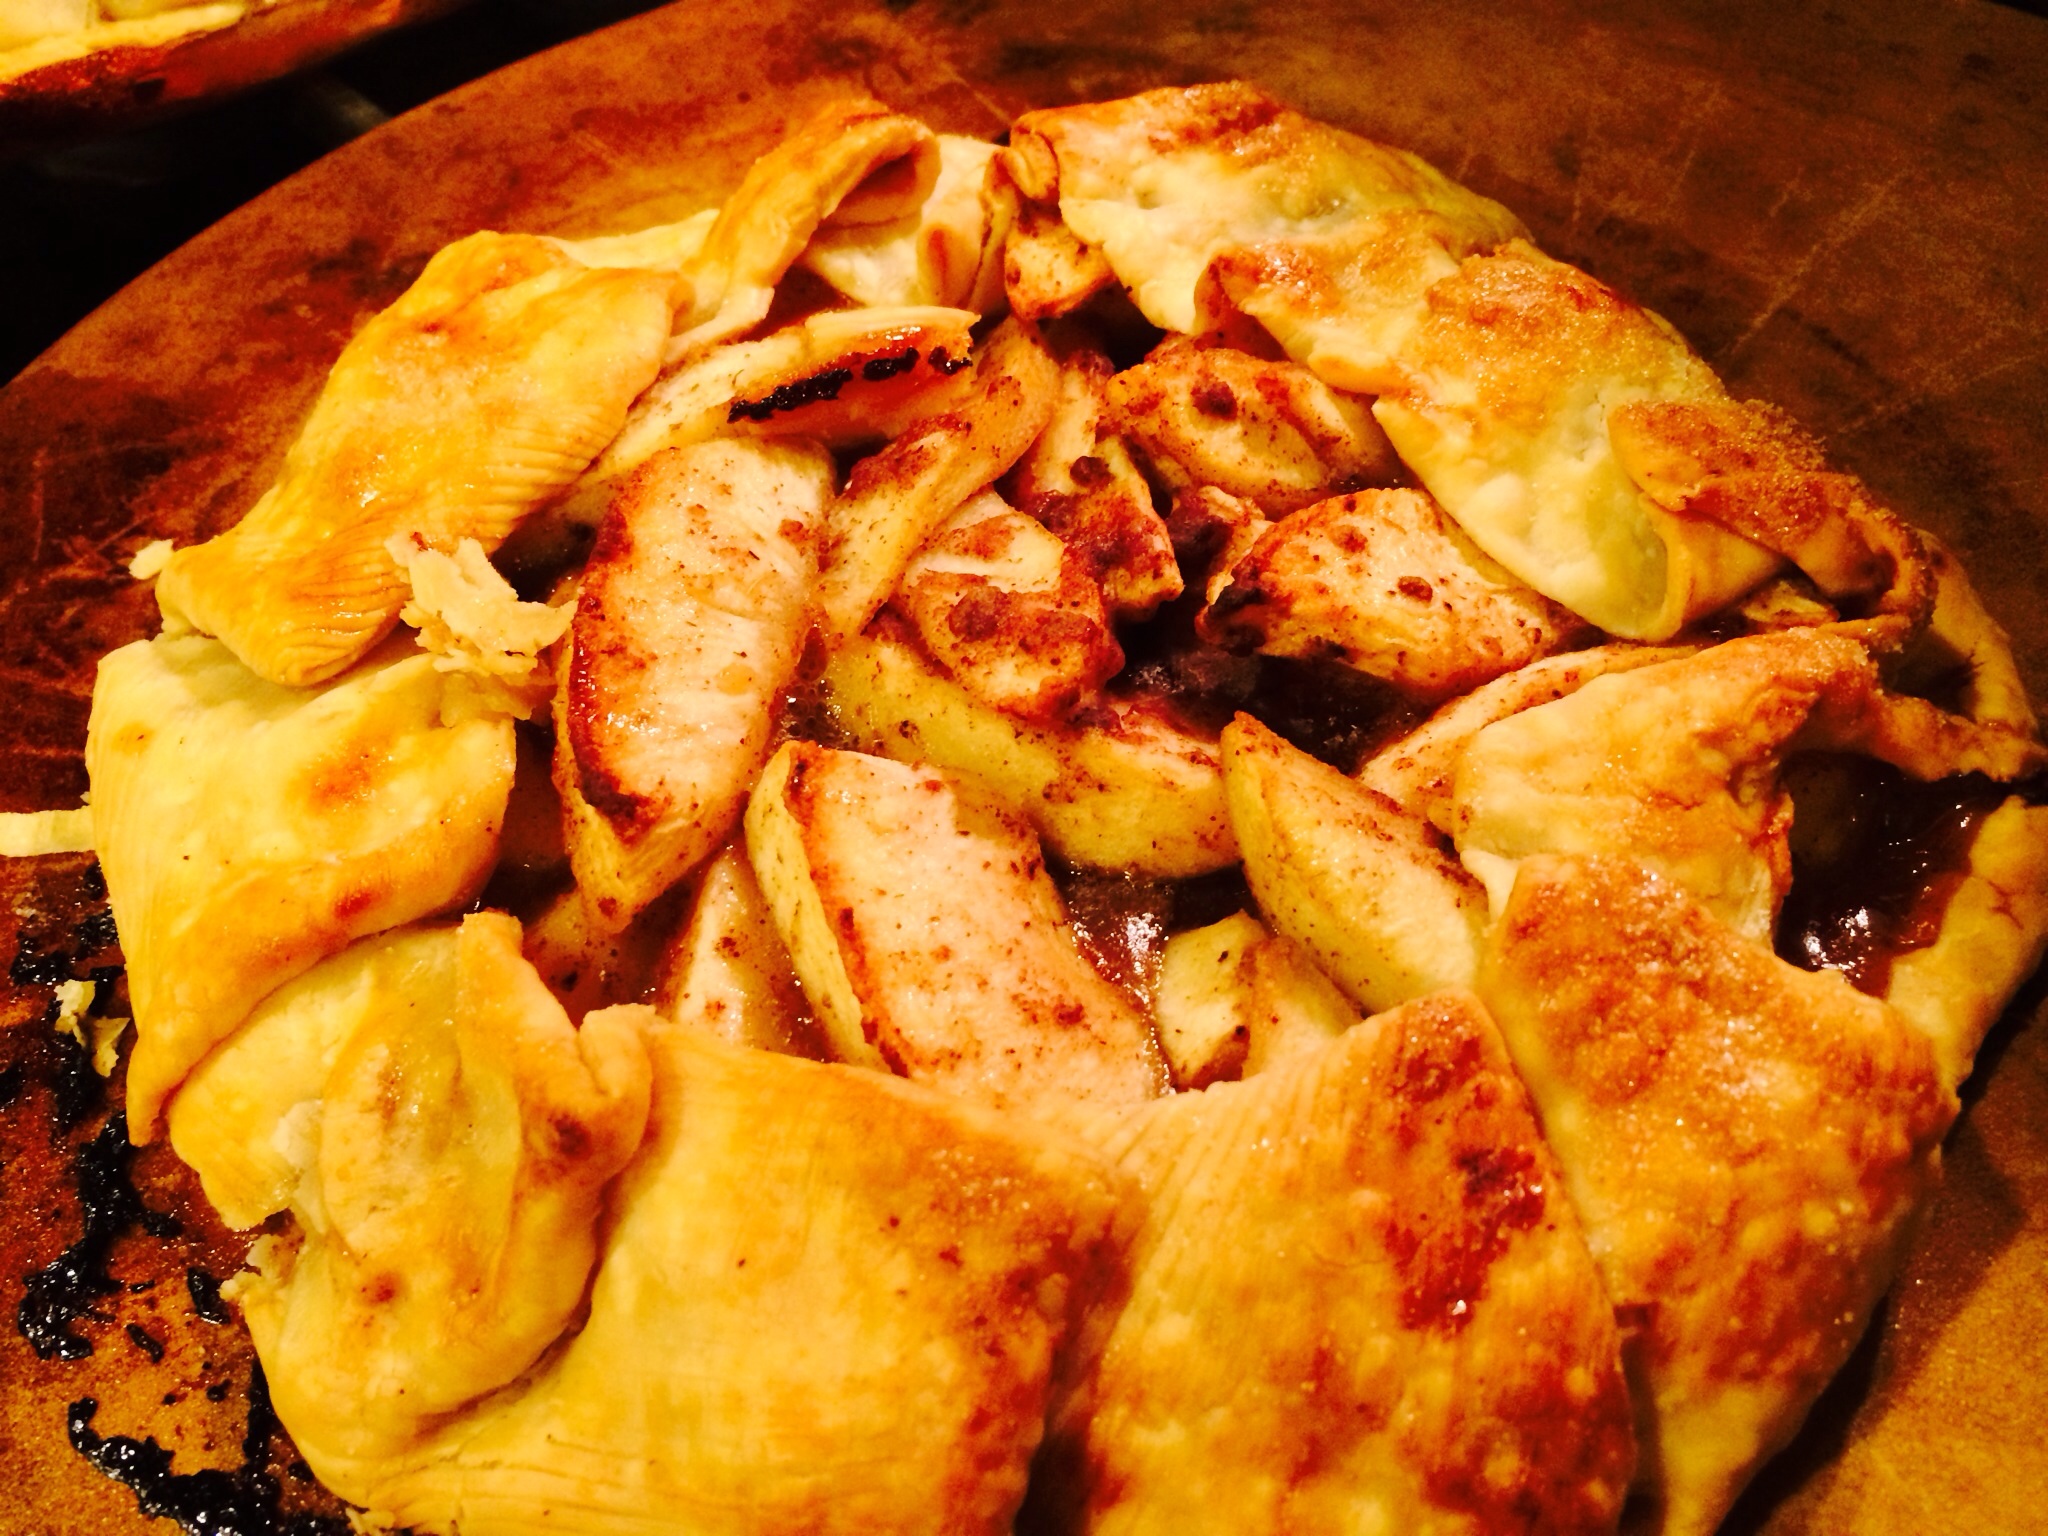
Brush with egg white wash and sprinkle with sugar.

Bake 40-50 minutes or until tart is golden brown and fruit is softened when pierced with a fork.

Top with mascarpone cheese, whipped cream, and/or a scoop of your favorite ice cream!

image

Enjoy!
Ciao!

Chicken Pancetta Pan Pasta!

If you are having company at your home this weekend…They are probably going to end up getting snowed in and spending the weekend!

Here in Western PA, the snow and cold have been relentless. The desire to leave the house is about a zero, and pantry- fridge raiding dinners are what’s in! My go-to option is a quick pan pasta!

image

Depending on the what ingredients you have, your pan pasta can consist of rich vegetables, a meat, and definitely some beautiful greens! Simply boil your favorite fork pasta like penne, bow ties, or even rigatoni. Get the other ingredients cooked in a large pan and toss the pasta to coat! Don’t forget to top with fresh grated Parmesan and/or Locatelli Romano for a beautiful finish!

Chicken Pancetta Pan Pasta
(Serves 4-6)

Ingredients:
4 tbsp. Olive oil
4 cloves garlic
1/2 cup roasted red pepeprs chopped
3 medium 1-1/2 inch chicken breasts, cubed
3 slices of pancetta, chopped small and fried in a pan until crisp
1 lb. of your favorite fork pasta- penne, bow ties, rigatoni, etc.
3 handfuls of fresh spinach

image

Directions:

Heat oil in a large deep frying pan.

Add garlic and cook until softened and golden.

Add chicken, and cook until no longer pink.

Meanwhile, add pasta to boiling water and cook until al dente, drain and toss in pan.

Mix in roasted red peppers and crisp cooked pancetta.

Add spinach and top with fresh grated Parmesan and Locatelli Romano

image

Enjoy!
Ciao!

Shrimp and Sausage Gumbo! Happy Mardi Gras!

“I wiggled my nose and… poof! a beautiful roux appeared!” said nobody ever!

image

A roux pronounced “roo” is the thickening base used in traditional gumbo recipes. The ultimate test of patience and perseverance, the flour and oil mixture is whisked constantly over about one hour so that the flour doesn’t burn. I was terrified to burn it, so I used a super low heat and slowly ramped it up.

Don’t do it…
It took about 1-1/2 hours…
Here is what I learned…

When the roux eventually turns a dark chocolate color, the rest of the ingredients are added. After 25 minutes of whisking, I was convinced that the mixture got lighter? At 45 minutes, I realized it was getting dark outside …not my poor roux. My burner was definitely on? Yes! And the moment it started smelling like burnt popcorn ? Yep, I burnt the roux! So I started over. This time I started on a moderate medium temperature instead of extremely low heat. The process went much faster and in about 40 minutes the roux was a dark chocolate color. I am not the most patient person, it probably could have been darker, redder, but it was delicious!

So my initial plan was to add the celery, okra, onions, and bell peppers to a few cans of San Marzano tomatoes. Totally my style. Maybe call it Sicilian Gumbo?? I was inspired to learn something new and to share it with you! How amazing to make a traditional Gumbo at home for your family!

Here is the recipe…

Shrimp and Sausage Gumbo
Makes one large stock pot

Ingredients:

For the Roux,
2 cups flour- 1-1/2 cups vegetable oil or Crisco

1 large onion, chopped
5 celery stalks, chopped
1 14 oz. bag frozen okra
2 green bell peppers (I used orange and yellow)
1/2 lb. hot sausage or andouille sausage (I used hot)
1 lb. raw shrimp, peeled and tails off
3-4 tbsp. olive oil
3 garlic cloves, finely chopped
1 6 oz. can tomato paste
1 32 oz. can diced tomatoes or 4 fresh tomatoes, diced
1 48 oz. can chicken broth
1 12 oz. bottle of your favorite beer
2 tbsp. chile powder
1 tbsp. cayenne pepper
1 tbsp. paprika
1 tsp. celery seed
1 tsp. onion powder
1 tsp. garlic salt
salt/pepper

Directions:

Brown the sausage in a frying pan.

image

Prepare all chopped vegetables and set aside.

image

Prepare the roux in a dutch oven or heavy pan or pot by whisking the flour and oil mixture at a medium heat.
image

Do Not Stop Whisking- Do Not Walk Away
The roux will get darker. When it is a dark chocolate color, remove from heat.

image

Heat olive oil in the bottom of the stock pot.

Add garlic and onions. Cook until softened.

Add celery, peppers and okra, cook until softened.

Add beer, chicken stock, tomatoes, tomato paste, and spices. Mix well.

Add roux and bring to a boil.
Cook for 1 hour.

image

image

Add sausage and shrimp. Cook until shrimp are cooked, approximately 5-7 minutes or until opaque.

image

image

Enjoy!
Ciao!

Chocolate Lava Cake: The Perfect Dessert For Your Valentine!!

Chocolate cake with a hot lava chocolate center…Maybe for 2? And it’s quick and easy to make? Yes!! Chocolate, chocolate, and more chocolate? Sign me up! This lava cake recipe is the perfect Valentine’s Day dessert!

The “lava cake” originates in the late 80’s when a chef in NYC took a sponge cake out of the oven too early. The result was the birth of the lava cake. A decadent chocolate cake with a runny center. The chocolate lava cake became extremely popular in exclusive high-end restaurants, and now is one of the most popular main stream restaurant desserts!

image

Chocolate Molten Lava Cake
(Makes 4-6 individual cakes)

Ingredients:
1 4 oz. Ghirardelli Semisweet Chocolate bar
1 stick butter
1/2 cup flour
1-1/2 cup powdered sugar
3 eggs
1 tbsp. Vanilla extract

Directions:
Preheat oven to 425 degrees.

Grease and flour creme brûlée dishes.

image

Melt the chocolate and butter in a double boiler.

image

image

Add the flour and powdered sugar to the chocolate mixture.

Whisk the eggs and vanilla and stir until smooth.

Pour the batter into each dish 3/4
full.

image

Bake for 12-15 minutes or until outside is set.

Use a knife to loosen the edges.

Drizzle with melted chocolate, hot fudge, ice cream and top with your favorite toppings!

image

image

Enjoy your Valentine and your Dessert!

Breakfast In Bed!

image

There are so few surprises in life. For the majority of us, Valentine’s Day will bring the expected- a romantic card, sweet smelling flowers, delectable chocolates, maybe some jewels!! Ok, maybe jewels if it’s a big year.
The ultimate form of pampering with an unexpected exciting element of surprise is breakfast in bed!

image

Breakfast in bed does not need to be a complicated breakfast recipe. Nope, it can be as simple as a quick egg and toast served on a TV tray!
With a few simple details, your sweetie’s surprise Valentine’s Day breakfast in bed will be perfect! Let’s get started!

First Shhhhhhh! It’s a surprise!
Be sneaky! Get up early and start cooking. Prep your tray, serving items, and glassware the night before. Store it in a closet or under the table overnight!

Create an amazing presentation with color!

image

•Prepare a beautiful bowl of fresh fruit.
•Garnish the plate with parsley.
•Serve a bright fruit juice.

Get fancy!

•Serve breakfast in bed on your china.
•Add a soft texture with a linen napkin.
•Add a valentine, flower, or personalized note to the tray.

Here are 3 quick and easy breakfast basics …

#1 Eggs!!

image

Butter a hot pan with a pat of butter. It will sizzle.
Crack eggs onto pan.
Flip when white becomes opaque.
Cook for an additional 2-3 minutes.
Add Parmesan cheese, Sriracha, salt and pepper.
Lay the eggs on toasted bread atop a bed of greens and veggies!

image

#2 French Toast!!
Panettone French Toast
Eggnog French Toast

image

image

#3 Pancakes!!
Banana Bread Pancakes

image

Remember, serve your valentine breakfast in bed because it is a gift from the heart, homemade with love, and most importantly, totally unexpected!

image

Enjoy!
Ciao!

Parmesan Crusted Artichoke Hearts !

Artichokes, when they are in season, are one of my favorite “vegetables” to prepare. The artichoke is actually the flower’s bud and is a great source of vitamins and minerals such as vitamin K, potassium, iron, and calcium!

image

One of our traditonal Italian family recipes is to stuff the artichoke leaves with a breadcrumb butter mixture. To eat, pluck the leaves and pull through your teeth to get a meaty, buttery, breadcrumby bite! Yum!

Don’t count out the great flavor of the artichoke hearts. Typically frozen or canned, artichoke hearts can be a pizza topping or a delicious casserole. Here is one of our favorites!

image

Parmesan Crusted Artichoke Hearts
(Serves 8-10 as a side dish)

Ingredients:
2 lbs. frozen artichoke hearts, thawed (OR 2 cans artichoke hearts, drained)
3 tbsp. olive oil
4 cloves of garlic, finely chopped
2 tbsp. fresh basil
1/4 tsp. Sriracha dry seasoning (or red pepper flakes)
Salt/Pepper to taste
1/2 cup parmesan cheese
1/3 cup chicken broth
Brown Butter Breadcrumbs
3 tbsp. butter
1/2 cup bread crumbs

Directions:

Heat olive oil in a large, deep frying pan, add garlic until softened and golden.

Add the artichoke hearts and cook until browned on edges.

image

Add basil, dry seasoning, salt, and pepper.

Cook 3-5 minutes stirring to blend together.

Add chicken broth and simmer.

Meanwhile melt butter in a small saucepan.

Add breadcrumbs until golden brown.

image

Transfer artichokes to a shallow baking dish and top with breadcrumbs and Parmesan cheese.

Broil on high on top rack until golden brown.

image

Enjoy!
Ciao!