Try saying that one five times fast! My foodie friend @NickyDCooks is responsible for my dinner tonight! She made zucchini blossoms for dinner and her action photos on twitter got me in the mood! I had to make some form of fried zucchini!
I grew up with this simple side! My grandma made fried zucchini all summer every summer!!
Parmesan Pecorino Panko Pan Zucchini
Ingredients:
2 zucchini, sliced 1/4 inch thick rounds
1-1/2 cup Panko breadcrumbs
2 tbsp. fresh rosemary, chopped
2 tbsp. Parmesan cheese
2 tbsp. Pecorino Romano cheese
Salt/ pepper
1/4 cup olive oil
Directions:
Slice zucchini into 1/4 inch thick rounds.
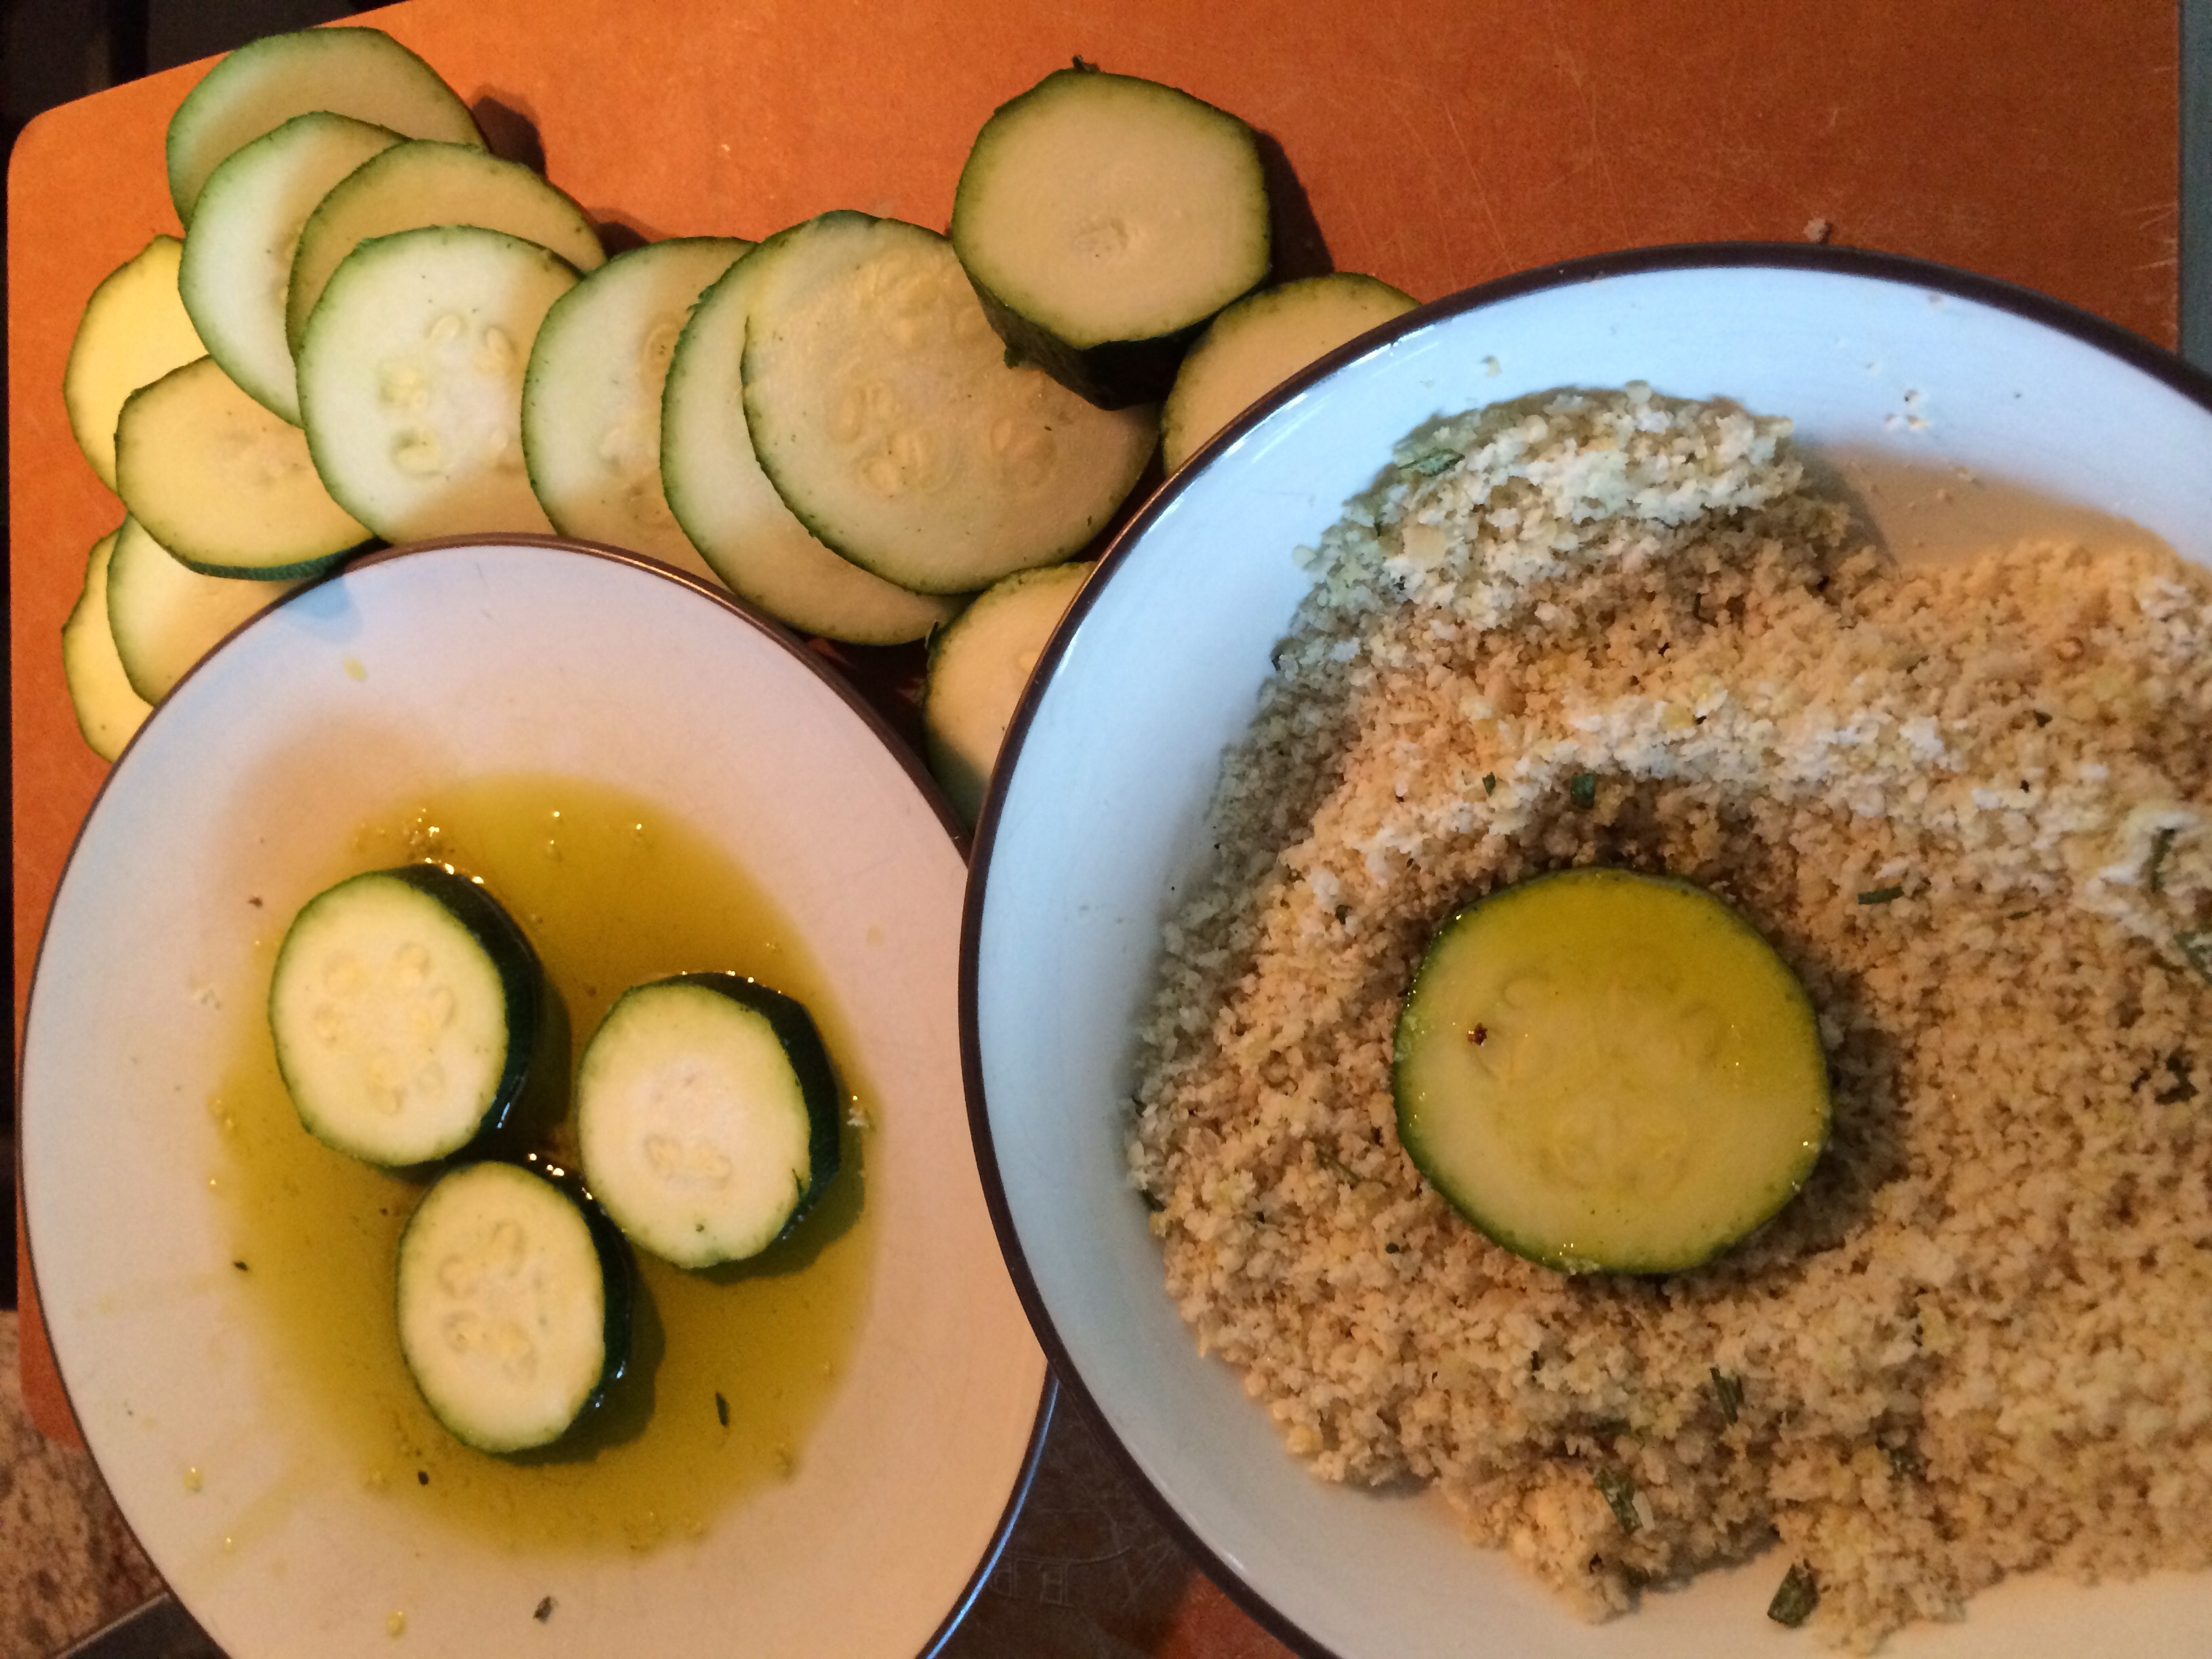
Set up an olive oil plate to dip zucchini.
Set up a little assembly line! Dip in olive oil, then cover in Panko mixture, then throw them into the pan!
Mix the Panko breadcrumbs with chopped rosemary, freshly grated Parmesan and Pecorino Romano cheese, salt and pepper.
Using Panko breadcrumbs gives the zucchini a crispy finish. I always season my Panko crumbs. Unseasoned Pankos are crispy, but so blah!
Set up breadcrumb bowl.
Dip zucchini slices and flip in olive oil to coat.
Dip zucchini slices in Panko breadcrumb mixture and flip to cover both sides.
Heat your biggest pan on medium heat.
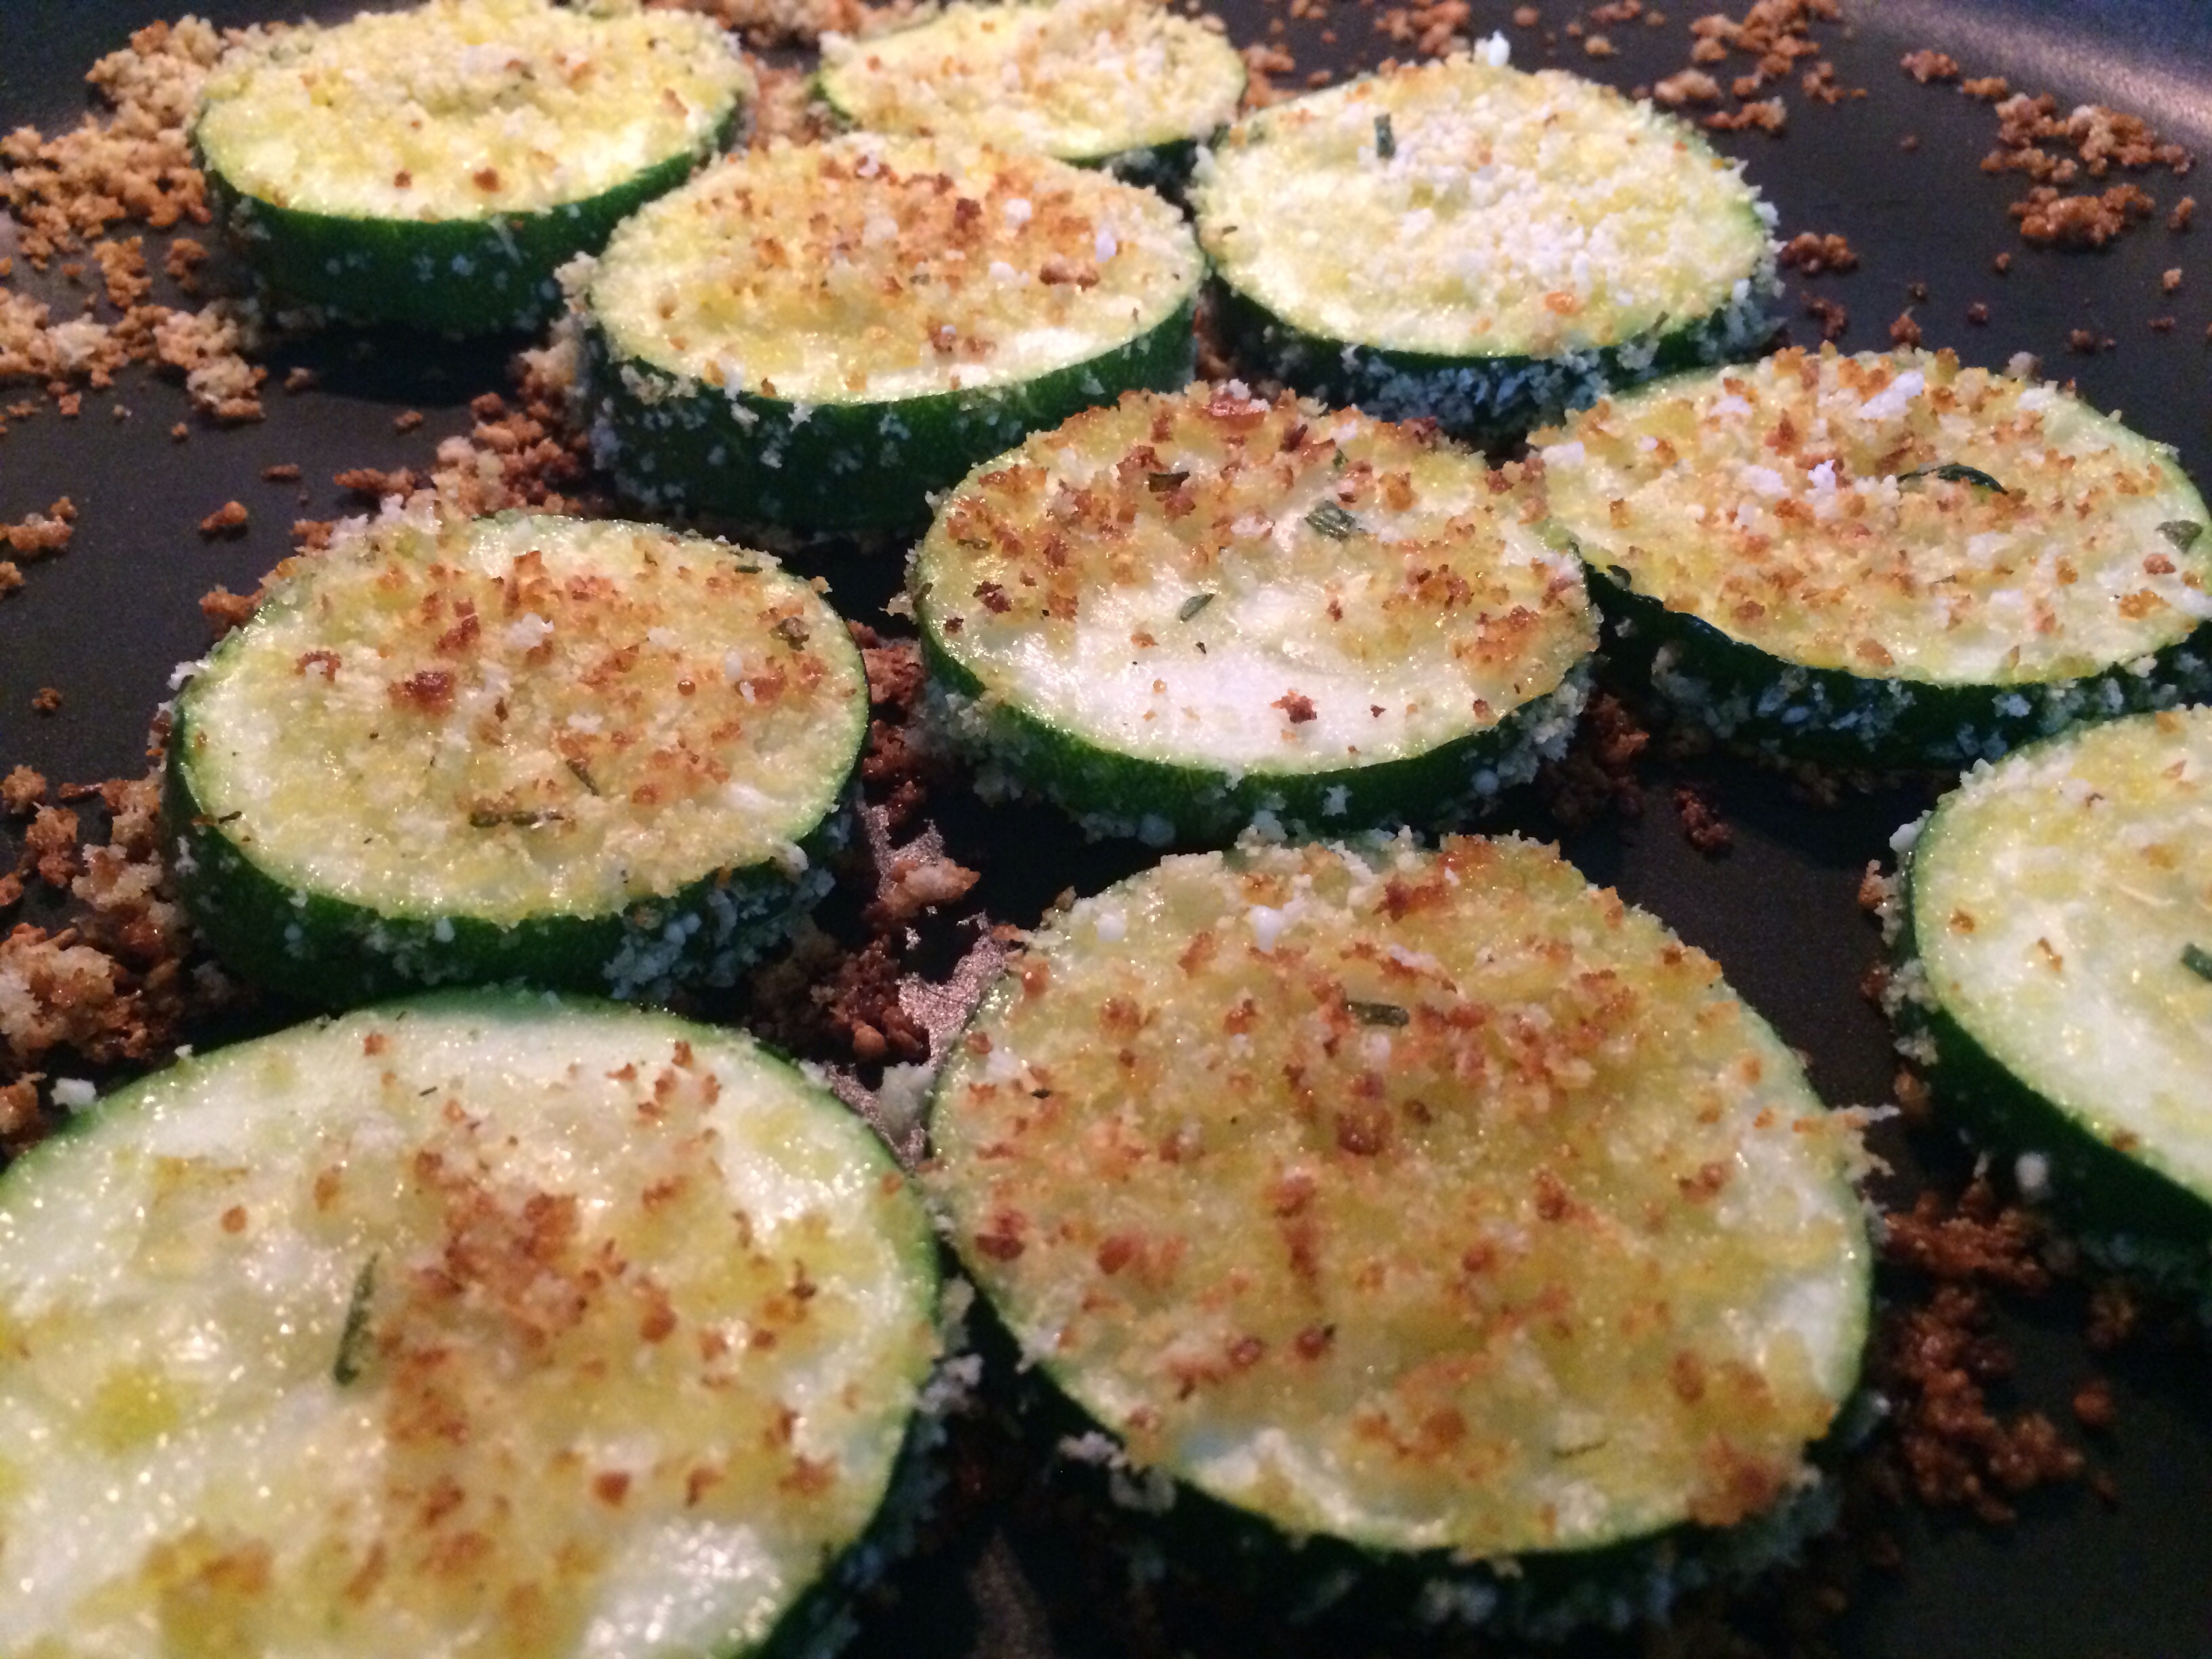
Add coated zucchini rounds to the pan, flipping when golden brown.
I love when some of the coating gets a little burnt!! Golden is an ideal time to flip! 3-5 minutes per batch at medium heat.
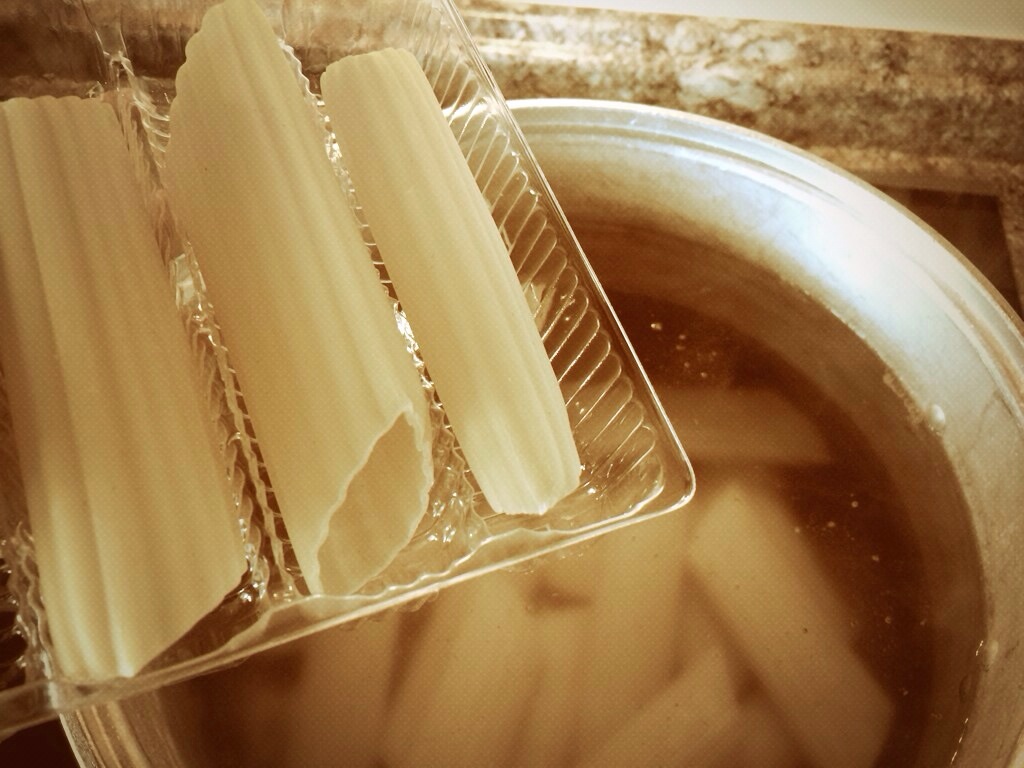
What is the most daunting task involved in stuffed pasta making? Boiling the noodles! Then stuffing them, while scalding hot, because I have no patience! I get this honestly from my grandma who can pull pans out of the oven without mitts. I think slowly we singe the skin and lose feeling.
If the art of making stuffed shells, manicotti, cannelloni required no boiling, I bet more people would cook these delicious dishes. So I did an experiment with my cannelloni today…
In the first tray, I boiled the noodles…
Do Not Overcook the shells if you boil, they will break while being stuffed. Also, al dente or even undercooked is fine because you are baking them in the oven.
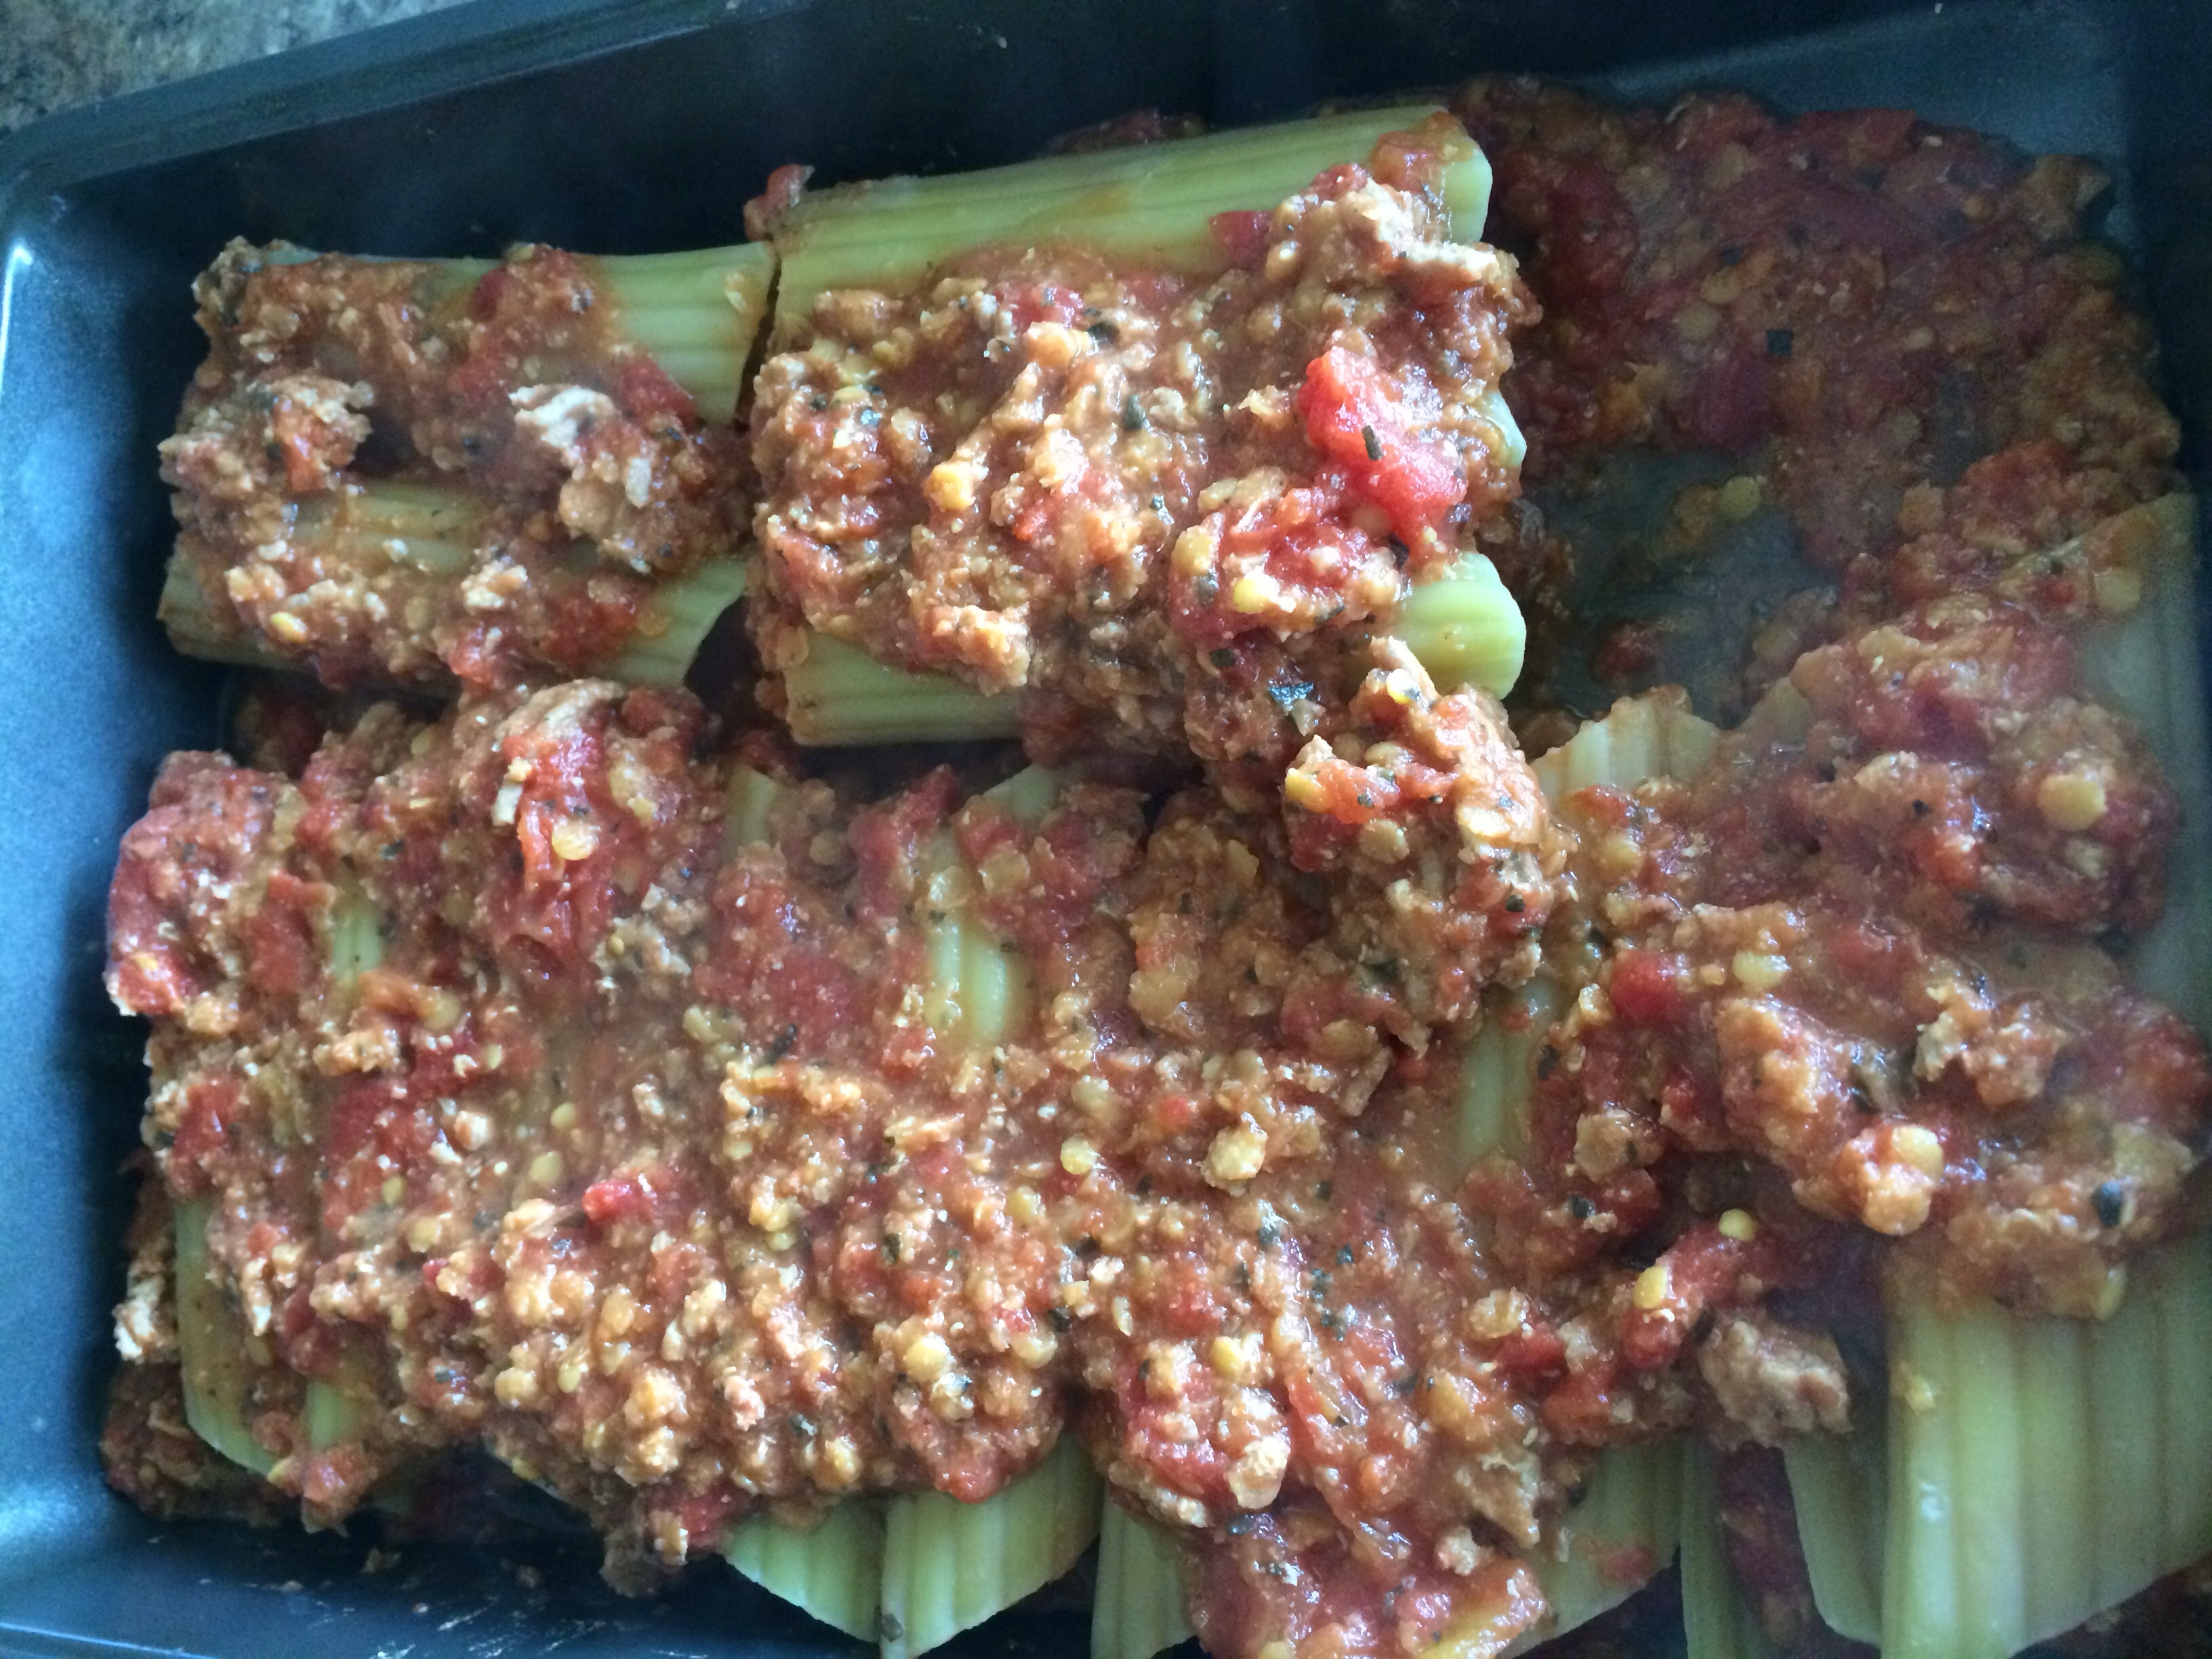
In the other tray, I stuffed the uncooked, hard noodles.
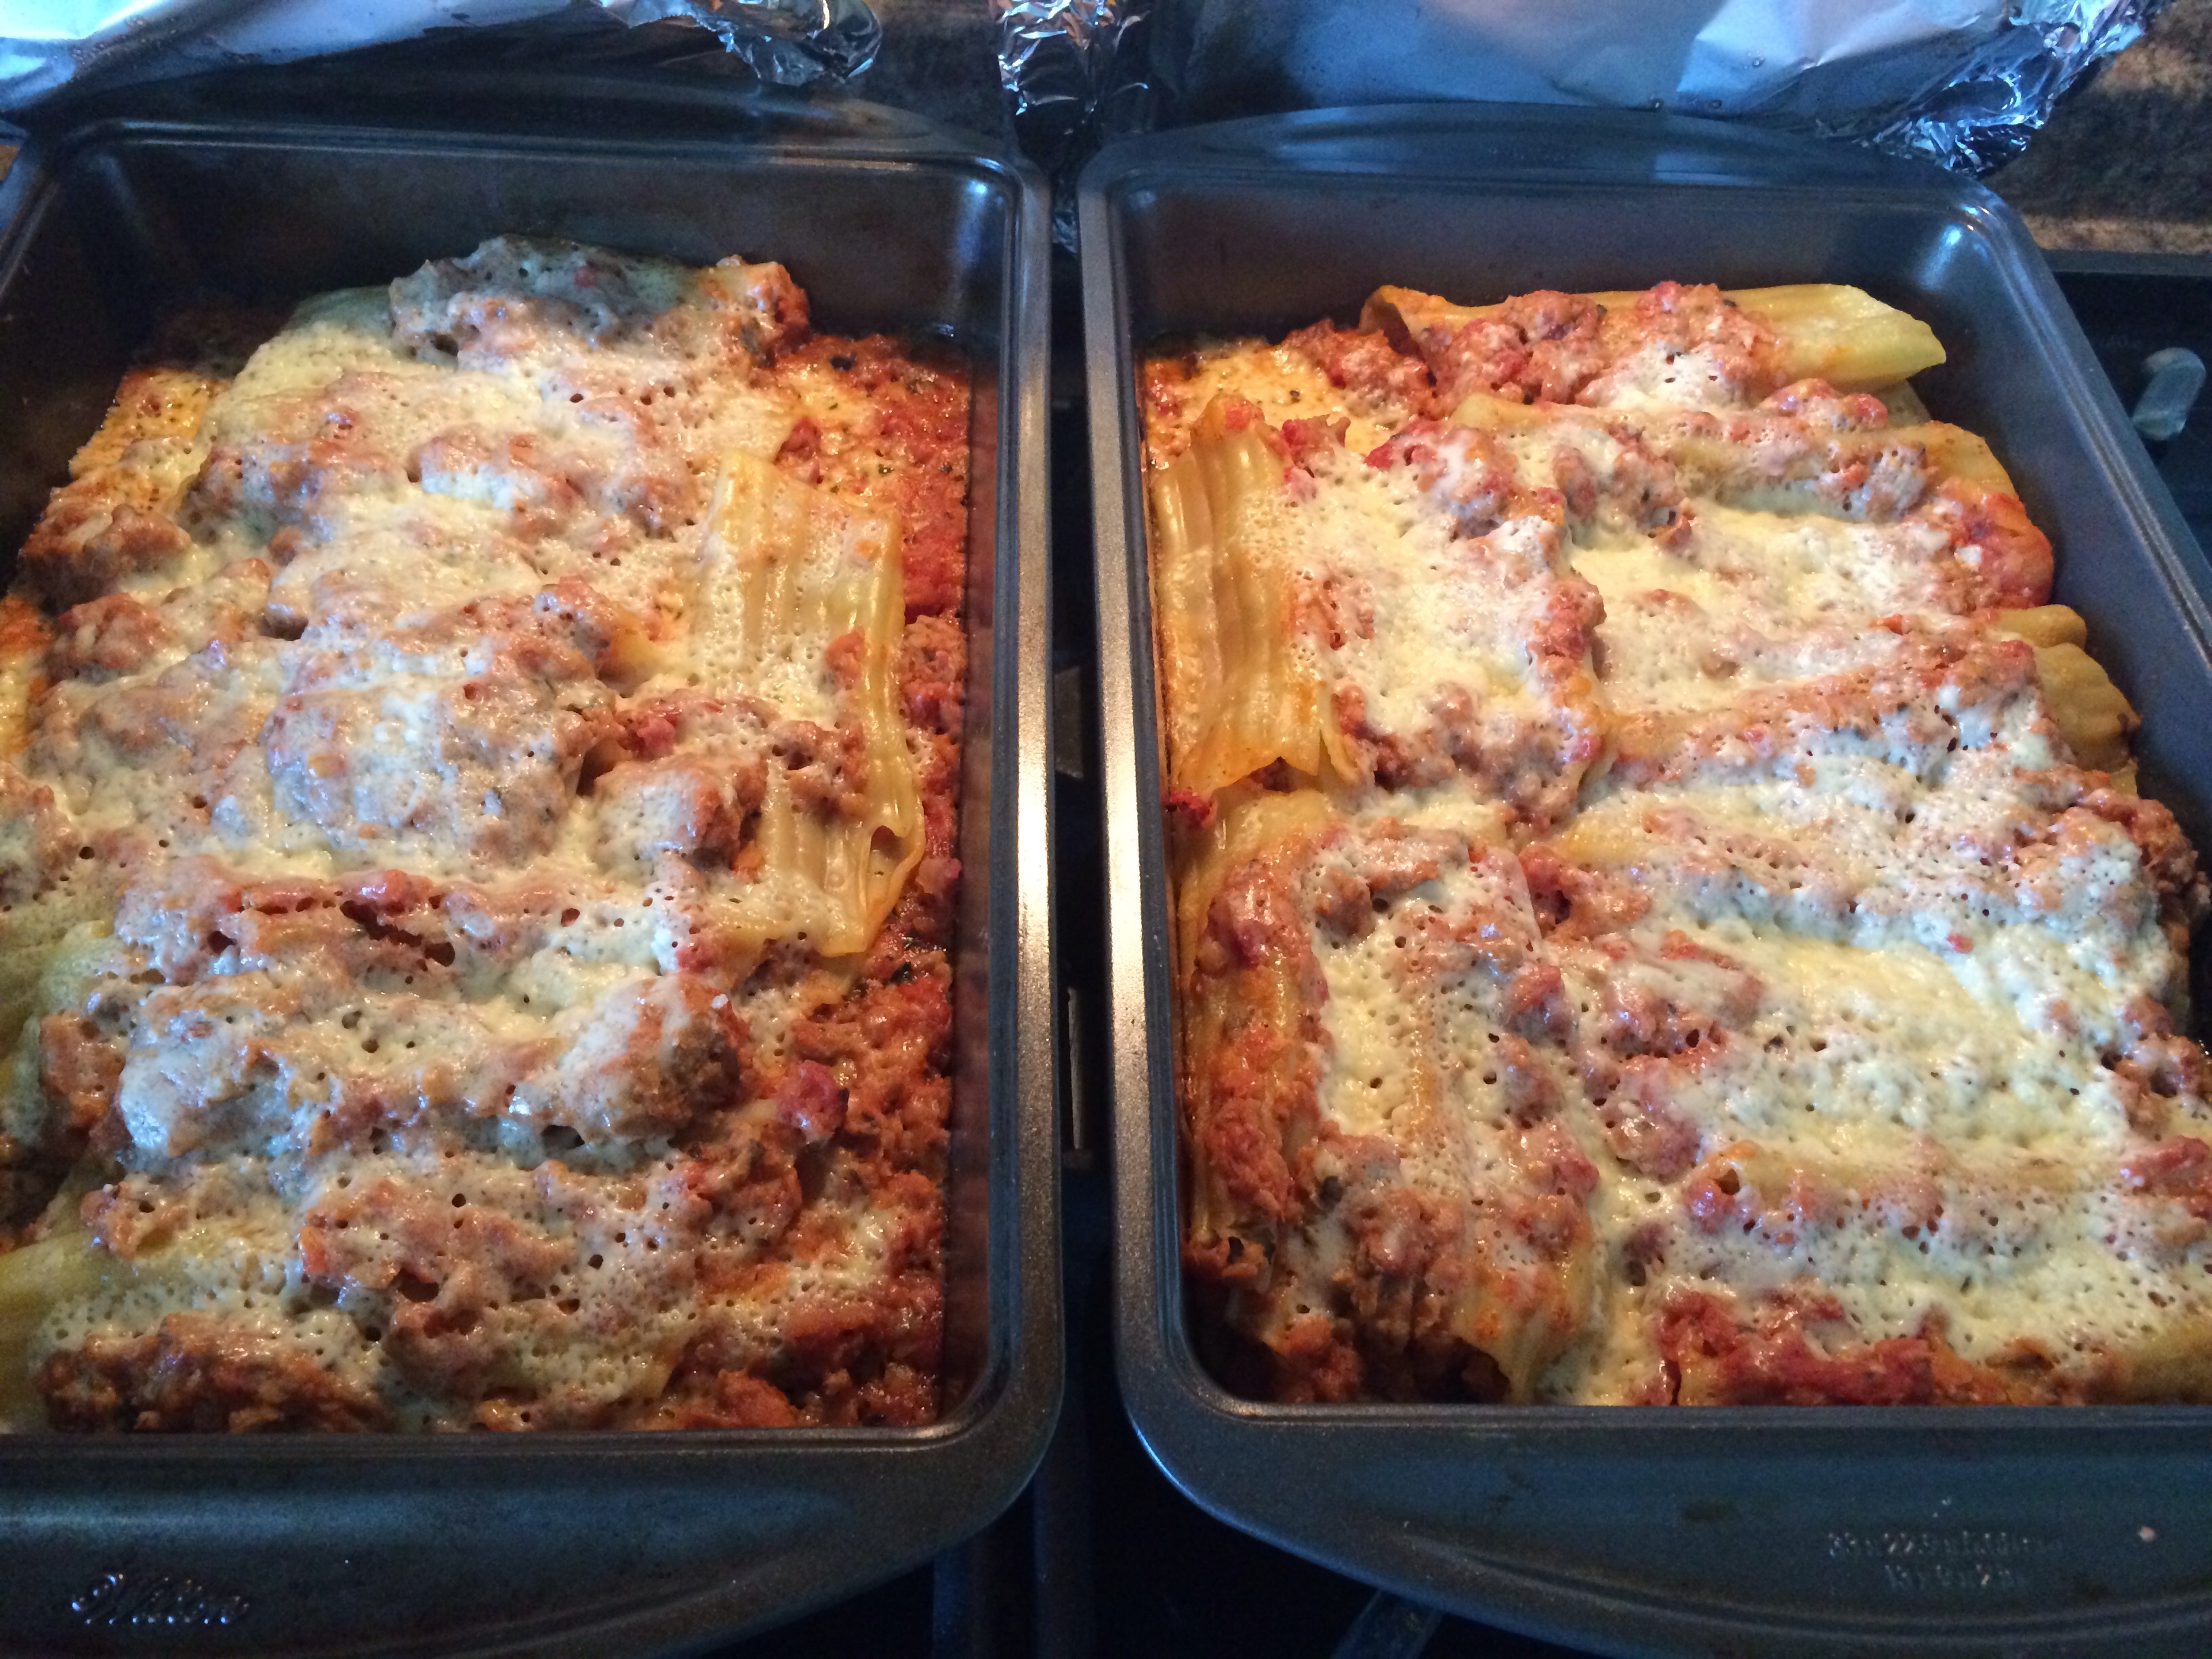
The result?
Was it pure luck? Who knows! But it worked!
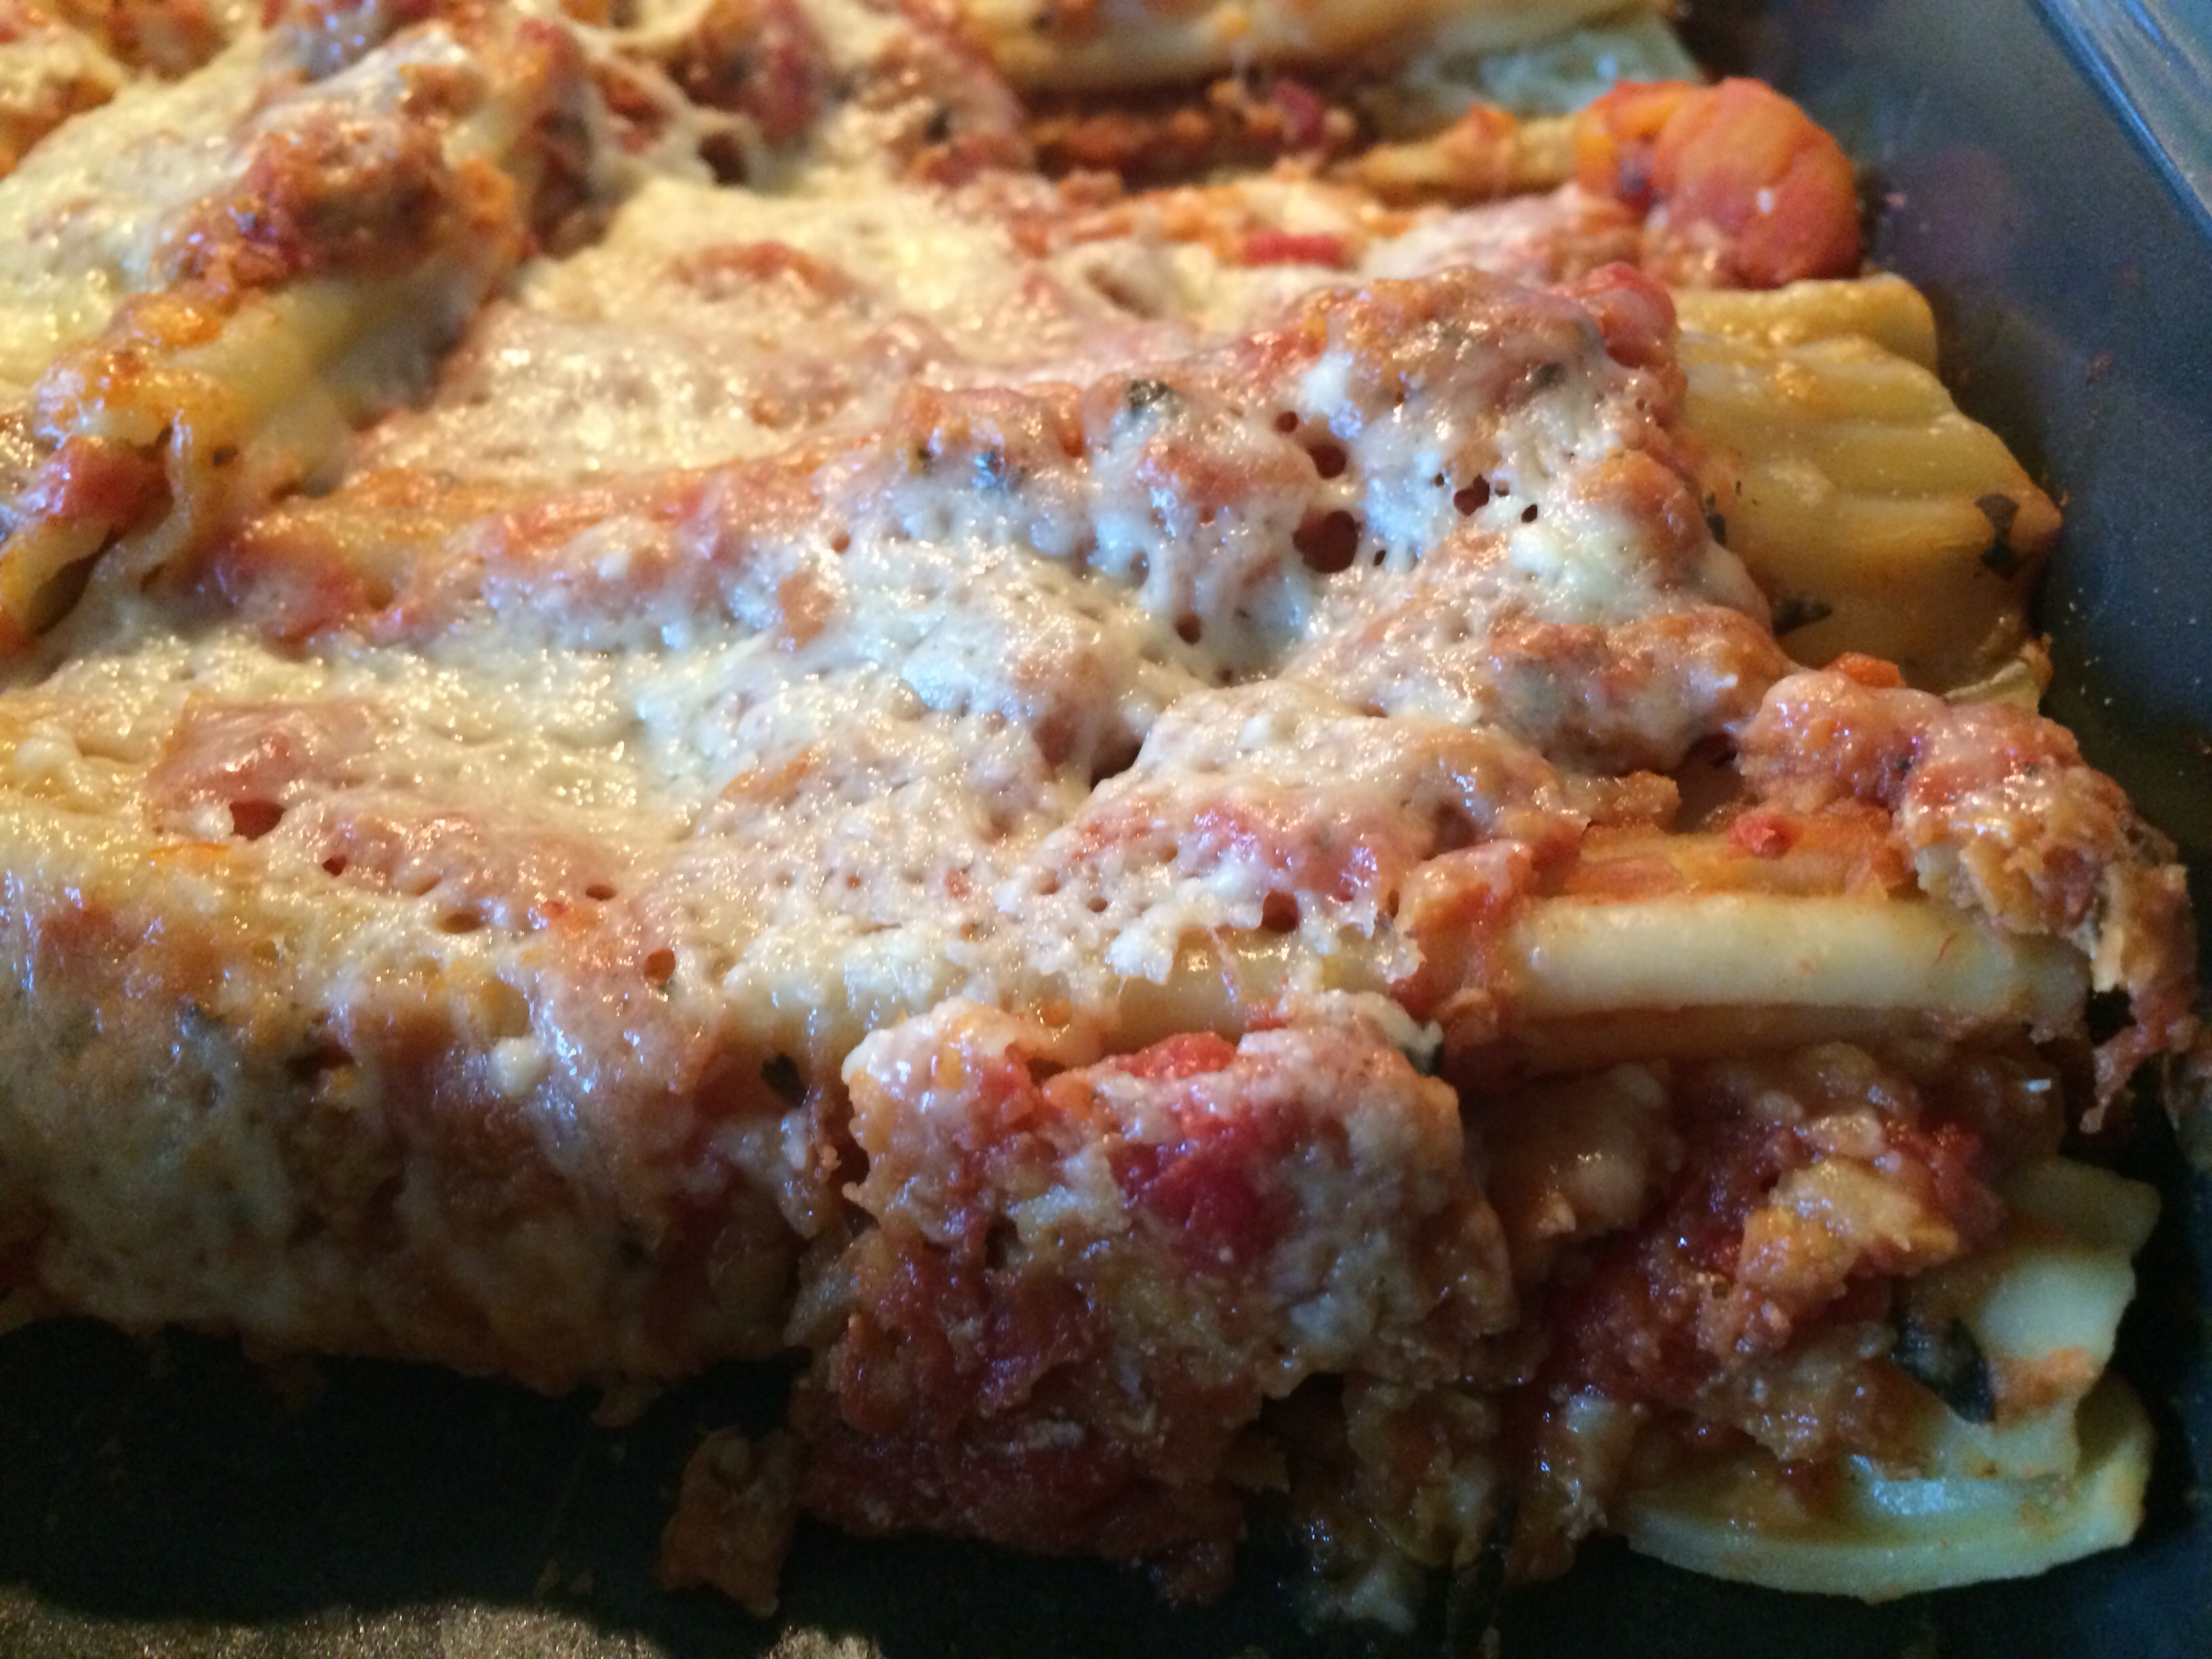
They turned out exactly the same!! NO BOILING REQUIRED!!
Now, was it the heavy filling I used as sauce? Was it the cheese? Was it the brand of noodles?
It could have been luck, but you better believe I will be trying the no boil method again!!
OK, What was the filling?
I did a crockpot cannelloni filling because we were headed to the pool for the day!
Ground Turkey and Lentil Cannelloni
Makes 18 cannelloni
1.2 lb. package ground white meat Turkey
1-1/2 packages of Barilla manicotti shells
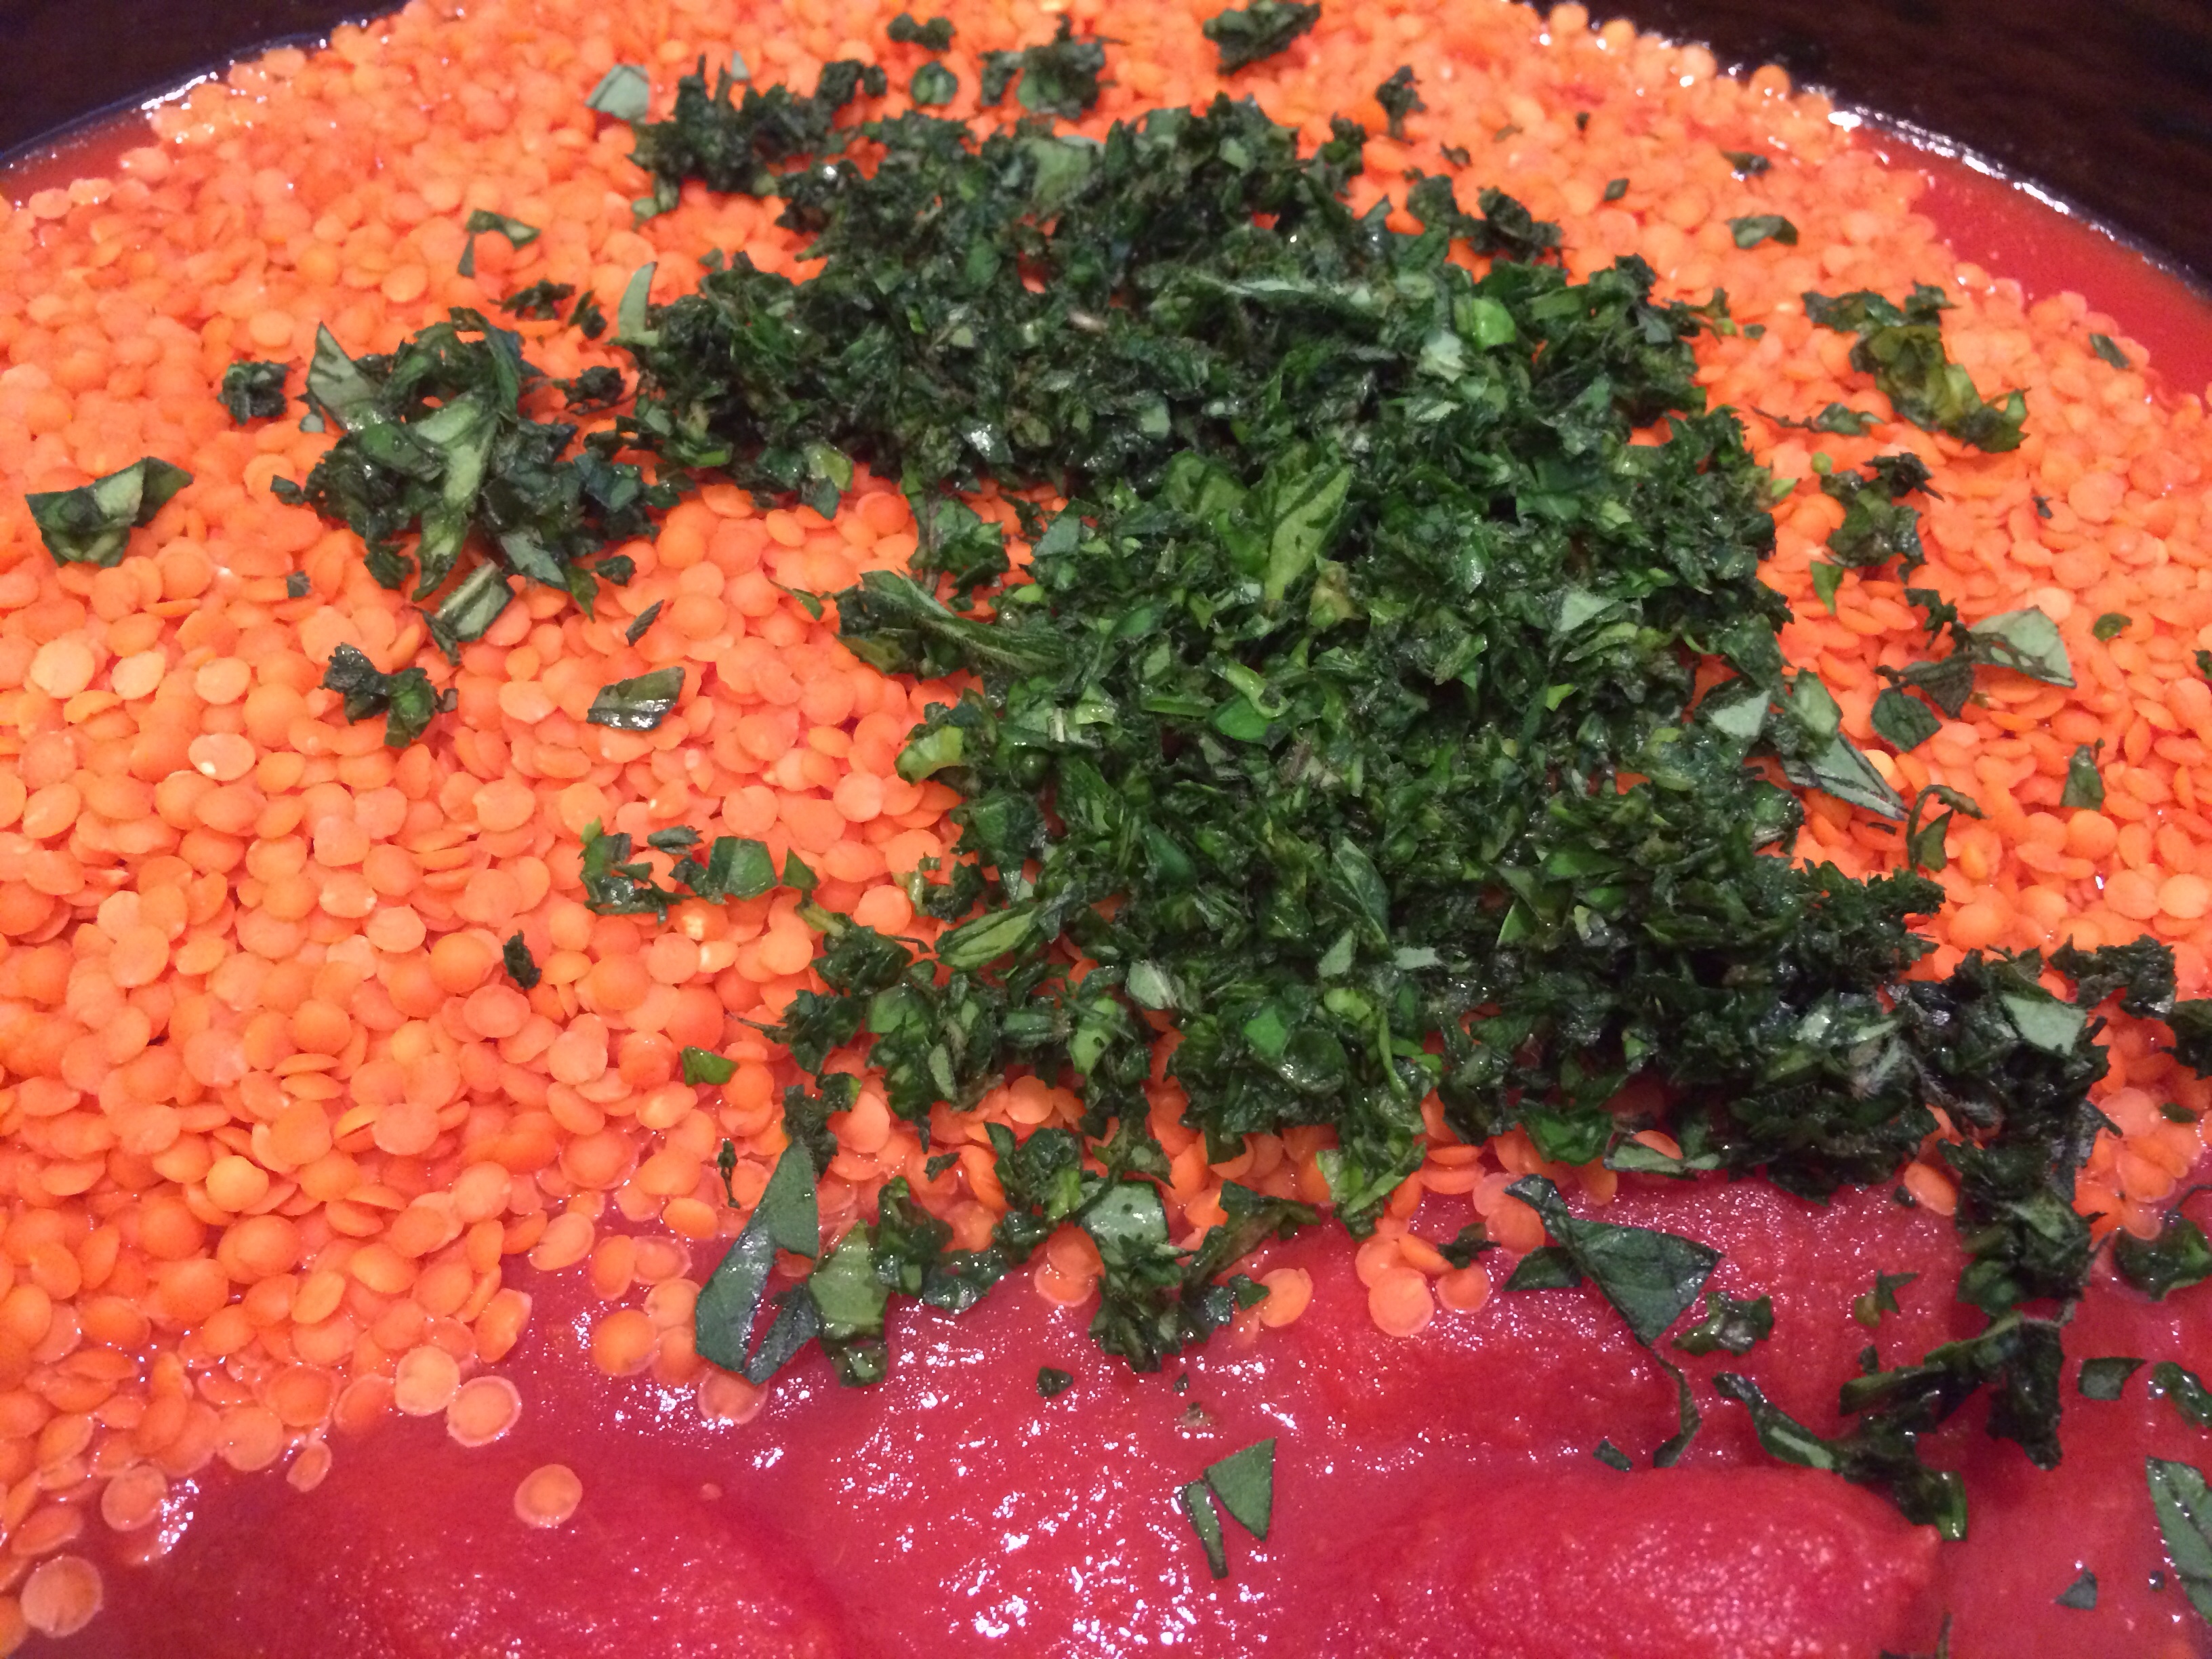
1-1/2 cup red lentils
2 35oz. Cans La Valle San Marzano whole peeled tomatoes
1 small onion, chopped
3 cloves garlic, pressed
1 tbsp. olive oil
2 handfuls fresh basil and rosemary leaves, chopped
1 cup freshly shredded mozzarella
1/2 cup freshly grated Parmesan
Salt and pepper to taste
Directions:
Heat the crockpot on high for 10-25 minutes.
Add olive oil and sauté garlic in pot.(This method will not be like cooking in a frying pan, but it is better than throwing it all in with no prep)
Add chopped onion and cook until tender.
Add turkey and coat.
Add tomatoes, lentils and top with spices.
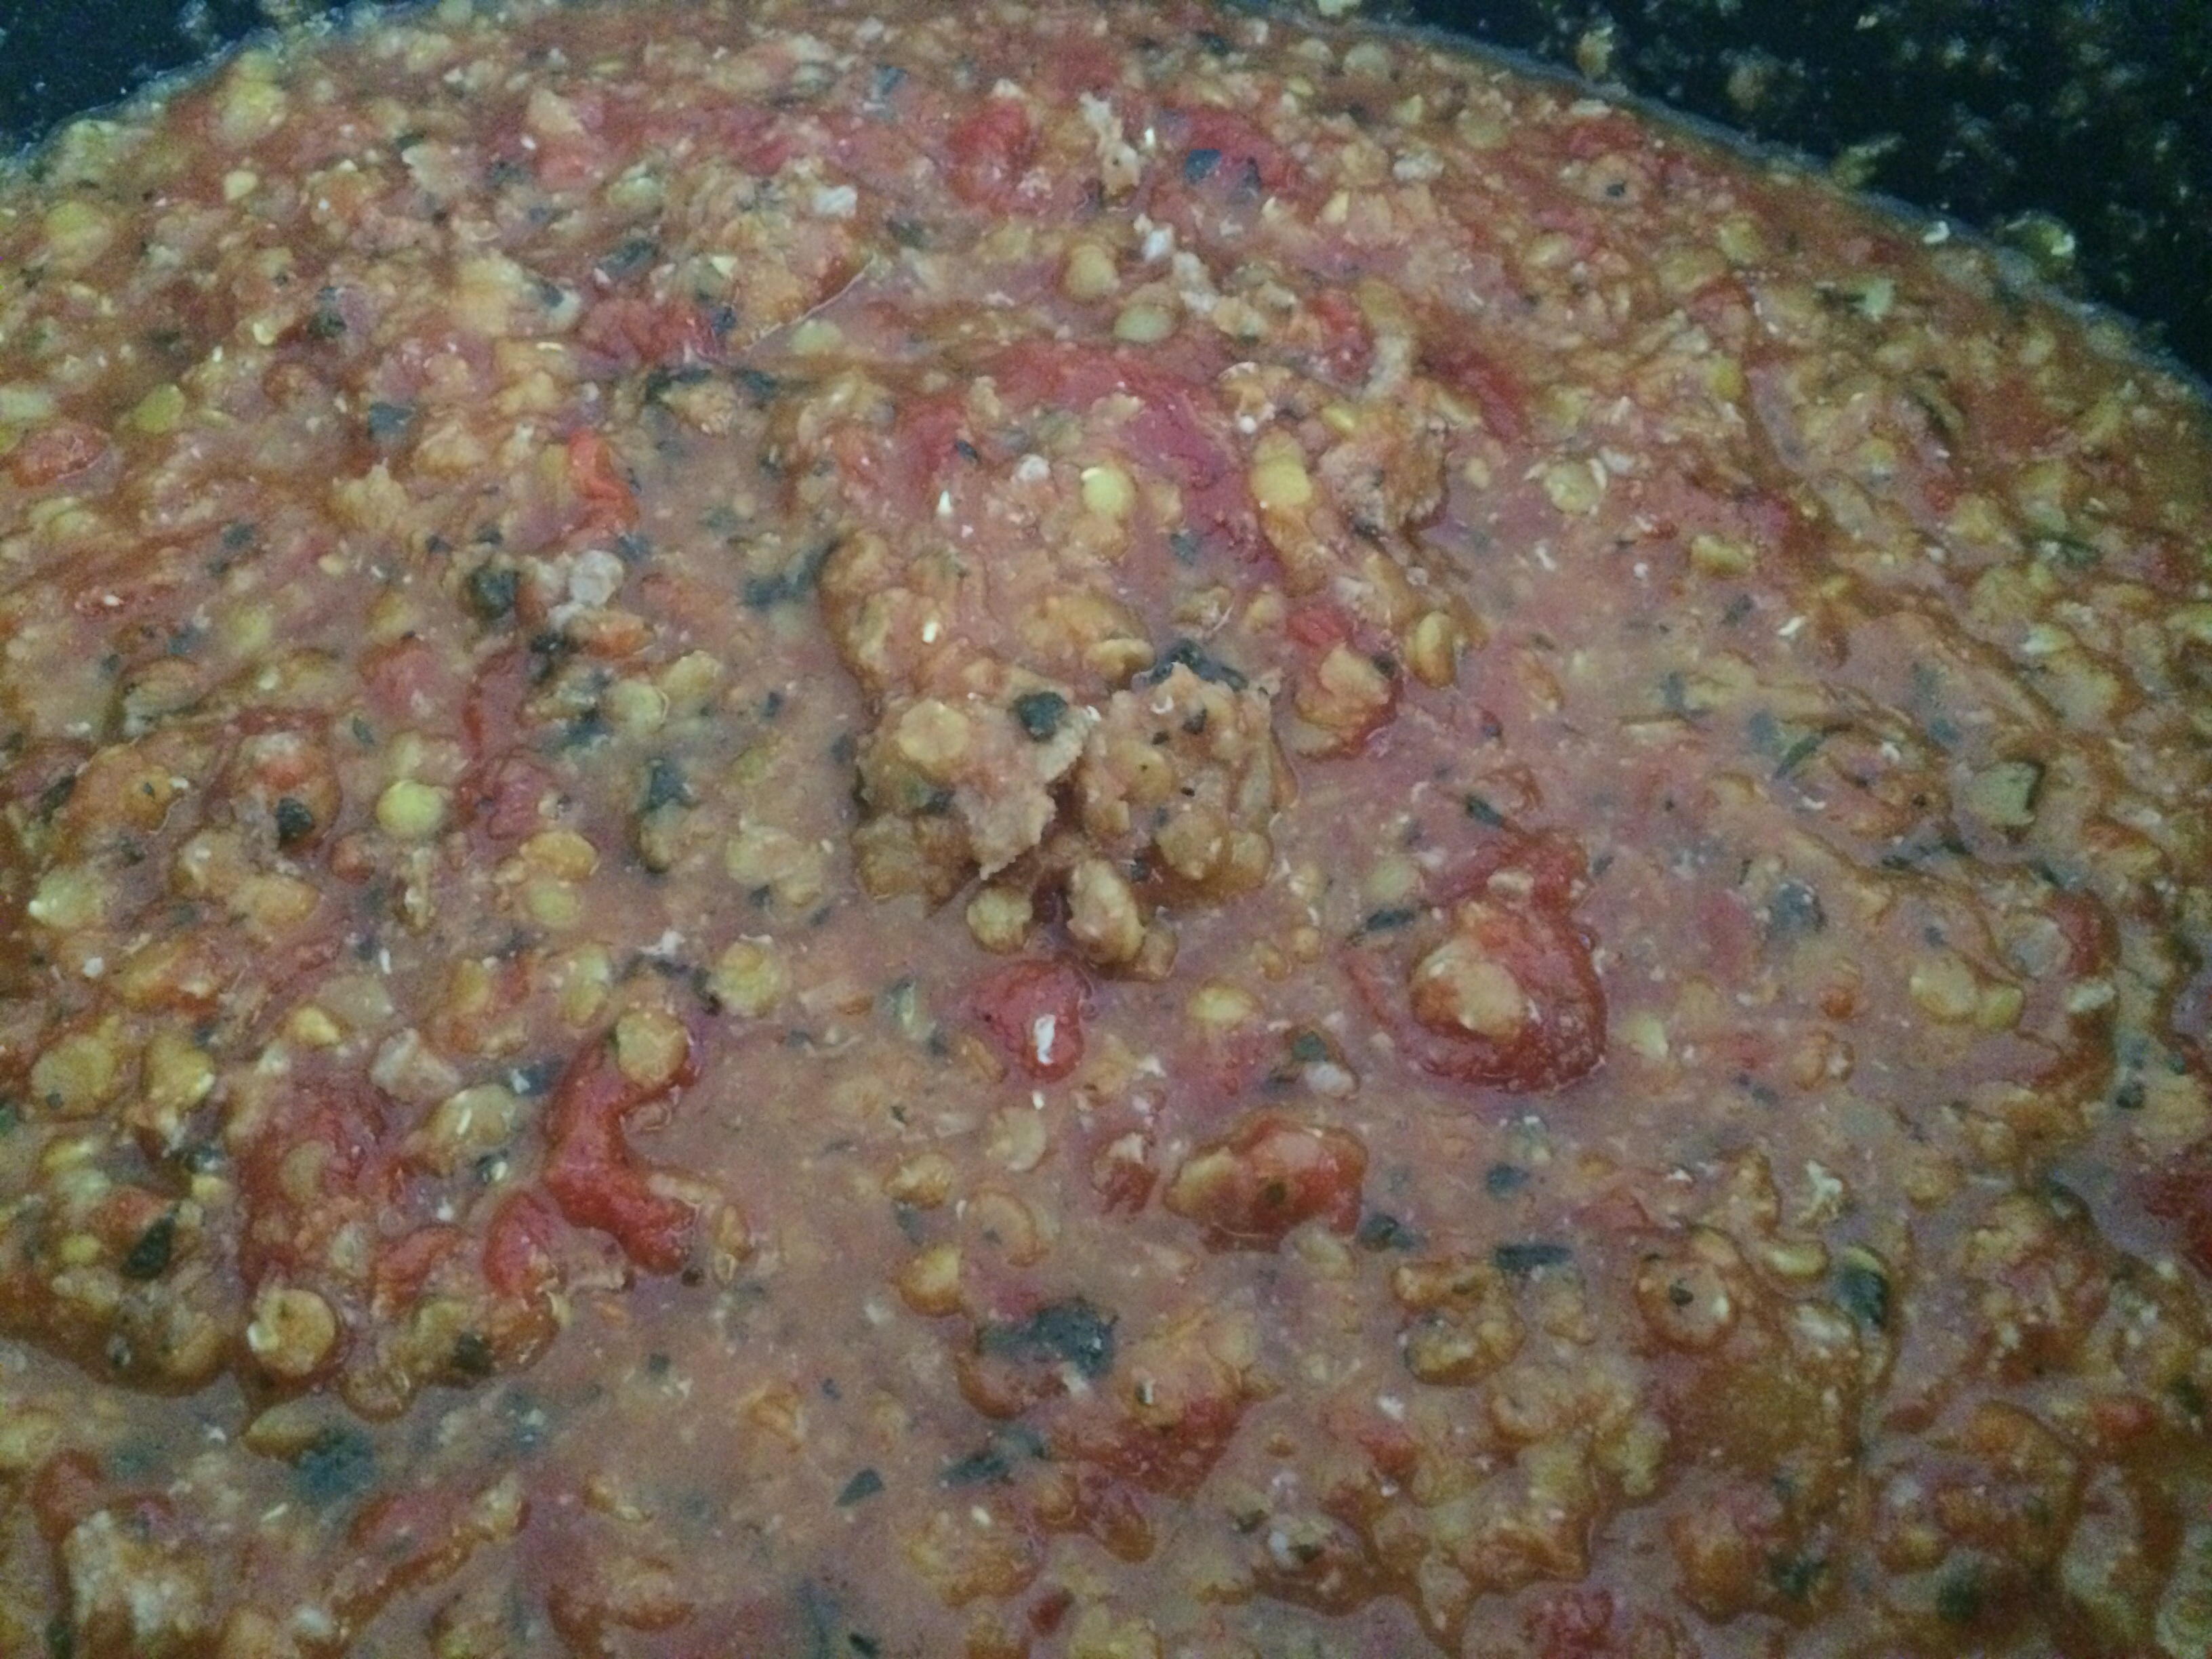
I layer when I use the crockpot versus mixing the ingredients together. There must be magic elves because when I come back, the contents are always beautifully mixed and flavorful! (I top with spices unless it’s a hunk of meat I push garlic cloves into the flesh or layer herbs right on the meat.)
Let cook 6-8 hours on high.
Later…
Preheat oven 350 degrees.
Take the lid off so any liquid evaporates.
Let that little bit of liquid cook off as you are working.
Cook shells 4-6mins…Or don’t!!
Stuff shells with filling and place in a sauce lined baking dish.
Since my filling contained a tomato base, I did not also make a sauce. I just scooped more filling over the cannelloni before adding the cheese.
Layer the top with cheeses and cover with foil.
Bake 35-45 minutes until it bubbles and the cheese is melted.
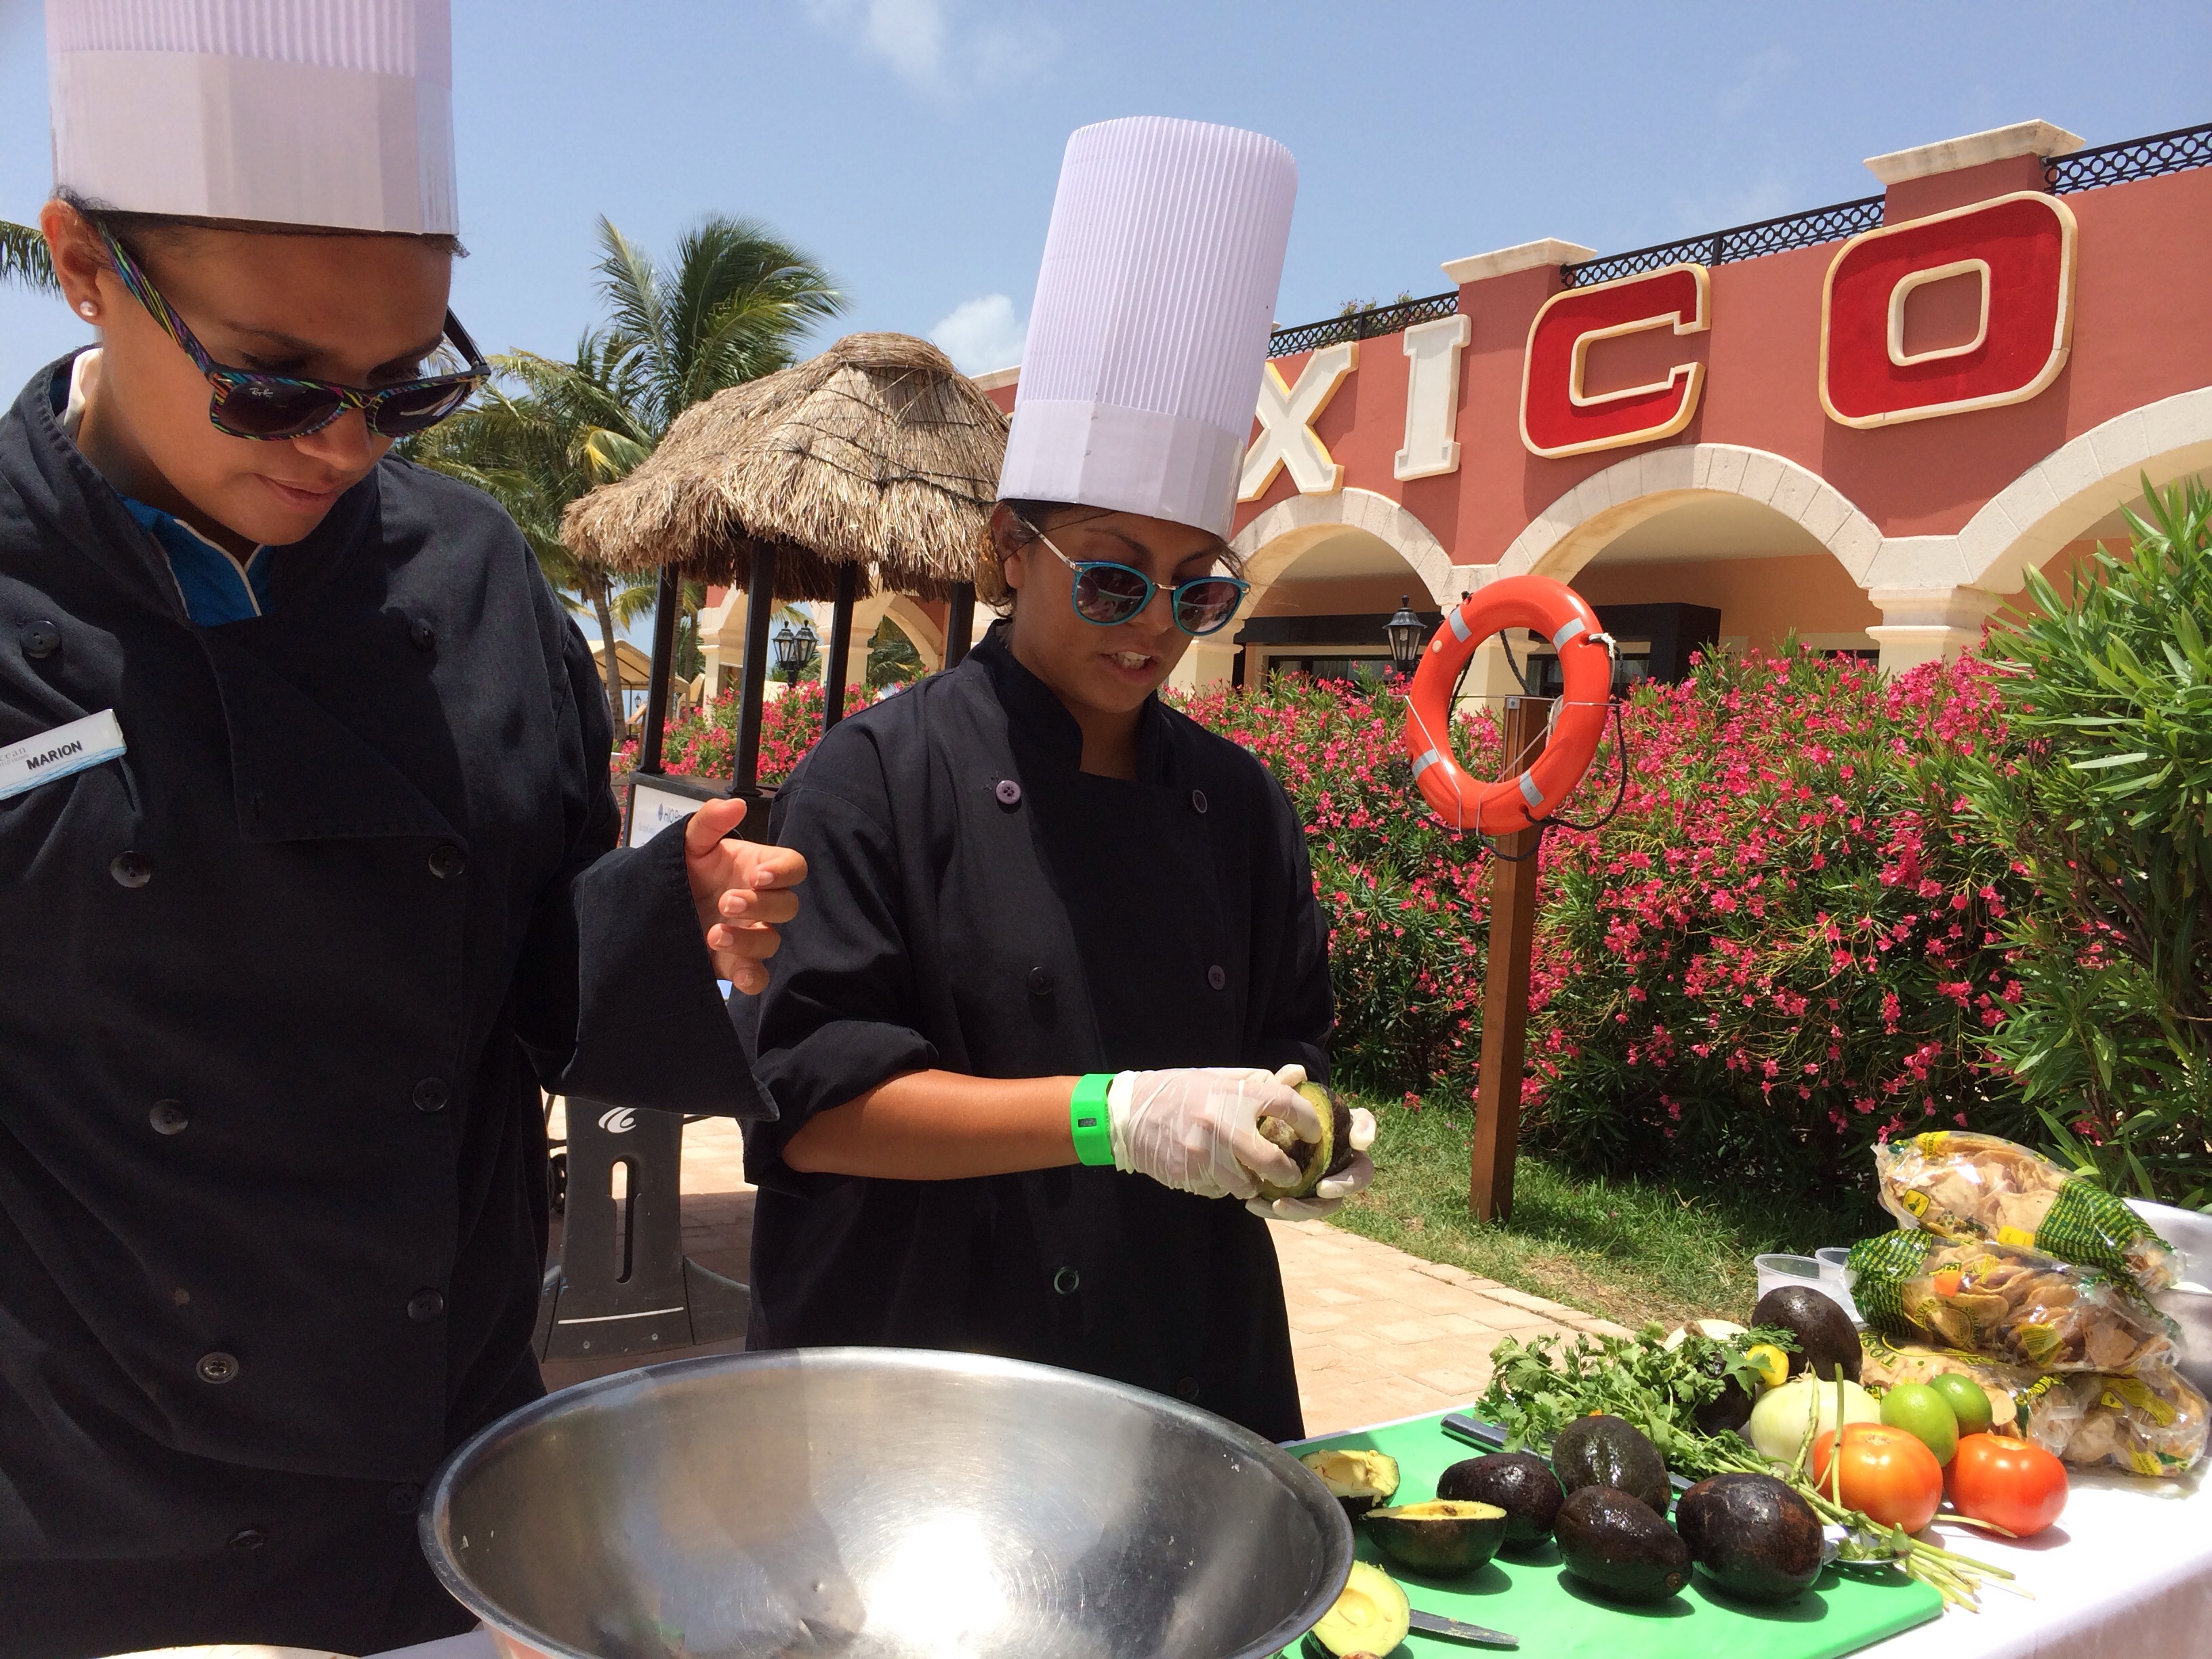
Hola! We have just returned home from Riviera Maya, Mexico’s Ocean Coral and Turquesa H10 Resort and Spa in Puerto Morelos! Wow!
Just breathtakingly beautiful!
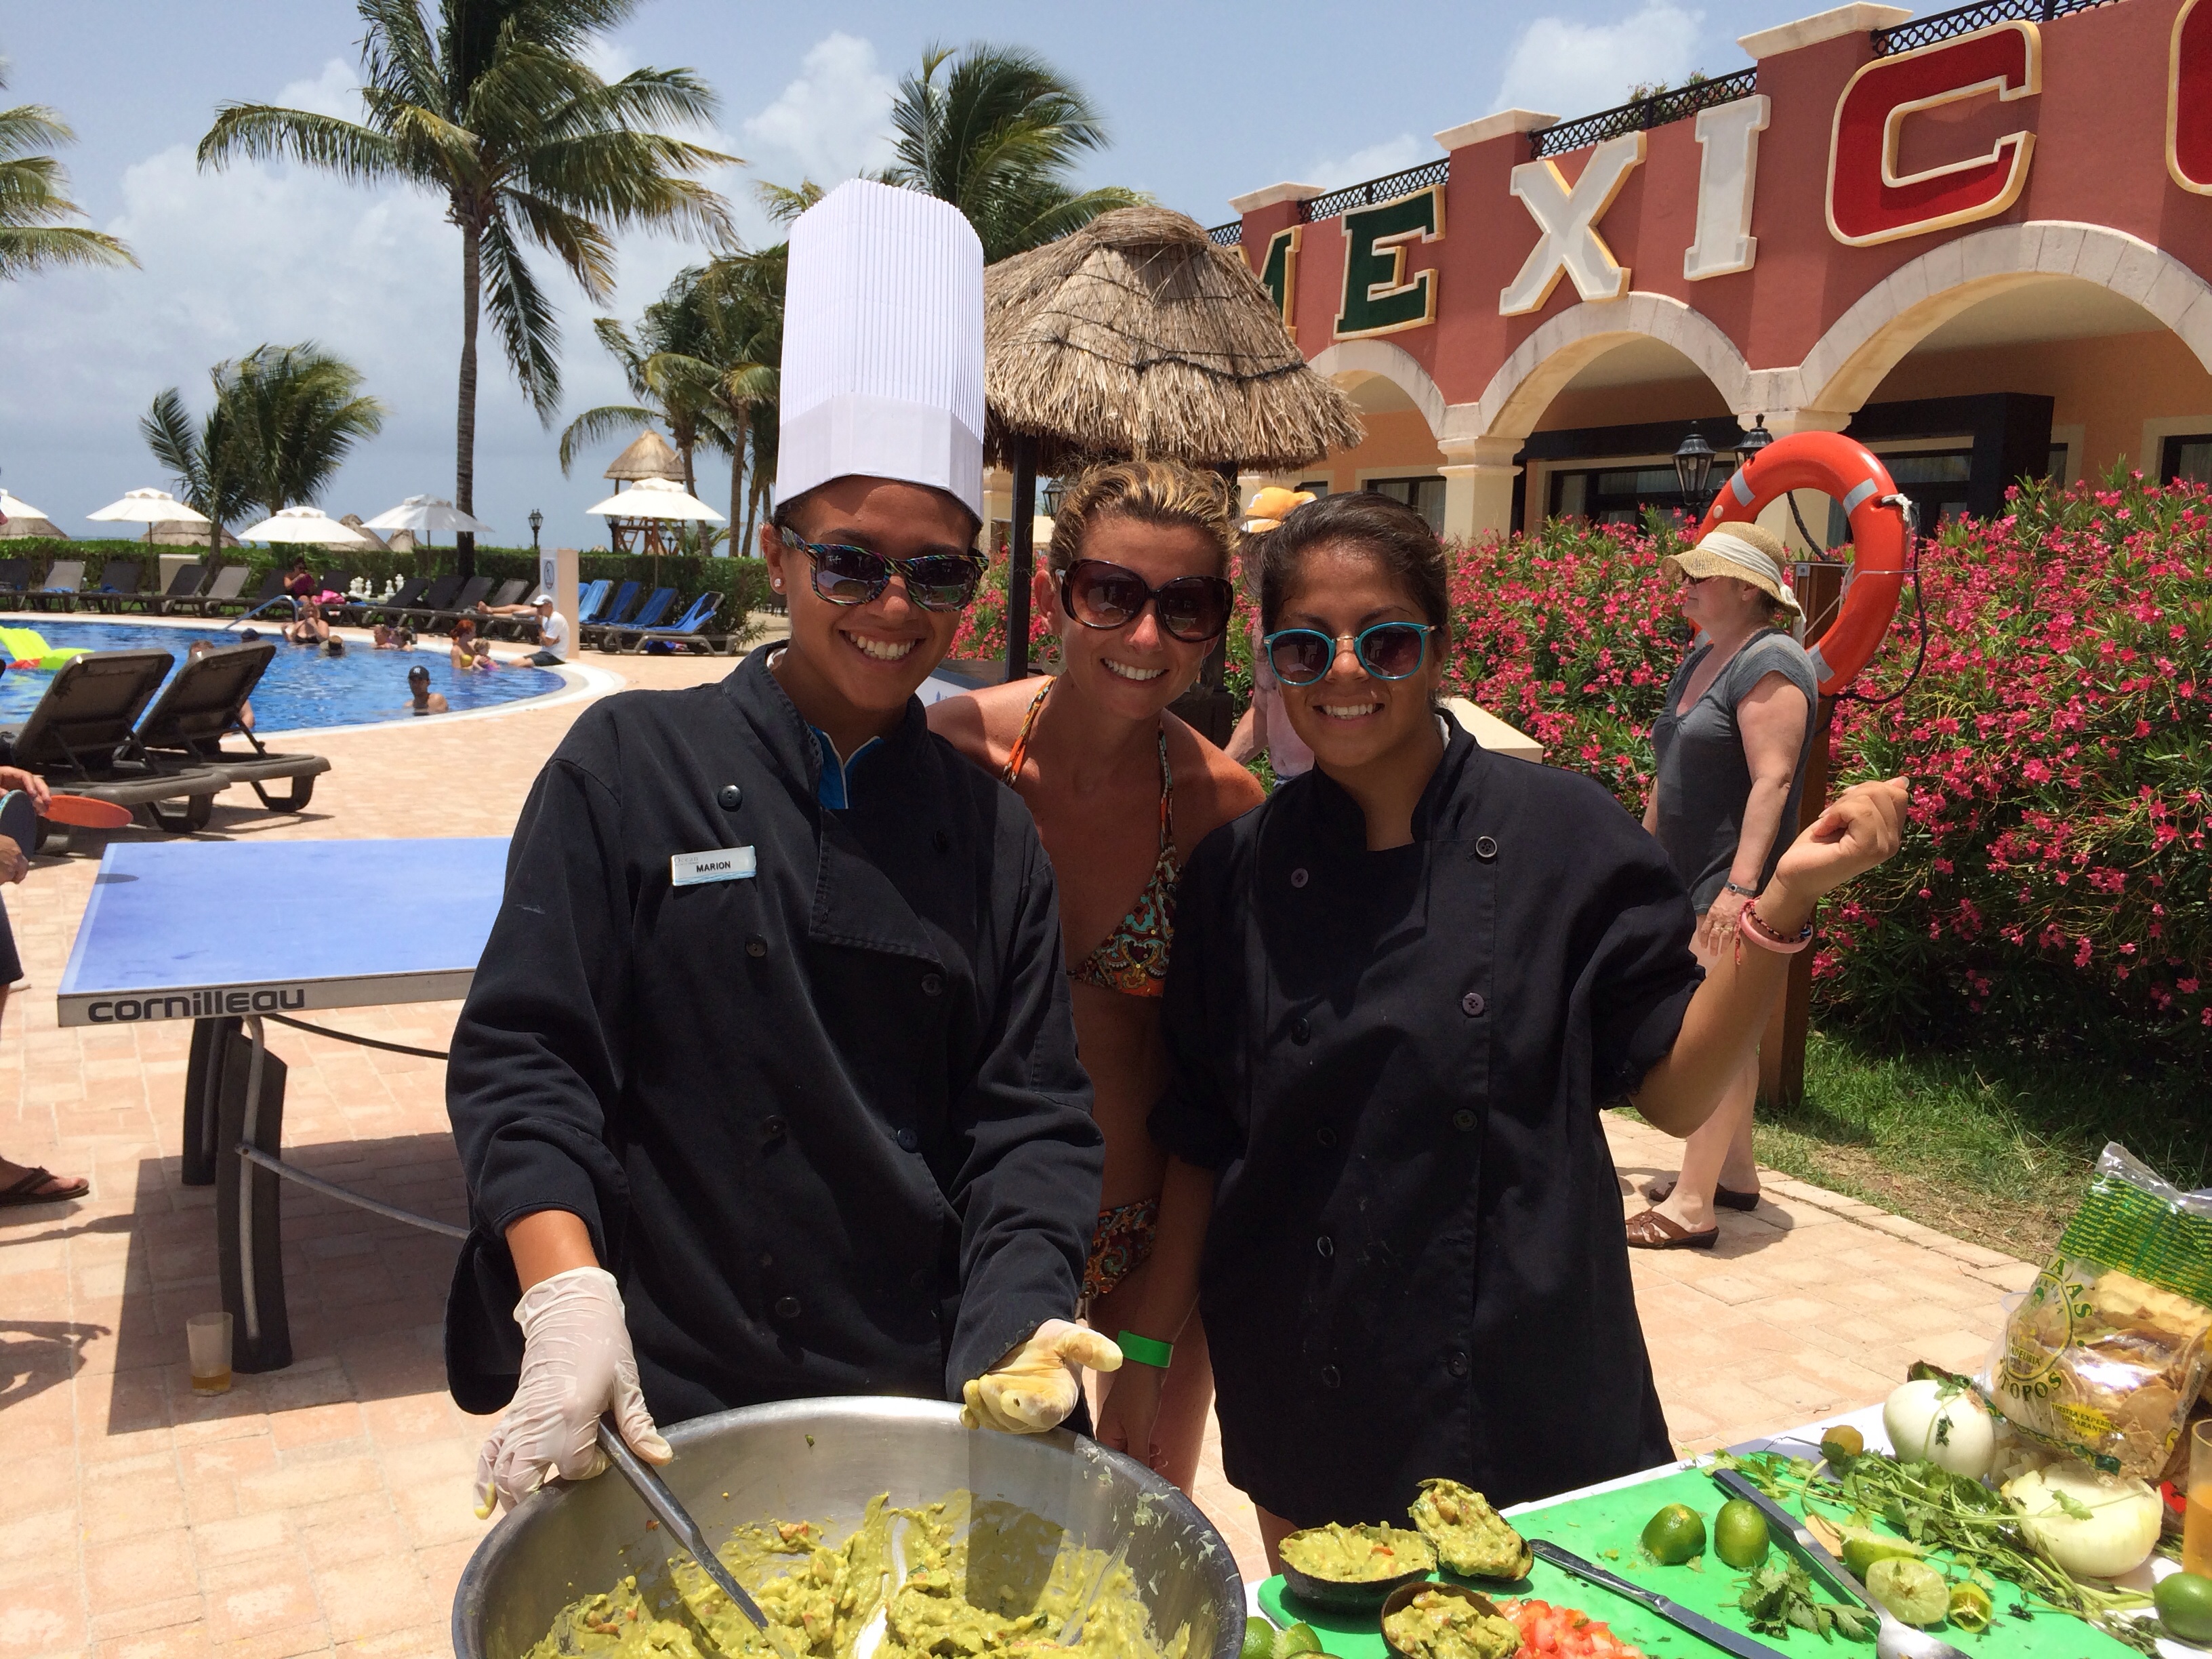
What an awesome trip! Great company, fabulous weather, and amazing authentic food!! Don’t let anyone tell you not to travel to Mexico because it is unsafe, you will get sick, or the food is bland. All not true, IF you spring for a great resort!
Kevin and I vacationed in Mexico 10 years ago and we were in the bathroom the ENTIRE trip, but we paid $600 each for the whole week all- inclusive with flights. Oops! We learned a valuable lesson on that trip and we laugh about it now!
One afternoon I had the pleasure of assisting the chefs who were making authentic Mexican guacamole! Here is the recipe!
Mexican Guacamole
Makes 12 servings
Ingredients:
6 Avocados- called aguacate in Mexico
3 Lemons, limon
4 Tomatoes, diced
1 medium onion, chopped
1 small Chile habanero- pepper
1 cup chopped Cilantro
1 cup pico de gallo
1/4 cup beer, Cervesa in Mexico
Salt and pepper- to taste
Directions:
Scoop out avocado and add to a large mixing bowl by cutting in half and pitting.
(Save avocado skins and pits.)
This was a first for me! I had never chopped, diced, scooped and mixed in a bikini before!
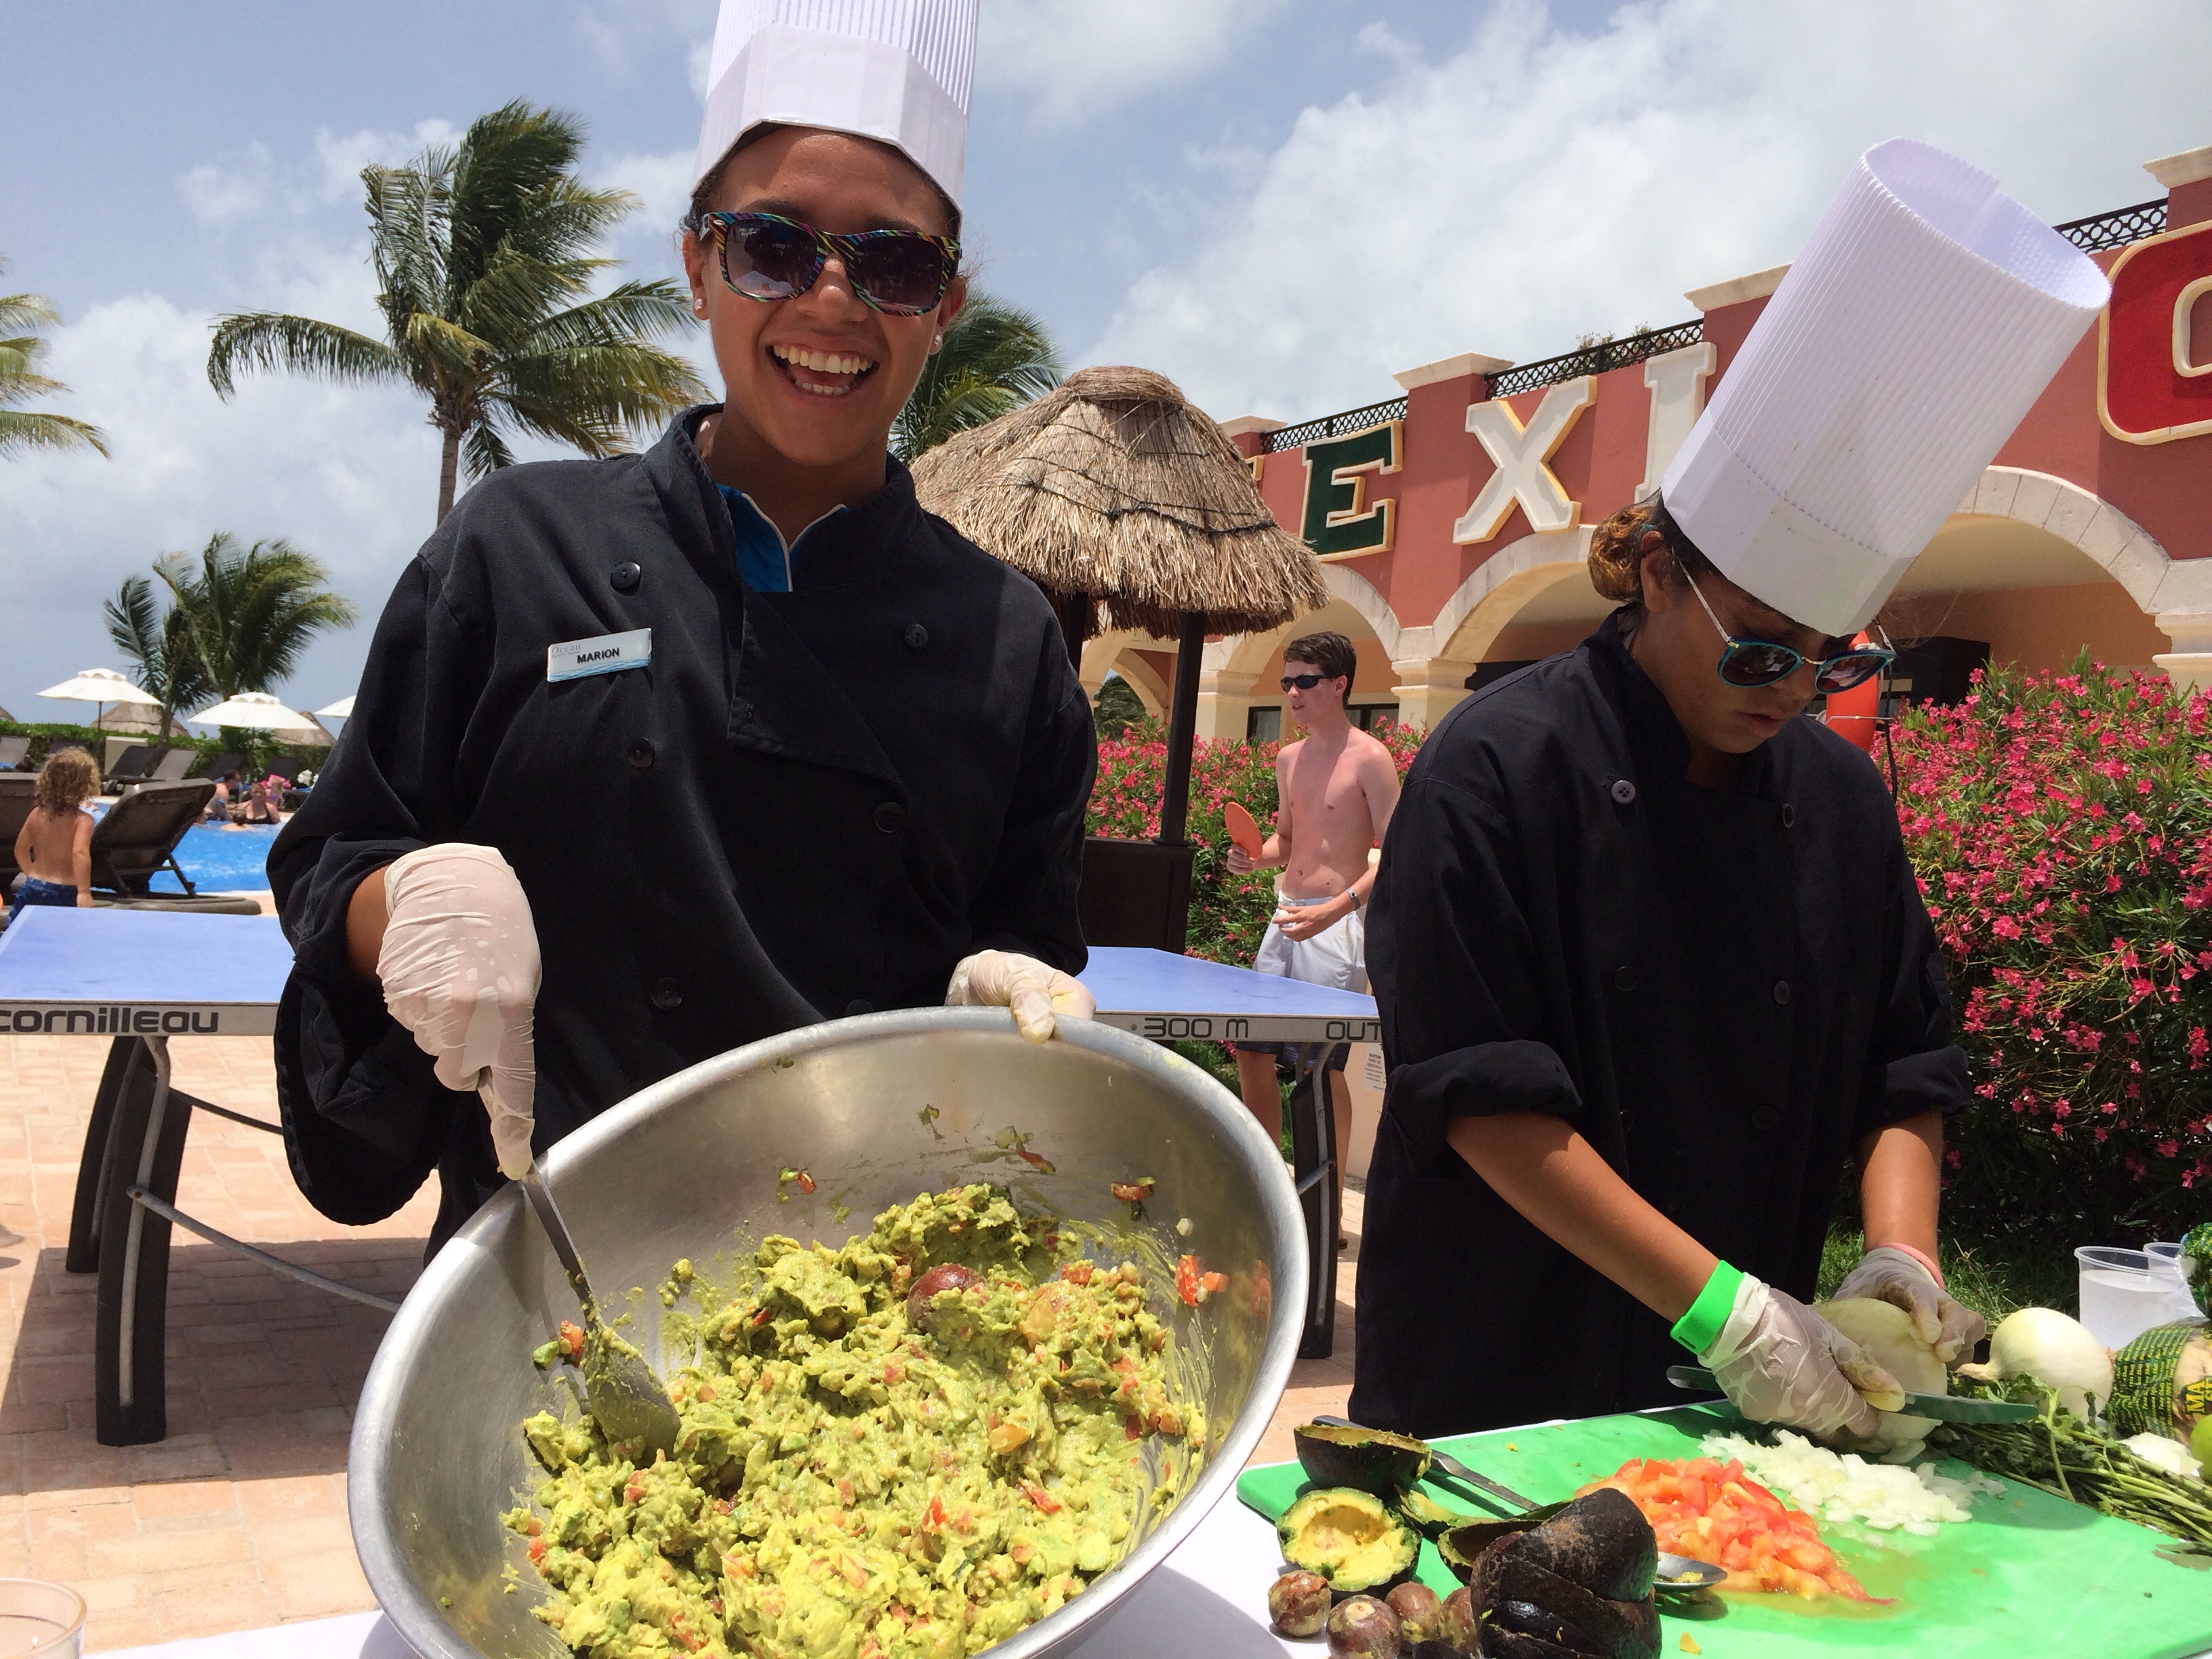
Add chopped tomatoes, onions, and cilantro.
Add pico de gallo.
Squeeze the lemons halved into bowl.
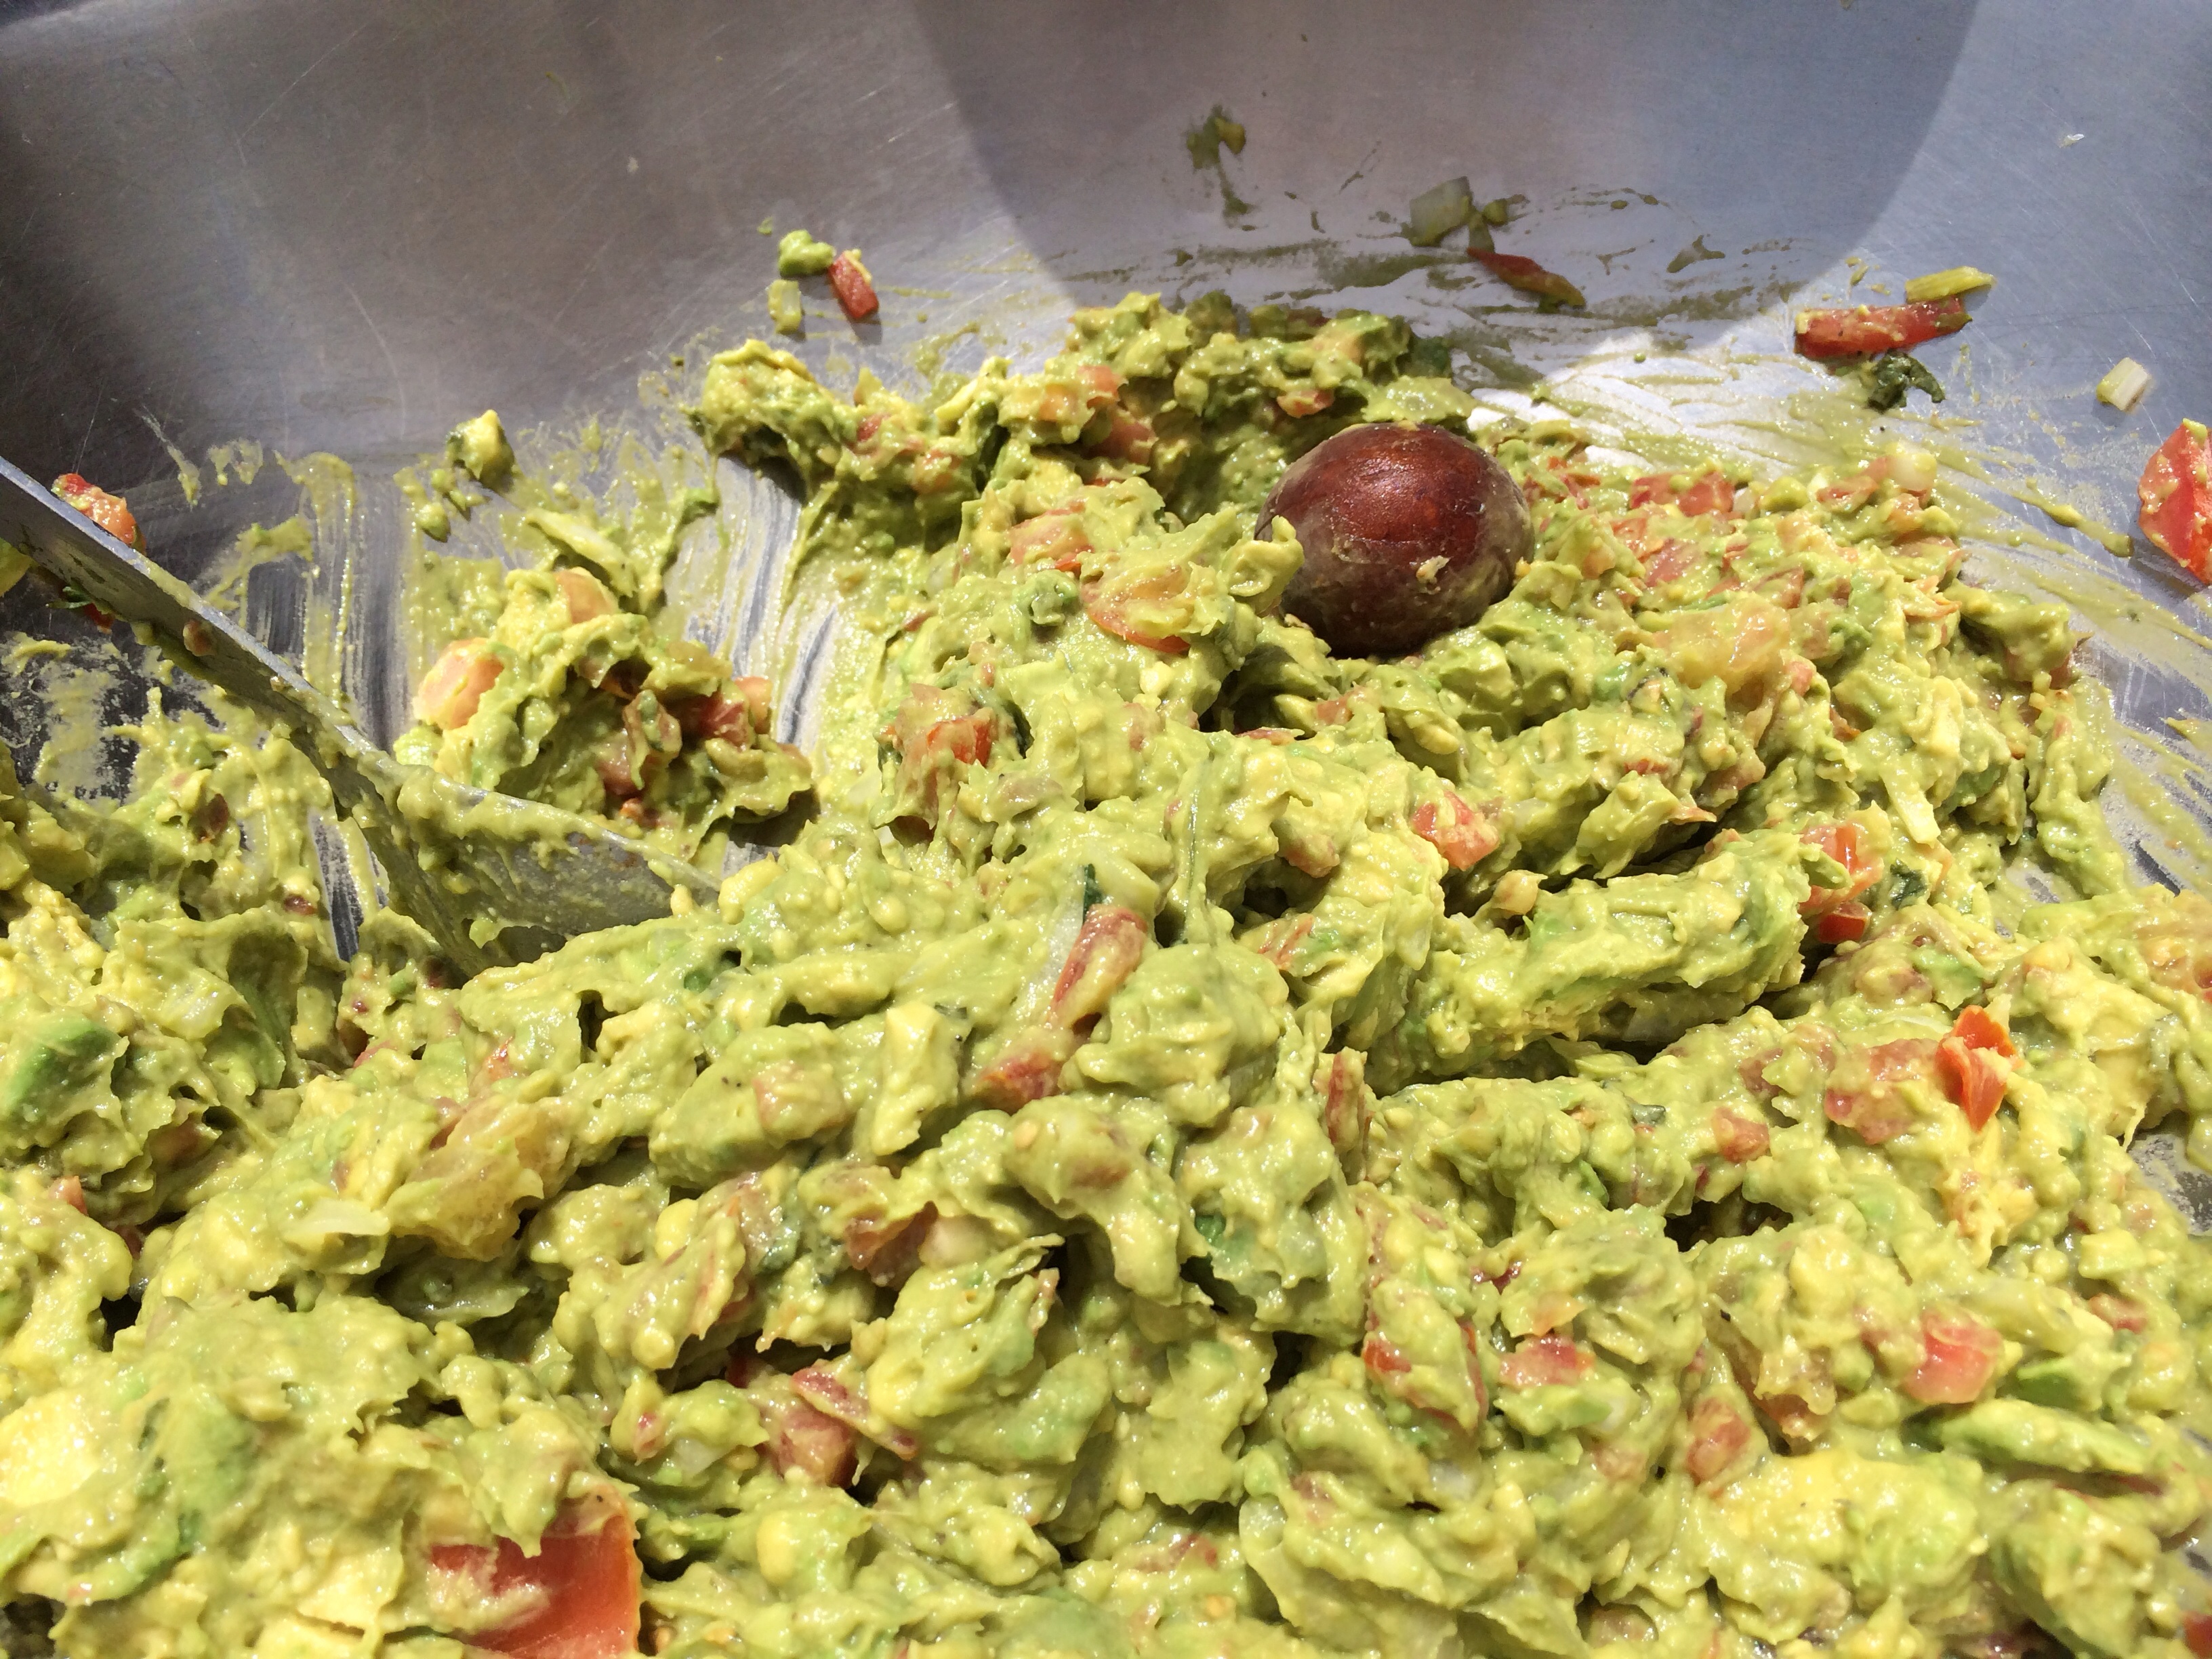
Mix well, smashing and smushing avocado.
The chefs told me to mix with my “flavor” which meant “get your back into it!” Use those hips!
Add pico de gallo.
Add finely chopped chile or habanero pepper.
(Shave some lemon flesh from a squeezed lemon onto chopped pepper to mute the heat.)
Mix well.
Add beer and salt and pepper a few splashes/pinches at a time to taste.(The chef’s “perfect consistency” was a bit runnier than I am used to. The addition of the beer maybe?)
Chef Marion says the mixing is the key. Reminds me of making homemade italian sausage. You can follow the recipe, but if it isn’t mixed well, forget about it.
Mexican Guacamole Secrets Shhhhh…
1. Keep the pit and leave it in the bowl. It keeps the avocado from browning.
2. Keep the avocado shell/skins to use as cute serving pieces. They are the perfect size for guests to fill with chips or a scoop of guacamole!
3. Mexican chefs keep gum readily available to chew while chopping onions. No tears!
4. In Mexico, their limons are our lemons. Small but green and sweeter. Mexican limes are much bigger and more tart. The chefs I worked with only used the small ones for the guacamole, equivalent to American lemons.
5. Mexican chefs? sip tequila on the rocks not in drinks. (Not sure what this had to do with making guacamole, I forget.)
The number 13 is lucky in Italy! And Italians believe Friday the 13th is a great day to begin something new and try your luck! Perhaps the perfect day for gambling or even starting a new business venture!
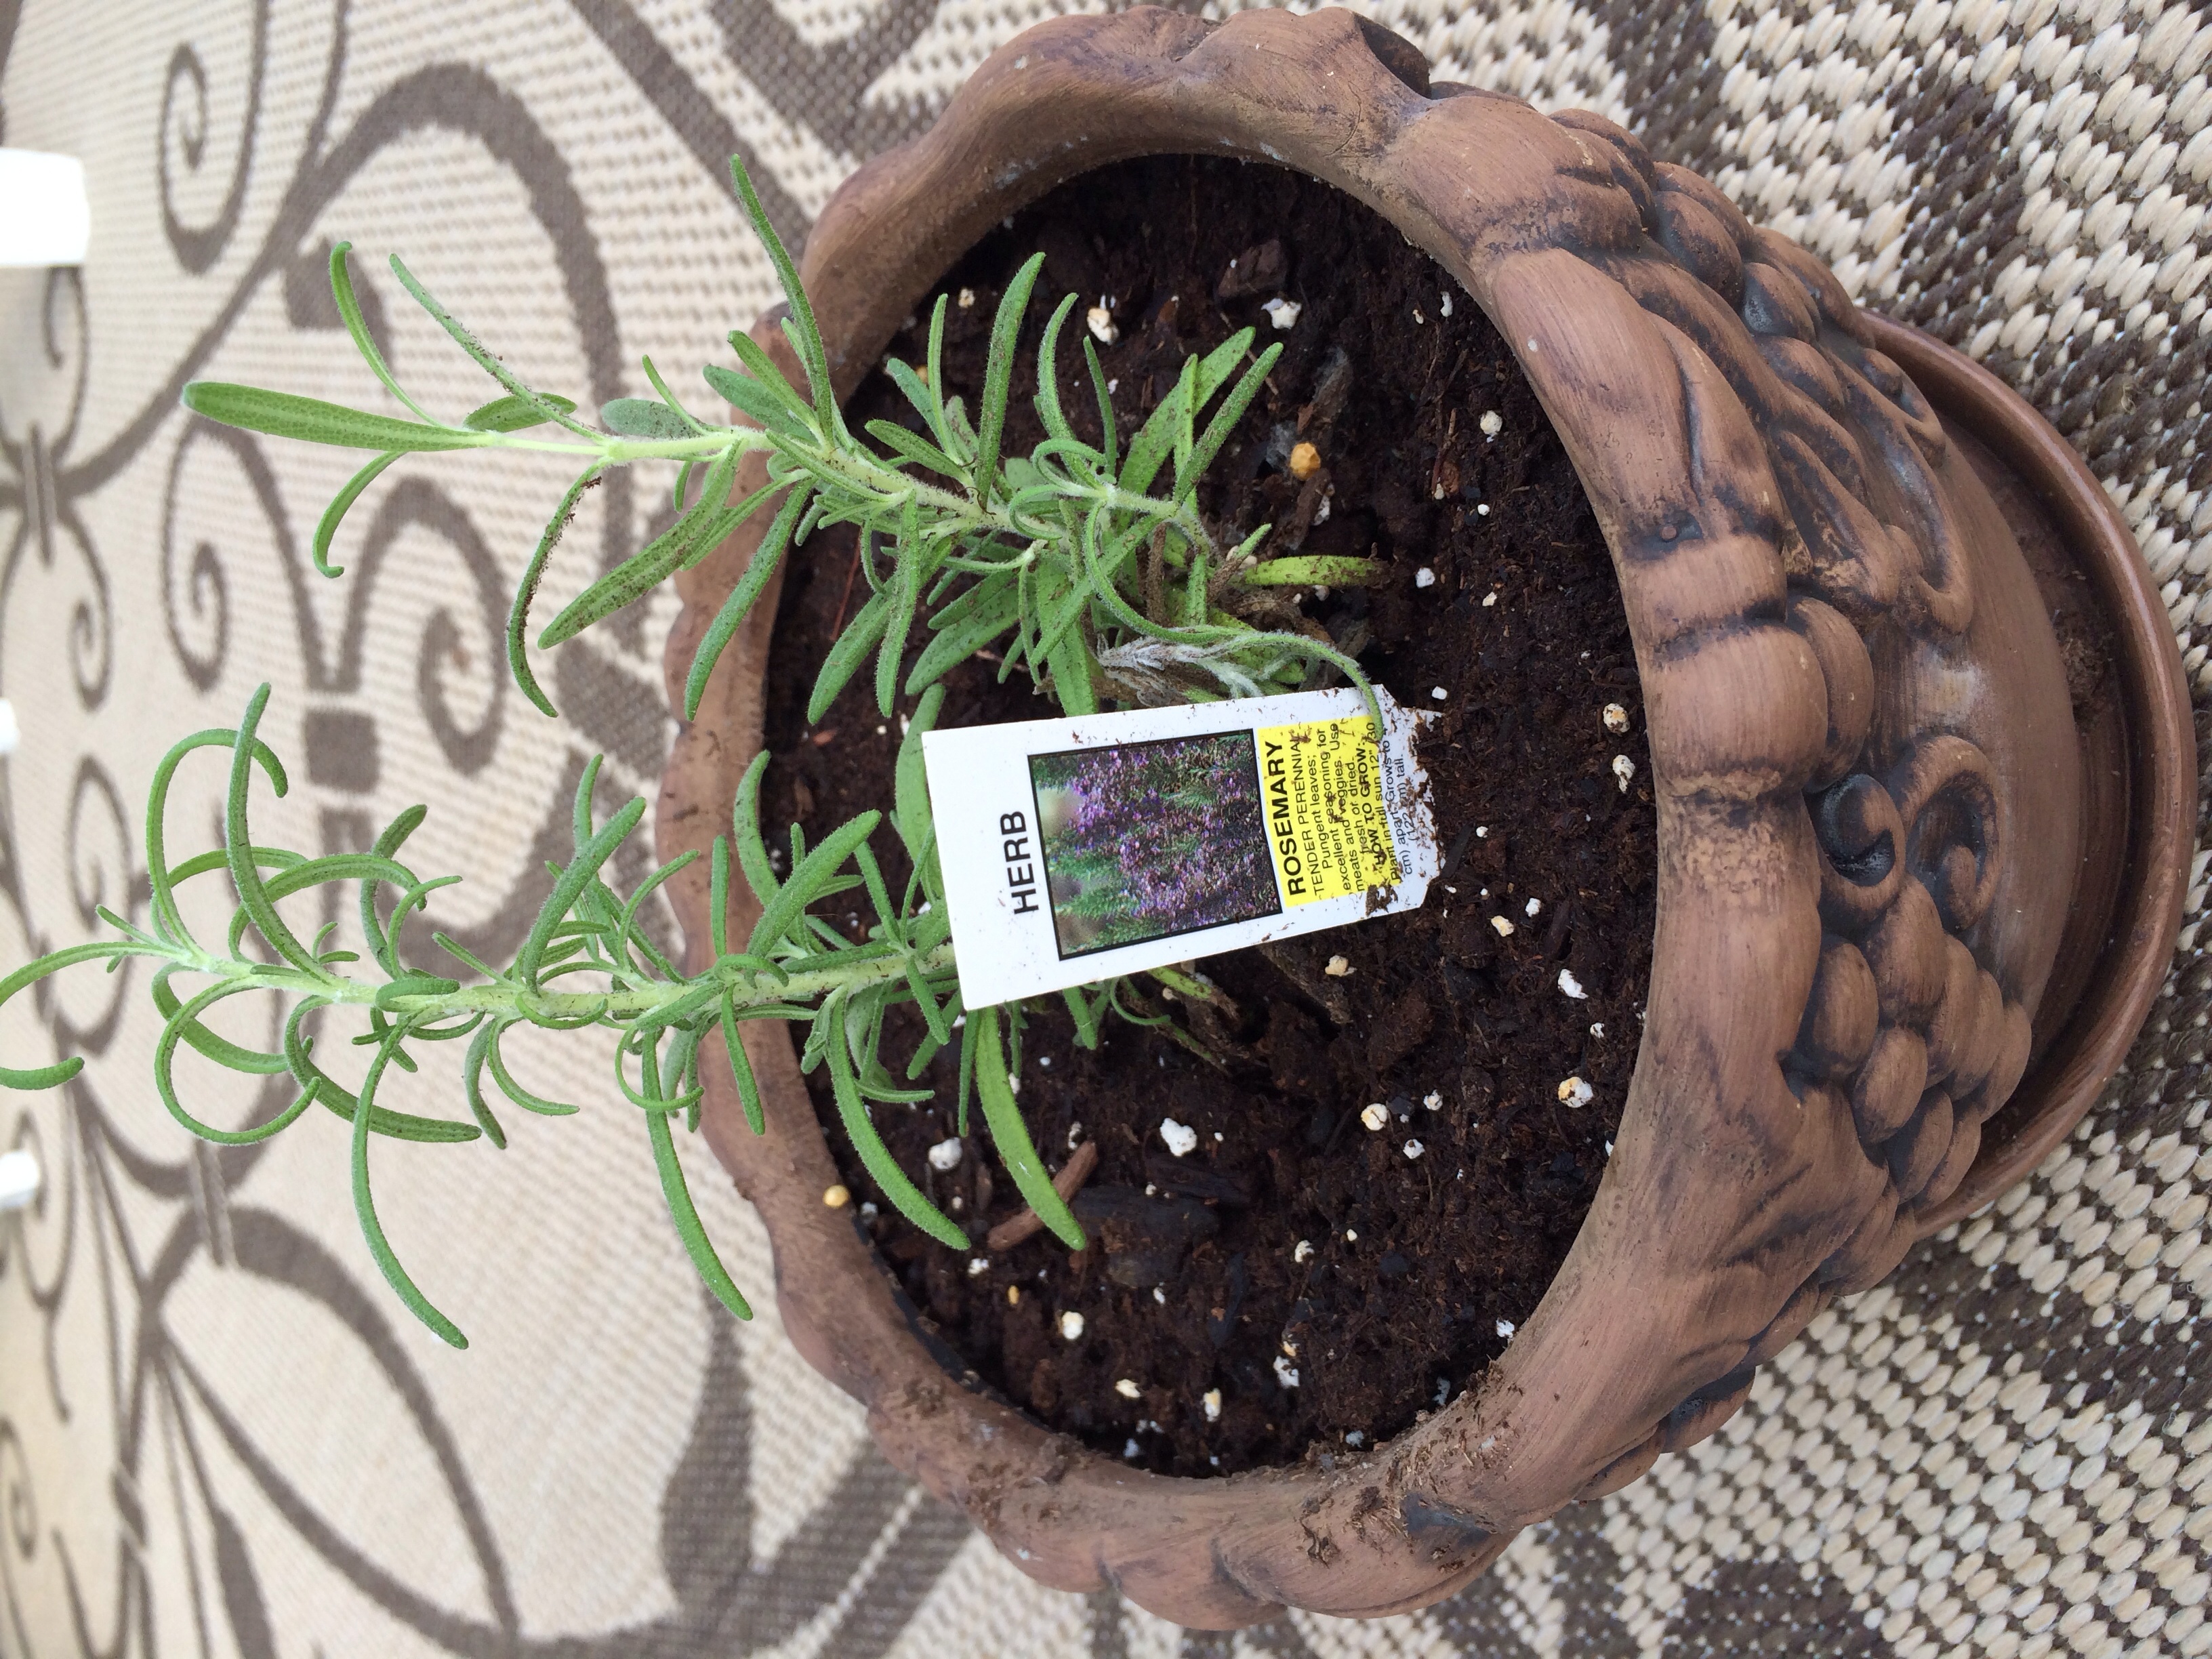
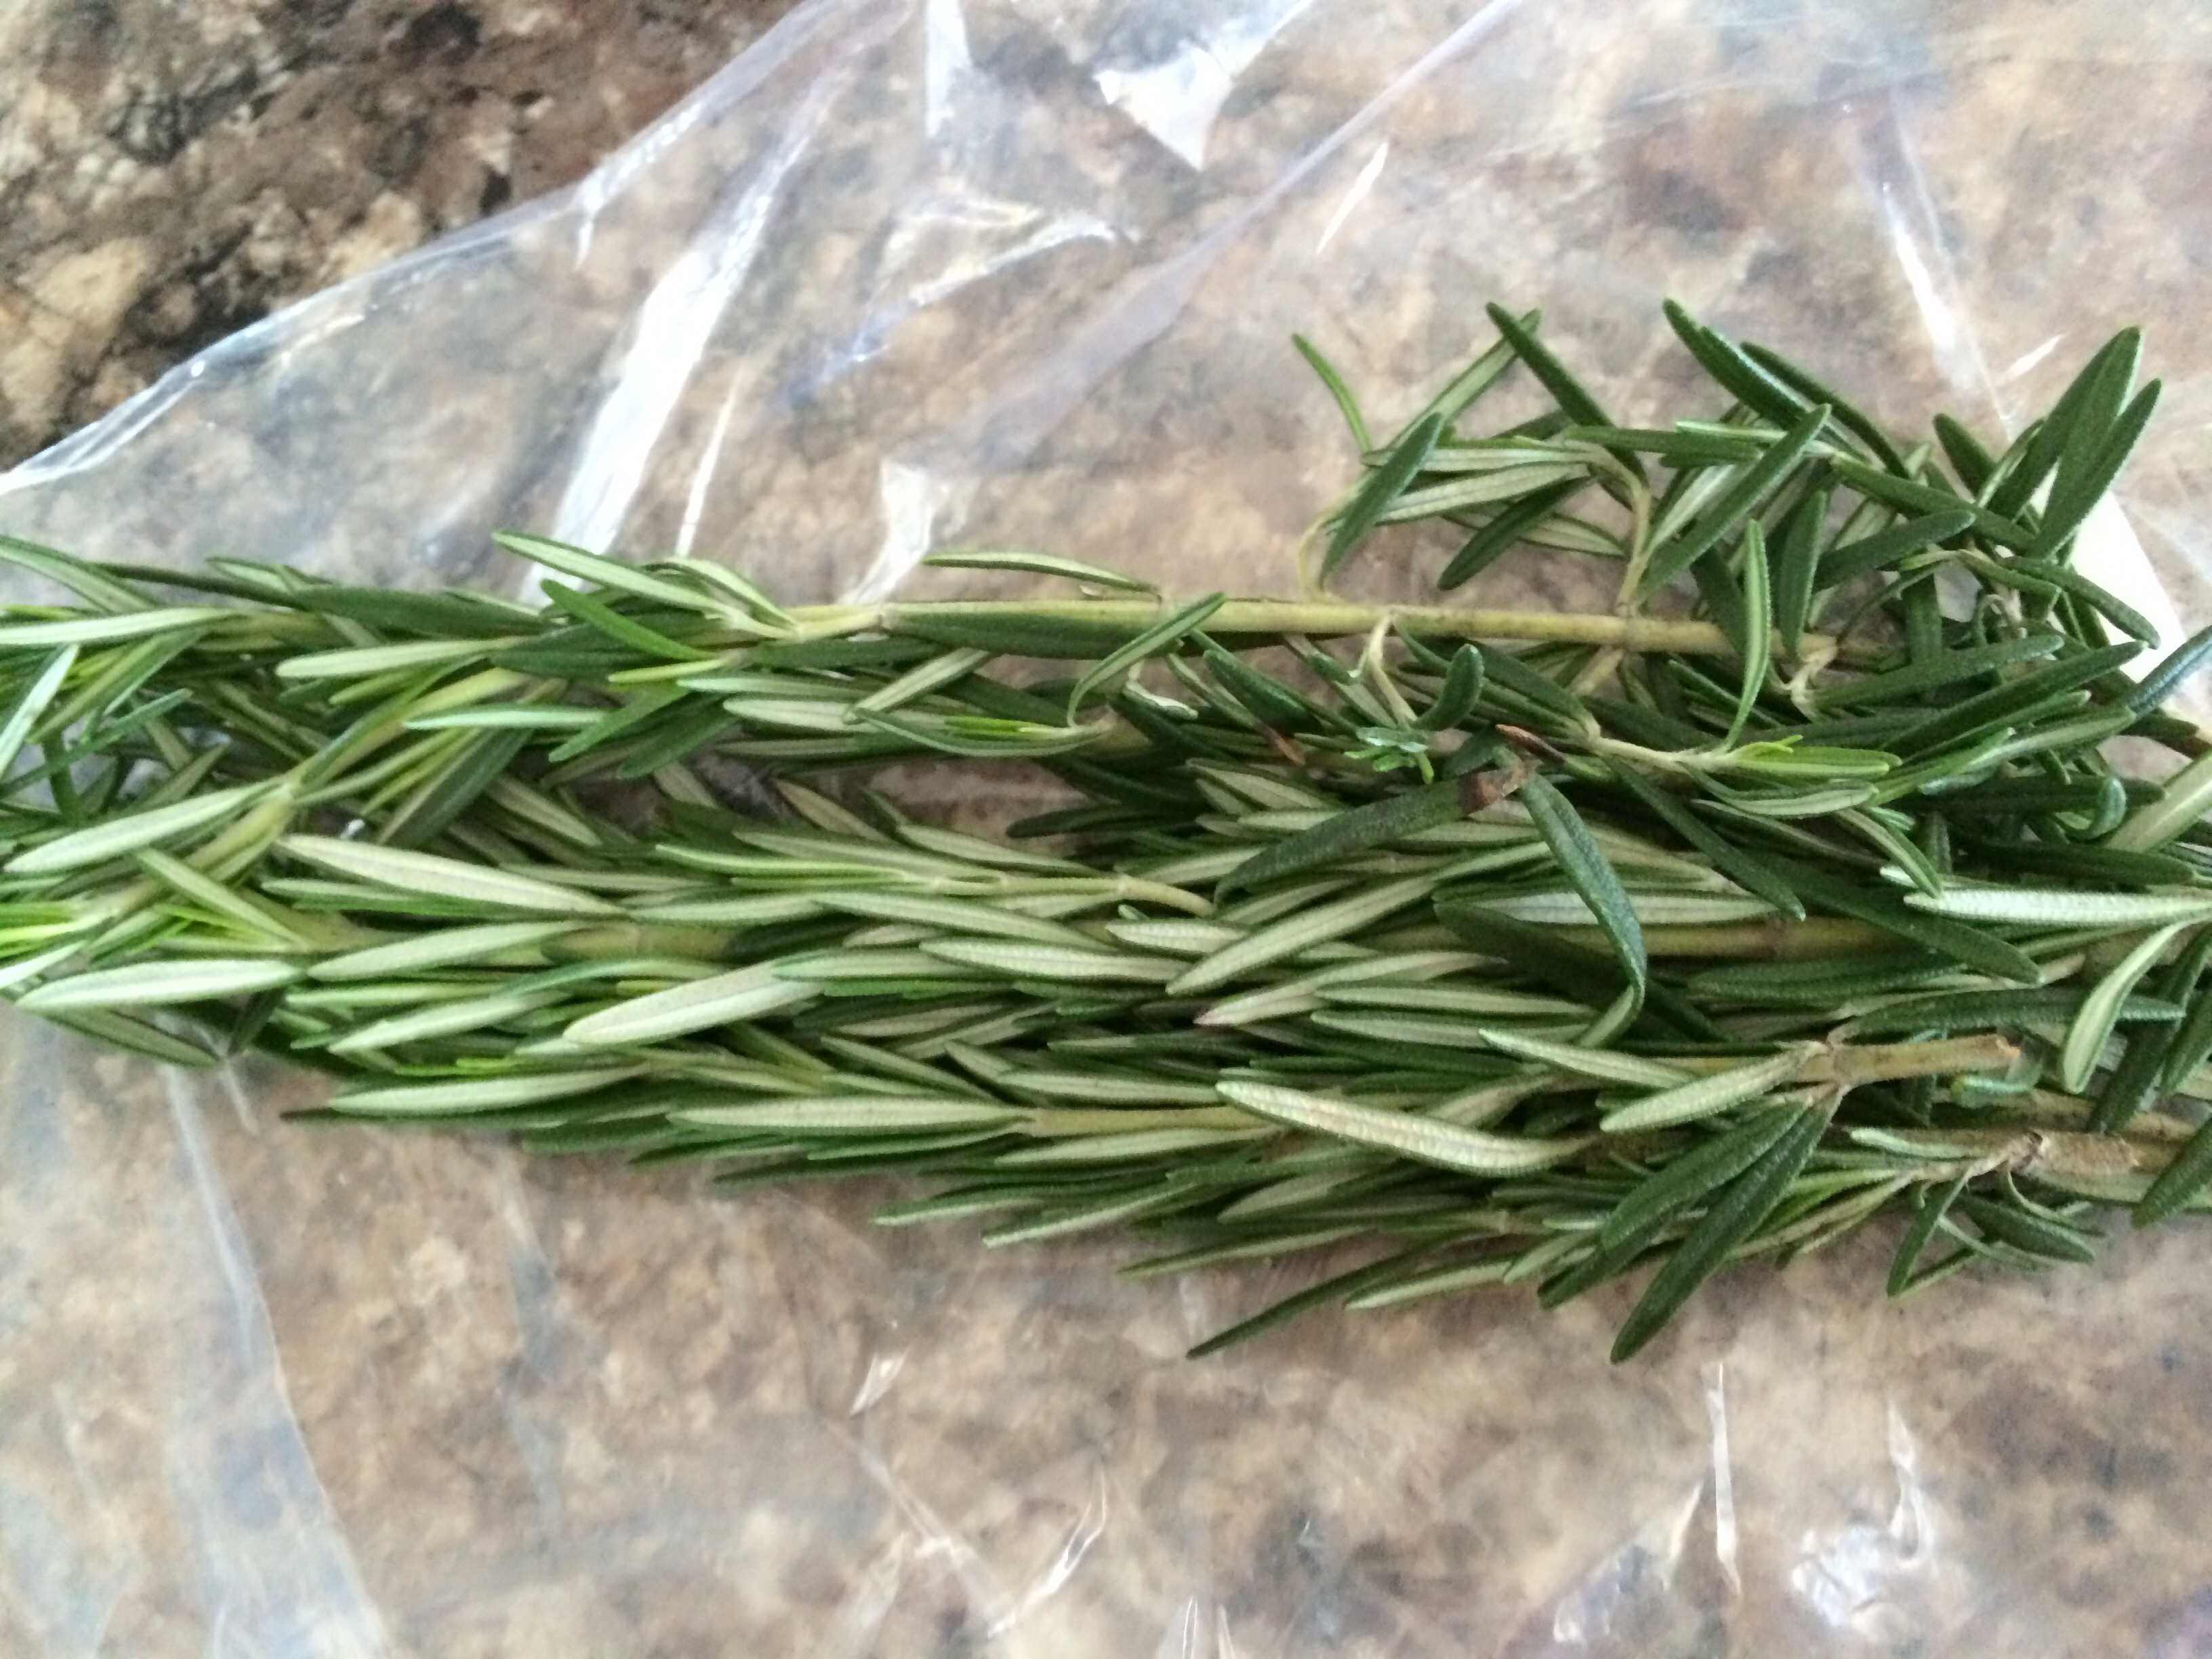
In North America, we try to ward off the evil spirits associated with the spooky, bad luck driven day. A best bet food to eat… Rosemary! Eat foods cooked with Rosemary for good luck! The plant’s powers are even stronger if the plant is a gift!
My plant is thriving! And it was a gift! Extra lucky?Pinch the top rosemary leaves and pull down, stripping the stem. A rosemary stem can be a flavorful skewer! Slide shrimp onto the tough stem and grill!
Although Italy is a predominantly Roman Catholic country, it’s superstitions run deep and through generations! Here are a few:
Never toast with water. (duh)
Never pour wine with your left hand.
Never keep peacock feathers in your home- the devil’s watchful eye. (Evil eye superstitions are huge in Italy, called Malocchio)
Never set shoes on a bed or counter.
Good luck today! If you still aren’t buying it, cook with rosemary!
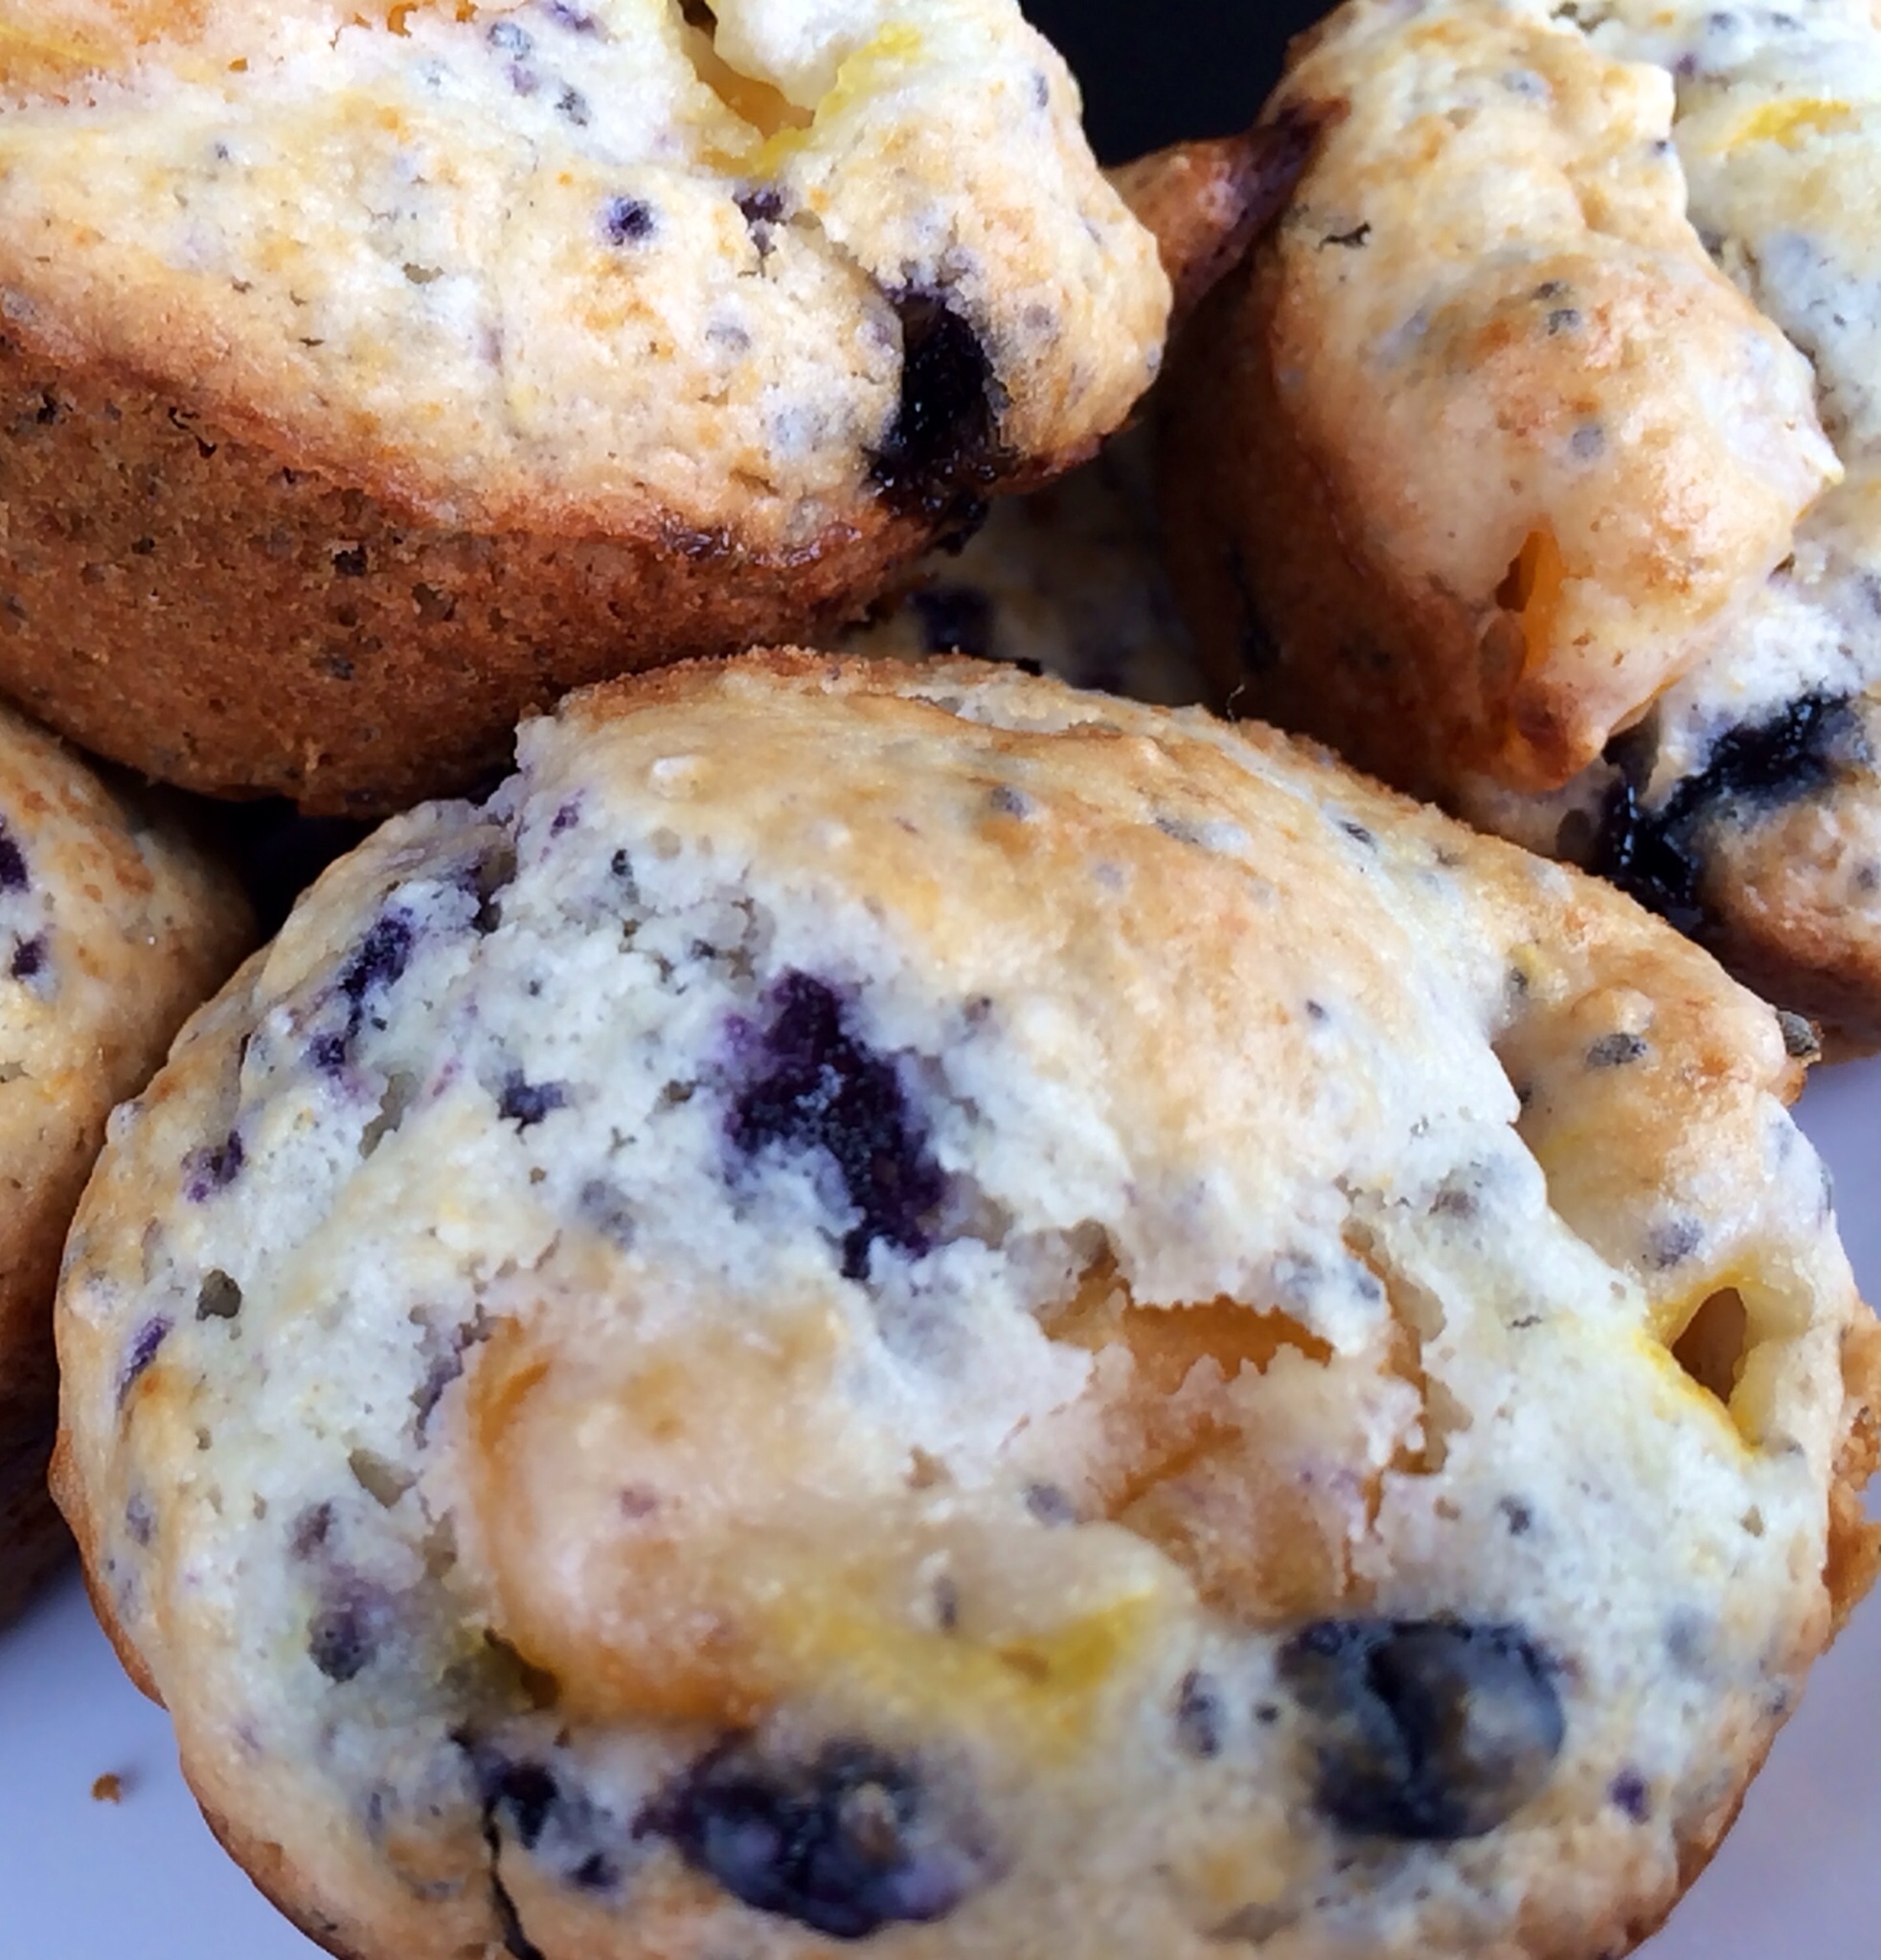
I love smoothies and muffins for breakfast! Add in superfoods, fruits, and grains, and you will have energy for the day! We love to try different flavor combinations! This morning we tried blueberry and orange…it is delicious!
Chocolate chip banana is also a favorite! Search for the recipe on Parmesan Princess website!
My basic muffin recipe came from Bethenny Frankel’s Skinny Muffins and it has morphed from there! Enjoy these! Try different flavors and let me know how they turn out!
Ingredients:
1-1/4 cups oat flour
1 tsp. baking powder
1 tsp. baking soda
1/2 cup sugar
2 tbsp. butter
1/2 cup coconut milk
1/2 cup blueberries
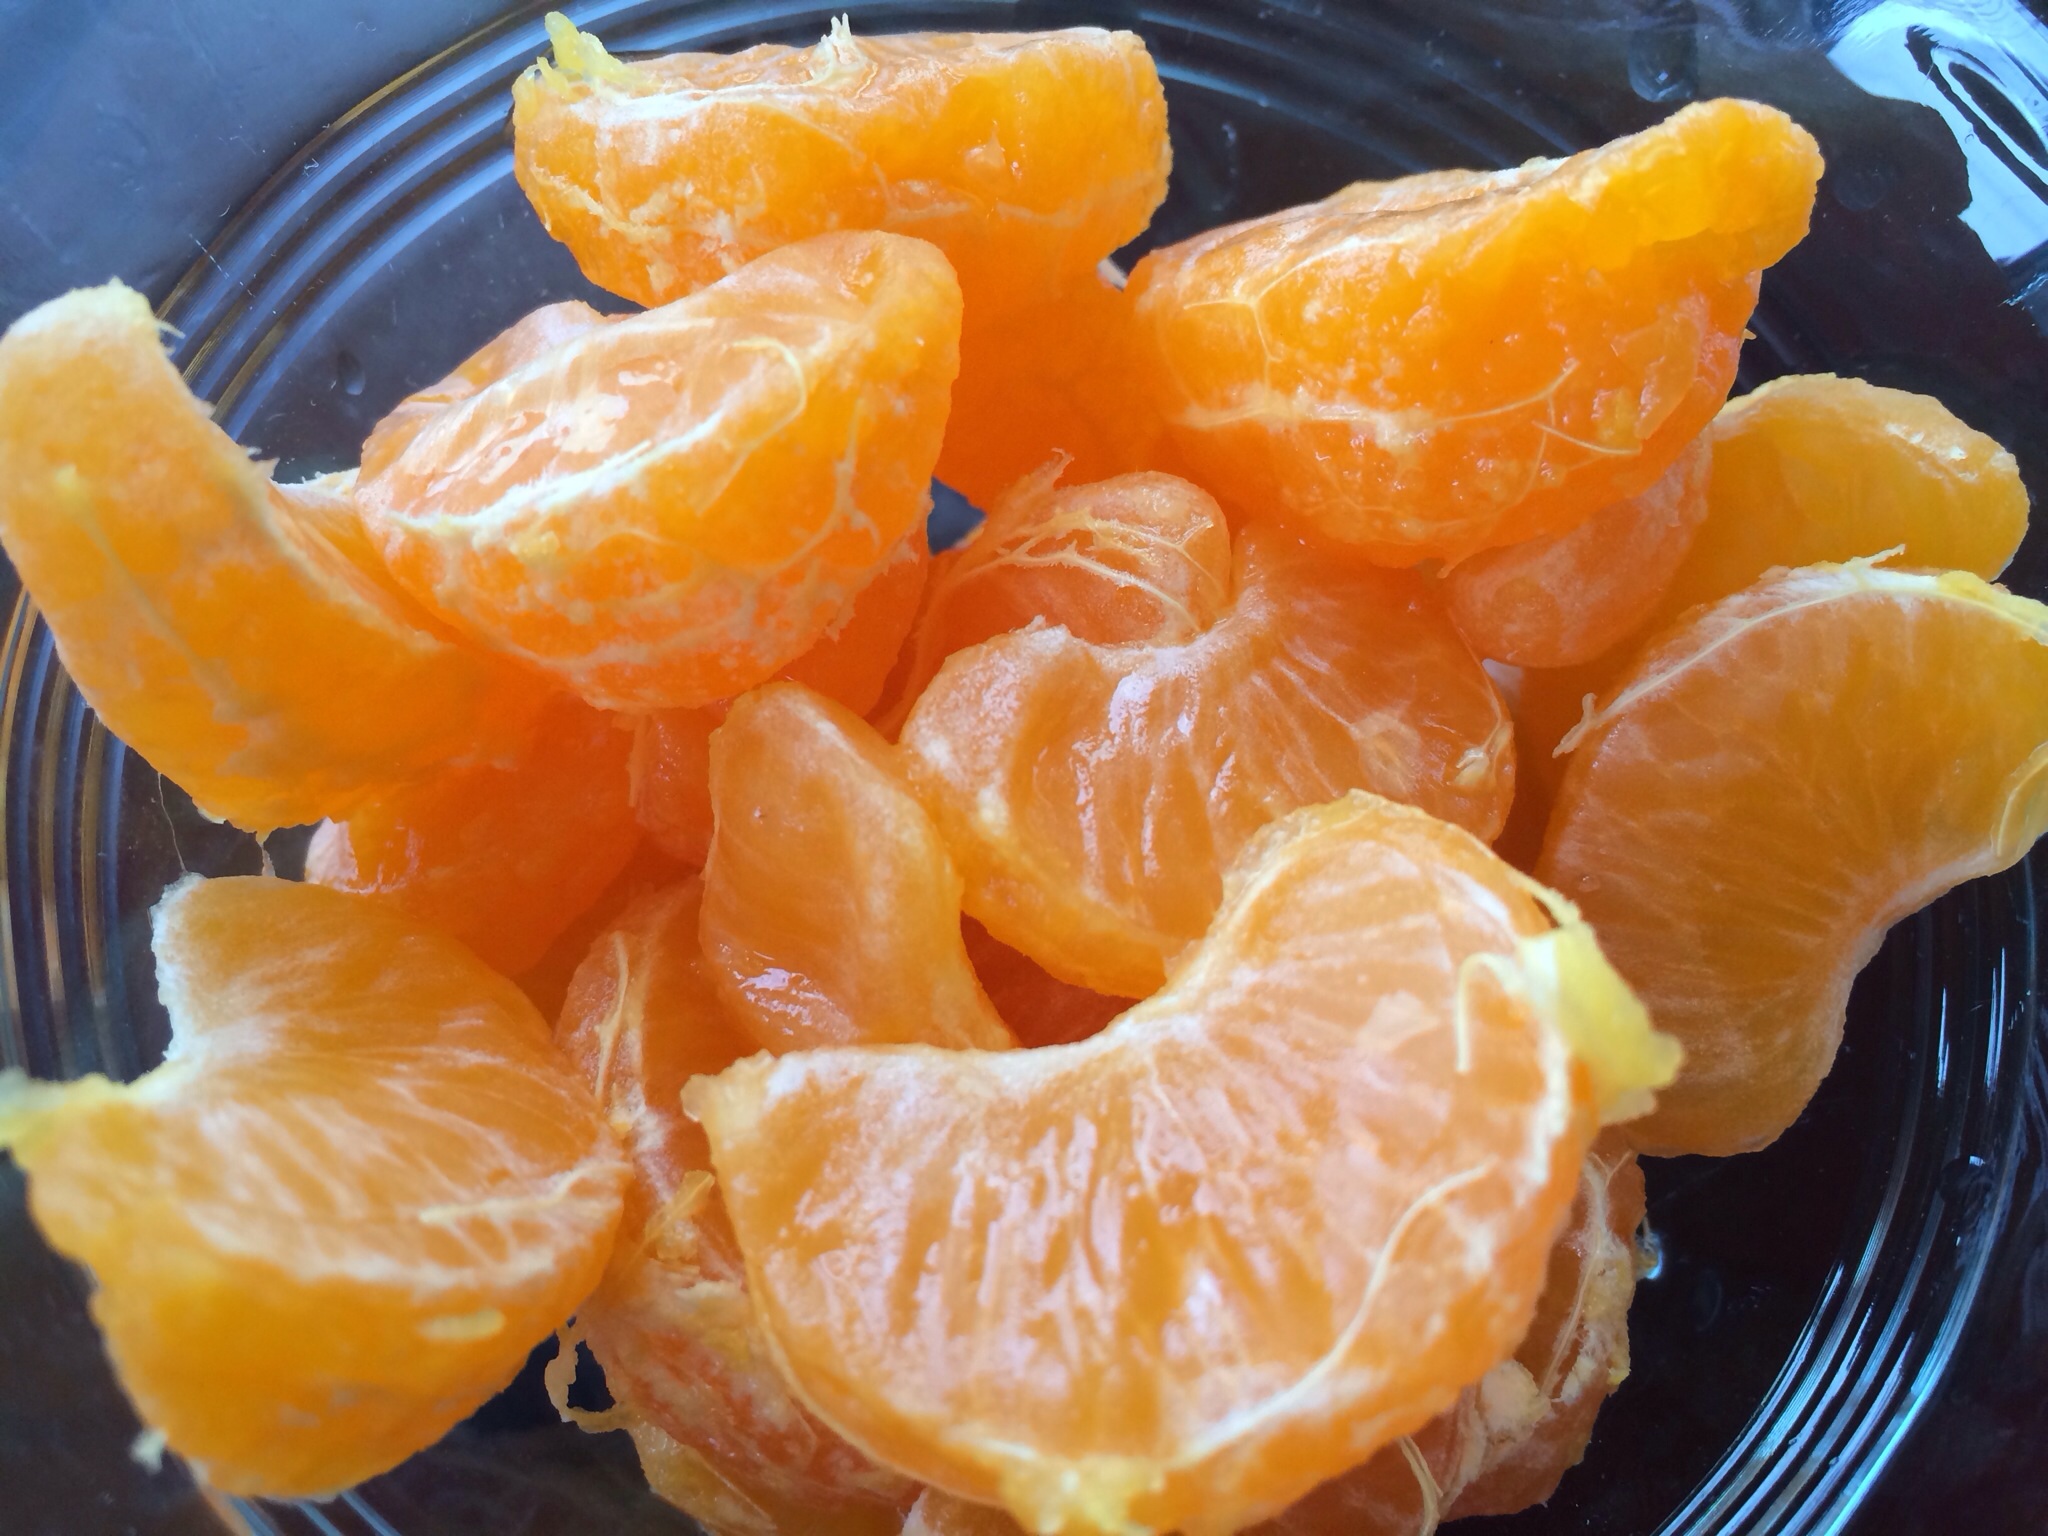
1/2 cup mini clementine slices
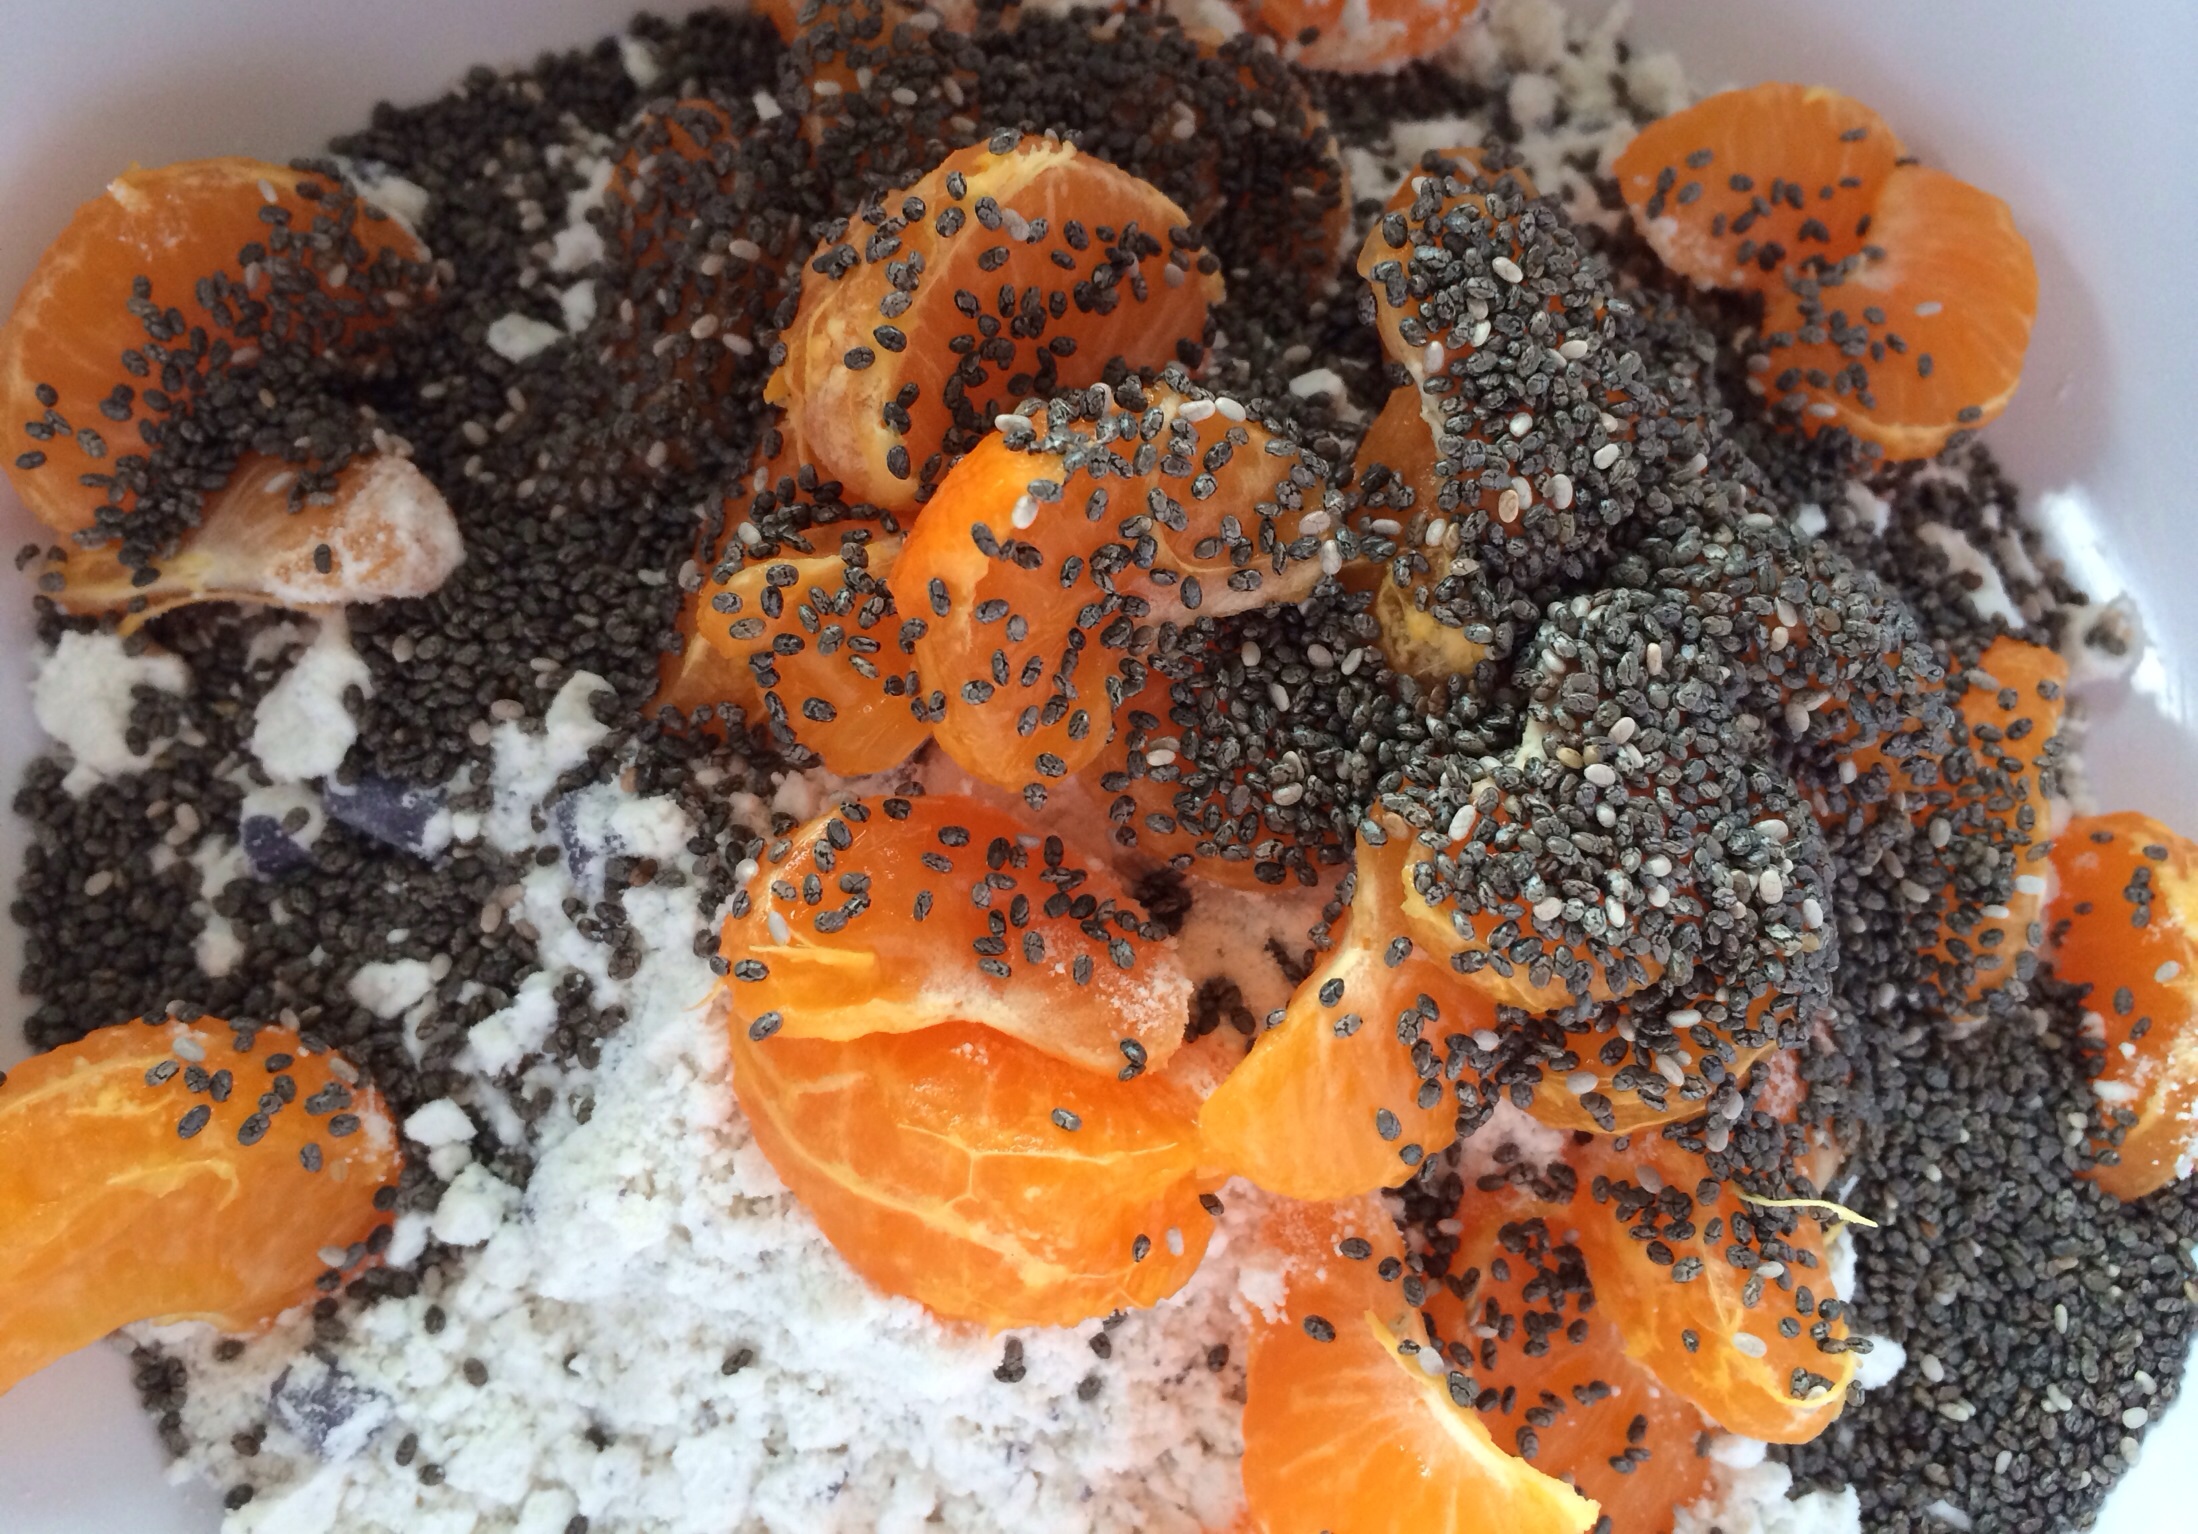
1/4 cup chia seeds
The refreshing, citrus burst of orange adds a morning kick to a traditional blueberry muffin!
Directions:
Preheat oven to 375 degrees.
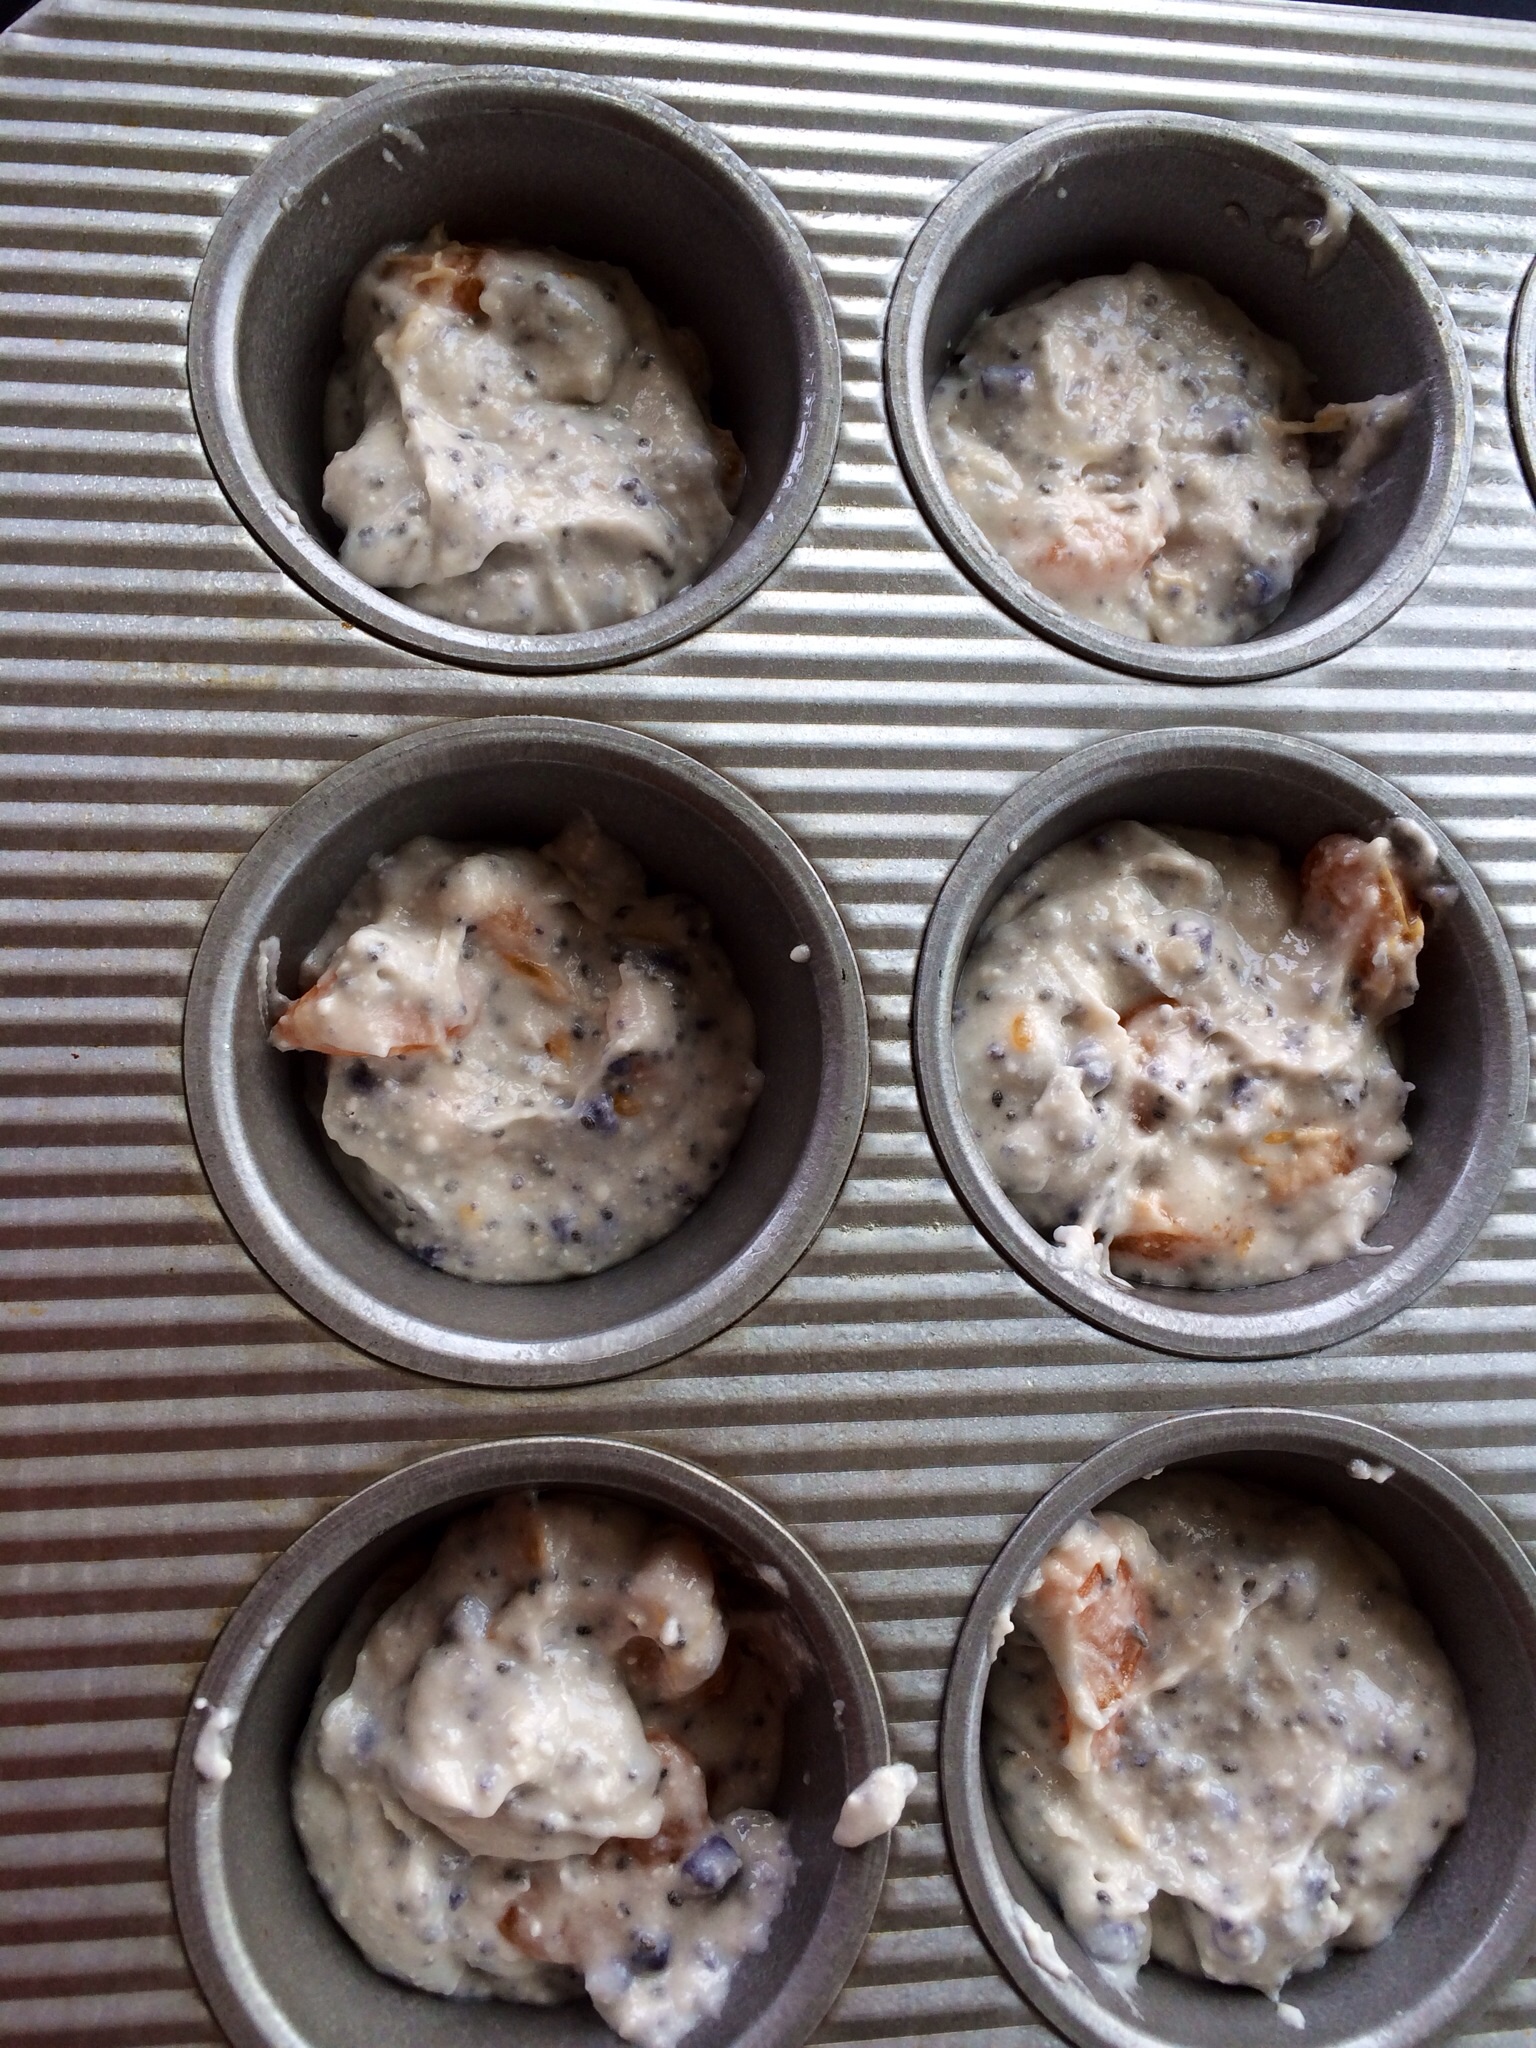
Spray muffin tin with Pam or line with baking cups.
Mix dry ingredients.
Add wet ingredients, adding fruit last.
Mix well so that each muffin gets a taste of every ingredient!
Pour batter in muffin tins 3/4 full.
I can’t stand muffin papers! So I spray tins with Pam!
Bake 15 mins, rotating muffin pan half way or until golden. Poke the muffin with a toothpick to test. Toothpick should be clean!
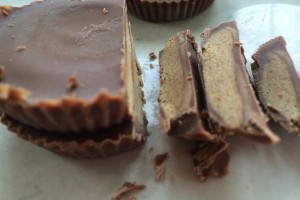
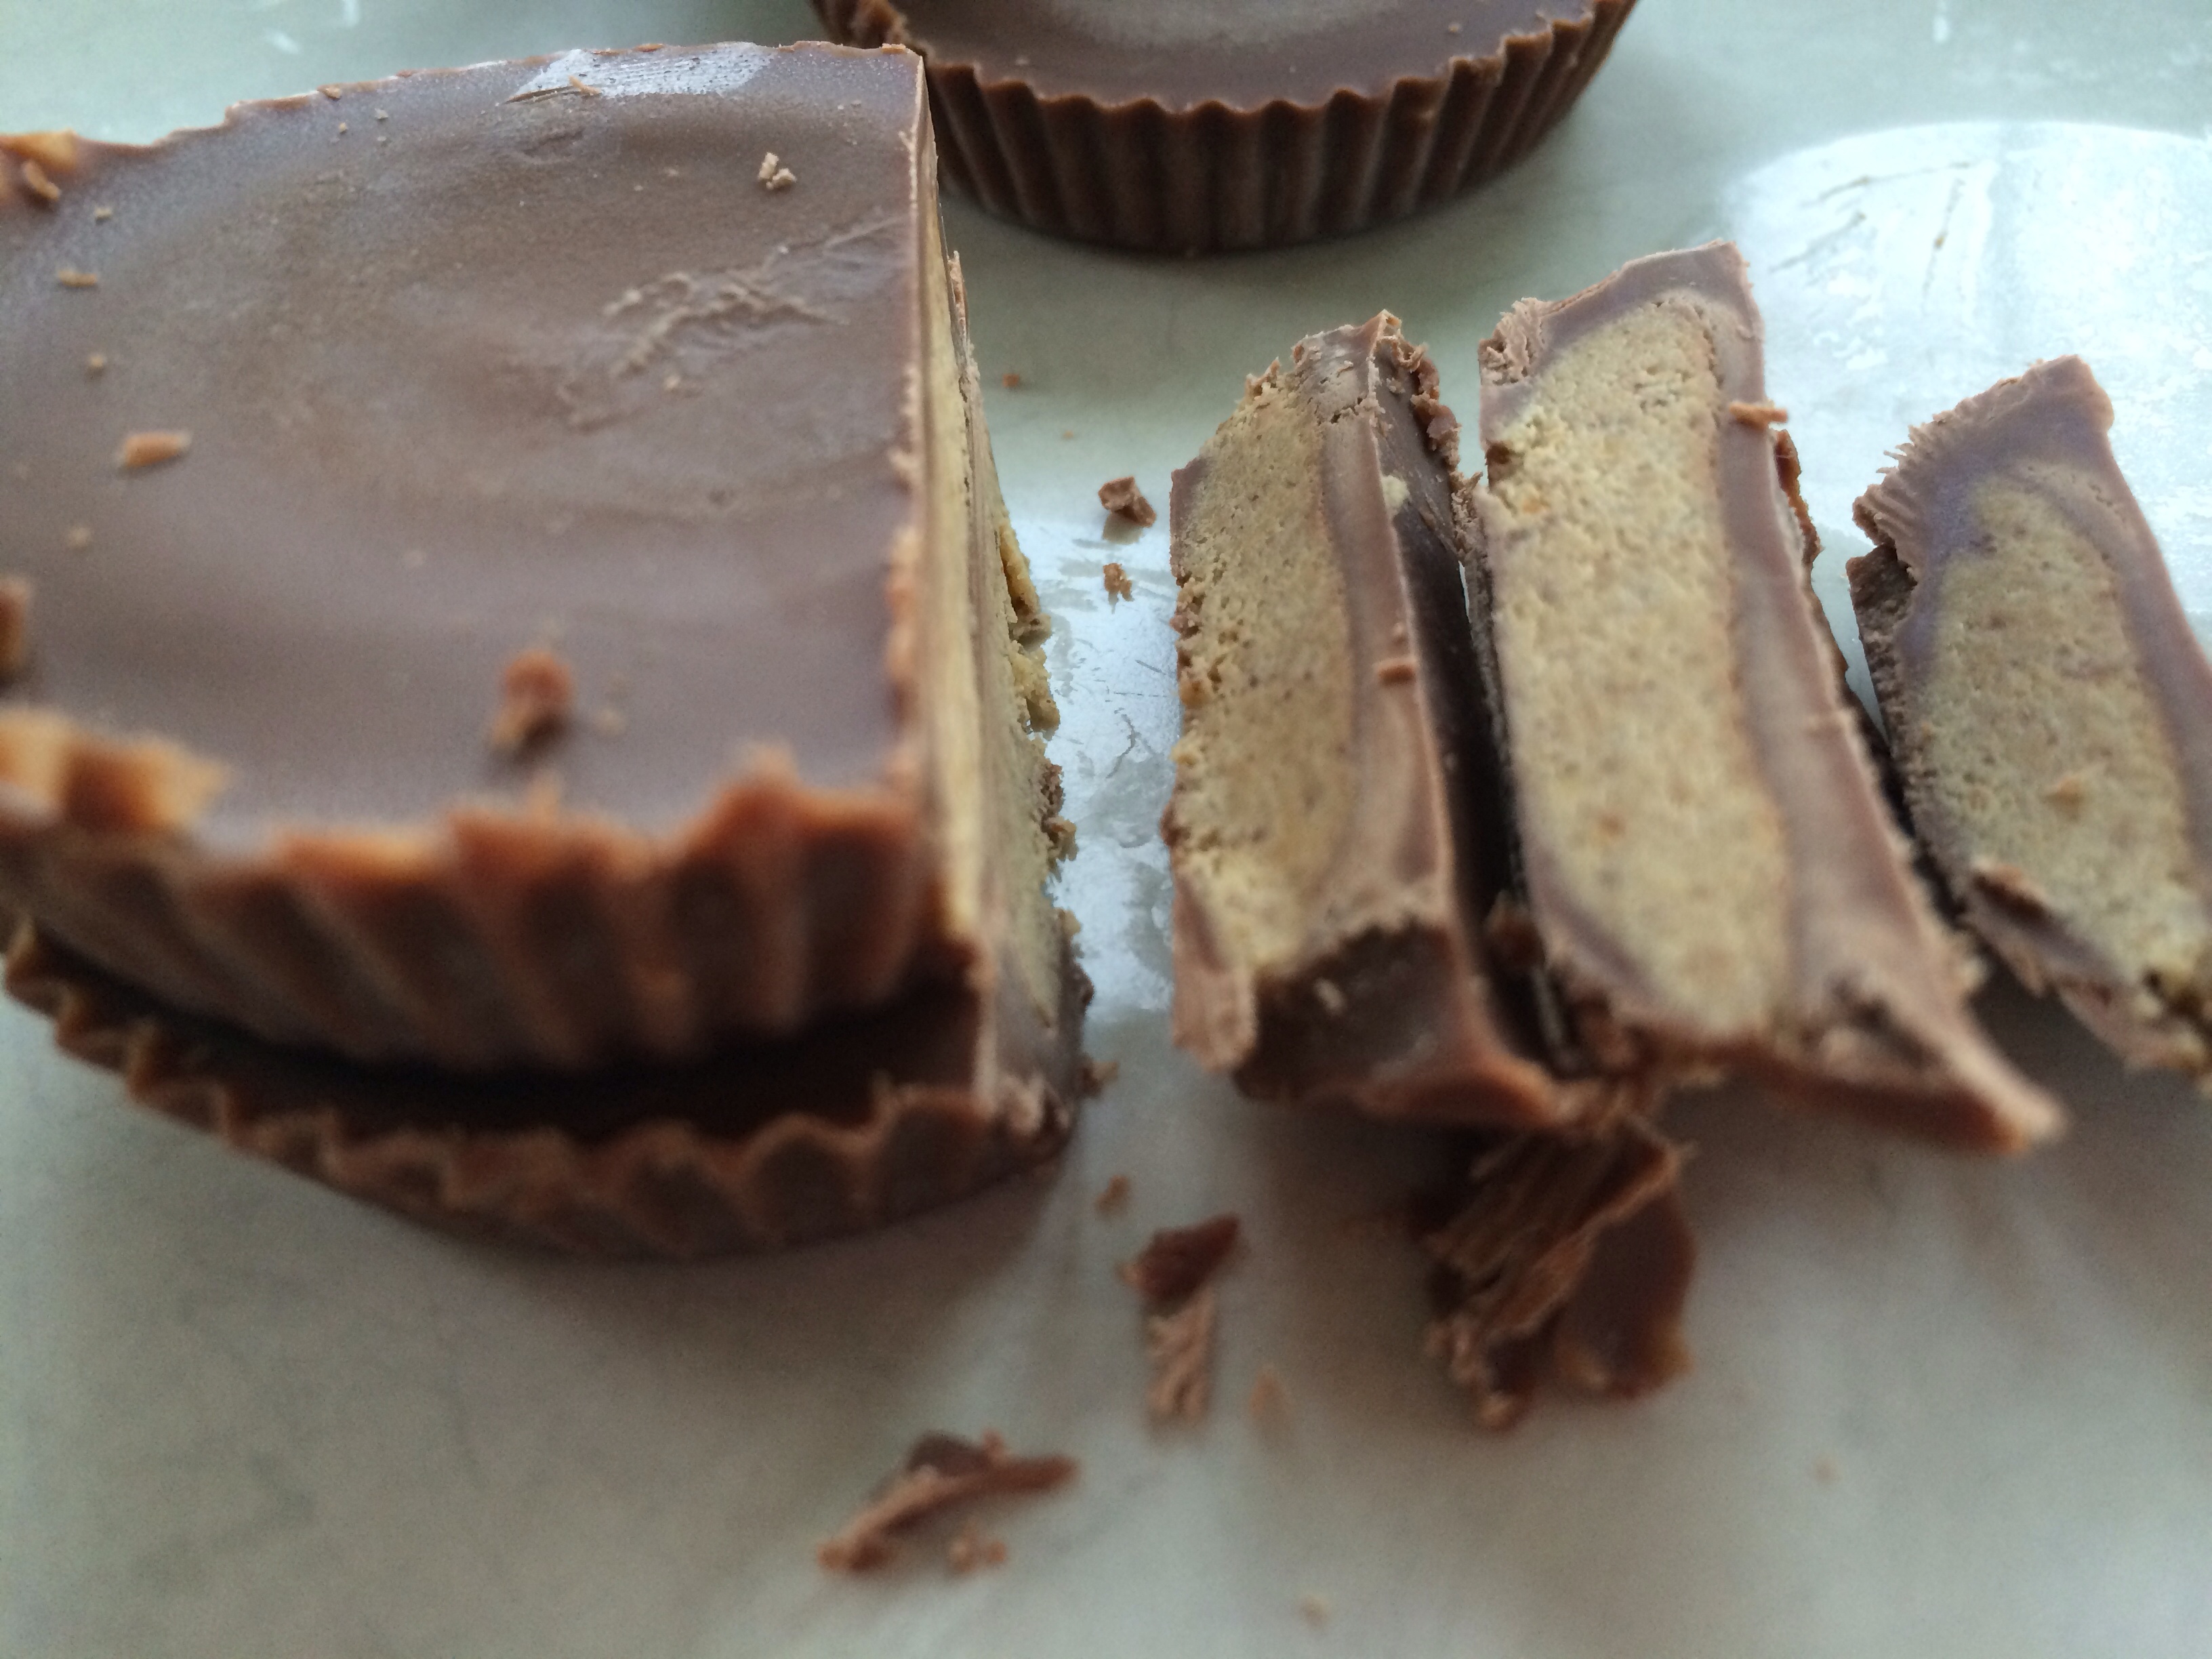
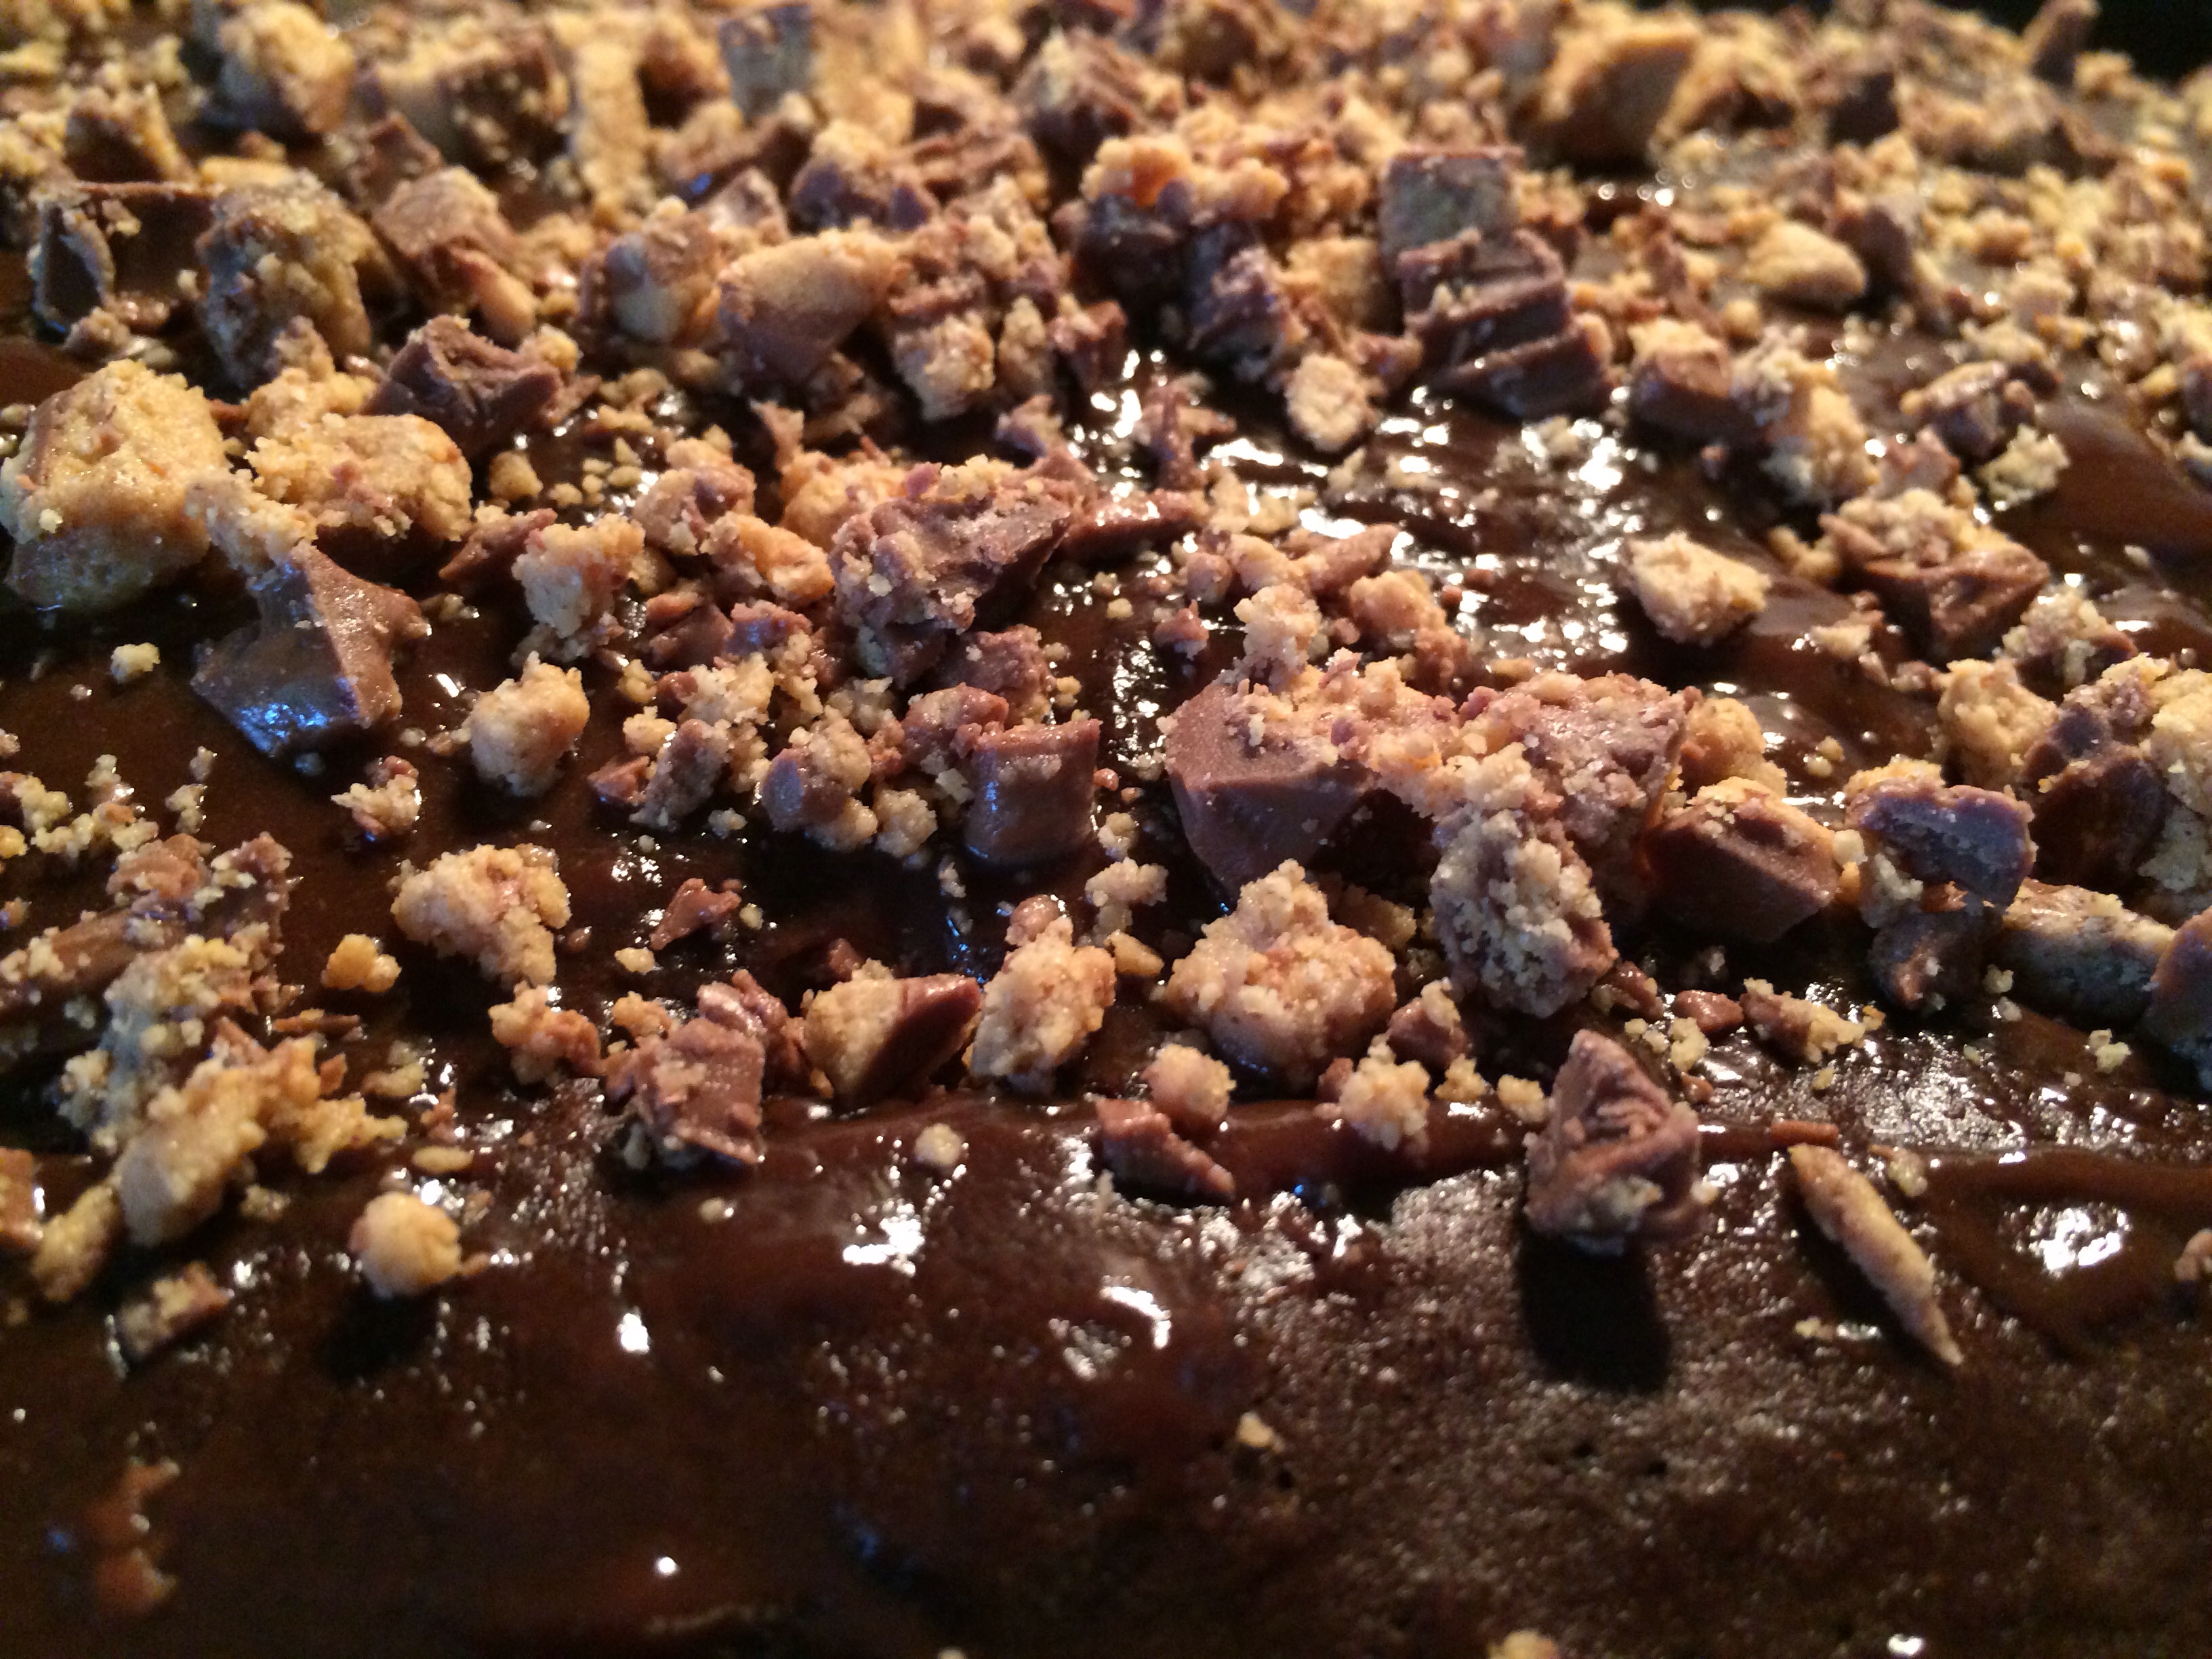
Cake with gooey chocolate peanut butter marshmallow bites. Yummy!
Our 7 year anniversary happened to be on a Monday this year …bummer!! I wore my wedding dress first thing in the morning and had a tea party with “wedding doll” my Bella.
Bella was so excited! What a fun morning !
I wear my wedding dress every anniversary! #1 to feel like a princess AGAIN and #2 to make sure it fits! Ha! I don’t see the point in preserving the dress in a box!
Monday, I drank coffee and even threw a load of laundry in the washing machine!
Kevin had an evening work meeting, so instead of a special dinner, I created a special dessert we could enjoy at home!
Wow! Amazing!
Death By Chocolate Peanut Butter Lava Cake
Ingredients:Cake
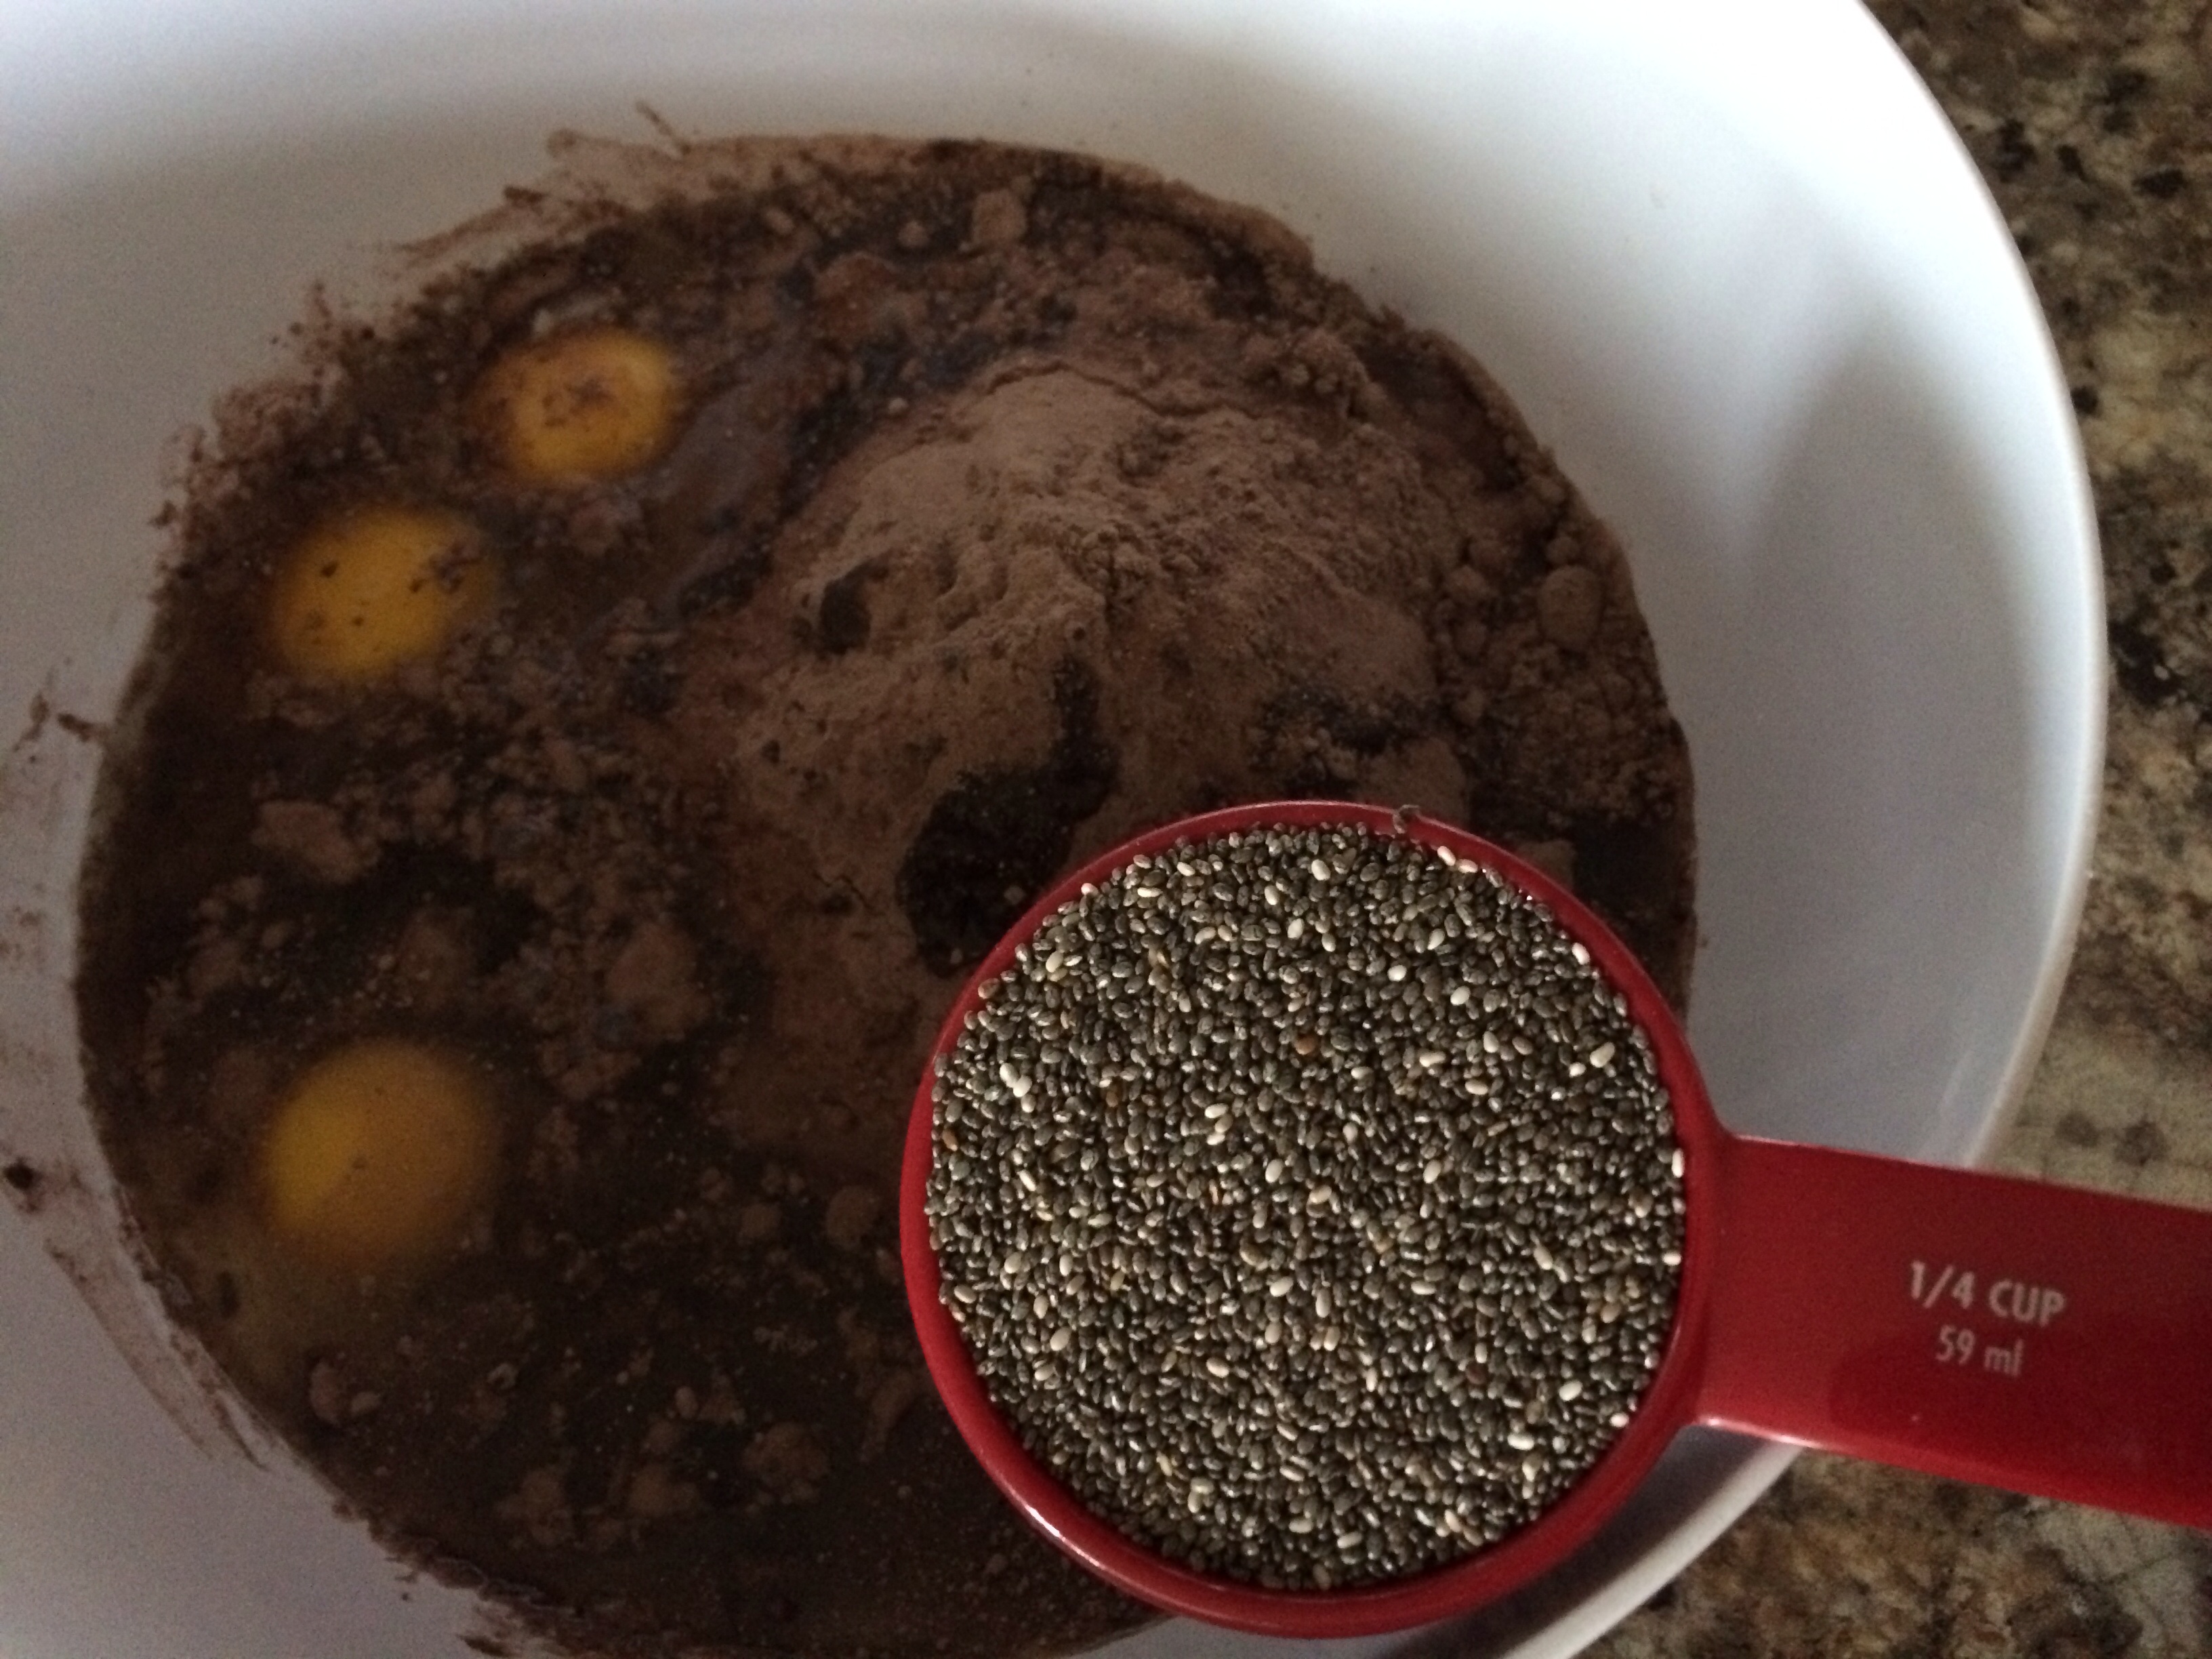
1 box Betty Crocker dark chocolate cake
3 eggs
1/3 cup oil
1 cup water
1/4 cup chia seeds
Don’t forget the chia seeds!! Tasteless and packed with vitamins and antioxidants, they are the key ingredient for an unhealthy dessert splurge! That’s how I justify it!
Ingredients: Lava Filling/icing
1 cup chocolate chips
1 cup peanut butter
1/2 cup mini marshmallows
2 tbsp. coconut milk
1 sleeve king Reese’s peanut butter cups
Chop peanut butter cups into small bits.
Directions:
Preheat oven 350 degrees.
Grease and flour cake pan.
Blend cake as directed by box.
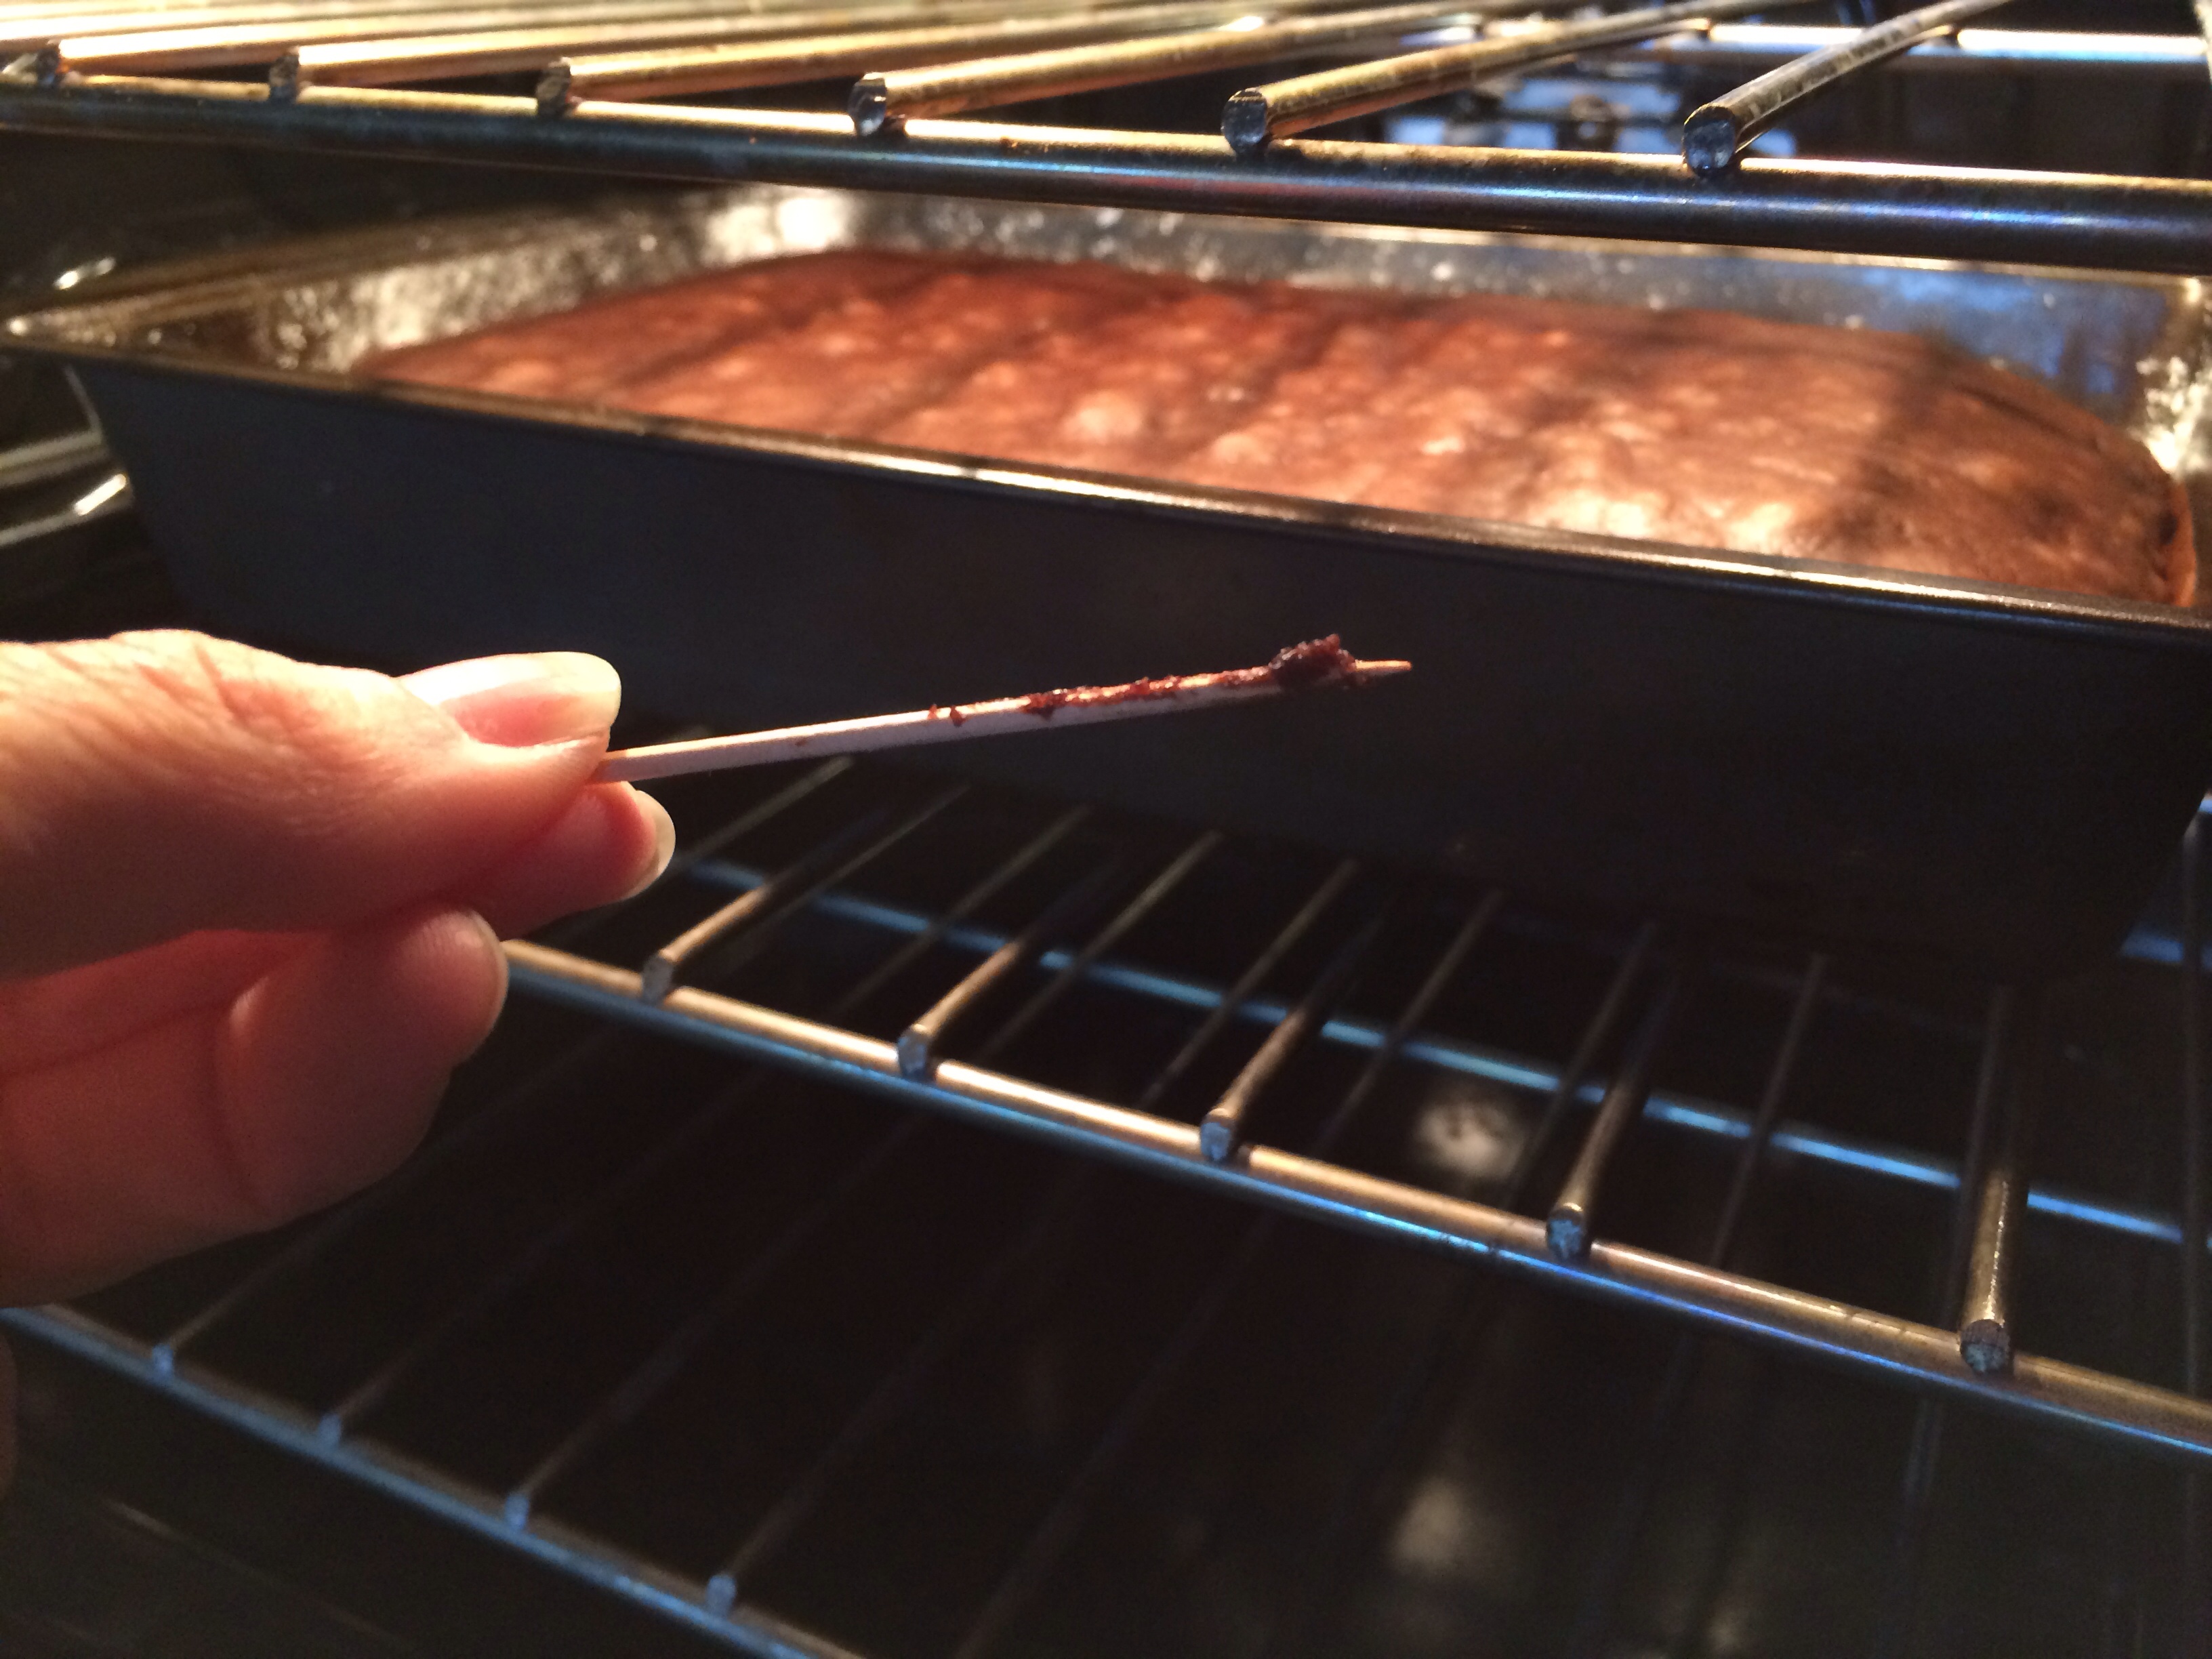
Bake cake for 25-30mins. or until toothpick test is clean.
A toothpick In the cake should come our clean of batter. 5 more minutes!
Meanwhile, melt lava ingredients in a small saucepan on low heat, stirring continuously until melted evenly.
Keep a low flame and stir! You don’t want it to cook just melt.
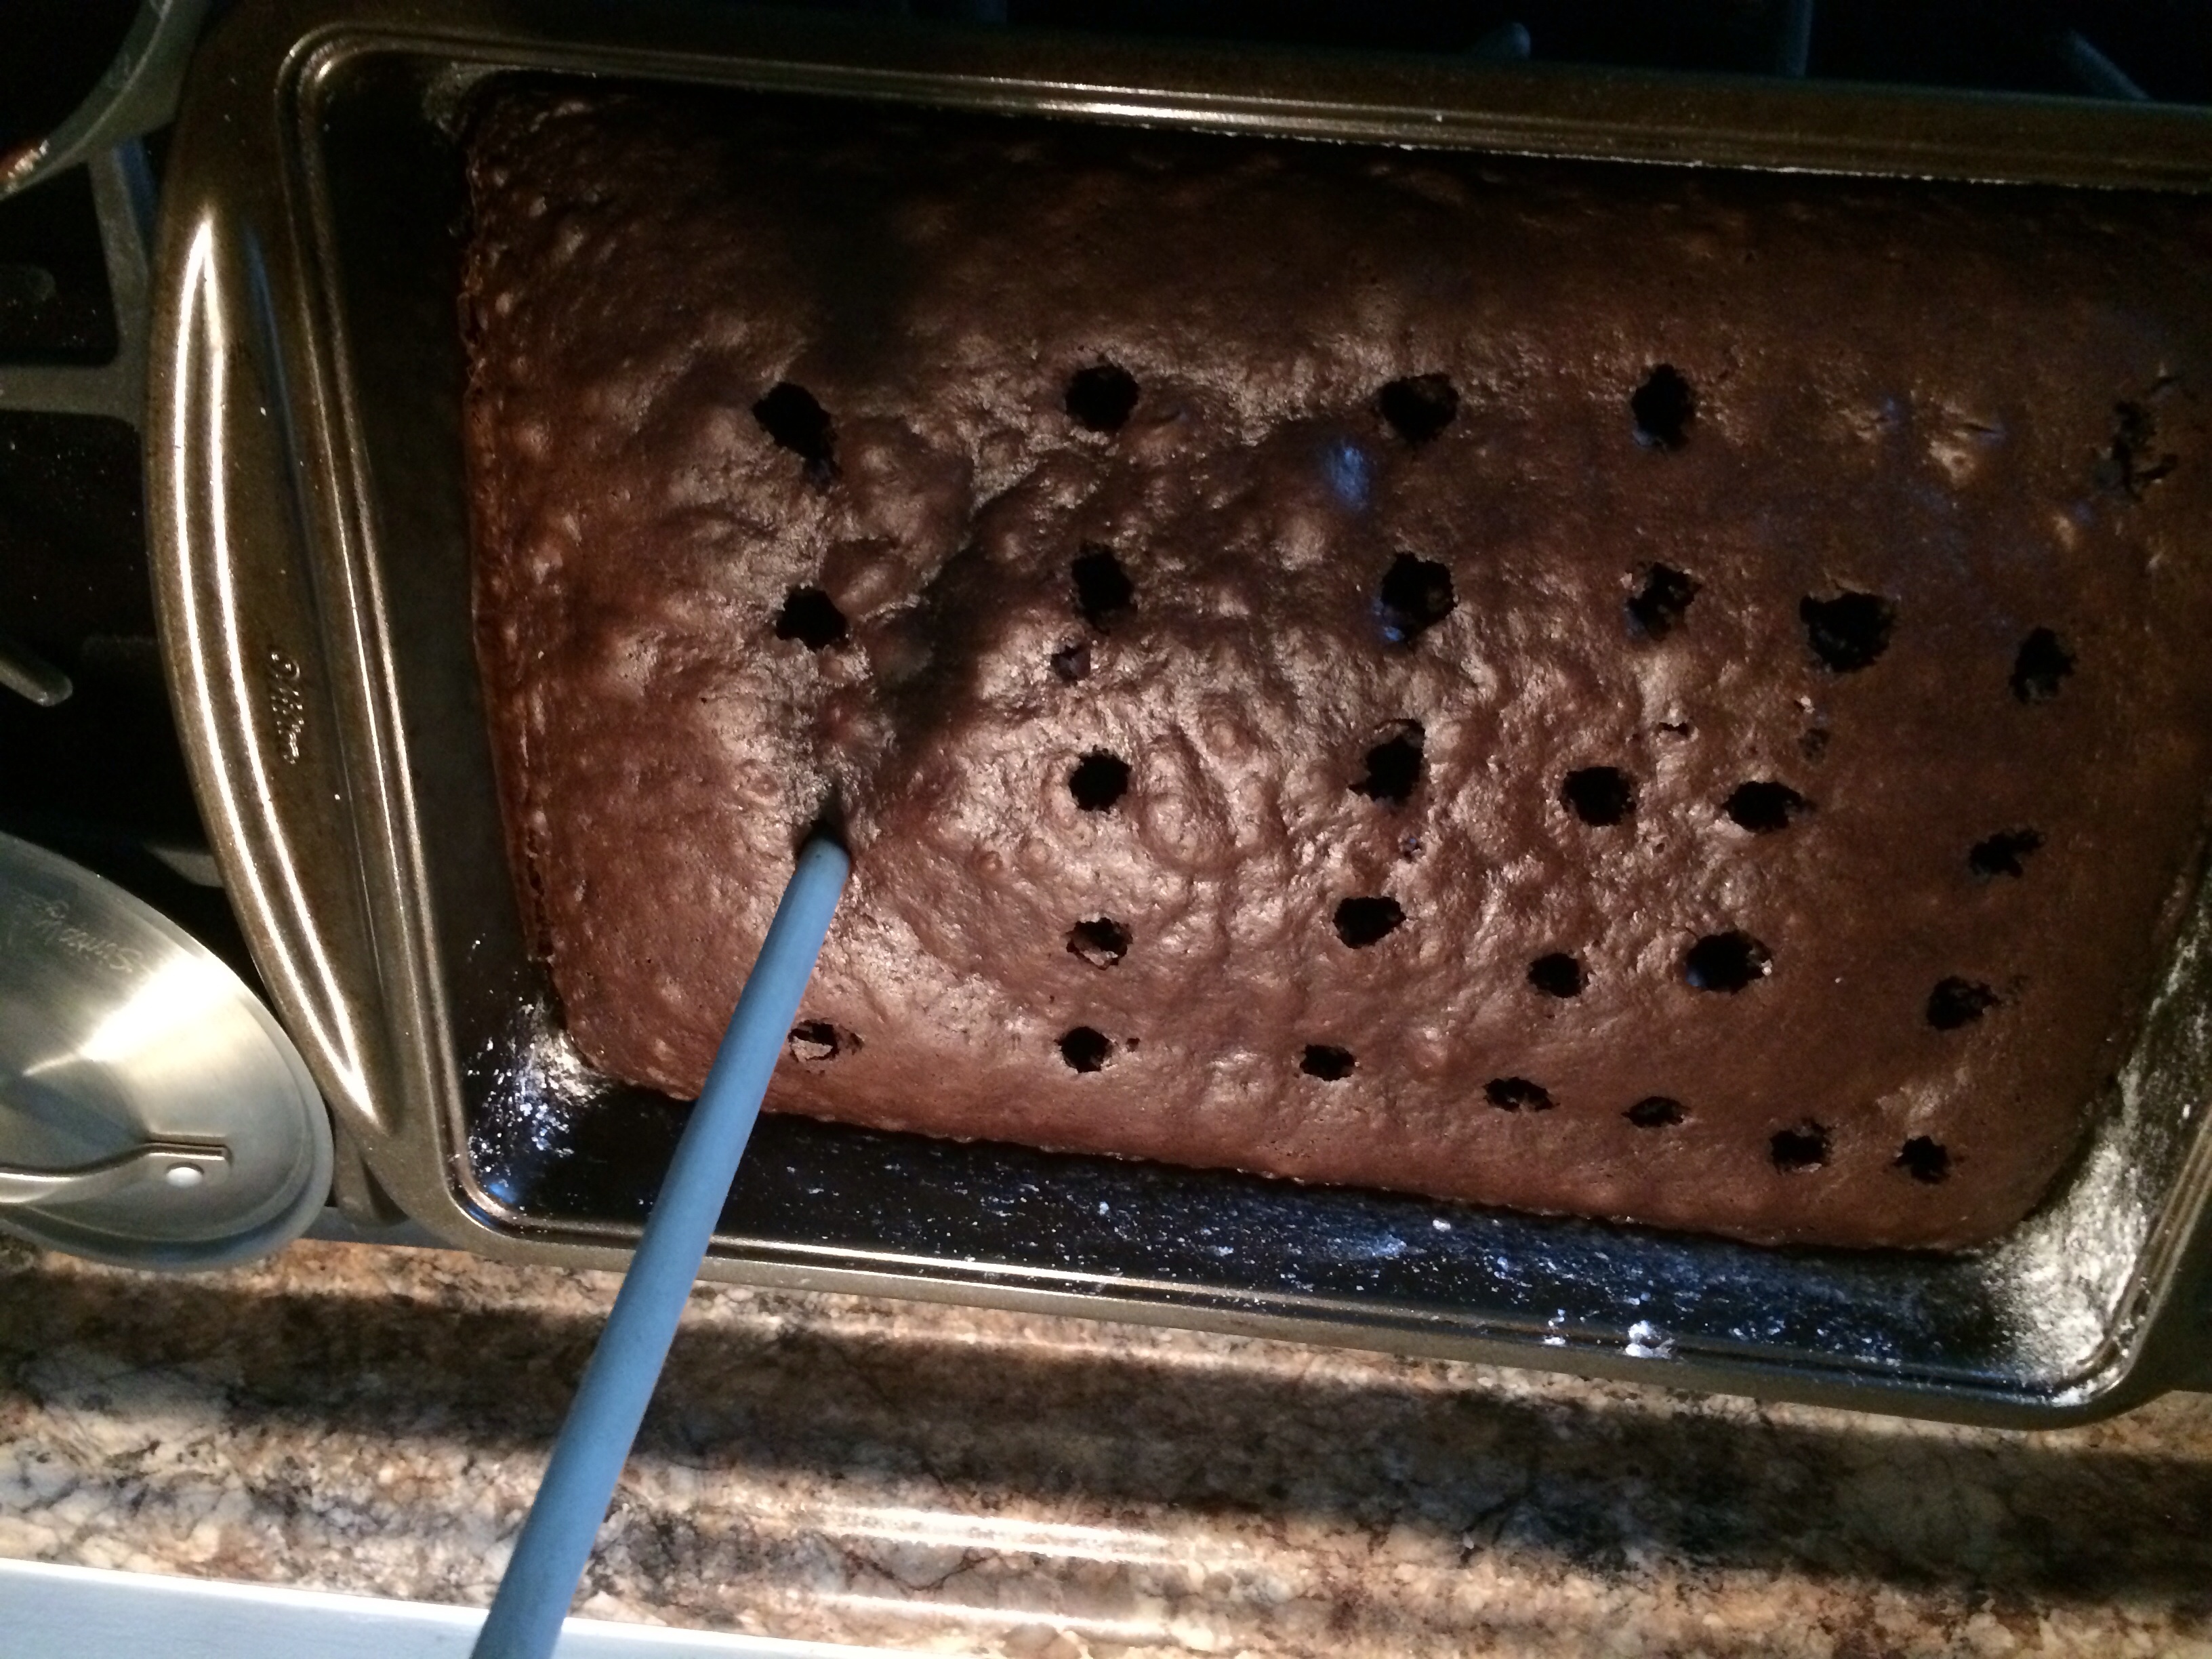
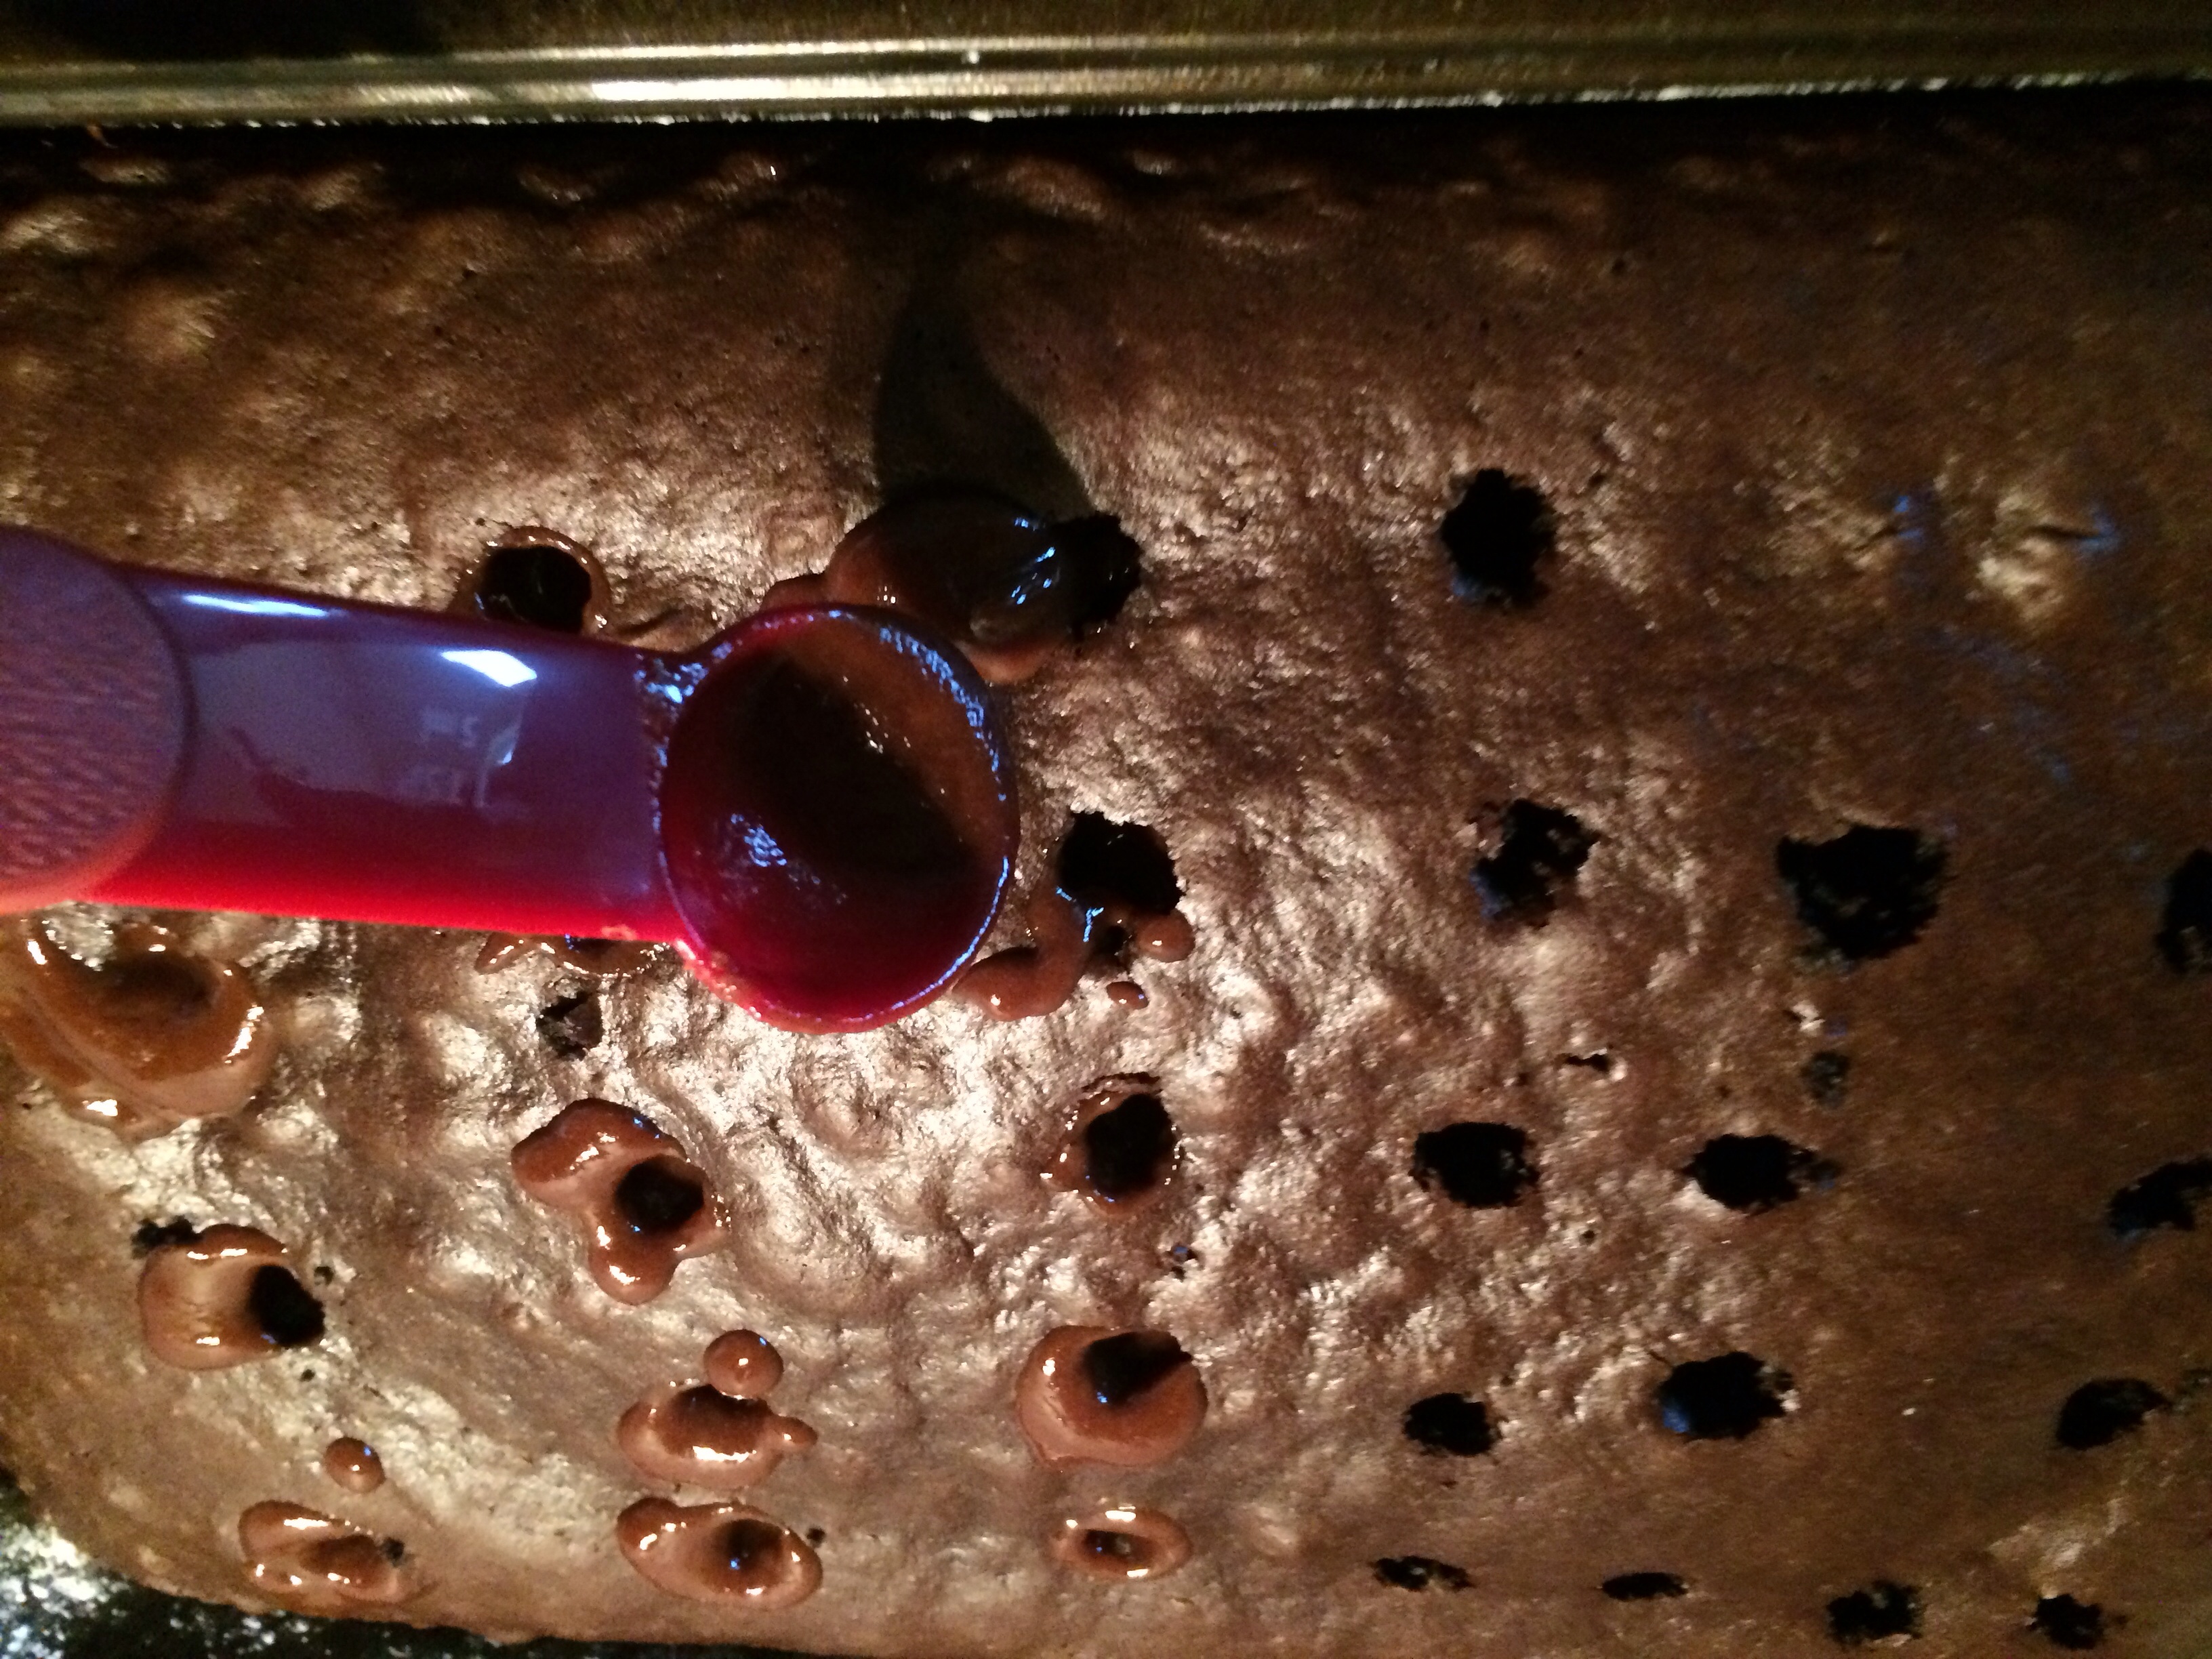
Take the handle of a wooden spoon and make holes 1-1/2inch deep and 2 inches apart in cake.
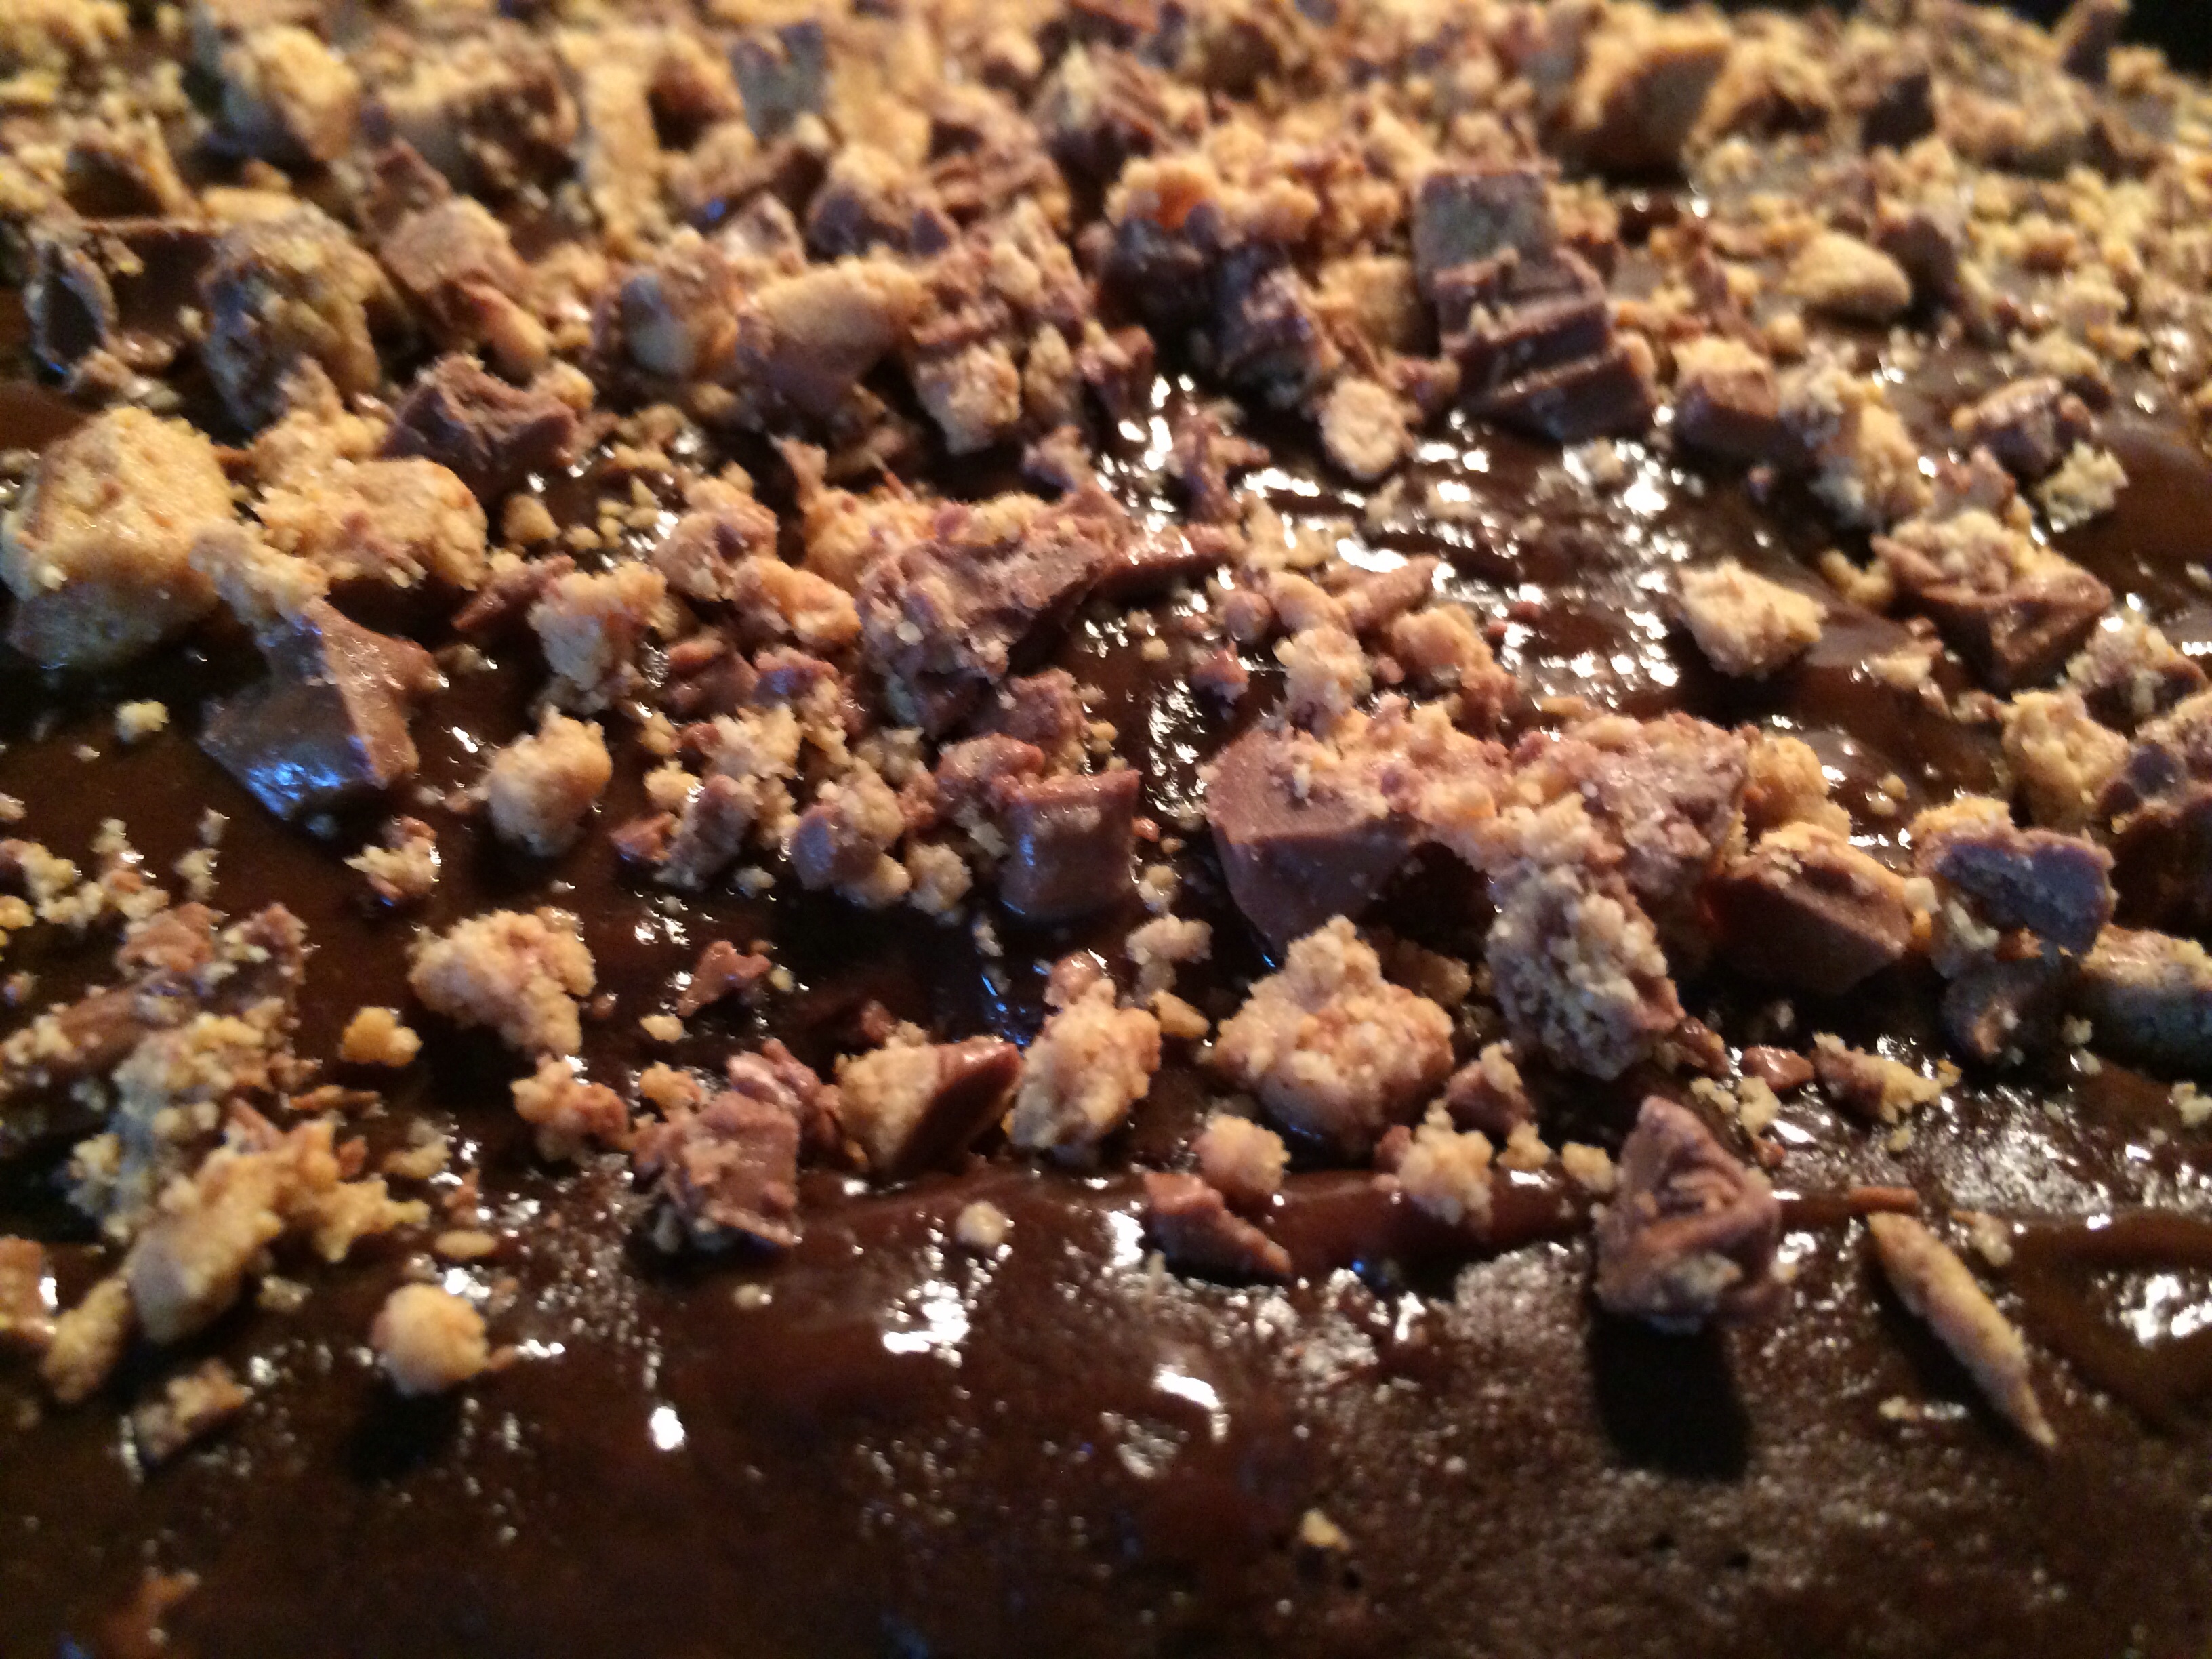
Use a wooden spoon handle. Press into cake and fill with lava filling .
Pour lava mixture in holes until full.
I used a teaspoon! I wanted to really fill the holes. You could just spread mixture like icing on top of holes, too!
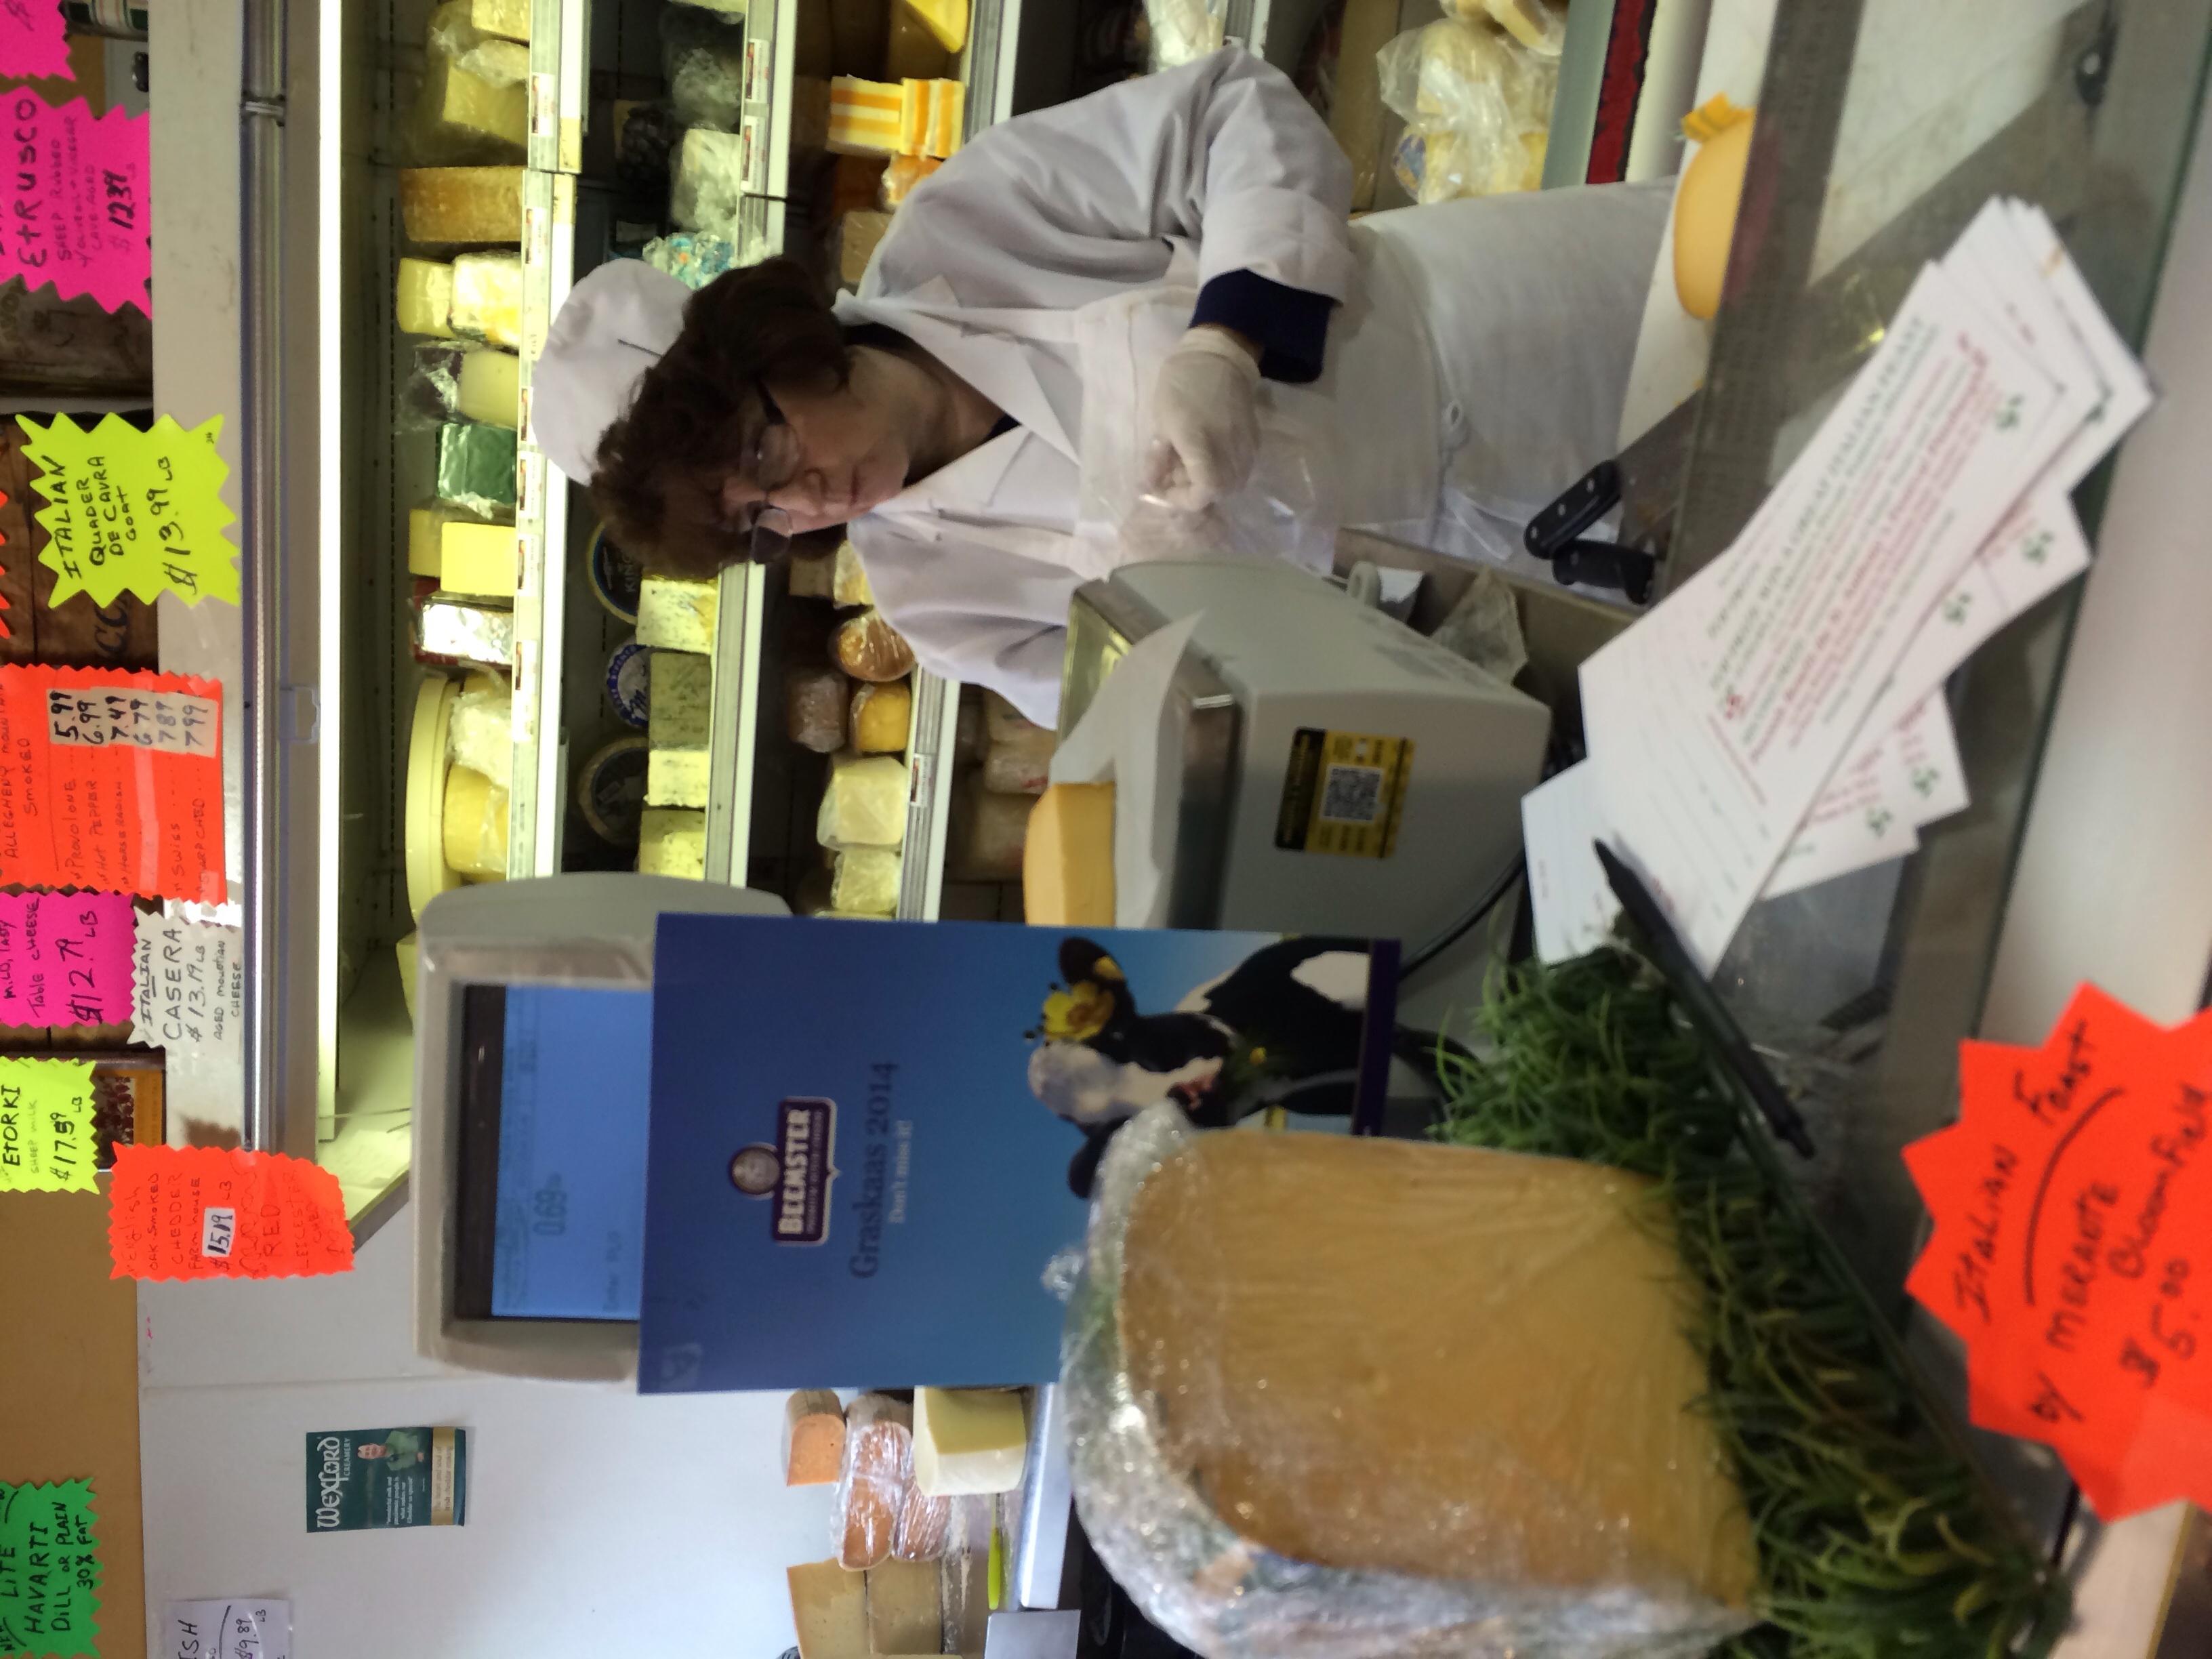
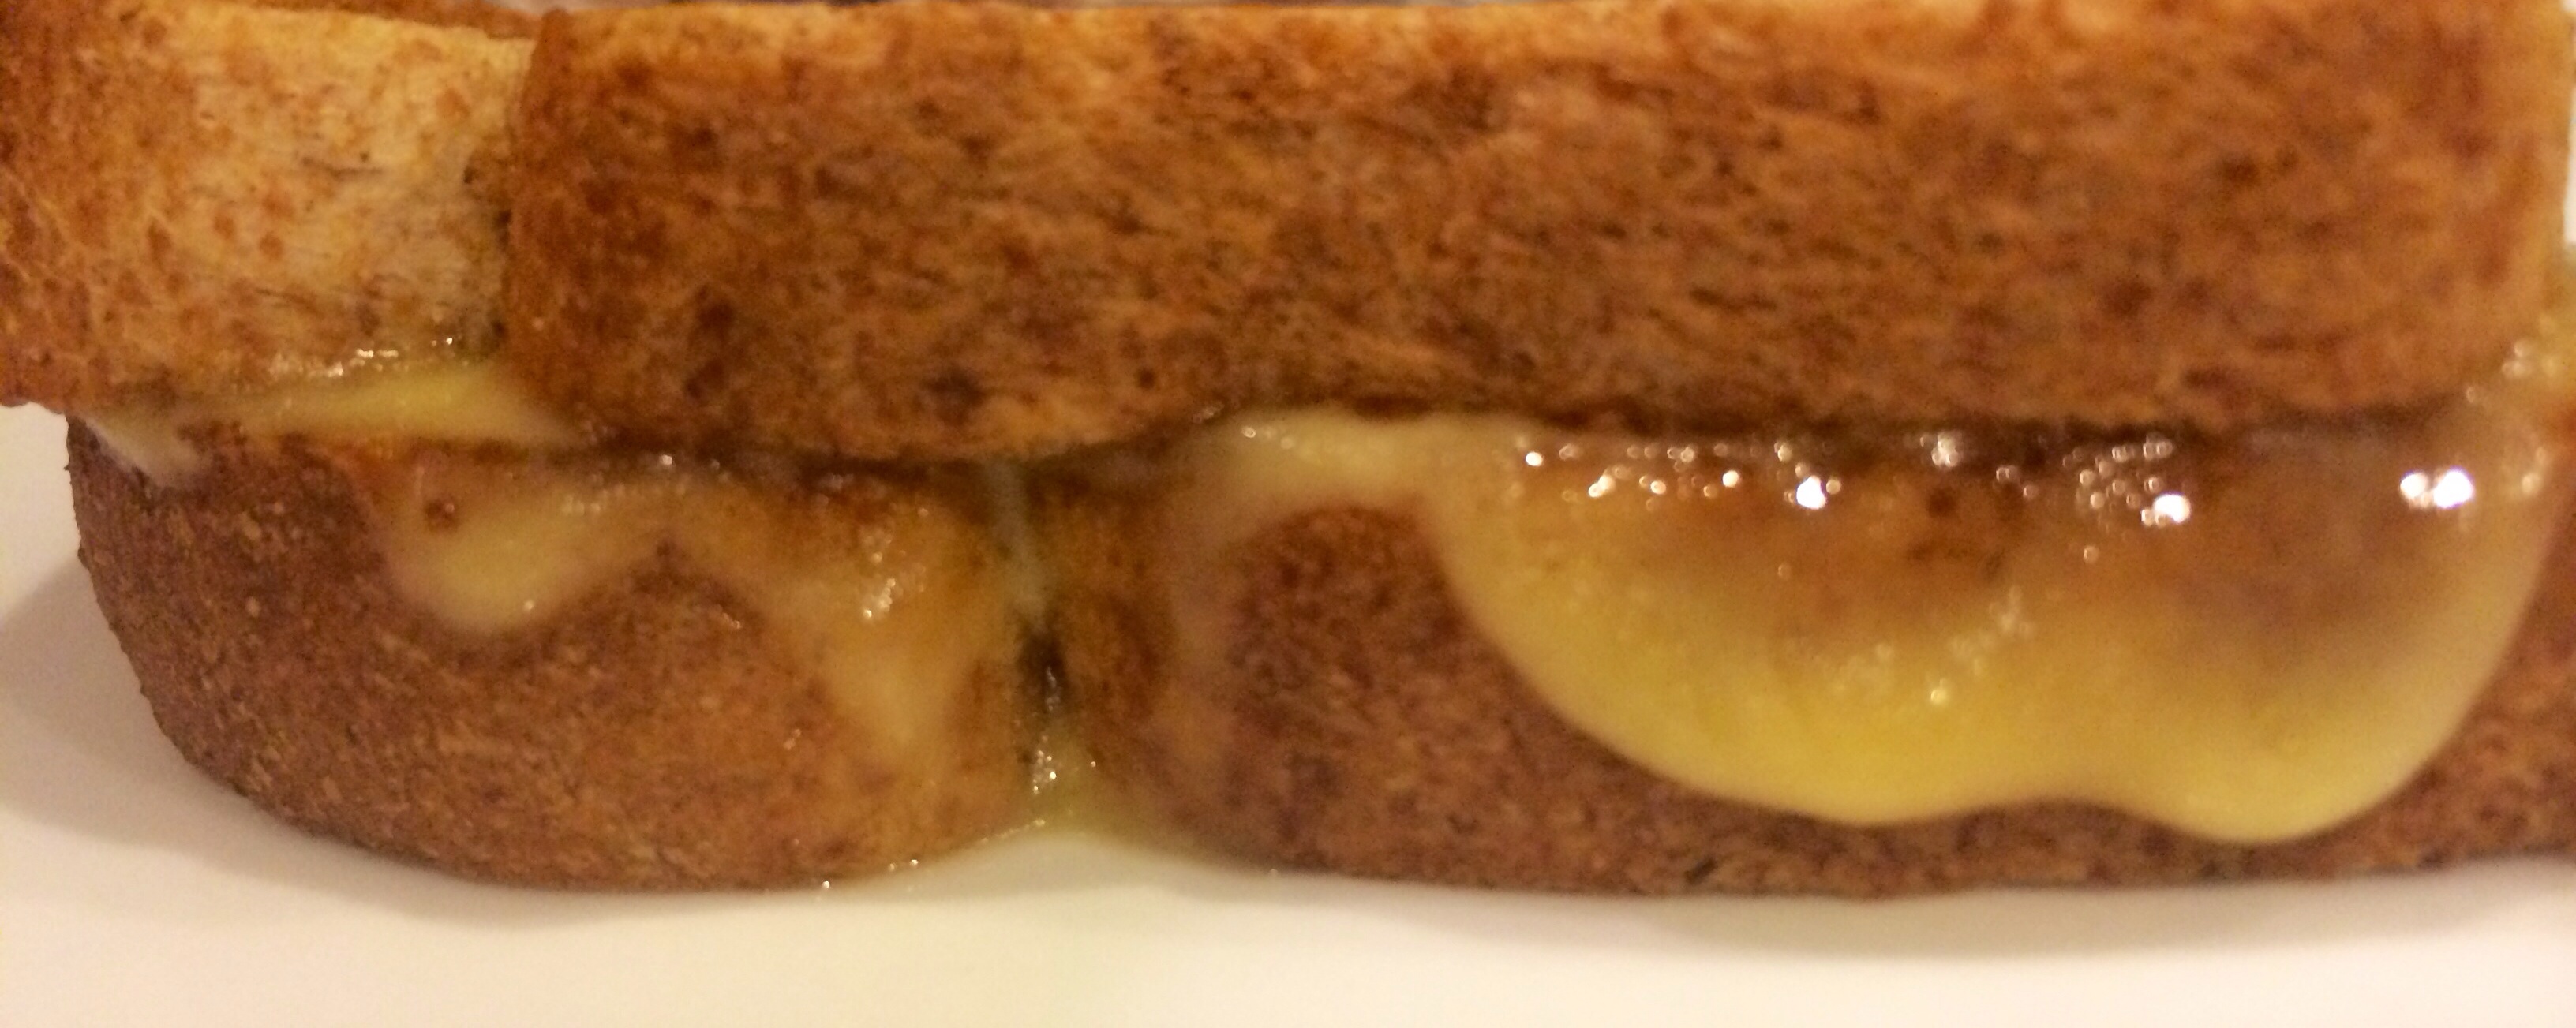
Beemster Graskaas, sounds like someone needs their mouth washed out with soap!! Beemster is actually a Dutch cheese company and Graskaas is Dutch for “grass cheese!” This seasonal, super creamy cheese is created every Spring after the Beemster cows leave their barn and feed on the fresh, Spring grass. Only their first milk is used to make Graskaas!
The village of Beemster is the only co-op left in Holland in which cheese curds are stirred and raked by hand! The CONO cheesemakers co-op has been making delicious cheese since 1901!
Only 2,000 wheels of Graskaas are produced in Beemster, Holland, and only 1,000 are shipped to the US! So it must be really expensive, right? Nope! Your average $13.99/lb! Less than my Parrano for sure!
How did I find this cheese? I was having a dinner party and searching for something new! Carol, the Pittsburgh legend Dear Heart of Pennsylvania Macaroni Co. in Pittsburgh’s Strip District, had me taste it and told me the Graskaas story! I enjoyed telling the story and having everyone sample the cheese!
A seasonal treat, Beemster’s Graskaas is sold mid-May until it’s gone!
Get your Graskaas today!
Graskaas and Date Salad Recipe!
Click link for the recipe!
http://www.pennmac.com/items/4471//beemster-graskaas-cheese-holland
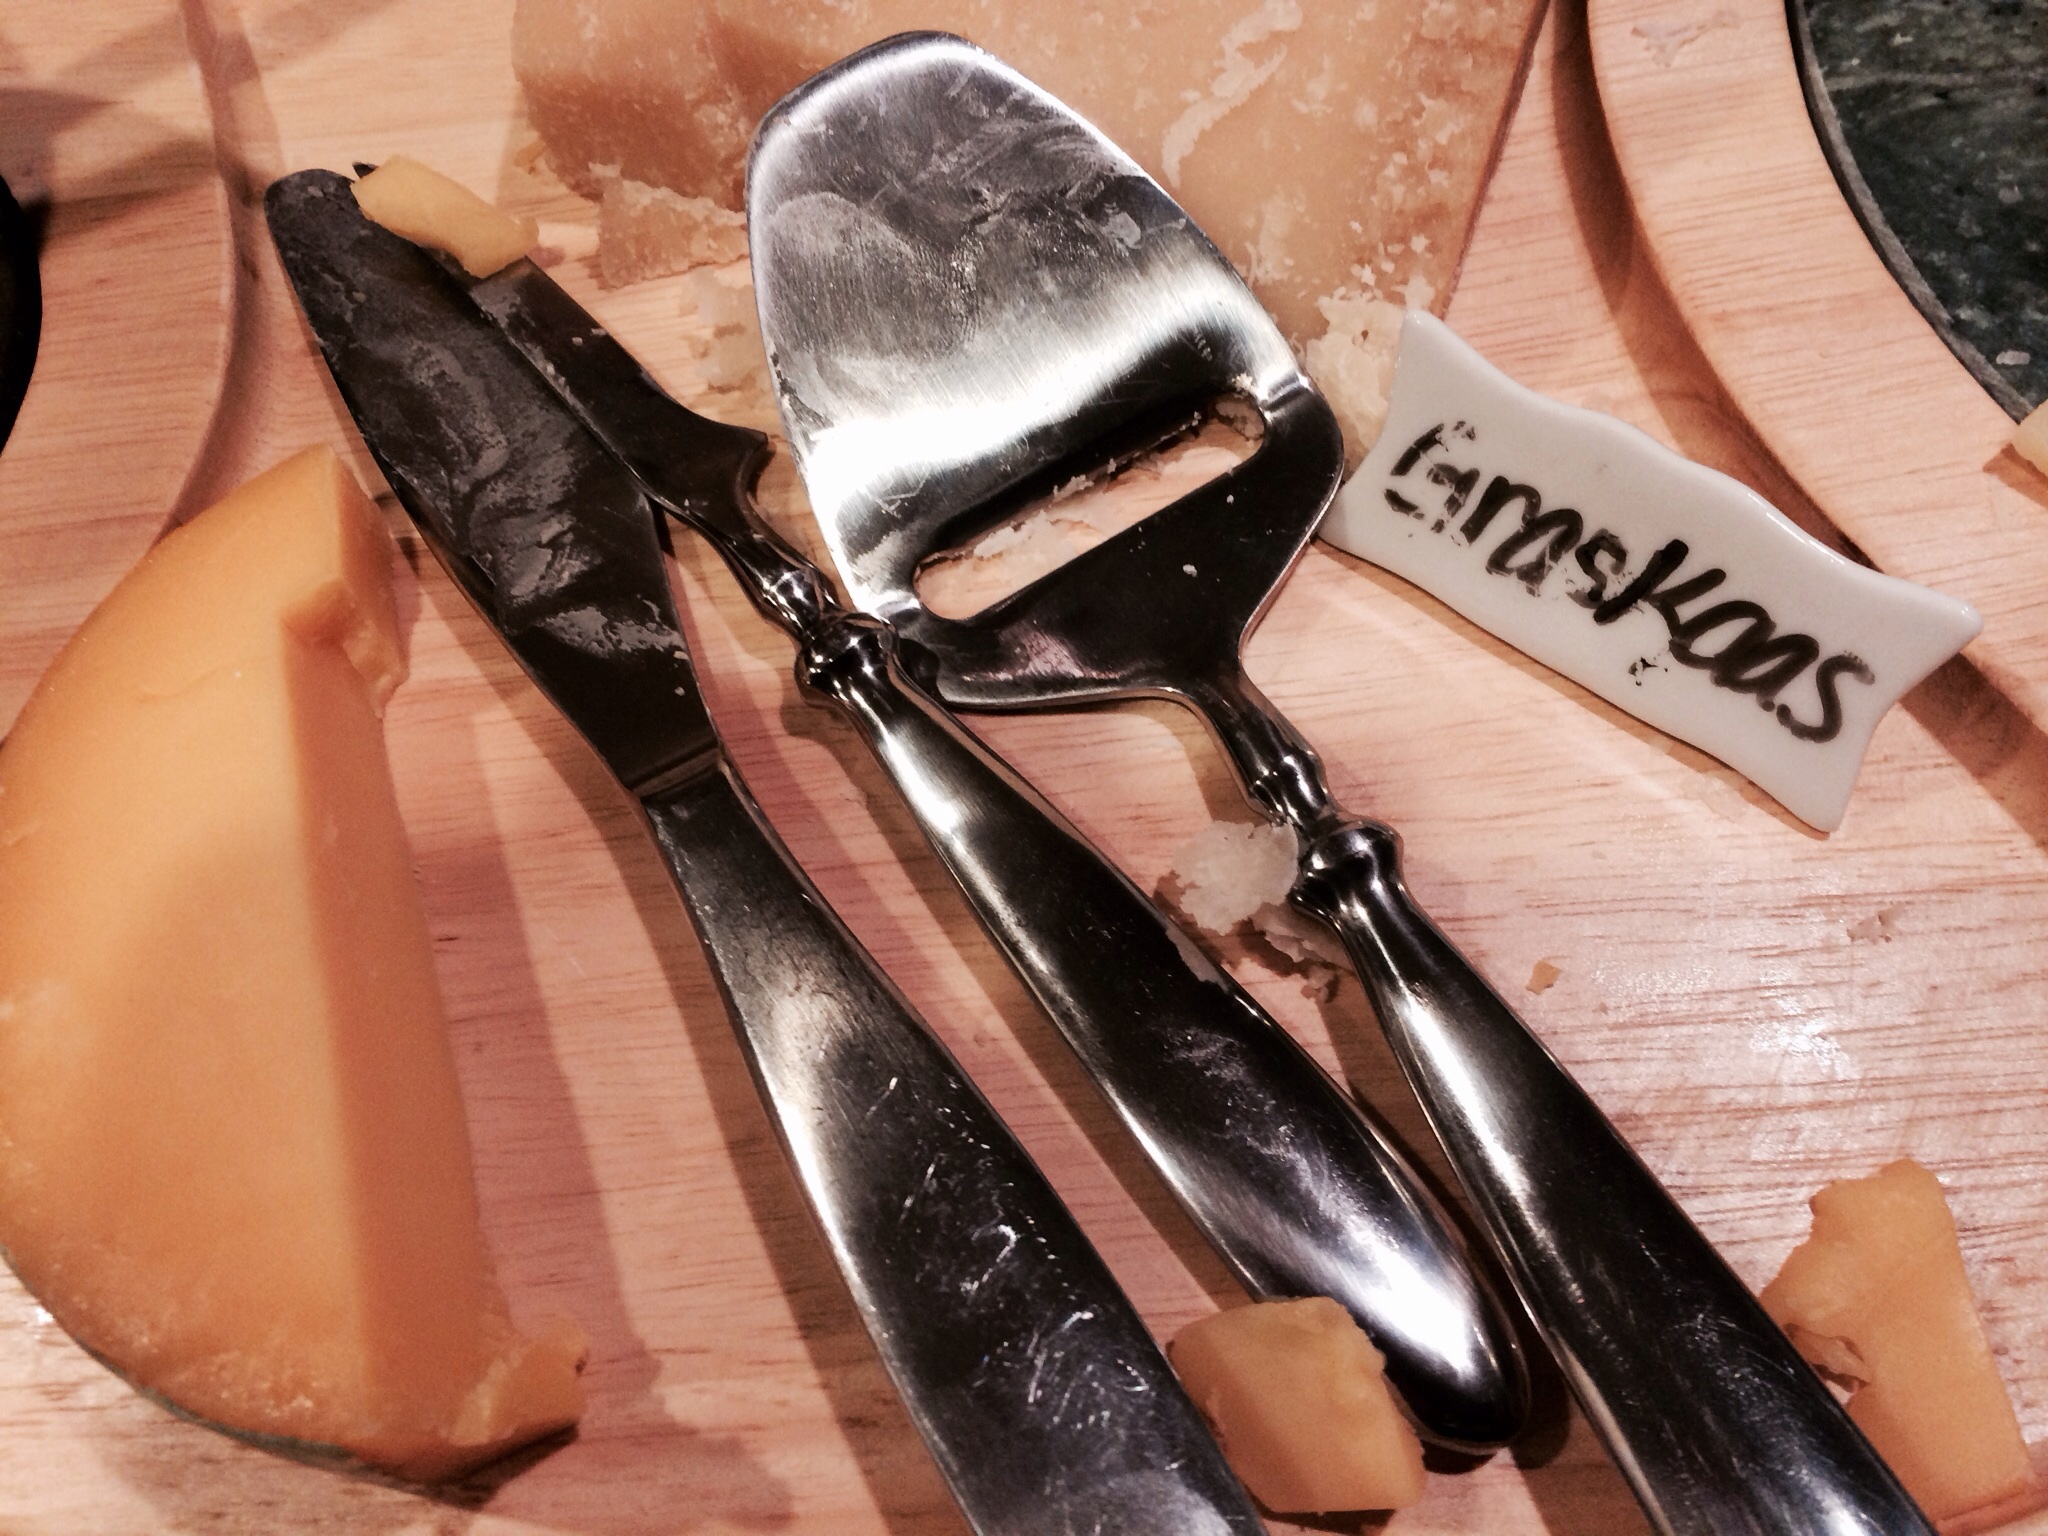
Our guests enjoyed the cheese and the story!
Graskaas has a very mild and creamy flavor. Aged for only one month before being sold, it is the opposite of my usual pungent hard cheese taste. I give my new soft cheeses the Grilled Cheese Test! And Beemster’s Graskaas got an A+ for meltability and creaminess!
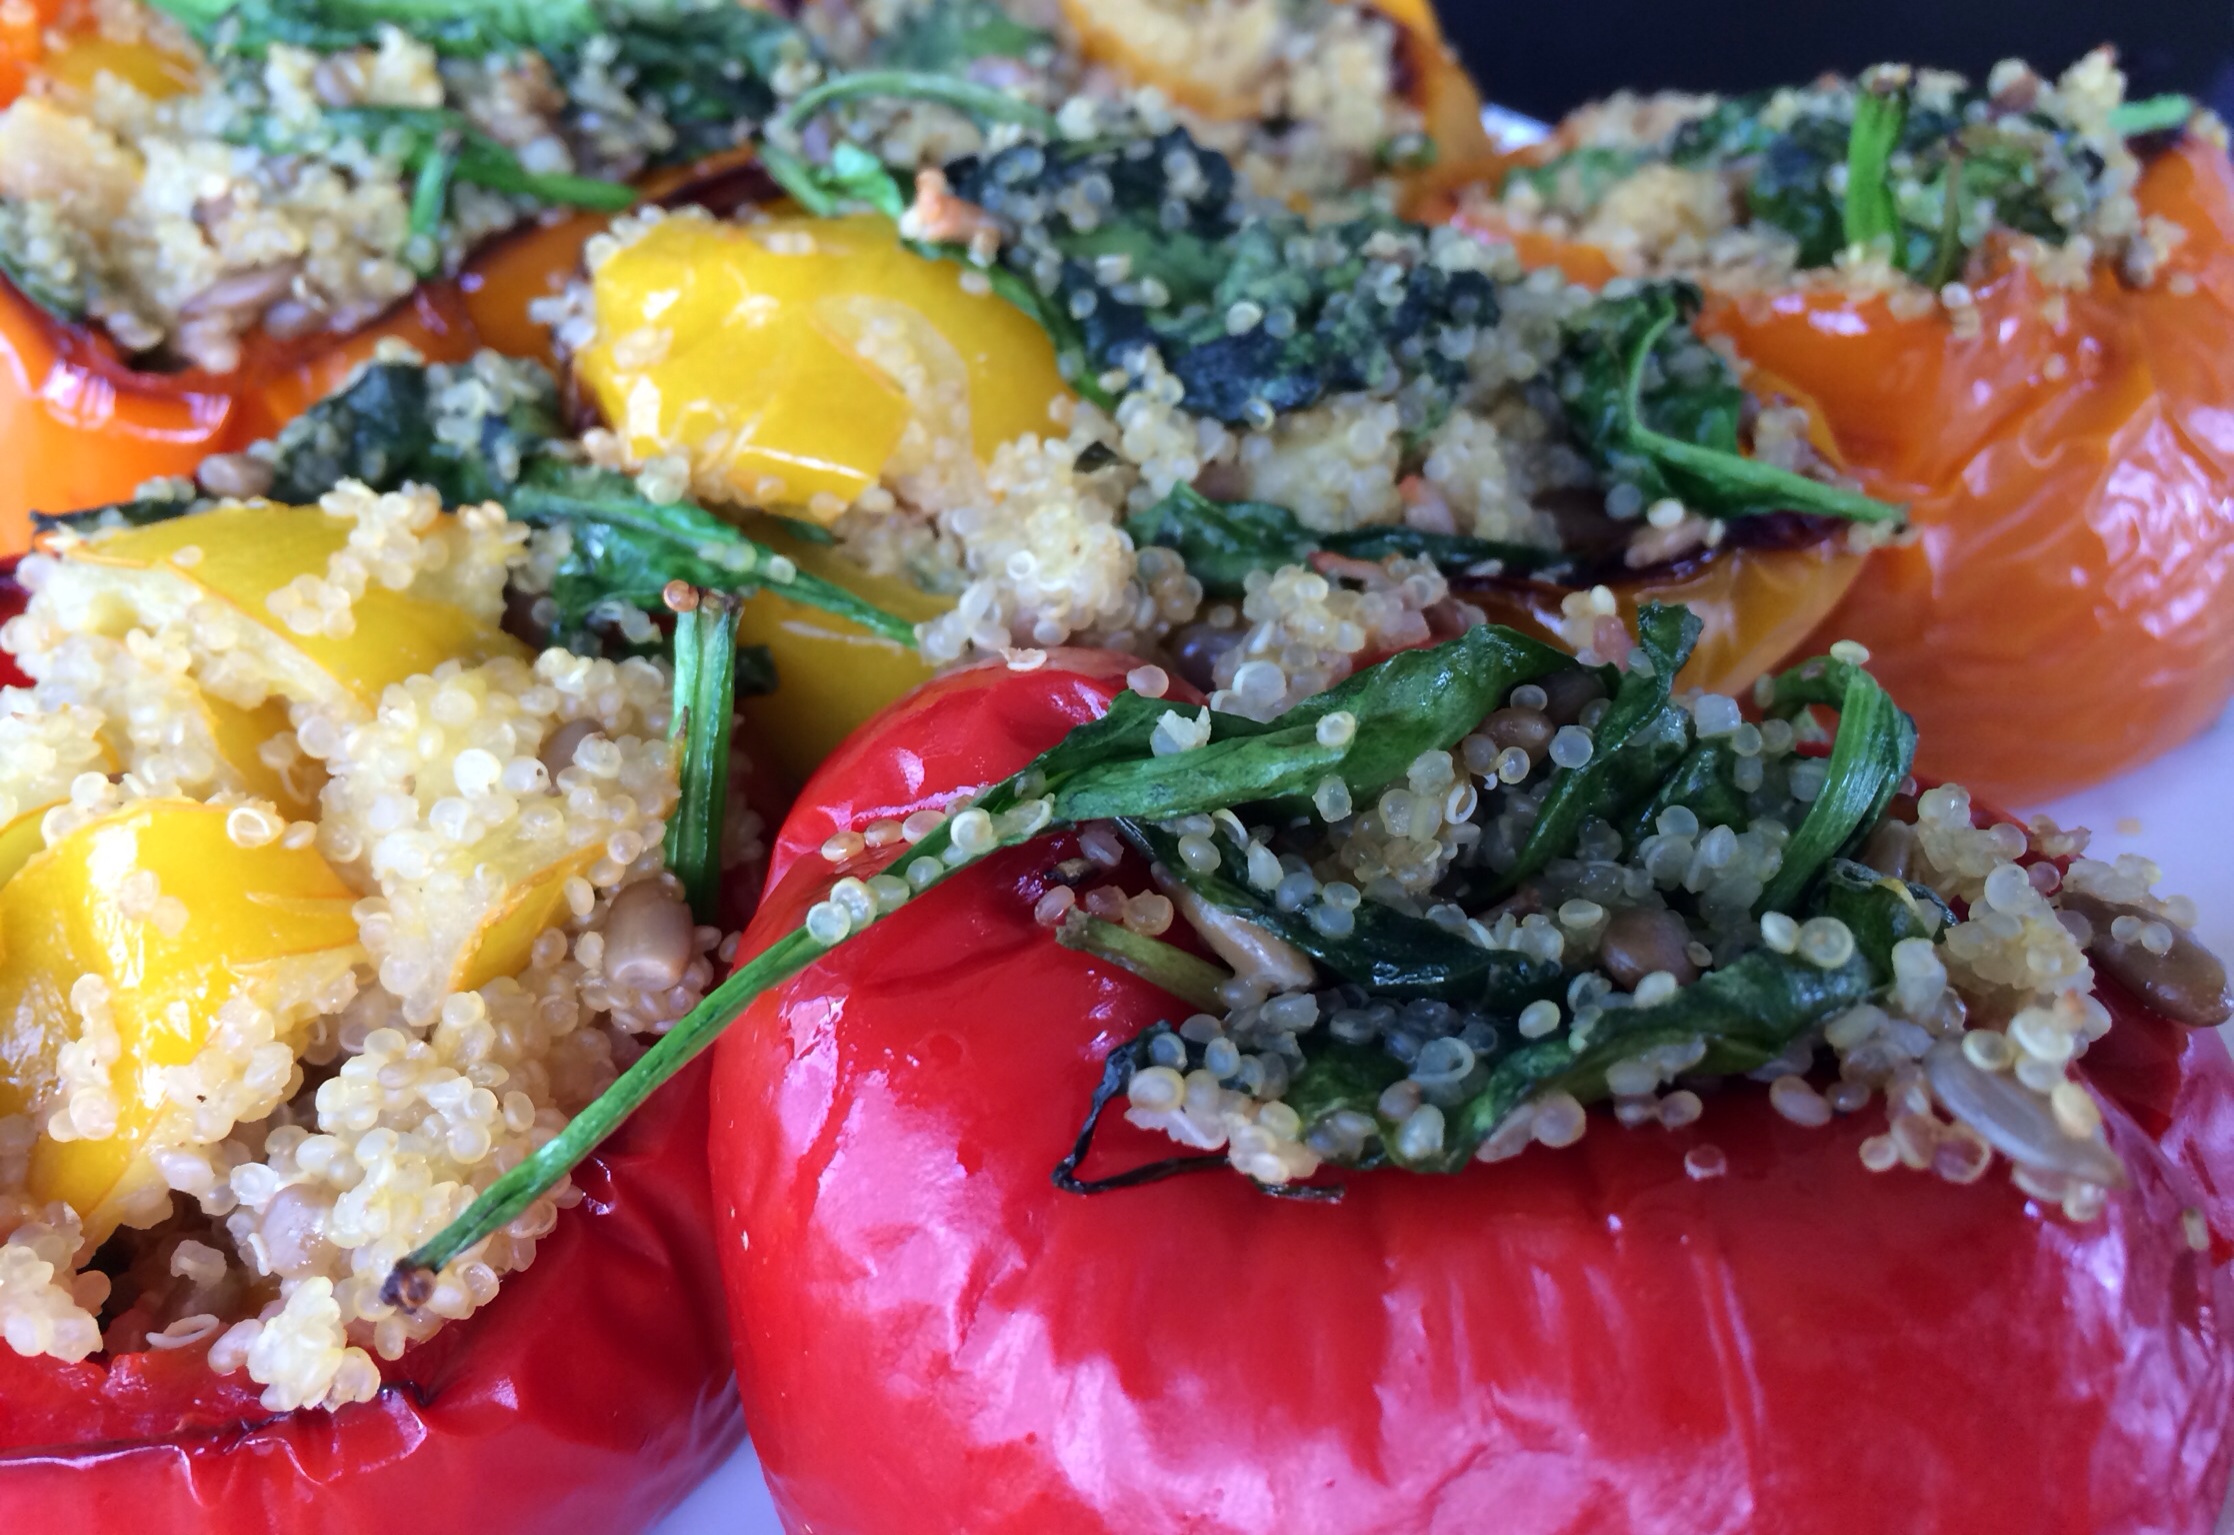
Pepper Perfection! My favorite pepper creation so far! Try this recipe!
Packed with superfood quinoa and vitamins and minerals, these stuffed peppers maximize on taste and are super healthy! The kids love to eat out of the pepper bowl and then eat the pepper! So cute! Roasted Quinoa and Veggie Stuffed Peppers
Ingredients:
6 bell peppers, any color!
2 tbsp. olive oil
2 cloves of garlic, pressed
1 small onion, chopped
1 cup quinoa
2 cups water
1/4 cup sunflower seeds
6 basil leaves, chopped
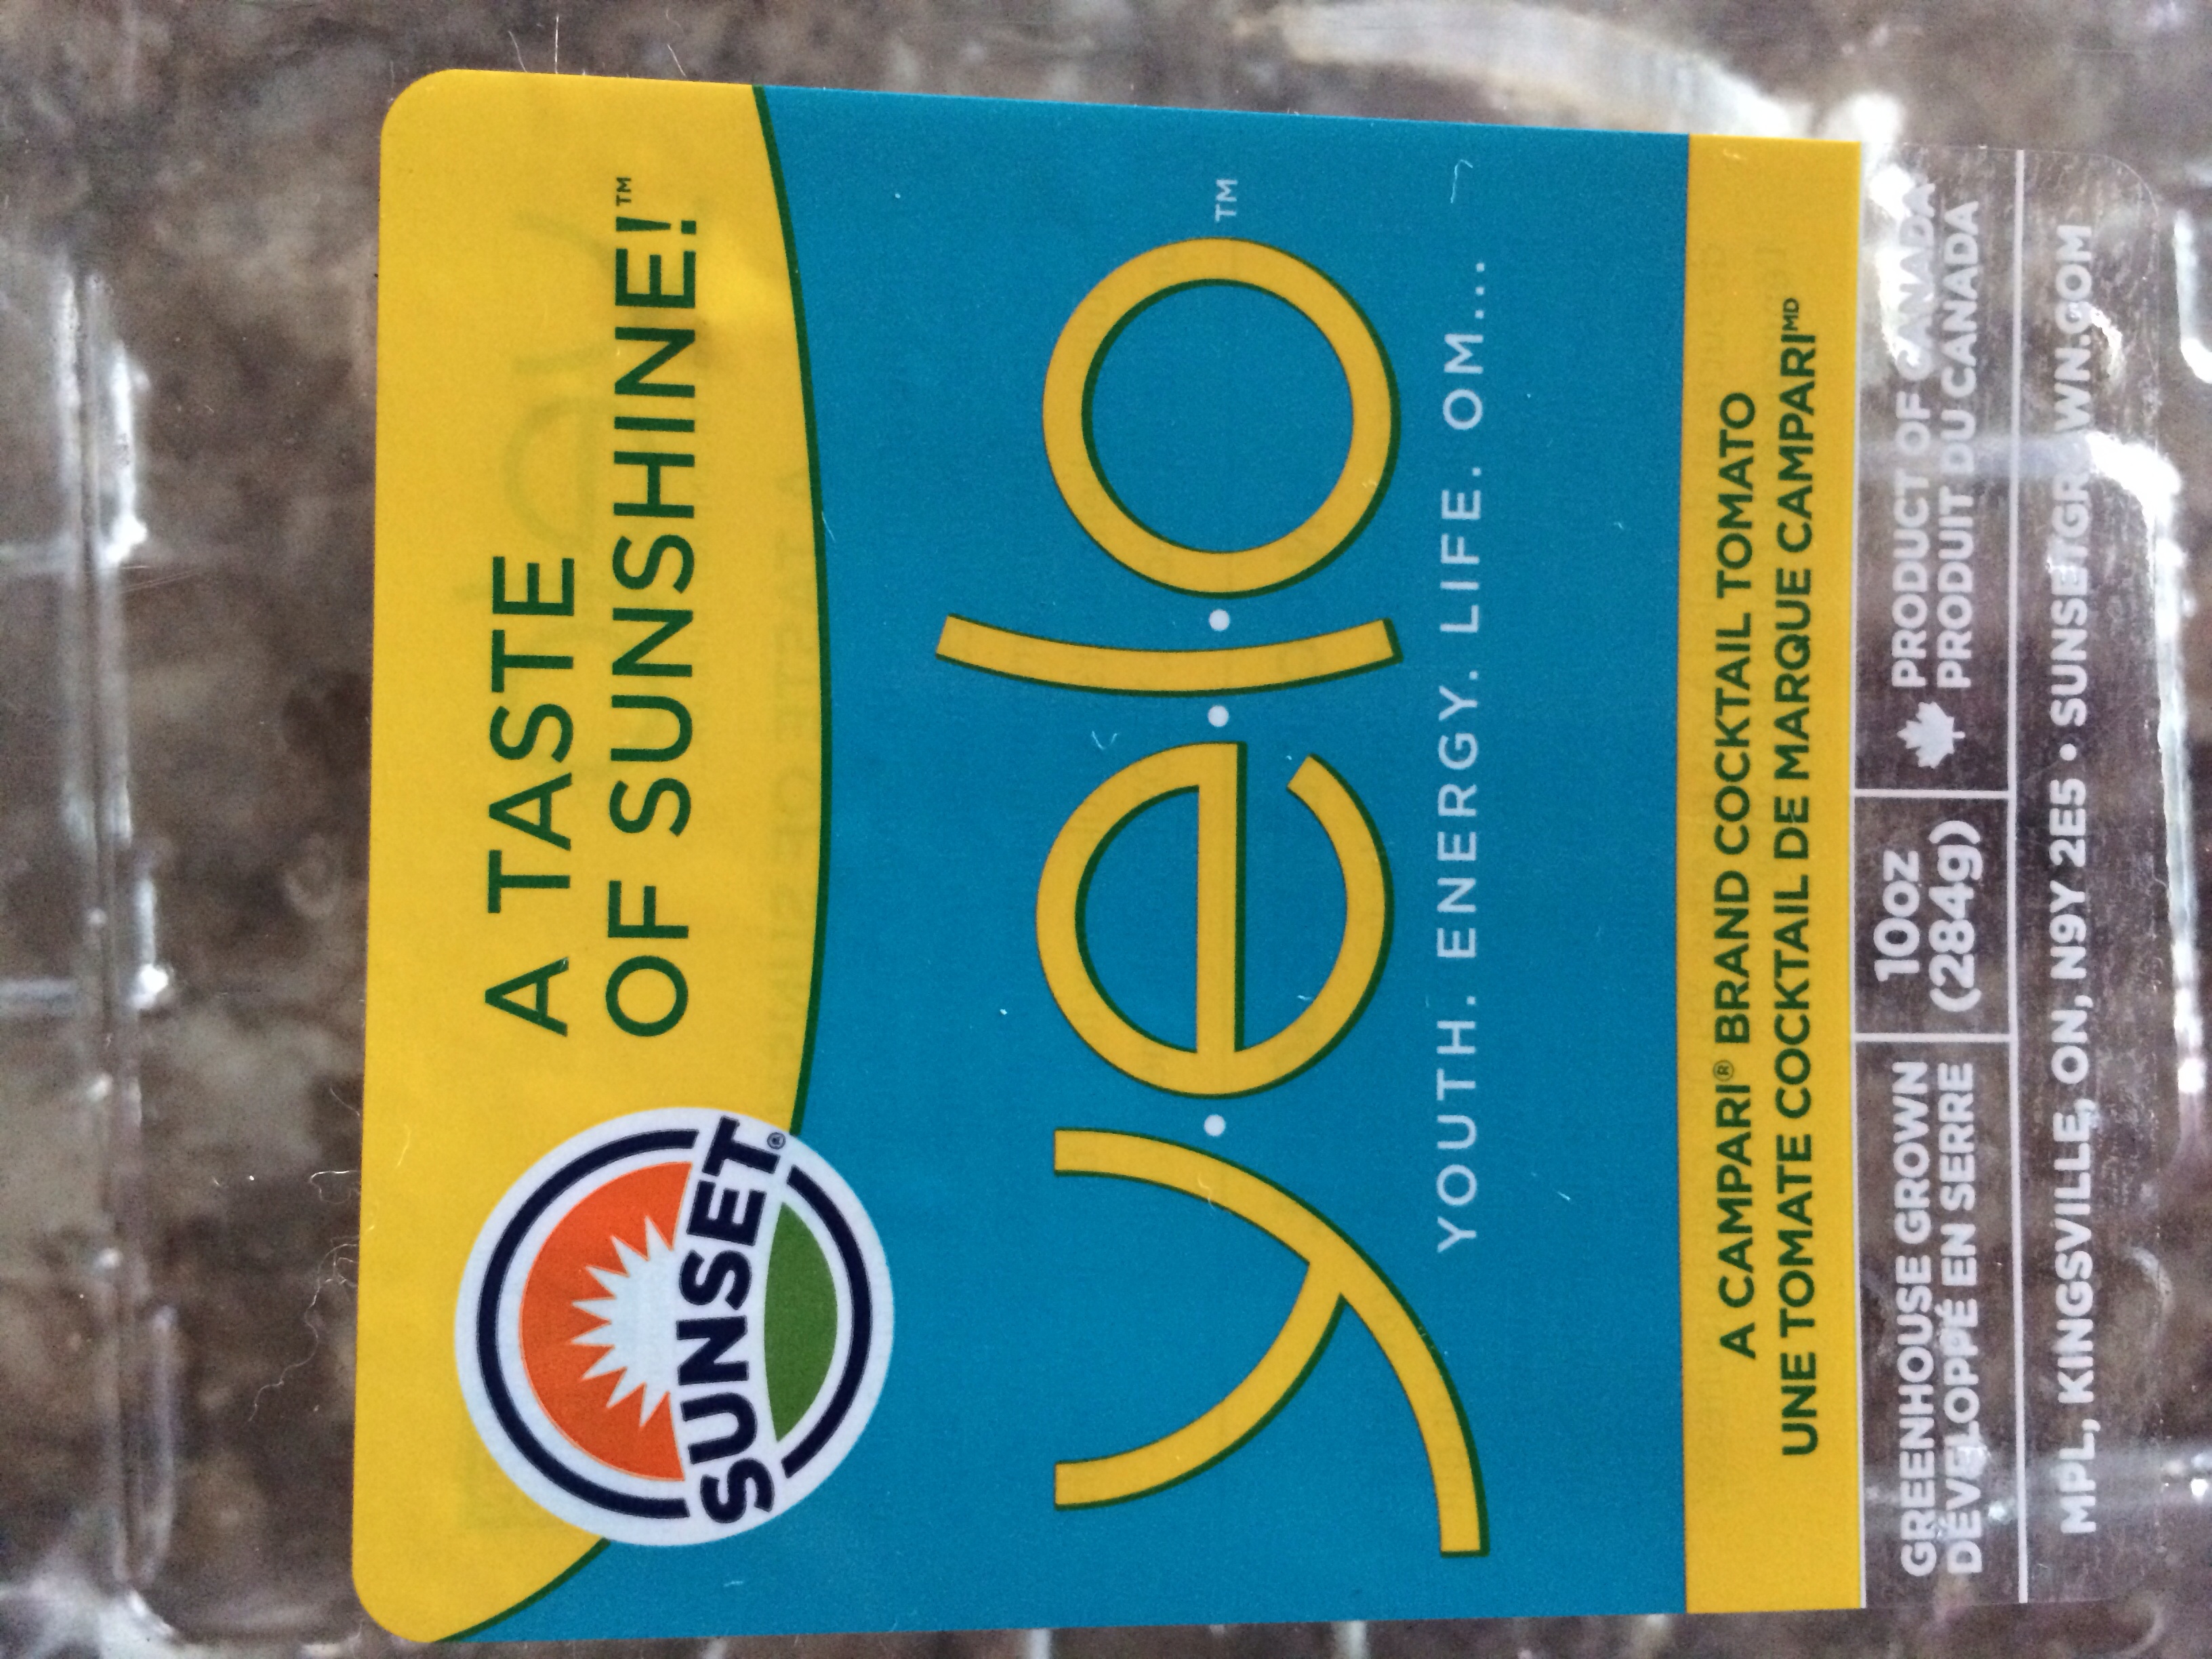
5 Yelo tomatoes
I chose these at the produce market because the package states “youth, energy, life” Yep, they got me at youth!
Ingredients (cont.) 1 handful of spinach
1/4 cup freshly grated Parmesan cheese
1/2 cup shredded mozzarella cheese
Directions:
Preheat oven to 400 degrees.
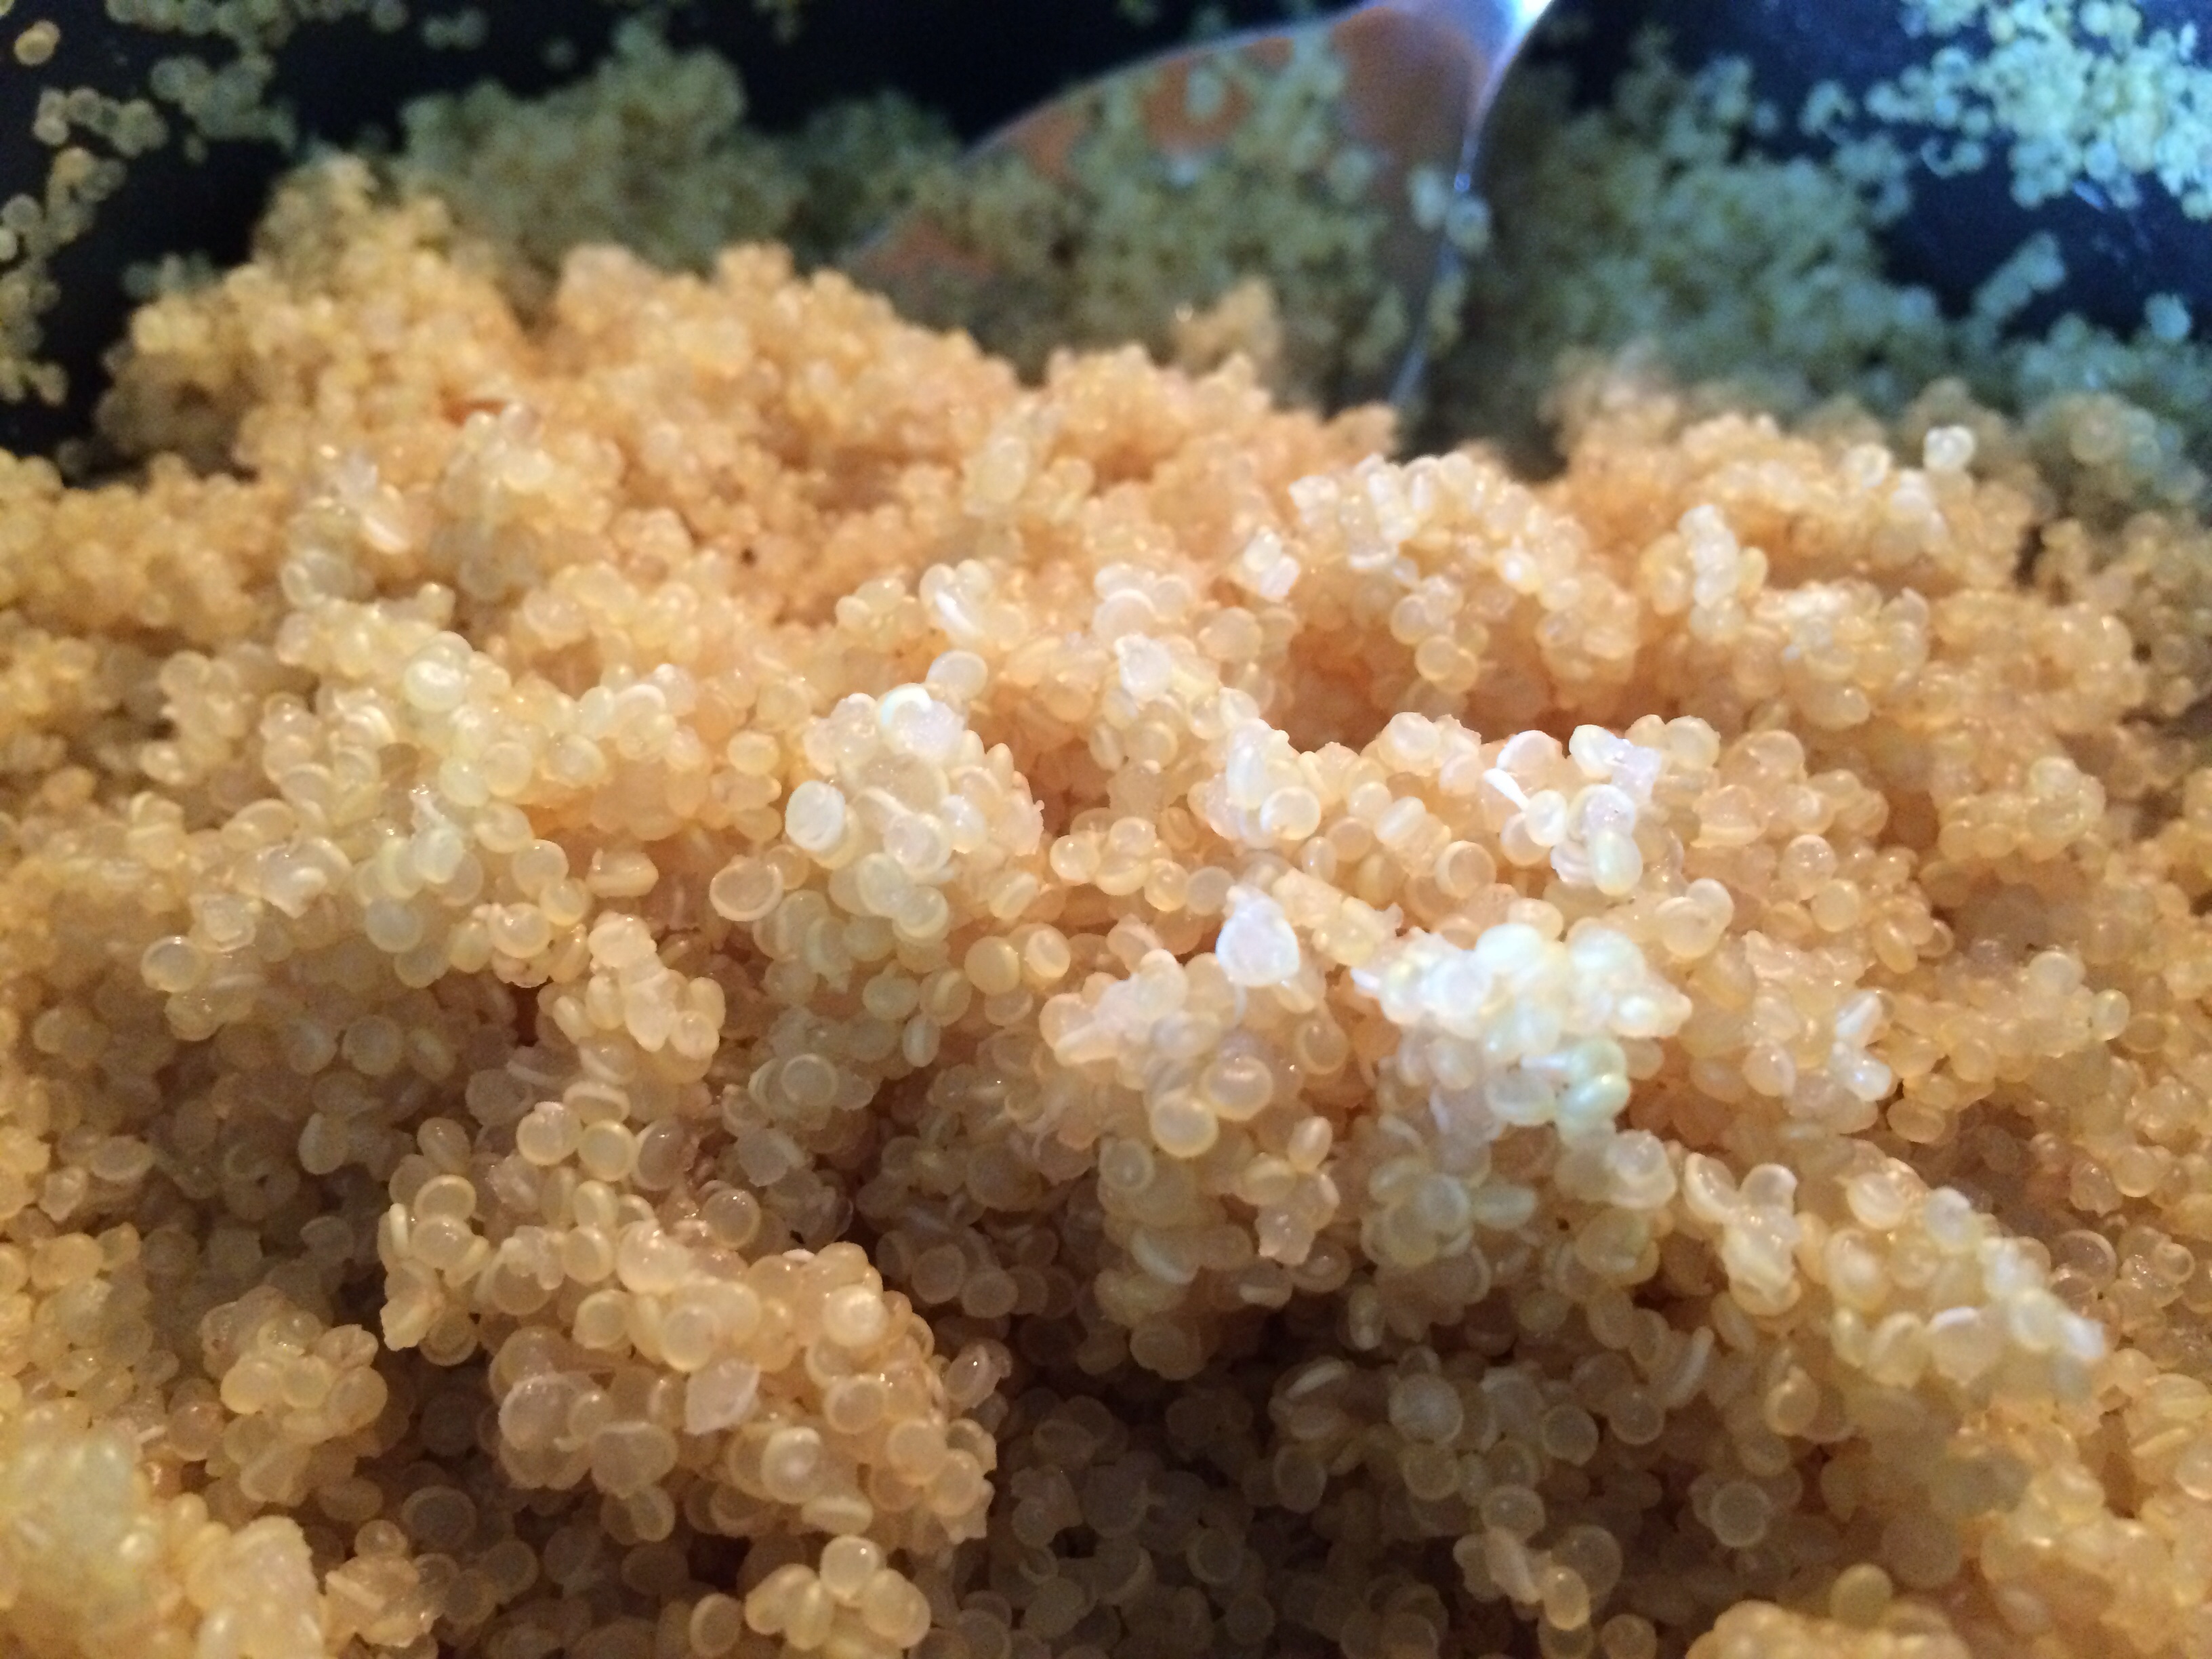
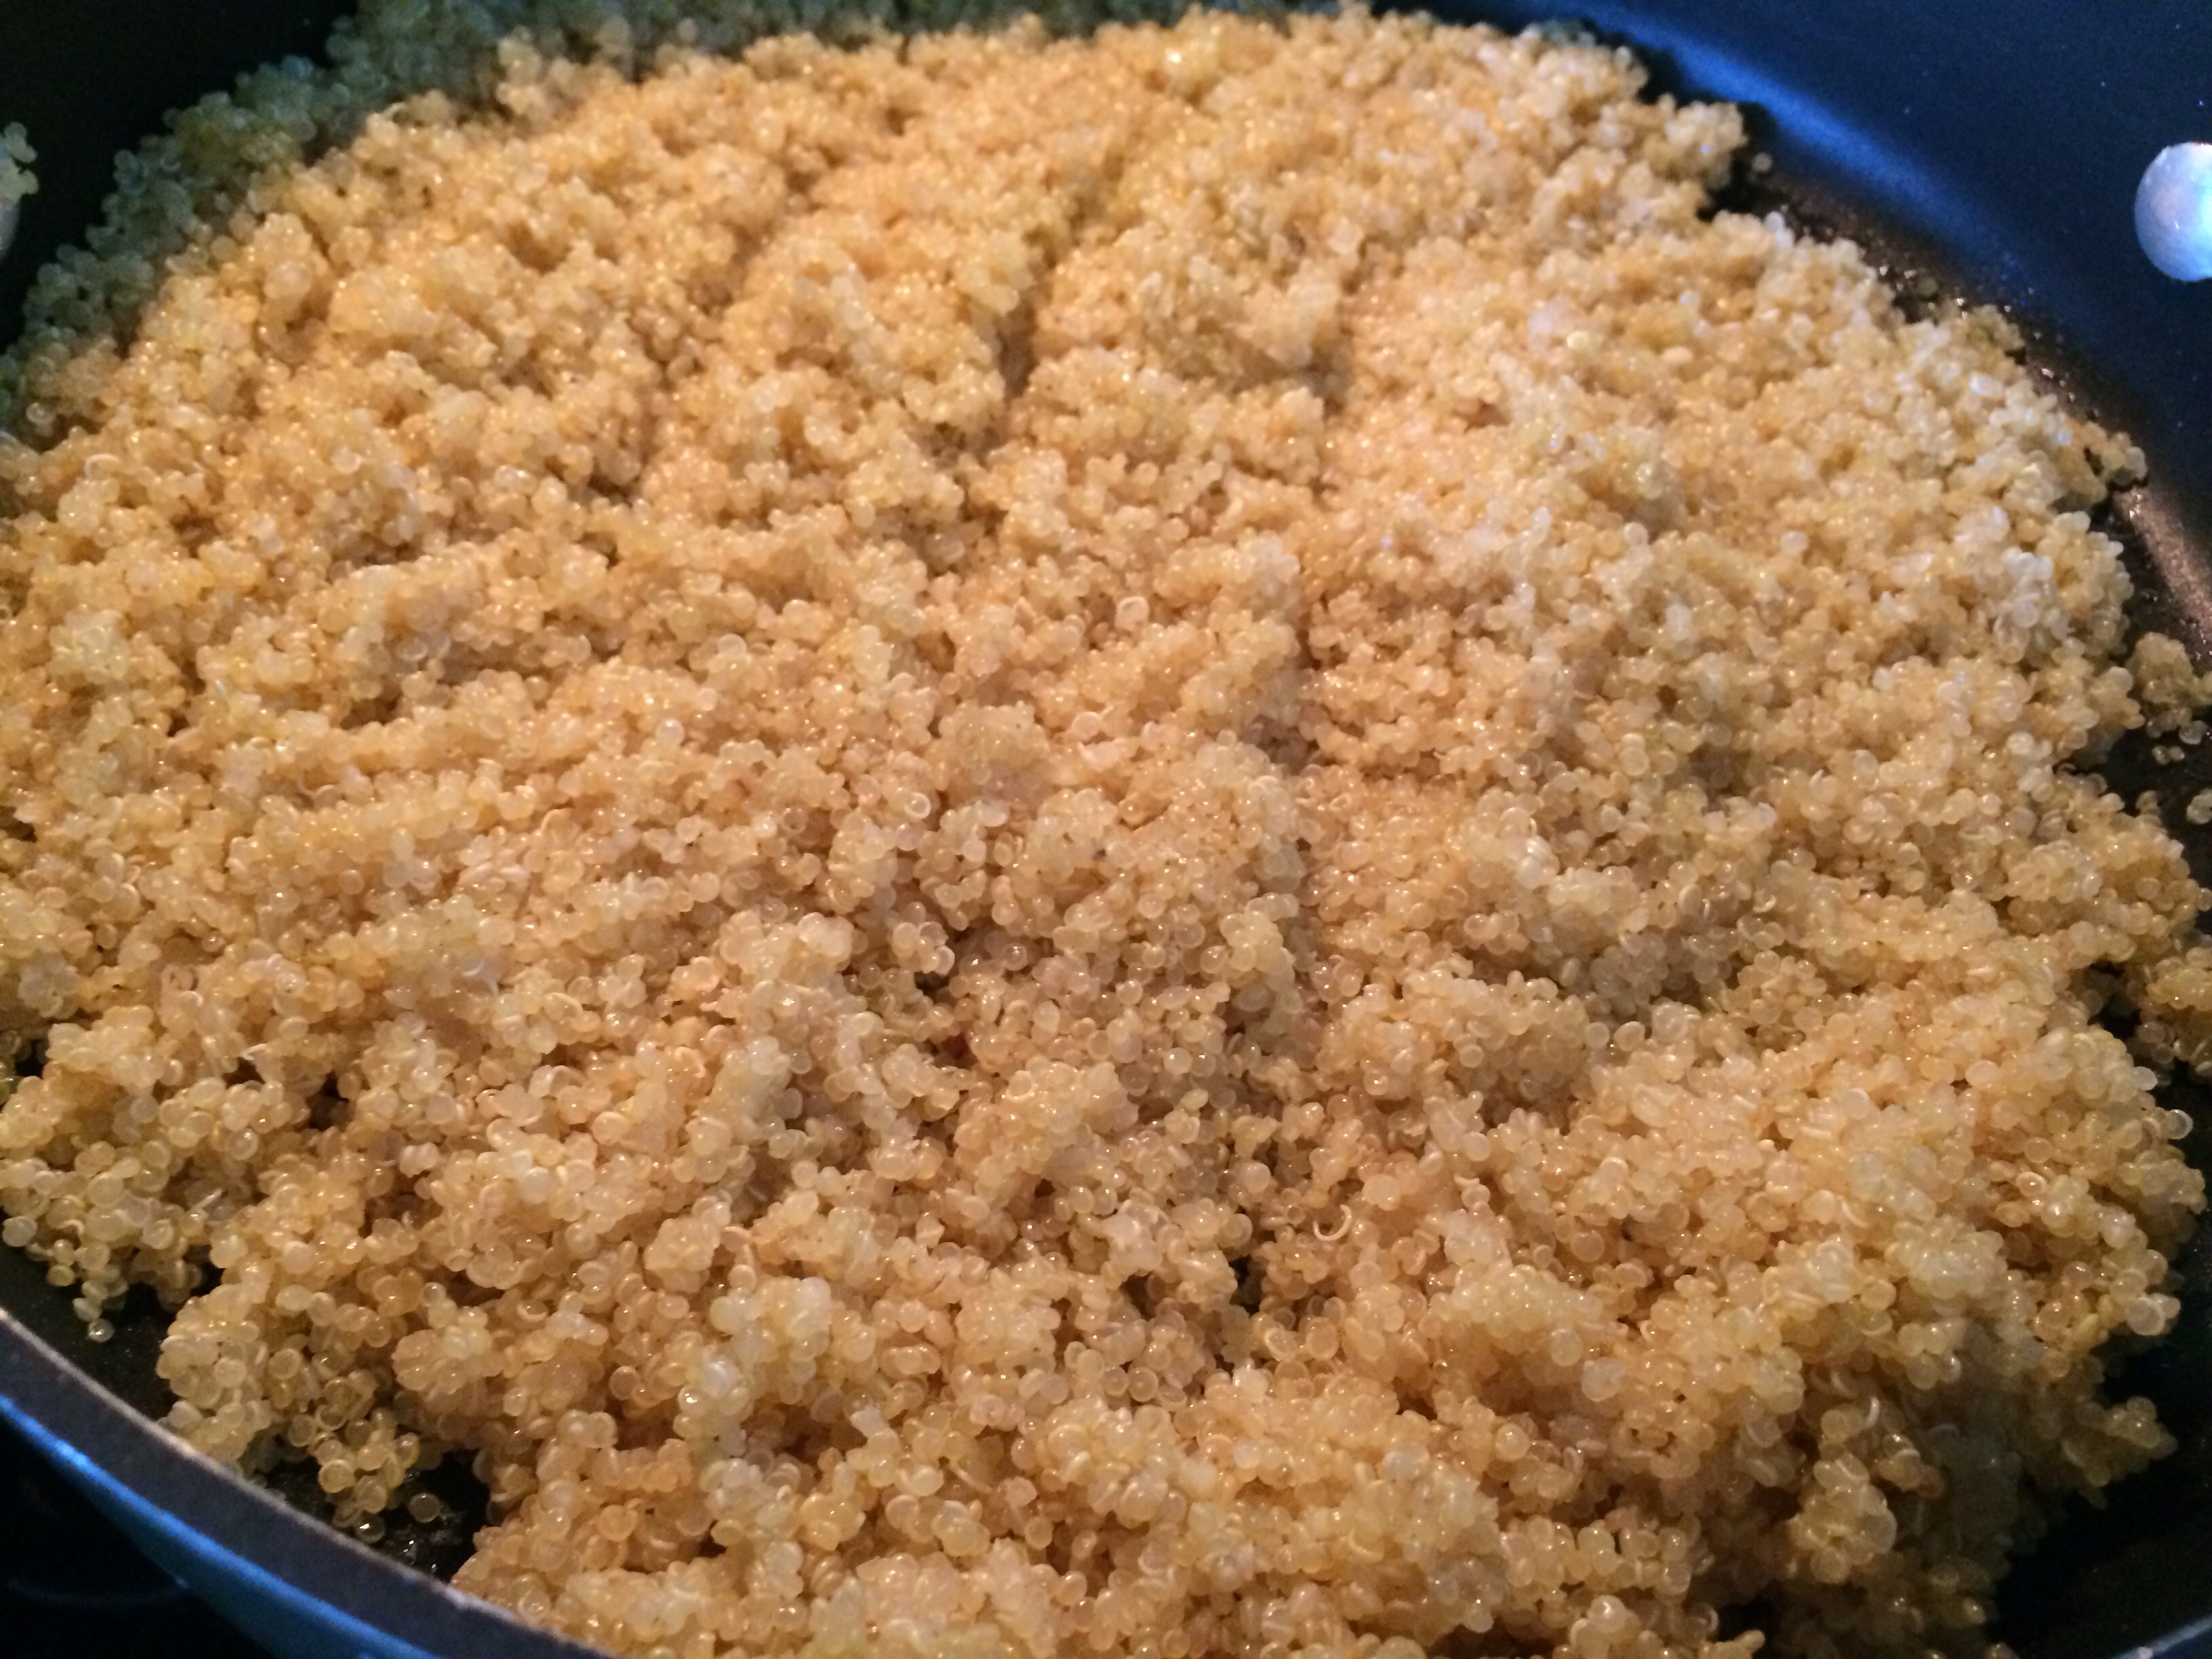
In a small saucepan, add 1 cup of uncooked quinoa and 2 cups of water on medium heat with a lid. Bring to a boil, remove from heat and cover. Let stand 15 minutes The quinoa will absorb the water.
Quinoa recipe- 1 cup uncooked quinoa and 2 cups water!
Wash, cut the tops off of the peppers and clean out the seeds and white insides.
Place the hollowed peppers upside down on a Pam coated cookie sheet and roast for 25-30 mins or until peppers are softened and browning.
The peppers will soften but at the same time brown, if that makes sense. Here is the “look .” If you overcook they will turn to mush and be impossible to stuff. Error on less time if you are worried.
Meanwhile, in a frying pan heat the olive oil low to medium heat and add garlic and onions.
When the onions start to become transparent, add the quinoa and sunflower seeds.
The seeds and quinoa get a nice toasted , nutty taste.
Turn up the heat and toast the quinoa and seeds a bit, while constantly stirring.
Add tomatoes, basil and spinach and mix well.
Mix mozzarella and parmesan together to create a cheese mixture.
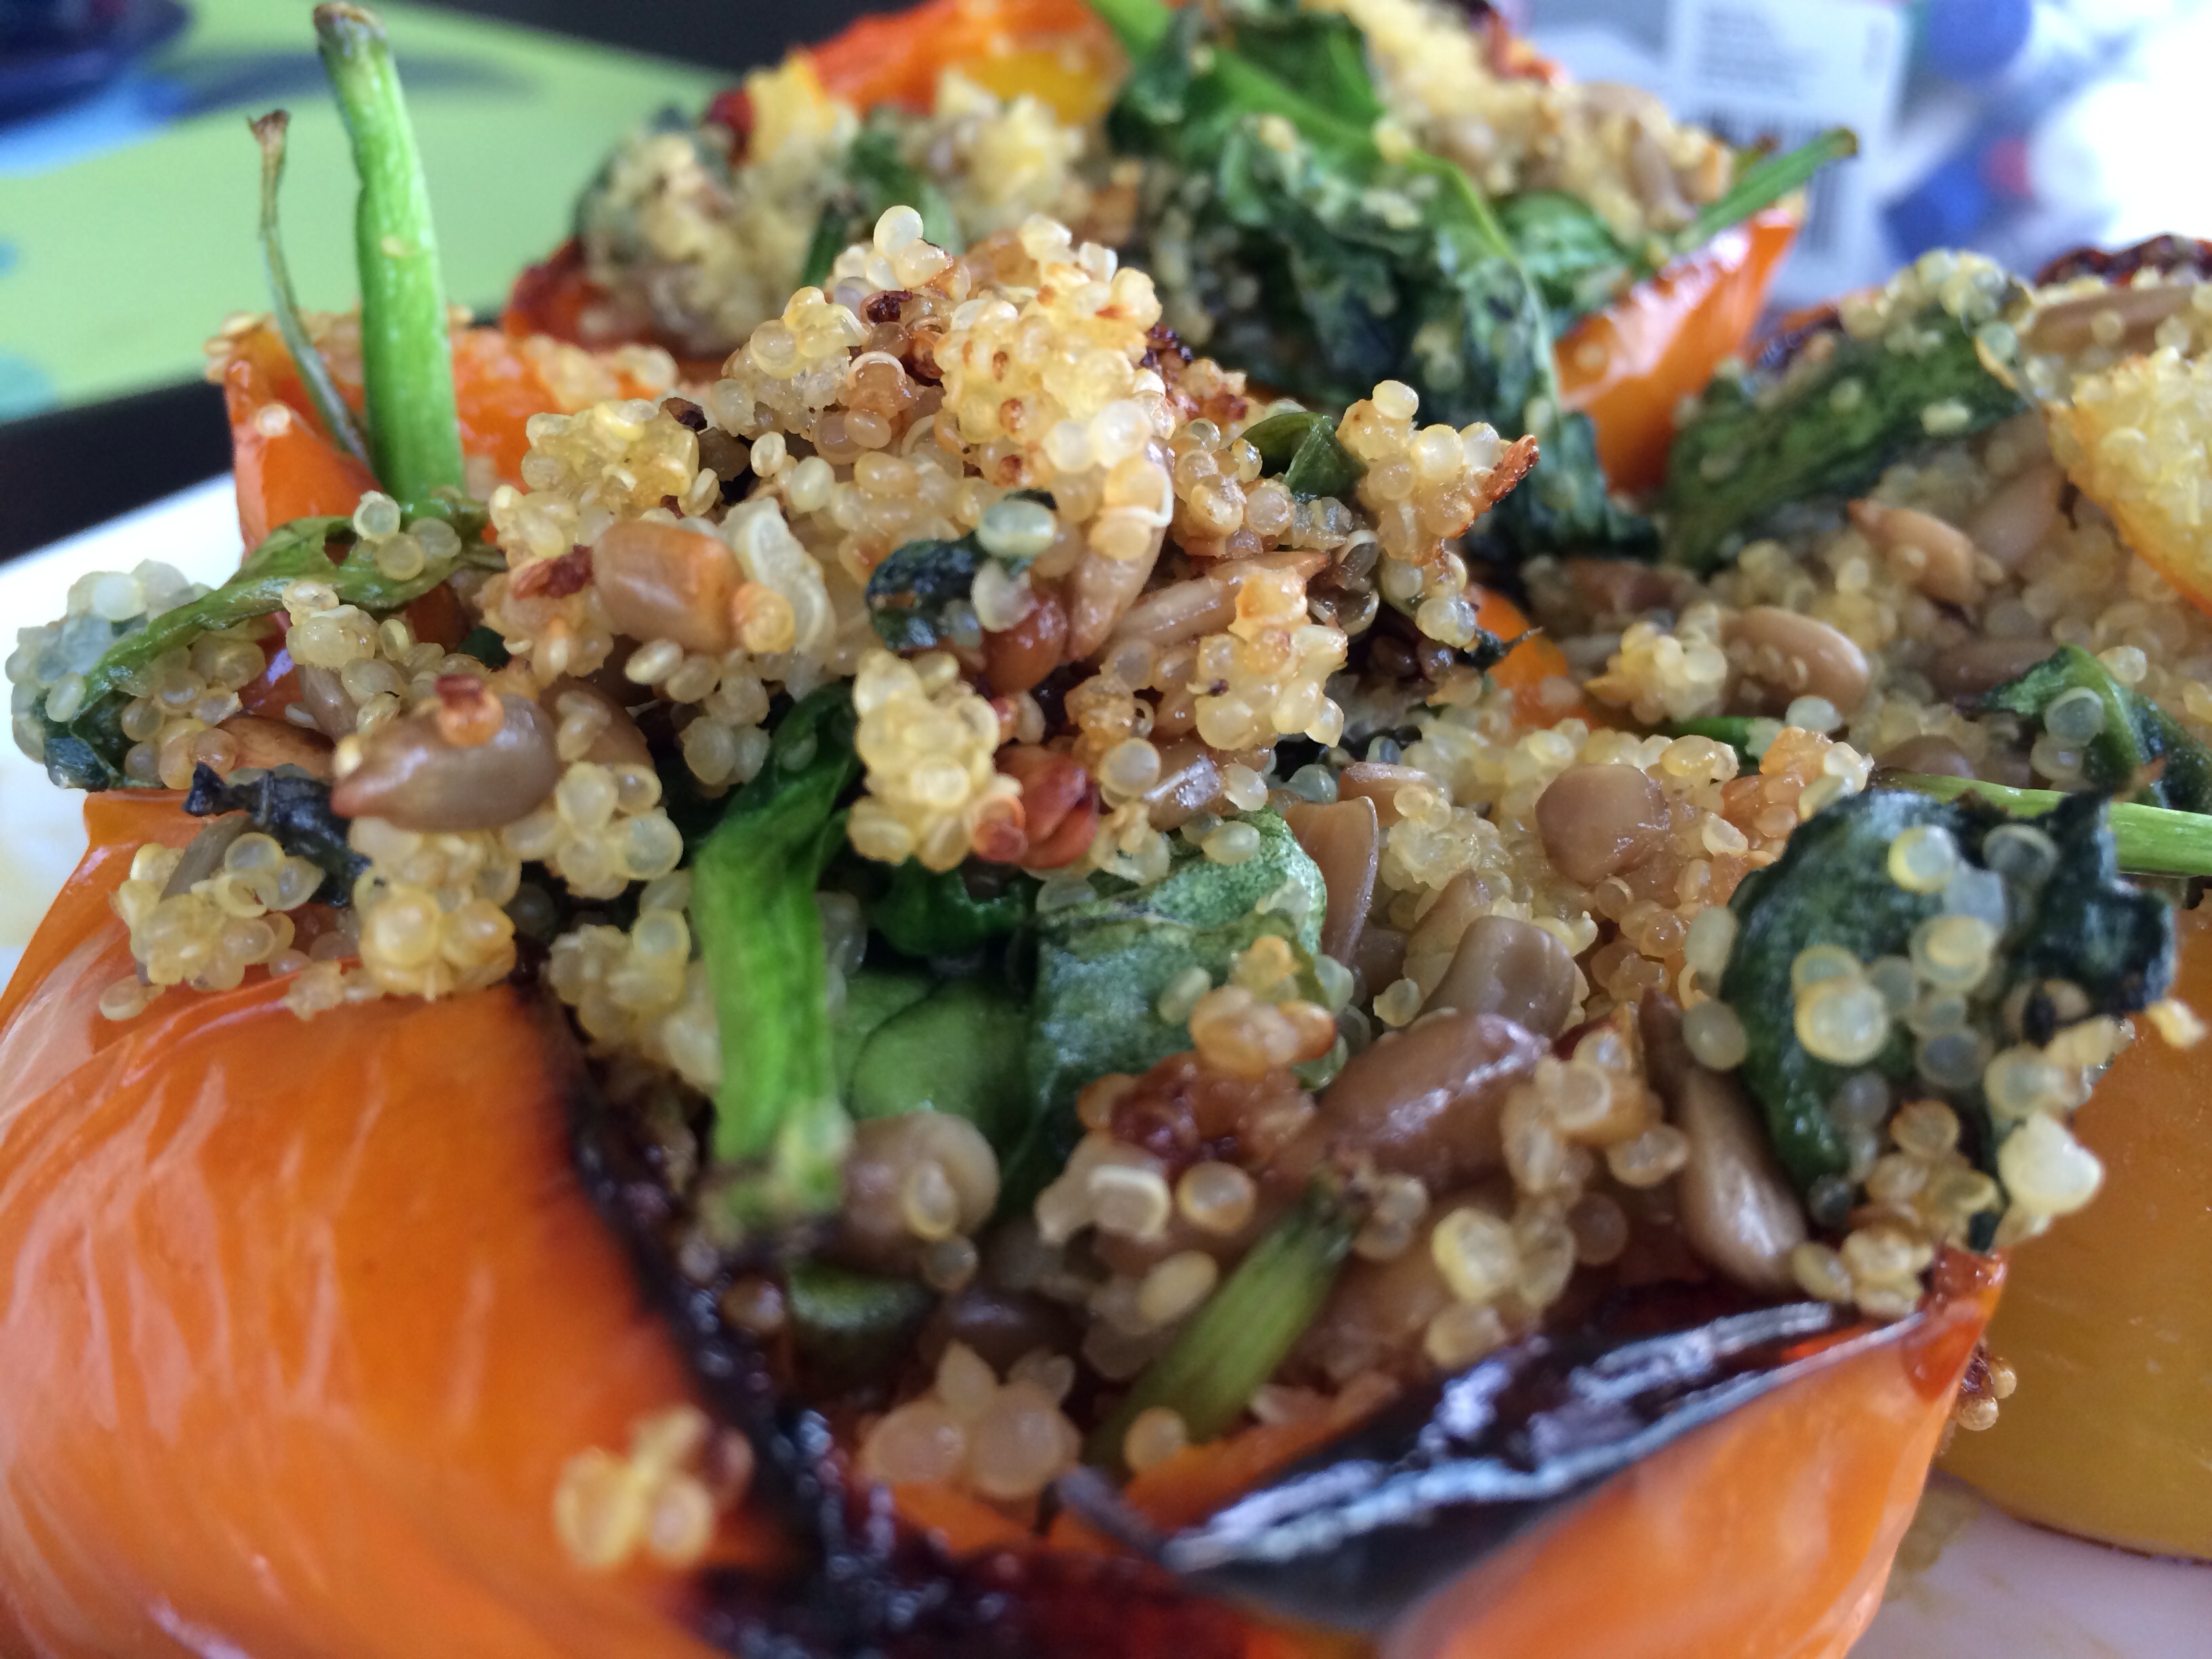
Fill the peppers with layers of the quinoa mixture and cheese mixture. Ending with quinoa mixture on top.
Fill them up! Don’t be shy!
Bake for another 5-8 minutes.
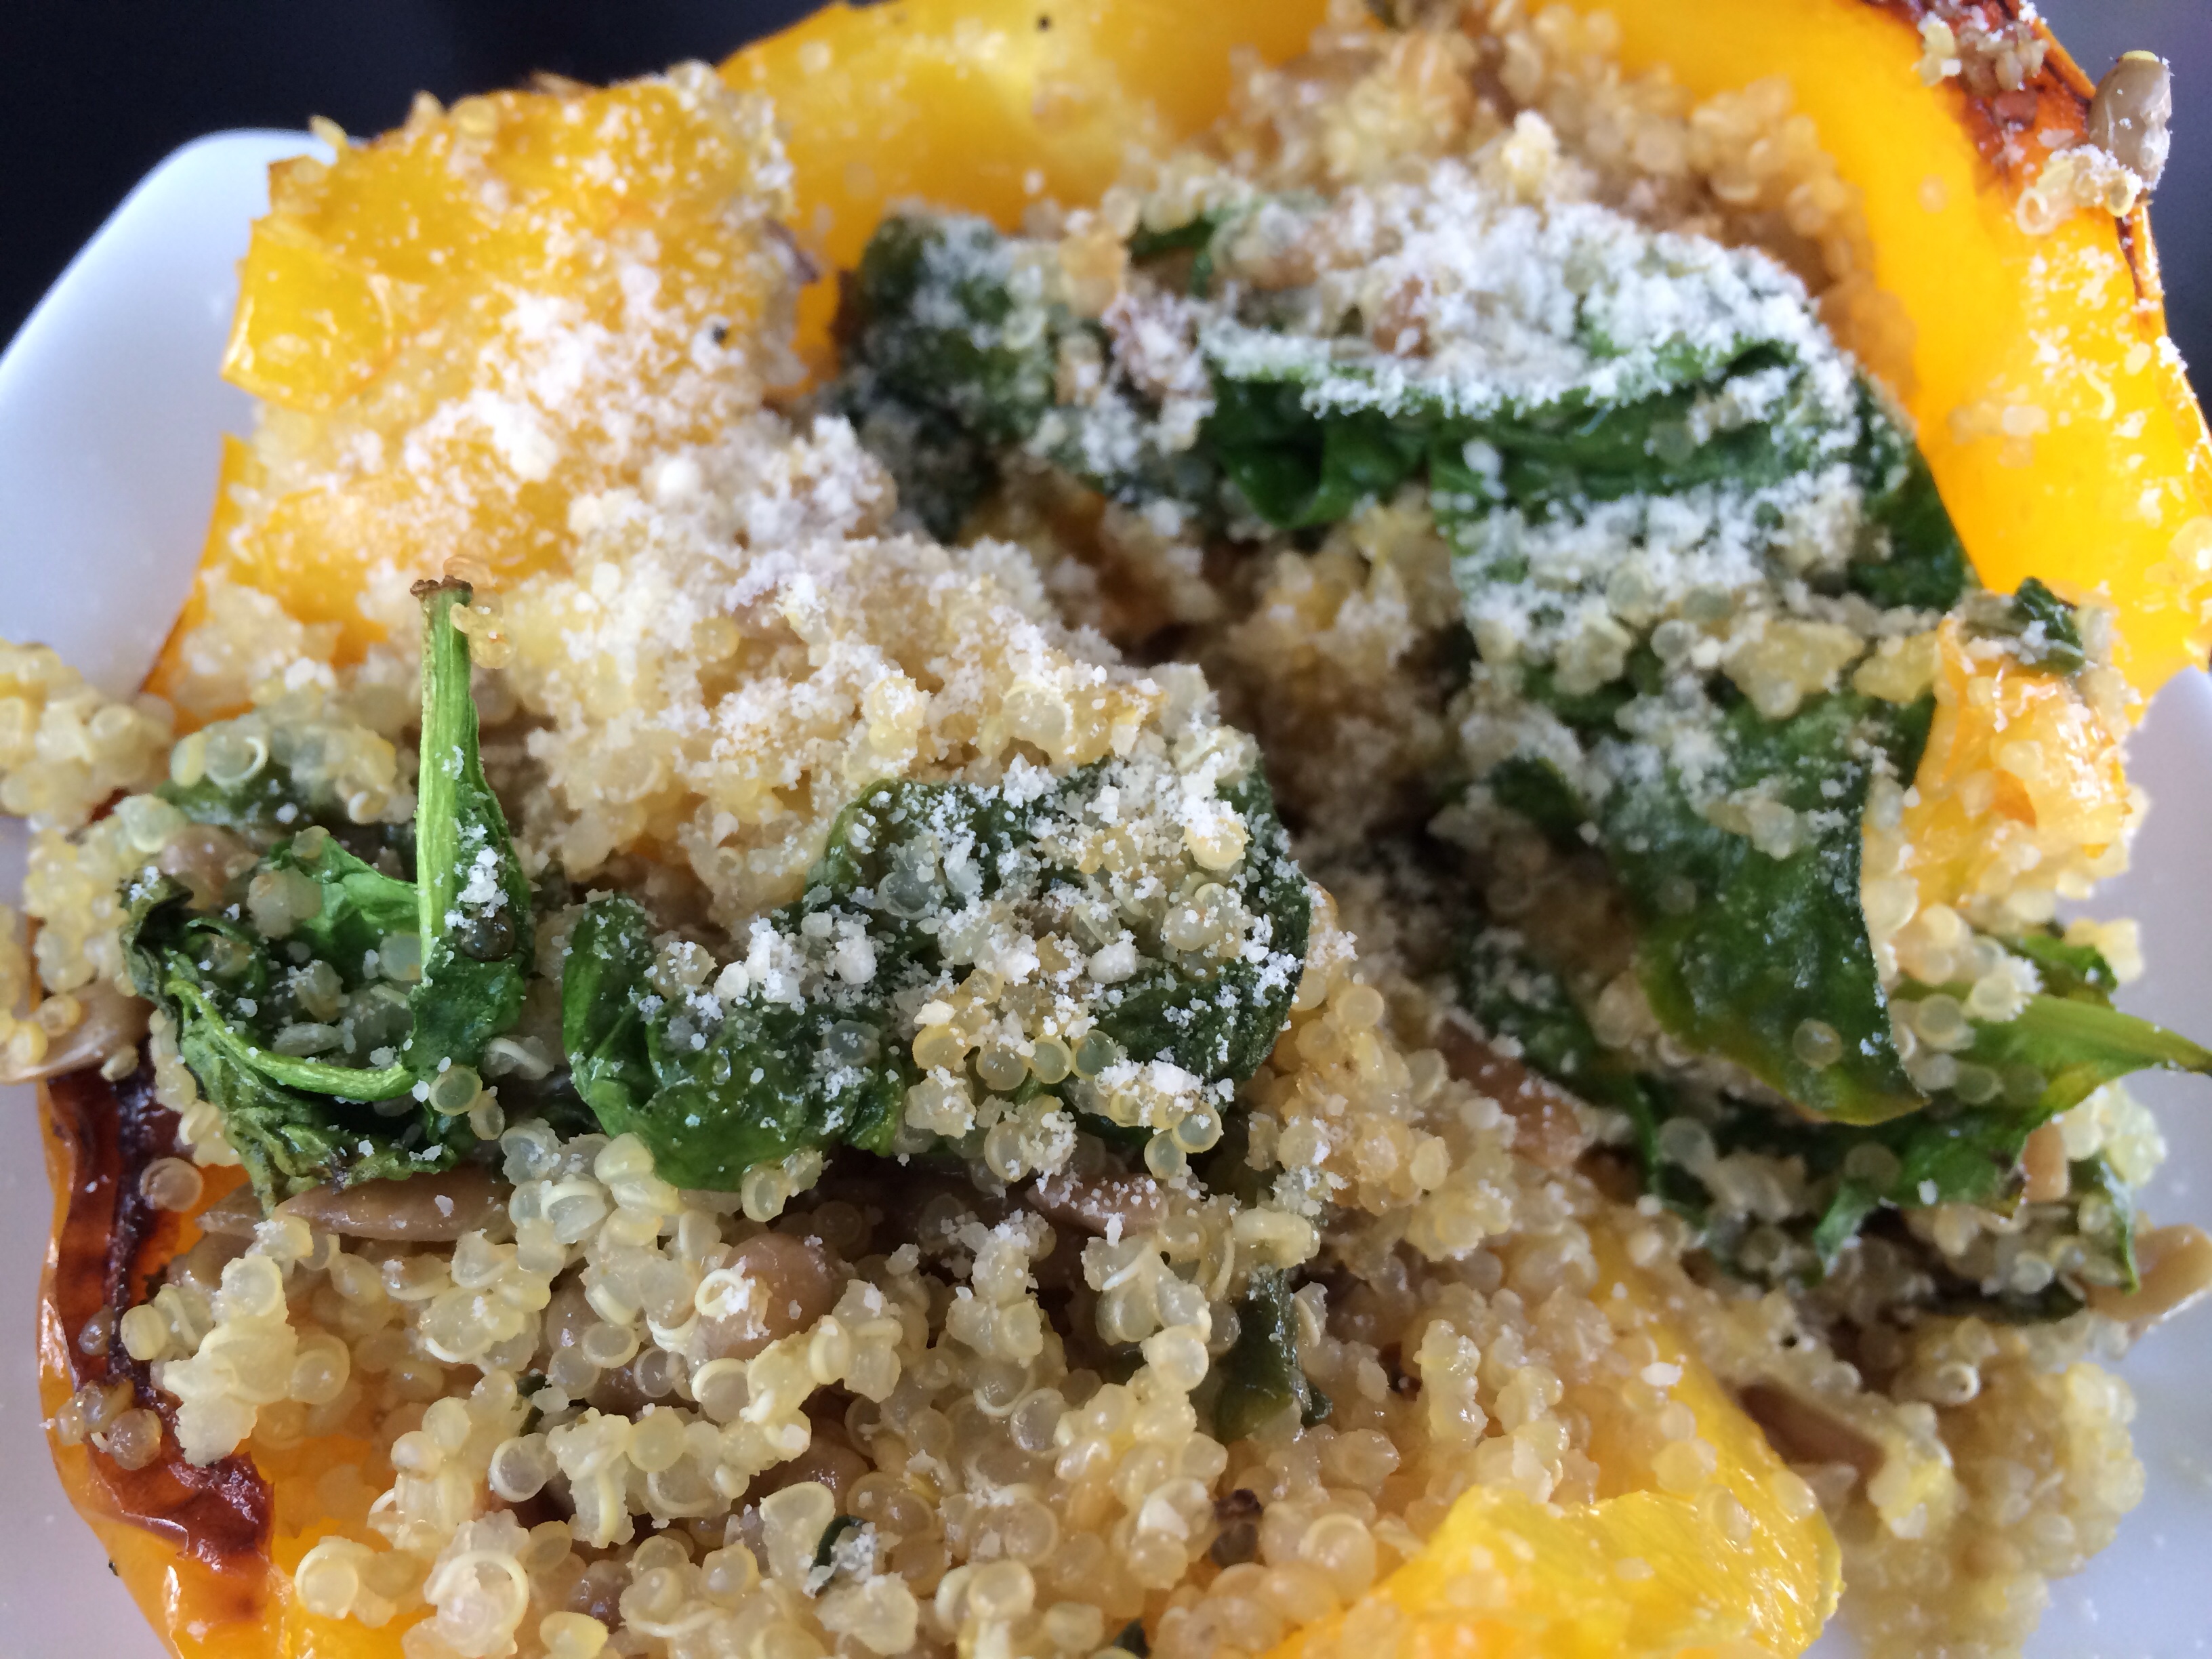
Toasted roasted perfection! So many beautiful textures and colors!Always top with fresh grated Parmesan cheese! Enjoy!!
Ann B. Davis, who played Alice on The Brady Bunch, passed away today, June 1, 2014, at 88 years old. Did you know she grew up in Erie, PA?
Ann B. Davis played Alice on the television sitcom “The Brady Bunch”
Alice did the cooking in the Bradys’ household. She made simple, All-American dinners and published hers and cast member’s recipes in a cookbook “Alice’s Brady Bunch Cookbook” in 1994. Meatloaf, fried chicken, homemade macaroni and cheese …The recipes are quick and easy, positively timeless!
Remember the pork chops and applesauce episode? Click and watch!
http://m.youtube.com/watch?v=jB4tJgzcVJE
Here is the recipe!
Ann B. Davis’ Pork Chops and Applesauce
Ingredients:
1/2 cup unsalted butter
2 tbsp. olive oil
8 pork chops
Salt to taste
2 tsp. black pepper
2/3 cup dry Vermouth
1/4 cup fresh lemon juice
1/4 tbsp. finely grated lemon zest
Directions:
Flavor chops with spices.
Combine vermouth, lemon juice, butter and oil in saucepan.
Fry chops.
Grate lemon peel as garnish.
Serve over applesauce.
Give Tiger a bath…and don’t play ball on the house.
My Notes:
Be sure to brown the chops and cook only until cooked through. (Pork chops can easily be overcooked and turn into hockey pucks)
Low/Medium heat!
Meat thermometer temp for pork 160 degrees!